The right preparation can be crucial for your efficiency in photo editing. In this tutorial, I will show you how to adjust your Preferences in Affinity Photo to make working with the software easier for you. With just a few steps, you will ensure that you have all the tools and shortcuts you need quickly at hand. Let's get started!
Key Insights
- Keyboard shortcuts can be customized to enhance efficiency.
- The toolbar is customizable and can be organized according to your needs.
- The visibility of tools can be changed using monochrome icons.
Step-by-Step Guide
To make the optimal settings in Affinity Photo, follow these steps:
1. Open Preferences
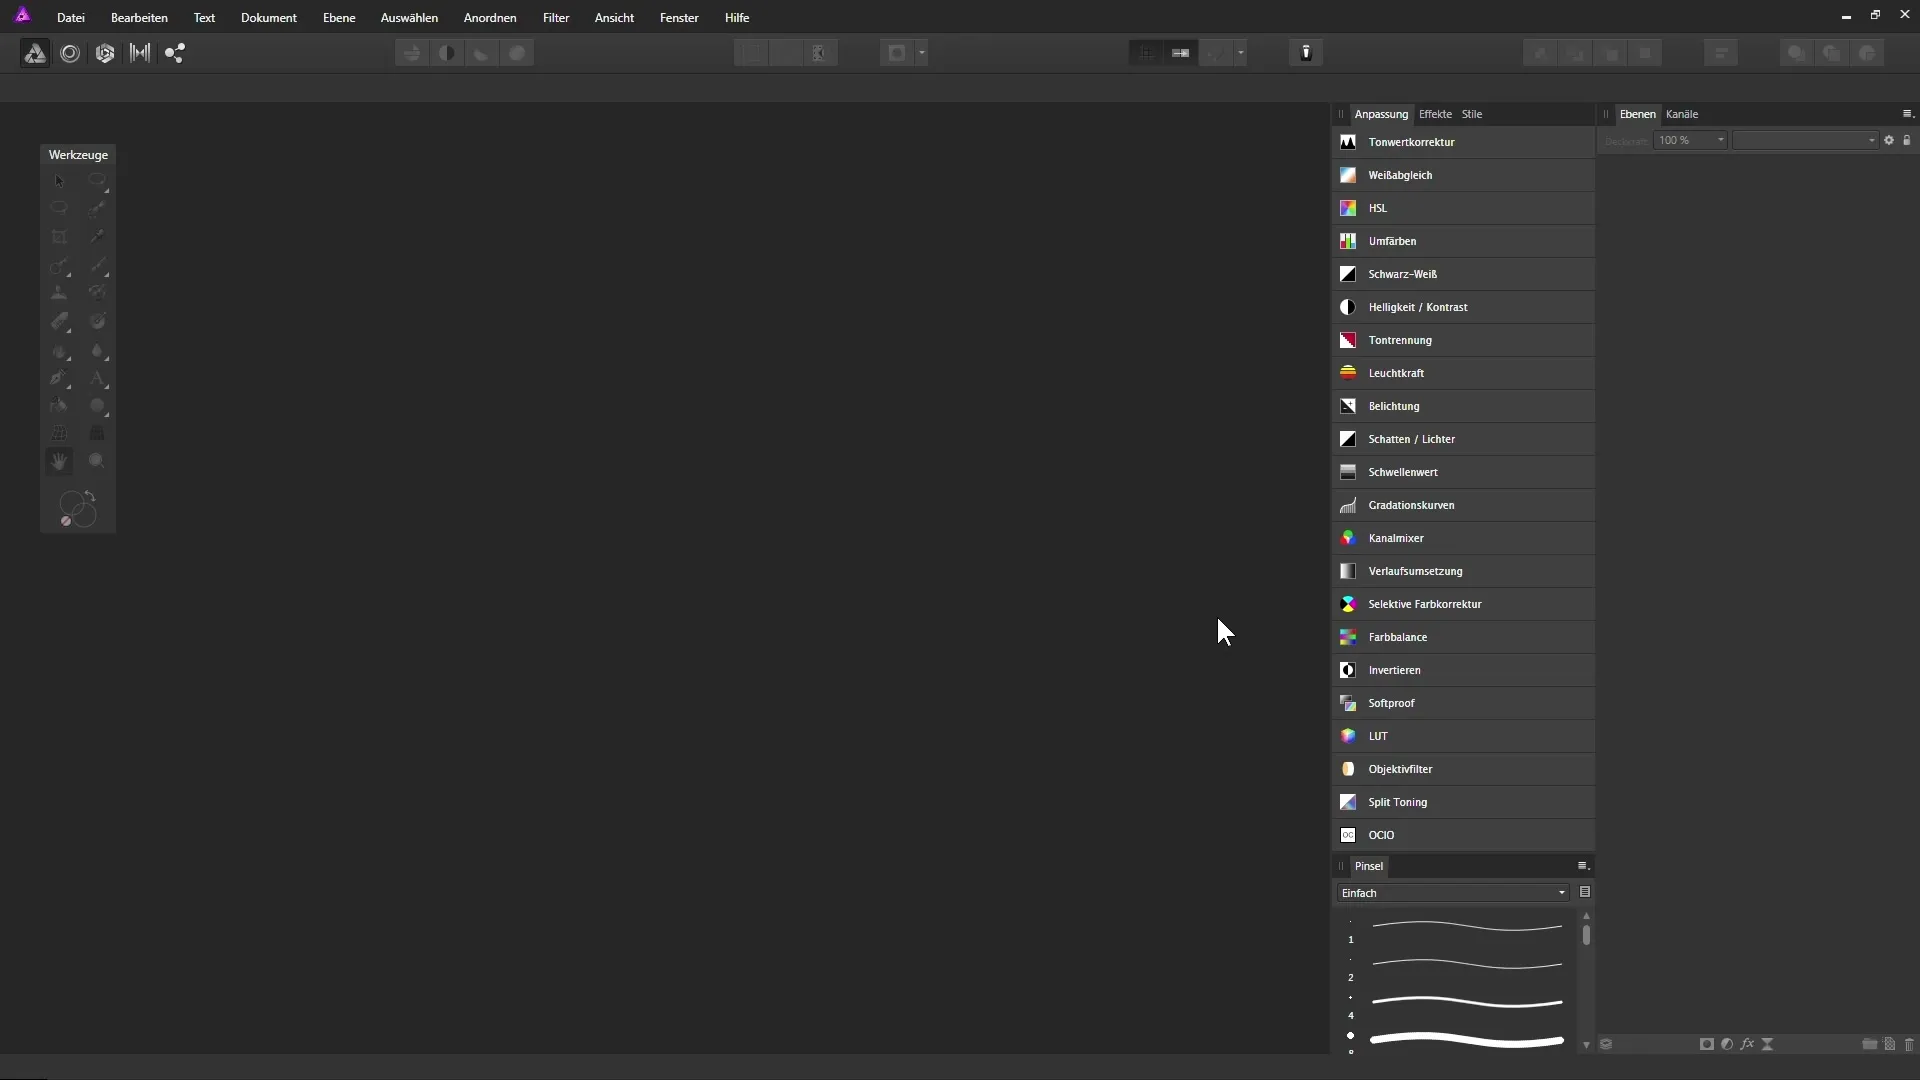
Start Affinity Photo and open the settings menu. You can do this by clicking on “Edit” and then selecting “Preferences.”
2. Customize Keyboard Shortcuts
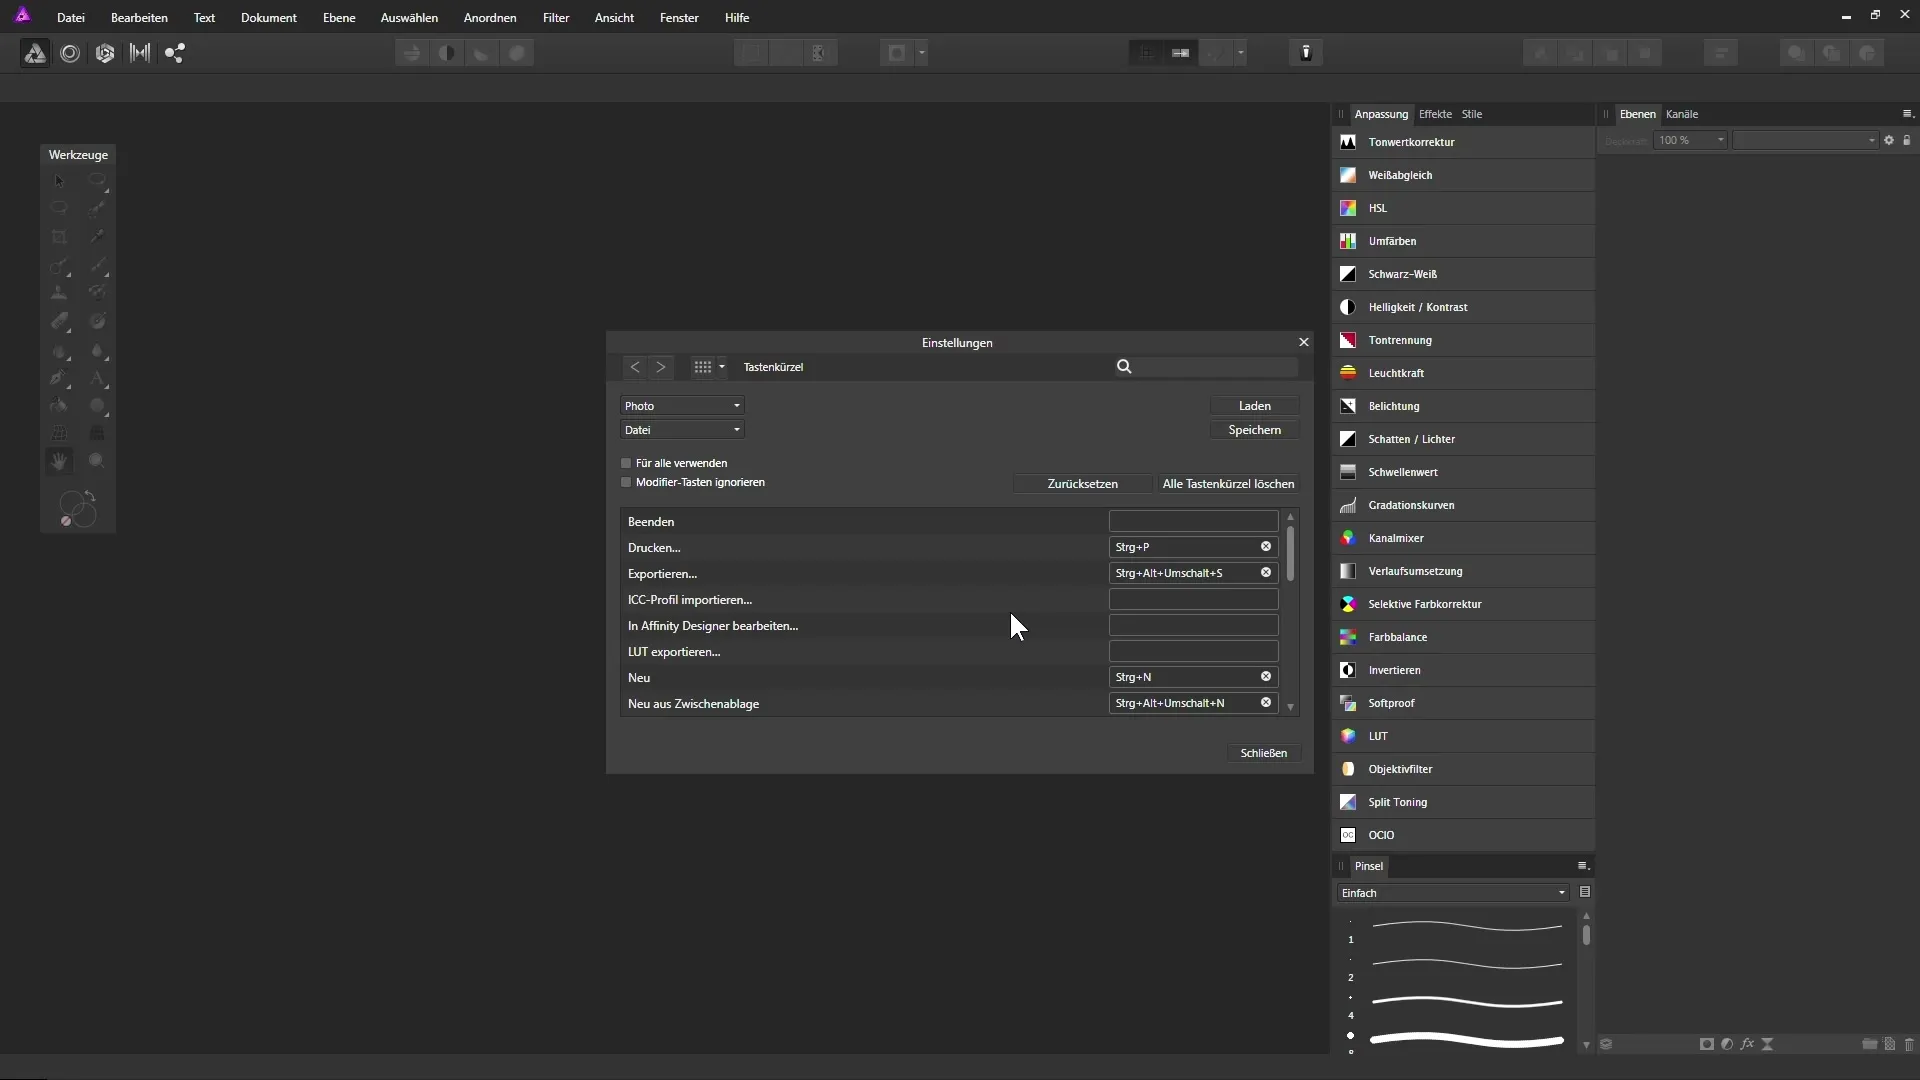
Once the preferences are open, go to the “Shortcuts” tab. Here you can replace the default keyboard combinations with your favorites to make your work more efficient.
3. Change Undo and Redo Shortcuts
In this section, you can adjust the keyboard combinations for “Undo” and “Redo.” By default, they are set to “Ctrl + Z” and “Ctrl + Y.” You could change them to more intuitive keys like “Cmd + Z” and “Cmd + Y.”
4. Set Fill Color Shortcuts
Another useful shortcut is setting fill colors. You can easily set black and white as default colors by assigning the shortcut “D.” This allows quick access to these colors, which is especially helpful when editing masks.
5. Mid Gray Fill Color
If you need a mid gray as a fill color, you can assign “Alt + D.” This gives immediate access to a 50% gray, which can be useful in various edits.
6. Customize Toolbar
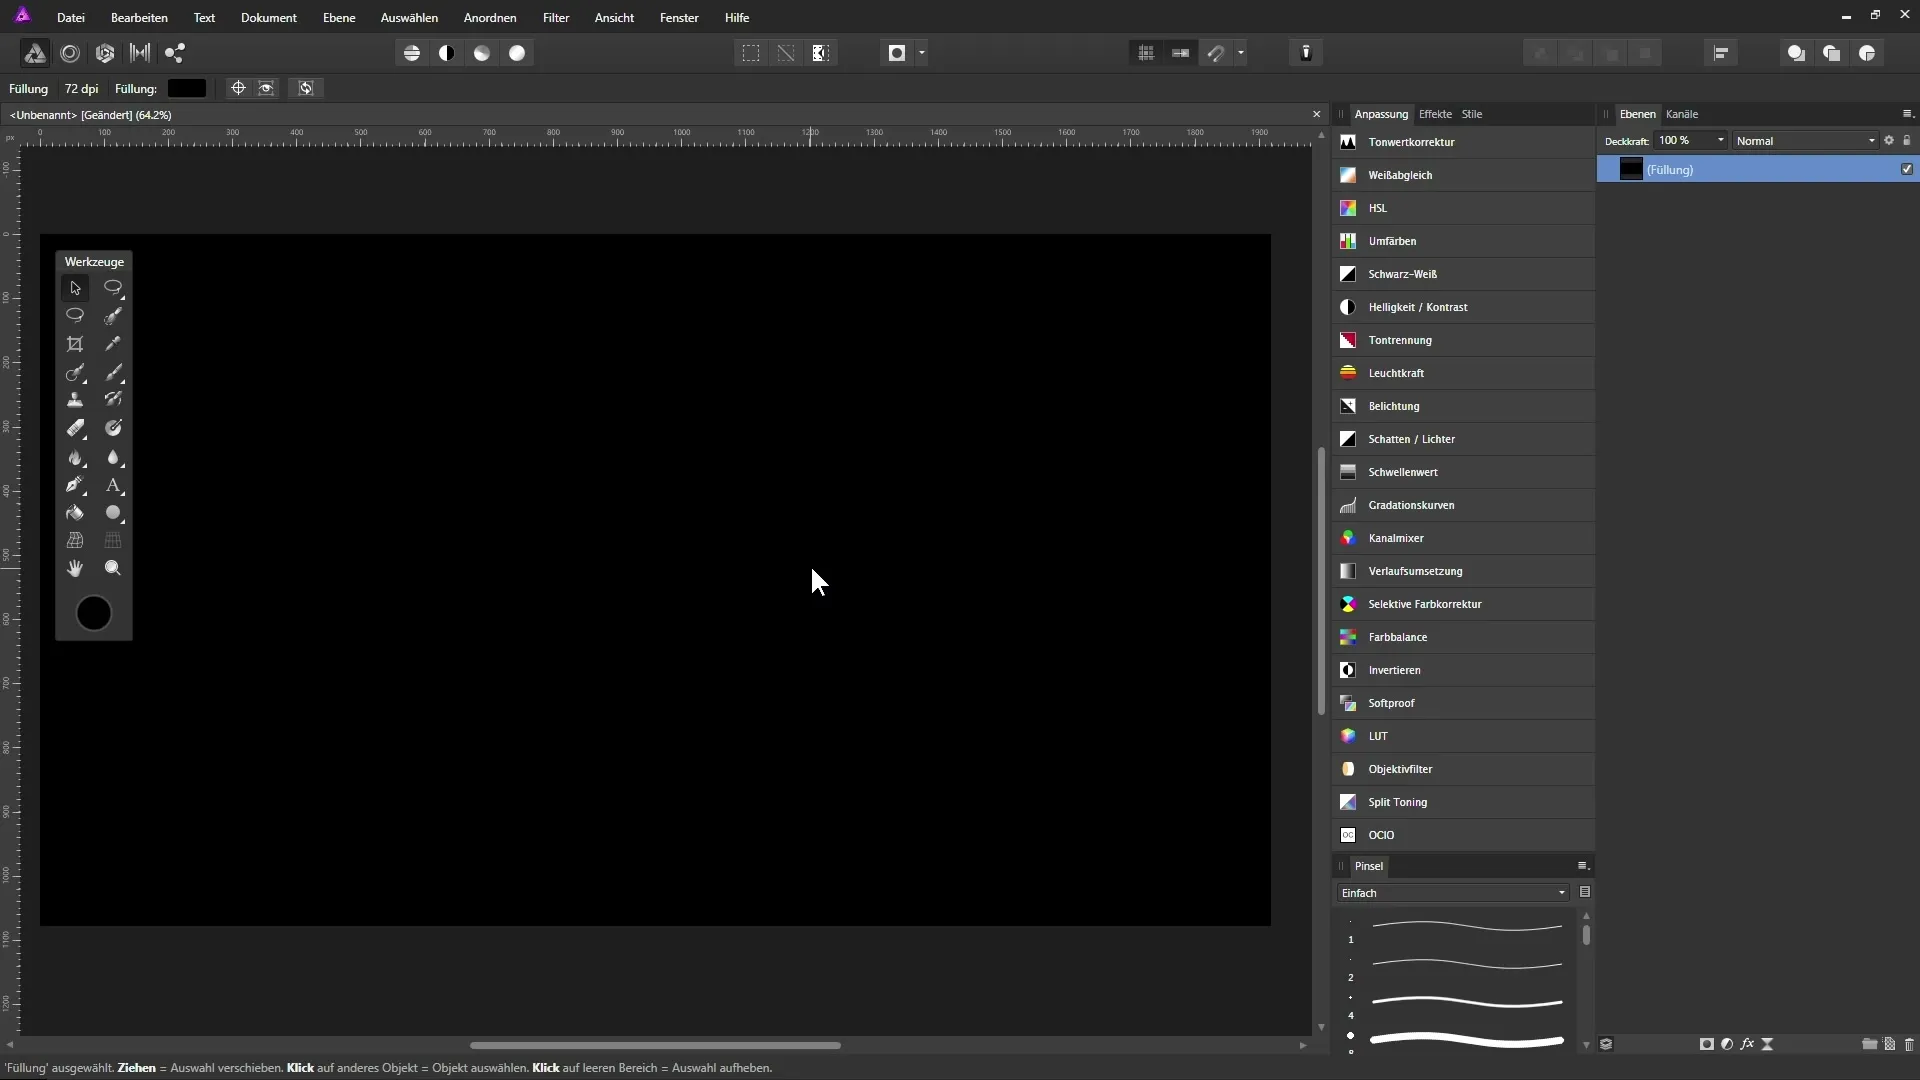
The next step involves customizing your toolbar. Go to “View” and then “Customize Tools.” Here, you have the option to change the arrangement and visibility of your tools.
7. Arrange Tools
To arrange the tools according to your needs, hold down the mouse button and drag the desired tools to the desired position. Also, take advantage of the option to change the number of columns, depending on how many tools you want to have quickly accessible.
8. Visualize Tools
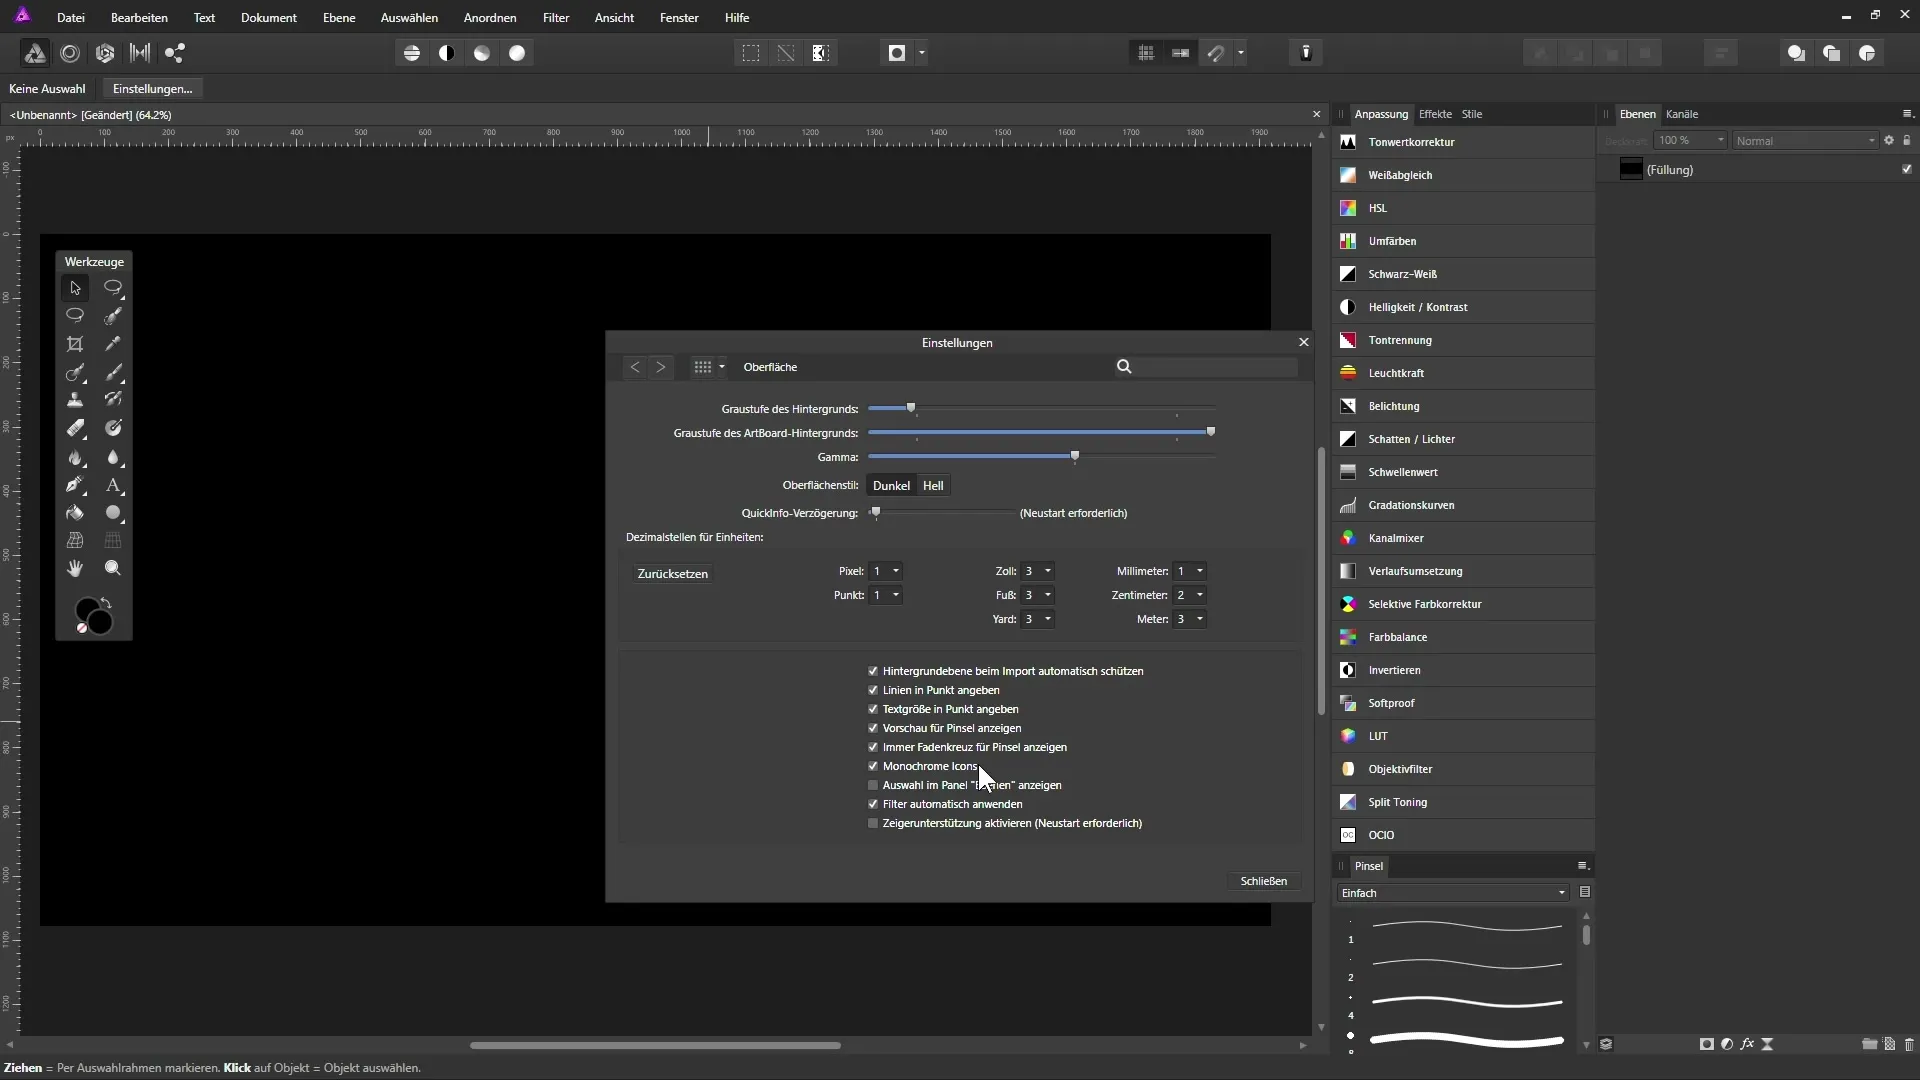
If you prefer to see the tools in a monochrome design, you can also adjust this under “Preferences” in the “Appearance” section. You can enable or disable the “monochrome icons” option, depending on what you prefer.
9. Save Settings
Once you have made all desired adjustments, close the preferences. Your adjustments are now saved and ready to be used in your photo editing.
Summary – Optimally Using Preferences in Affinity Photo
You have now learned how to adjust your preferences in Affinity Photo to make the software more user-friendly. From customizing keyboard shortcuts to adjusting the toolbar, Affinity Photo offers you many options to create an efficient work environment.
Frequently Asked Questions
How do I change keyboard shortcuts in Affinity Photo?You can customize the keyboard shortcuts by selecting “Edit” and then “Preferences.” Go to “Shortcuts” to edit your shortcuts.
Can I customize the toolbar in Affinity Photo?Yes, you can change the arrangement and visibility of the tools through “View” and then “Customize Tools.”
How can I enable monochrome icons?Under “Edit” and “Preferences,” there is the “Appearance” section where you can enable the option for “monochrome icons.”
