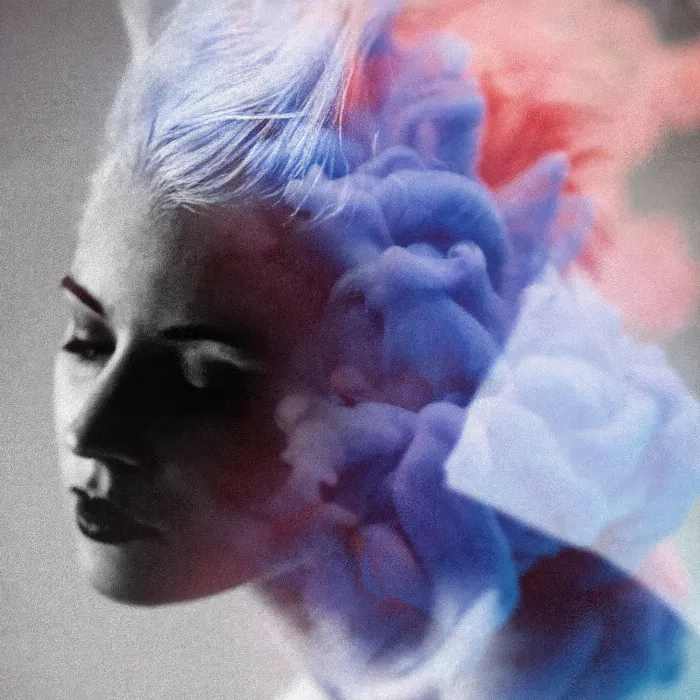
With Affinity Photo, you can not only edit images but also insert creative text-overlays that add an extra dimension to your photos. In this guide, I will take you step by step through the techniques for creating and customizing editable text as overlays. Whether you want to integrate simple texts into your image or achieve complex effects - you will learn how to efficiently combine various overlay techniques.
Key Insights • Text in Affinity Photo is editable, even after applying effects. • You can combine different overlay techniques to create interesting results. • By using layer blending modes and options, you can create creative effects that enhance your images.
Step-by-Step Guide
First, choose the appropriate image on which you want to place your text. I have selected a sample image that has already been covered in another tutorial. To place a text, take the text tool and simply click on the image. For example, type “Test” to add your first text.
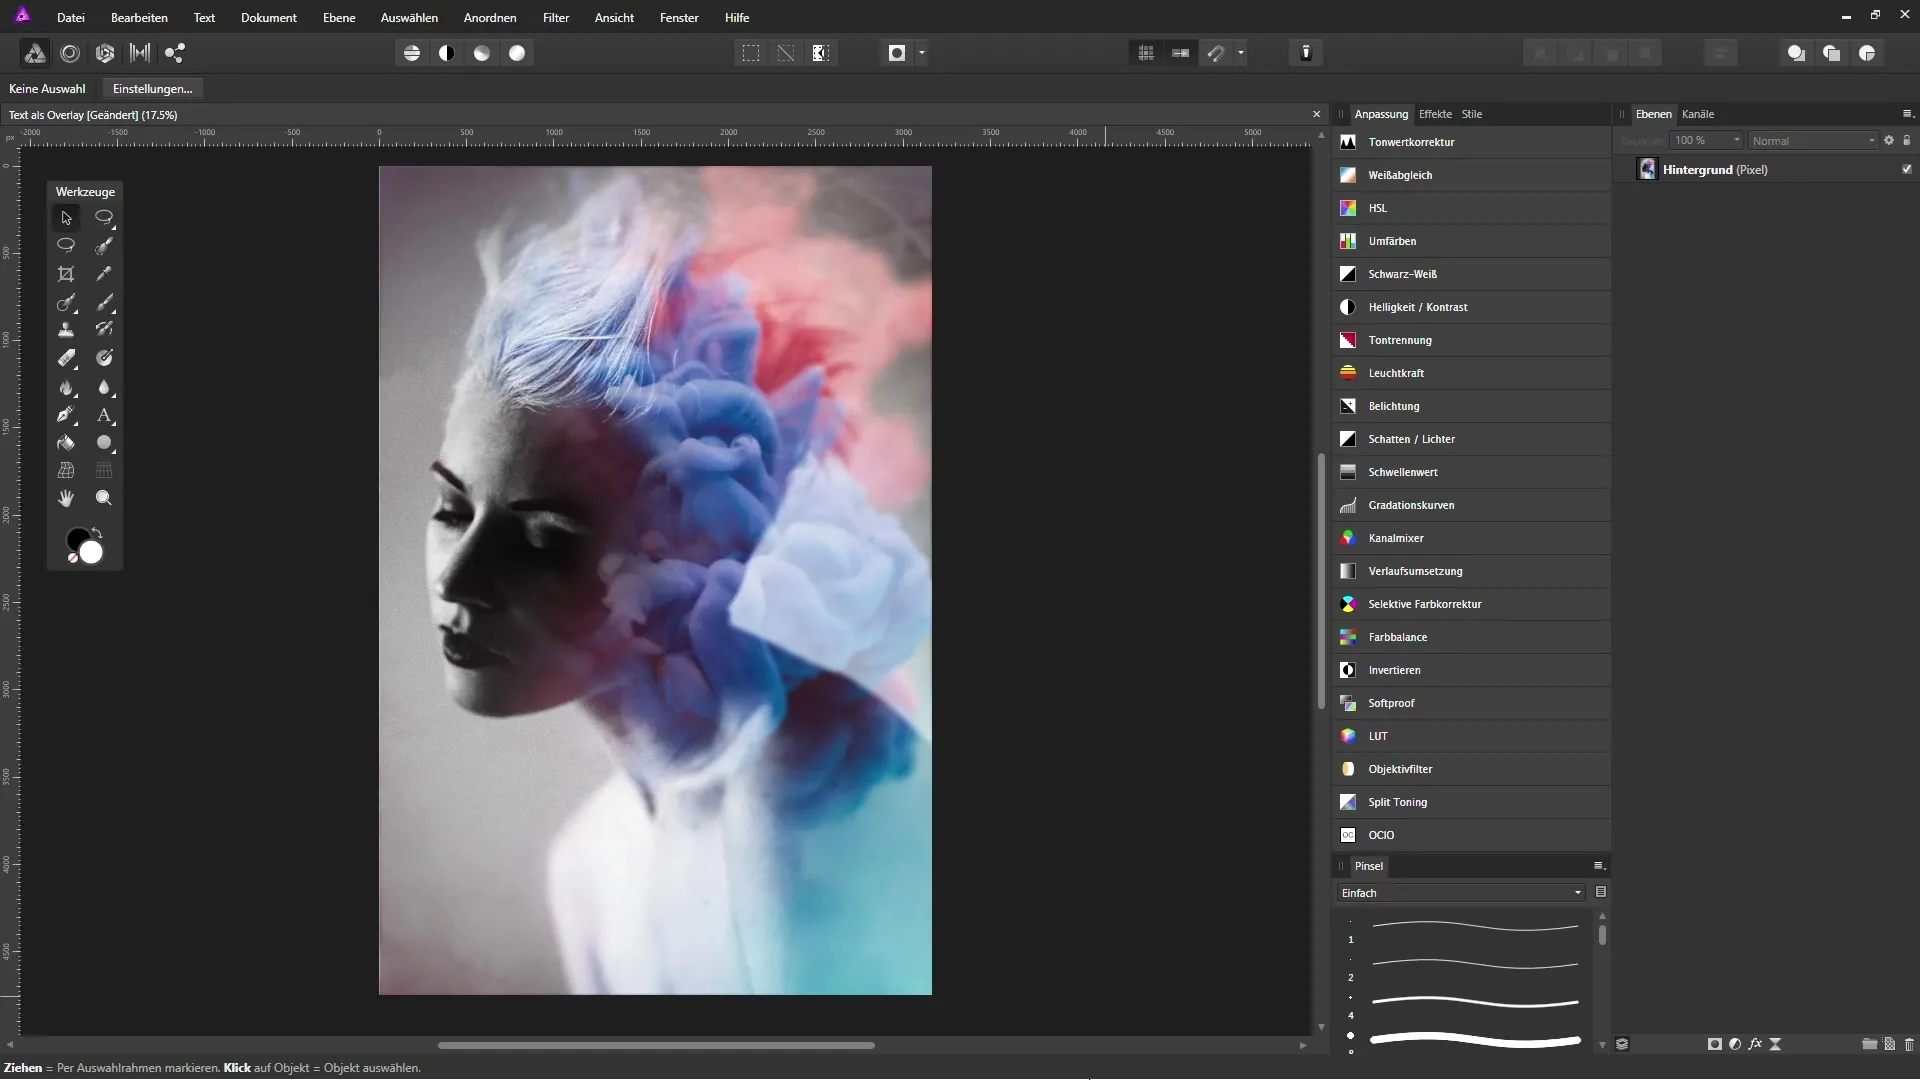
Next, switch to the Move tool to resize and move the text to the desired position. You can, for example, place it at the bottom of the image. In the layers palette, you will now see both the background image and the newly inserted text.
If you want, you can create a copy of your text layer. Select the text layer and press the keyboard shortcut Control (Ctrl) + J. This will create an identical text layer that sits directly above the previous one. Click on the upper text layer and drag it upwards while holding down the Shift key. This way, the movement remains straight.
Now comes the exciting part: you can work with so-called layer blending modes. Click on the blending mode in the layers palette to see the various options. “Overlay” can produce interesting results, while “Soft Light” is more subtle. I recommend trying out the blending modes to see what you like best. For this example, I'll leave it on “Normal” for now.
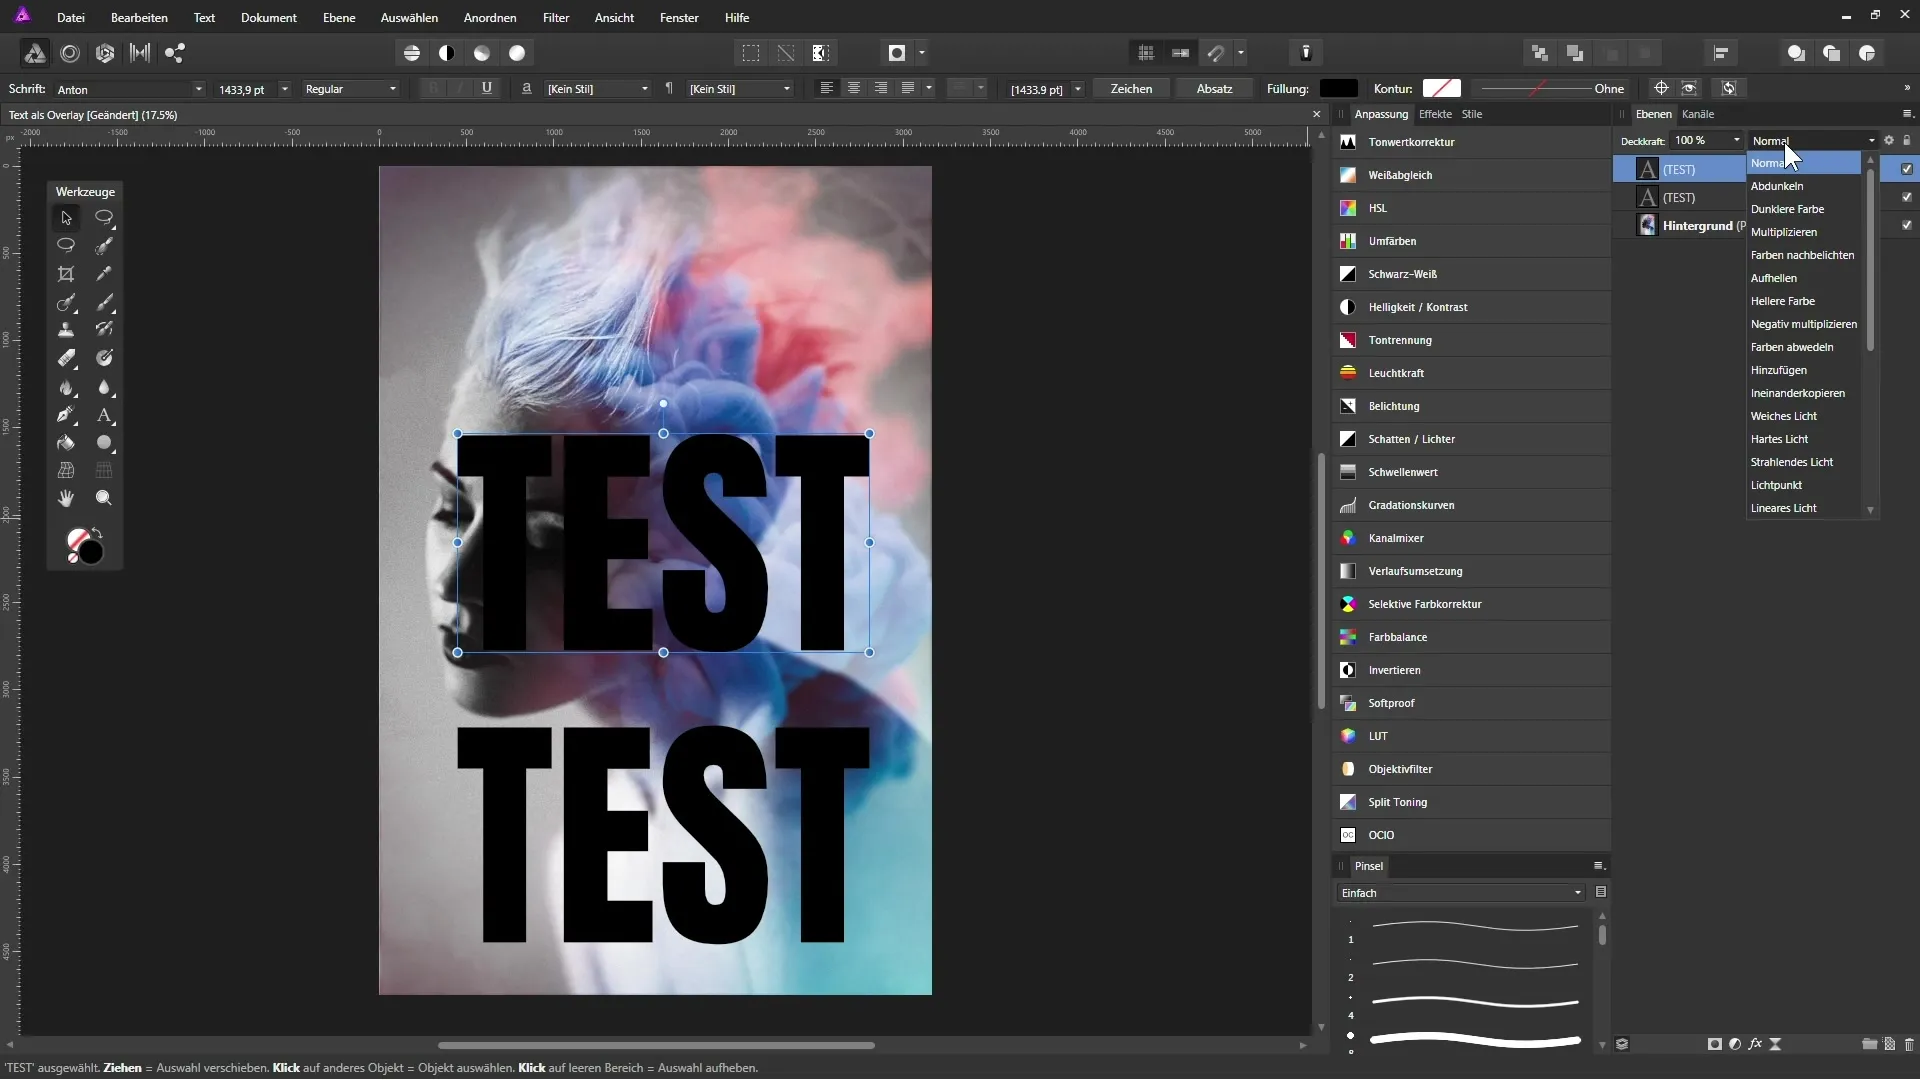
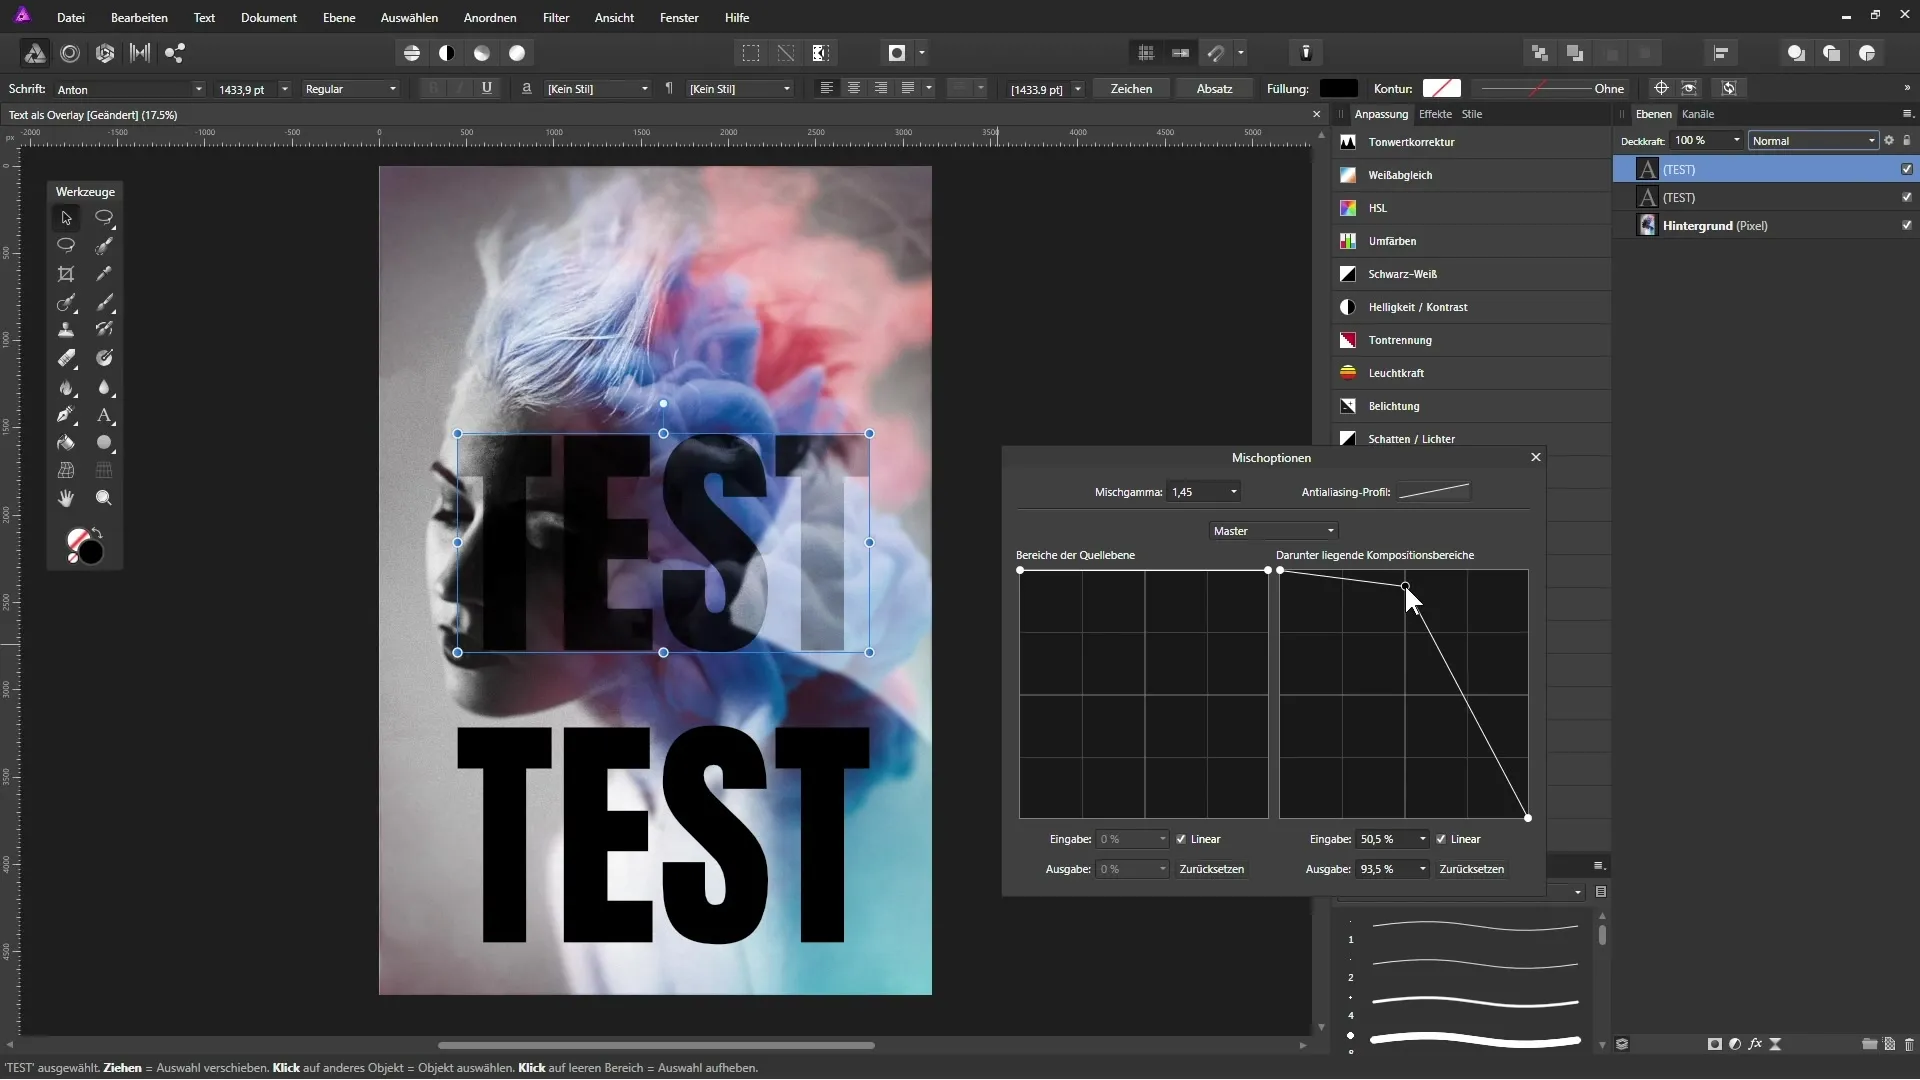
An interesting next step is the use of blending options. Select the upper text layer and click on the gear icon in the toolbar. Here you can bring back areas of the underlying layers. Drag the right slider to make the bright areas of the background visible again. This gives your text an exciting look and lets the bright elements shine through.
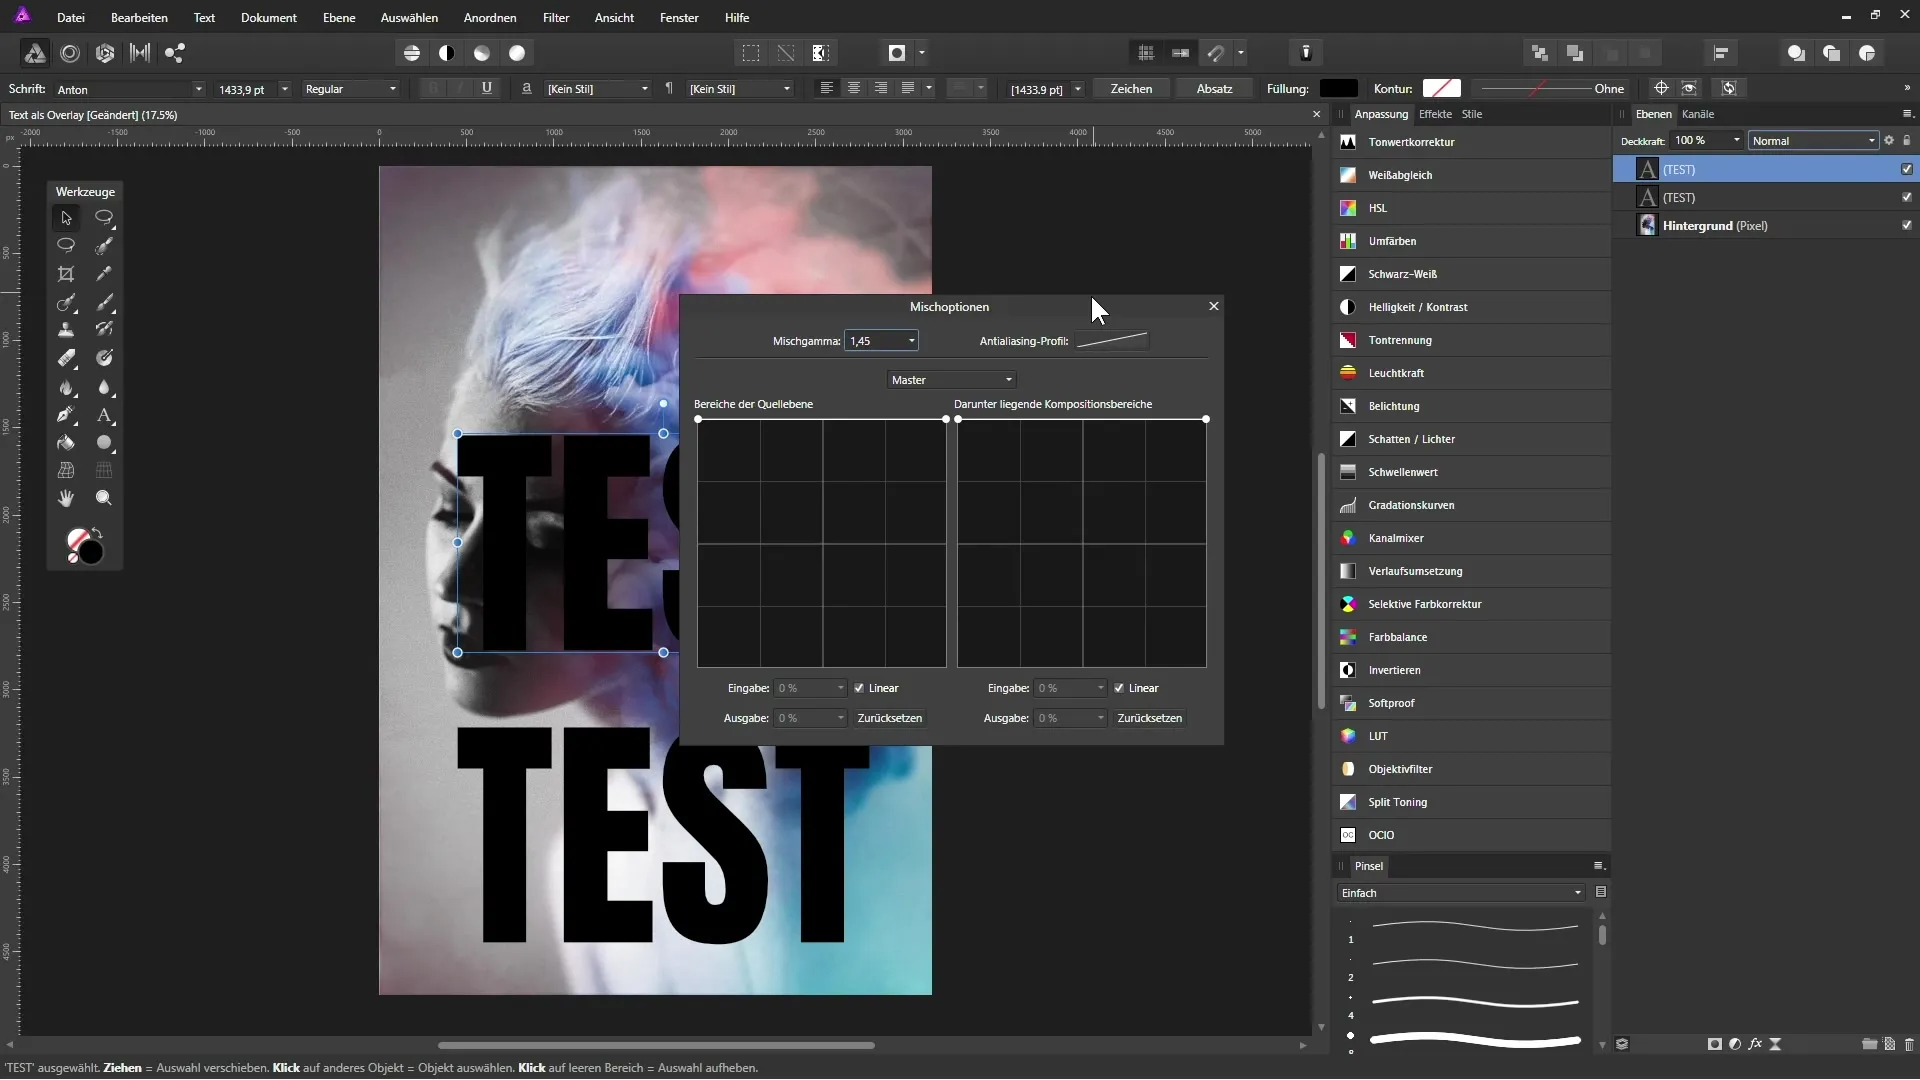
To achieve a softer transition, you can adjust the curve slider. Try different curve shapes to achieve the desired effect. You can undo these adjustments at any time because your text remains editable.
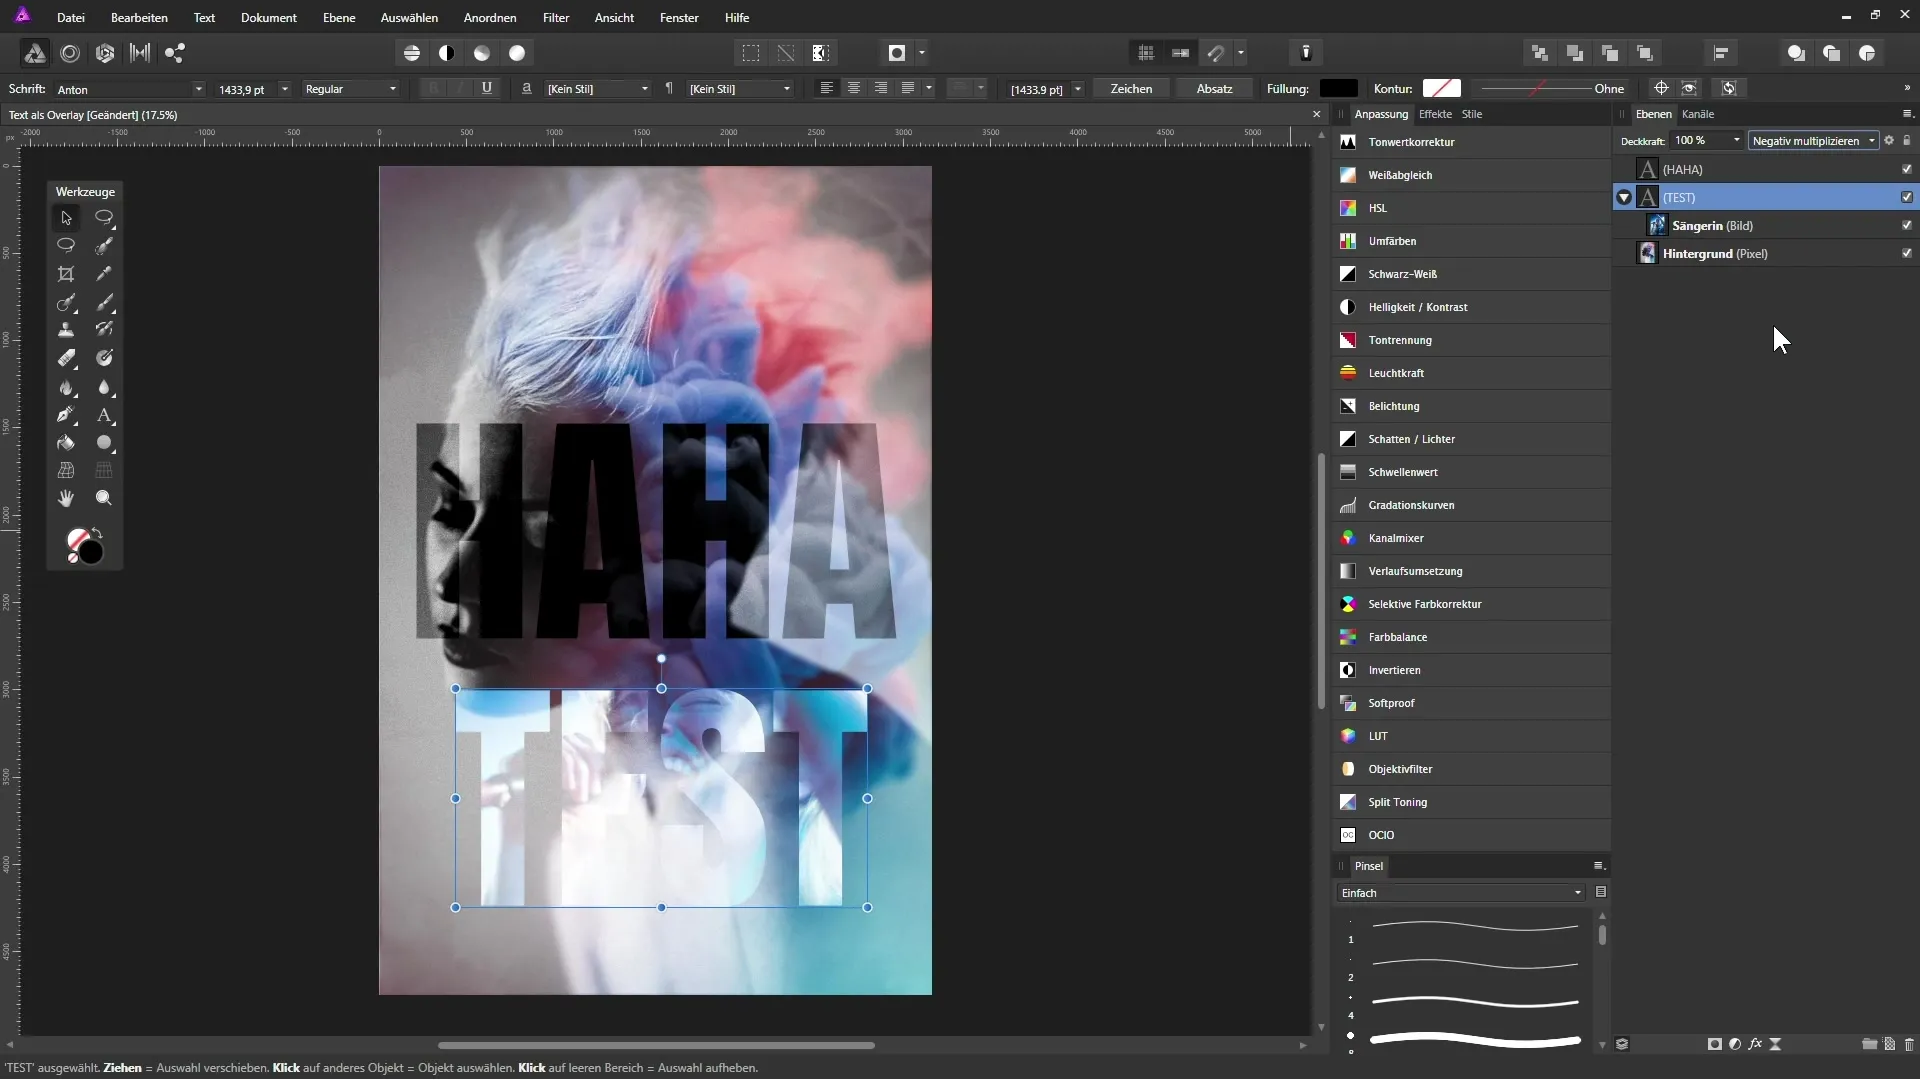
If you want, you can also integrate an image into the text. First, drag an image file into Affinity Photo. Position the image so that it contains interesting elements. To display the image within the text, drag the image layer into the text layer. A blue bar will indicate that the image will now become a clipping mask. Release the mouse, and now you have placed the image in the text.
Now you can adjust the blending modes of the text to highlight the image. You might choose “Multiply” to brighten the background and create special contrasts. Combinations of these techniques will elevate your designs to a new level.
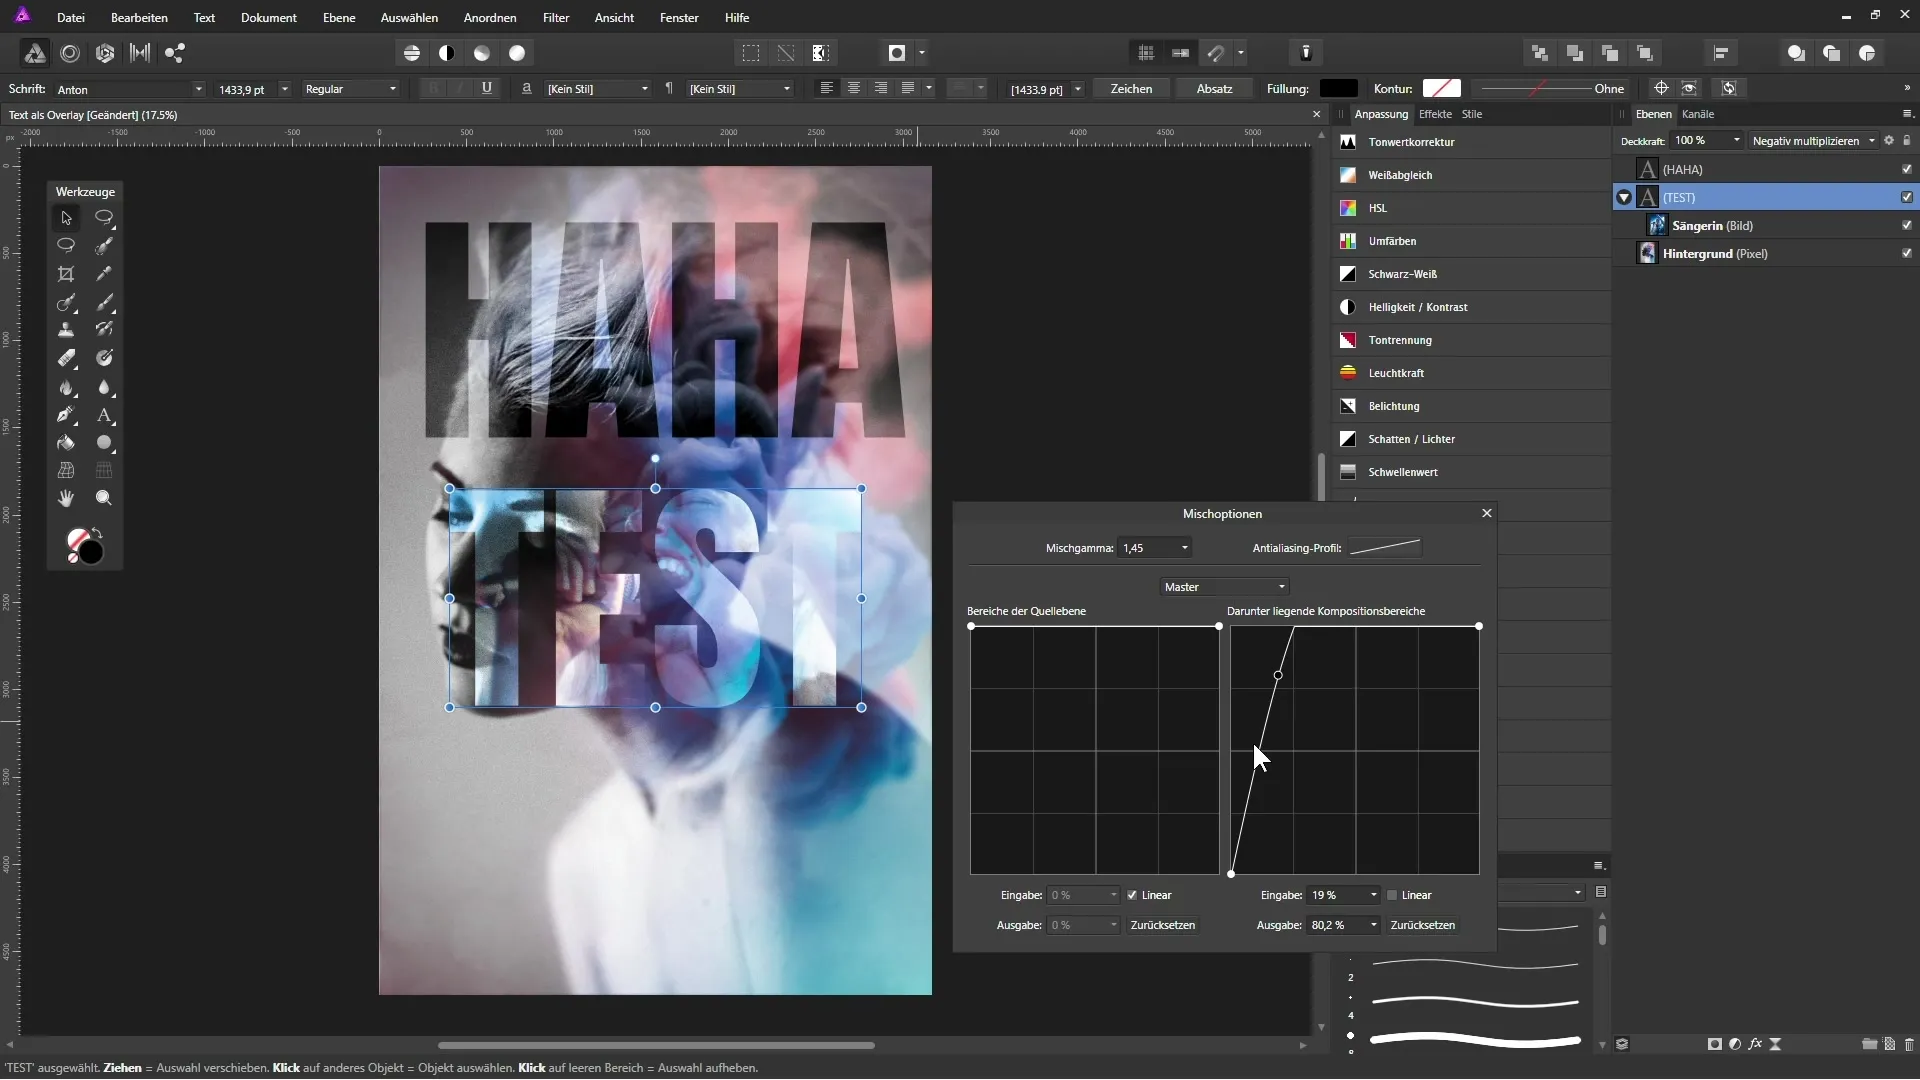
To achieve additional interesting effects, you can also use the blending options of the underlying text and image layers. Drag the sliders to highlight or fade desired areas. This gives you even more control over the overall image.
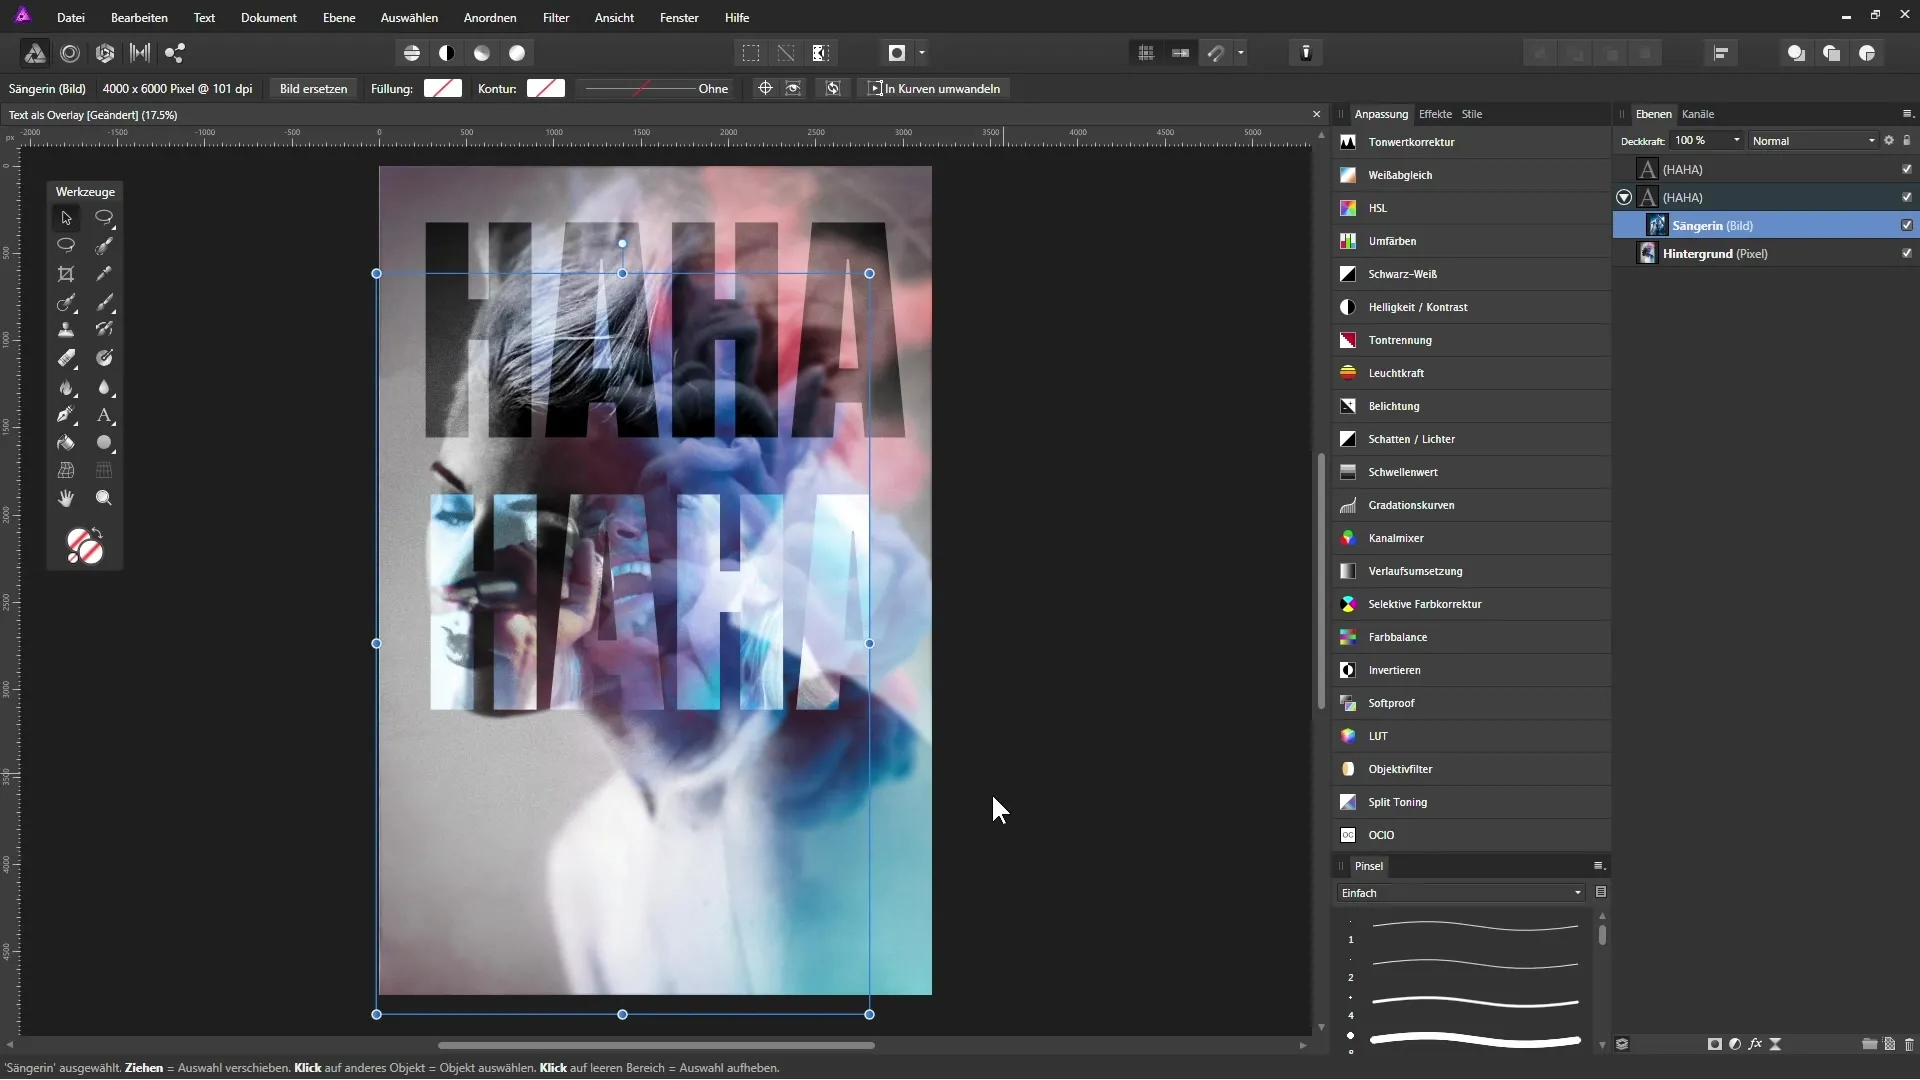
Make sure you can adjust your texts at any time. If an image is not displayed optimally in the right area of the text, you can easily adjust the position of the image.
To add an outline to your text, select the text layer and click on FX. Activate the stroke and adjust the radius. Note that blending options no longer apply once you activate the outline. Disable the effects or set them to zero to reactivate the blending options.
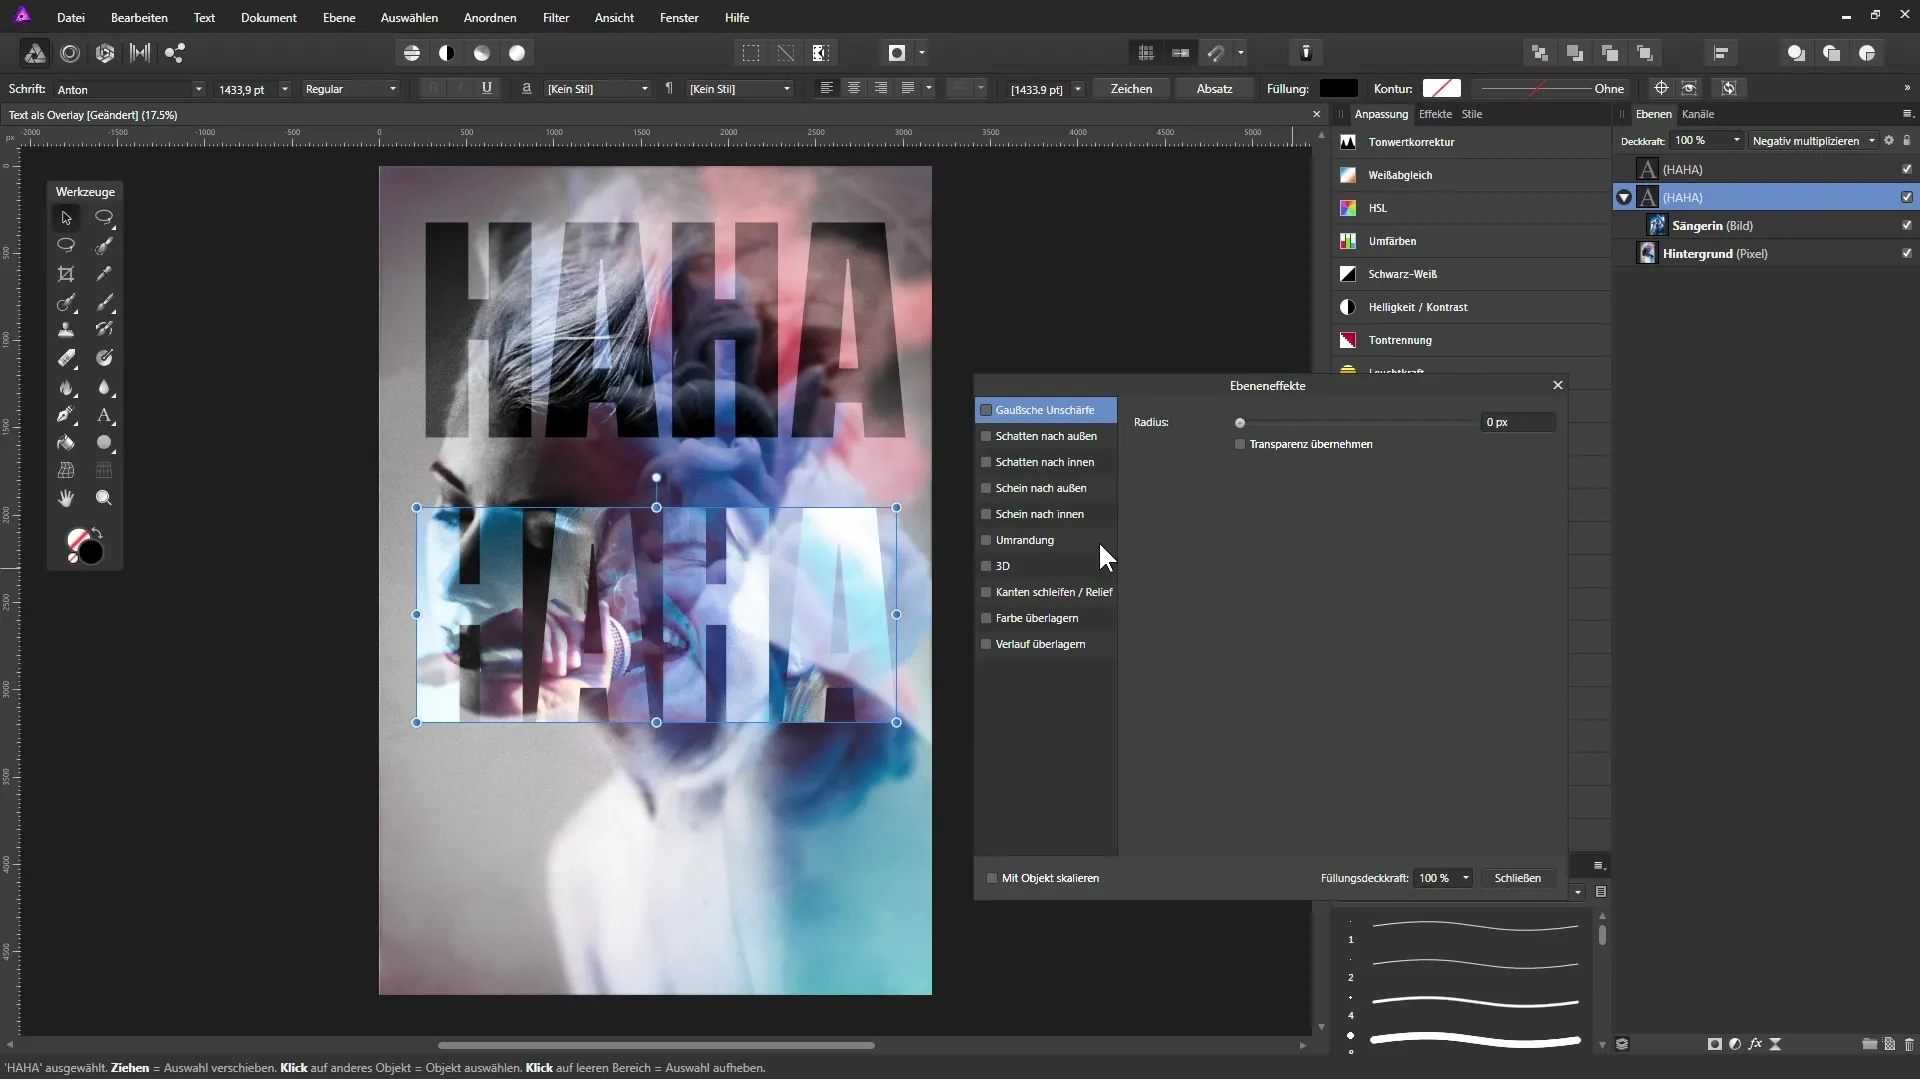
In the end, you can achieve impressive designs by combining editable texts with overlays. Whether you use normal texts or texts with clipping masks, the possibilities are endless. Experiment with different techniques to achieve unique results.
Summary – Creative Image Editing with Text Overlays in Affinity Photo
In this guide, you learned how to use editable text as an overlay in Affinity Photo by effectively combining various techniques and blending modes. Experiment with these methods to create exciting and creative effects that enhance your images.
Frequently Asked Questions
How can I make text editable in Affinity Photo?You add text using the text tool, and it remains editable as long as you do not rasterize the text layer.
Can I embed images into the text?Yes, you can place an image as a clipping mask within the text layer.
How can I change the blending modes of layers?Select the layer, go to the layers palette, and click on the current blending mode to see the options.
Can blending options be used together with effects?When you add effects like a stroke, it overrides the blending options. However, you can reactivate them after disabling or reducing the effects.
What can I do if the text is not displayed correctly in the image?You can change the image position to ensure that the image is optimally visible within the text.
