Affinity Photo offers an impressive array of tools that allow you to work artistically and precisely. One of the most valuable features is the brushes, which not only enable you to create drawings but also to design masks and selections. Knowing how to use the brushes effectively is crucial for your work. In this guide, I will show you how to apply and customize the various brushes to achieve optimal results.
Main Insights
- The brushes in Affinity Photo are versatile and can be used for both drawings and masks.
- Different brush types and their properties offer creative design possibilities.
- The settings for brush size, hardness, and flow significantly affect the drawing result.
- Additional features like the stabilizer and blend modes expand your artistic options.
Step-by-Step Guide
First, open a new working file in Affinity Photo. Make sure it is a pixel layer in order to draw with the brushes. It is advisable to create an empty pixel layer so you can make changes at any time.
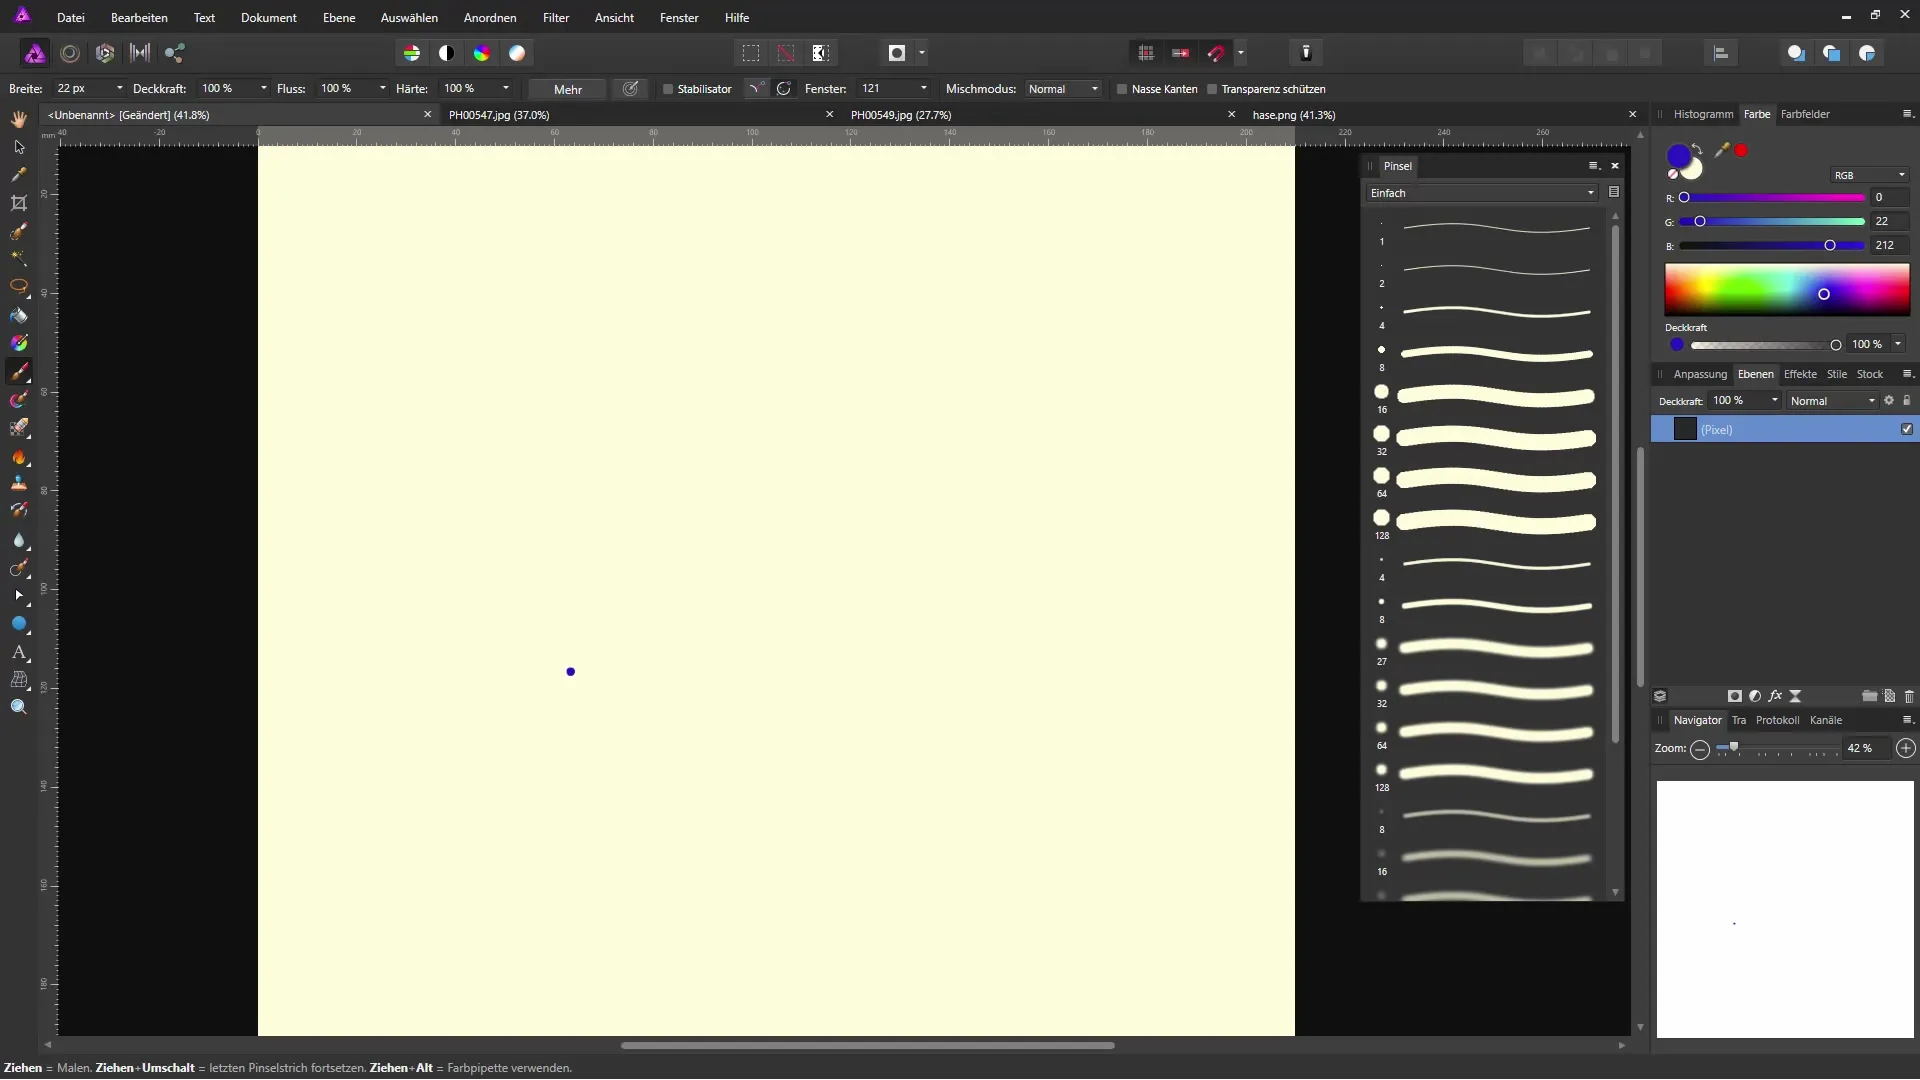
To use a brush, select the brush tool from the toolbar. The paintbrush is the most common brush you will use. However, there are other options, such as the color changer brush or the color mixer, which helps you blend colors together.
In the right area, you will find the brush palette, which is visible by default. If it is not displayed, you can enable it through the "View" menu > "Studio". Here you can already see a selection of brush tips predefined by Affinity. Browsing through these brushes can provide you with some inspiring options.
You can get creative with the already installed brushes by selecting a brush and drawing on your workspace with any color. To create a brush stroke, simply drag with the mouse or a graphics tablet. It is helpful to try different brush sizes and hardness levels to achieve the desired result.
Note that the opacity of a brush stroke in Affinity Photo does not always reach the full value. Even at 100% opacity, the color may not completely cover. This means you need to draw multiple strokes over the same spot to achieve a more intense color application.
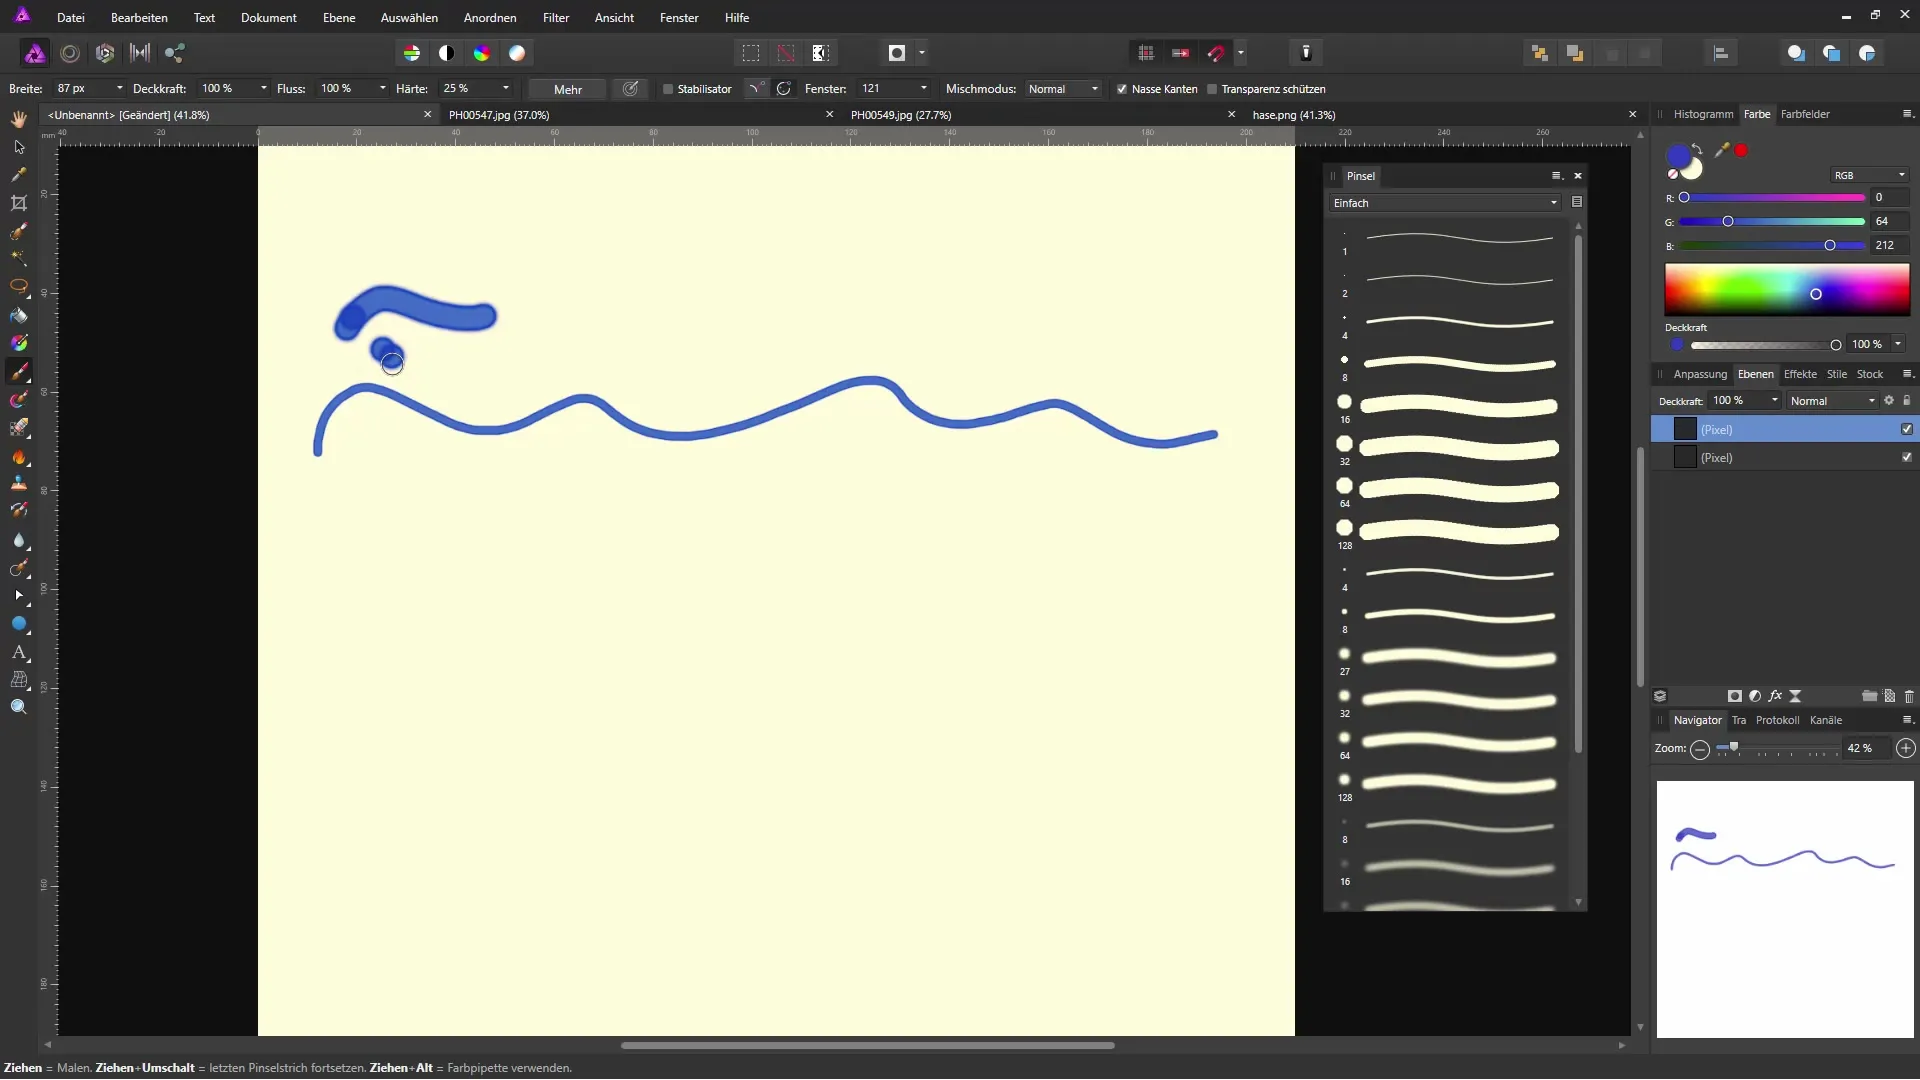
You can also adjust the flow of the brush. The flow controls how "thick" the color is applied, meaning you can achieve softer lines with low flow and bolder strokes with high flow. A hardness setting at 0% results in soft edges, while 100% produces a very clear, hard edge.
If you have the option to work with a graphics tablet, test the pressure sensitivity. If your graphics tablet is configured correctly, you should experience a variable brush size depending on the pressure applied to the pen. This feature is particularly successful for creating dynamic and expressive brush strokes.
Additionally, Affinity Photo offers a stabilizer feature. This feature stabilizes your brush stroke, allowing you to minimize mistakes while drawing and create smoother lines. You can choose between different stabilizer modes, such as rope mode or window mode, to adjust your brush strokes to your preferences.
Another area to explore is blend modes. These allow you to determine how colors overlay one another. You can experiment with different blend modes to see how the colors interact with each other.
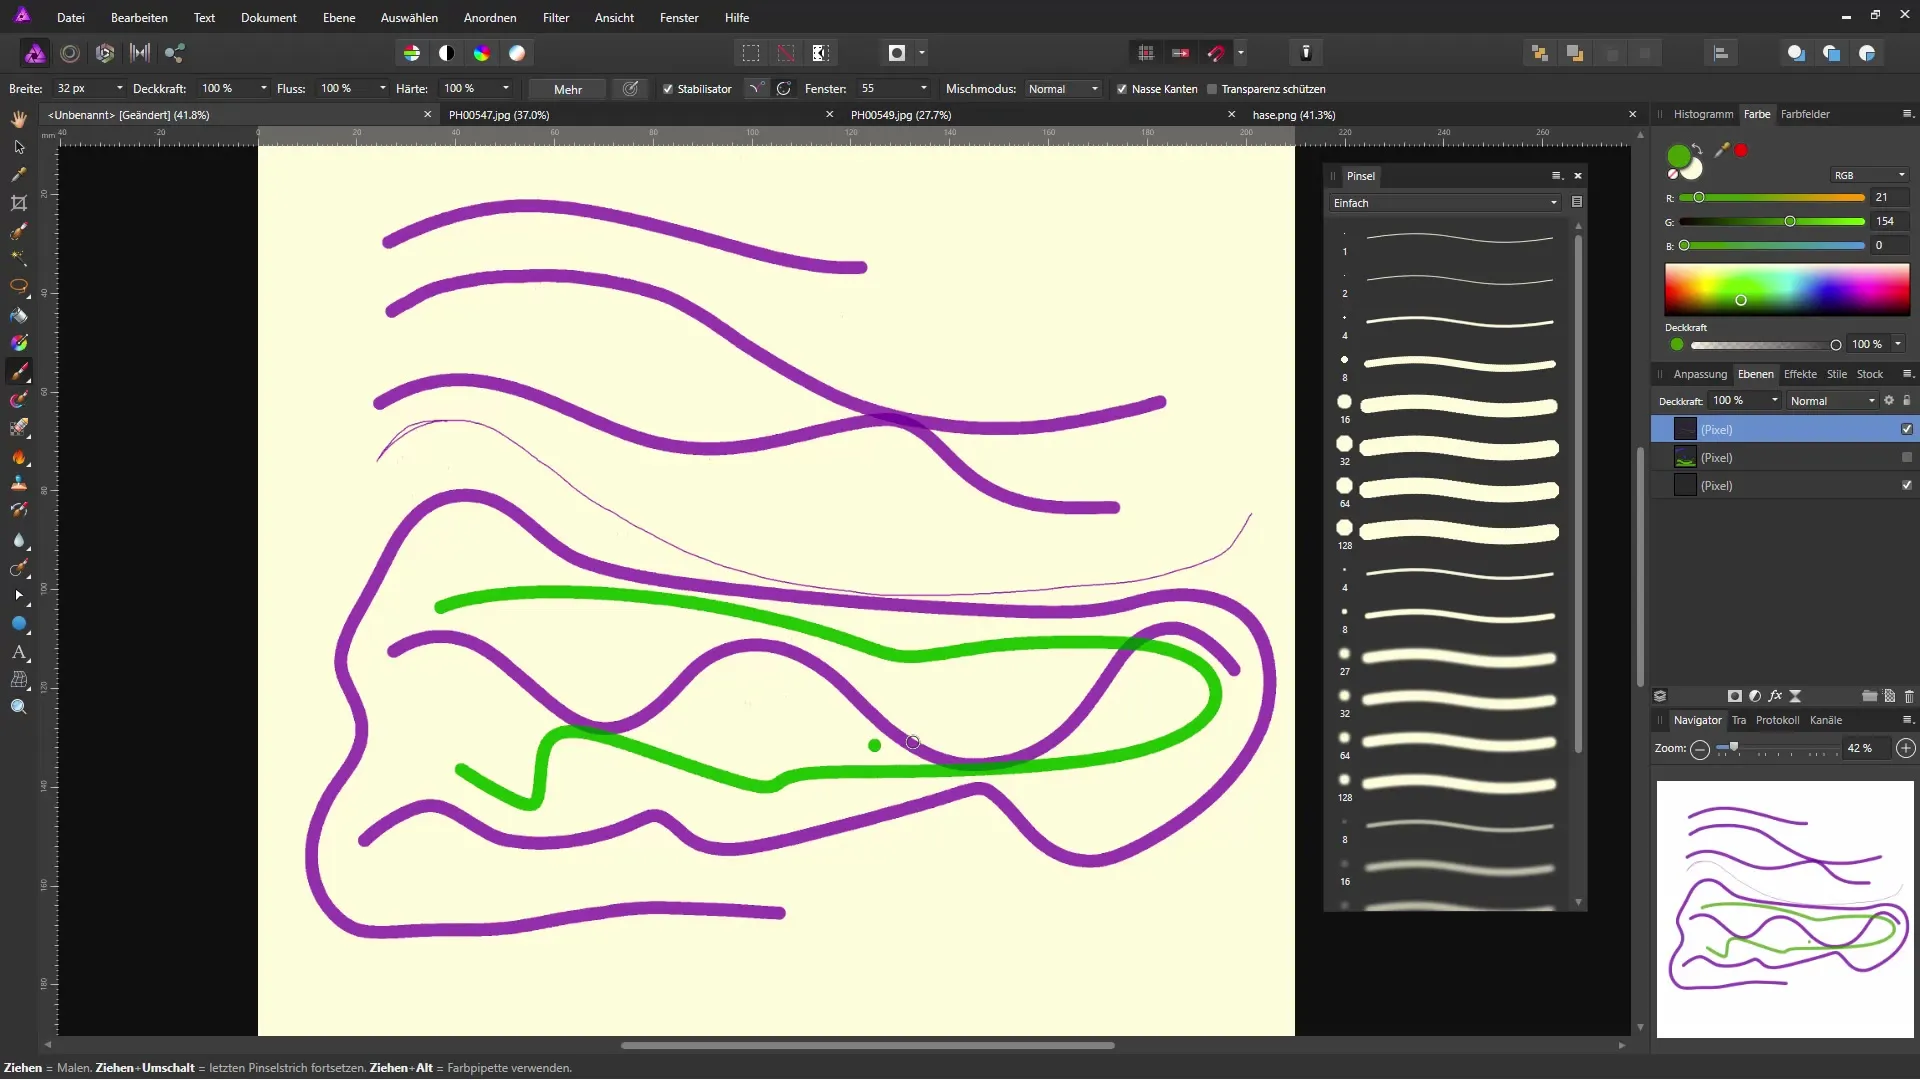
A refined technique to achieve detailed watercolor effects is using wet edges. In this case, you draw with a brush that is set to allow the color to blend like wet paints. This can help you simulate realistic painting techniques digitally.
Ultimately, you can also experiment with different brush tips. Affinity Photo offers a variety of specialized brushes that are excellent for all sorts of artistic styles. For example, try a special painting brush to create interesting textures and color effects.
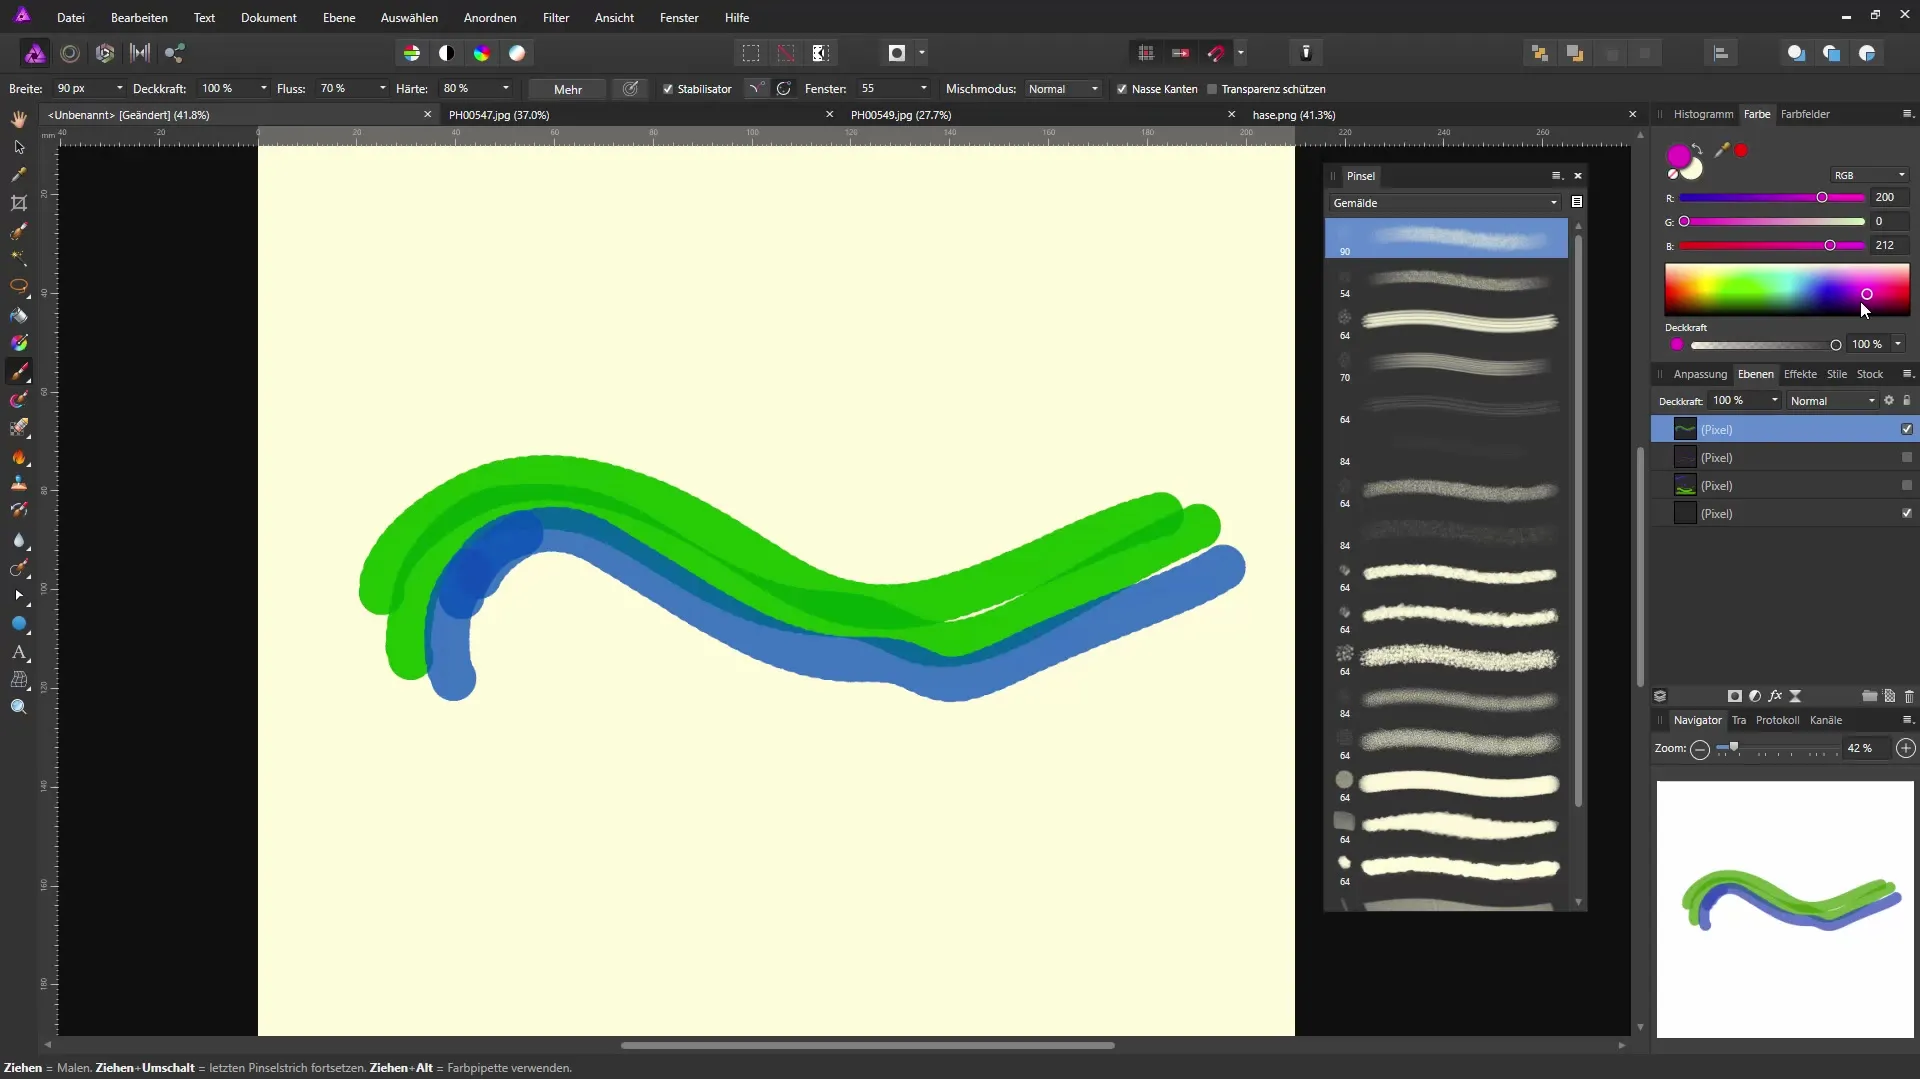
Summary – Applying Brushes in Affinity Photo: Basic Settings and Creative Techniques
With the techniques presented, you are now able to use the brushes in Affinity Photo efficiently. You have learned the basics of brush sizes, hardness, and flows, and can try different brush tips and blend modes to enrich your creative projects.
Frequently Asked Questions
How do I change the brush size in Affinity Photo?You can adjust the brush size in the top menu by moving the slider.
What is the difference between flow and opacity?Flow controls the density of the applied color, while opacity affects transparency.
How do I activate the stabilizer for brush strokes?You can activate the stabilizer in the brush tool area to achieve a smoother stroke.
Can I customize the brush tips in Affinity Photo?Yes, you can individually set the properties of the brush tips in the brush palettes.
Which brushes are specifically suitable for watercolor effects?The wet edge brushes and special painting brushes are excellent for watercolor effects.
