In Affinity Designer, you can get creative and bring your designs to life with the vector brush. This guide shows you how to effectively use the various features and settings of the vector brush. Whether you want to vary your lines, choose colors, or adjust the pressure sensitivity – here you will find all the necessary steps.
Key insights
The Affinity Designer offers flexible brush control that helps you create dynamic and unique vector designs. You can not only adjust the width and shape of your brush strokes but also set pressure sensitivity and other control parameters.
Create a new document
To work with the vector brush, first start Affinity Designer and create a new document. To do this, click on “File” and then “New”. Be sure to choose a suitable document format that fits your next project.
Create an artboard
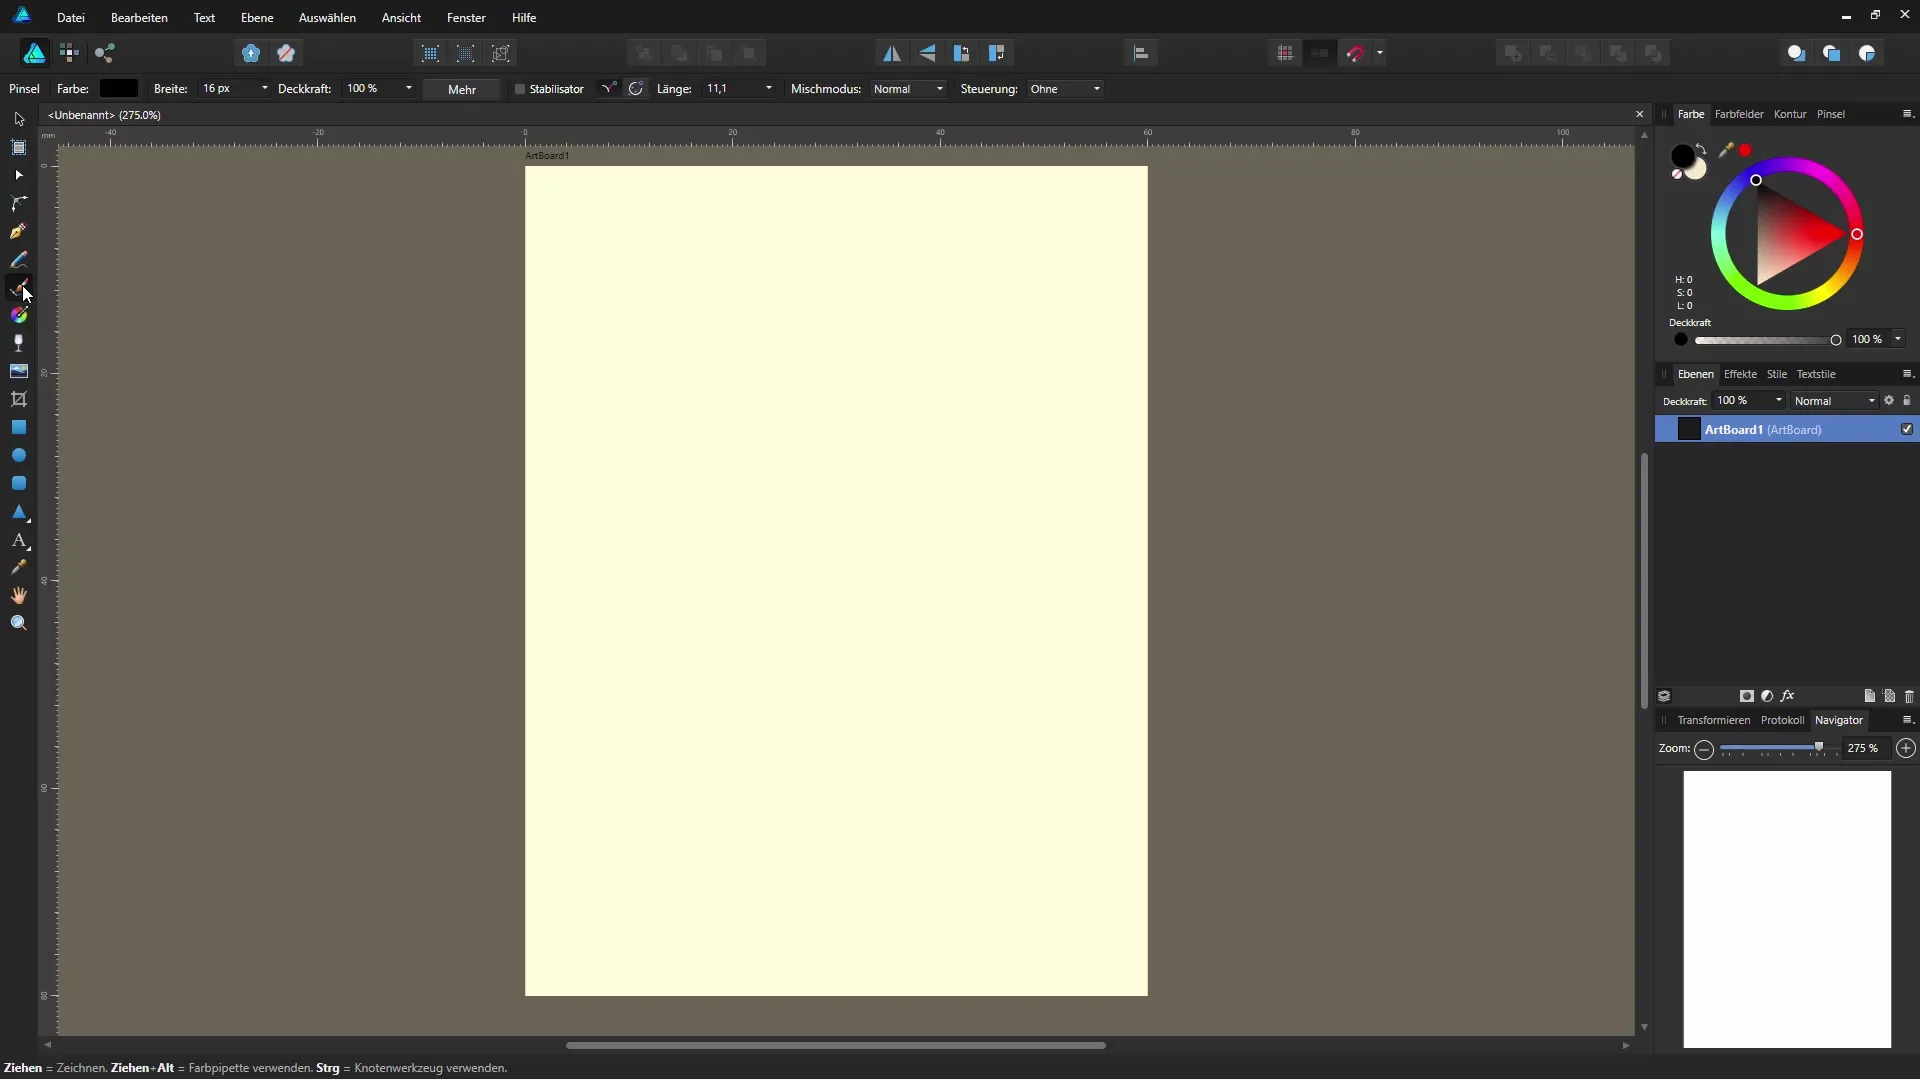
Once the document is created, create an artboard where you can make your drawings. The artboard serves as the workspace that you can design as needed.
Choose brush tips
Now comes the critical step: Select the vector brush from the available drawing tools. You can find it in the toolbar. Make sure the brush width is set to the desired size (for example, 16 pixels at 100% opacity).
Adjust settings
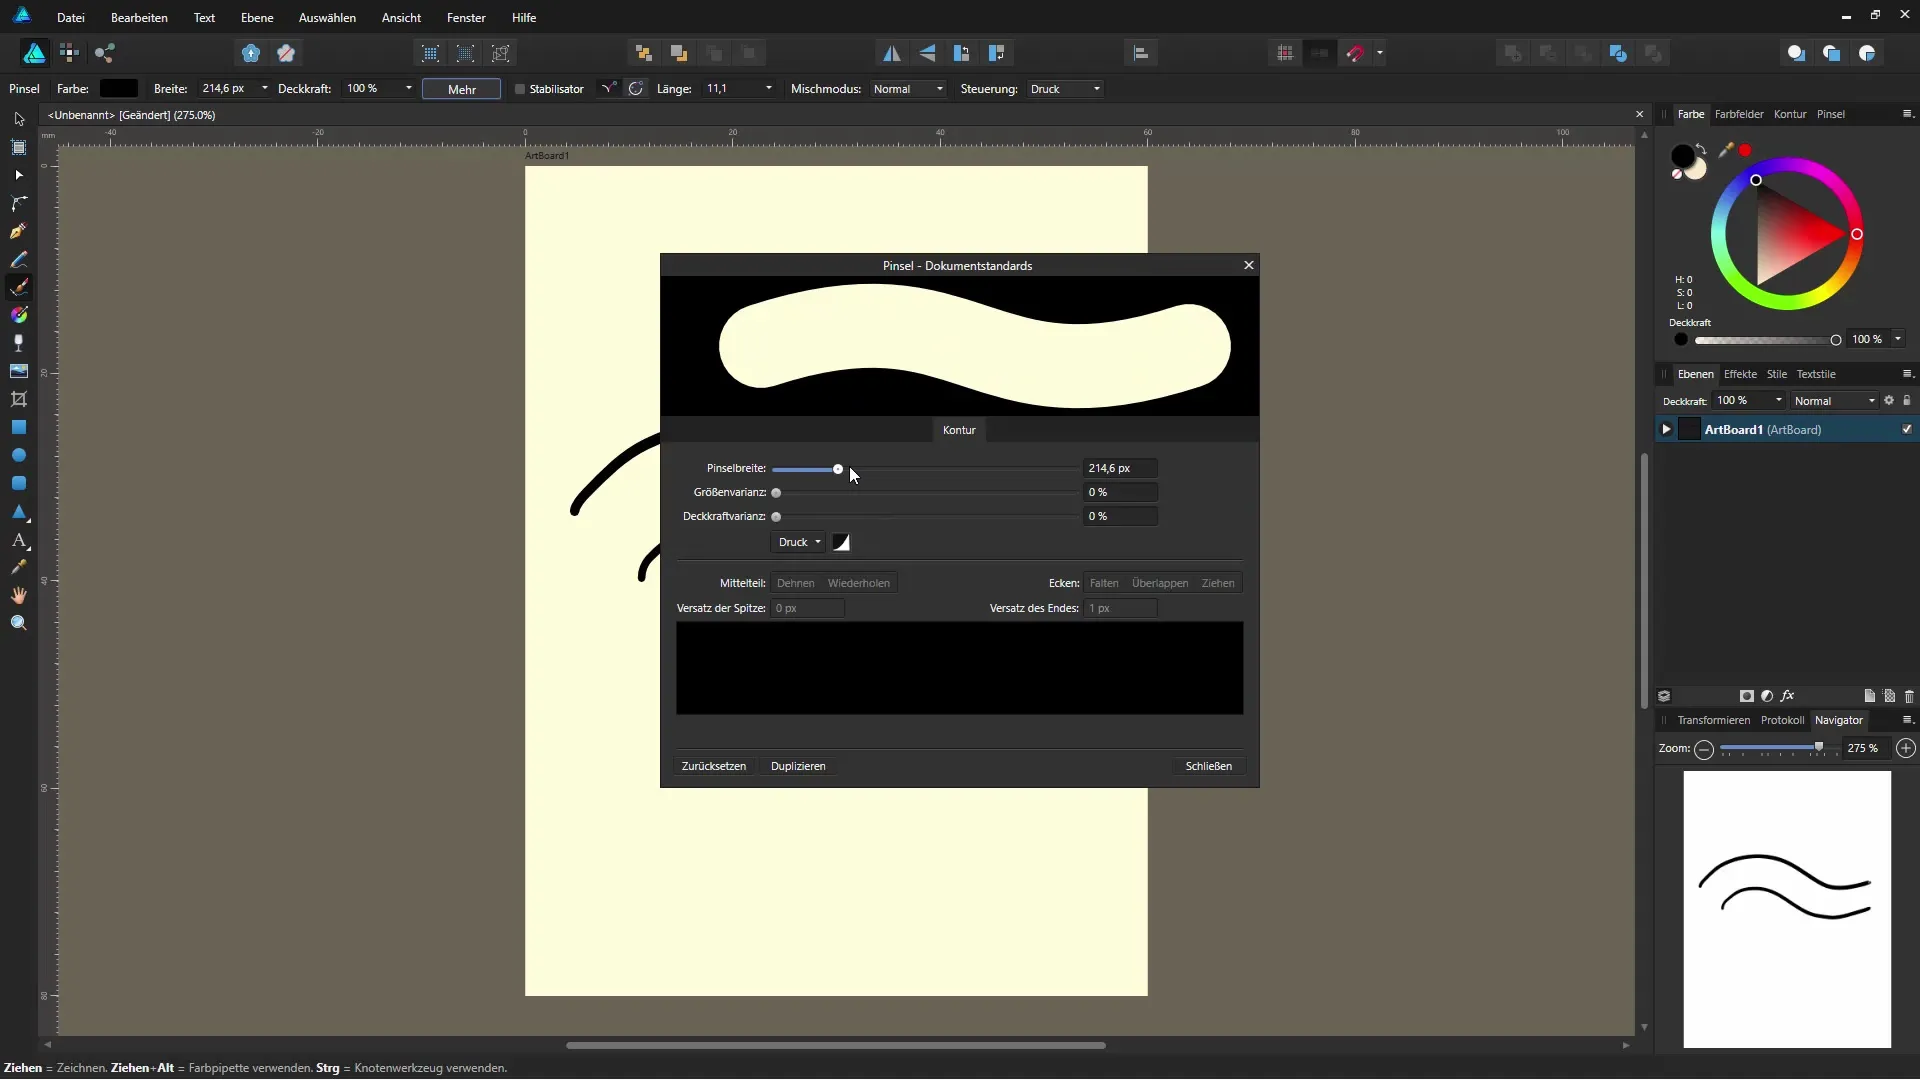
When you click the “More” option, you gain access to a range of brush options. Here, you can adjust the width of the brush strokes and define other parameters such as pressure sensitivity. Use the stabilizer to draw smoother lines and choose the blending mode that you like best.
Make your first strokes
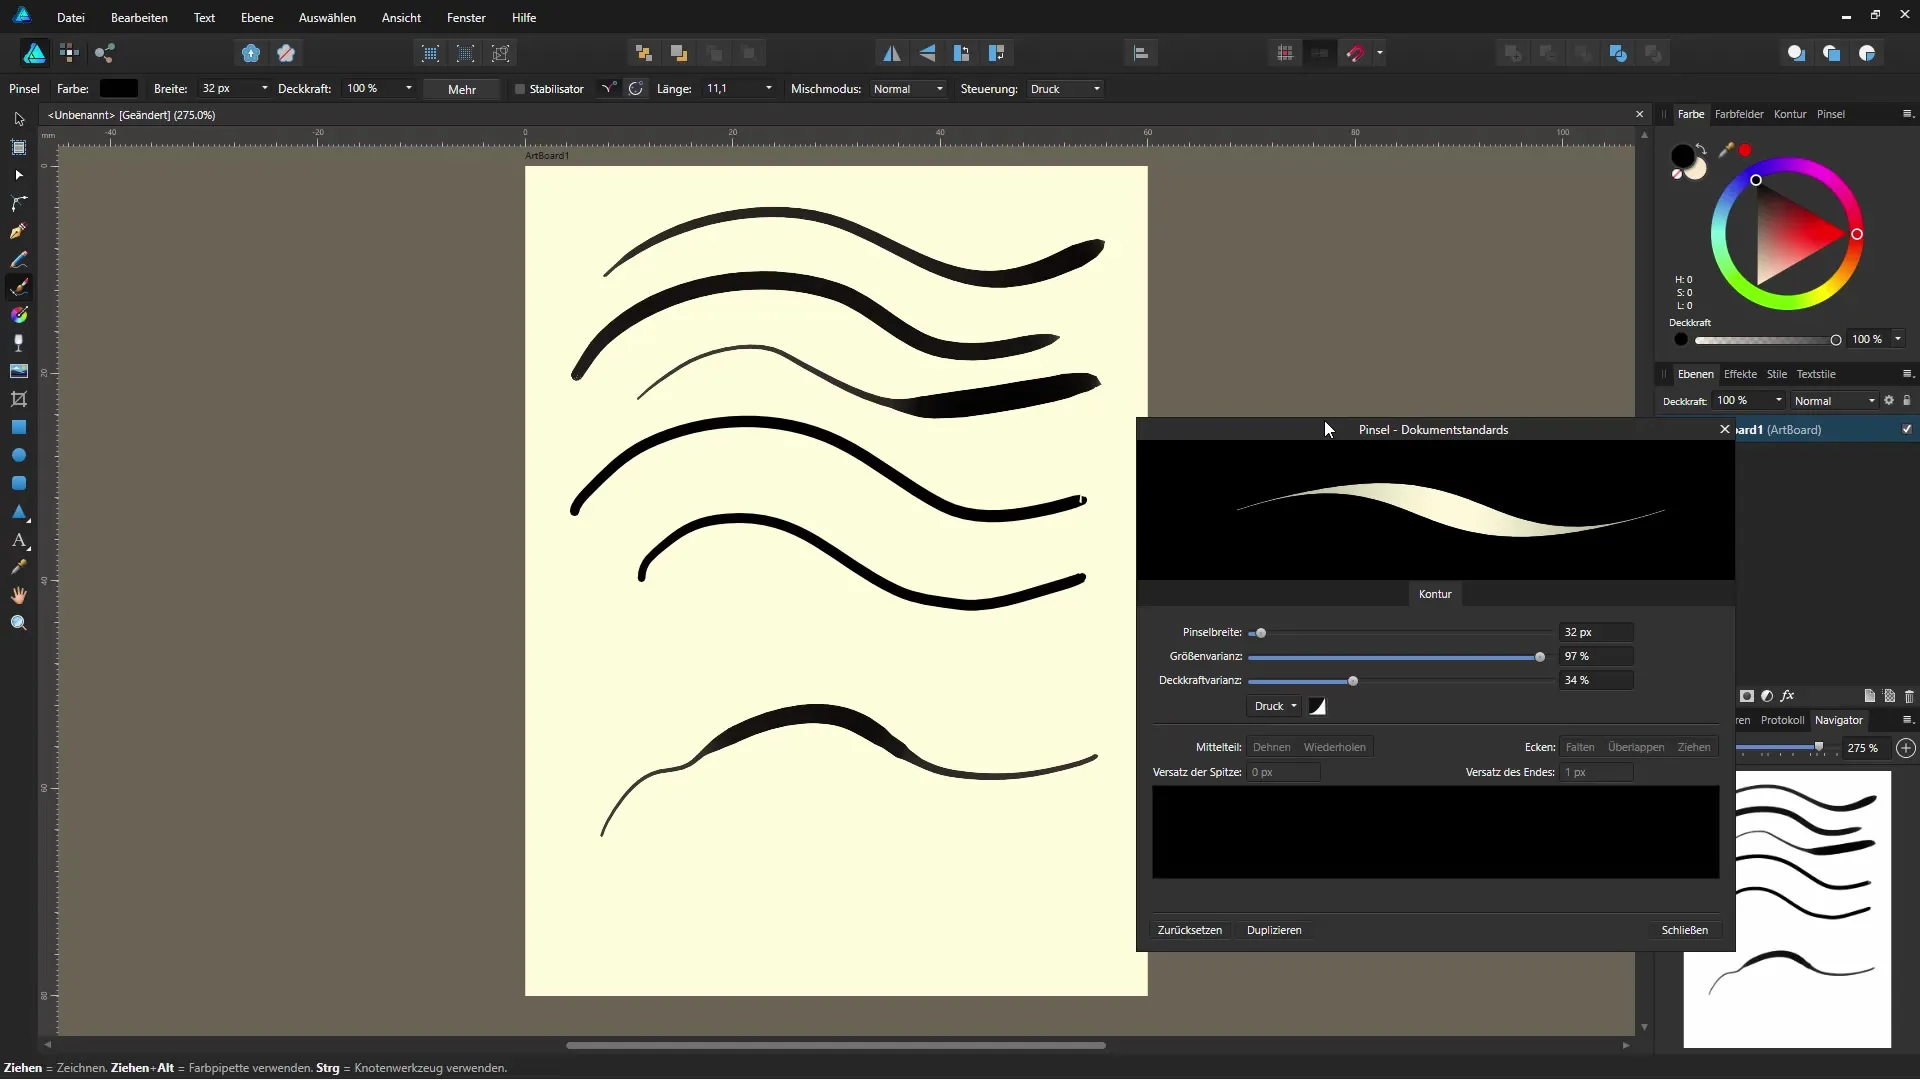
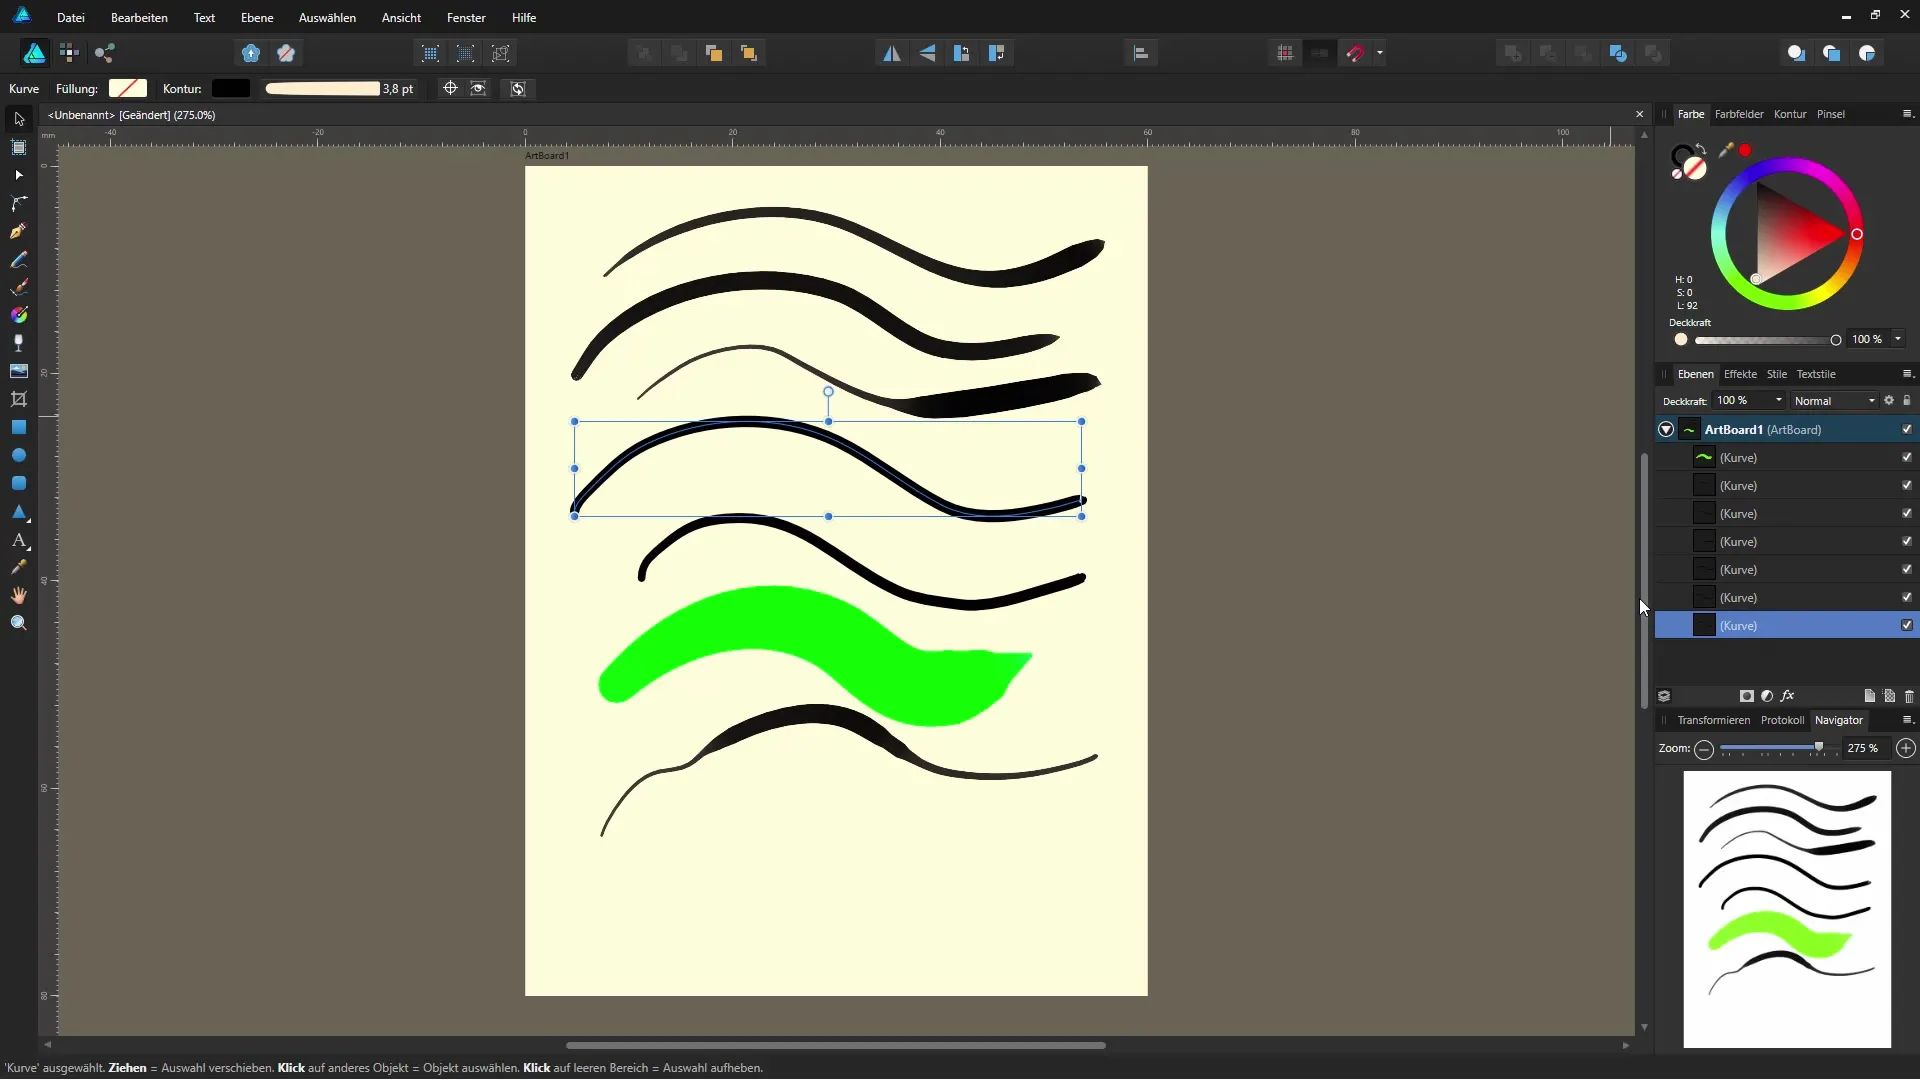
Now you can begin! Take your graphics tablet or mouse pointer and draw your first lines. You should notice the differences in thickness depending on the pressure applied.
Add color variations
To give your drawing more depth, you can select different colors. Choose a striking color to create interesting contrasts. Check if your lines are still well-defined and whether the different shades harmonize.
Edit vector graphics
All drawn lines are stored as individual vector objects. This means you can edit them at any time. You can adjust and optimize the curves and shapes as you like.
Conclusion and further exploration
You have now learned the basics of the vector brush in Affinity Designer! There are many interesting options that can help you further develop your design skills. Try out different styles and techniques – your creativity knows no bounds!
Summary – Affinity Designer: Using the Vector Brush
By strategically applying the vector and brush tools in Affinity Designer, you can elevate your designs to a new level. Experiment with colors, brush strokes, and pressure sensitivities to achieve unique results.
Frequently Asked Questions
How do I change the brush width in Affinity Designer?You can adjust the brush width by changing the width from 16 pixels to a desired size in the brush settings dialog.
Can I adjust pressure sensitivity in Affinity Designer?Yes, you can enable and adjust pressure sensitivity in the brush settings dialog.
Can I choose different colors for the vector brush?Yes, you can select a variety of colors for your brush strokes in the color selection area.
How can I edit my brush strokes later?Your brush strokes are saved as vector objects, which you can adjust at any time with the vector editing tools.
Do I need to use a graphics tablet to effectively use the vector brush?A graphics tablet provides you with the best experience for utilizing pressure sensitivities, but you can also draw with a mouse.

