Affinity Photo offers a variety of options for creative work, with brushes being one of the central components. In this tutorial, you will learn how to import and organize your own brush tips so that you can customize your projects. Whether you want to create floral effects or clouds, this guide will take you through the entire process.
Key Insights
- Importing and exporting brush tips makes it easier to work across different devices.
- The size and opacity of brush tips can be flexibly adjusted.
- A simple organization of brushes in Affinity Photo allows for efficient use.
Step-by-Step Guide
Step 1: Open the Brush Palette
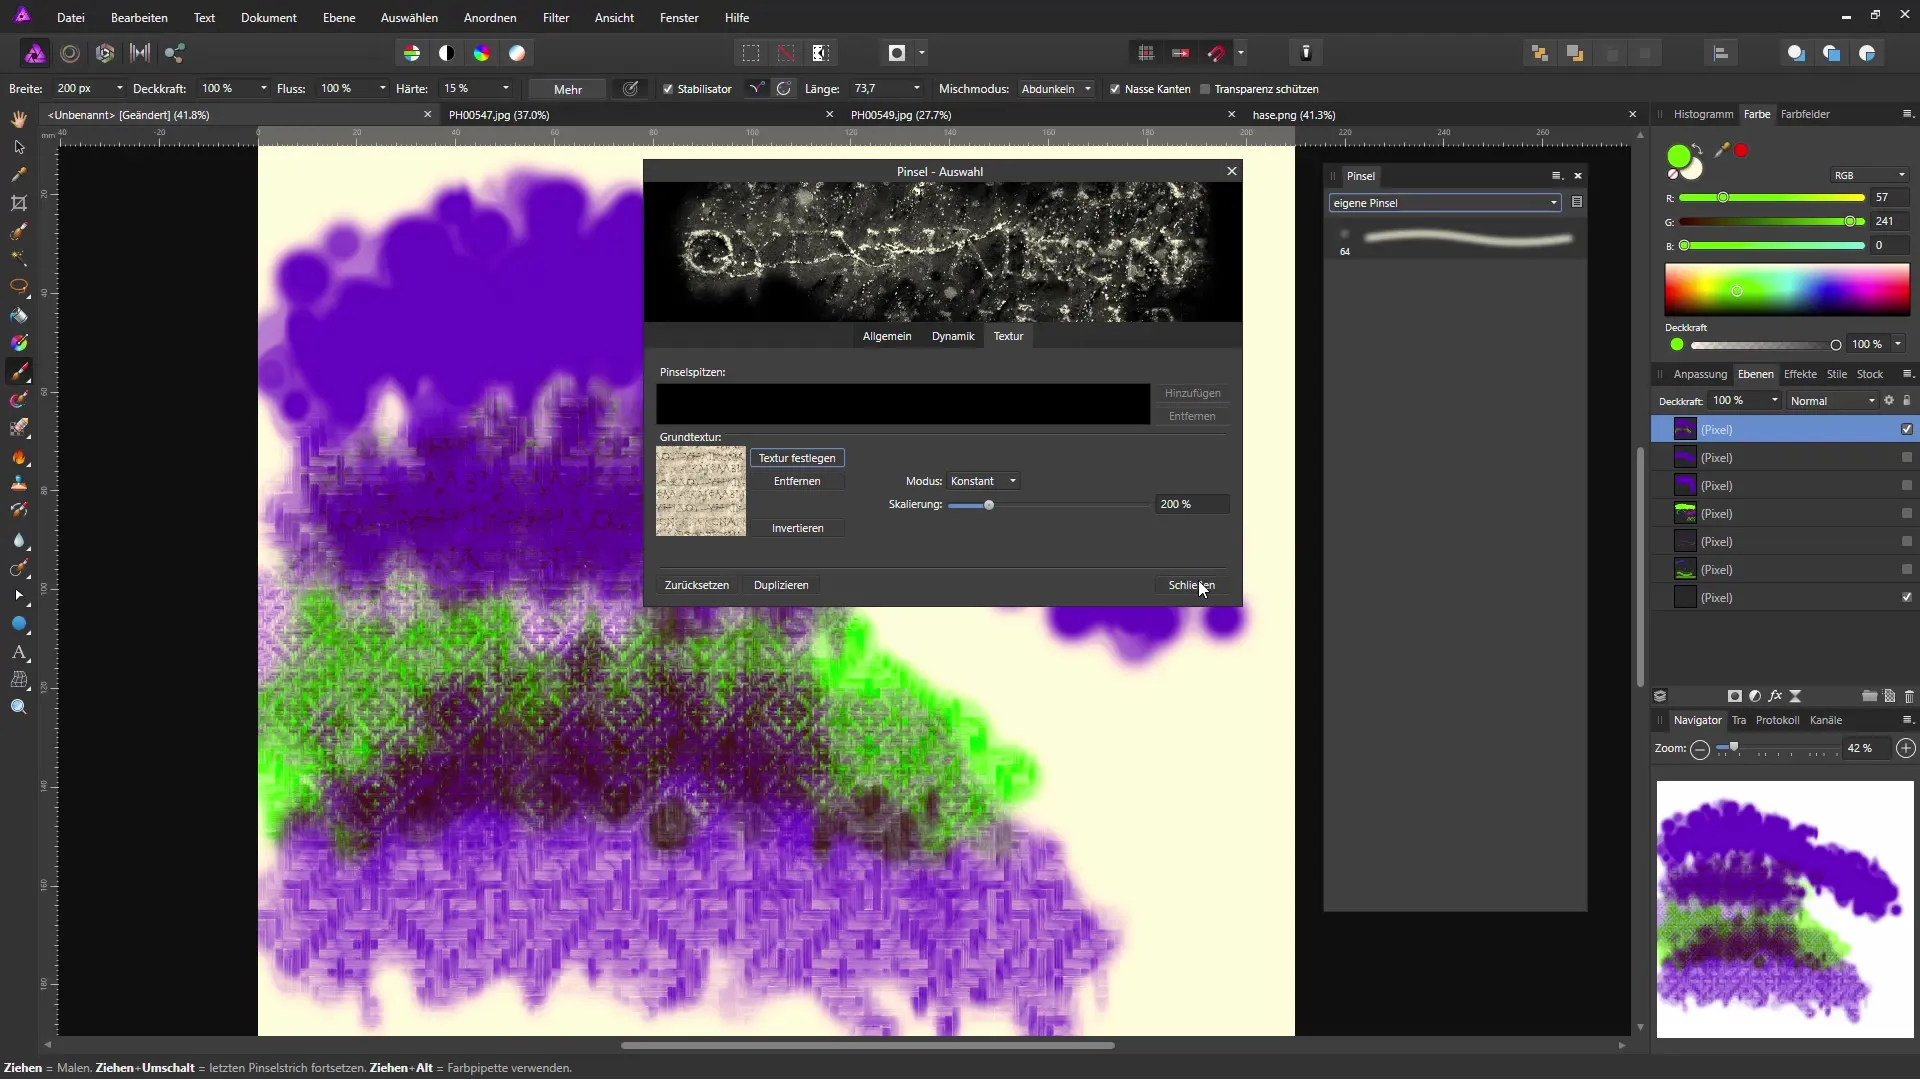
To start importing brush tips, you first need to open the brush palette in Affinity Photo. To do this, go to the “Brush” section in the top menu. Here you will find various brushes already installed and the option to add your own.
Step 2: Choose Background Color
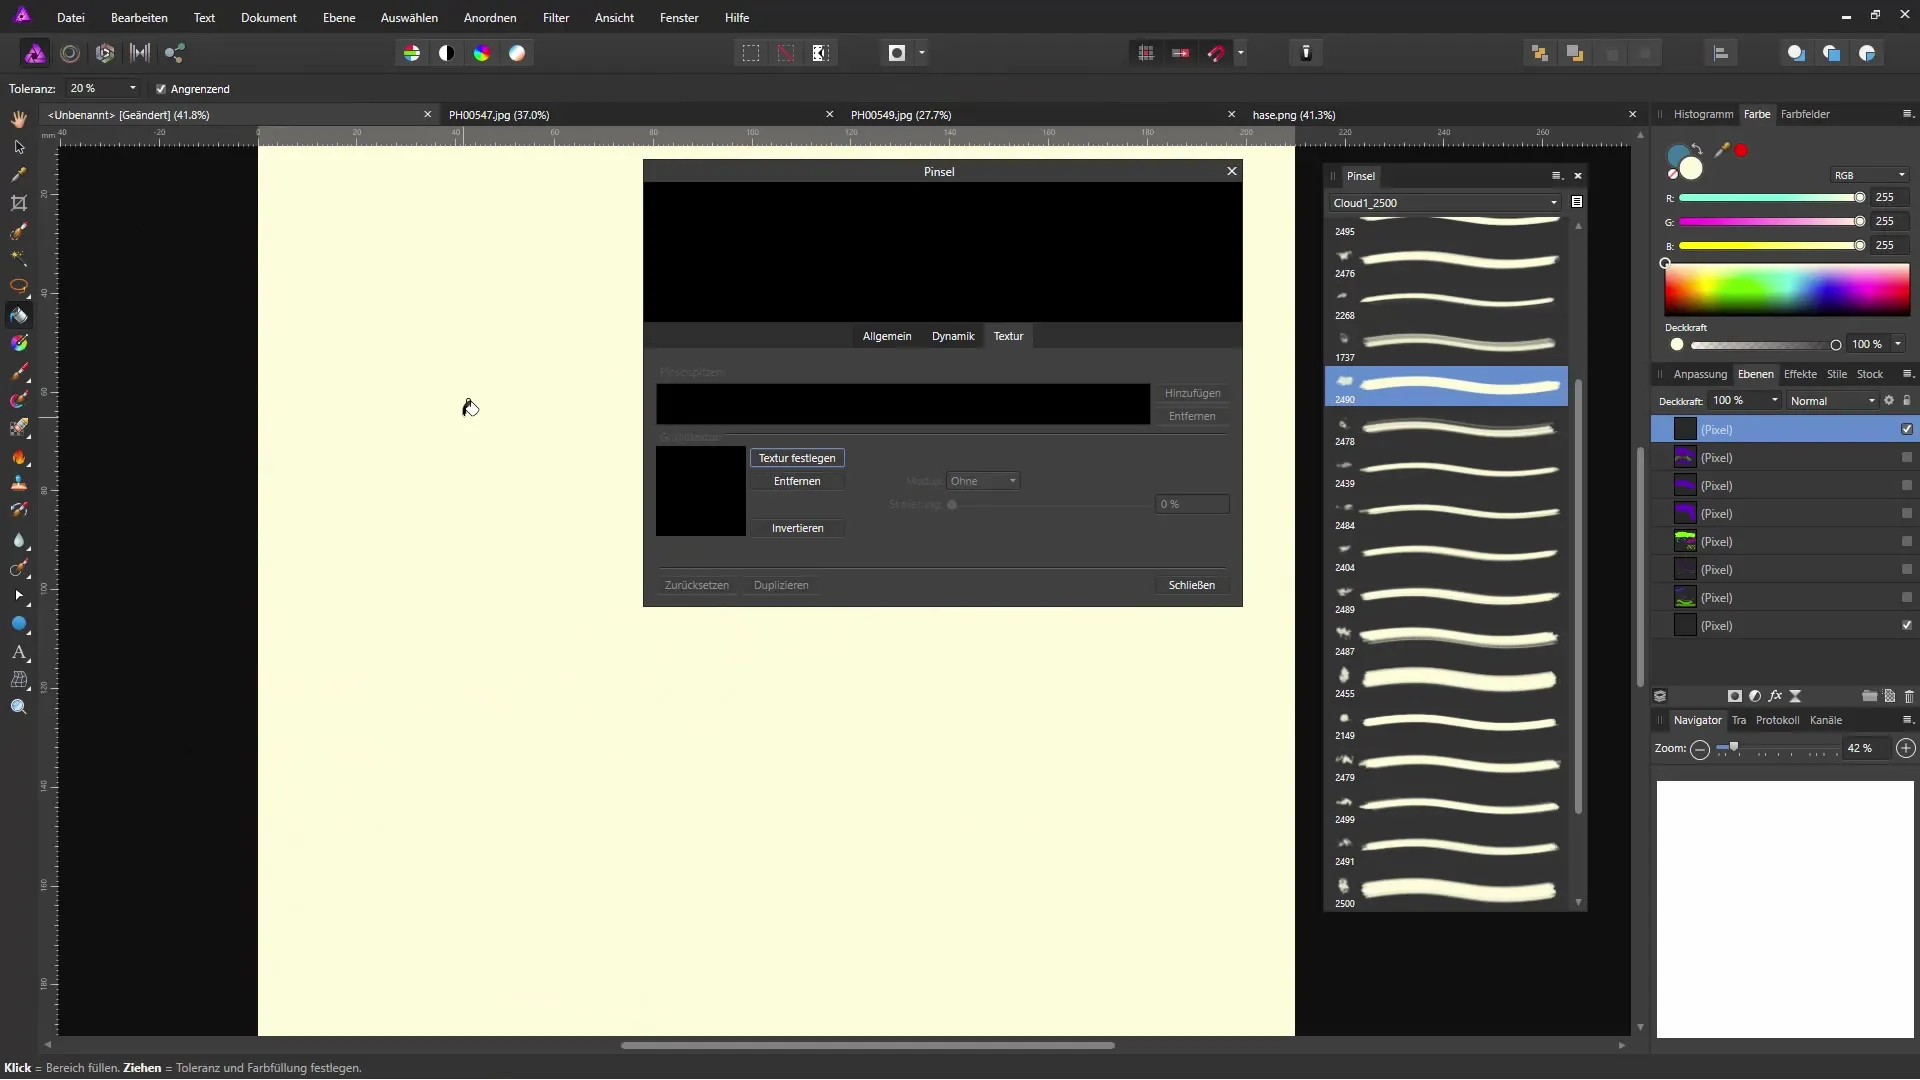
Before using a brush, it is helpful to set the background of your document. For example, you can choose a blue hue to make the brush tips more visible. Use the paint bucket to insert the desired background.
Step 3: Set Foreground Color
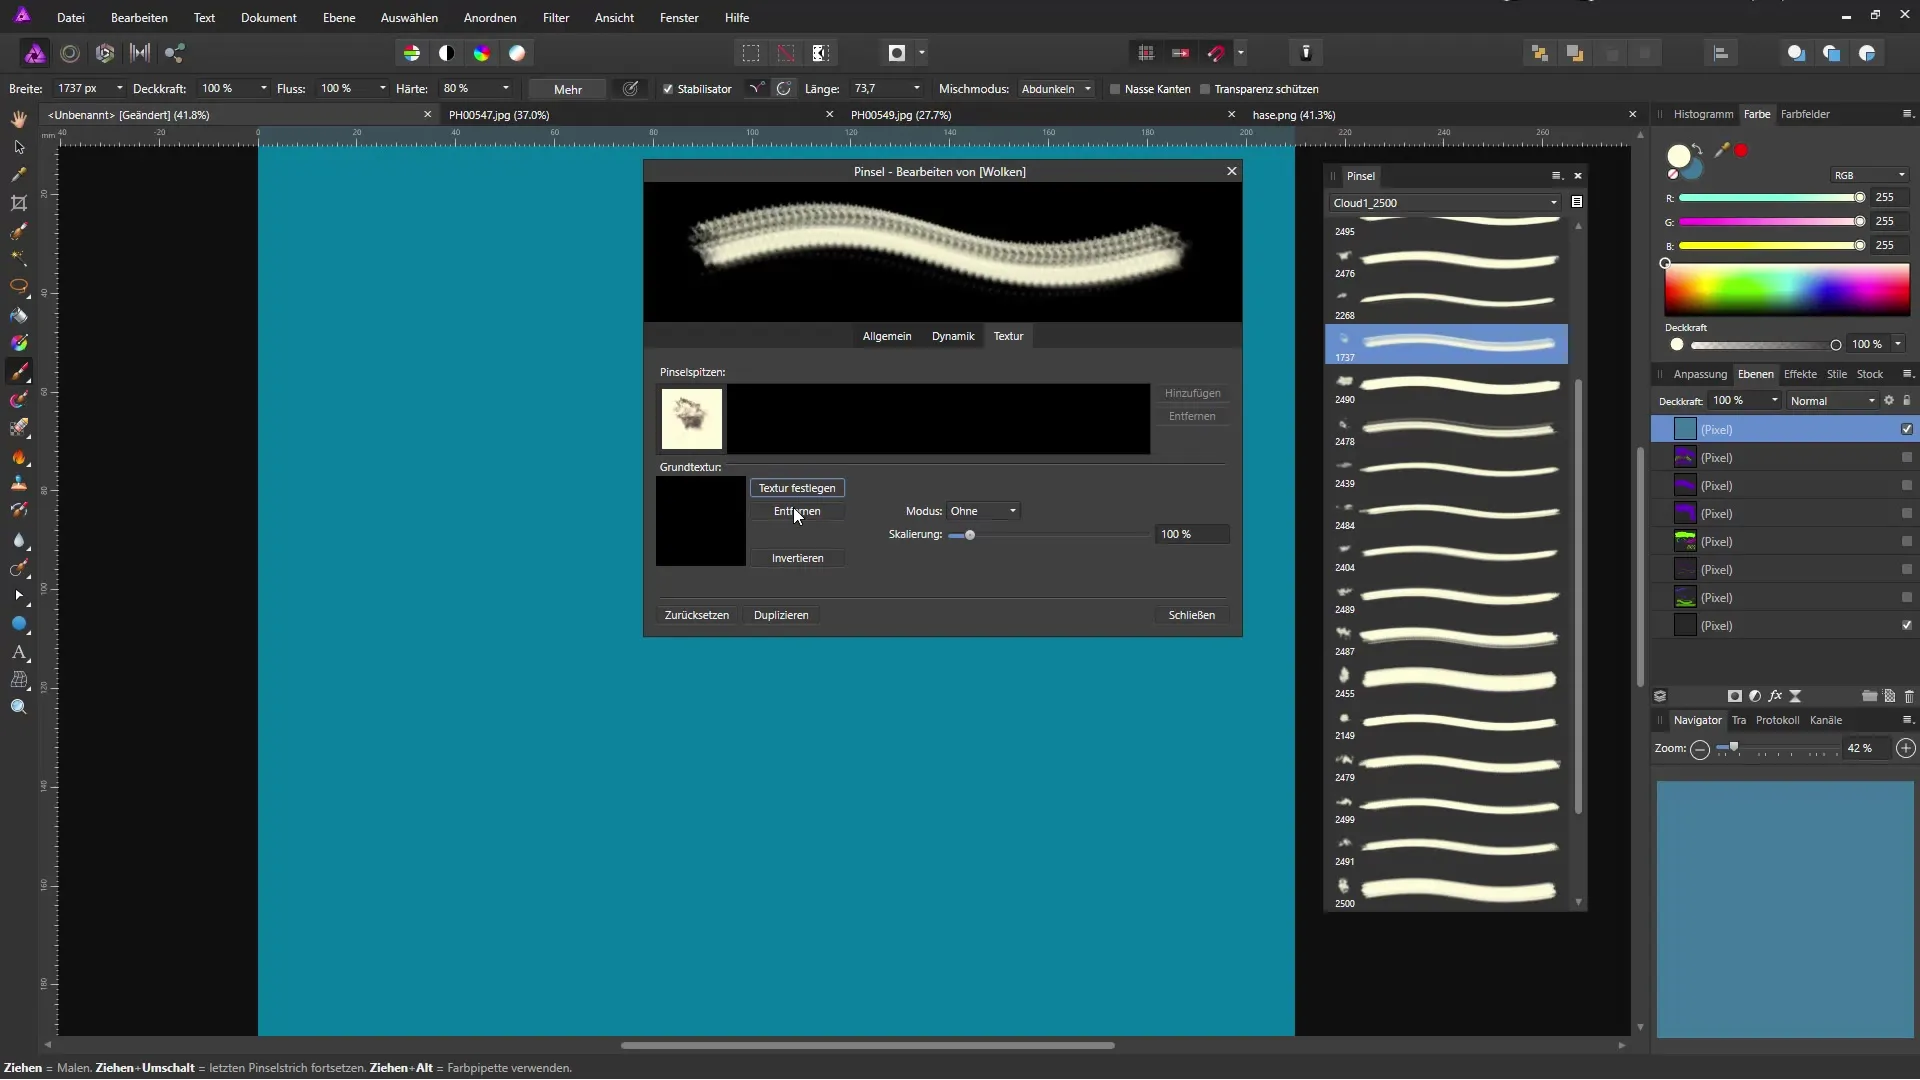
Now select a foreground color that complements your background. For instance, white is a good choice for applying cloud brushes. This color selection is important for achieving a clear contrast and seeing the results optimally.
Step 4: Choose Brush Tip
In the brush palette, you can now select a brush tip from the imported options. If you have chosen a cloud brush, there are numerous variations you can use for your drawings. Experiment with the different brush tips to achieve the best results.
Step 5: Import Brush Tips
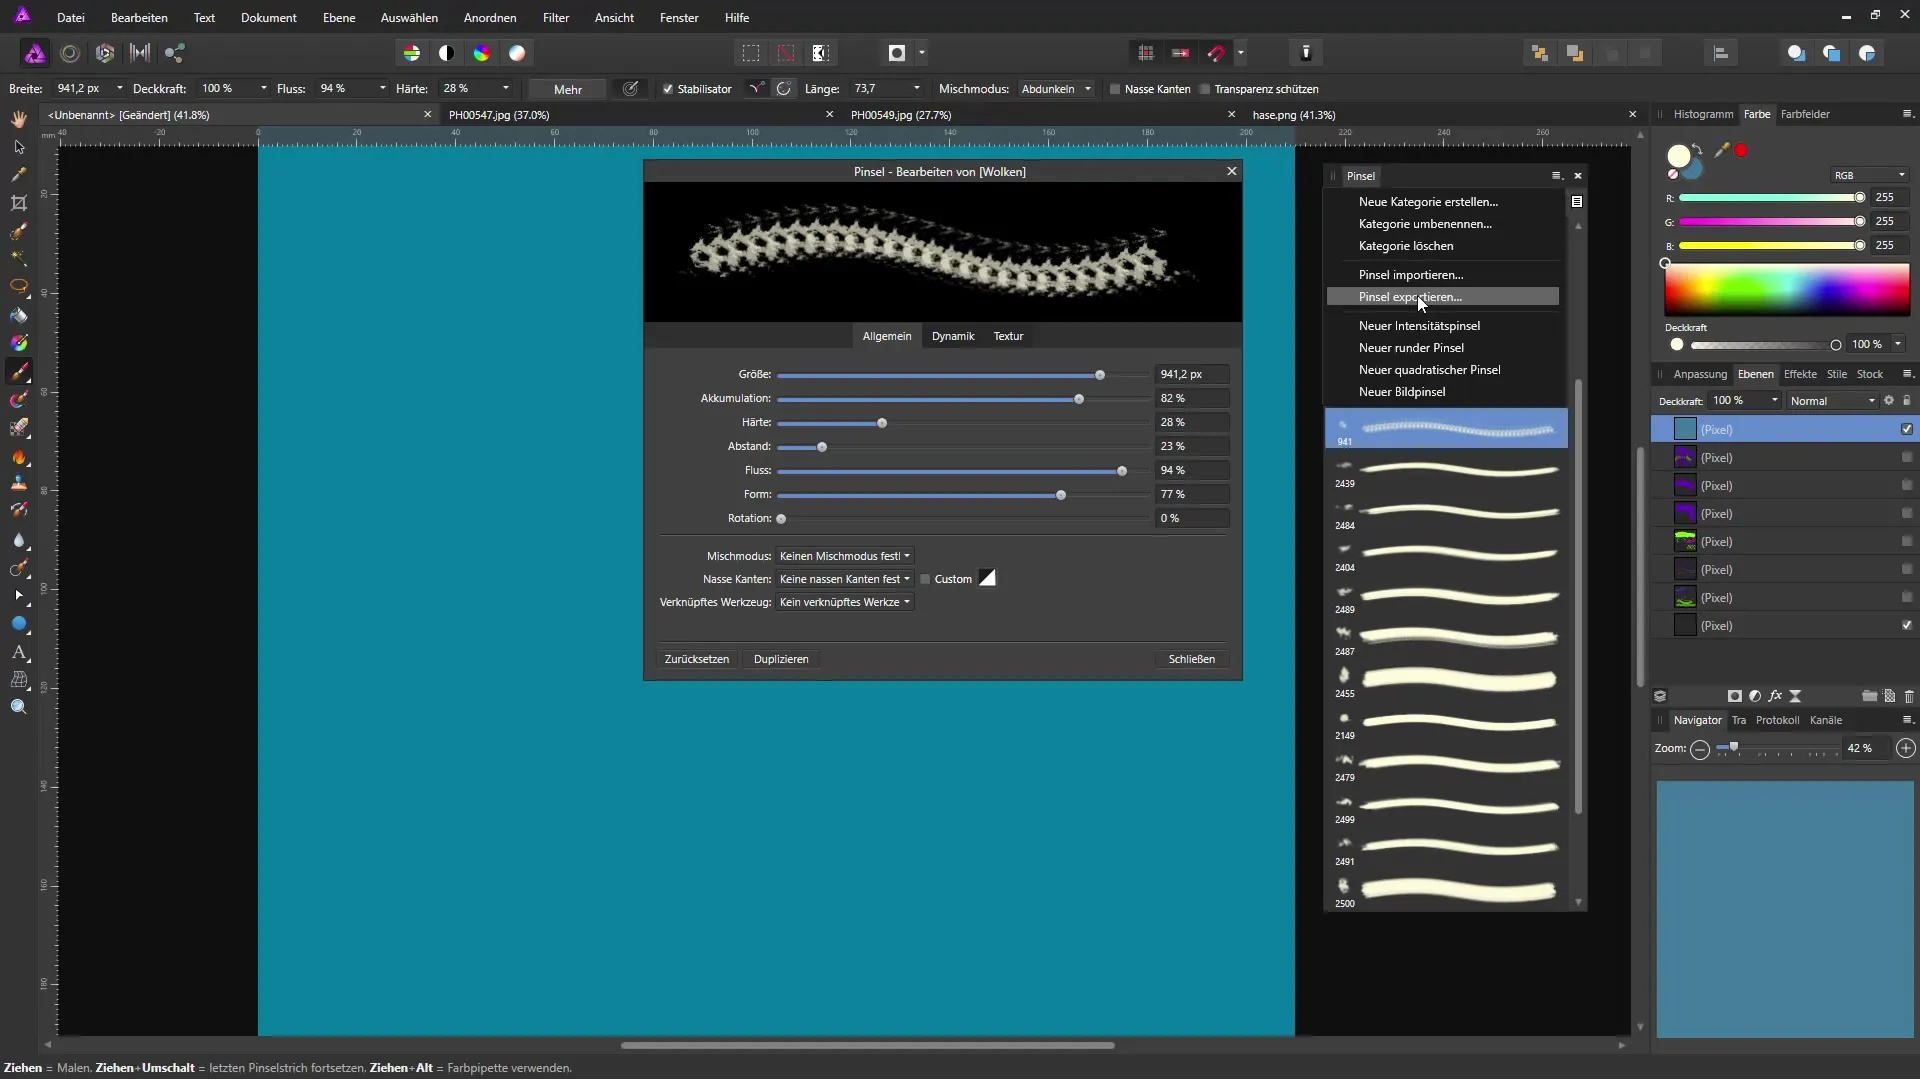
The next step is to import additional brush tips. Click on “Import Brushes” in the brush area. Now you can select the brushes that you have saved on your hard drive, for example from Photoshop files. Choose the appropriate size and import the desired brushes.
Step 6: Adjust Size and Brush Options
Once the brushes have been successfully imported, you can adjust them. Test the size and specific brush options to tailor the painting area to your liking. Good control over the size allows you to achieve precise results.
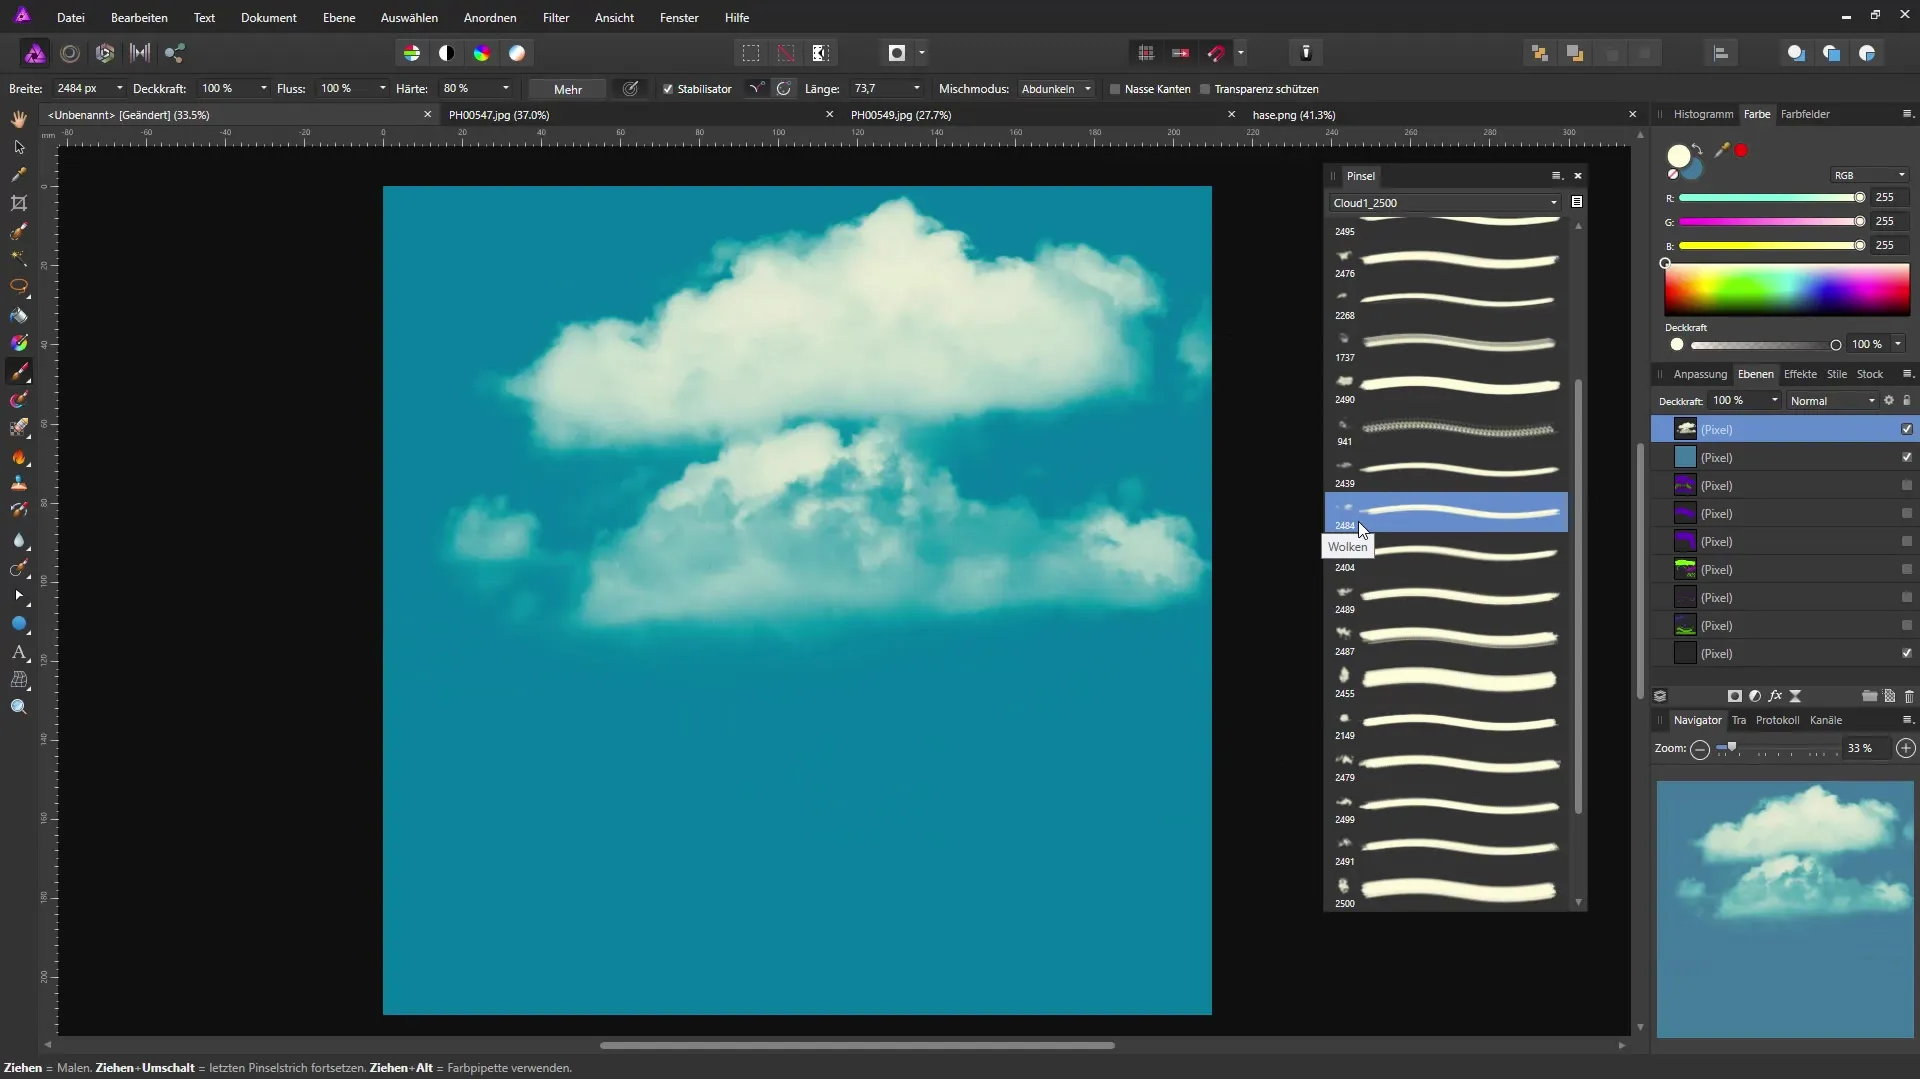
Step 7: Edit Brush
By right-clicking on the brush tip, you can set various options such as flow, hardness, and spacing. These adjustments give you the flexibility to make your drawings even more unique. Try out how the differences in the representation manifest.
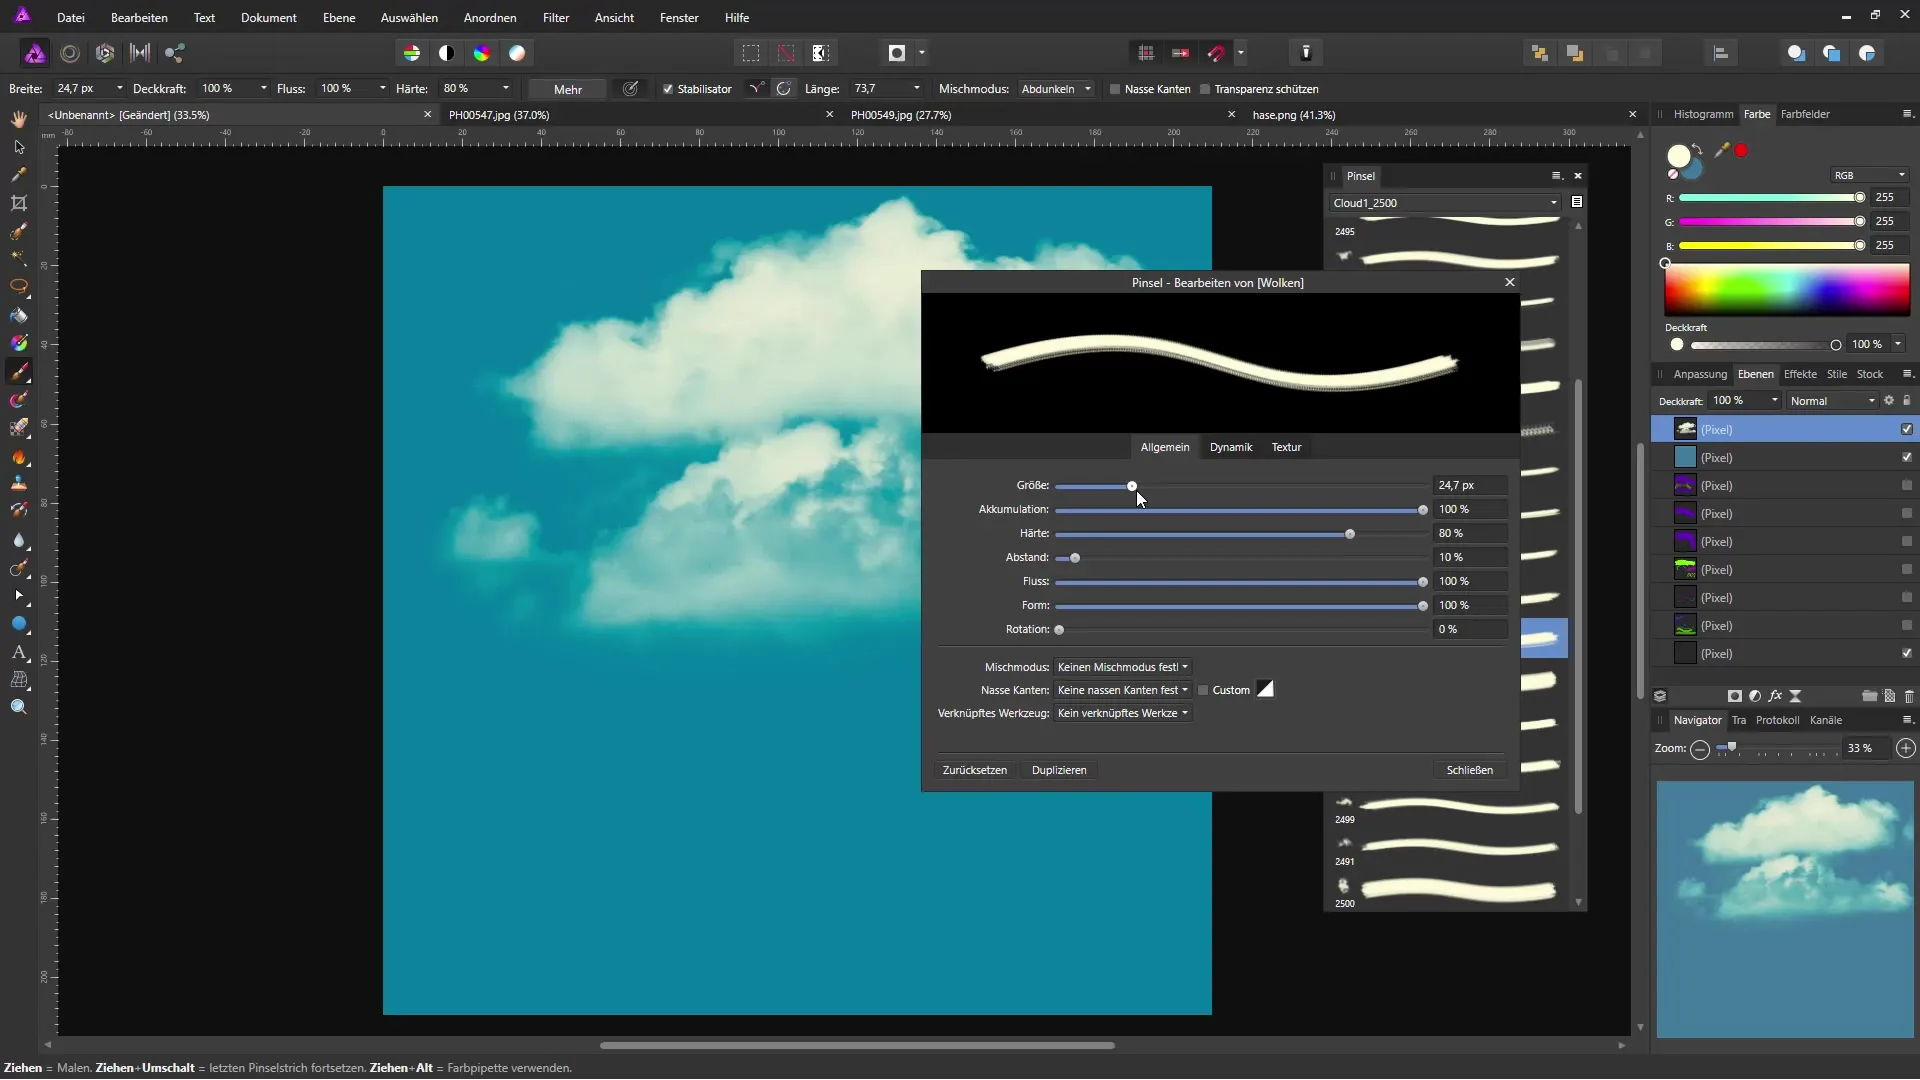
Step 8: Add Variations
Take advantage of the ability to apply multiple brush variations to an area. You can change the opacity and rotation options of your brush tips to achieve unique effects. This technique brings your artwork to life and adds depth.
Step 9: Use Floral Effects
After importing the floral brushes, you can also customize them. Decrease the brush size to fit them optimally into your document. You can also play with the opacity to achieve various light and shadow effects.
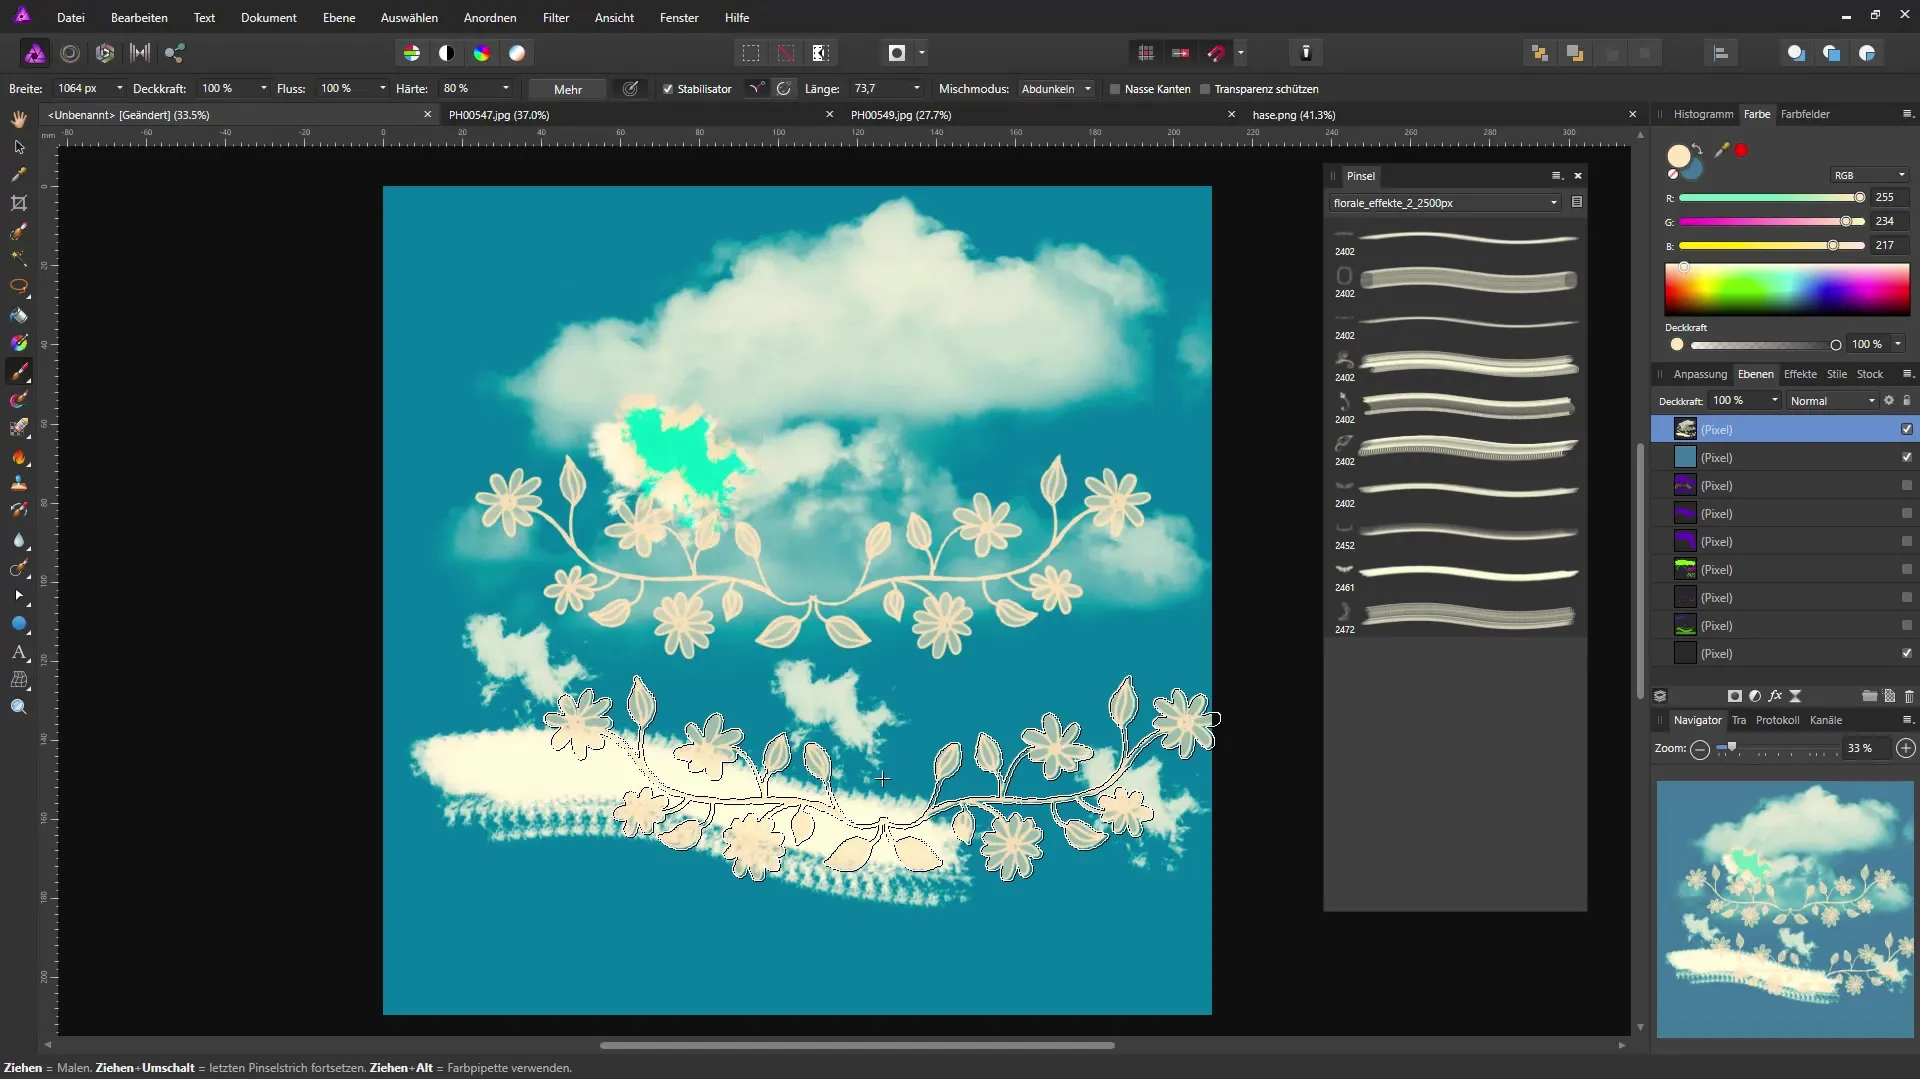
Step 10: Adjust Opacity
The opacity of your brush tips plays a crucial role in the visual effect. You can easily adjust this using keyboard shortcuts: enter a number to set the desired opacity, e.g., 50% or 25%. This allows you to fine-tune your brush strokes.
Summary – Efficient Use and Organization of Brushes in Affinity Photo
In this guide, you learned how to import, edit, and apply brushes in Affinity Photo. You have the flexibility to organize your brush tips and bring your creativity to life with various effects and adjustments.
Frequently Asked Questions
How do I import brushes in Affinity Photo?Click on "Import Brushes" in the brush area and select the desired brushes from your hard drive.
Can I also export brushes?Yes, you can export your brushes and use them on other devices.
How do I adjust the size of a brush?In the brush palette, you can use the size slider.
What is opacity in brush tools?Opacity determines how strong or transparent the brush stroke appears.
How can I create multiple brush variations?Vary the opacity, size, and rotation options of your brushes to achieve different effects.


