In the world of video production, the quality of footage is crucial. Often, noise and unwanted grain occur when filming in dark environments. This tutorial shows you how to effectively use the powerful new features in VEGAS Pro 18 to utilize noise reduction to enhance your footage and achieve more vibrant results. Every frame you edit can be improved with the proper application of these techniques, allowing you to expect optimal outcomes.
Main Insights
- You will learn how noise occurs in videos and how to reduce it.
- The new noise reduction in VEGAS Pro 18 offers various sliders for fine-tuning.
- A balanced use of the sliders helps to improve image quality without losing details.
Step-by-Step Guide to Noise Reduction in VEGAS Pro 18
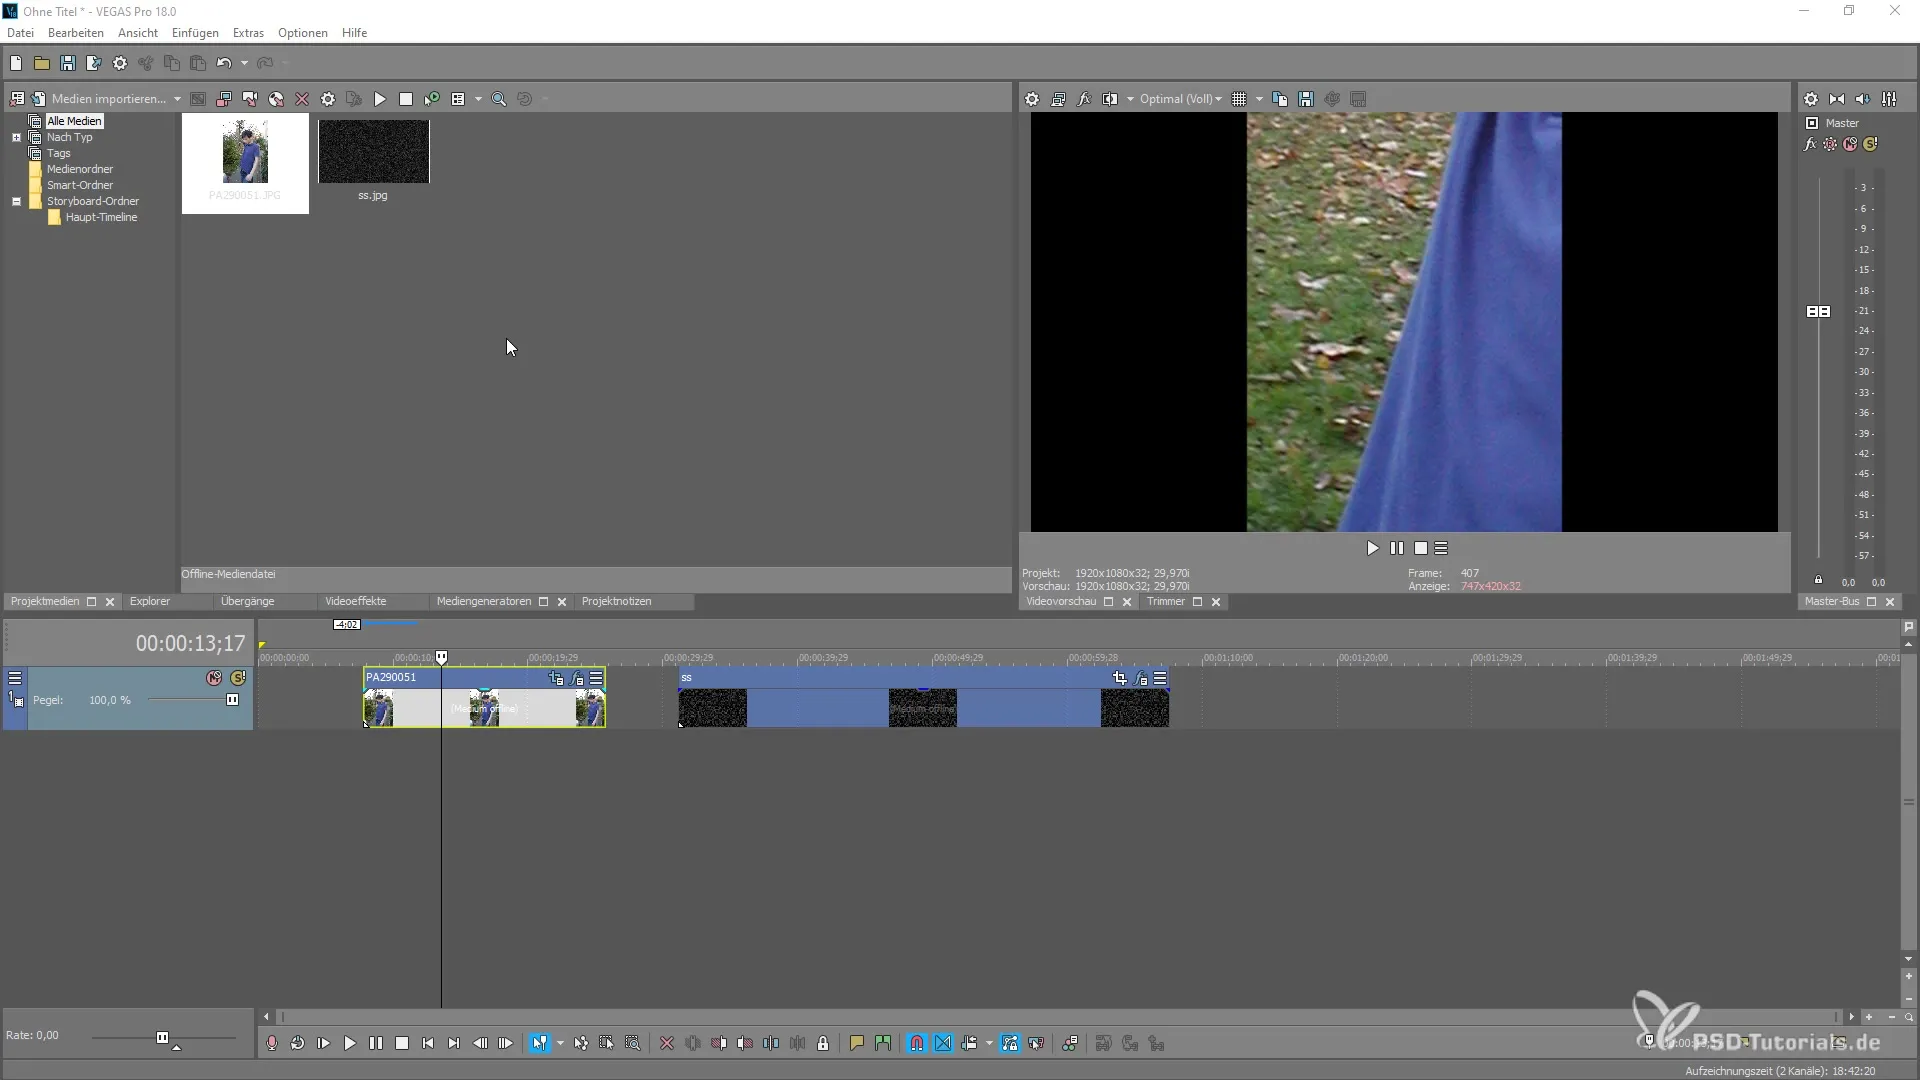
First, you need to prepare your footage. If you have a video with noise, load it into VEGAS Pro 18 and let's start with noise reduction.

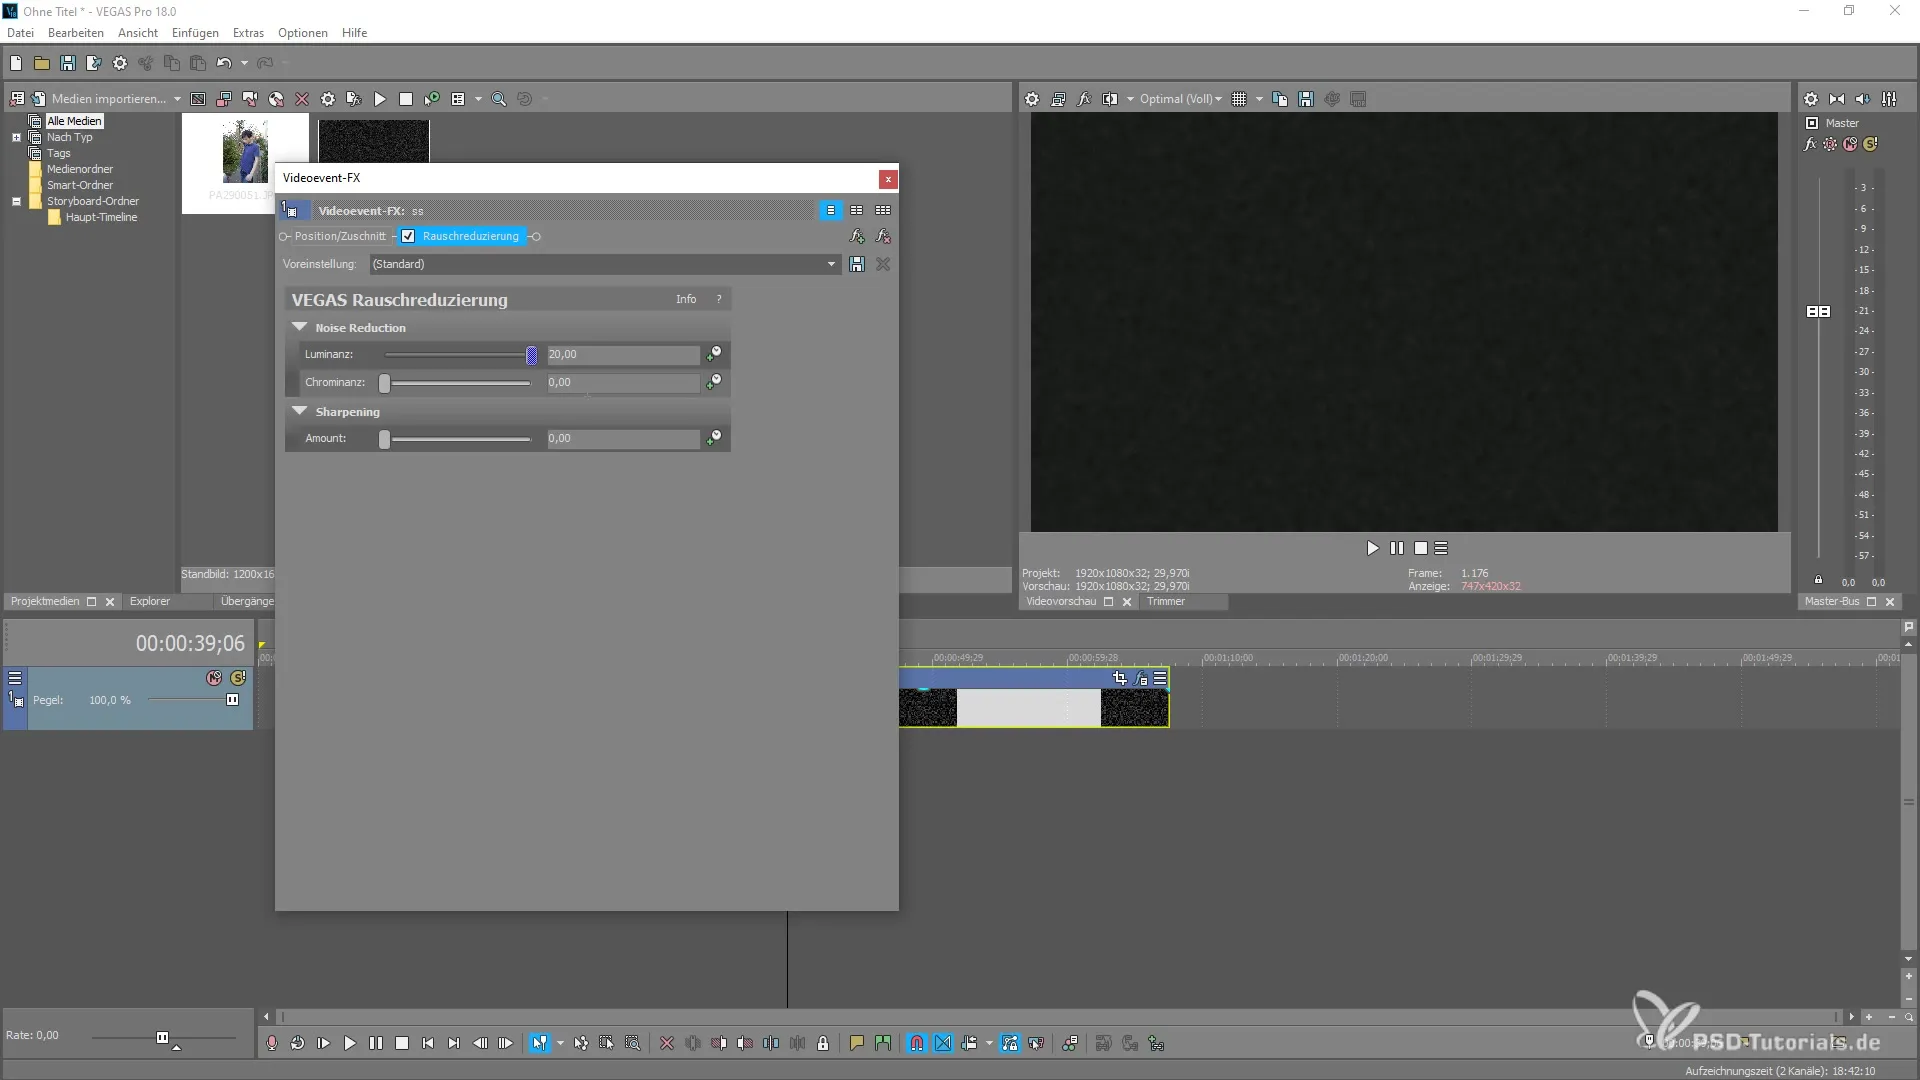
To use the noise reduction, after loading your video, go to the plugin window of VEGAS Pro 18. There you will find the noise reduction option. Go to the "Effects" tab and select "Noise Reduction."
Now you have applied the effects and can start with the settings. You will first see two basic sliders: Luminance and Chrominance. With the Luminance slider, you can adjust the brightness of the image, thereby reducing noise.

Move the Luminance slider to the right to intensify the effect. You will notice that the image feels softer as the noise is reduced by uniform blurring. However, this can also lead to a loss of sharpness that you should consider.

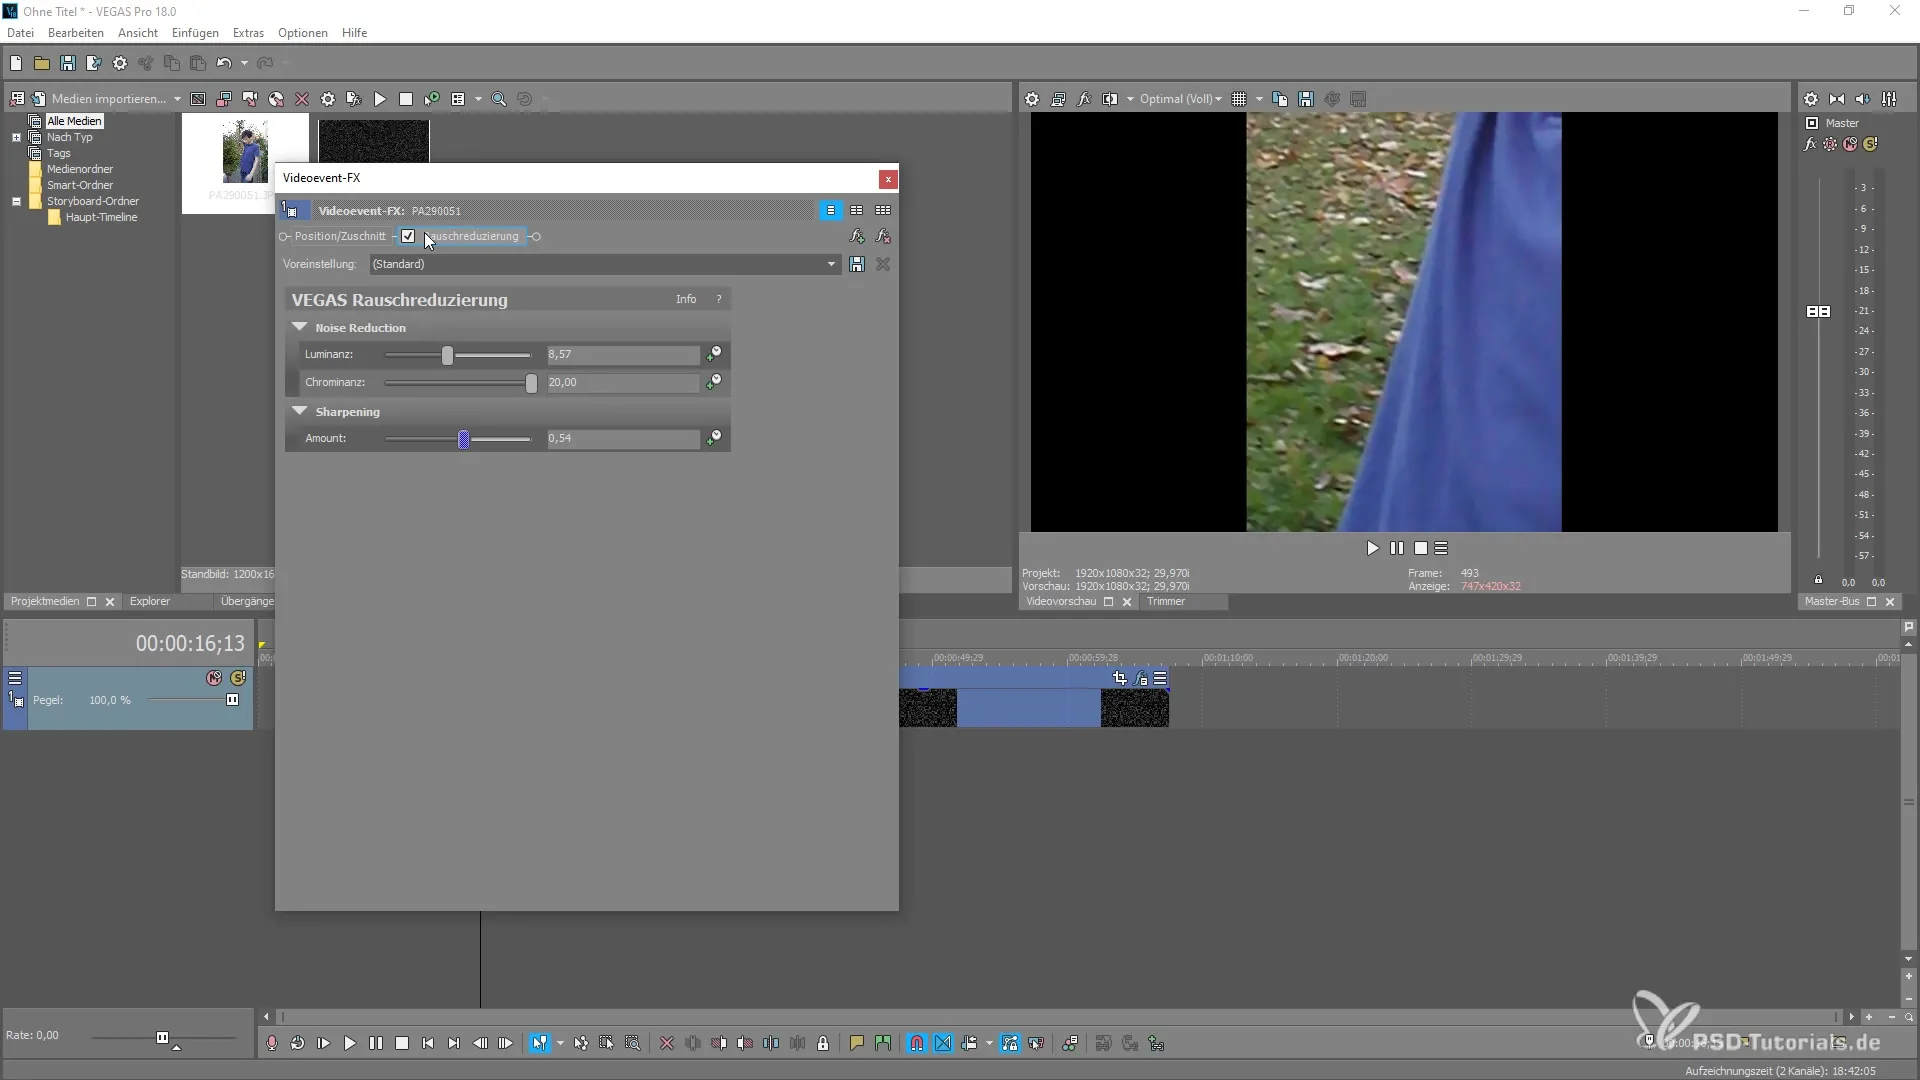
The Chrominance slider allows you to adjust the color density of the image. Increasing it can be useful to highlight colors that have lost clarity due to noise reduction.
To achieve a balanced result, play with both sliders. Make sure not to exaggerate the values. A little fine-tuning can transform an image into a masterpiece and make the transitions smoother.
It is advisable to adjust both luminance and chrominance together. Start with small movements of the sliders and check regularly how the image changes. To see how the individual adjustments affect your progress, occasionally disable the noise reduction and turn it back on.

An effective workflow consists of gradually adjusting each slider and regularly checking what works best for your specific footage. Even with more realistic images with less grain, you can use the tools to achieve a homogeneous image effect.
In the end, your image should appear homogeneous, with the disturbing noise significantly reduced, and without losing details. This fine-tuning of noise reduction is key to a professional result.
Summary – Noise Reduction in MAGIX VEGAS Pro 18
The noise reduction in VEGAS Pro 18 is a powerful tool that helps you create high-quality videos. By correctly adjusting luminance and chrominance, you achieve a significant improvement in your footage. With a little patience and experimentation, you can achieve the desired results and elevate your project to the next level.
Frequently Asked Questions
How do I activate the noise reduction in VEGAS Pro 18?You can find the noise reduction in the effects under the plugin window.
What are the main sliders for noise reduction?The main sliders are luminance and chrominance.
How does the luminance setting affect my image?Increasing the luminance reduces visible noise but can also lead to blurriness.
Should I set the sliders to maximum?No, it's better to make small adjustments and regularly check the results.
Can I use noise reduction in bright light as well?Yes, but effectiveness may vary depending on the footage.


