With the introduction of Creative Cloud 2017, Adobe has created new possibilities in the field of typography with InDesign. One of the most prominent innovations is the support for various OpenType features that significantly facilitate working with text. If you want to make your layouts more appealing, now is the ideal time to familiarize yourself with these features.
Key insights
- OpenType fonts offer advanced typographic options for text design.
- Users can easily switch between different font variants and properties.
- Access to OpenType features is intuitive and directly integrated into the program.
Step-by-step guide to using OpenType fonts
1. Create a text box and insert placeholder text
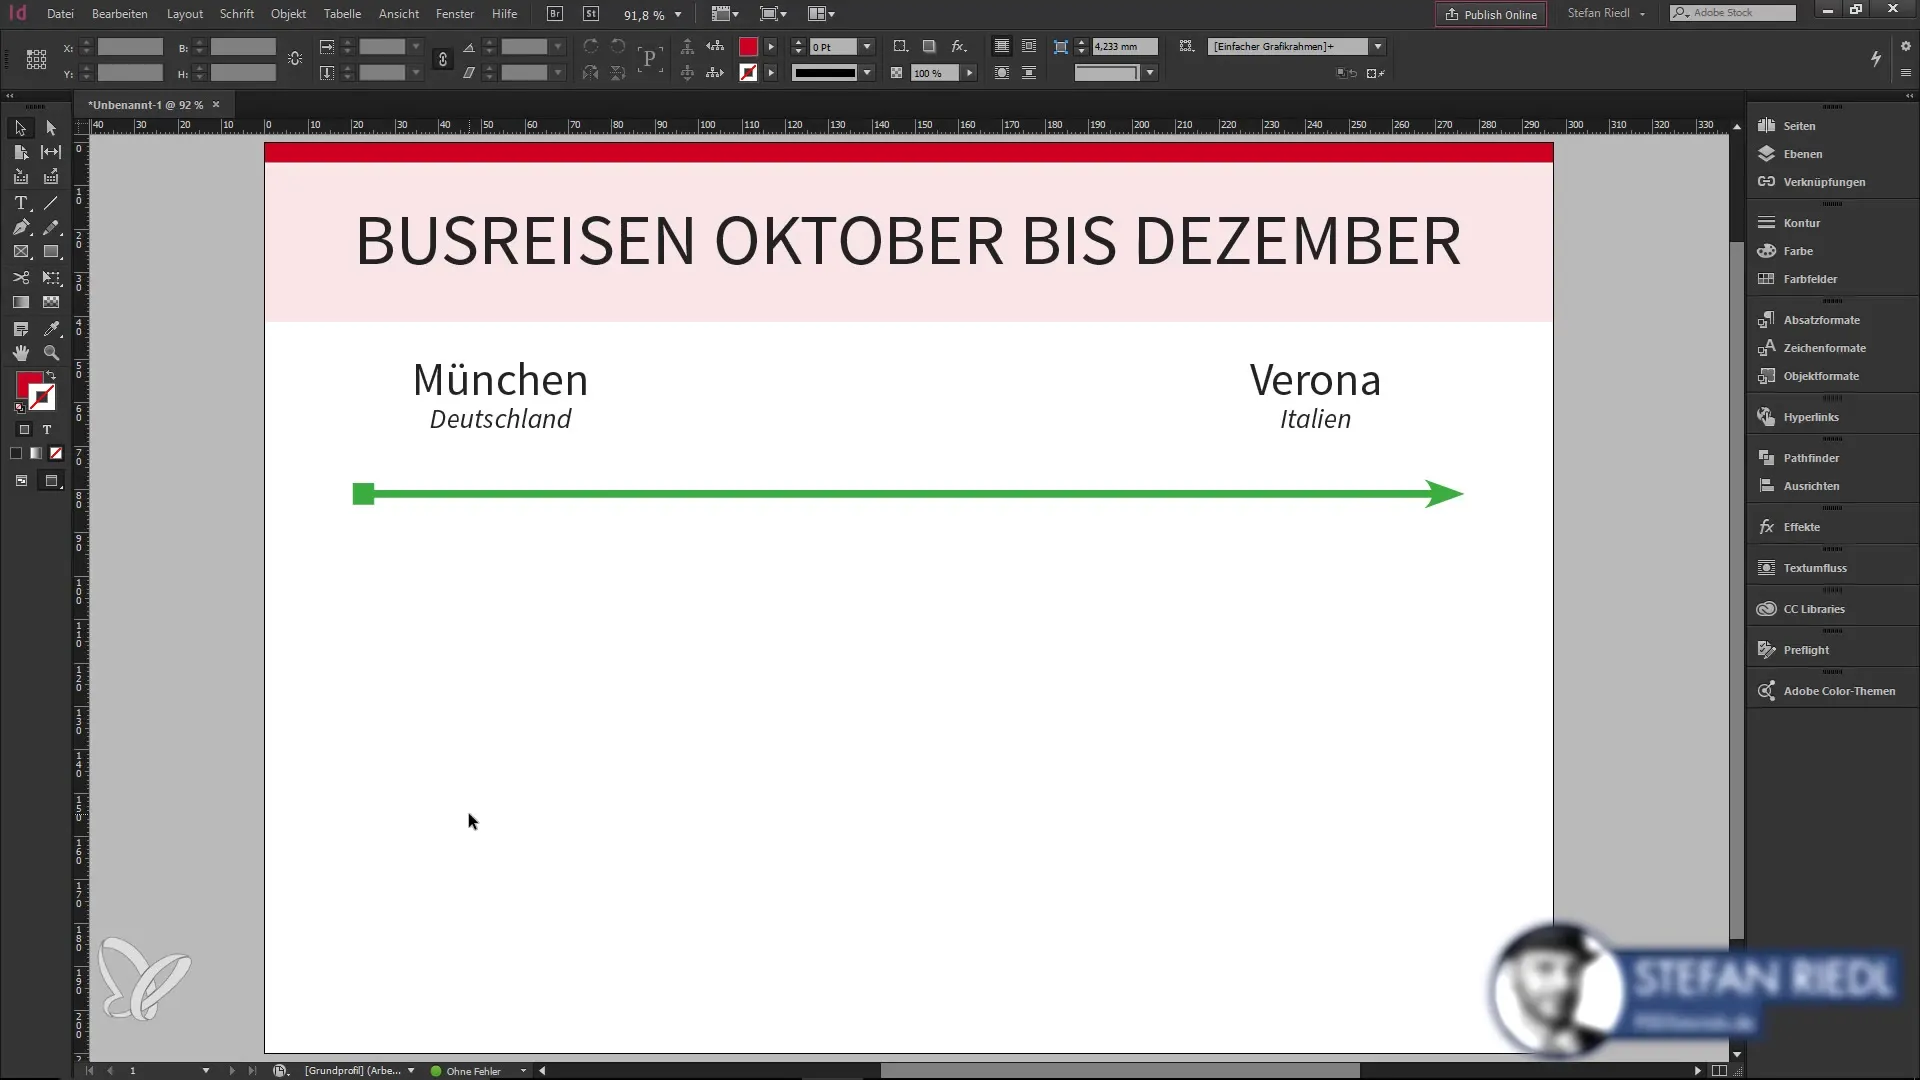
Start by creating a text box in your InDesign document. Use the text tool to draw a text box and fill it with placeholder text. This is your starting point for using OpenType features. You will see how the selected fonts affect your design.
2. Recognize OpenType symbol
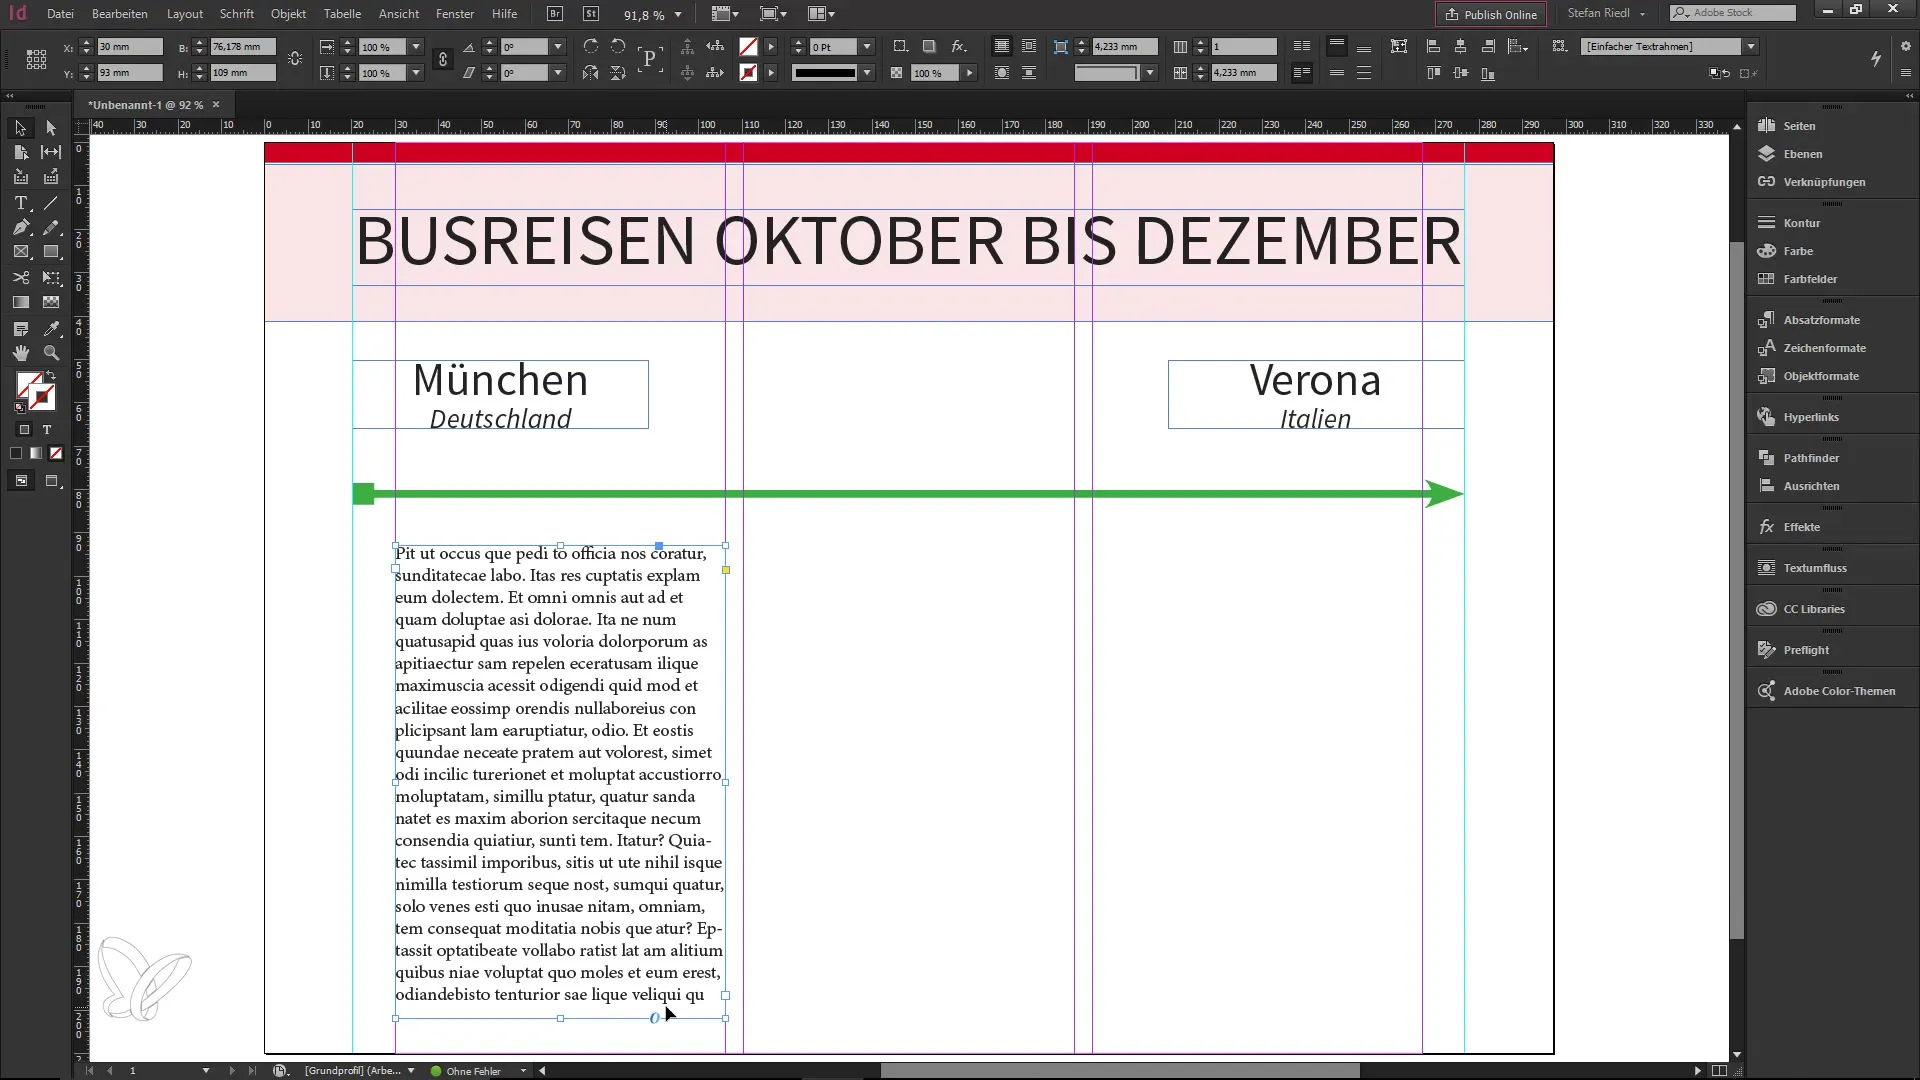
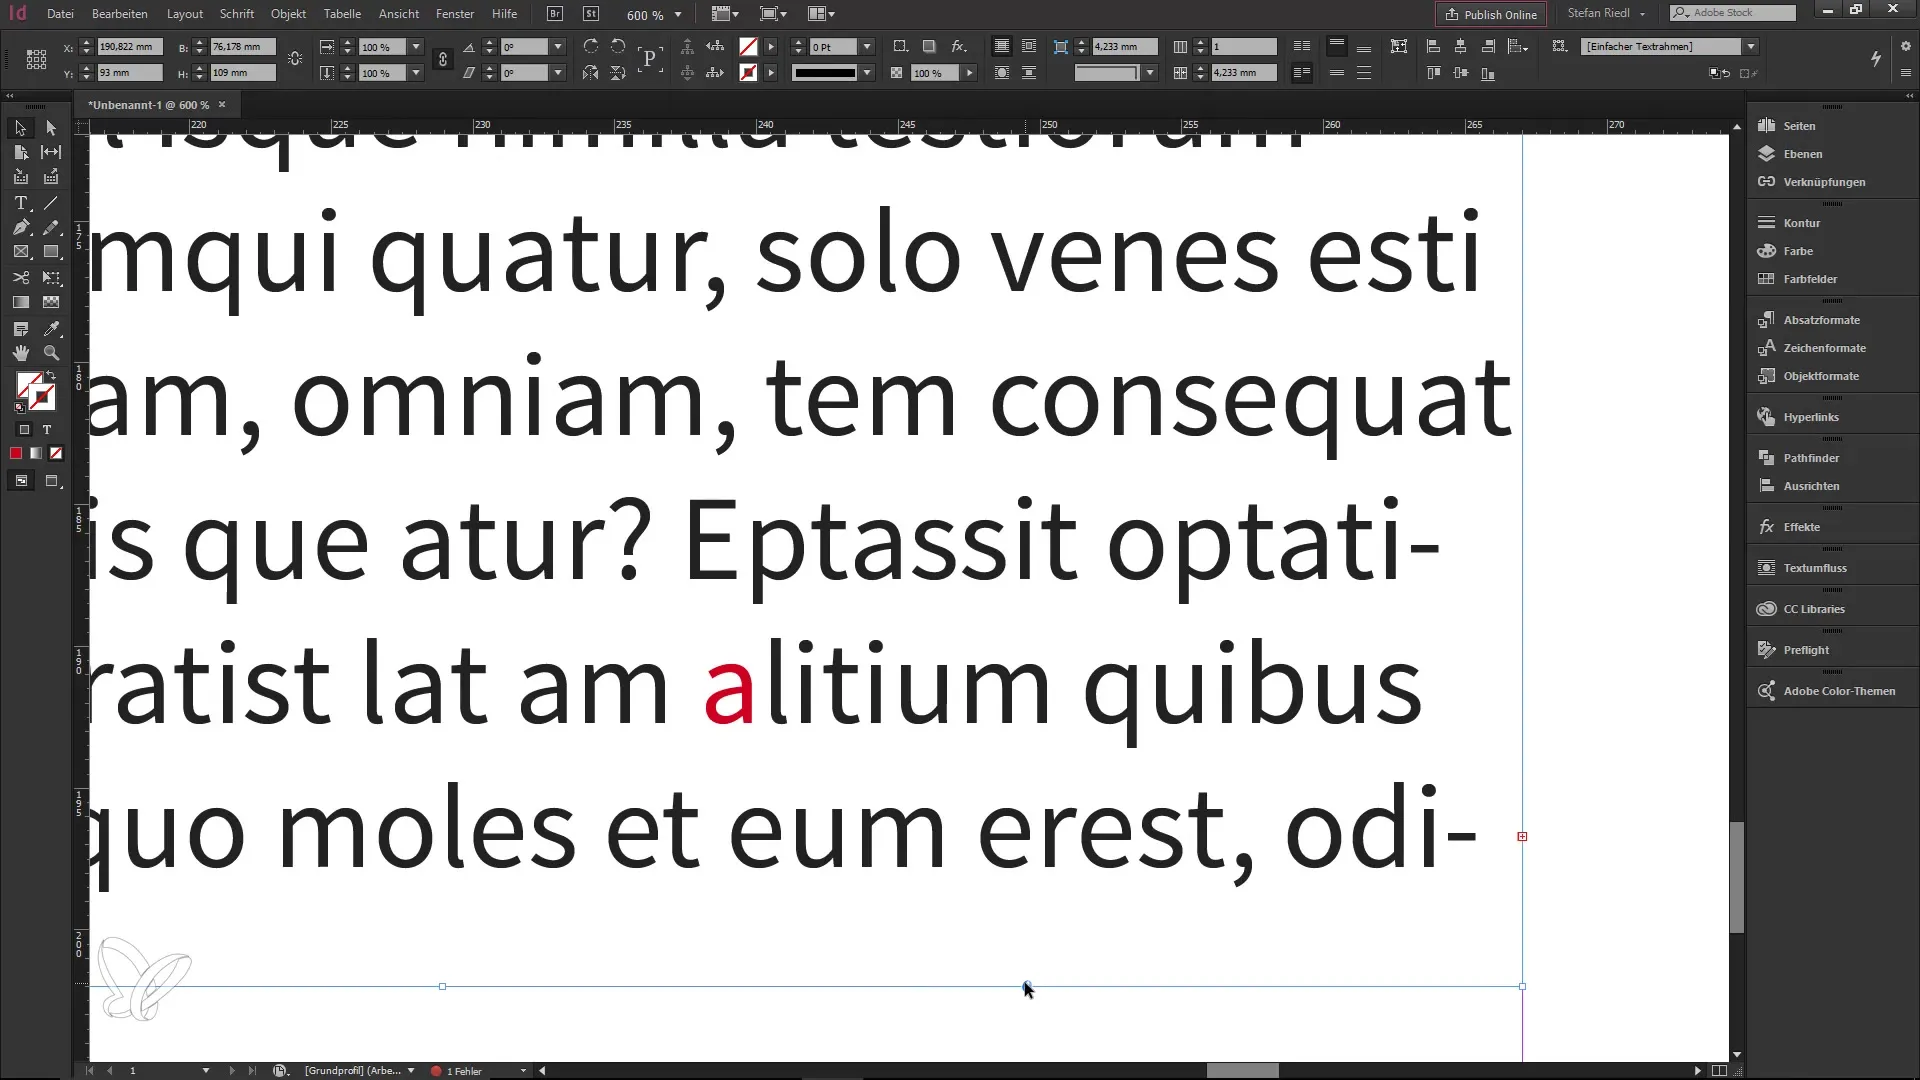
When your text box is filled with an OpenType font, a small “o” will appear in the lower right corner of the text box. This symbol indicates that you can access advanced typography options. Make sure that the chosen font is actually OpenType, as not all fonts offer these features.
3. Select OpenType options
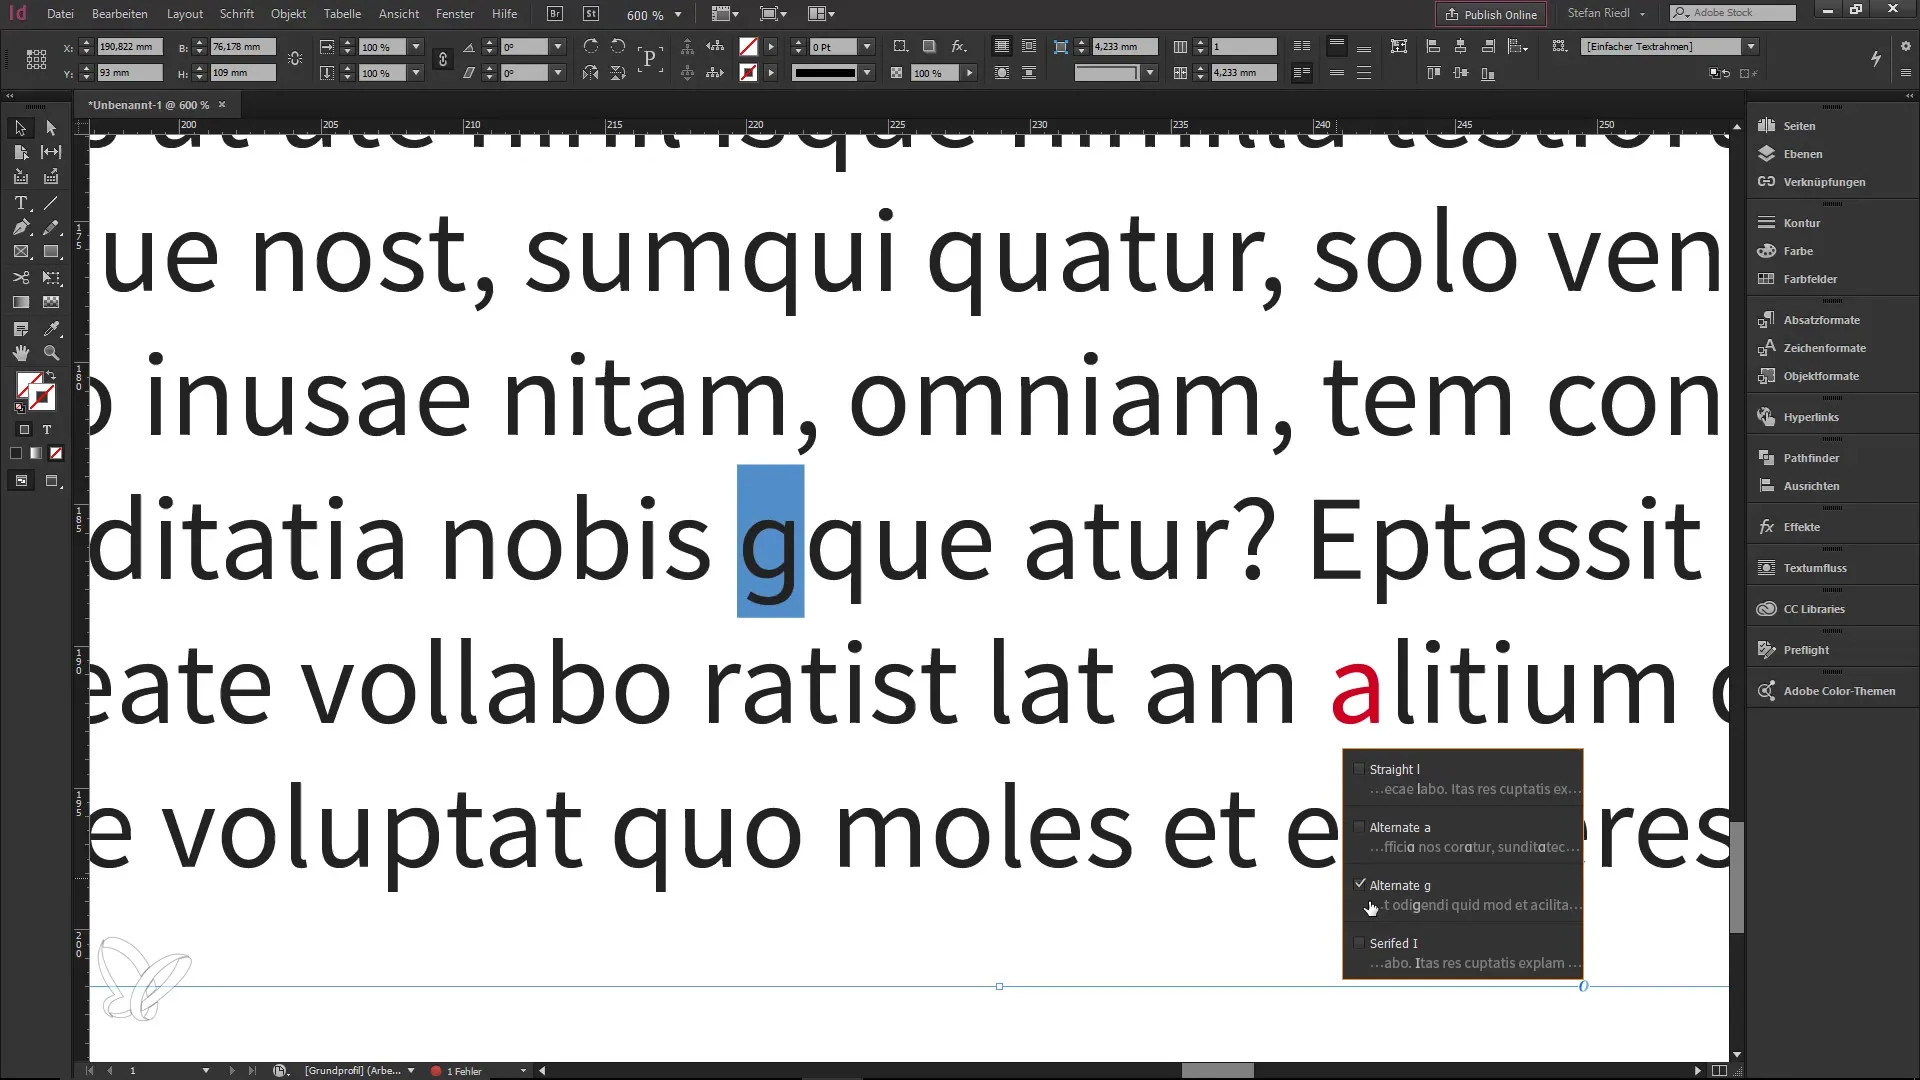
Click on the “o” symbol to open the OpenType properties menu. Here you have the option to make various typographic adjustments, such as enabling small caps or discretionary ligatures. Experiment with the different options to see how they can enhance your design.
4. Change the font
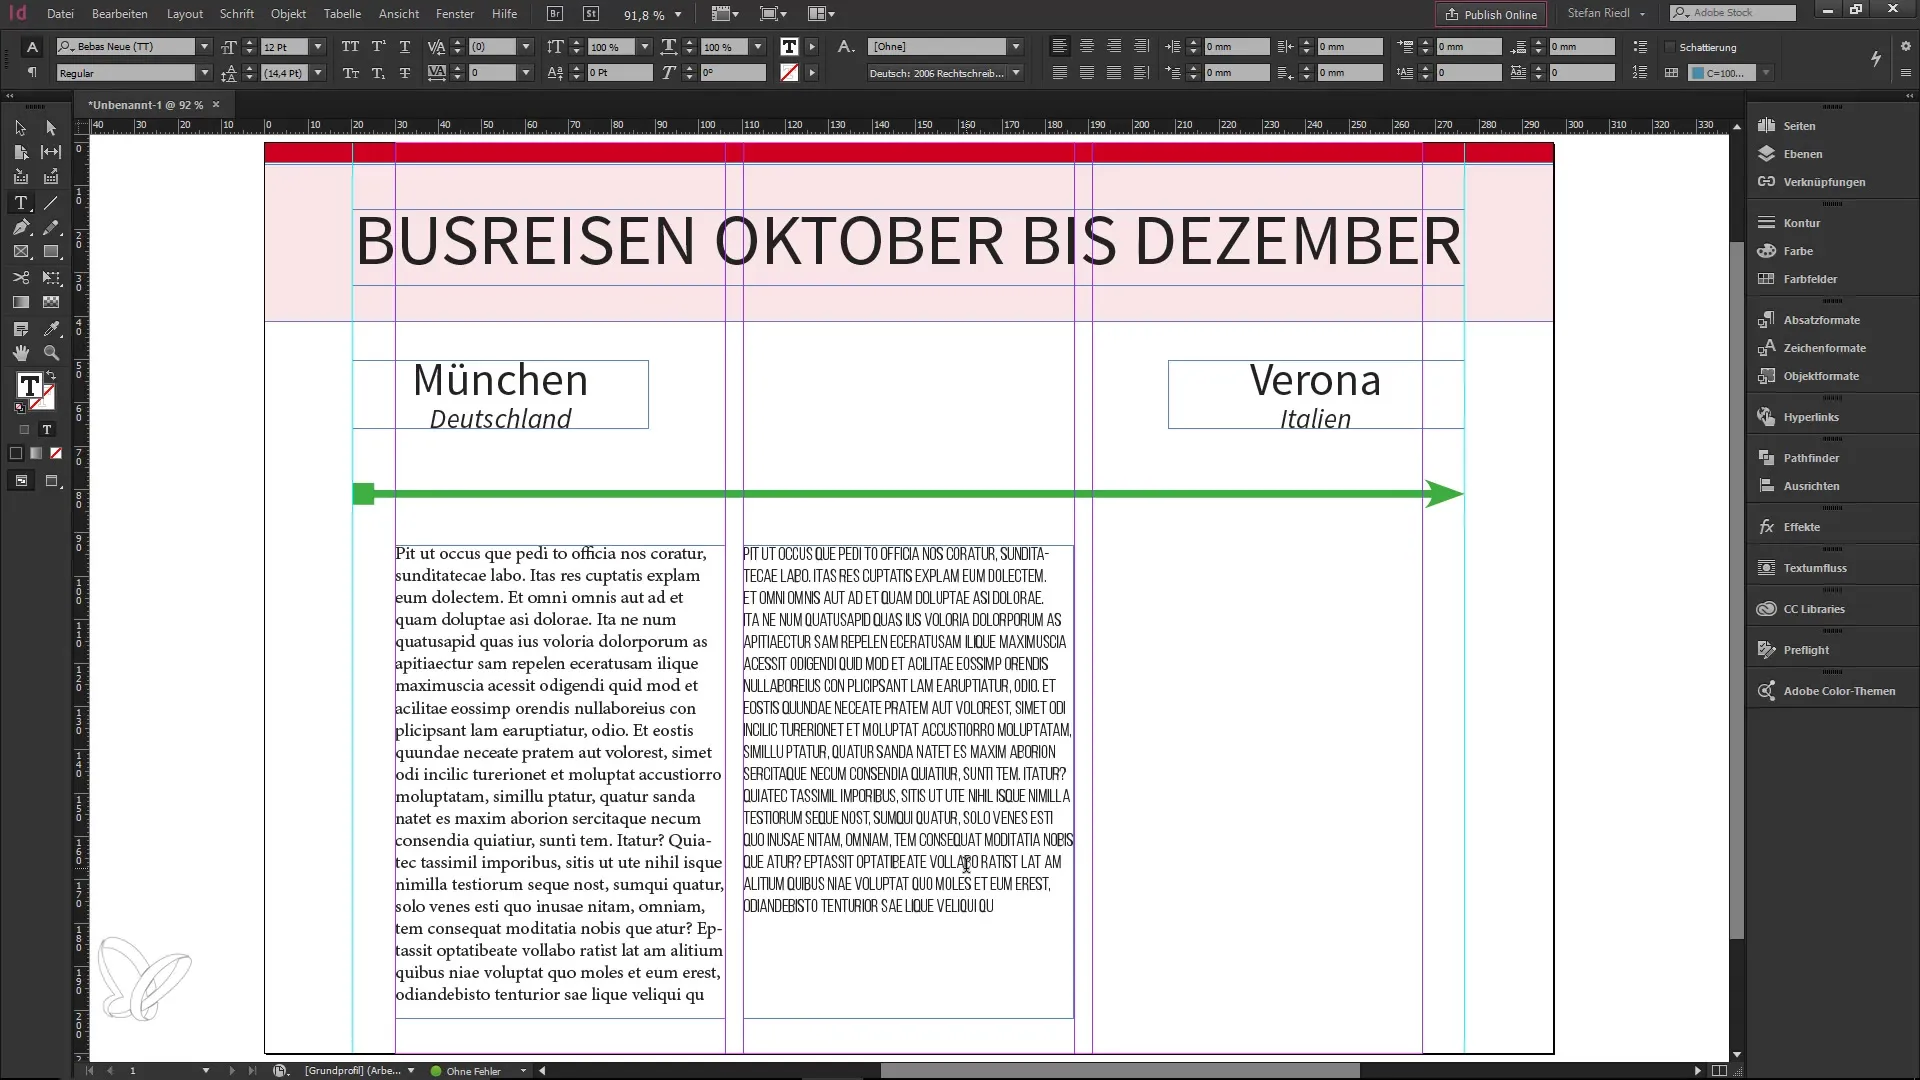
To understand the differences between various fonts, create a copy of your original text box and change the font to a TrueType font. Note that when switching to a non-OpenType font, the filtering options available in the first text box will be absent.
5. Use alternate characters
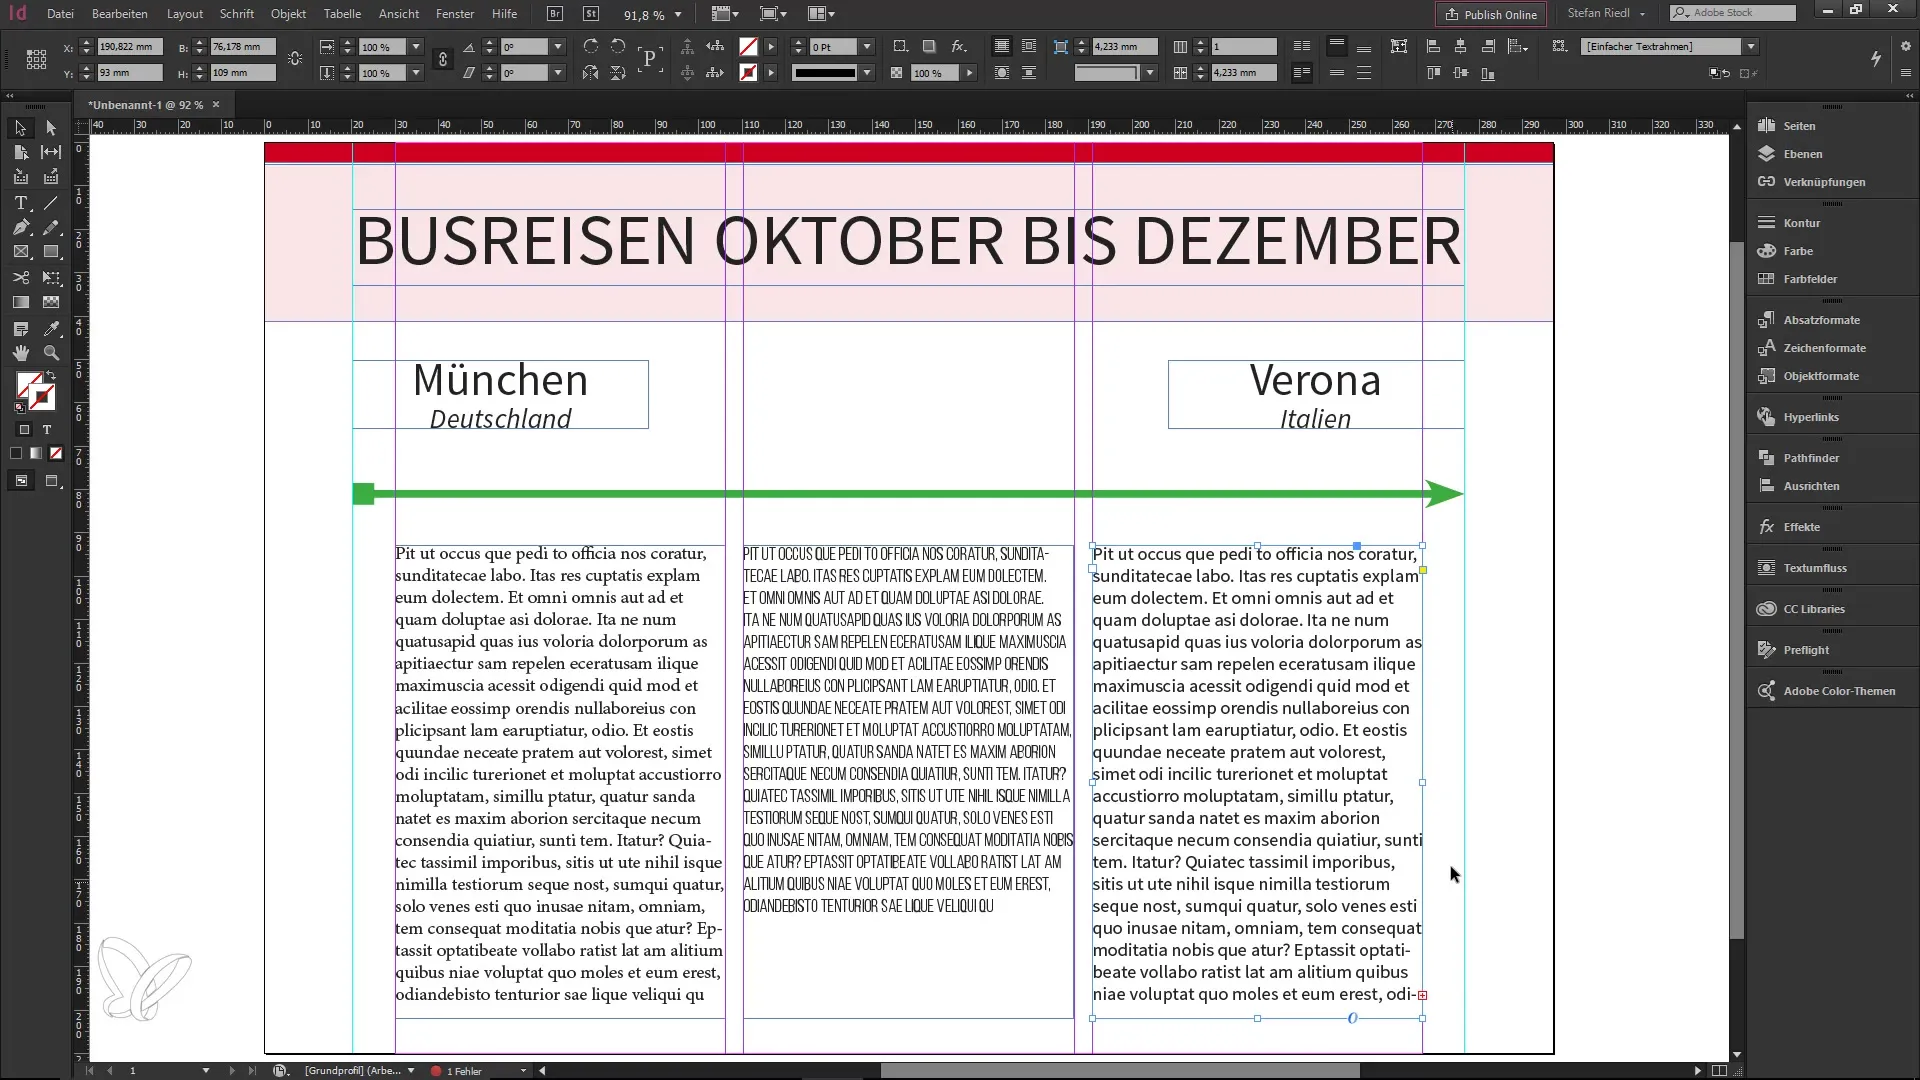
Select an OpenType font, such as “Source Sans Pro”. By clicking on the “o” symbol, you can now access alternate characters, such as different variants of the letter “a”. These alternatives allow you to achieve typographic nuances and give your text more character.
6. Color inputs for visualization
To make the variations more visible, temporarily change the color of the text element. When you apply the alternate characters, you will immediately see how the font changes. This is helpful for comparing different font design options and making the right choice.
7. Try other character variants
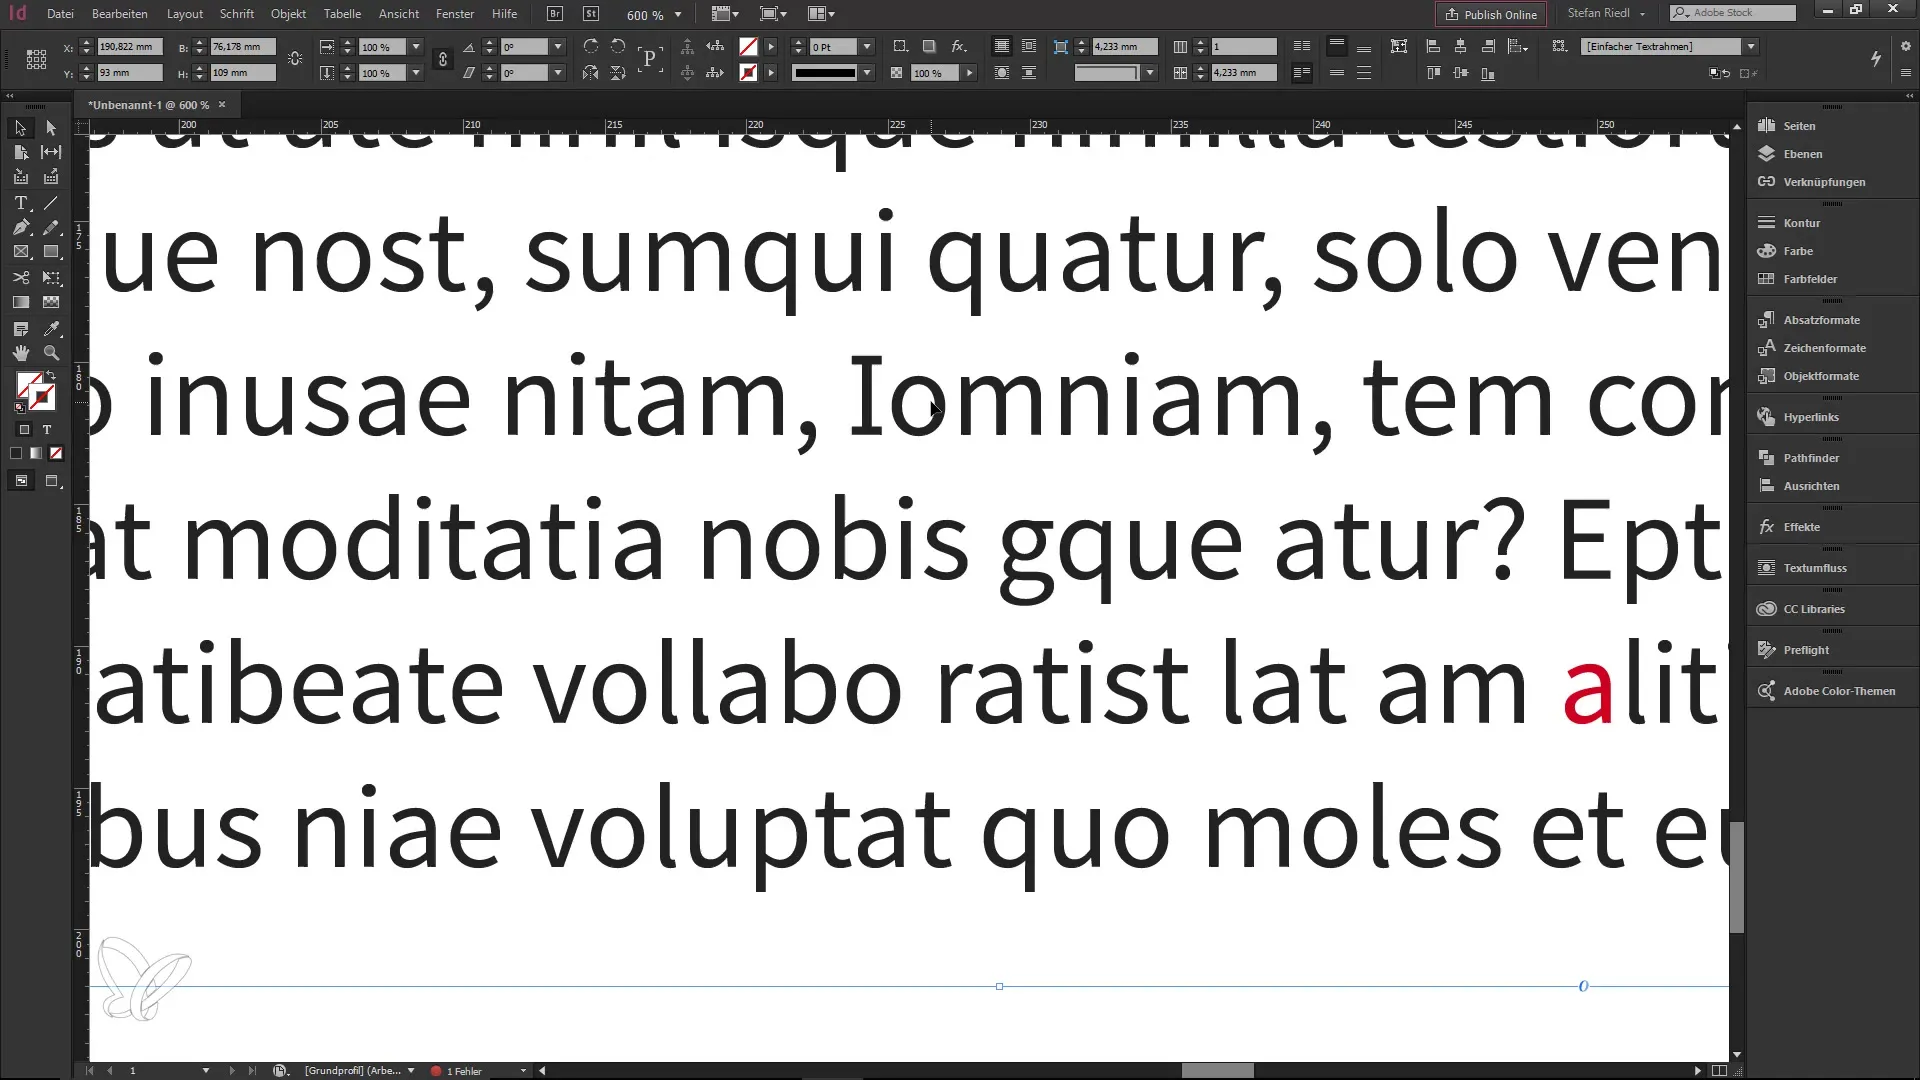
You can also select other characters like “G” or “i” and experiment with their alternatives. InDesign allows you to adjust the font to better meet your design requirements. Vary the properties and discover the diverse possibilities that typography offers you.
8. Refine typographic details
Focus more closely on the typographic details. Well-designed fonts offer you a variety of options that go beyond simple typing. By utilizing all these features, you can give special expression to your text and improve the readability of your design.
Summary – OpenType fonts in InDesign CC 2017
Working with OpenType fonts in InDesign CC 2017 opens up new creative possibilities and enhances the quality of your typographic work. You can choose from various font variants and customize them to finally create an appealing layout.
Frequently Asked Questions
What advantages do OpenType fonts offer?OpenType fonts provide enhanced typographic options such as alternate characters and ligatures that improve design.
How do I recognize an OpenType font in InDesign?A small “o” symbol appears in the font settings when you are using an OpenType font.
Can I also use OpenType features with TrueType fonts?No, only OpenType fonts offer the special typographic options indicated by the “o” symbol.
How do I find alternate characters in InDesign?Simply click on the OpenType symbol in your text box to see the available alternate characters.


