The design of multi-page documents can be a challenge, especially when it comes to footnotes. However, with the new capabilities in InDesign CC 2017, this process becomes significantly easier. In this tutorial, I will show you how to effectively utilize and customize footnotes. Whether you are creating a report, an article, or a book, adding footnotes has never been so easy and flexible.
Key Insights
- Footnotes can now be applied over columns within a text frame or across the entire document width.
- Customizing footnote settings is quick and straightforward.
- Changes can be made either to specific text frames or across the entire document.
Step-by-Step Guide
To make the most of the new footnote features in InDesign CC 2017, follow these steps:
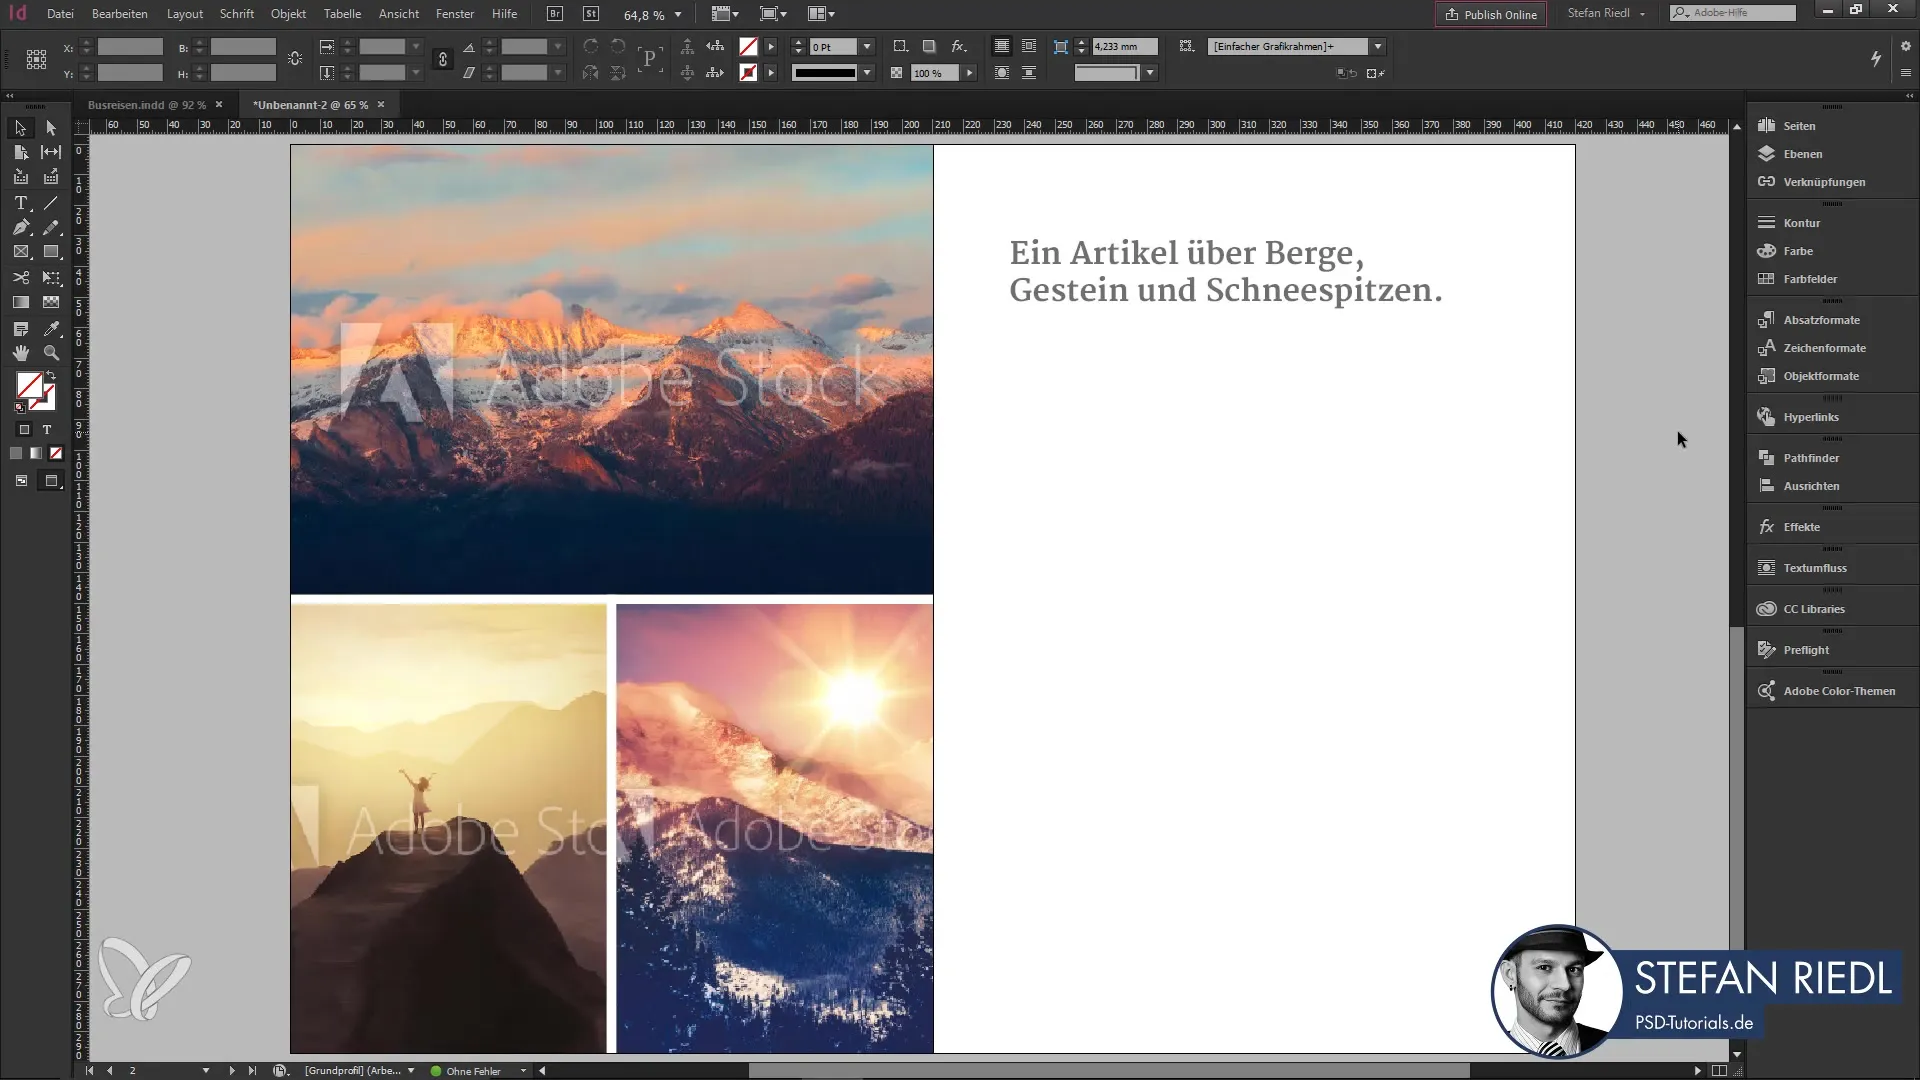
1. Create and Set Up a Text Frame
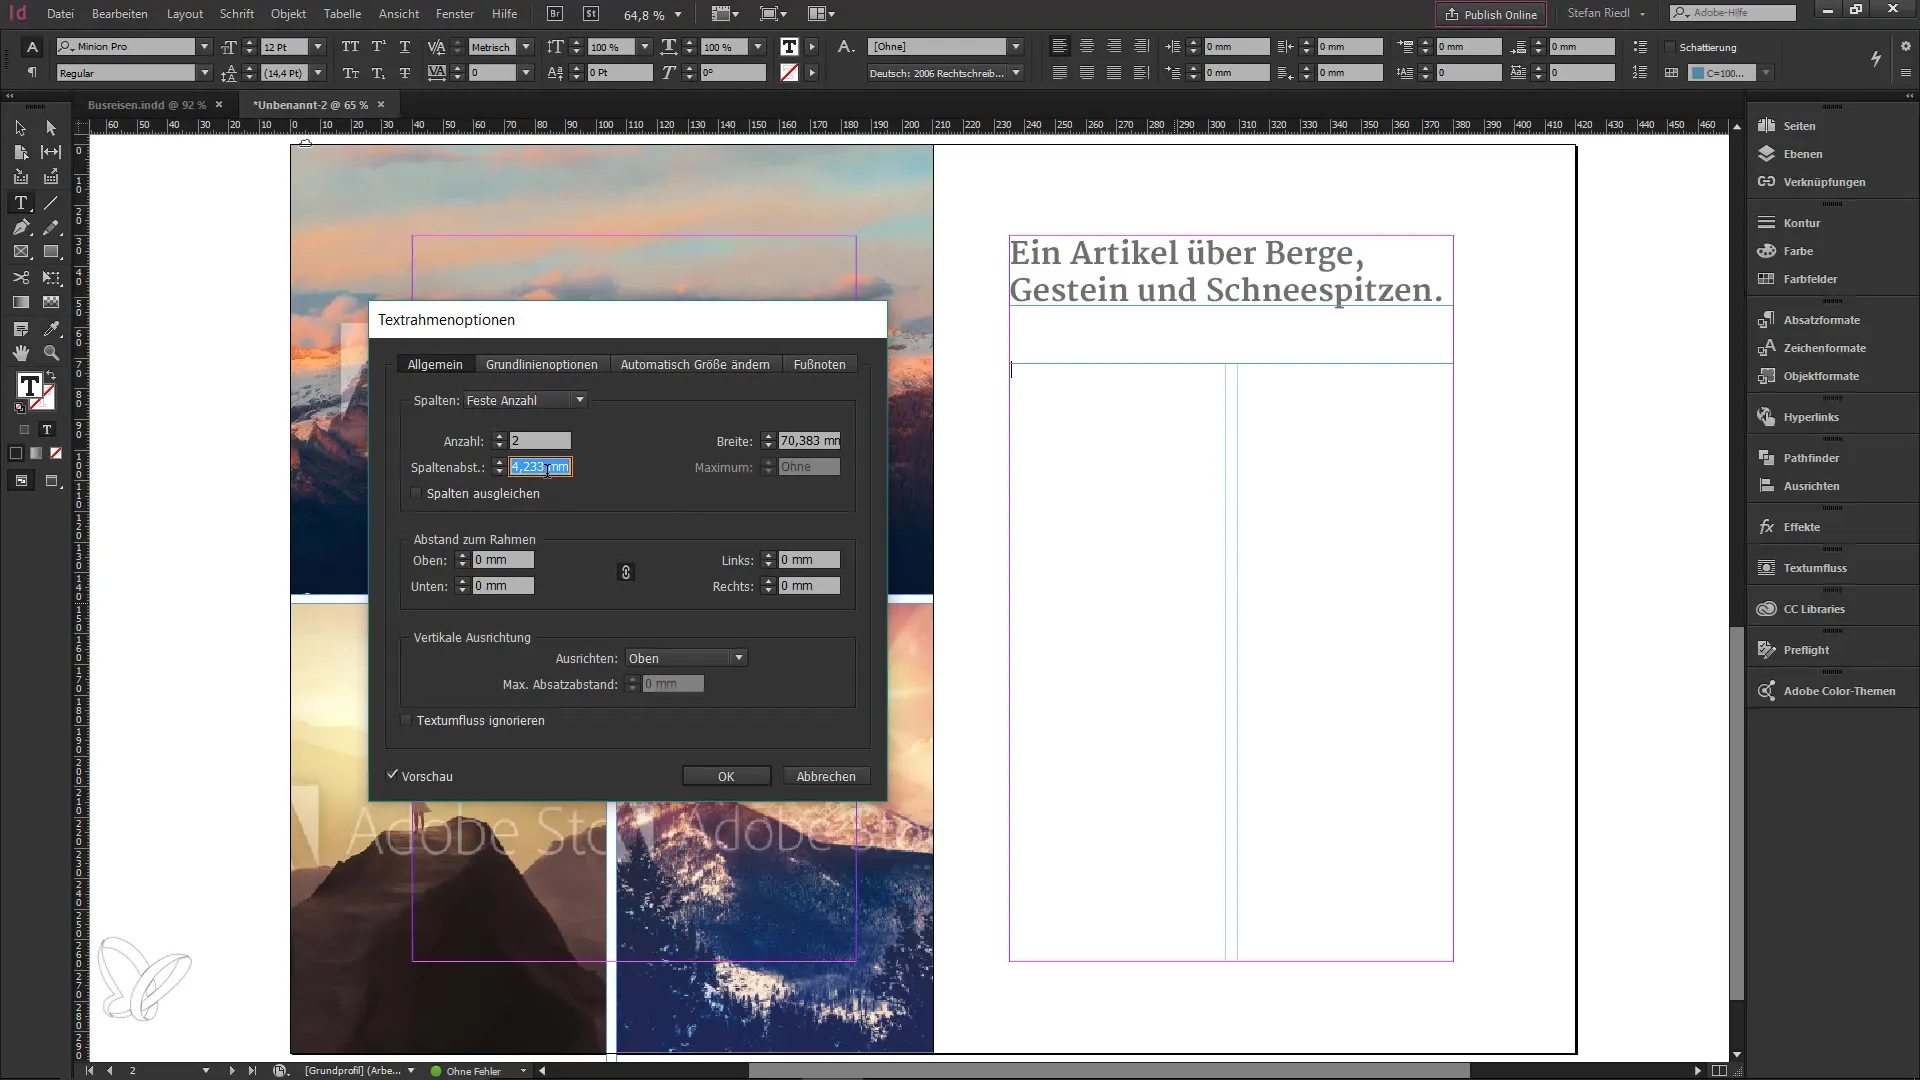
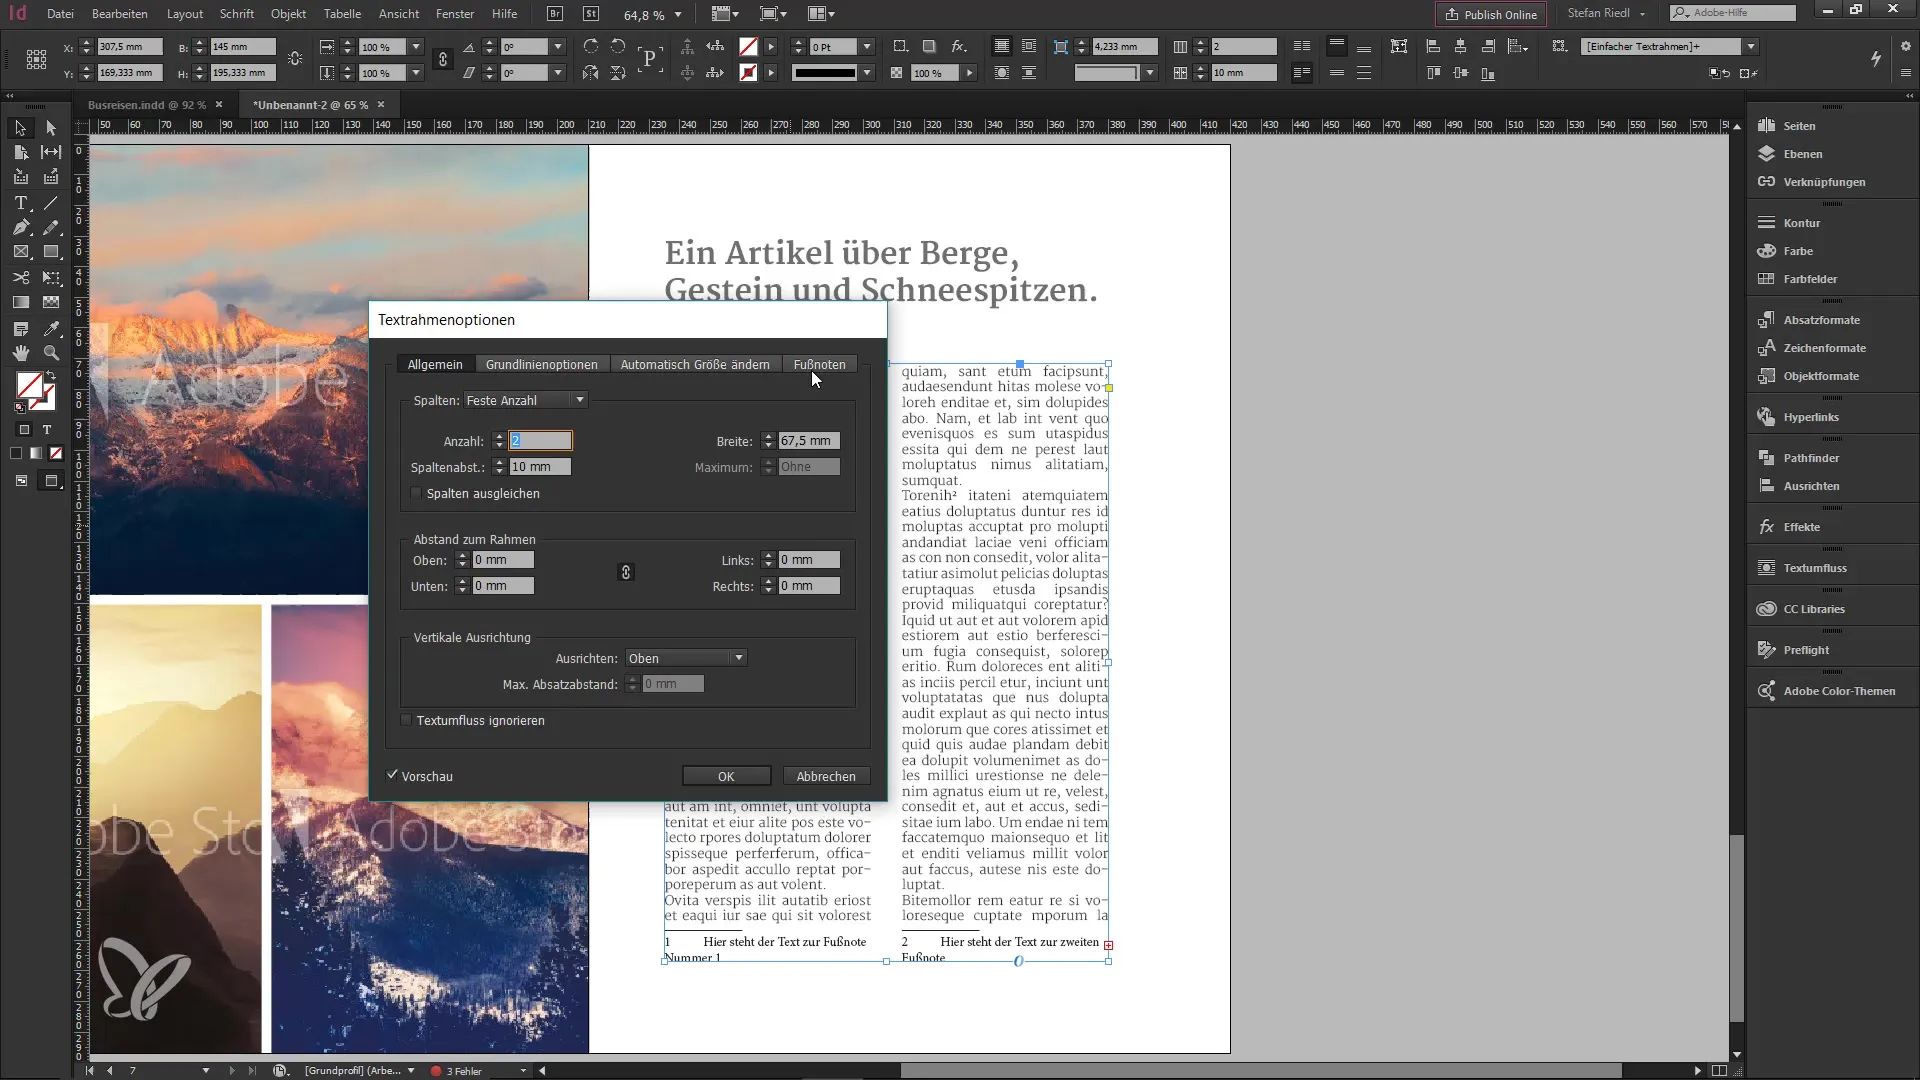
First, open your document and select the text tool. Highlight the area in the text area where you want to insert your text. You can activate the text frame options using the shortcut Control + B. Make sure to choose a two-column layout by entering "2".
2. Adjust the Column Spacing
After creating the text frame, you should check the column spacing. If the default spacing of 4 mm is too little, you can increase it to 10 mm and confirm the changes.
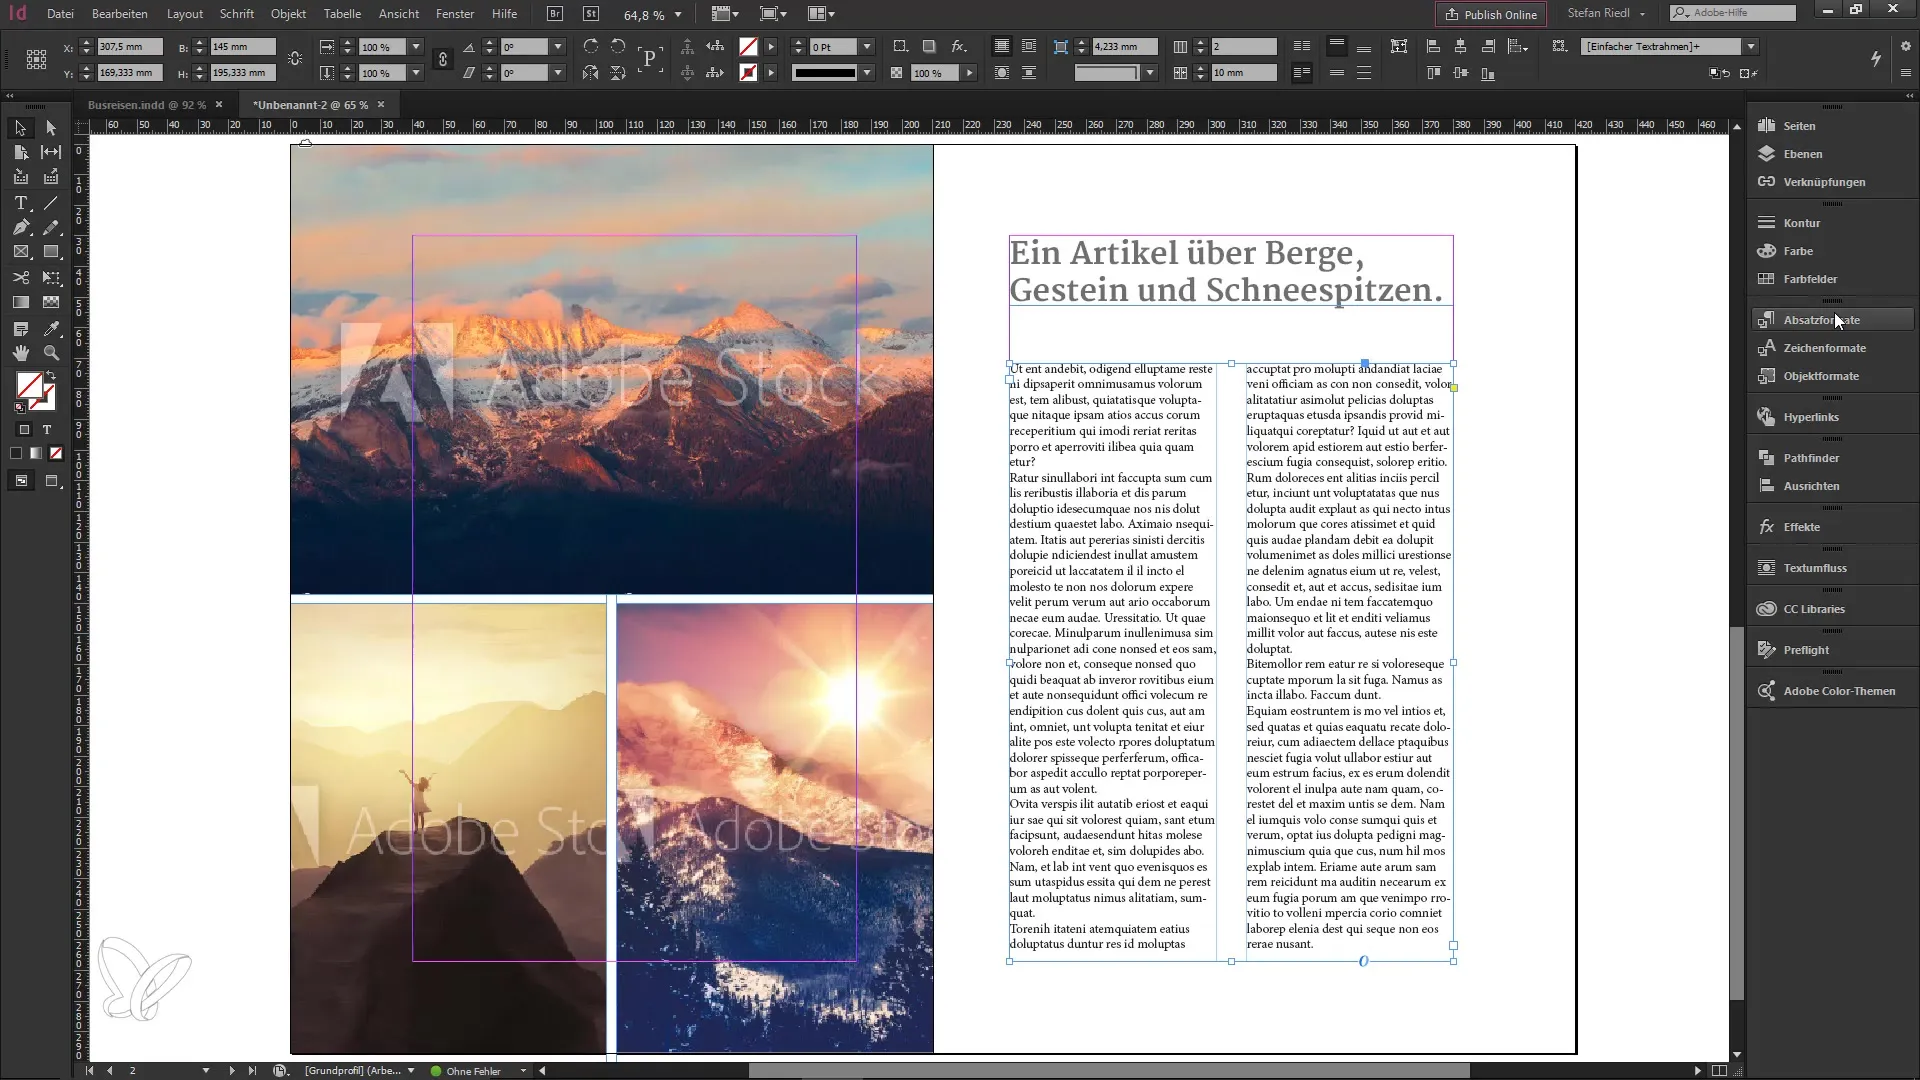
3. Insert Placeholder Text
Now fill the text frame with placeholder text and apply the appropriate paragraph format. You now have a text frame with two columns, providing you with a clear structure.
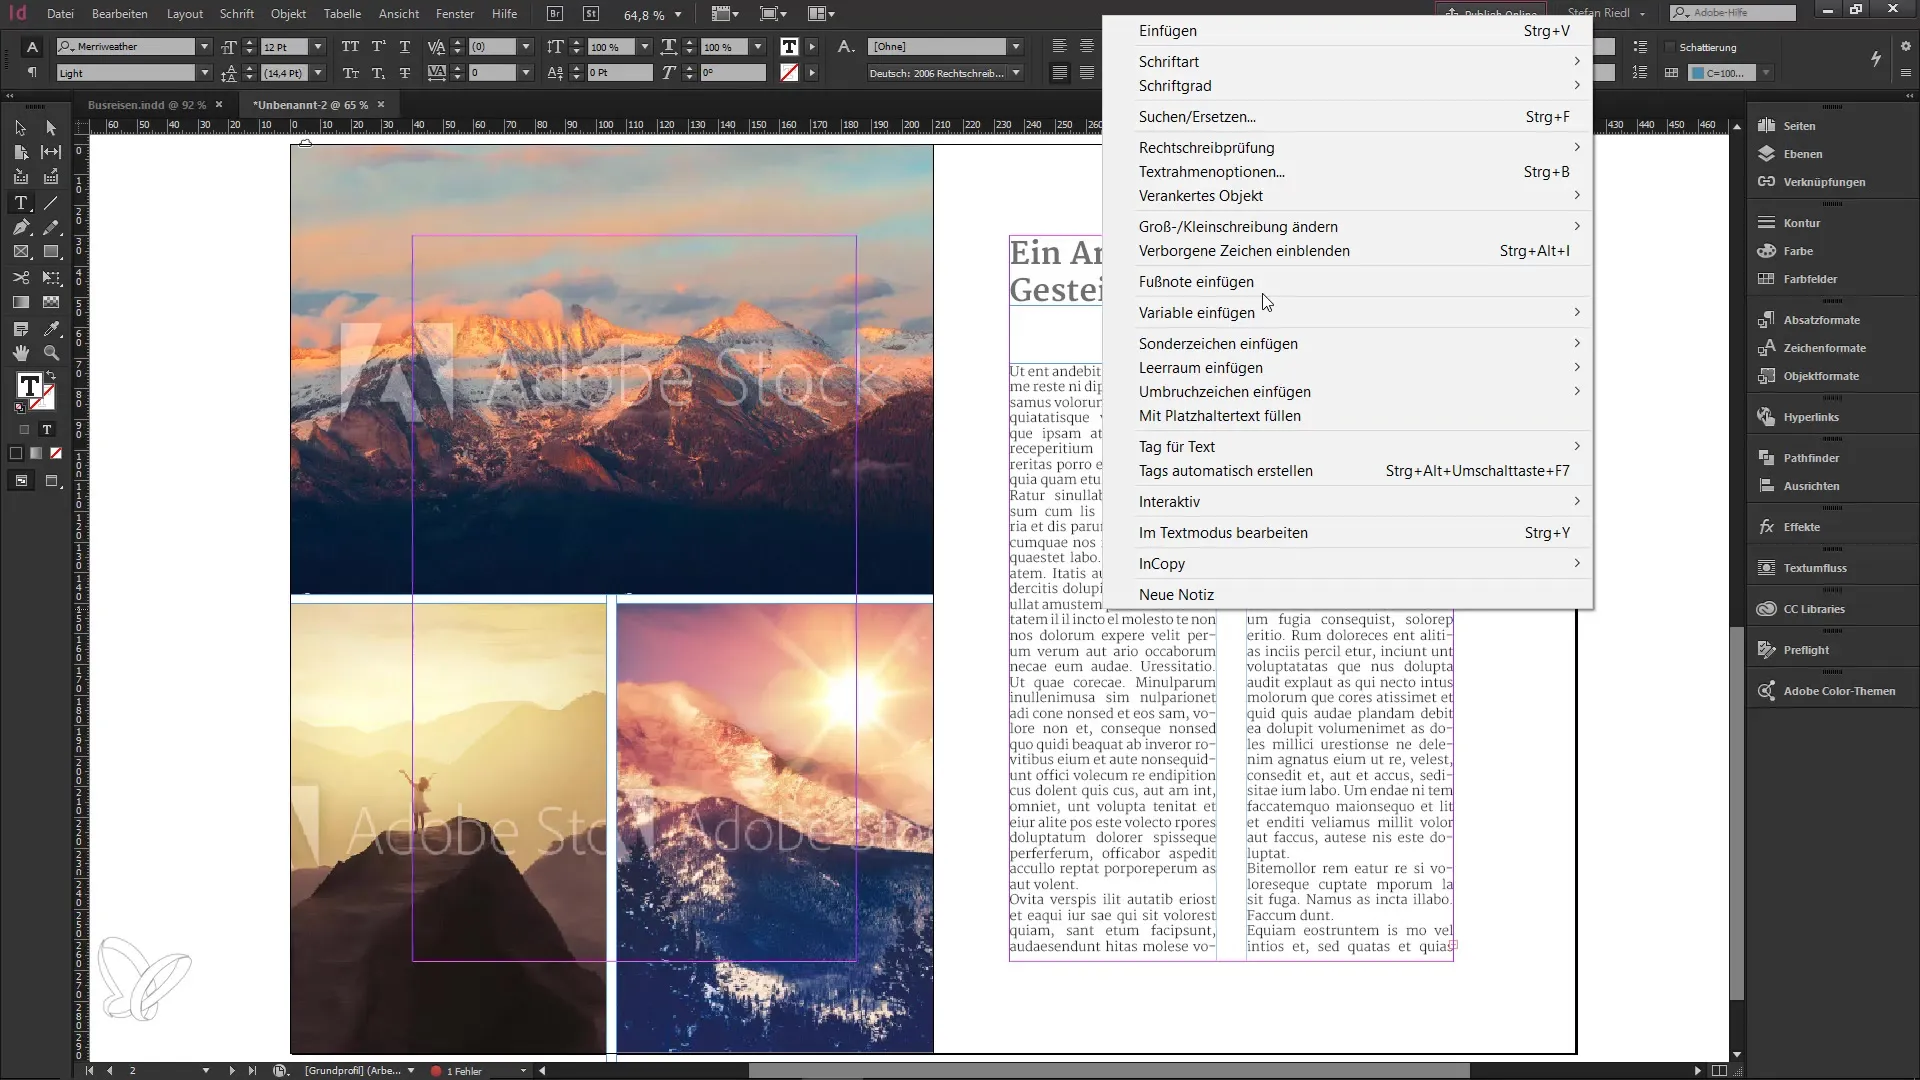
4. Insert a Footnote
Position your cursor anywhere in the text. Right-click to open the context menu and click on "Insert Footnote." You will then see a small number in the text that signals the footnote. The corresponding footnote will appear at the bottom of the document, which you can annotate with explanatory text.
5. Customize Footnote Options
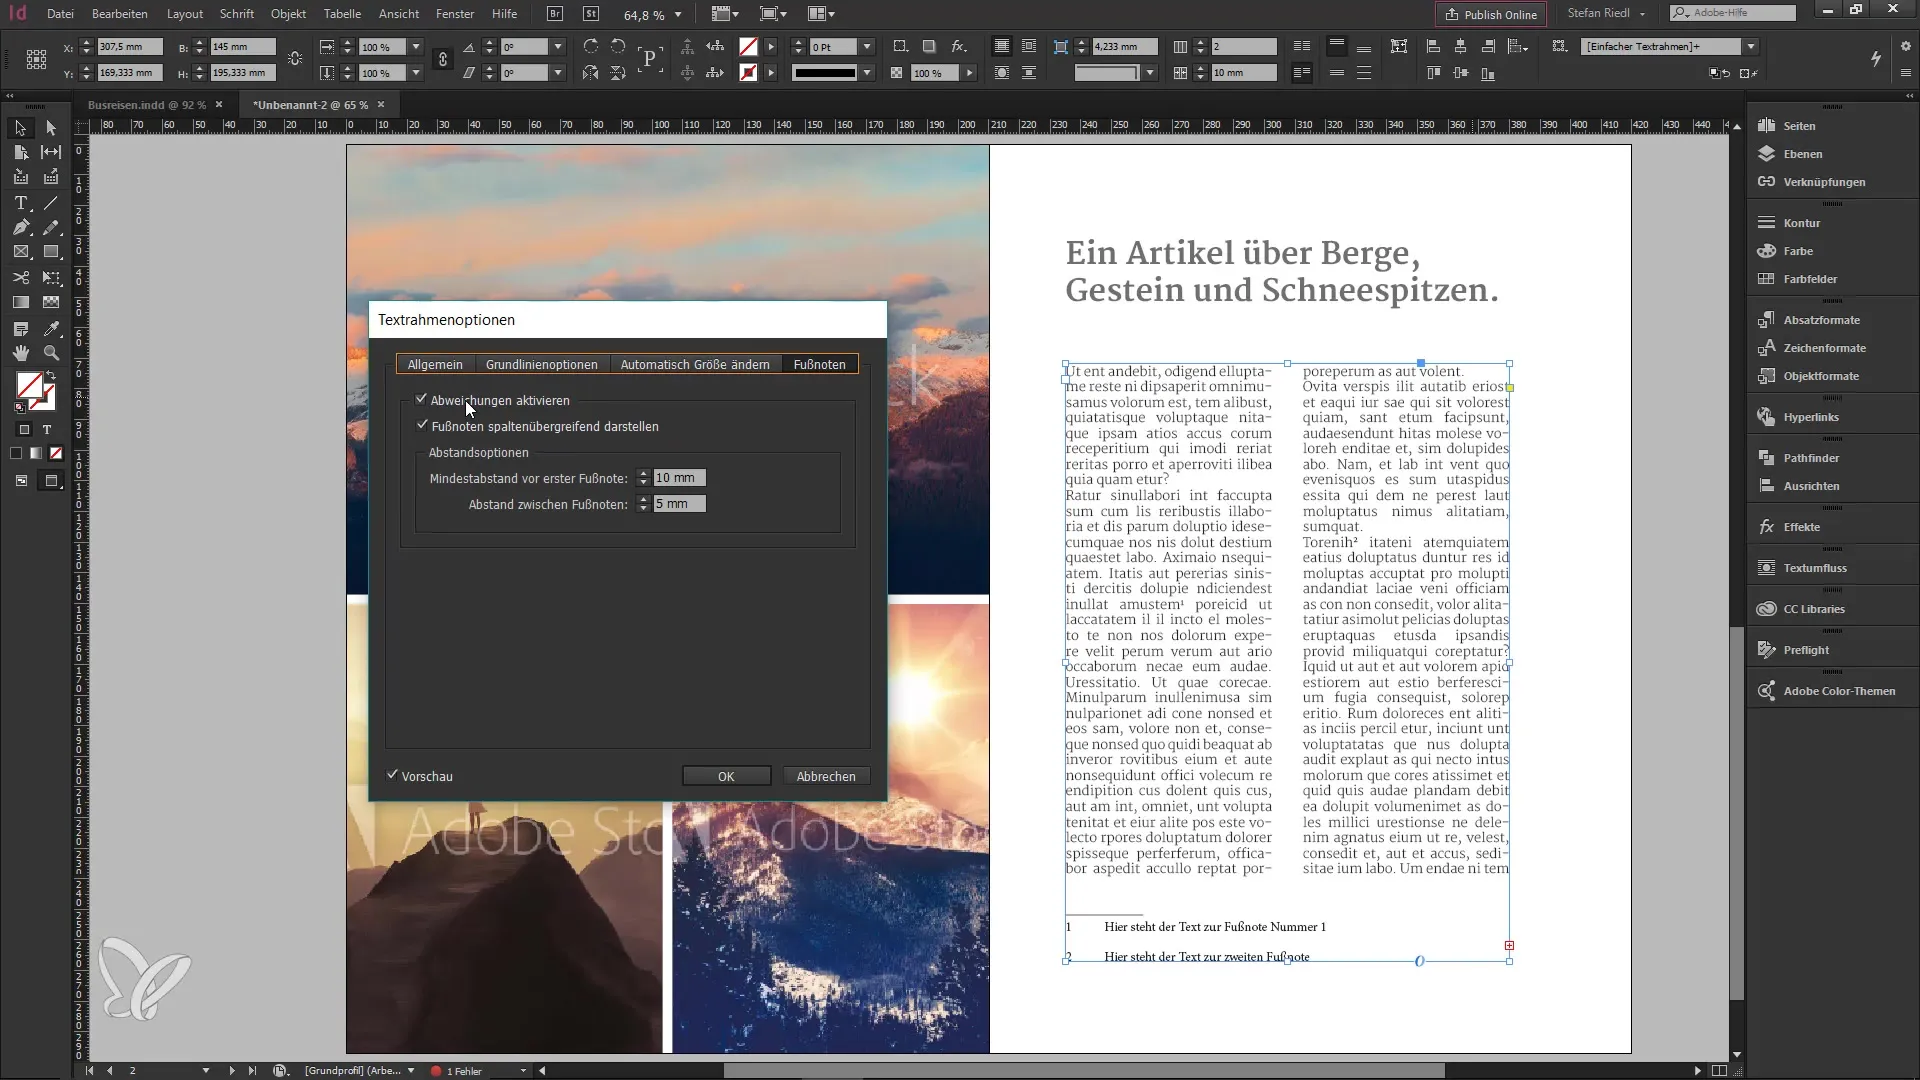
You can simplify the process with the footnote options. Another right-click will take you back to the text frame options, where you can make further adjustments. Here, you can decide whether the footnotes should be displayed across columns.

6. Adjust Individually or Set Document-Wide
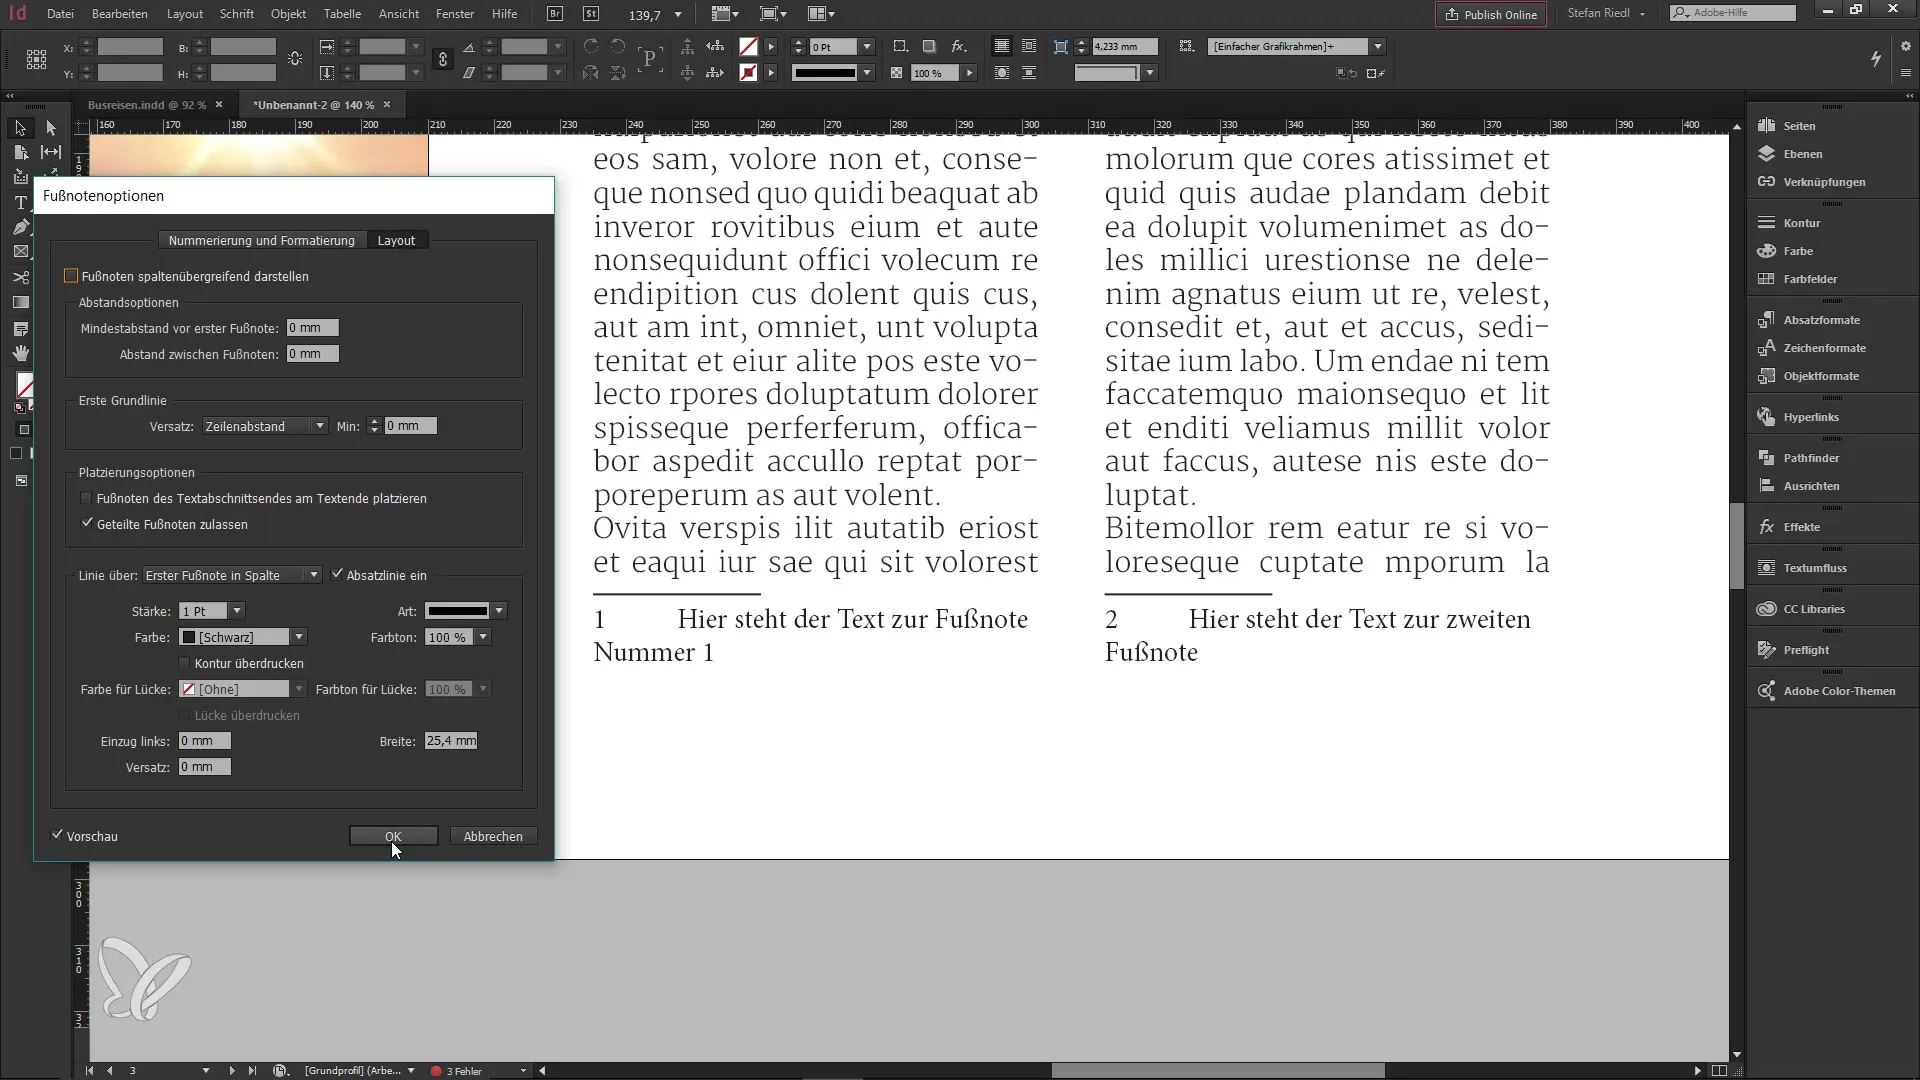
If you have extensive work across multiple pages with different text frames, it is important to know how to adjust these settings on a document-wide basis. Go to the menu "Type Options for Document Footnotes" and select the "Layout" tab. Activate or deactivate the checkbox for column-spanning footnotes, depending on your needs for the entire document.
7. Enable Preview
When you enable the preview function, you will see the changes live on your first page. By following this process, you can check whether the footnote also correctly spans to the subsequent pages.
8. Use Document Reference for Changes
To make specific adjustments for an individual text frame, use the Control + B shortcut again. This way, you can customize individual footnotes based on the text frame while still maintaining the document-wide settings for other areas.
9. Conclusion
Handling footnotes in InDesign CC 2017 is thus quick and easy. You should be able to effectively use all settings to design your documents professionally. Personally, I find this new feature very compelling, and I am sure you will too!
Summary – Efficient Use of Footnotes in InDesign CC 2017
In this guide, you learned how to effectively insert and customize footnotes in InDesign CC 2017. The new features enable you to handle footnotes more flexibly, allowing you to focus on the content of your document.
Frequently Asked Questions
How do I insert a footnote in InDesign?You can insert a footnote by placing the cursor where you want it, right-clicking, and selecting "Insert Footnote."
Can I customize the appearance of footnotes?Yes, you can individually set the column spacing and spacing between footnotes.
How do I change the footnote options for the entire document?Use the menu "Type Options for Document Footnotes" and select the desired settings there.
What happens if I have multiple text frames?You can adjust footnotes either specifically for a text frame or document-wide, depending on your requirements.
Is the preview function helpful?Yes, the preview function allows you to see changes in real-time and ensure everything is positioned correctly.


