The latest updates in InDesign CC not only bring fresh wind to the workflow but also offer you a significantly improved experience when working with effects and shapes. Especially the automatic scaling of effects with the objects themselves is a considerable plus that saves you many adjustments. Let's find out together how you can optimally use this feature to enhance your design process.
Key Insights
- Effects are automatically scaled with the object or text.
- This applies to strokes, drop shadows, gradients, and more.
- This innovation reduces the time required for manual adjustments.
Step-by-Step Guide
First, open InDesign and create a new file or open an existing project. Select the tool to create a new element, such as a circle.
It's advisable to fill the circle with a fill color to clearly see how the effects behave when scaling. Choose a bright color, like blue.
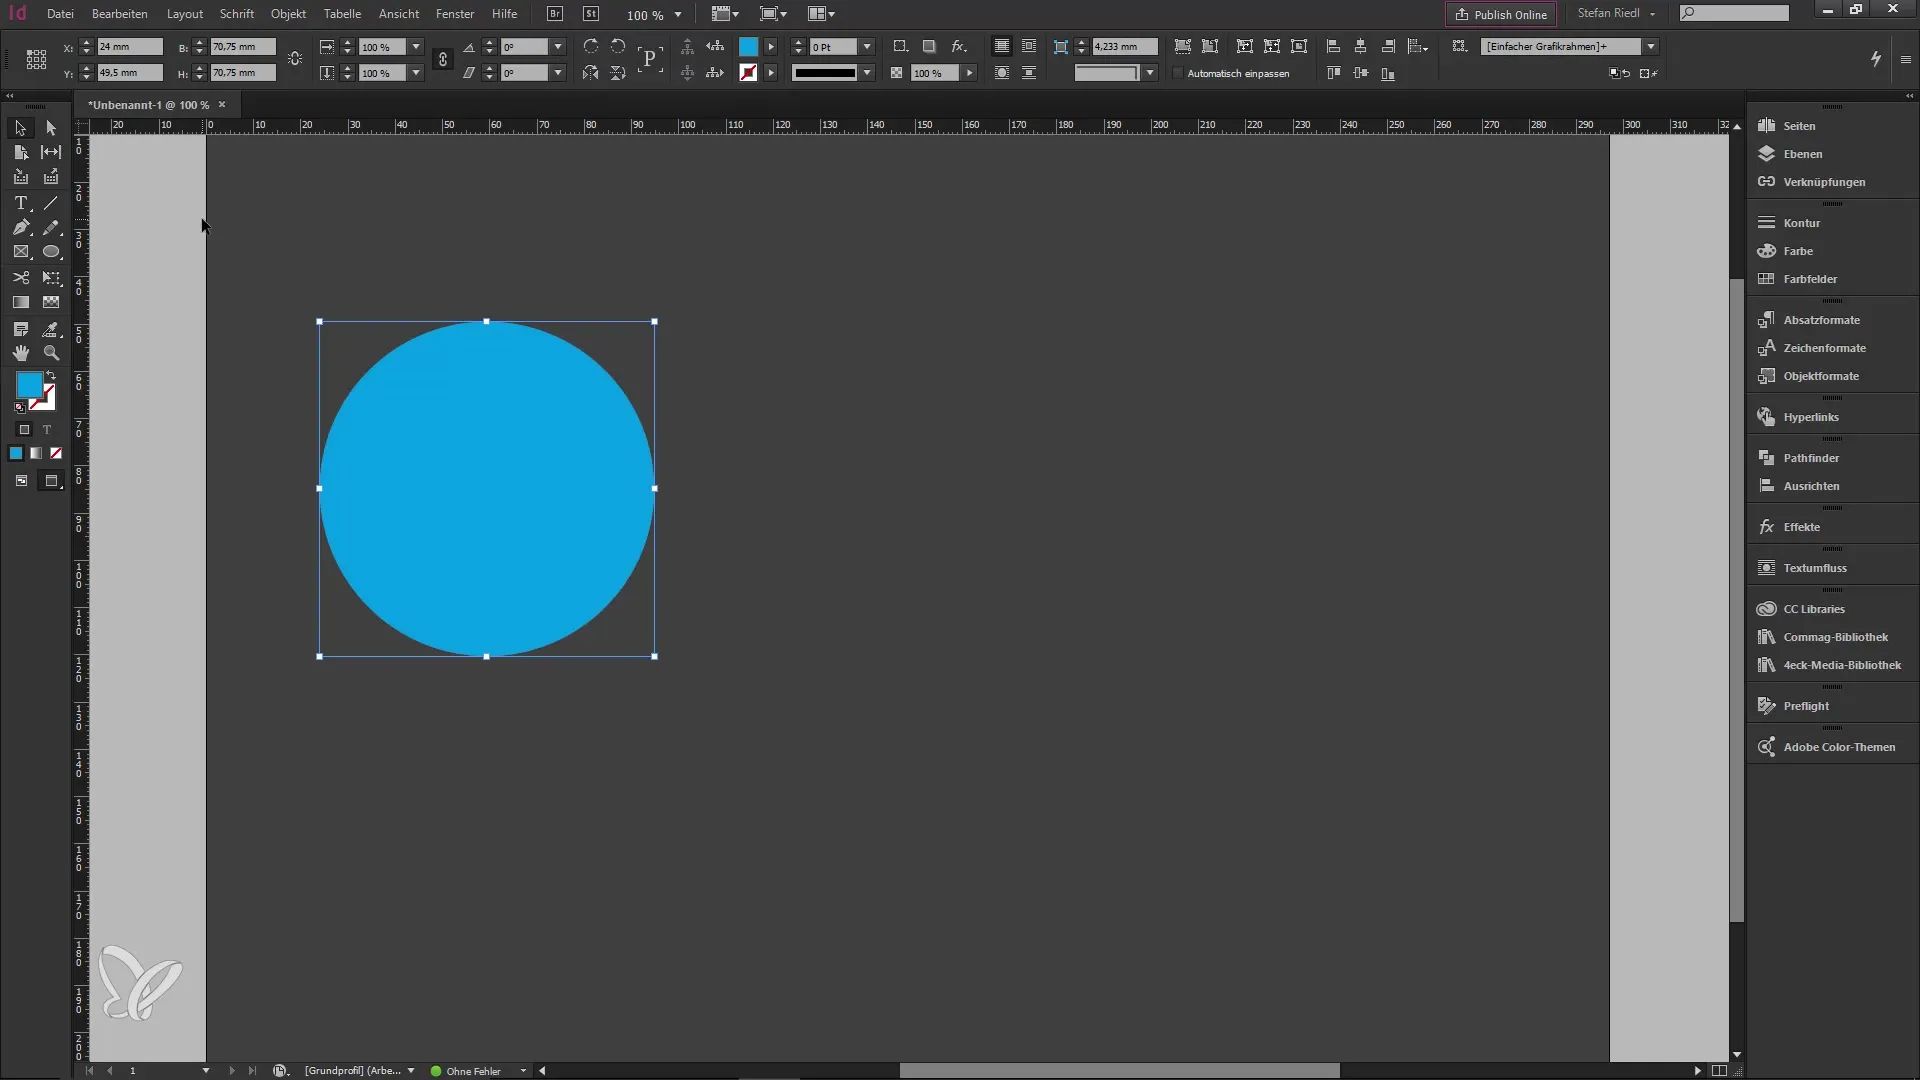
Now, add an effect to the circle to complete the demonstration. A simple way is to add a stroke. Set a stroke weight of three points.
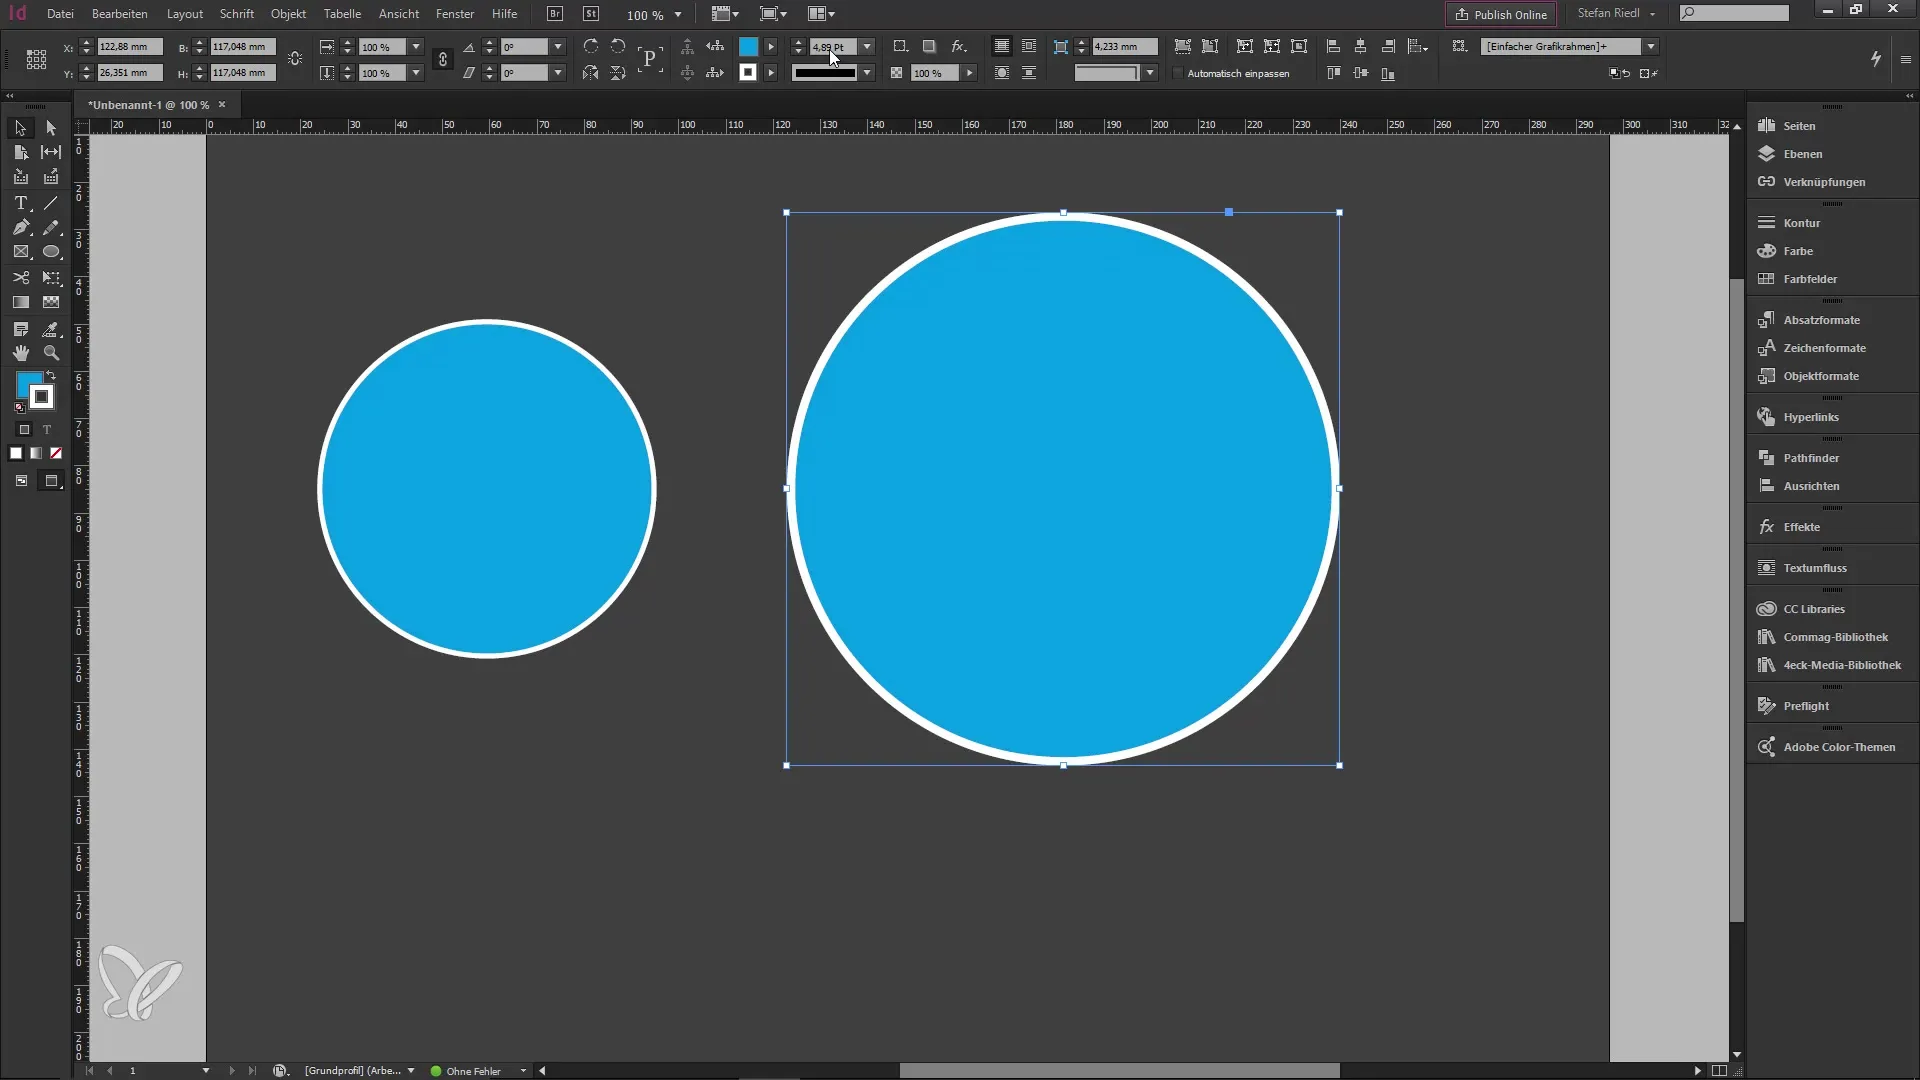
To better demonstrate the scaling effect, copy the circle and drag it to the right side of your workspace.
Now comes the exciting innovation: When you scale this circle, InDesign automatically scales the effects as well. Look at the stroke, which changes proportionally with the size of the circle.
For example, if you make a proportional change, the stroke weight adjusts to 4.89 points, saving you the tedious fine-tuning.
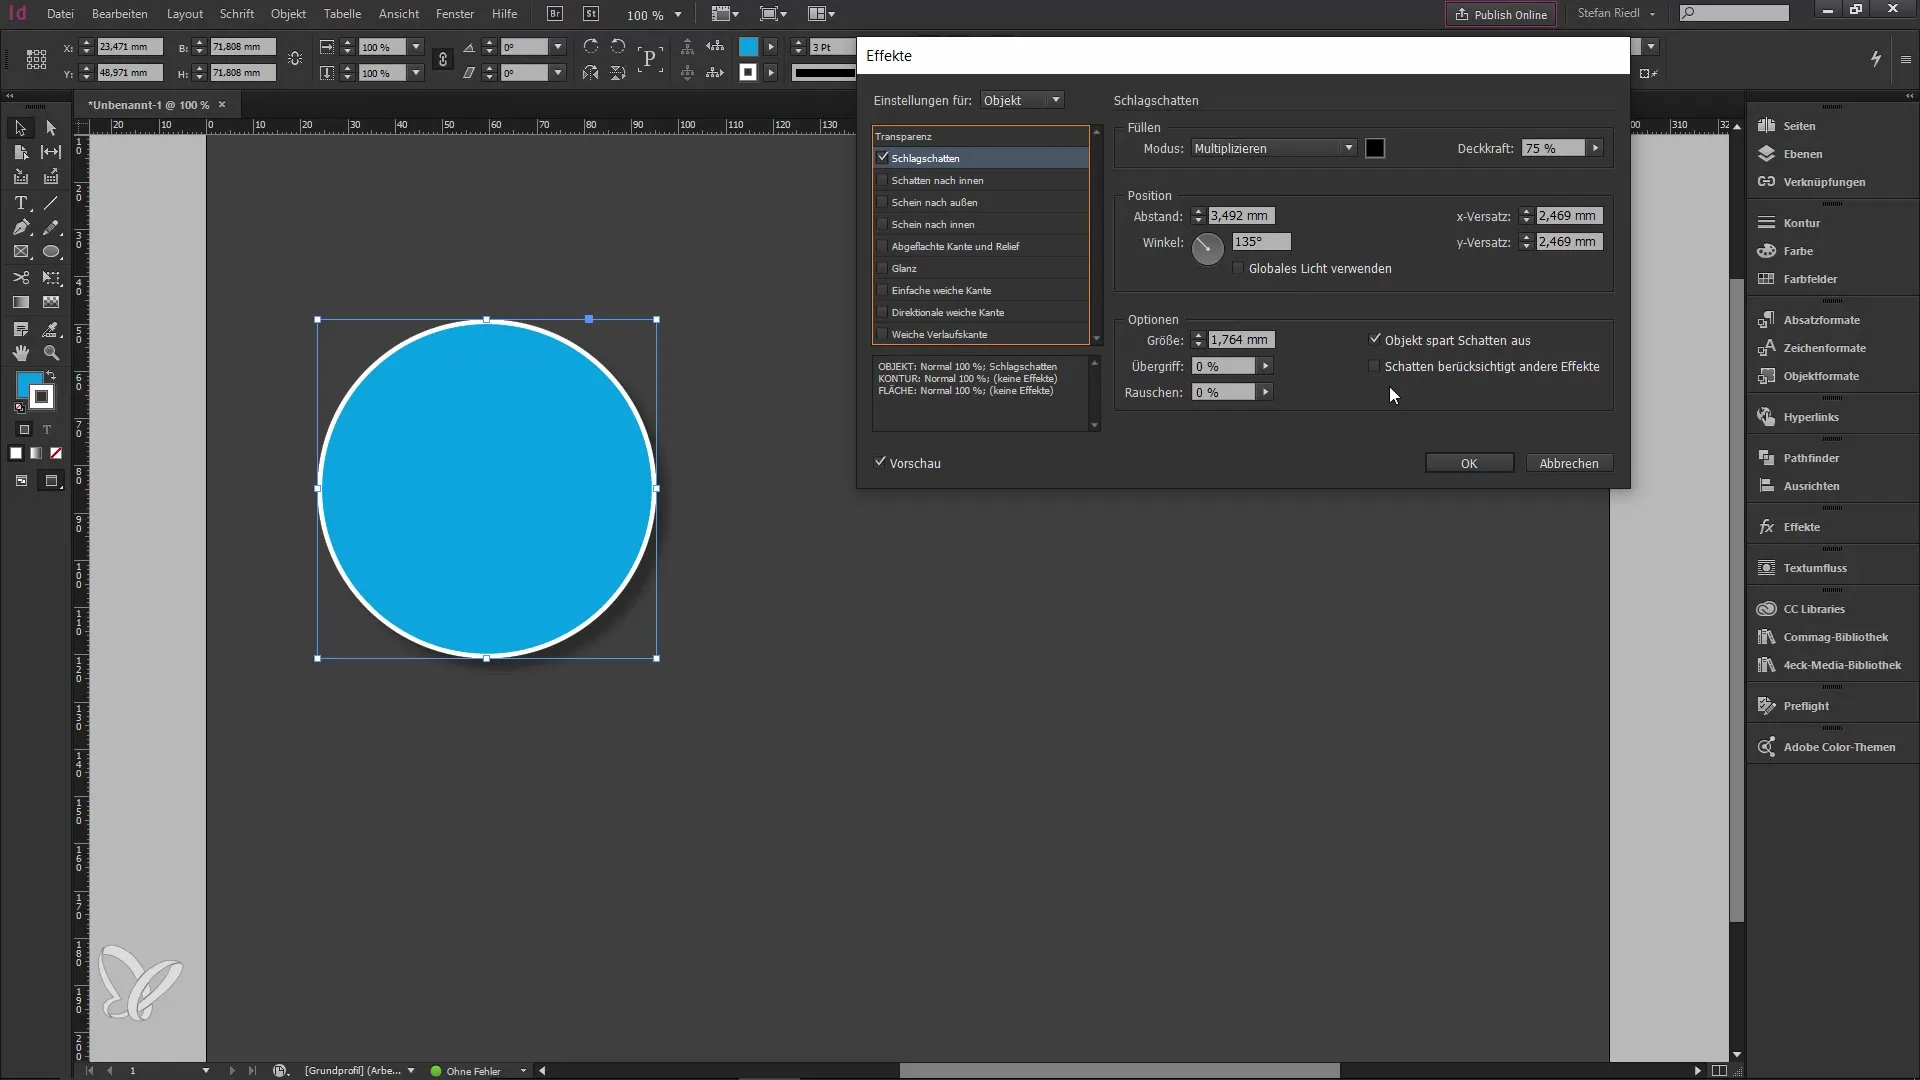
Another example you can try is adding a drop shadow. Select a drop shadow from the effects palette and set the values to your liking, such as 1.764 mm.
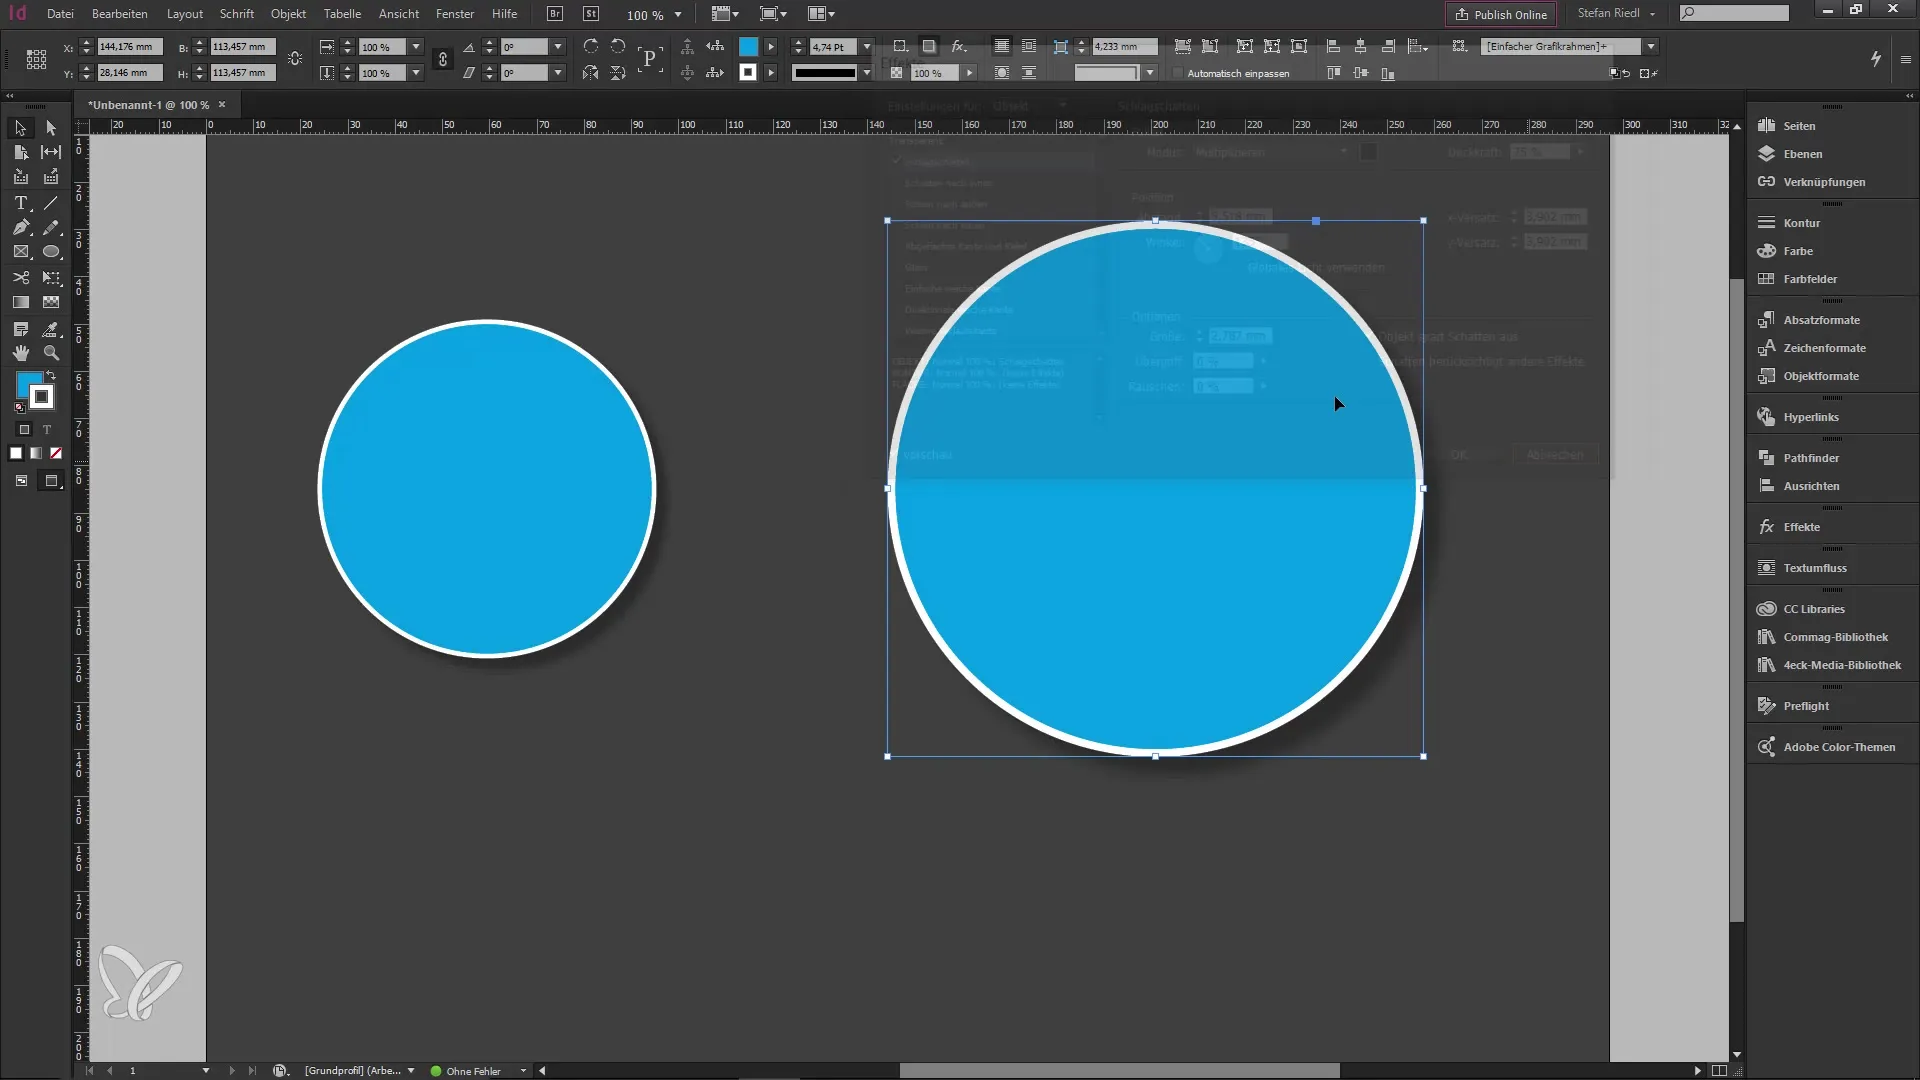
After confirming the drop shadow, you can create another copy of the circle and move it next to the other one. Now change the size of the second circle.
When you look at the shadow, you'll notice that the shadow size also changes proportionally – now it’s 2.787 mm, demonstrating that the system works efficiently.
The same applies to gradients. Choose a soft gradient edge and set the position, for example, to 30.
After adjusting the gradient edge, simply copy it into the new circle and resize it proportionally while holding down the Shift, Control, and Alt keys.
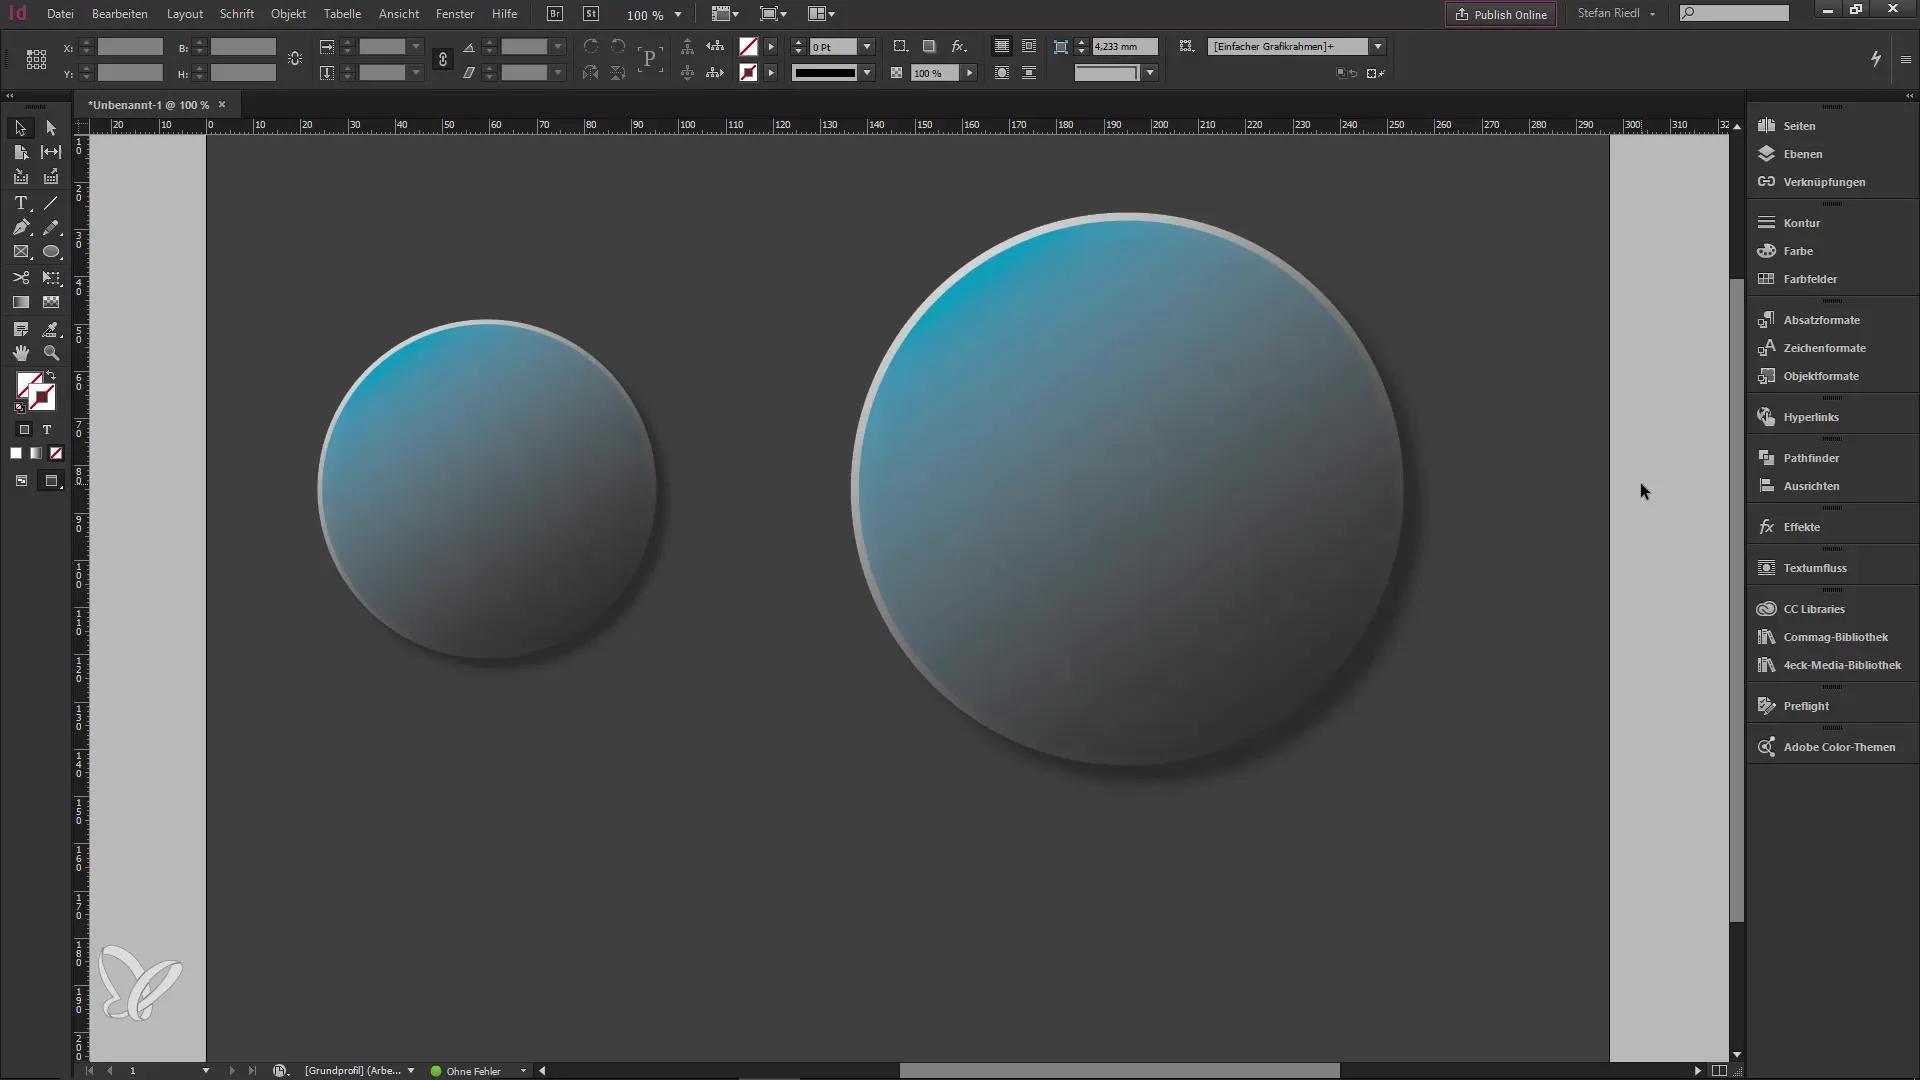
You will quickly notice how the gradient also adjusts proportionally. This feature is a practical relief in your design workflow.
Overall, this small but fine update brings more efficiency to your design work and avoids unnecessary adjustments that were often required before. Your designs will not only be faster but also easier to handle.
Summary – Effectively Scaling Effects in InDesign CC 2014
Here you have seen how easy it is to scale effects in InDesign CC 2014 according to the objects. This function takes a lot of work off your hands and allows you to focus more on creative solutions.
Frequently Asked Questions
How do I add an effect in InDesign?To add an effect, select the object and choose an effect from the effects palette.
Why does the stroke weight change when scaling?InDesign automatically adjusts the stroke weight to the size of the object when you scale it.
How can I scale proportionally?Hold down the Shift, Control, and Alt keys while dragging the object.
Can I scale multiple effects at once?Yes, all effects applied to the object will be scaled proportionally.
What if I want to adjust the effects manually?You can manually adjust the effects if you want specific changes.


