Adobe InDesign has received some exciting features in its 2021 version that can significantly enhance your design experience. Although there hasn't been much innovation overall in this version, there are two standout features that every designer should utilize in their workflow. These new possibilities – the integration of Adobe Capture and the improved user interface – bring fresh energy to creative work. In this guide, I will show you how to effectively use these functions.
Key Insights
- With Adobe Capture, you can analyze and utilize images directly from InDesign.
- The scalable user interface enhances the user experience, especially on high-resolution monitors.
Step-by-Step Guide
1. Use Adobe Capture in InDesign
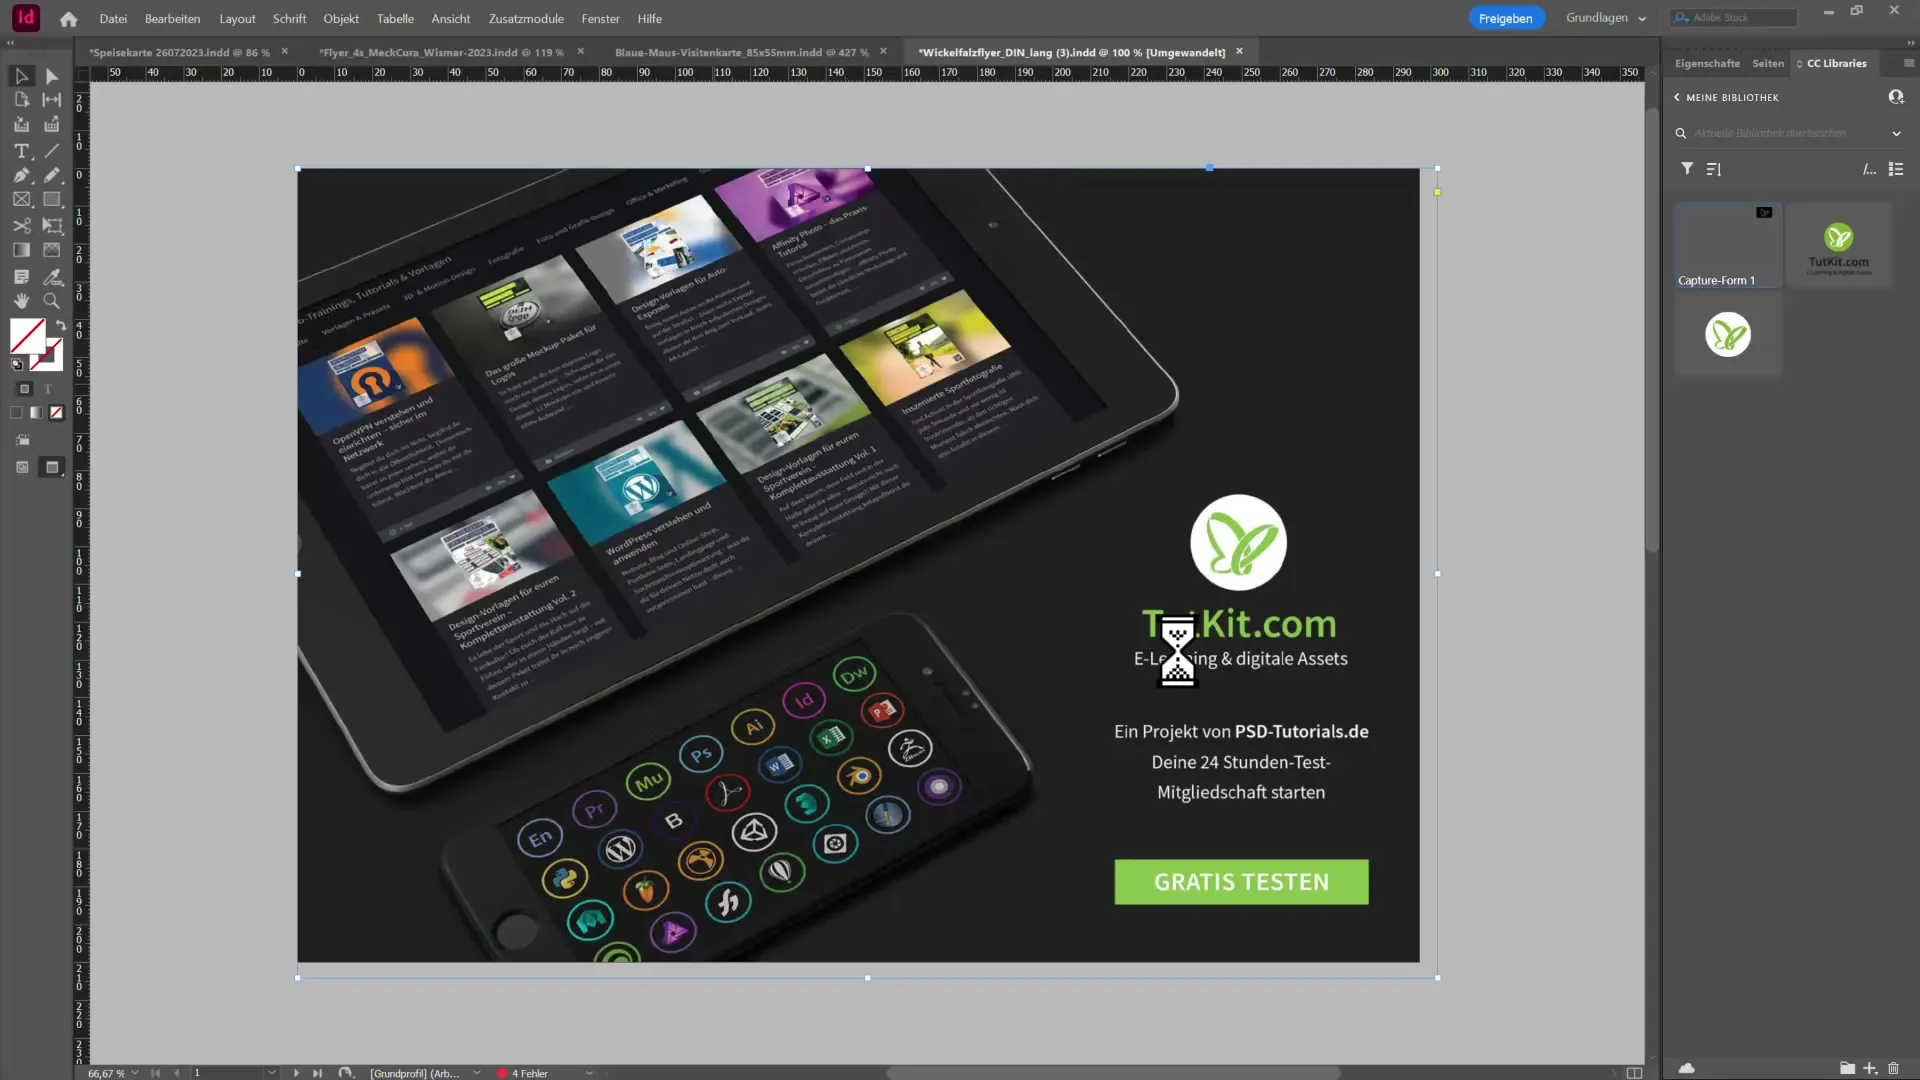
Start by inserting an image into your InDesign document. Choose an image that you want to analyze. In my case, I simply used a screenshot image. After selecting the image, go to Object and choose Extract Fonts.
A dialog box will appear where you can draw the area you want to analyze. Make sure to define the exact position on the image where you want to recognize the text with your mouse.
Once you have drawn the desired area, the suspected font will be displayed. In this case, it was recognized that the image contains the font "Tutkit.com". You can scroll through the list to view alternative suggestions and select the most suitable font.
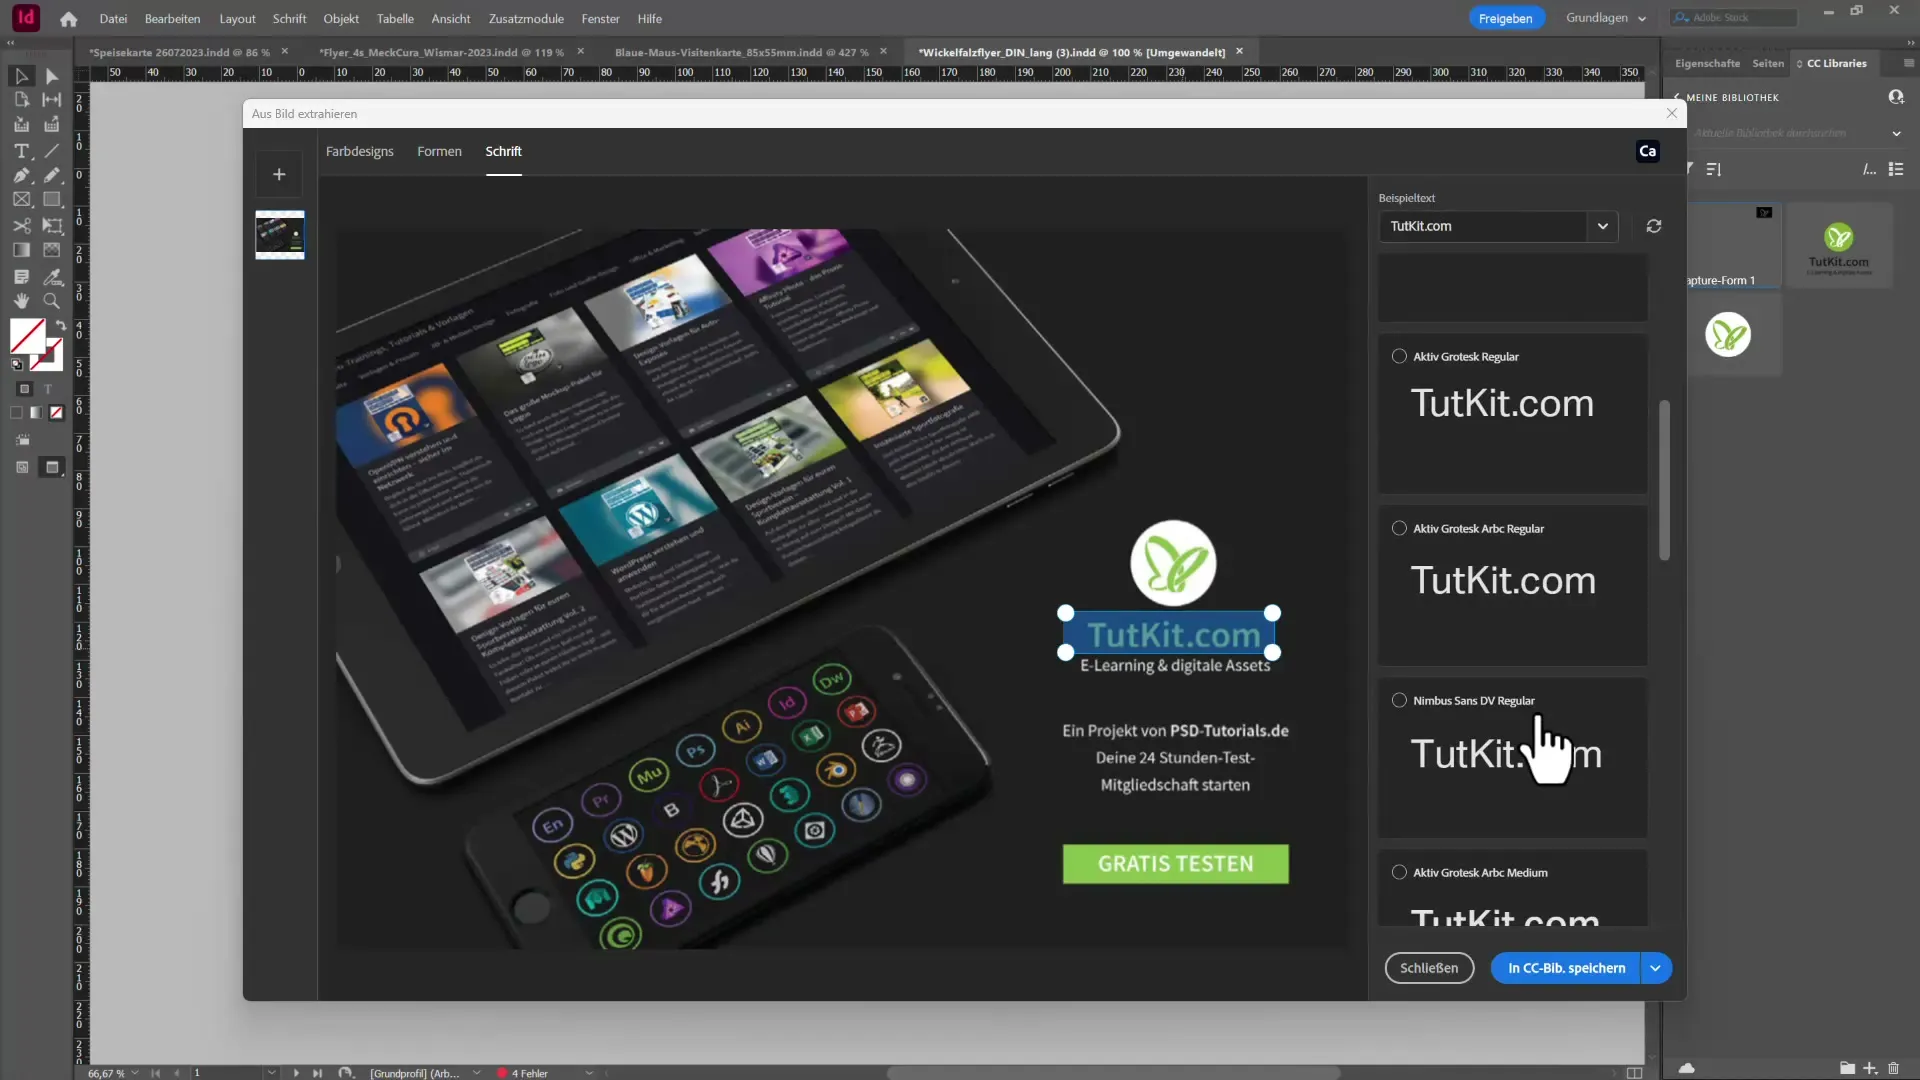
To save the recognized font in your document, there are two options: You can save it either as a character style or as a paragraph style. Just use the respective button below, and the font will be immediately transferred to your library.
2. Color Analysis with Adobe Capture
Another useful feature is color analysis. To see which colors are used in your image, click on Color Theme. In a new window, you will see the colors that frequently appear in your file.
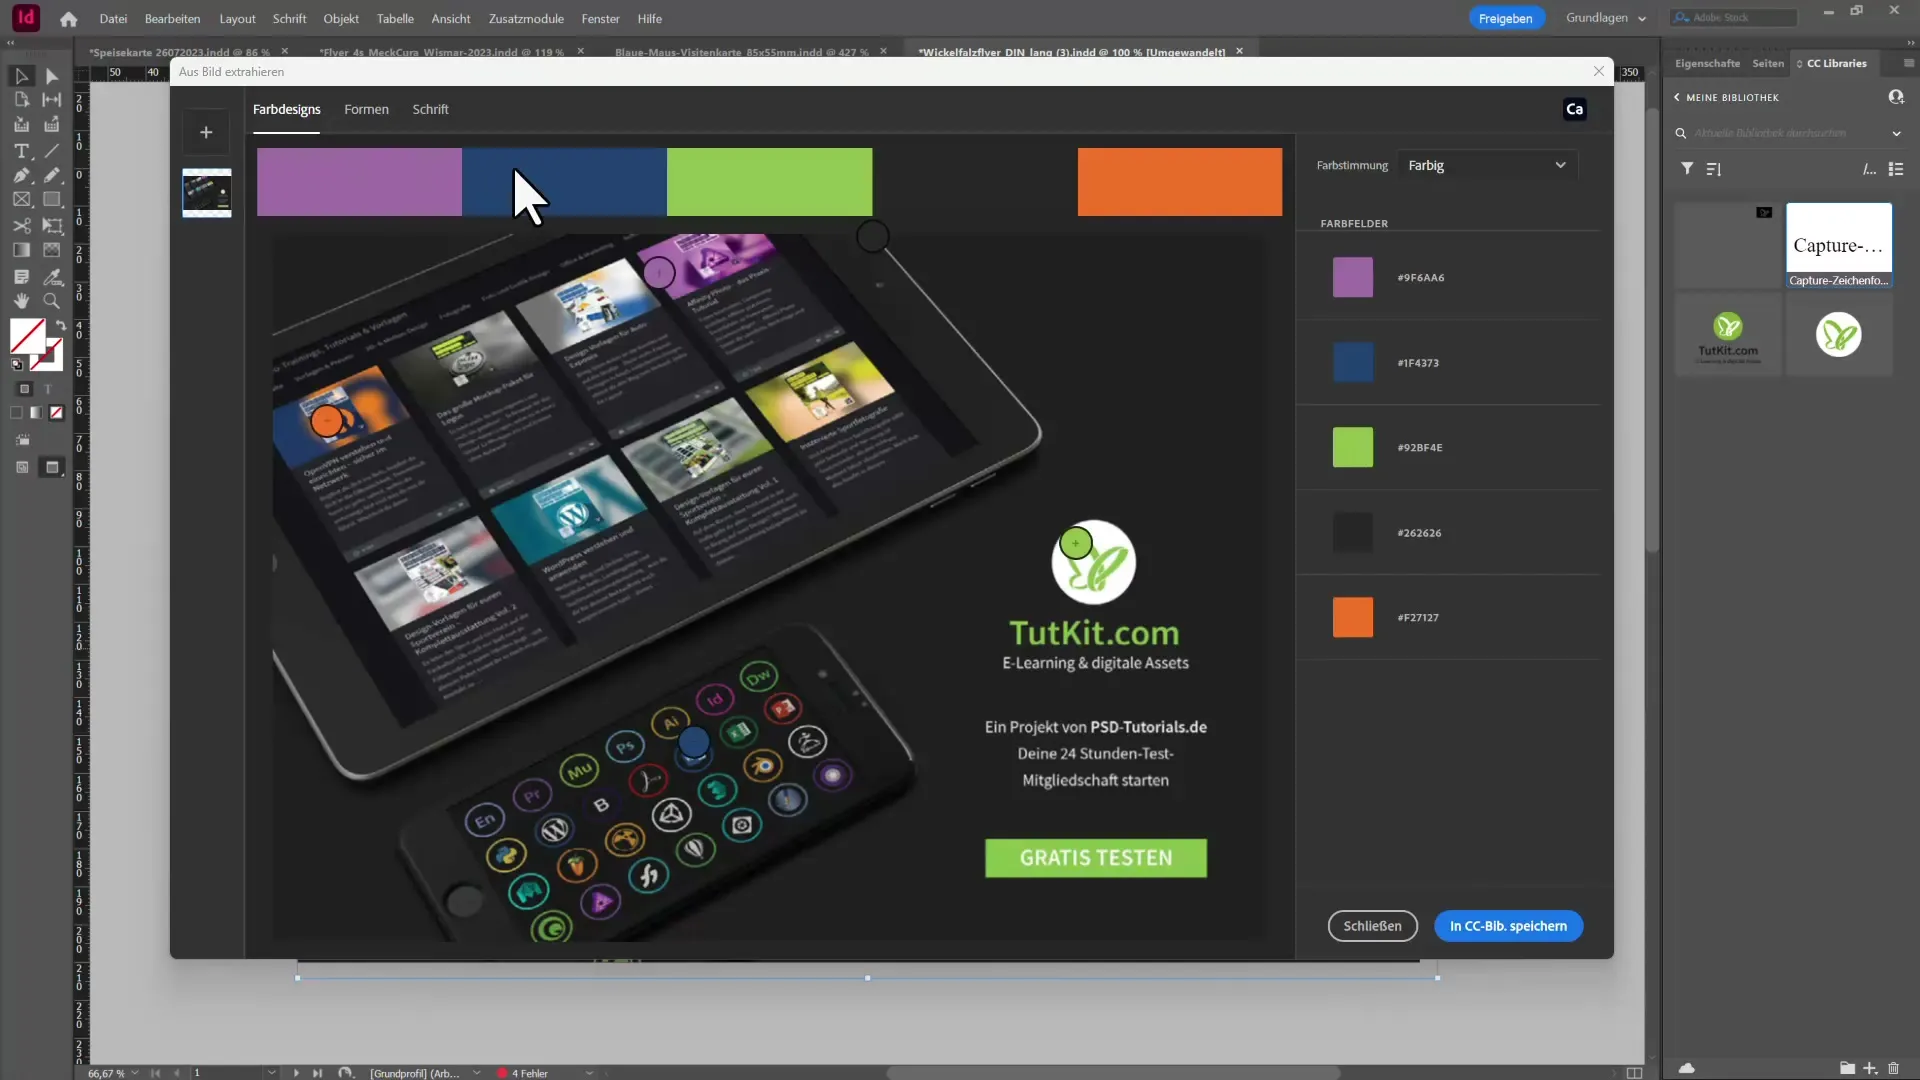
You can also filter by mood to display only dark colors, for example. If you like one or more colors, you can also save them in your CC library. This way, you have everything important for your project at hand in no time.
3. Create Vectors from Images
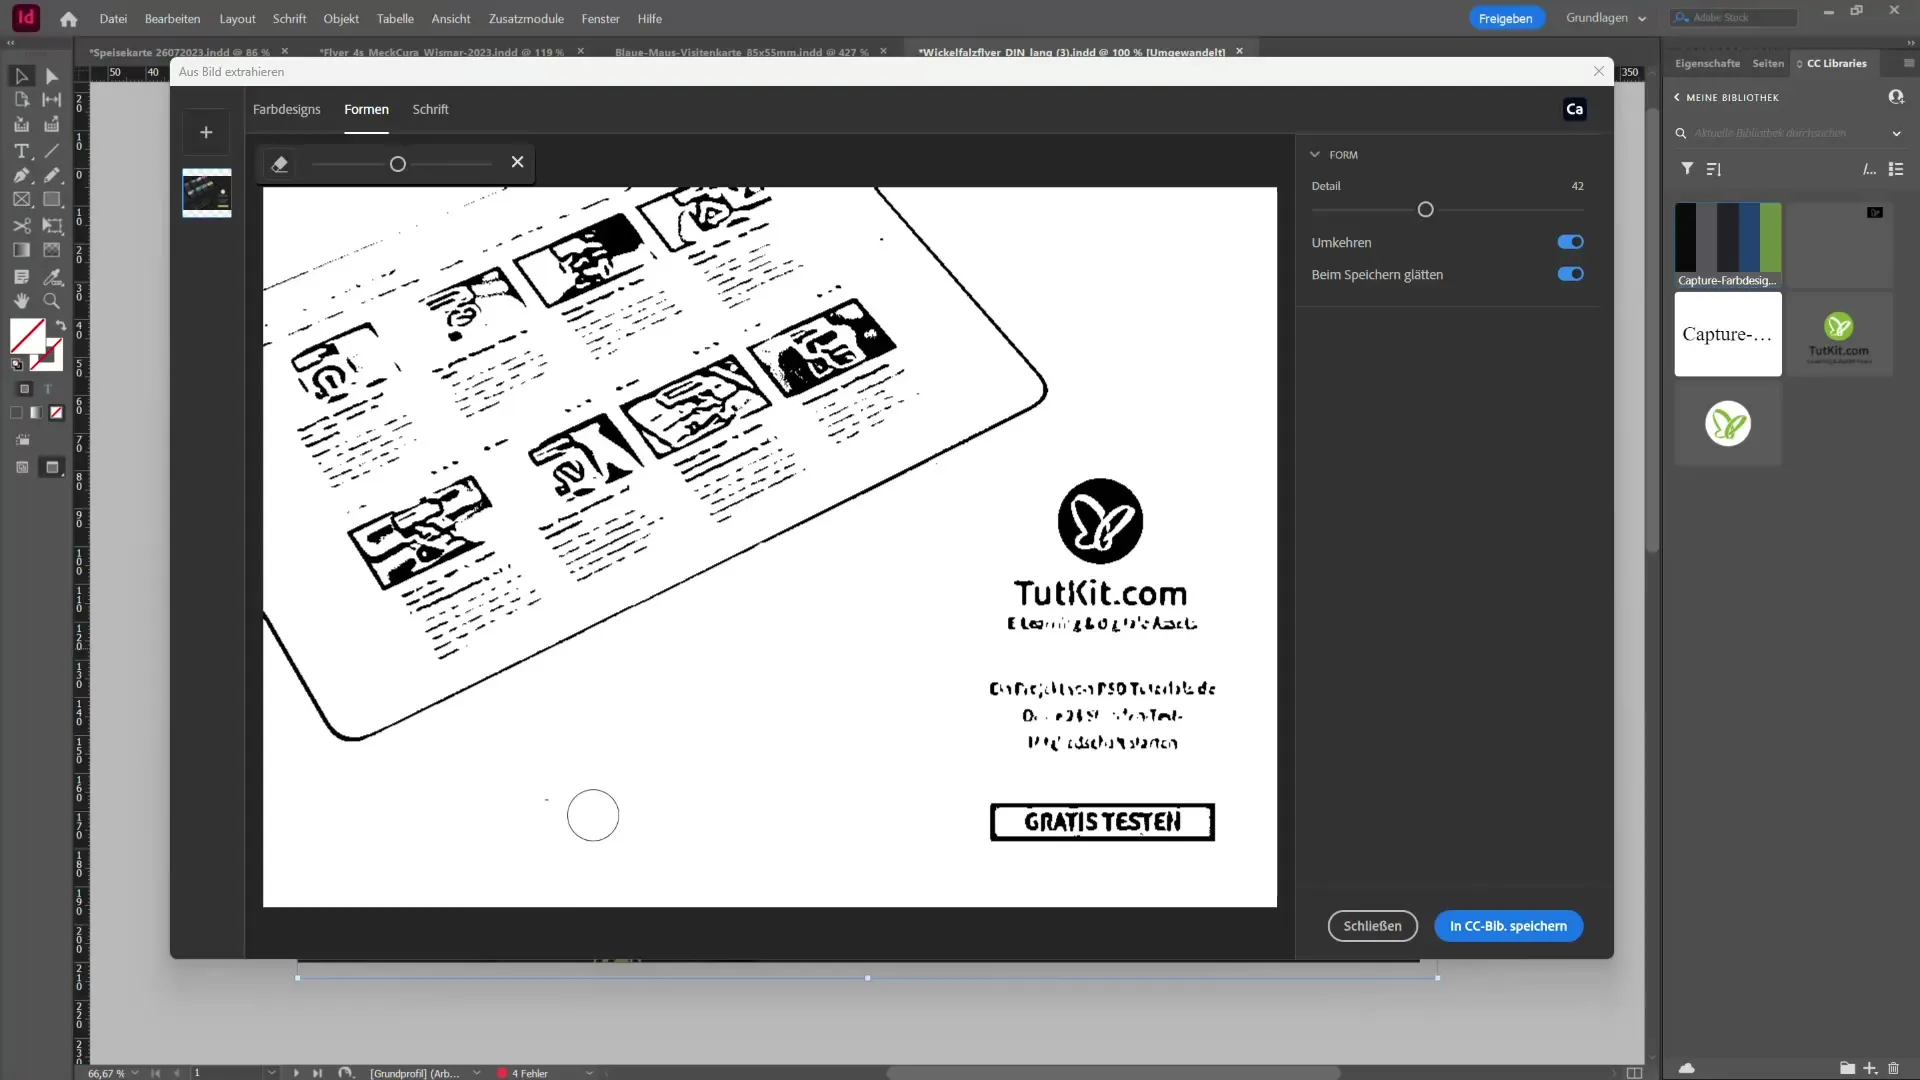
Another interesting feature is creating vector shapes. If you want to generate a shape, draw an area and select the desired details. This can help you create a logo or another graphic.
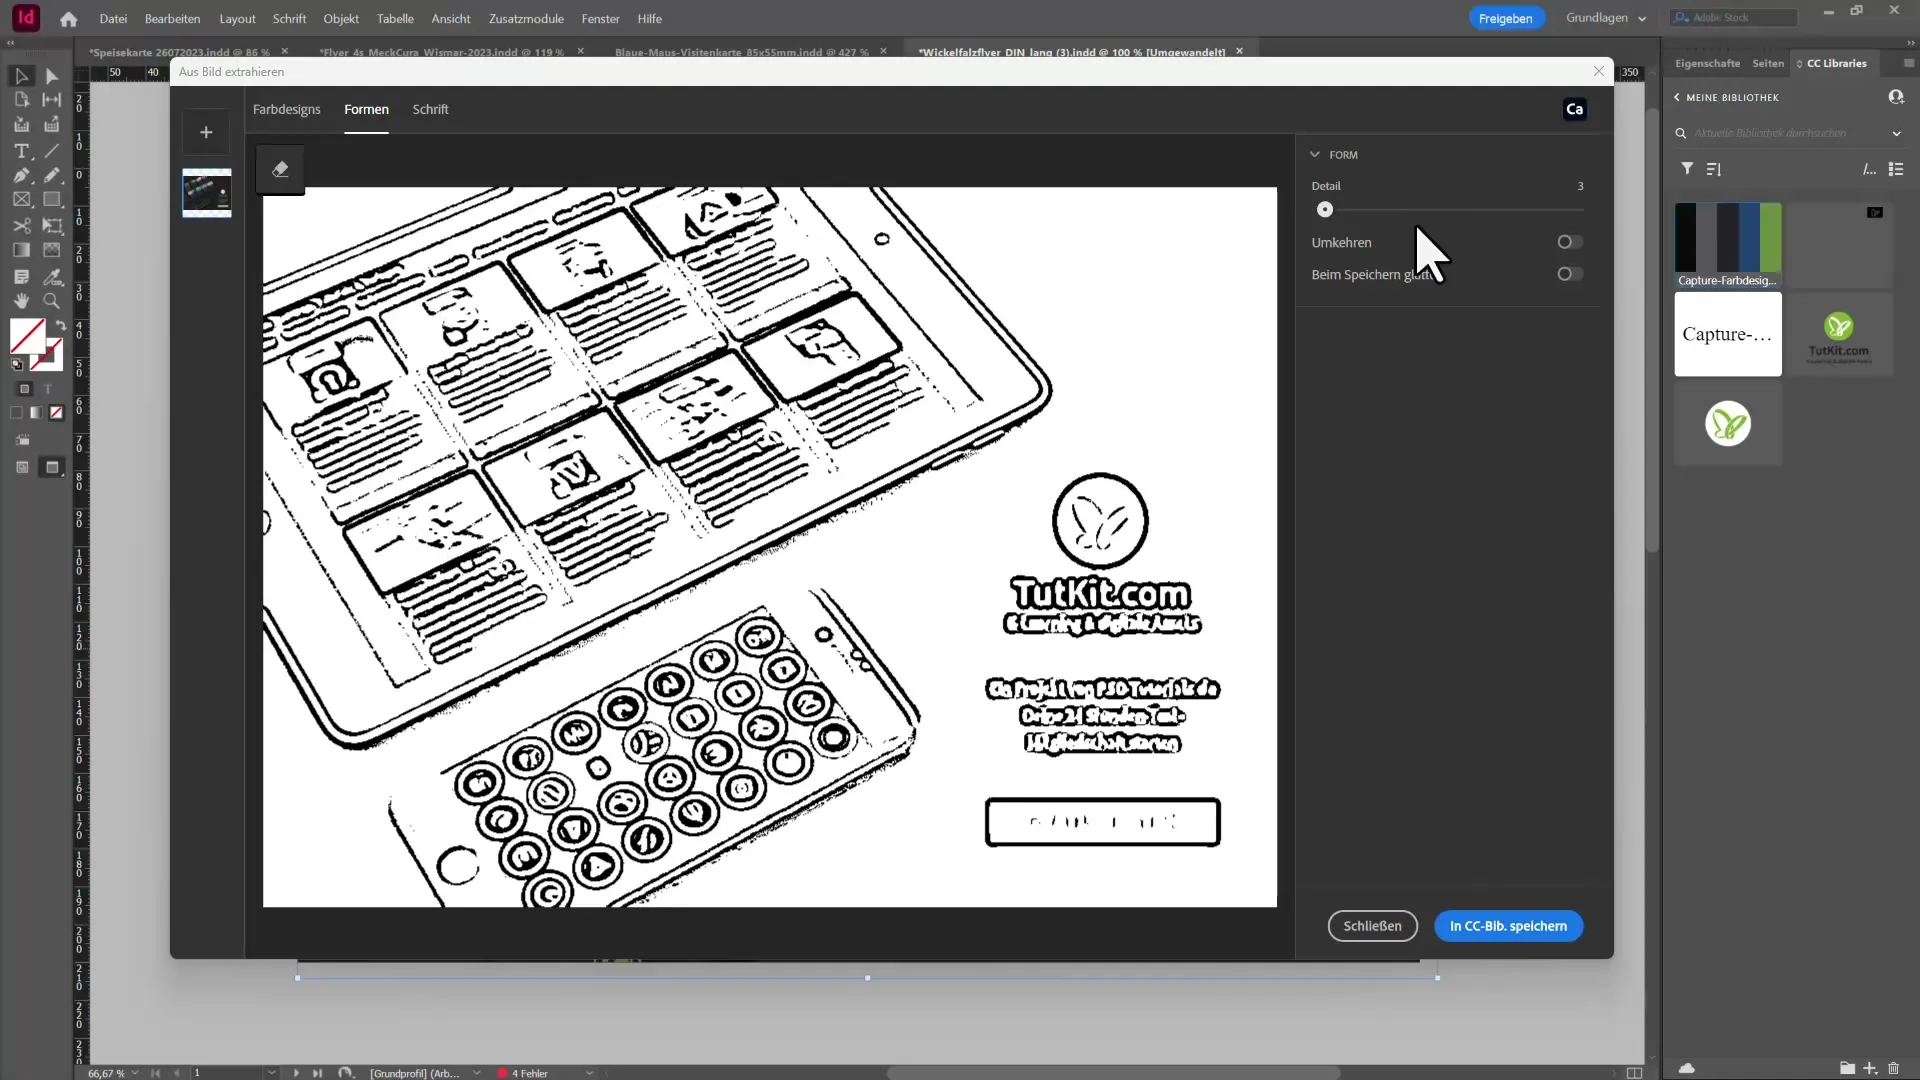
After creating the shape, you can erase unused elements and adjust the result. Once you are satisfied with the vector shape, save it, and it is ready to use in your InDesign document.
4. Use Scalable User Interface
Go to Preferences and then to Scale Interface to adjust the different levels of the user interface. This function is particularly useful when using a high-resolution monitor to ensure that all elements are clearly visible.
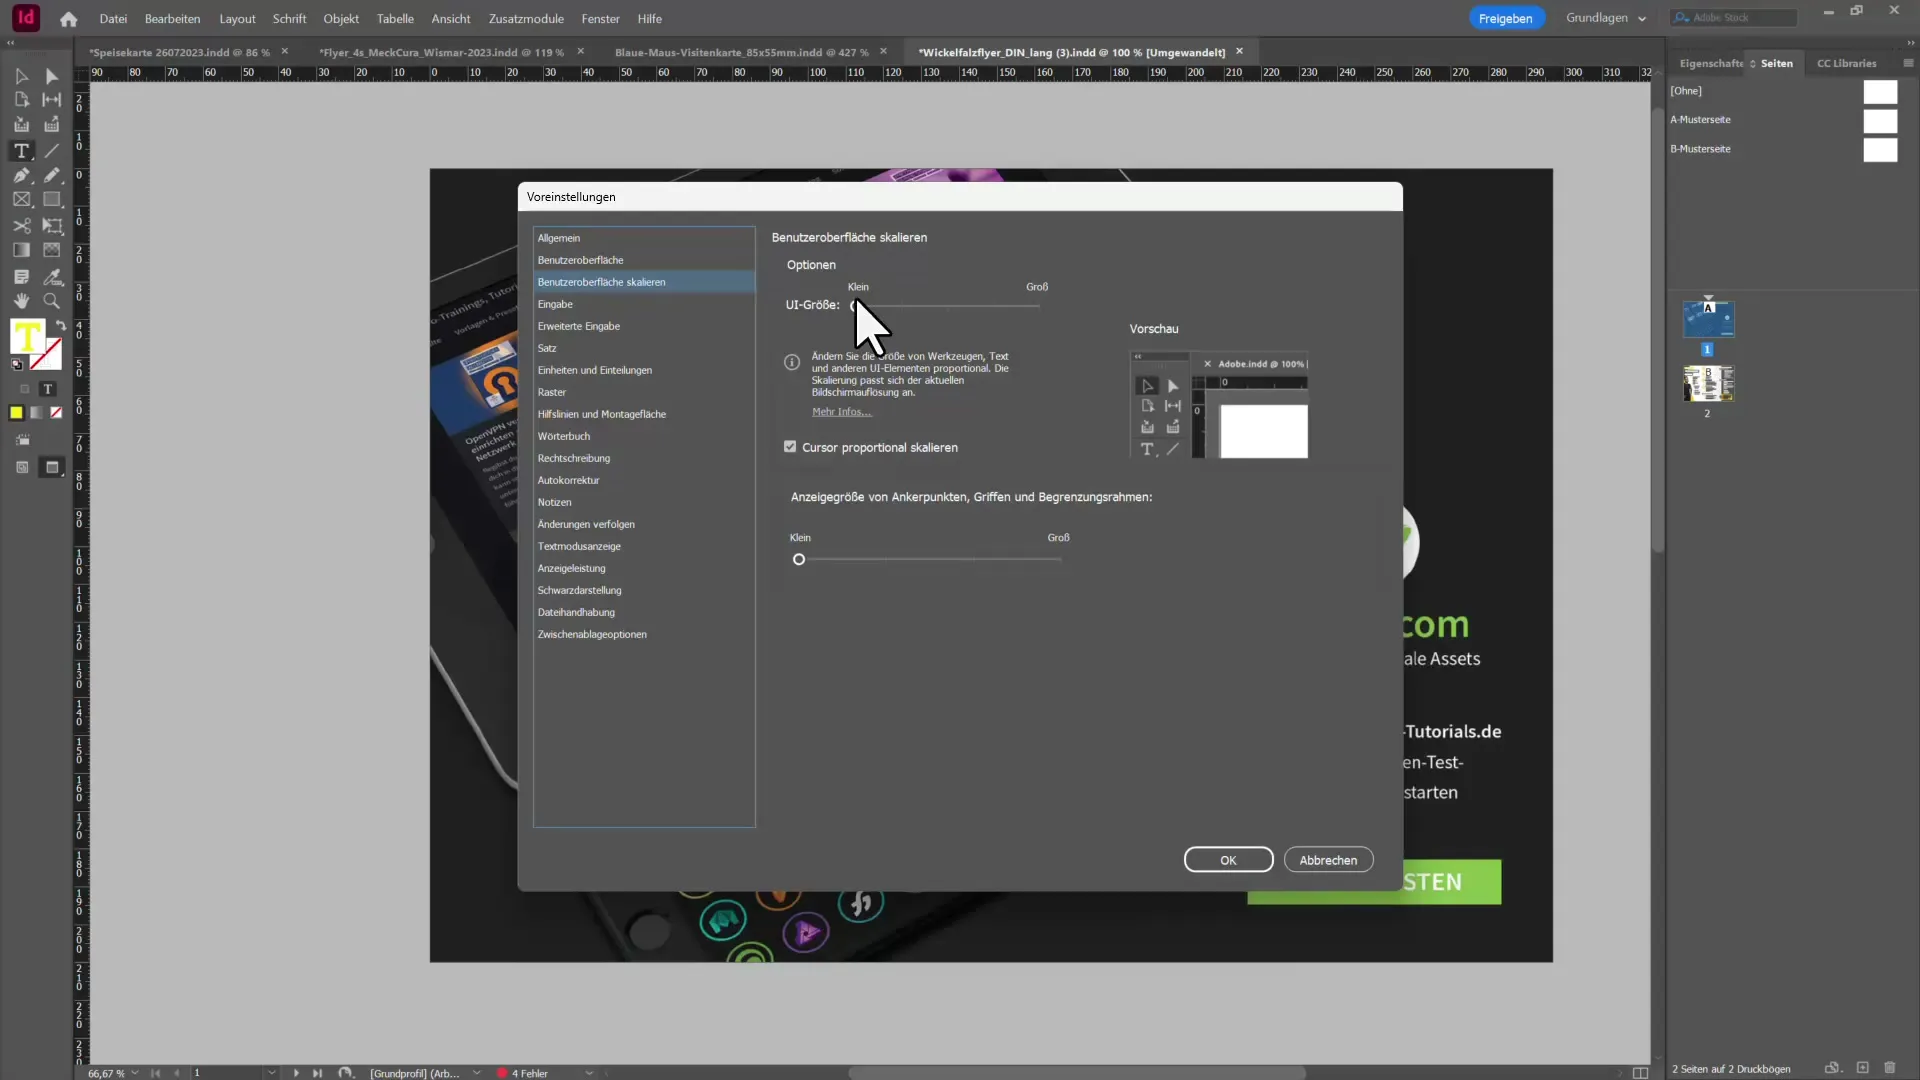
Change the display size of anchor points and bounding boxes to achieve an optimal user experience. You need to restart InDesign for the changes to take effect, so be sure to save your progress.
Summary – What's New in Creative Cloud: InDesign CC 2021
The 2021 version of Adobe InDesign offers some useful features. With the Adobe Capture integration and the improved user interface, you will work more efficiently and creatively. Be sure to integrate these new tools into your usual workflow.
Frequently Asked Questions
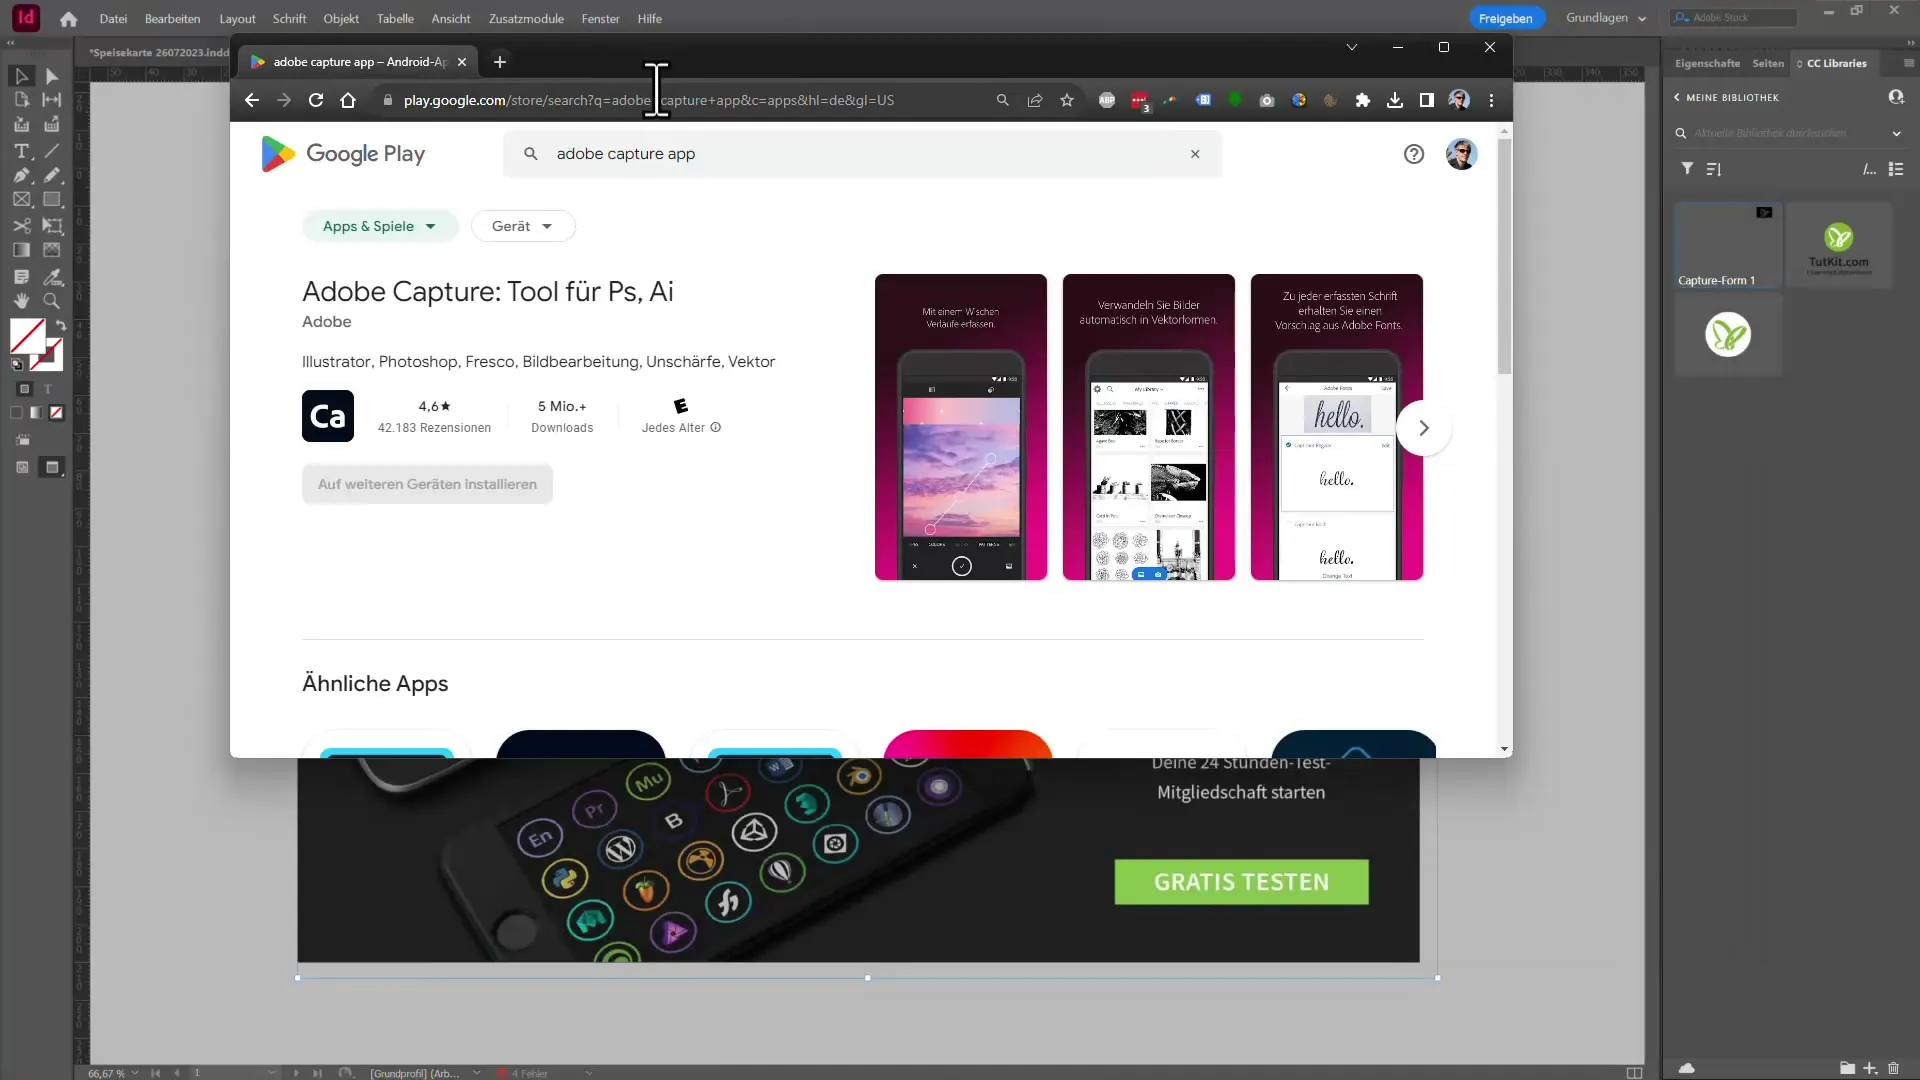
What is Adobe Capture?Adobe Capture is an app that lets you extract colors, fonts, and shapes from images.
How can I save fonts from images in InDesign?Select the recognized font and use the options to save it as a character style or paragraph style.
What are the benefits of the scalable user interface?The scalable user interface improves visibility and handling of InDesign on high-resolution monitors.
How do I restart InDesign after changes in preferences?Save your progress and close InDesign to make the changes effective.
Can I create vectors from images in InDesign?Yes, you can generate vector shapes from images and then customize them.

