Are you looking for a creative method to edit portraits and create a unique fusion? This guide aims to familiarize you with the process of merging two portrait images in Photoshop. You will learn how to create a new, fascinating face that does not exist in reality using specific tools and techniques. In the following sections, you will gain valuable insights into the workflow and application of Photoshop to take your creative skills to the next level.
Key Insights The fusion of portraits in Photoshop is a creative process that is conducted using special techniques and tools. You will learn how important it is to select suitable images and how the workflow can be divided into phases to achieve optimal results. It involves a combination of digital editing skills and creative thinking to create an innovative and unique image.
Step-by-Step Guide
Introduction to the Process
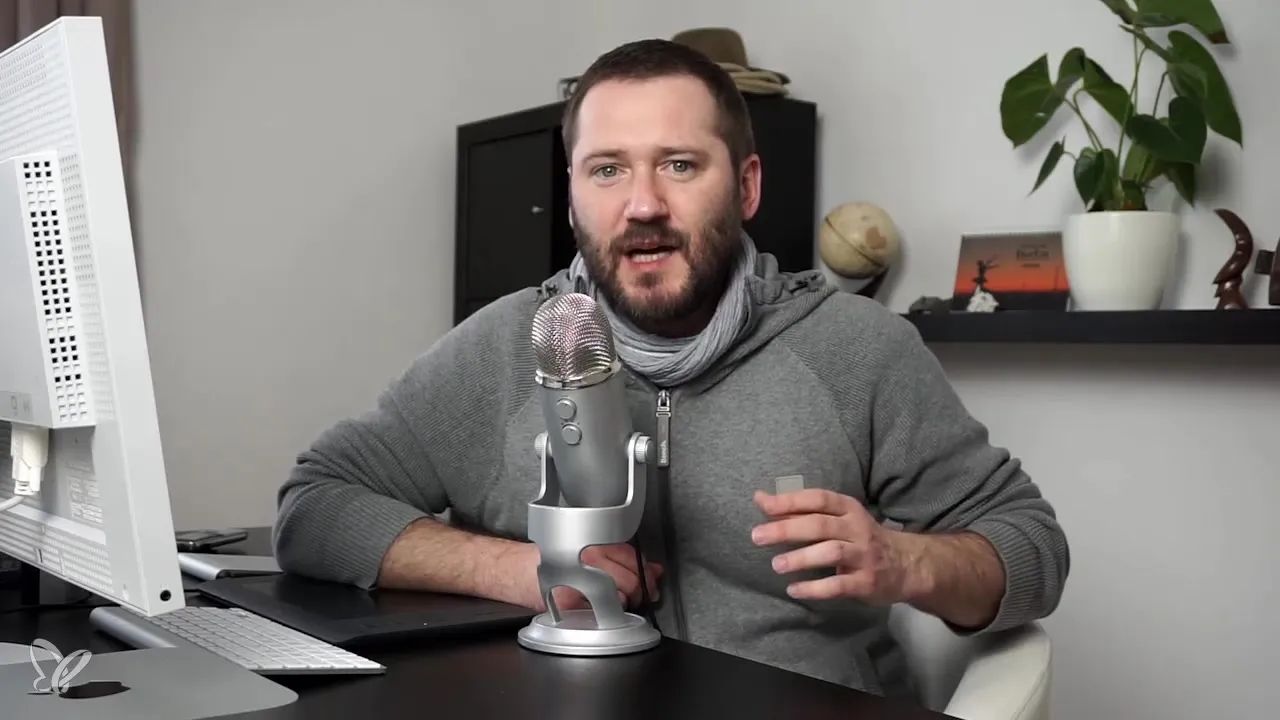
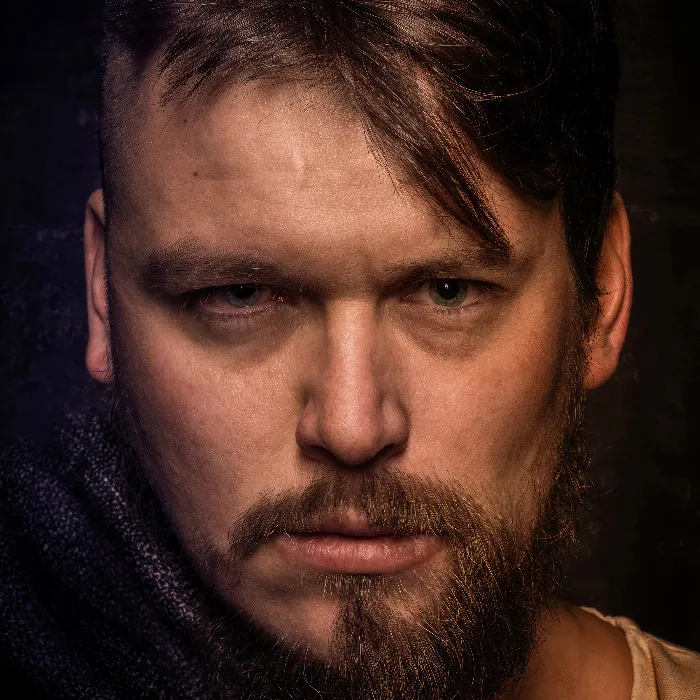
The first step in your morphing project is selecting the two portraits you want to combine. Make sure that the images have similar positions and lighting conditions to create a harmonious fusion. So you will select the portraits of Daniel and Alexander, which will form the basis of your work.
Preparing the Images
After selecting the portraits, the next step is to import and prepare them in Photoshop. You can import the images into separate layers so that you can edit them more easily later. Make sure that the images are the right size and resolution to maintain quality.
Aligning the Portraits
Now it’s time to align the portraits so that they overlap. You can adjust the two layers by reducing the opacity of the top layer. This way, you can keep the features of both portraits in view and position them ideally. Experiment with the positioning until you are satisfied with the result.

Masking the Layers
To achieve an effective fusion, you should use masks. Select the top layer and add a mask to edit the areas you want to merge selectively. With a soft brush, you can now gently paint over the mask to soften the transitions and better align the contours of the images.
Applying Adjustment Layers
Adding adjustment layers is crucial to refine the final image. You can adjust the hues and contrasts to further connect the images. Experiment with hue/saturation and curves to create a harmonious overall picture.
Polishing and Final Adjustments
Once you are satisfied with the main fusion, it’s time for the finishing touches. Check the edges and transitions carefully to ensure they look natural. Use Photoshop’s retouching tools to eliminate small irregularities and perfect the image.
Exporting the Final Image
The final step is to export your special merged portrait. Choose the desired file format depending on where you want to use the image, whether online or in print. Make sure to select the quality settings optimally to achieve the best possible display.
Summary – Fusion: The Morphing Workflow in Photoshop
In this guide, you have received a clear overview of the morphing workflow in Photoshop. You have learned how to effectively merge two portraits to create something unique and creative. With the right tools and techniques, you can turn your artistic ideas into reality and achieve impressive results.
Frequently Asked Questions
How do I choose the best portrait images?Look for images with similar lighting conditions and positions for a harmonious fusion.
What are the best adjustment layers for the fusion?Hue/saturation and curves are usually the most helpful adjustment layers.
What file format should I choose for export?Select JPEG or PNG, depending on the intended use on your desired medium.

