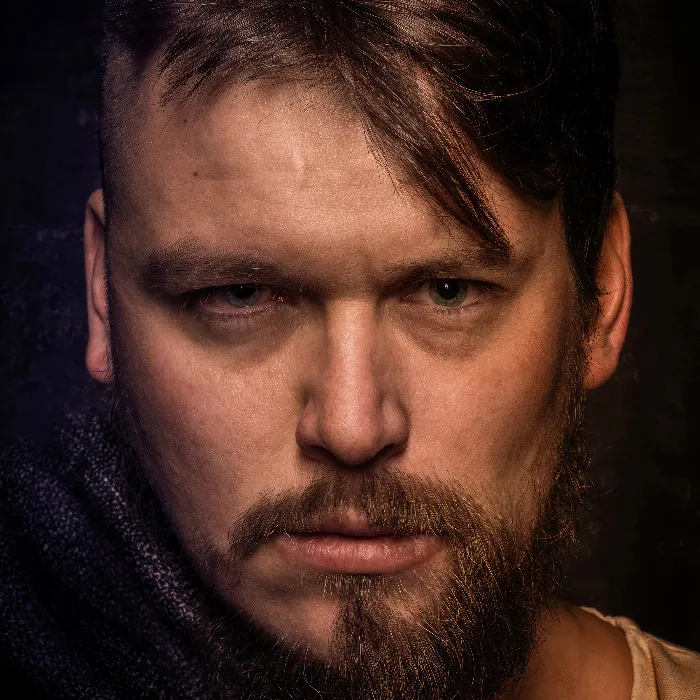
The art of digital image editing offers countless opportunities for creative design. In this tutorial, you will learn how to seamlessly merge two portraits together. The focus is on applying efficient techniques to create transitions that not only look good but also appear realistic. We will not need any additional layers or complex blending modes for merging the faces – everything happens directly on the mask. Let's get started!
Key Insights
Effectively merging portraits in Photoshop requires:
- Using brush tools and masks
- A good sense of transitions
- Fine-tuning for realistic results
Step-by-Step Guide
First, we should prepare our images. It's important that the faces you want to merge are similarly oriented and lit. Now, let's go through the individual steps.
1. Make initial rough adjustments
Start by opening the two portraits in Photoshop. Make sure they are aligned in the center. Your goal is to bring the faces together in such a way that they appear harmonious and do not look like two separate pieces.
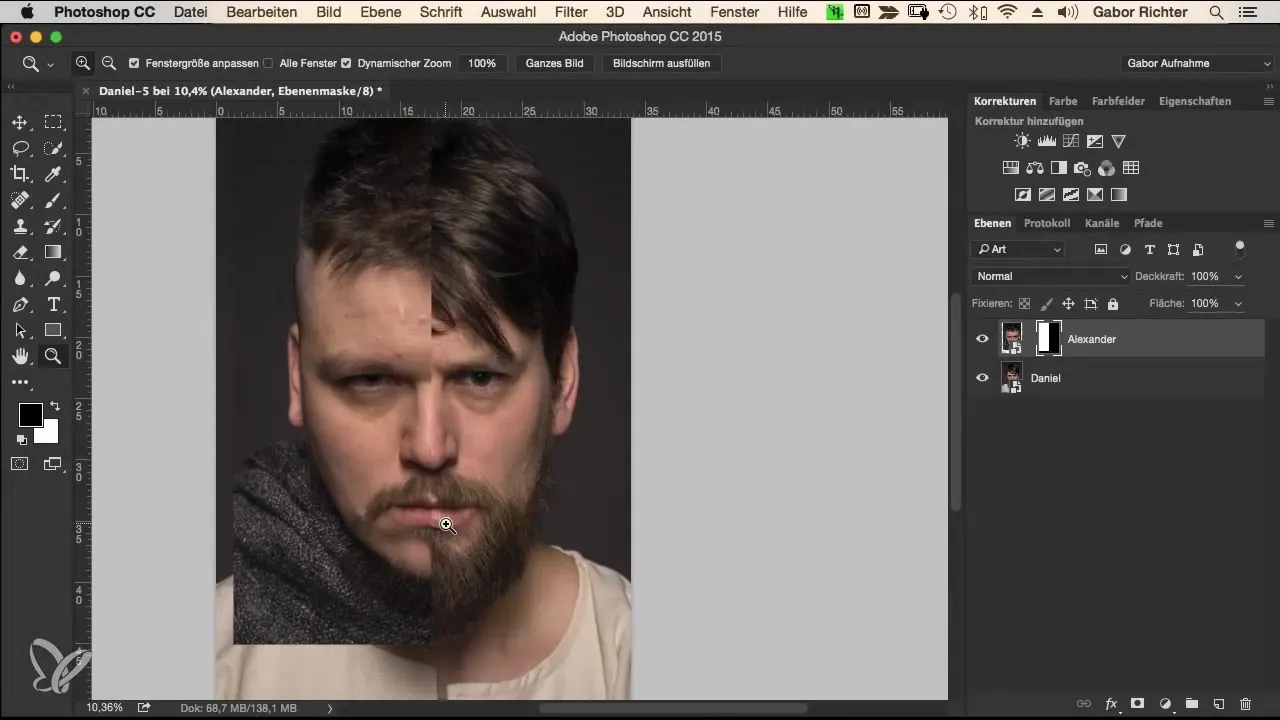
The first rough adjustment is made with the hair and the face. Here, you paint with a coarse brush over the areas that are to be merged.
2. Use the masking tool
Now we will only use the mask to create the transitions. Select your brush with 100% opacity and a size of about 250 pixels. Set the hardness to 50% to allow for a smooth transition.
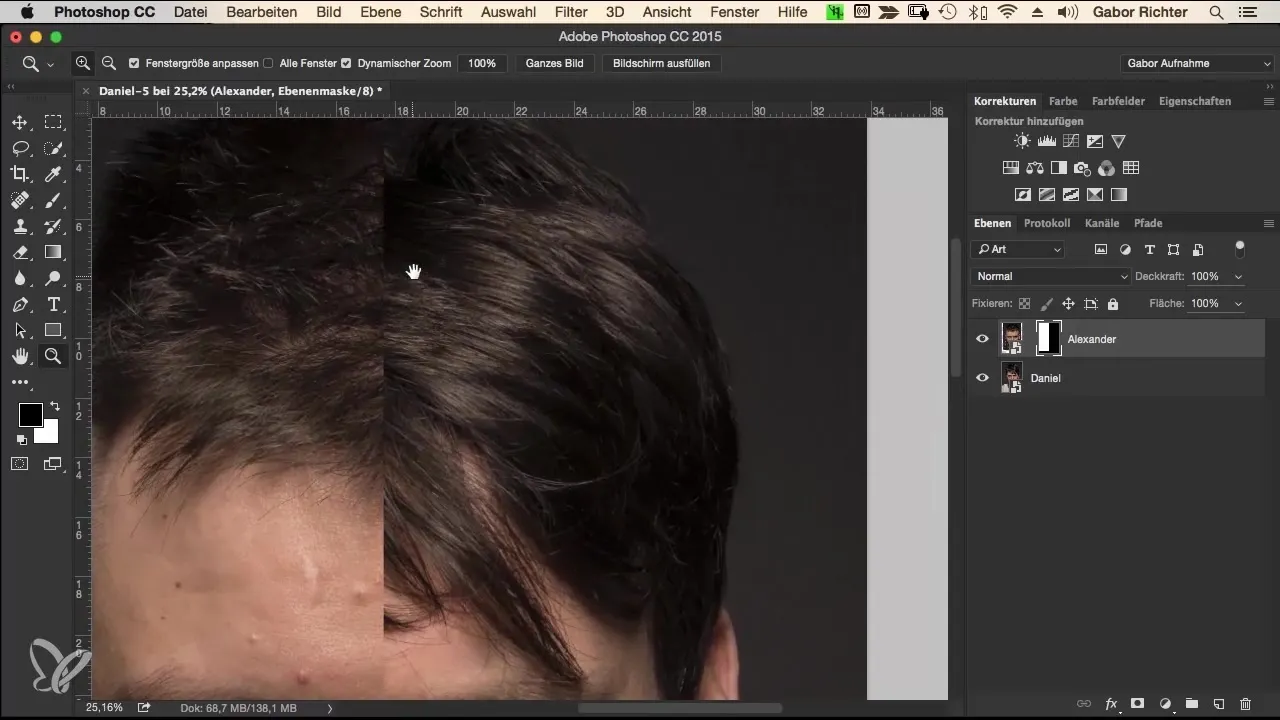
Start with the hair and then work your way to the other areas. Be sure to paint lightly over the edges to create a natural transition.
3. Fine-tune adjustments
Once the rough transitions are created, we will now focus on the details. Use the black foreground color to skillfully mask areas you do not want. Be sure to keep the strands that are important to you.
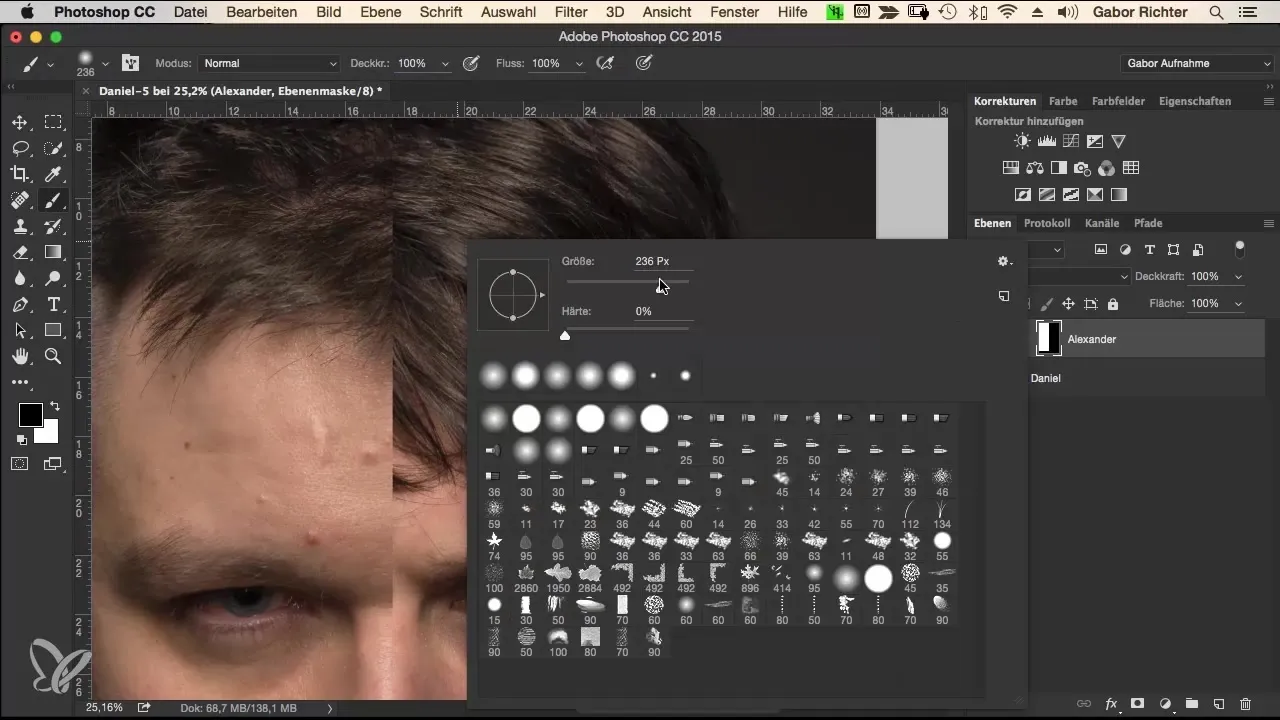
Test the transitions by working back and forth between the different halves of the face to ensure everything looks good.
4. Soften the transitions
To make the transitions softer and smoother, reduce the opacity of your brush to about 30% and set the hardness to 0%. This gives you more control over the details.
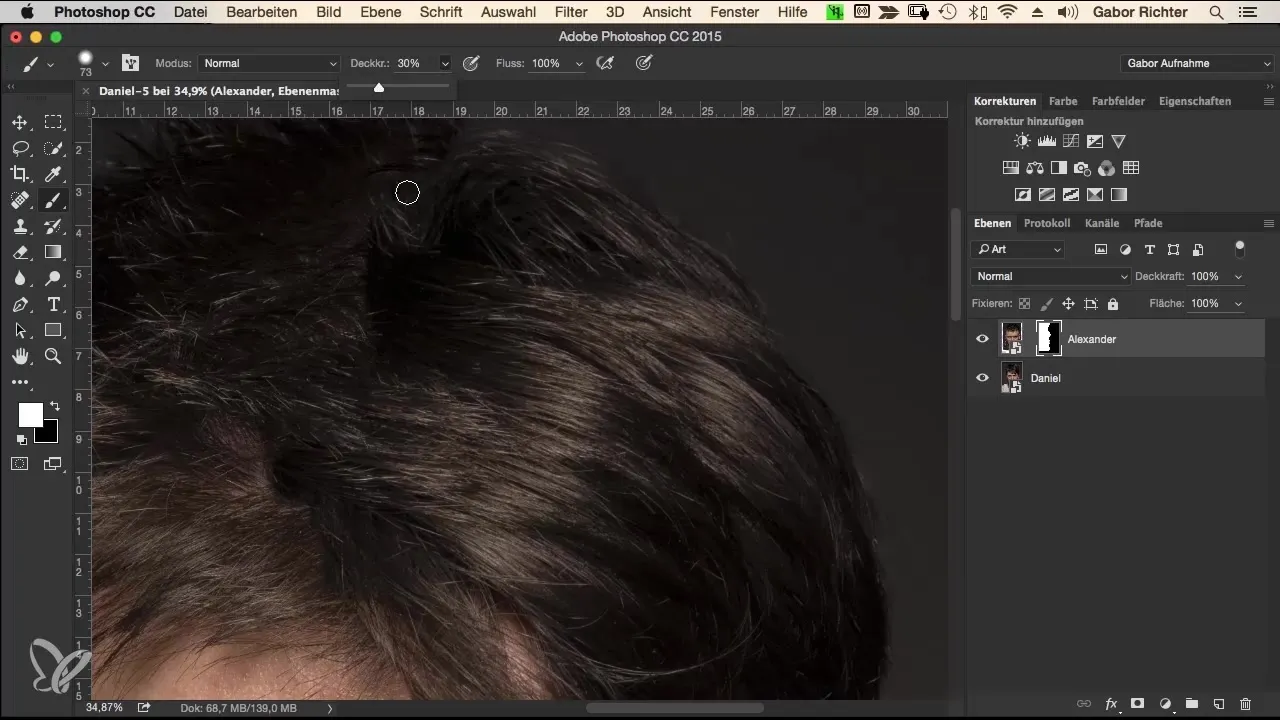
You can now switch between black and white to make fine corrections. Pay special attention to the eyes and mouth, as these areas are often scrutinized critically.
5. Review and final adjustments
Once you are satisfied with the transitions, you should review the entire composition. It's important to toggle the mask on and off to ensure a natural transition. You can do this by holding down the Alt key and clicking on the mask.
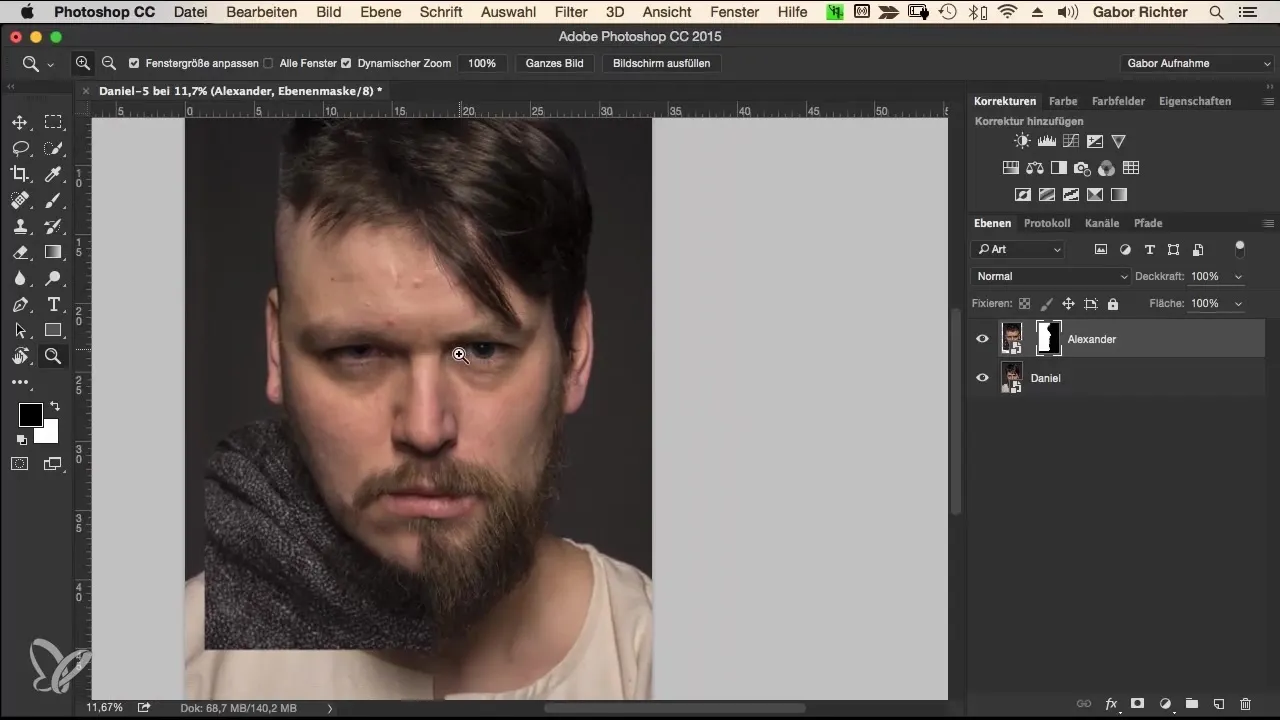
Make sure that the transitions look good at the most challenging spots, like the eyebrows and hairline.
6. Detail work on the hair
The hair can sometimes be a challenge. It helps to use a smaller brush with 100% hardness to integrate strands of hair and achieve a realistic texture.
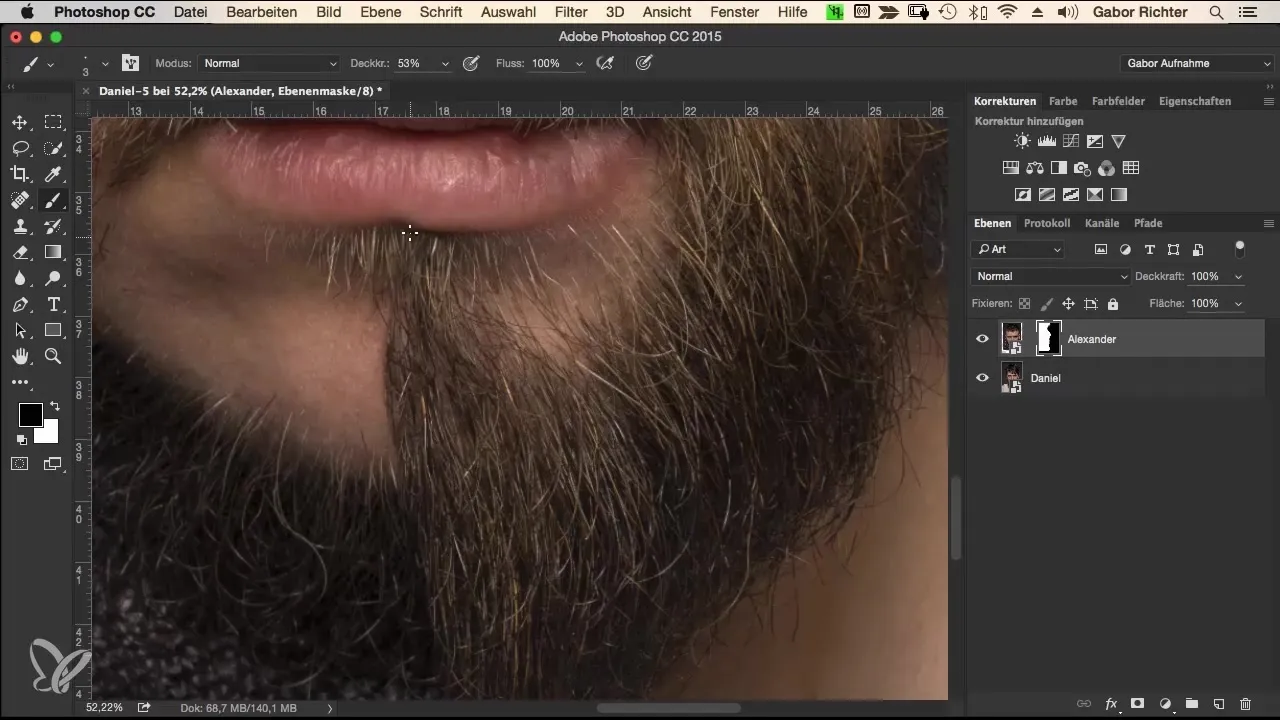
Set the opacity to 50% initially and then paint the hair strands in the right place. Make sure that the beard and hair blend well together.
7. Make final corrections
Before finishing the project, step back and look at it as a whole. If certain areas don’t look quite clean, use your brush to make fine adjustments.
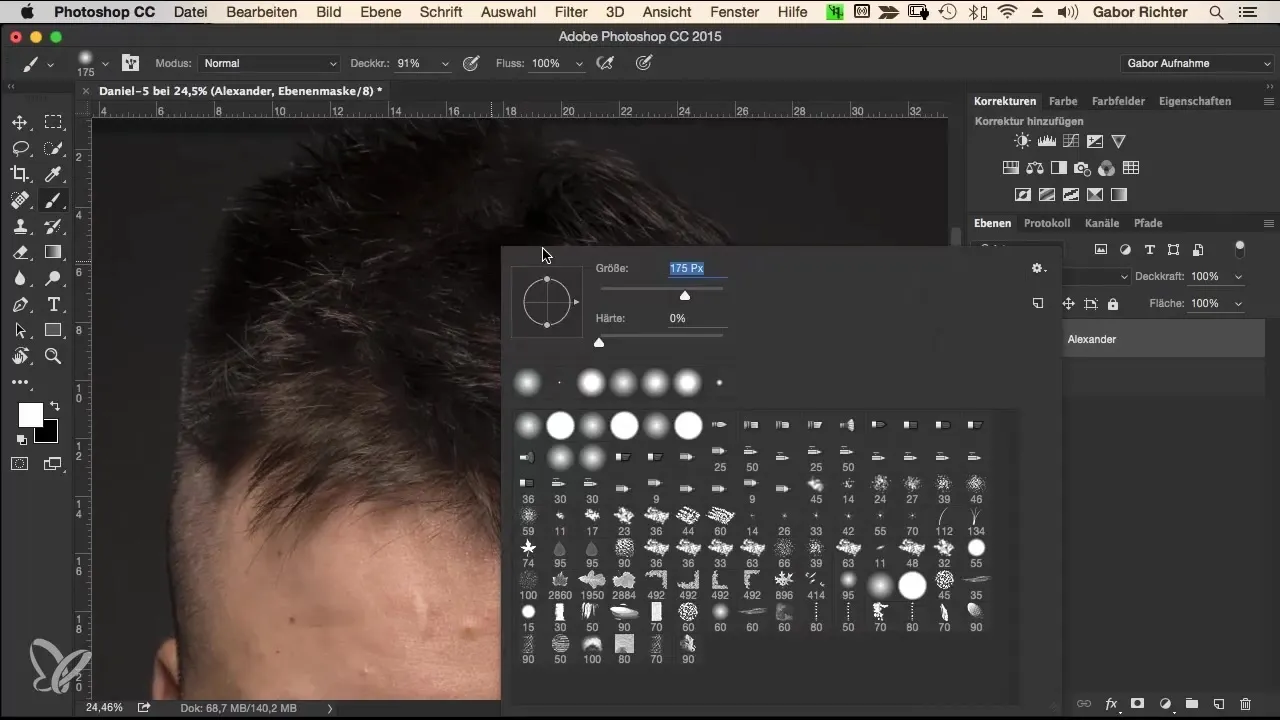
Remember that it's also possible to make adjustments afterwards if you're not satisfied later.
Summary – Merging Portraits in Photoshop
You have now learned how to effectively merge two portraits in Photoshop. The key takeaway is that patient work and repeated testing often yield the best results. Different skin types and features require careful adjustment of transitions to ensure the image looks natural.
Frequently Asked Questions
How can I use masks in Photoshop more easily?Always use the Alt key to toggle masks on and off.
Do I need a graphics tablet for this technique?A graphics tablet makes working with pressure sensitivity and precise strokes easier, but it is not absolutely necessary.
Can I work with a mouse as well?Yes, it is possible, but you need to have patience to achieve good results.
What can I do if the transitions do not look good?Try different brushes and edits or go over specific areas multiple times to improve the transitions.
