Retouching is an essential part of image editing and can significantly contribute to improving portraits. In this guide, you will learn how to perform an effective basic retouch in Photoshop using the Spot Healing Brush and the Clone Stamp. We will focus on improving skin blemishes and small distractions without altering the image artificially.
Key Takeaways
- Working on a blank layer promotes nondestructive editing.
- The Spot Healing Brush is excellent for simple retouching.
- The Clone Stamp allows for more detailed adjustments.
Step-by-Step Guide
Create a New Blank Layer
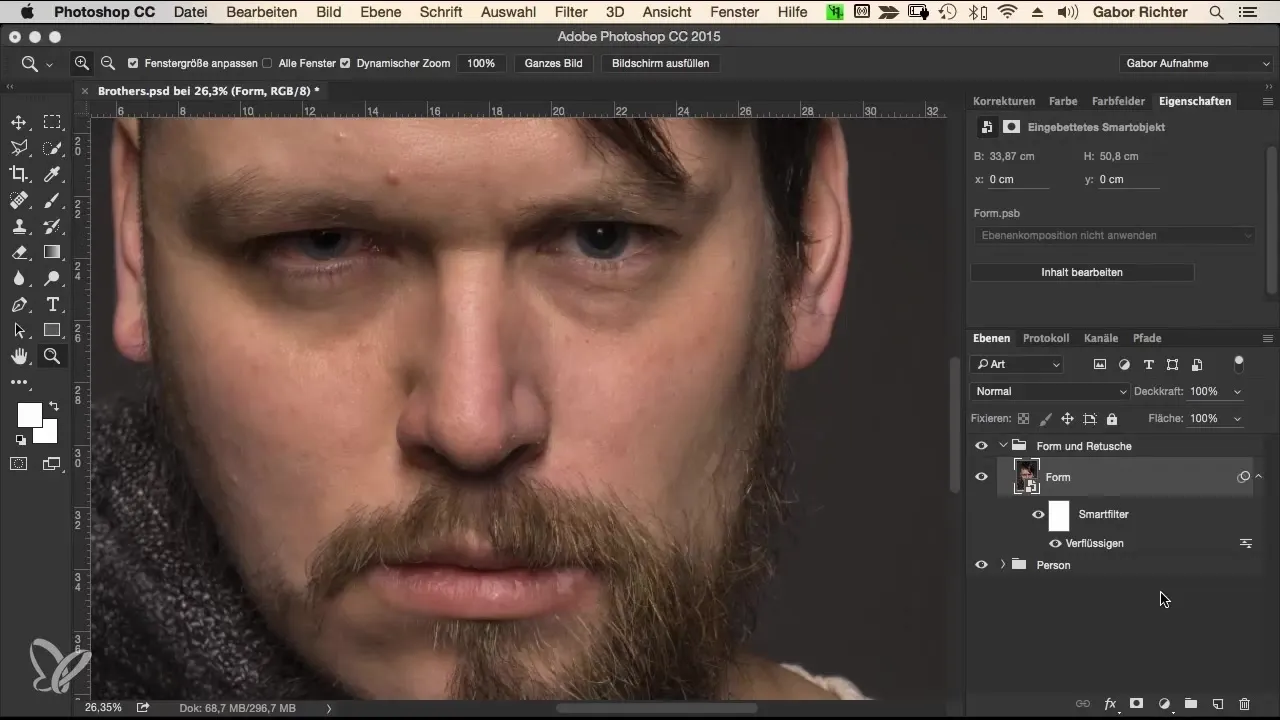
To perform effective retouches, you should first create a new blank layer. This allows you to work nondestructively. Click on the icon to create a new layer in the layers panel and rename it to "Retouch."
Select the Spot Healing Brush
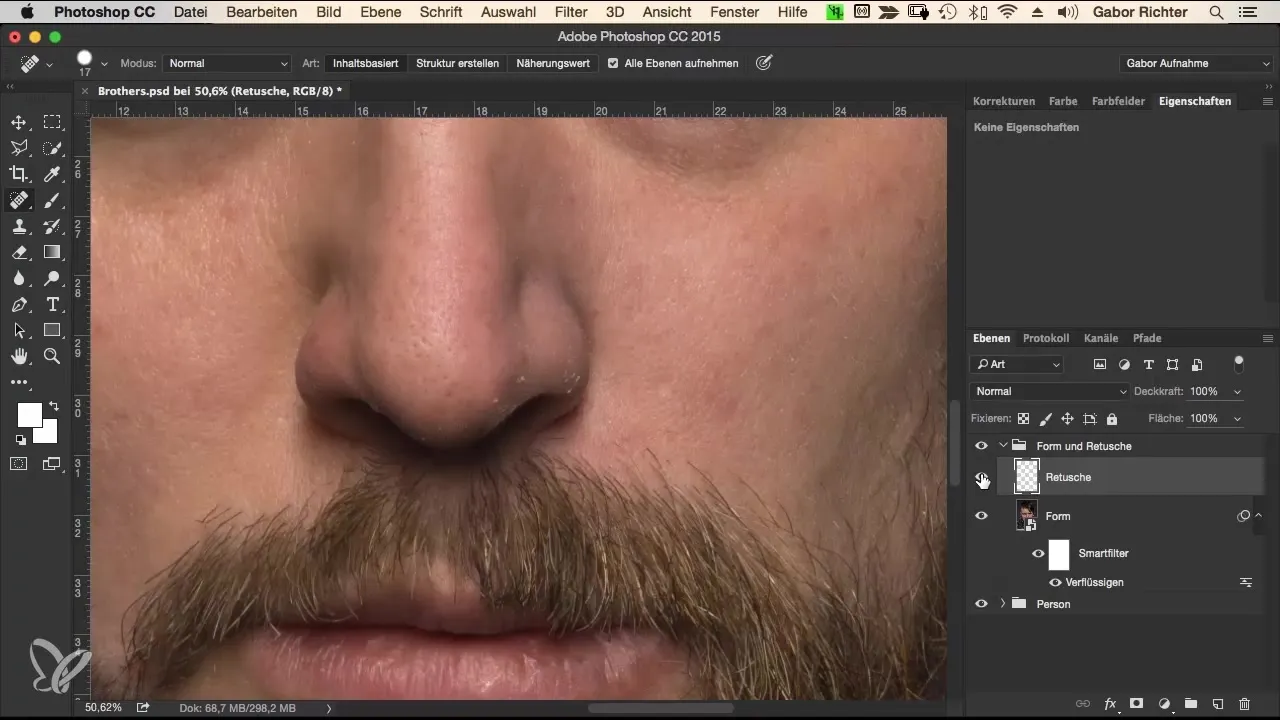
Now select the Spot Healing Brush from the toolbar. This brush allows you to quickly remove unwanted skin blemishes by simply brushing over the affected areas. Make sure all layers are active so that Photoshop can utilize the information from the original layer.

Targeted Removal of Skin Blemishes
Brush over the areas you want to retouch, such as small skin flakes or blemishes. It is important not to overuse the brush to preserve the authentic character of the face. Excessive use could alter the image too much.
Minimal Editing of Disturbing Features
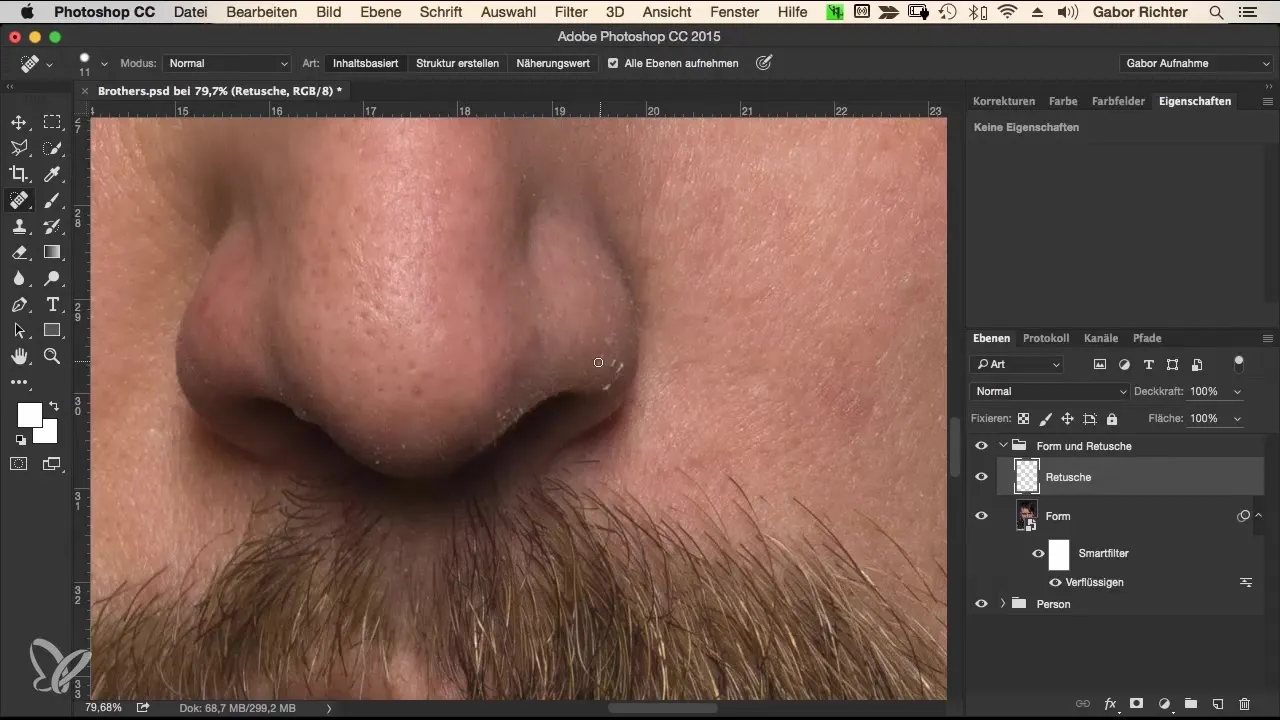
After removing the initial blemishes, it's time to check the area around the nose and other prominent points. Here, you can remove small distractions that may detract from the model's character. Again, use the Spot Healing Brush and work carefully.
Using the Clone Stamp
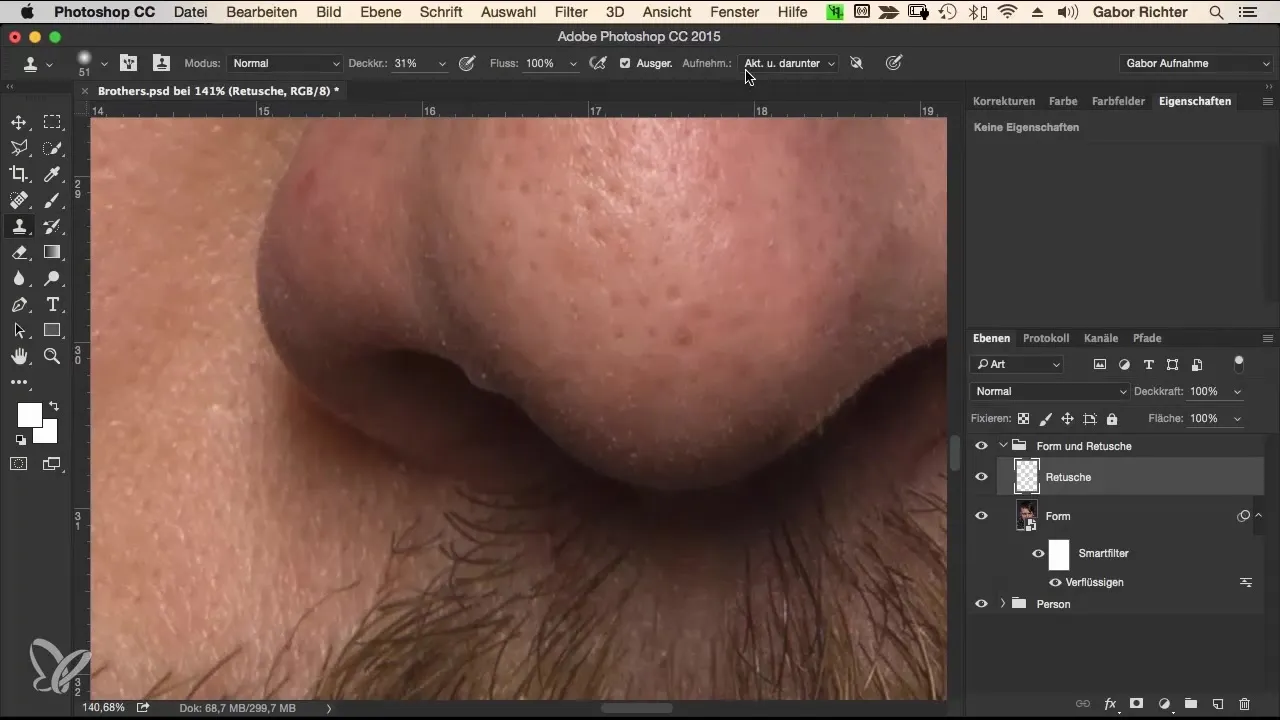
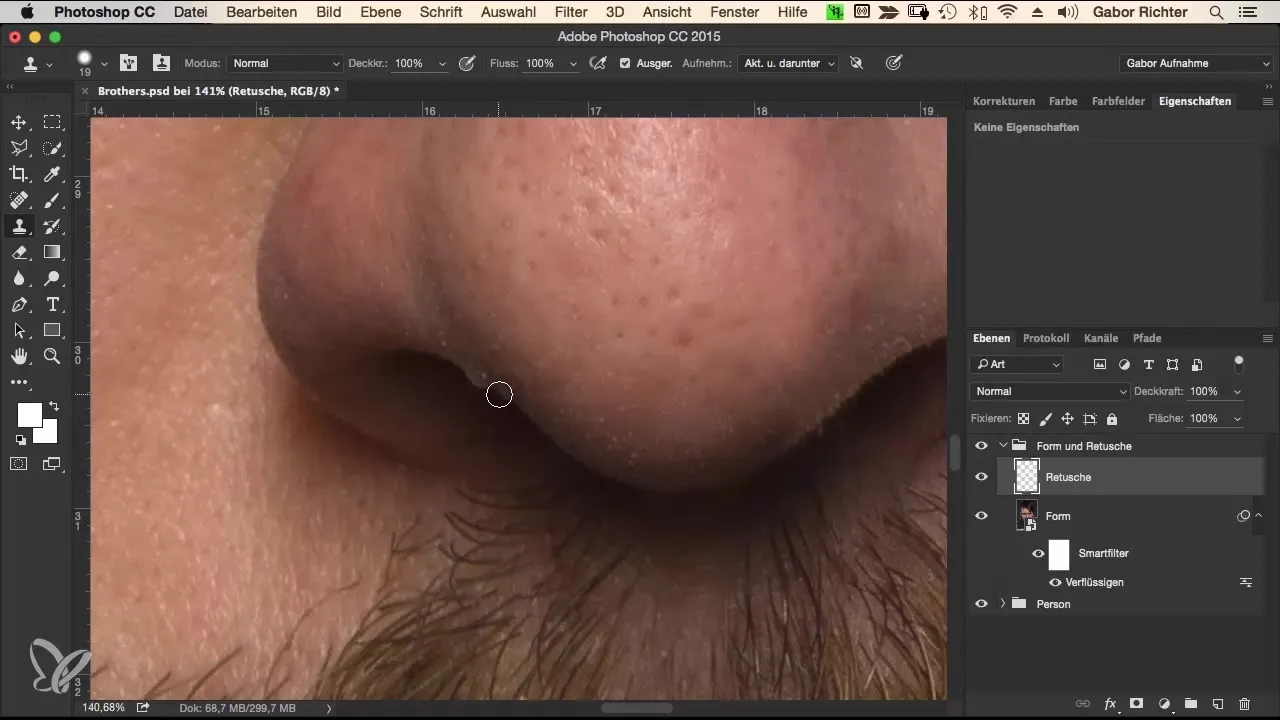
For more specific adjustments, such as spots or areas that the Spot Healing Brush did not handle perfectly, switch to the Clone Stamp. It is useful for areas with more complex textures. Make sure to activate both current and underlying layers, and select your source using the Alt key.
Fine-Tuning with Reduced Opacity
Use the Clone Stamp with reduced opacity, for example, 50%. This gives you more control and allows for subtle adjustments that do not compromise the natural texture of the image.
Final Checks and Fine-Tuning
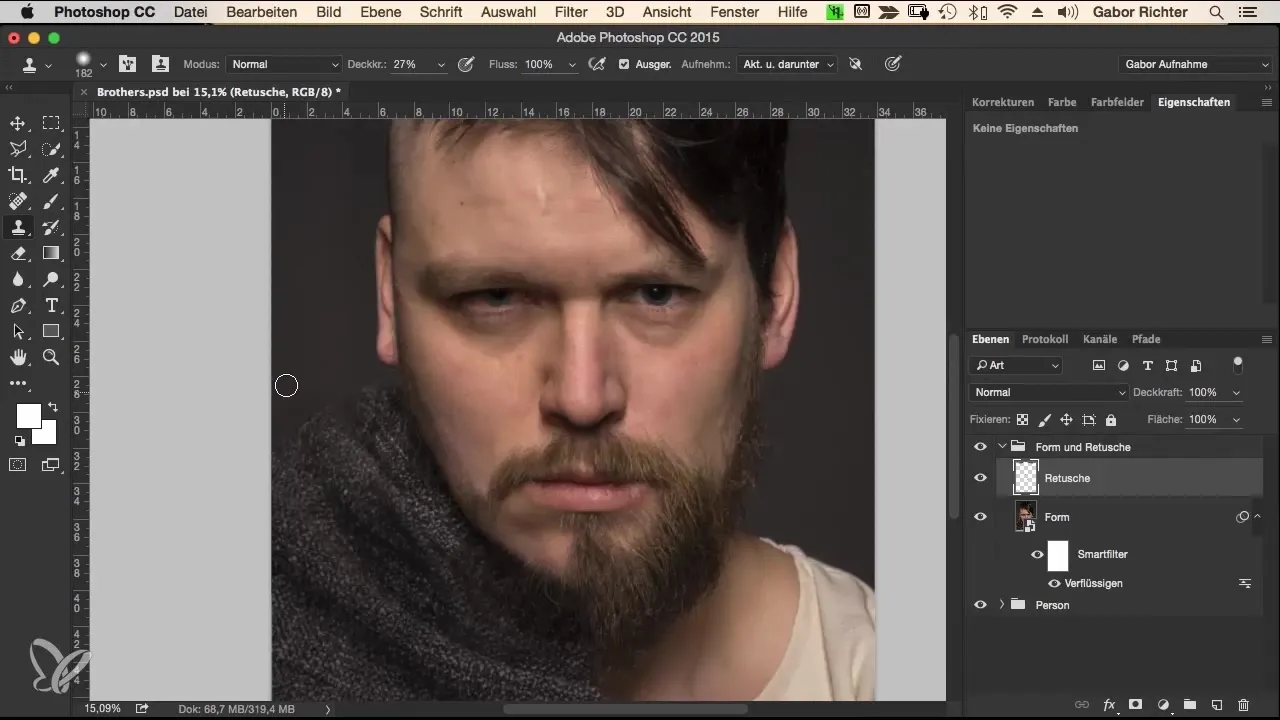
Once you have removed all distracting features, take a look at the image in a before-and-after comparison. Make small adjustments where you see fit. It is important that the image does not look too perfect even when using a texture overlay.
Completion of the Retouching
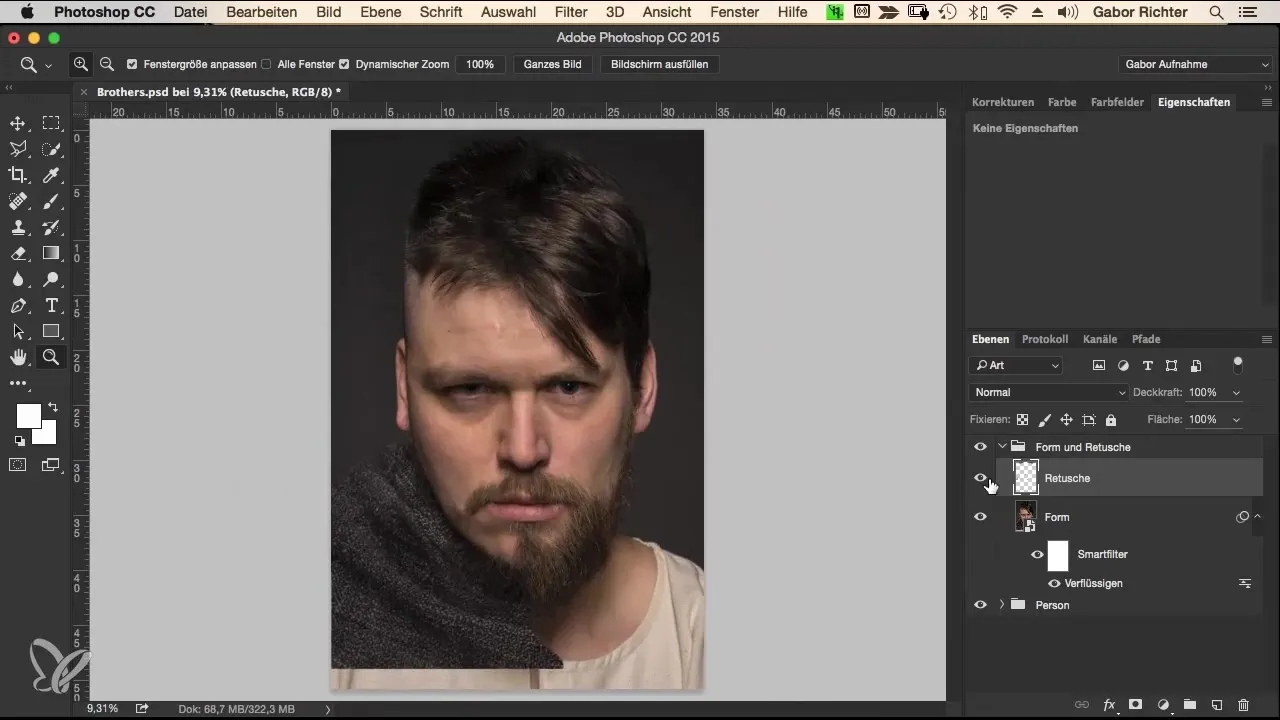
With all necessary adjustments completed, check the entire image once more and ensure you are satisfied with the changes. You can toggle this layer on or off at any time if your model or client requests changes.
Summary – Retouching in Photoshop: A Comprehensive Guide for Image Editing
Retouching in Photoshop is an art form and requires patience and precision. By utilizing a new layer along with the Spot Healing Brush and Clone Stamp tools, you can achieve the desired image quality subtly yet effectively. Proceed carefully and ensure that the authentic expression of your model is not lost.
Frequently Asked Questions
What retouching tools should I use in Photoshop?The Spot Healing Brush and Clone Stamp are the best tools for effective retouching.
How can I retouch nondestructively?By working on a new blank layer, you can undo or adjust changes at any time.
Why is reduced opacity important when retouching?Reduced opacity allows for subtler changes that preserve the natural texture of the image.


