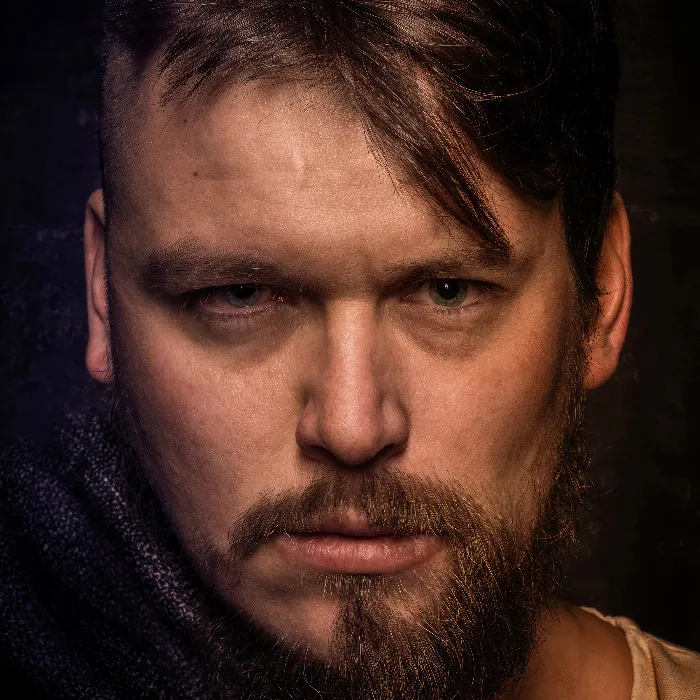
Editing and adjusting portraits in Photoshop can often be a challenging but highly rewarding task. Especially when it comes to combining various features of two individuals and seamlessly transforming them into a convincing overall image. In this guide, I will show you how to effectively and precisely adjust the shape of two different people to create a harmonious portrait. With easy-to-understand steps and practical tips, you will achieve impressive results without distorting the identity of the depicted individuals.
Key insights
- Ensure that the layers used are grouped to provide better organization and clarity.
- Use Smart Objects to maintain the original image quality and make editable changes.
- Adjust facial features such as the nose, lips, and jawline using Liquify tools to create a uniform appearance.
Step-by-step guide
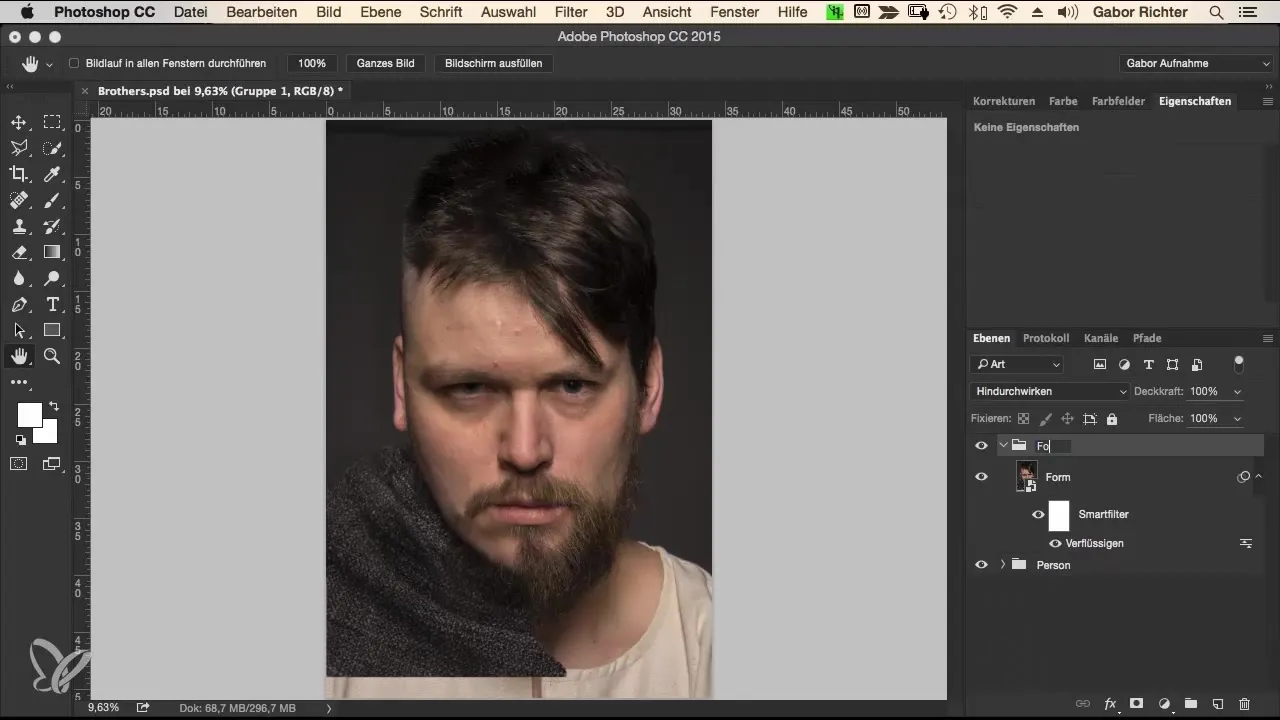
The first step is to organize the relevant layers. Select the three layers you want to adjust – these are the portraits of the two individuals – and group them. Name this group "Person". The reason for this is simple: good organization makes it easier for you to track all changes and work more efficiently.
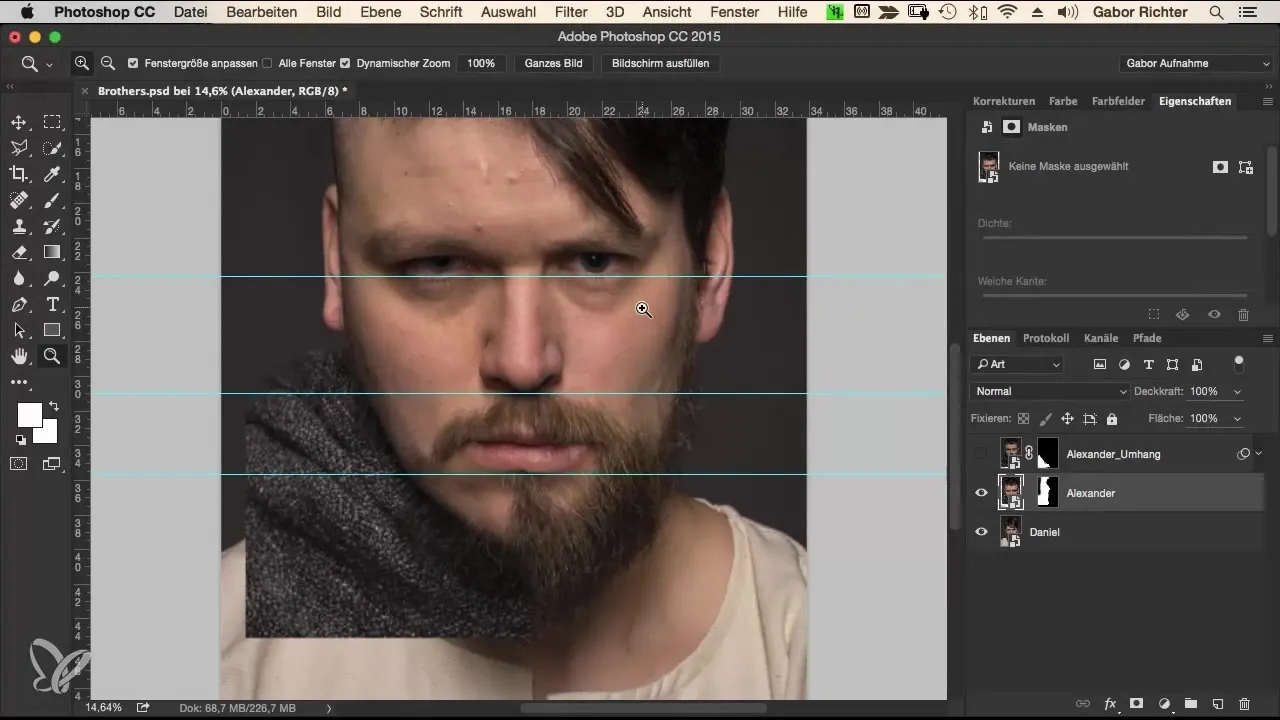
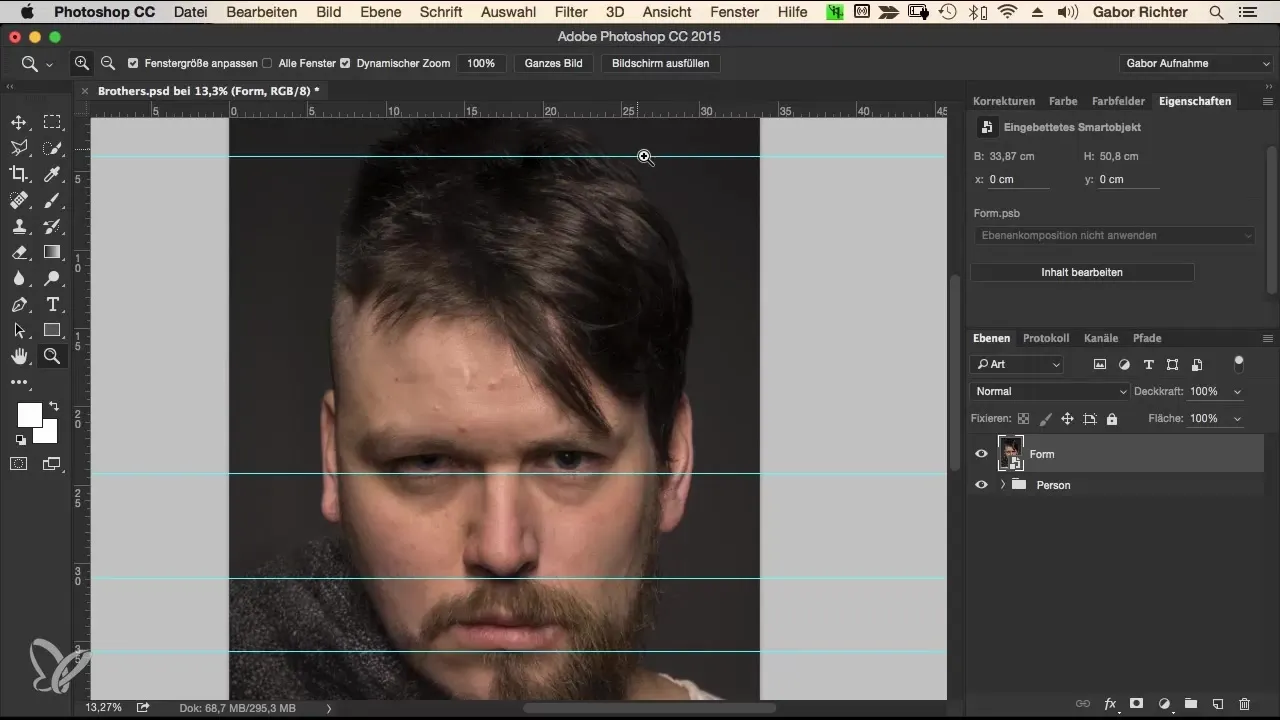
Now it’s important to create a new layer where you can make the Liquify adjustments. To do this, you need to merge all the layers. Use the keyboard shortcut Command + Alt + Shift + E for Mac or Ctrl + Alt + Shift + E for Windows. Name this new layer "Form" and convert it to a Smart Object to allow flexible editing without losing the underlying data.
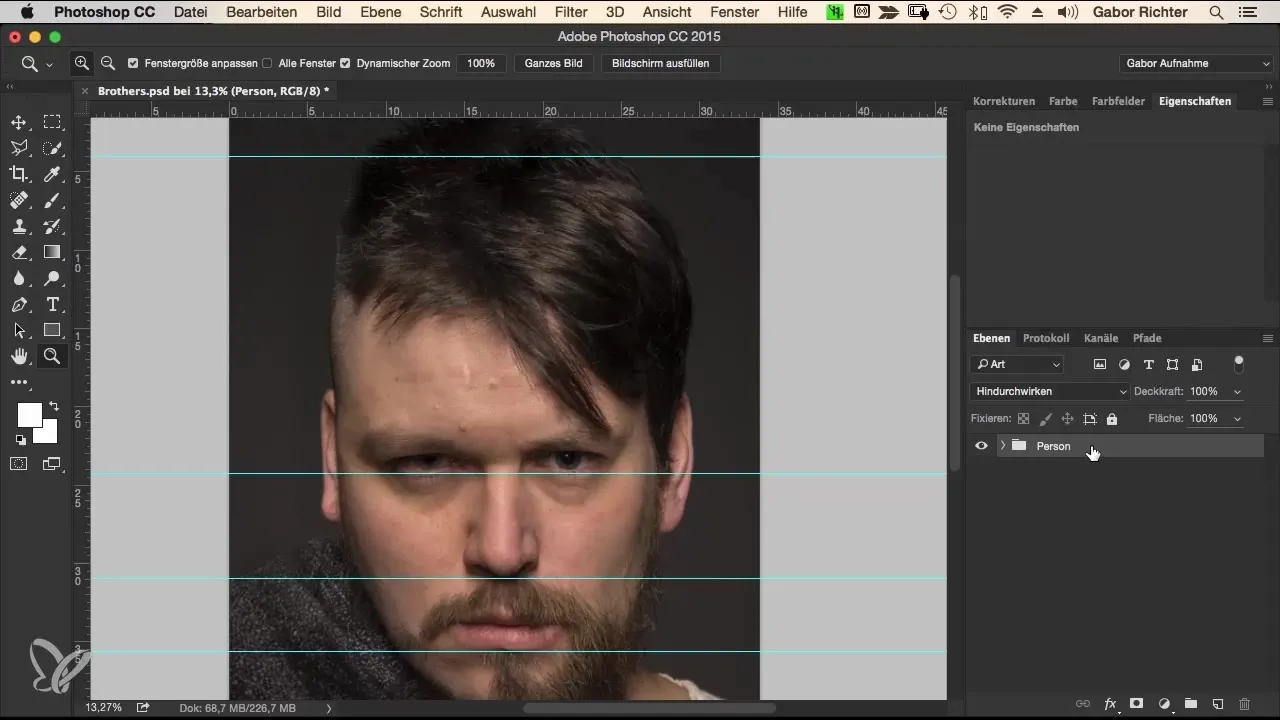
The guidelines you might see in your workspace could be distracting, so you should hide or delete them. Go to the "View" menu and select "Clear Guides". Now you are ready to make your adjustments and can activate the Liquify filters.
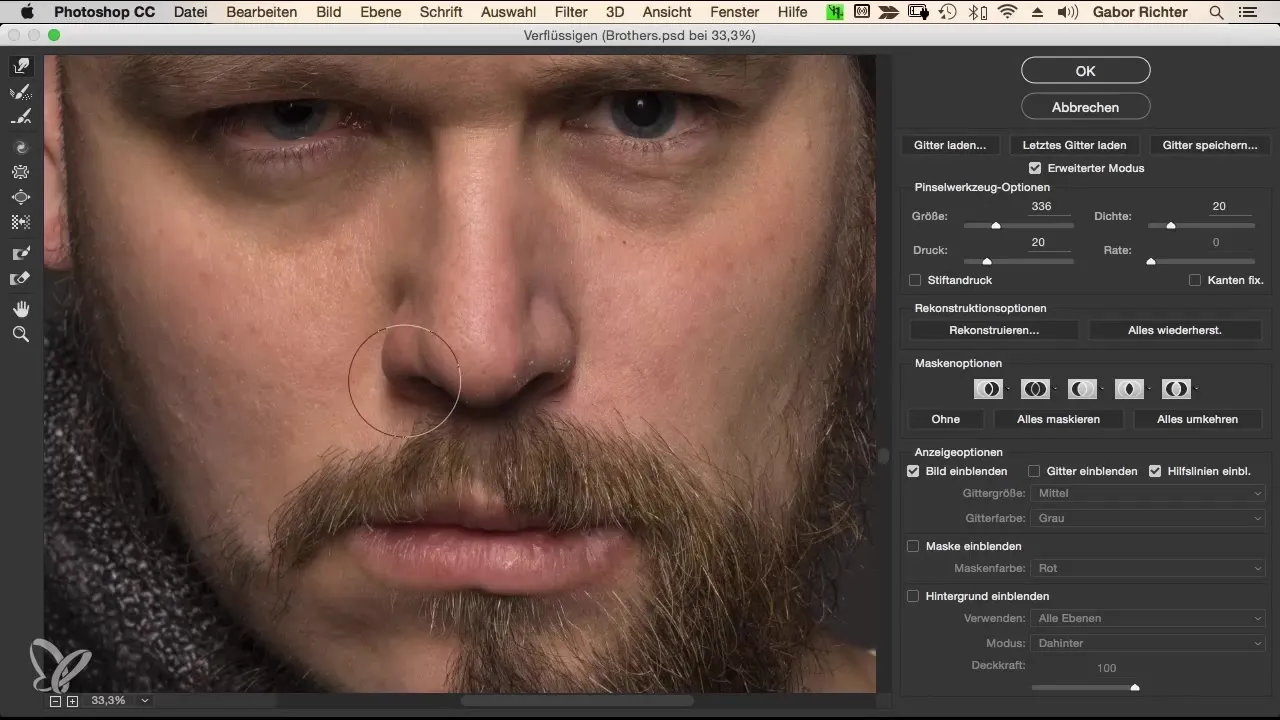
Go to "Filter" and choose "Liquify". This opens the Liquify tool, allowing you to make targeted adjustments. Start by focusing on the nose. Zoom in for precise work. The Forward Warp Tool is ideal for adjusting the nostrils. Set the pressure and density to 20 and choose a brush size of about 350 pixels.
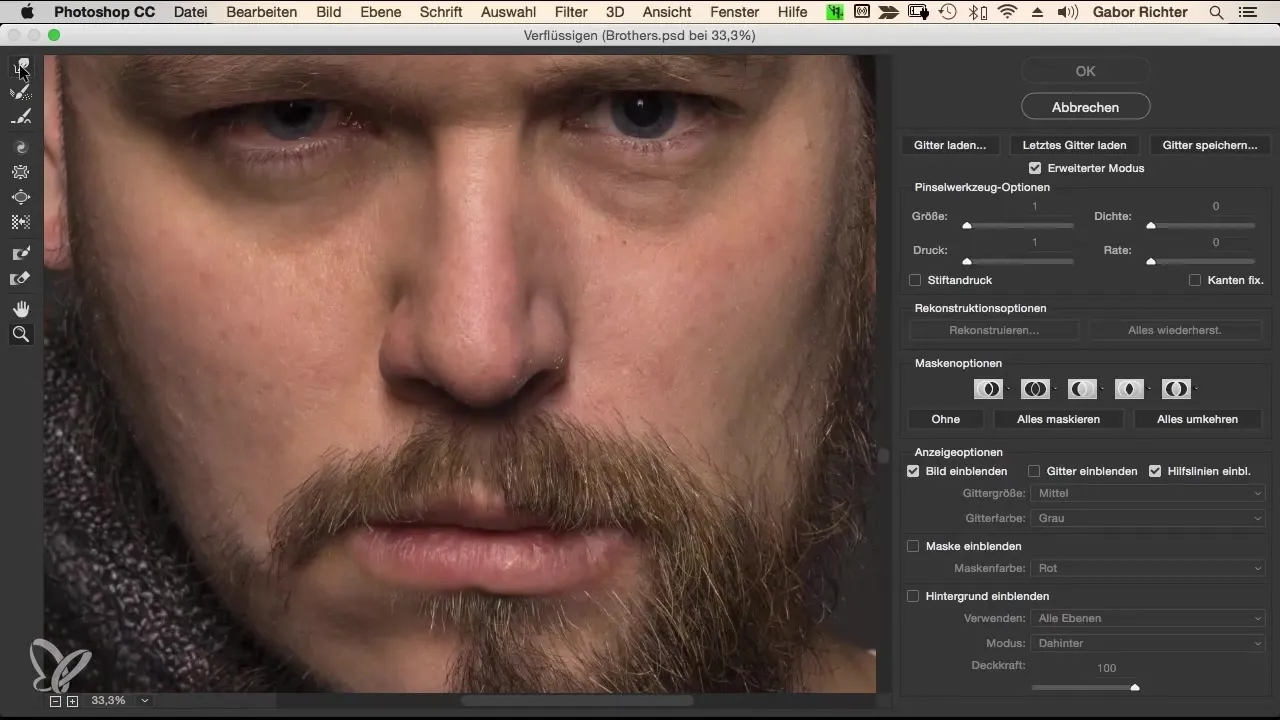
Begin to adjust the nostrils evenly. This means slightly enlarging the right nostril to match the left, which is a bit larger. This will make the overall image more harmonious without making exaggerated changes. Ensure that the adjustments remain subtle so that the individuals don’t appear unnatural.
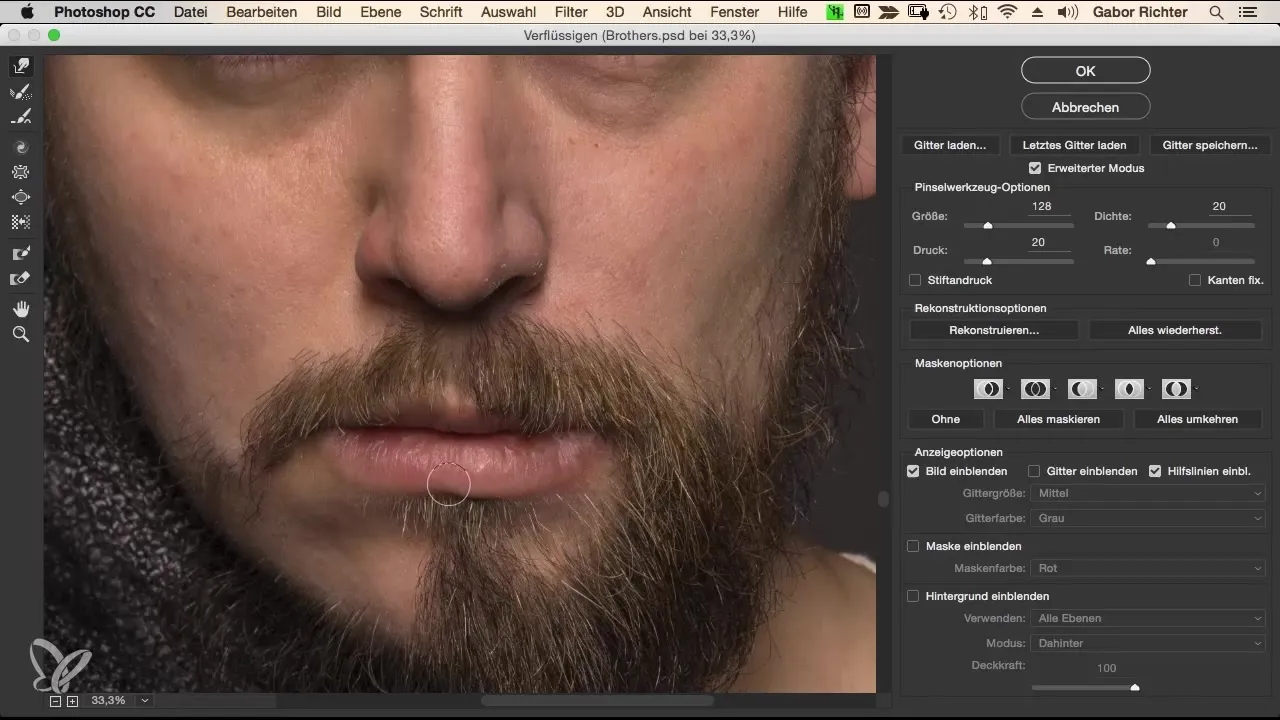
The next step focuses on the lips. Choose a brush size of about 120 and work to smooth out small imperfections. Here, it is important to find balance between both lips to create a harmonious overall image. Do not apply too much pressure; a gentle approach is usually better.
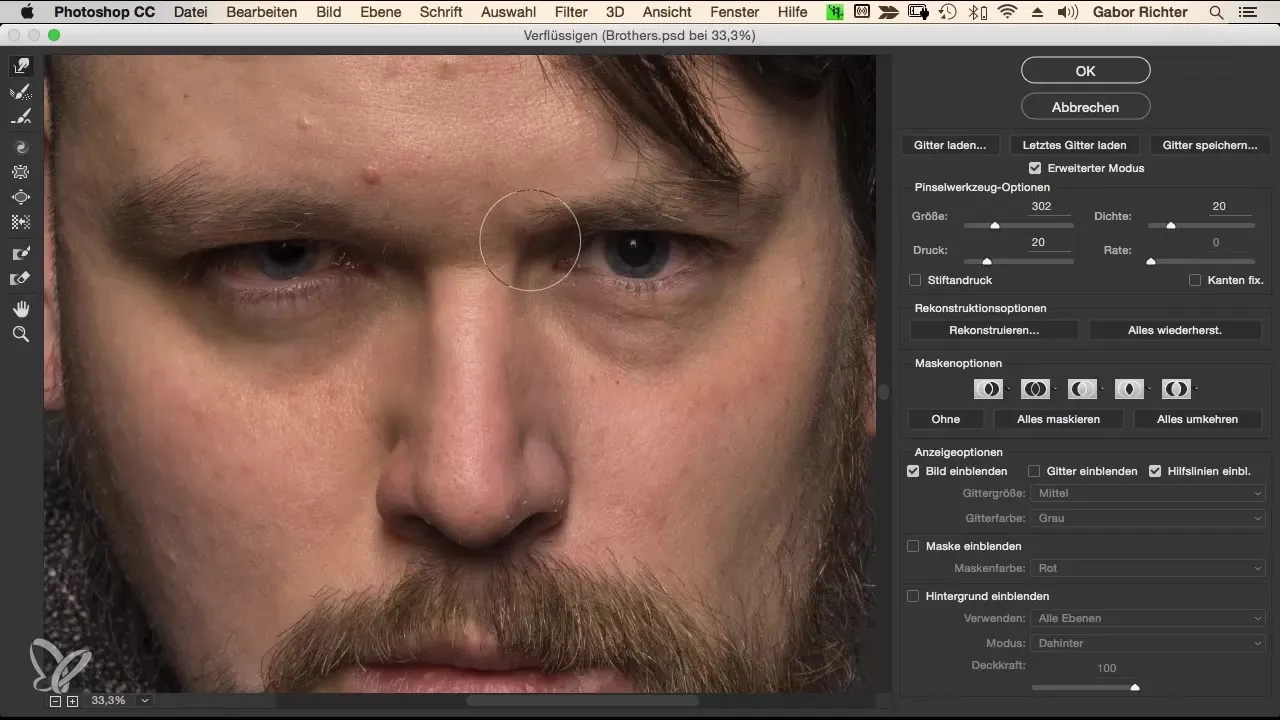
Now focus on the eye area. Ensure that both eyes are on a horizontal line by lifting a small part of the upper eyelid contour and slightly lowering the other. This makes them appear symmetrical and coordinated. Proceed carefully to avoid altering the natural shape of the eyes too much.
Next, address the head shape. For this, you need a significantly larger brush size, about 1000 pixels. Use the Forward Warp Tool to create smoother contours of the head. Ensure that the hairstyle and overall head shape harmonize well. Every detail counts, so proceed carefully and gradually.
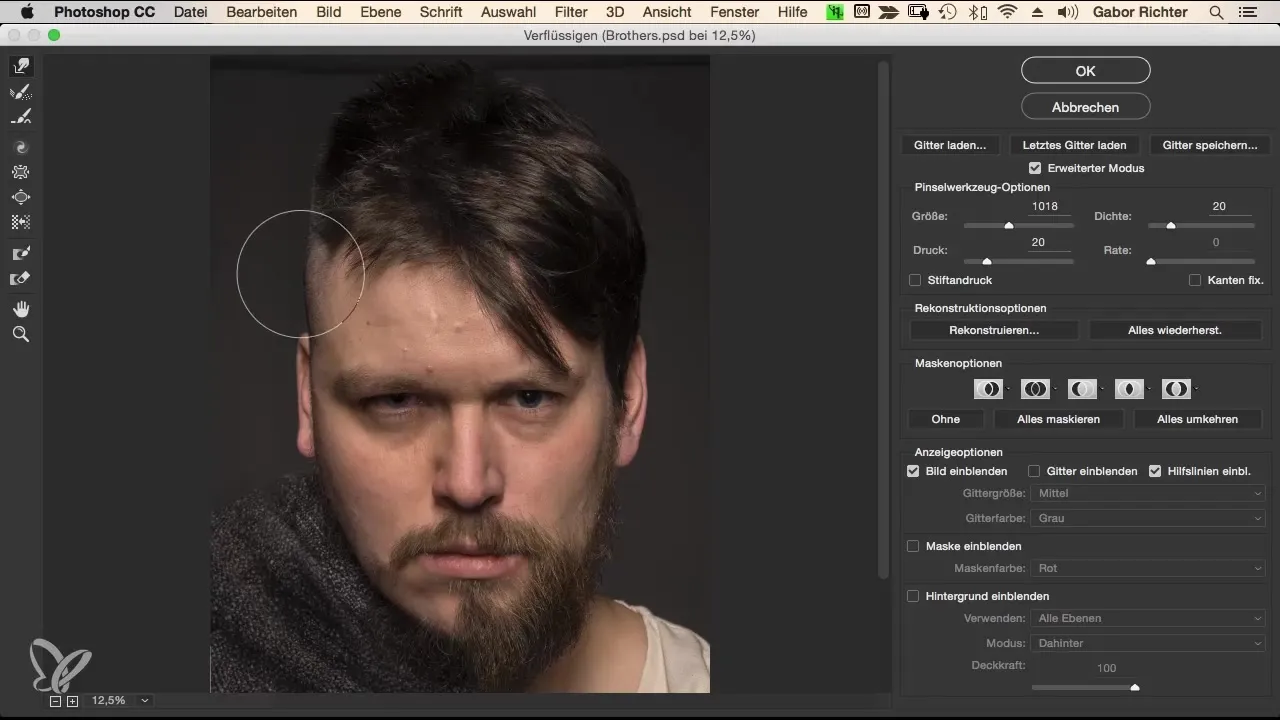
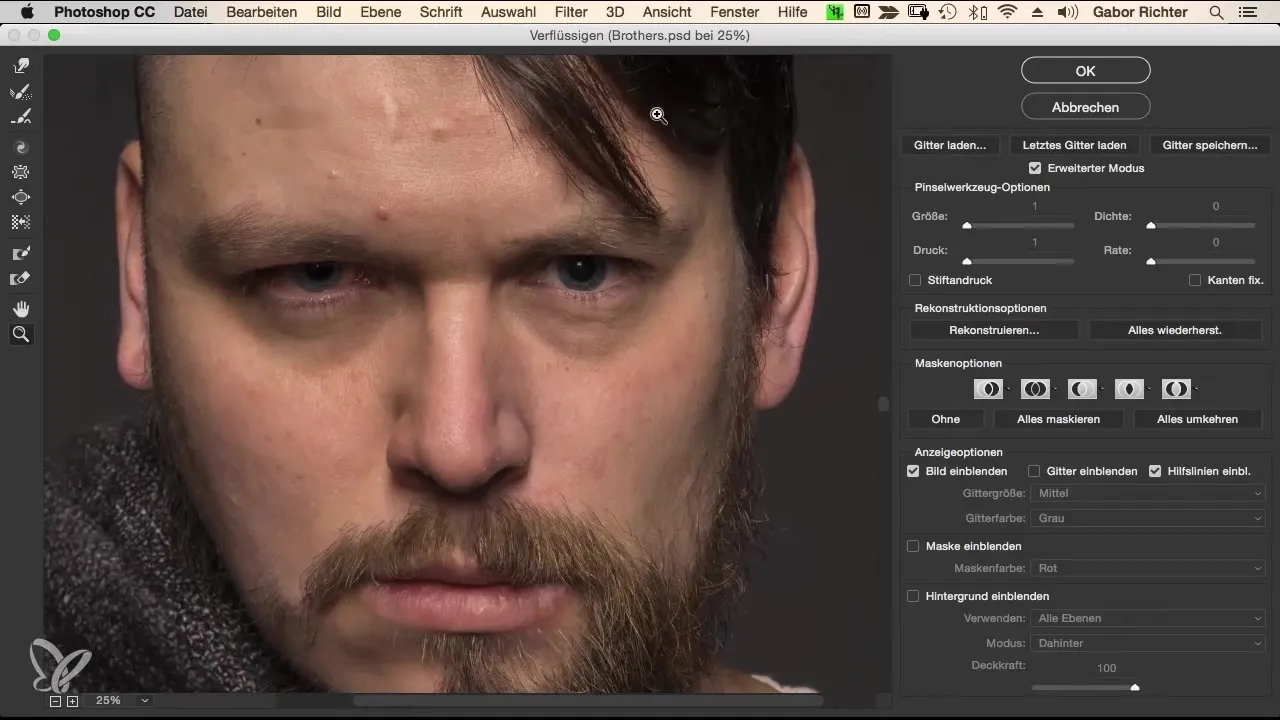
The ears are another important feature. Ensure they are symmetrical and placed at a similar height. If one ear is longer, you can balance it by adjusting with the Forward Warp Tool. Proceed carefully here as well to avoid distorting the natural shape too much.
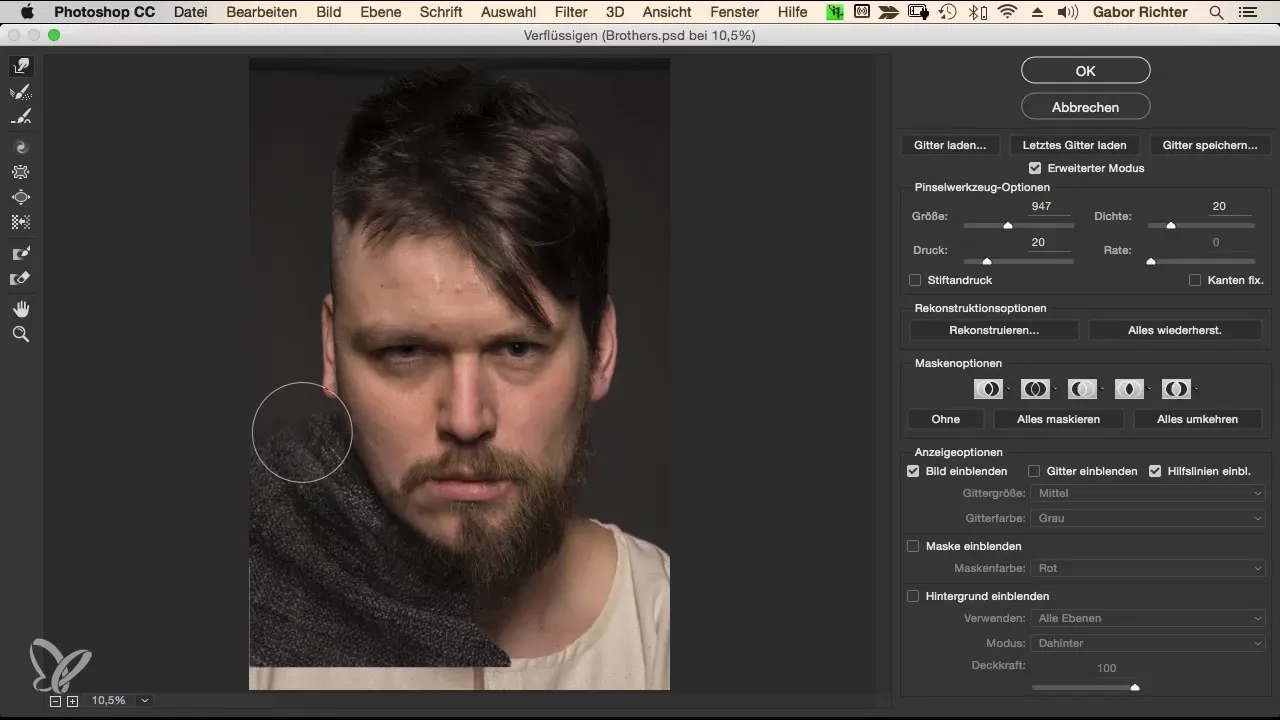
A subtle adjustment of the cloak can also enhance the entire image. You can slightly pull the cloak down to create an elegant fall. This gives the portrait a dynamic appeal. It's the little details that leave a big impression on the viewer.
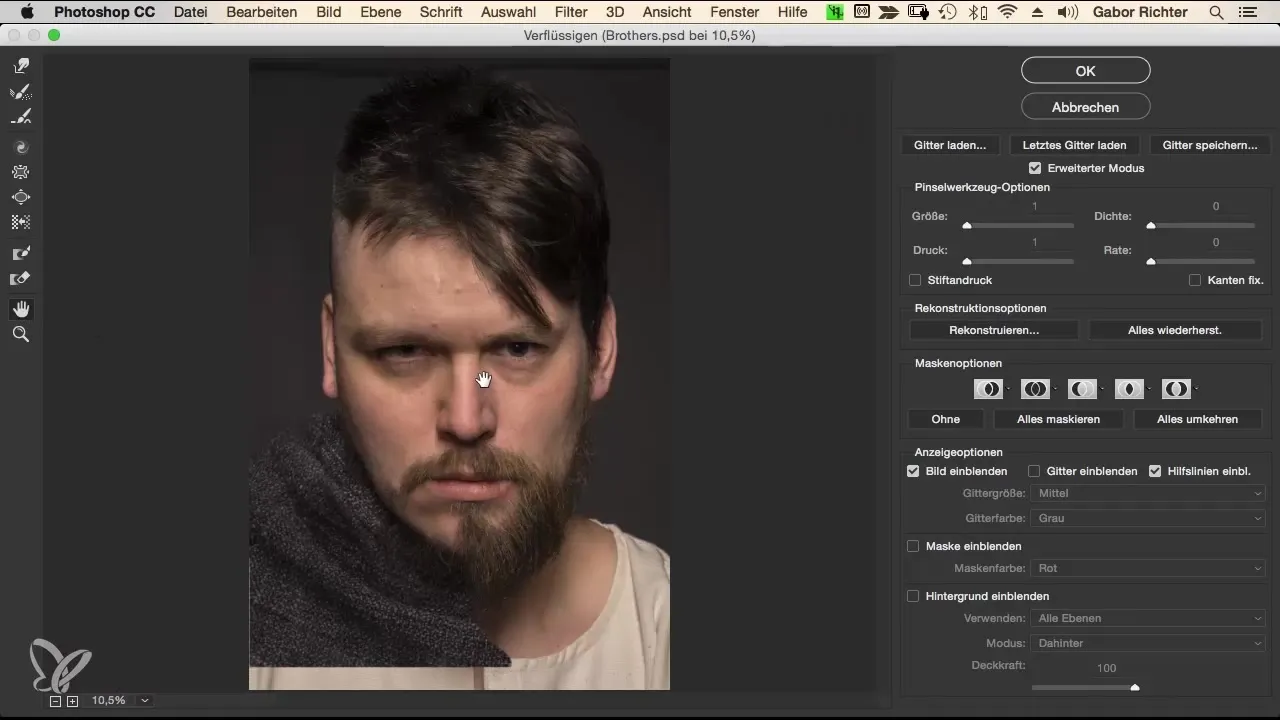
After making all adjustments, view the image from different angles. A double-click on the layer shows you the overall view, allowing you to better assess the latest changes. If something isn’t quite to your liking, don’t hesitate to go back and make adjustments.
If you are satisfied with the results, save your project. Remember that using Smart Objects gives you the freedom to make changes at any time. With a double-click, you can easily return to the Smart Objects and make further adjustments.
Summary – Fusion – The Morphing Workflow in Photoshop: Shape Adjustment
In this guide, you learned how to adjust the shape of portraits in Photoshop to achieve a harmonious overall image. The use of Smart Objects, the organization of layers, and precise adjustments are key to achieving an appealing result. With the steps learned, you are now able to effectively and precisely change various facial features without distorting the identity of the individuals.
Frequently Asked Questions
How do I create a new layer in Photoshop?You can create a new layer by clicking on the layer symbol in the bottom right corner or by using the keyboard shortcut Command + Shift + N (Mac) or Ctrl + Shift + N (Windows).
What are Smart Objects and how do I use them?Smart Objects are layers that retain the original pixels and allow you to undo adjustments. You can create them by right-clicking on the layer and selecting "Convert to Smart Object".
How do I adjust the brush size in the Liquify filter?In Liquify mode, you can easily adjust the brush size under the "Brush Size" area using the sliders or by entering a numerical size.
Can I save my settings in the Liquify tool?Yes, the settings you make in the Liquify filter are usually stored within the session, but you can also save them as a preset for later use.
How can I make adjustments in a Smart Object?Simply double-click on the Smart Object in the layers panel to open the contents within it. You can then make changes and save.
