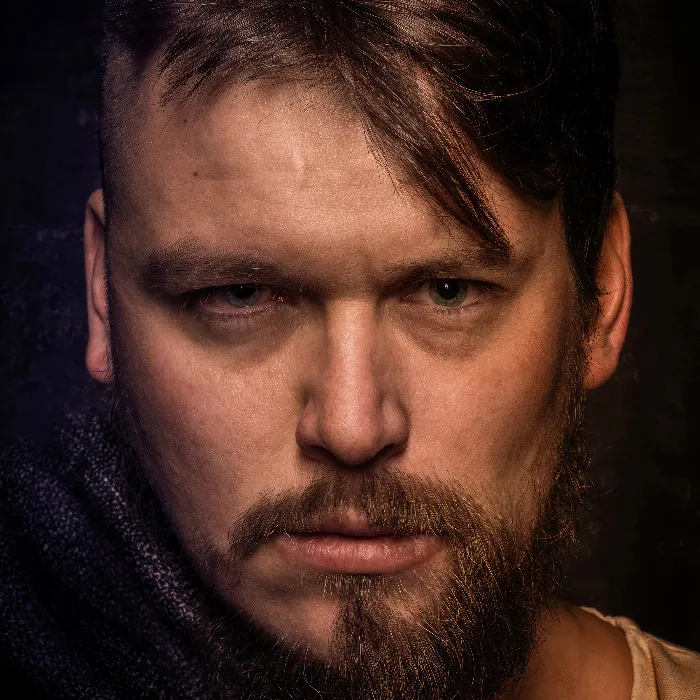
Digital design has many facets, and one of the most impressive workflows in Photoshop is the use of Dodge and Burn to highlight textures and details in clothing and hair. In this tutorial, I will show you how to achieve a more three-dimensional effect with targeted use of light and shadow, adding extra life to your image. Get ready, as we dive into the fascinating world of image editing and transform your designs with simple but effective techniques.
Main Insights
- Working with Dodge and Burn can significantly improve the depth and texture of your images.
- Darkening and brightening areas gives more contrast to clothing and hair.
- Using gray layers (50% gray) is essential in this technique.
- The use of layers allows you to synergize different effects and adjust them as needed.
Step-by-Step Guide
First, start by adjusting the workspace. A darker background can increase the visibility of details. Switch to a darker or even black background, as this makes editing easier and more enjoyable.
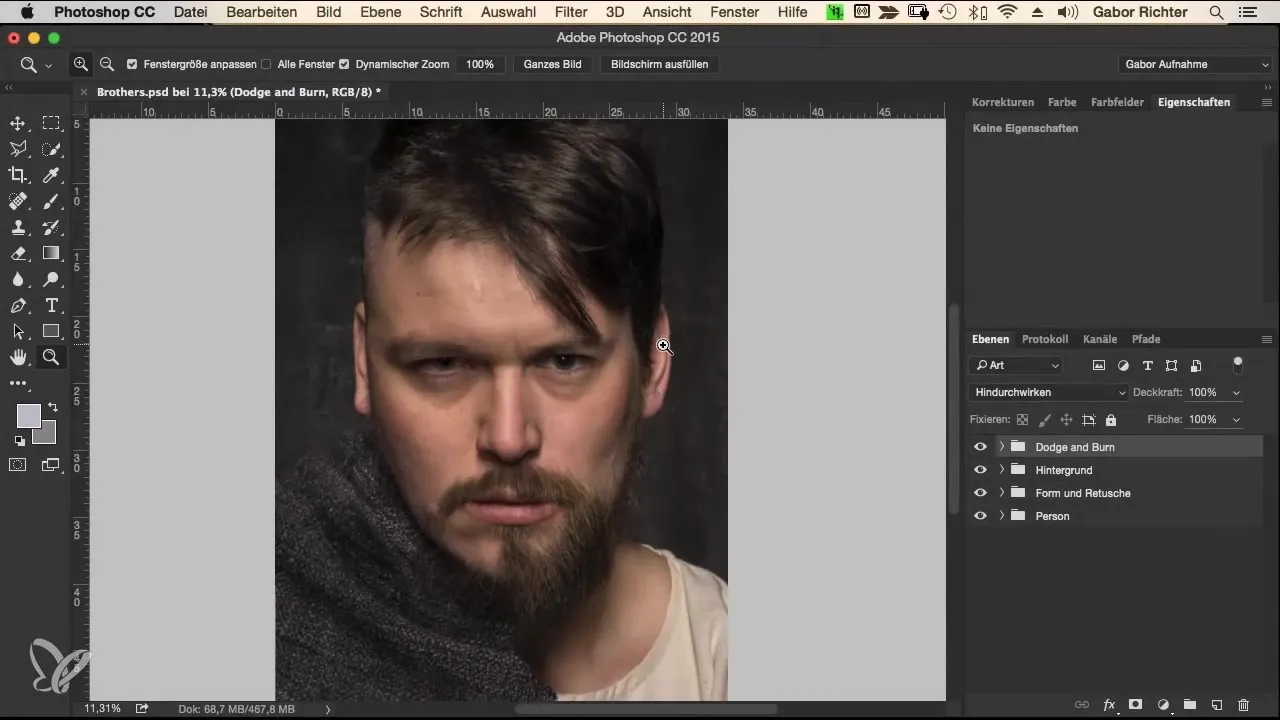
In the next step, you need a new Dodge and Burn layer. Press the Alt key and click on the “New Layer” icon in the layers palette. Name this layer “Dodge and Burn” and set the blending mode to “Overlay” to achieve a high-contrast effect. Set the layer fill to 50% gray.
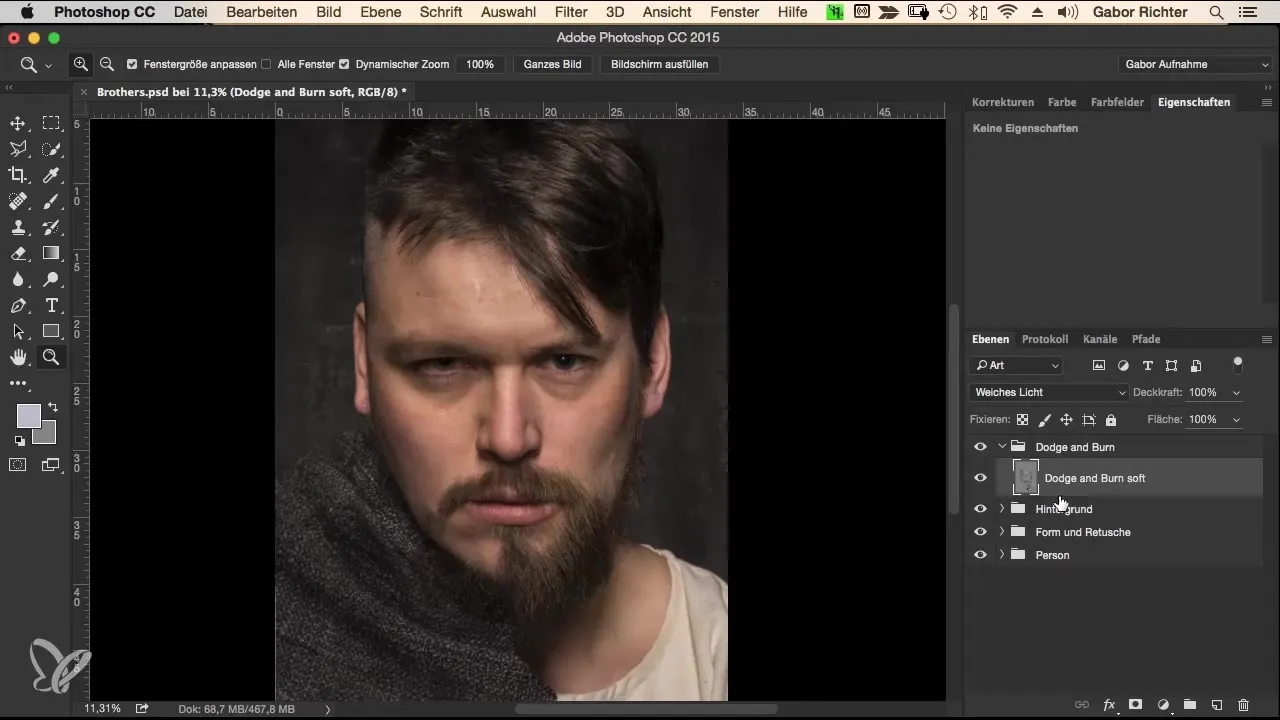
Now, it’s time to get to work. Select a brush with an opacity of 3 to 5%, ideally 5% for this specific work. Set the brush hardness to 0 and choose an appropriate size—about 120. Now begin to gently emphasize the existing folds in the clothing by creating more depth and texture. Painting repeatedly over the same areas achieves a more three-dimensional effect.
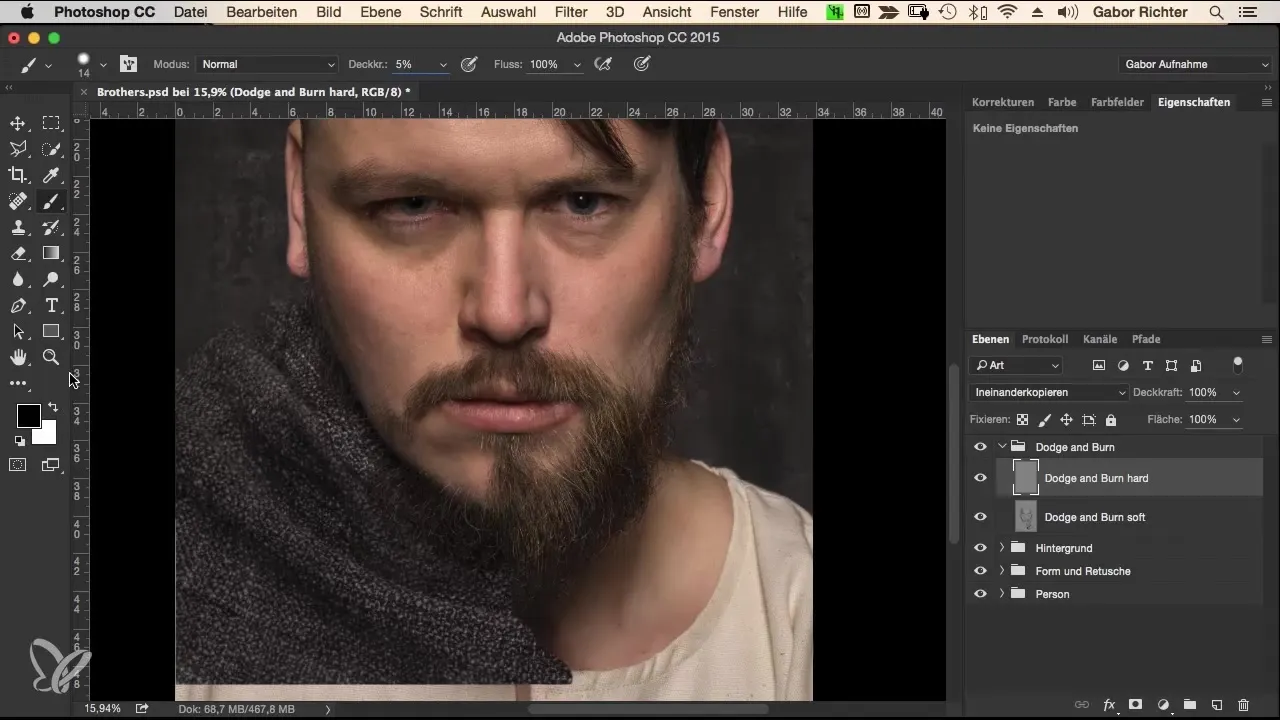
Next, accentuating highlights becomes important. Switch to white to brighten the folds. Proceed cautiously by utilizing the previous steps. If you have brightened too much, remember to undo the step and work evenly on more important areas.
The key to effectively applying this technique lies in further darkening the deep areas and modeling them purposefully. Carefully darken the folds to create tension and character. With each gentle revision, the image becomes more interesting and vibrant.
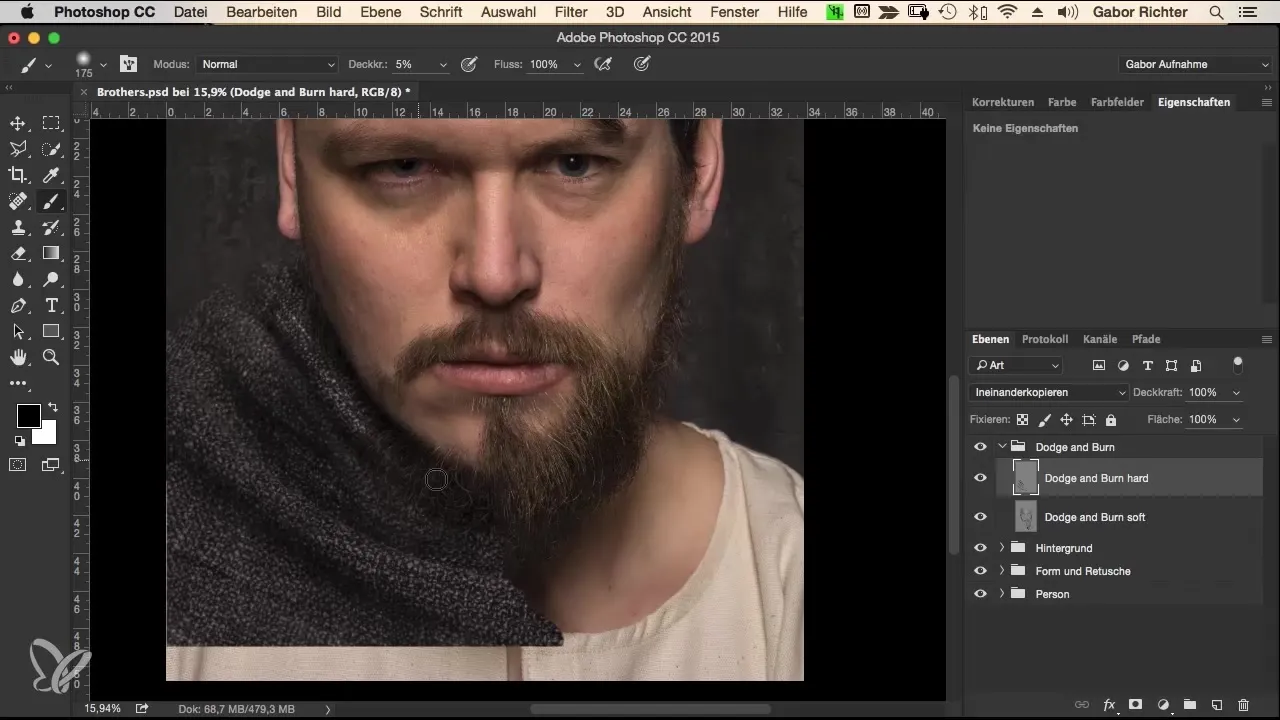
Now that you have worked on the folds, it’s important to integrate shadows. Therefore, set targeted accents when it comes to the transition of fabric and shadow. This should not seem exaggerated but should add extra depth to the image.
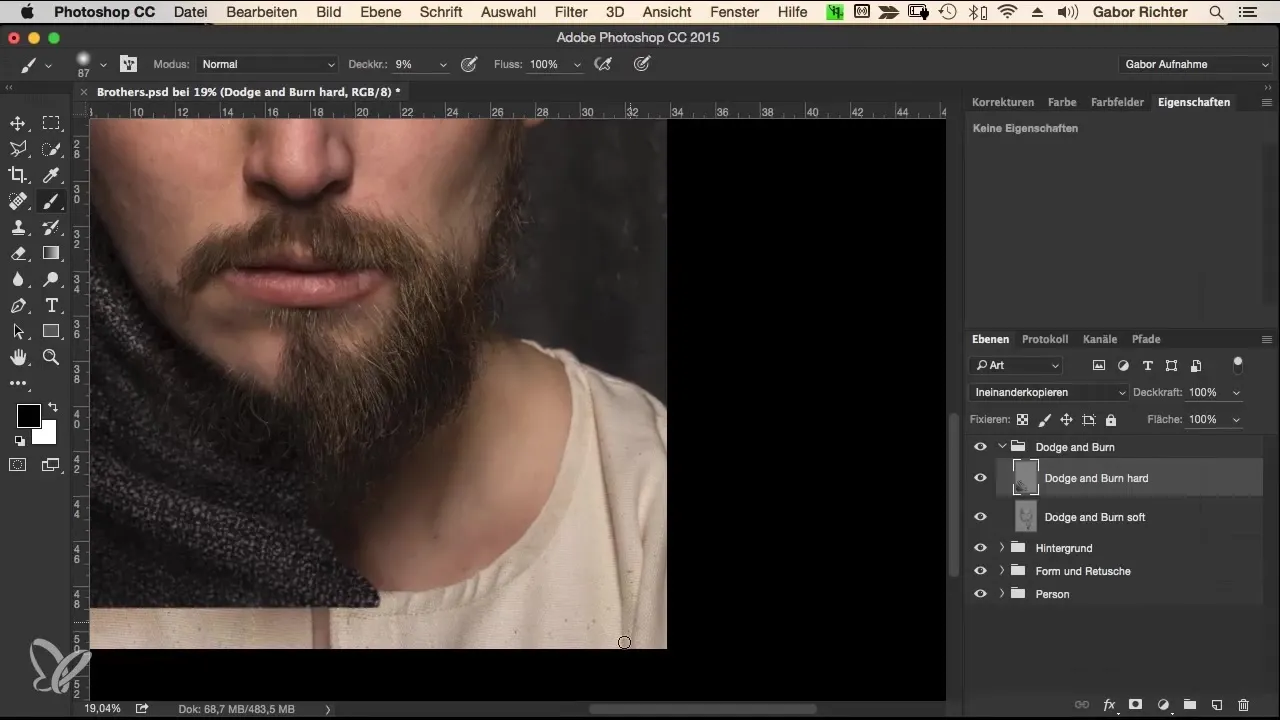
Now focus on the details, especially around the neck and the bottom of the clothing. They strongly influence how natural the clothing will appear. Also shade these zones purposefully to enhance the impression of folds and movement.
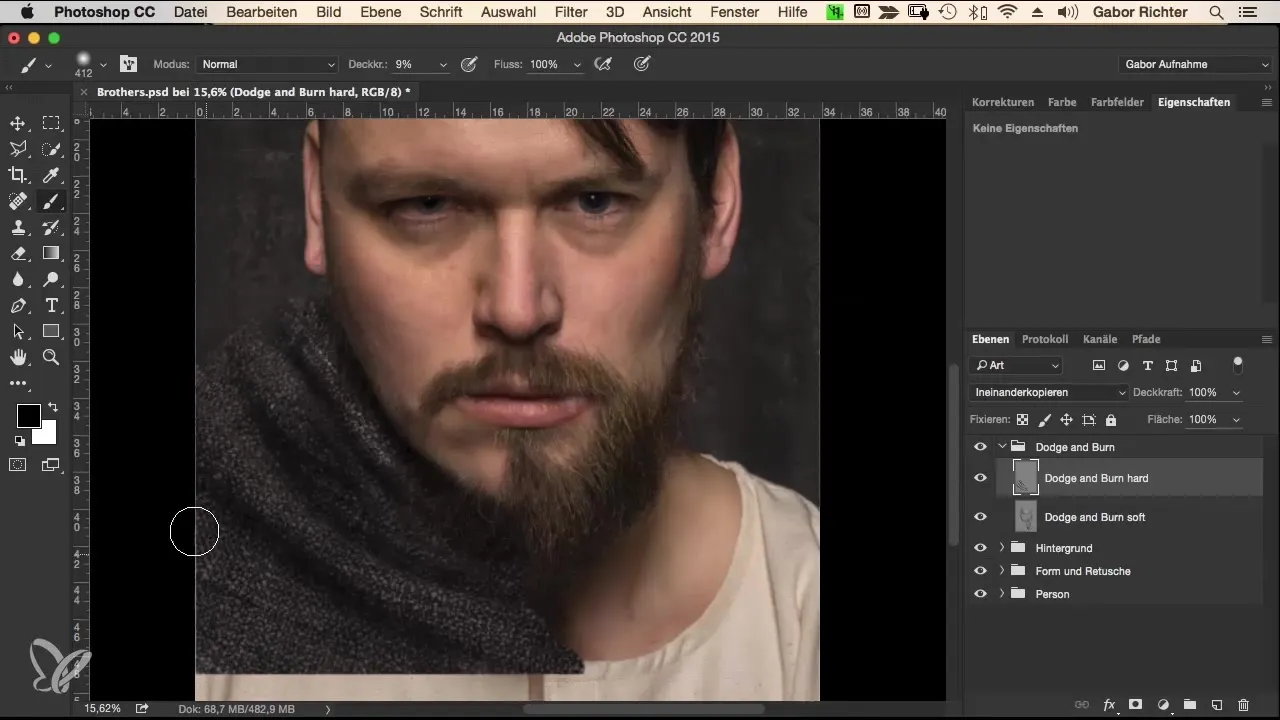
As you continue, don’t forget to refine the right side. There, too, it is important to emphasize the folds more and ensure that the darkness is evenly distributed. You can also work on the edges to achieve an even more harmonious overall picture.
Now move on to the hair. Here, it makes sense to emphasize areas where the scalp is visible to achieve a more uniform look. Also, use a gentle approach to soften the transitions.
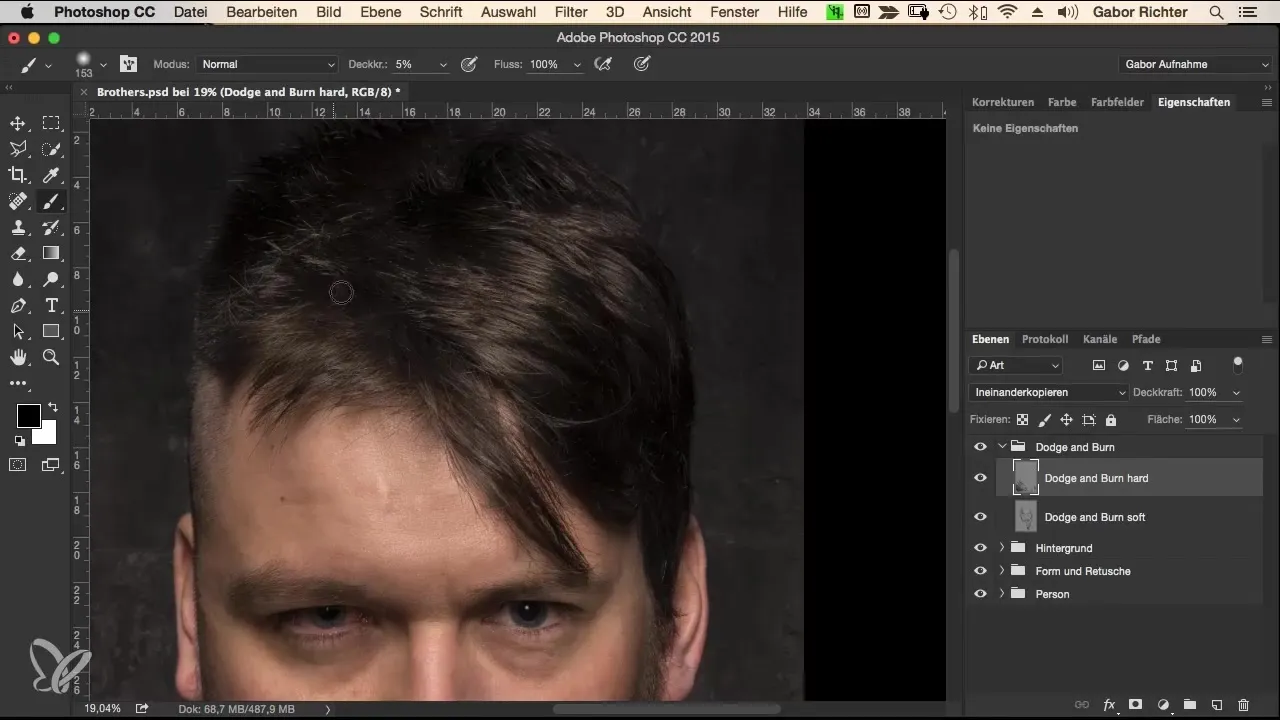
To give the hair more shine, you can work on the dark areas with a gentle brightening. It’s important to create an even flow so that the image remains harmonious while still looking dynamic.
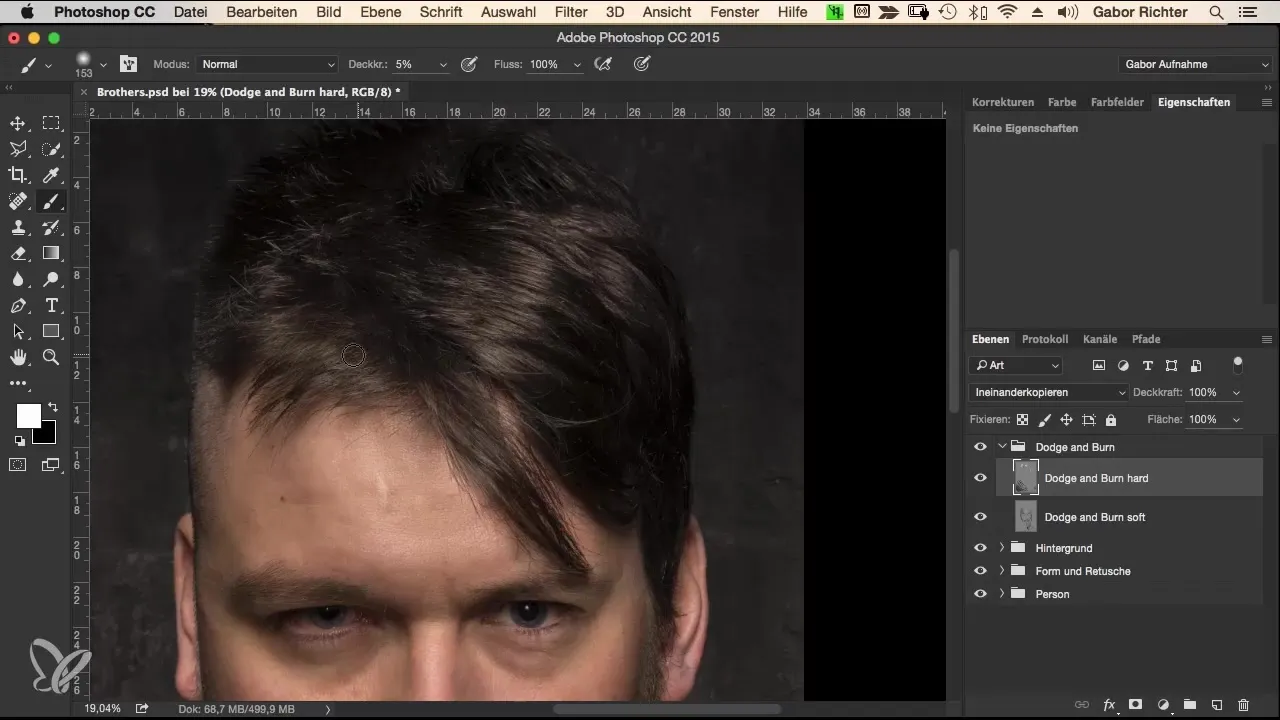
As the last step, I recommend duplicating the Dodge and Burn layer. This gives you the opportunity to experiment with the opacity. Sometimes, an additional thinner layer can create surprisingly good contrast. This is especially useful for further highlighting the desired effects.
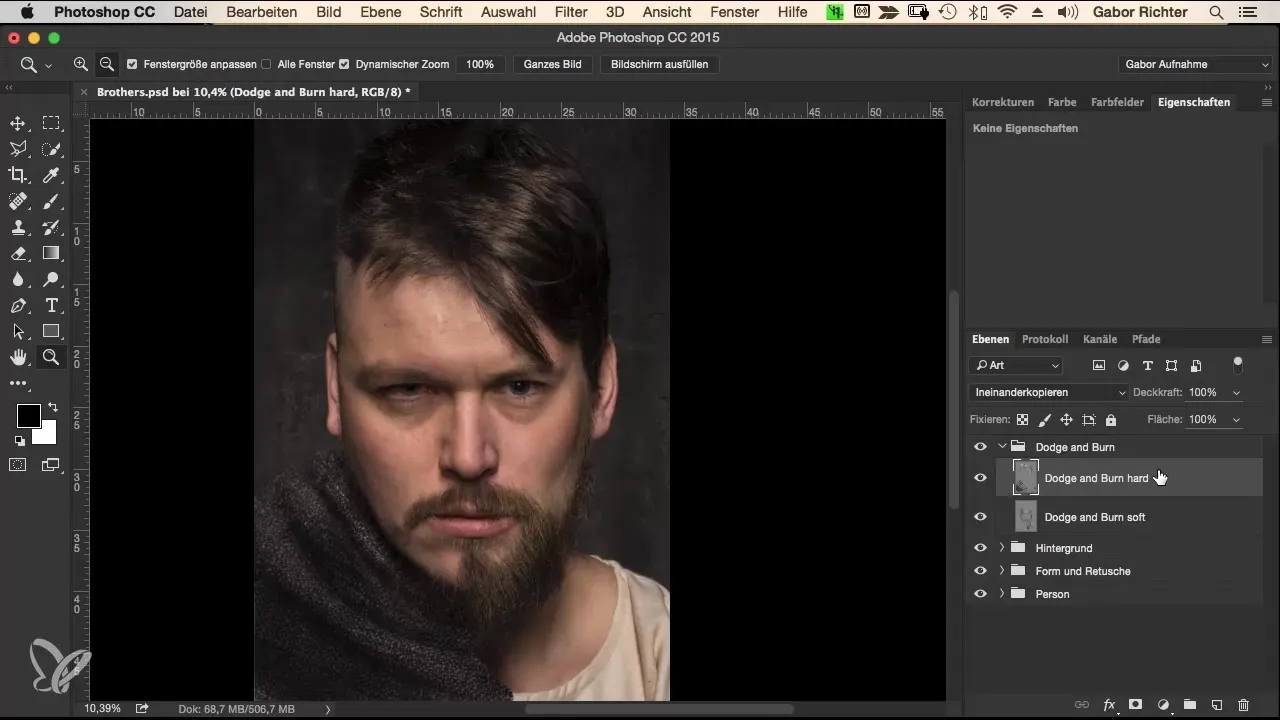
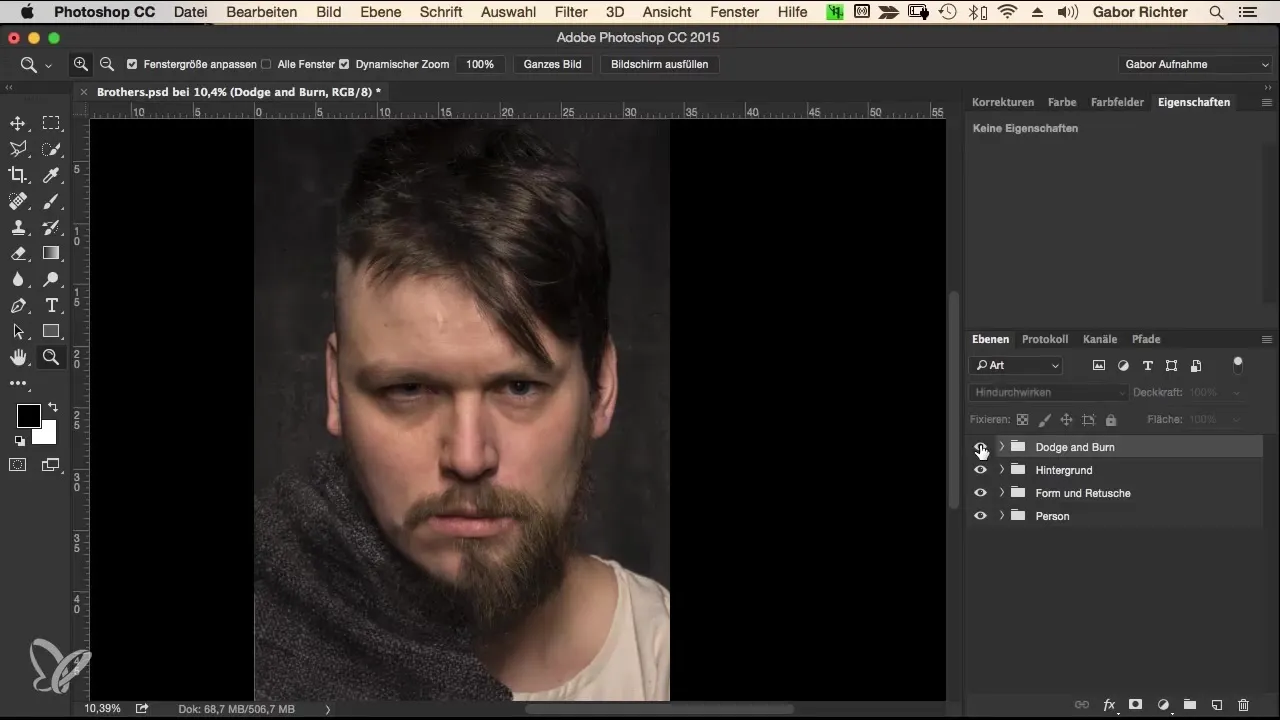
If you are satisfied with the result, compare it with the original image and check the changes. Look at the image as a WHOLE and decide whether to adjust the effect or close the group to secure your final image.
Summary – Morphing Workflow in Photoshop: Optimizing Clothing and Hair with Dodge and Burn
Through the steps described, you have learned how to represent clothing and hair in Photoshop more three-dimensionally with targeted applications of light and shadow. The Dodge and Burn workflow is an essential technique to create depth in your images, which can be very effective to the naked eye.
Frequently Asked Questions
How can I apply Dodge and Burn in Photoshop?Use a new 50% gray layer to selectively paint light and shadows.
Can I adjust the opacity of the Dodge and Burn layer?Yes, duplicating the layer and adjusting the opacity can enhance contrast and effect.
What is the best brush for this technique?A soft brush with 0 hardness and 3-5% opacity works best.
Should I paint over the areas once when working with Dodge and Burn?No, painting repeatedly over the same areas increases effectiveness and the three-dimensional impression.
Can I apply this technique to other areas of my design?Yes, this technique is suitable for various areas and can be used flexibly.
