An engaging background can make the difference between an ordinary and an impressive portrait. Here you will learn how to enhance a simple gray background with minimal effort to revive the mood of your portraits. In this guide, you will not only add a background but also create a harmonious connection with the main subject.
Key Insights
- By adding a suitable background, the atmosphere of your portrait is greatly enhanced.
- The use of blending modes and masks in Photoshop simplifies the process and ensures precise results.
- Color adjustments and texture enhancements can be easily carried out to create the desired mood.
Step-by-Step Guide
1. Select and Import Background into Photoshop
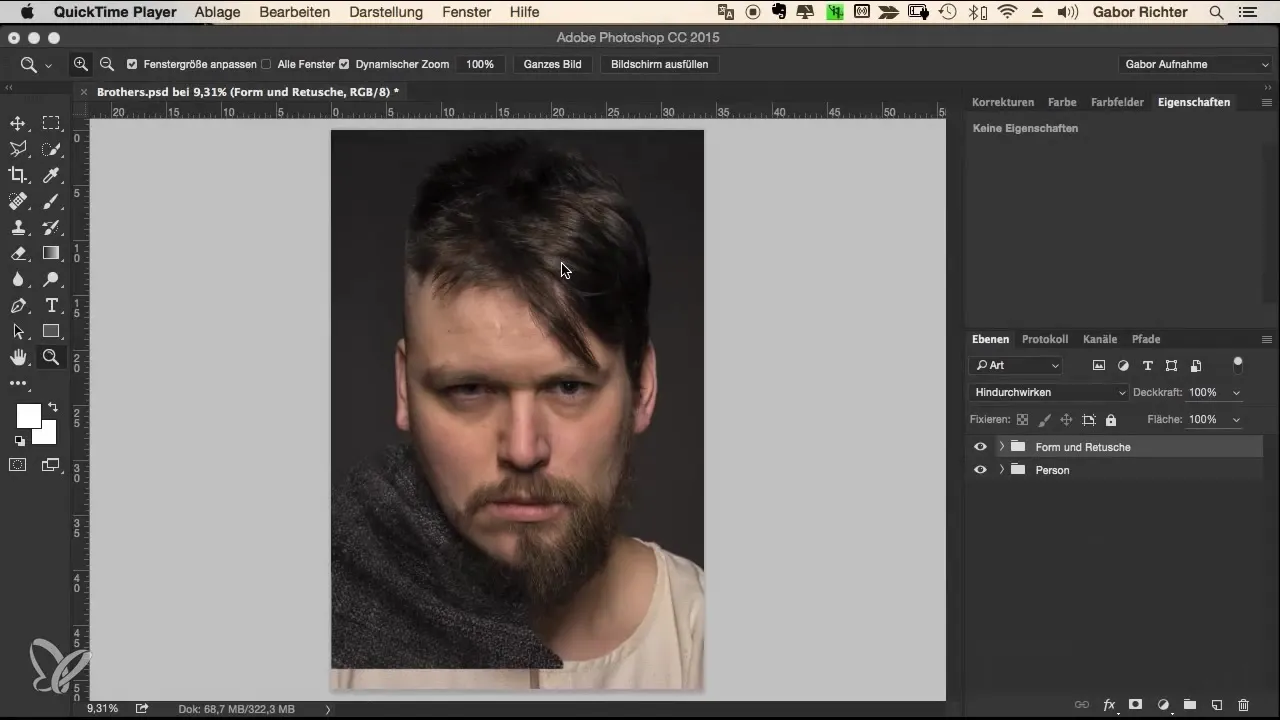
First, you need a background that gives your portrait a certain character. I chose a DNG file showing a rough wall. You can also open your desired image at the same time by importing it into Photoshop. To do this, open Photoshop and load the background via "File" > "Open".
2. Position and Scale Background
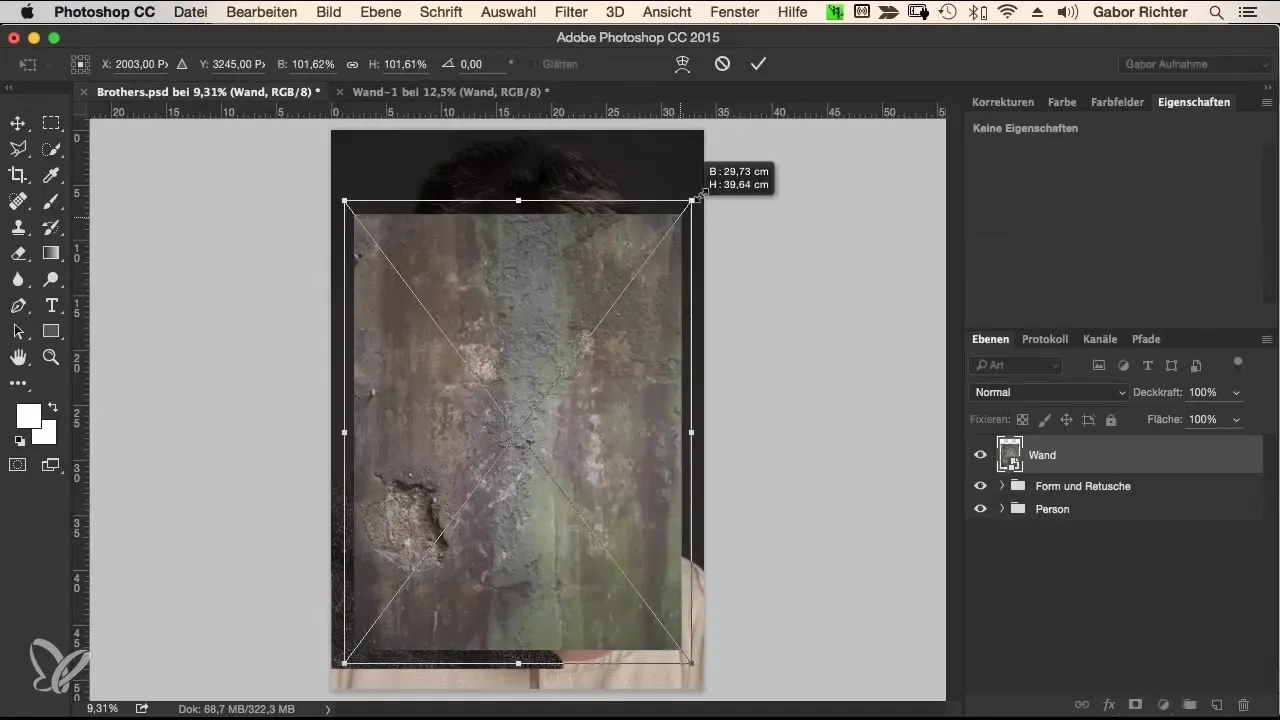
Now it’s time to move and scale the background so that it fits the portrait optimally. Select the Move tool and drag the background into your workspace. It may be smaller than the portrait, so scale it accordingly to achieve the desired size.
3. Set Blending Mode
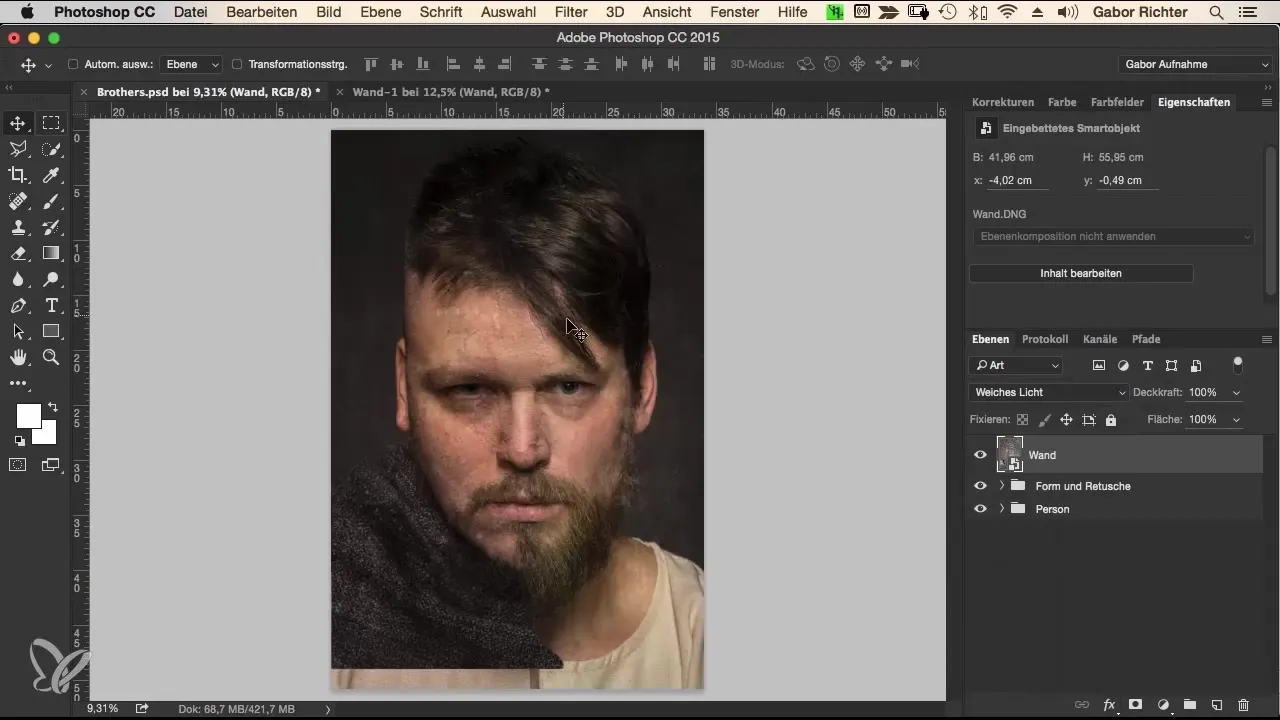
Colors can easily dominate the image, which is why we are using an overlay technique. Set the blending mode of the background to "Soft Light". This will harmoniously integrate the background into the image and give the portrait a soft mood.
4. Adjust Background Saturation
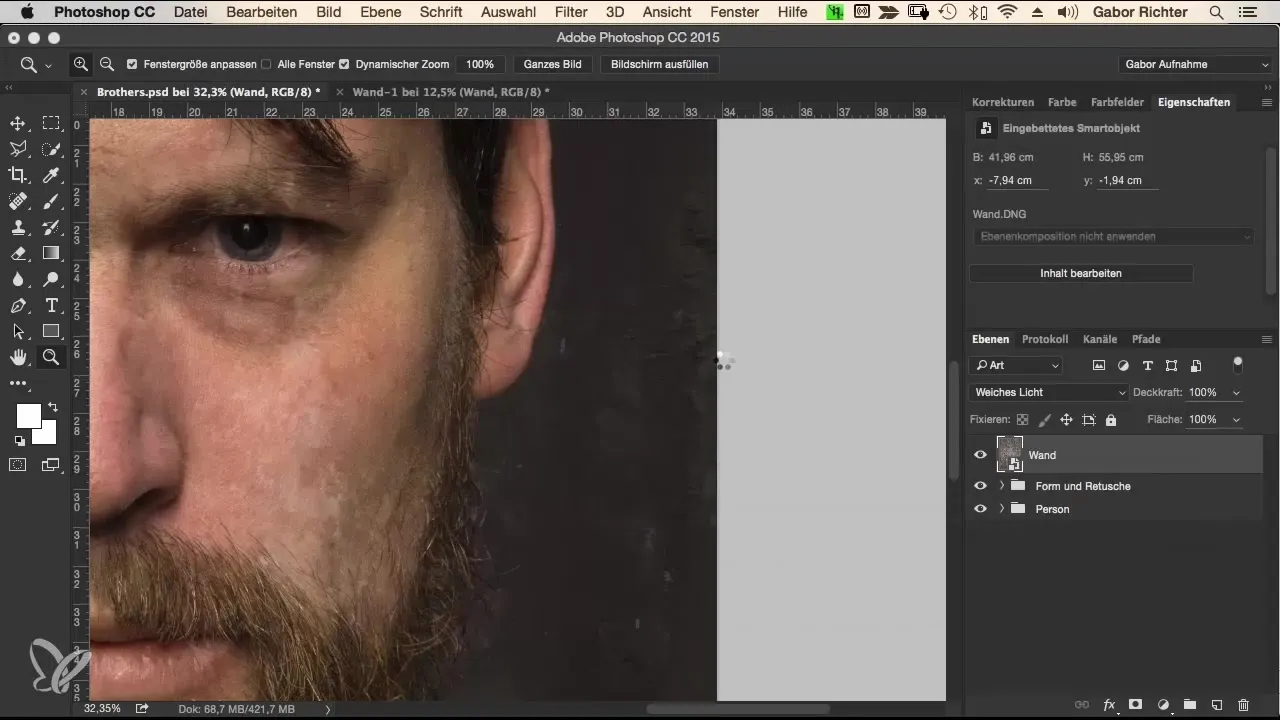
To give the background the desired gray-brown look, you can reduce the saturation to zero. Since we are working with a Smart Object, this is straightforward. Click on the image, and set the saturation to 0 using "Image" > "Adjustments" > "Saturation". This will give you a black-and-white background that emphasizes the texture rather than the color.
5. Enhance Clarity
To highlight the texture of the background, we need to increase the clarity. This works in the Camera RAW filter. Drag the clarity slider to the right and watch how the details improve. A value of 100 is often recommended.
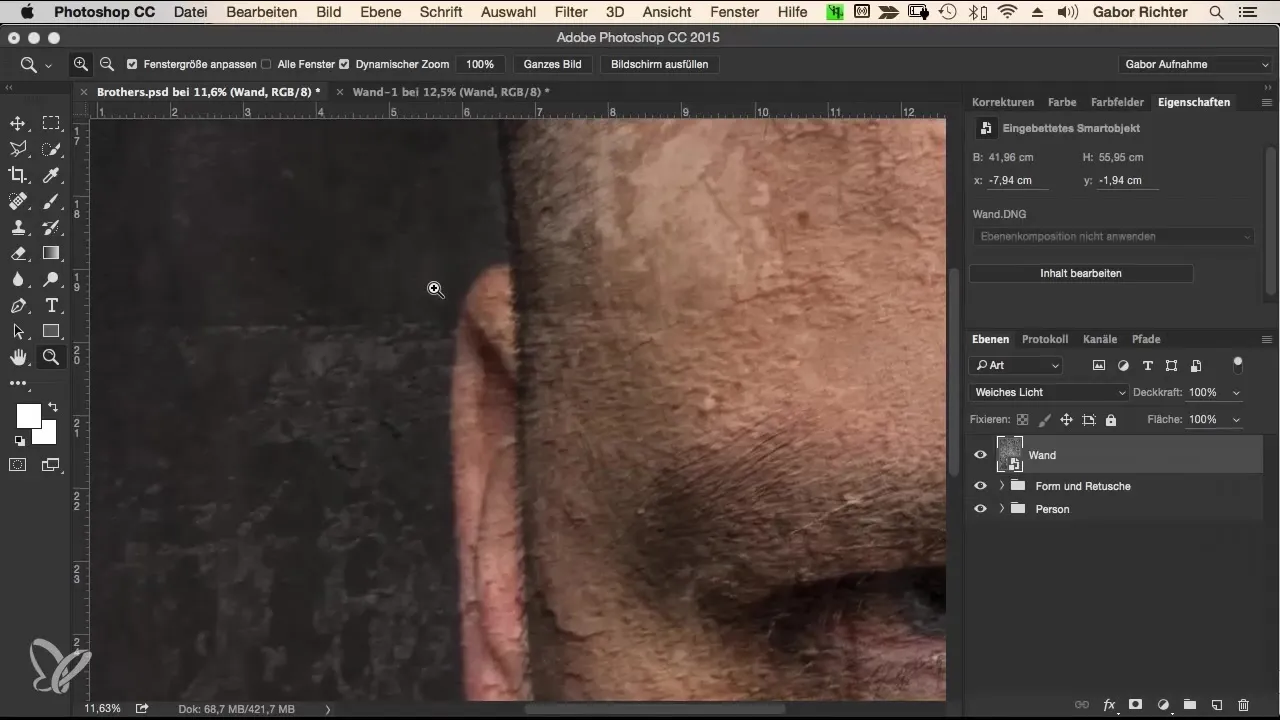
6. Create Masks
The background now partially overlaps with the subject in the portrait, which we can correct with a mask. Create a mask for the background layer and choose a brush with 100% opacity. Set the hardness to about 50% to achieve a soft edge, and begin to mask out the areas around the face, hair, and cloak.
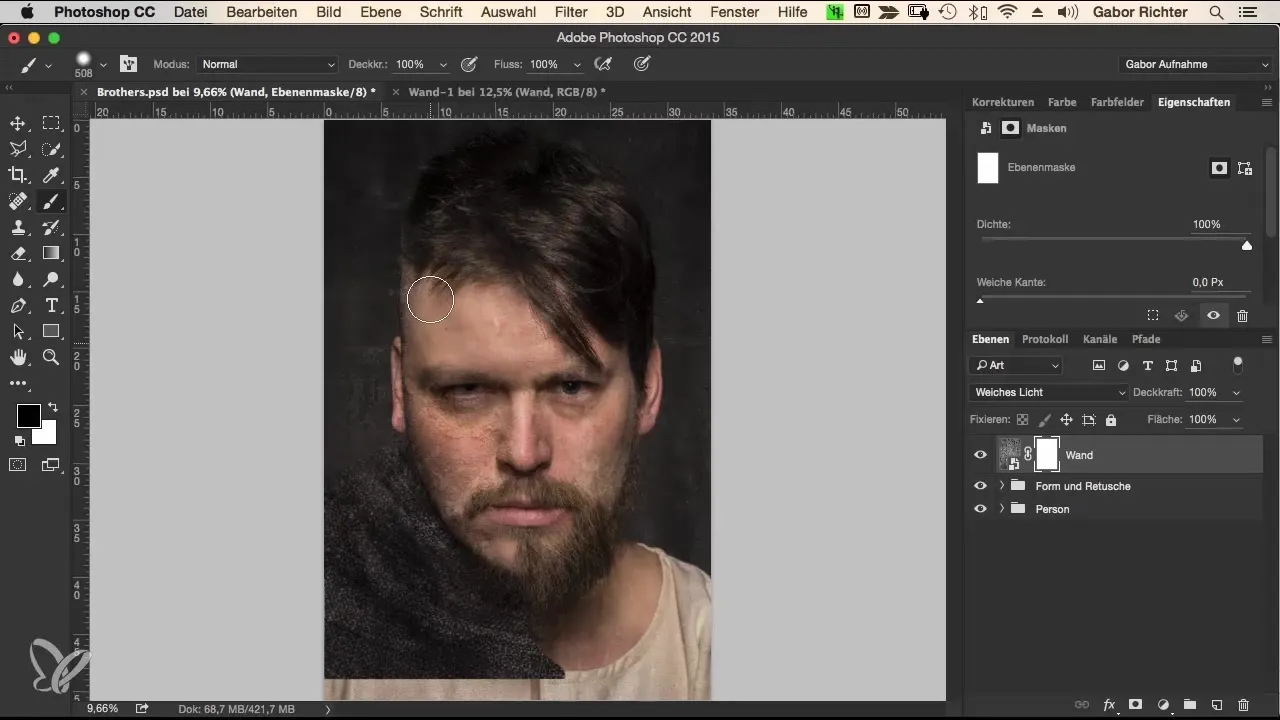
7. Refine Mask
It is advisable to thoroughly check the mask and make any necessary minor adjustments. Zoom into the details and adjust the edges so that no background shows through where you don’t want it.
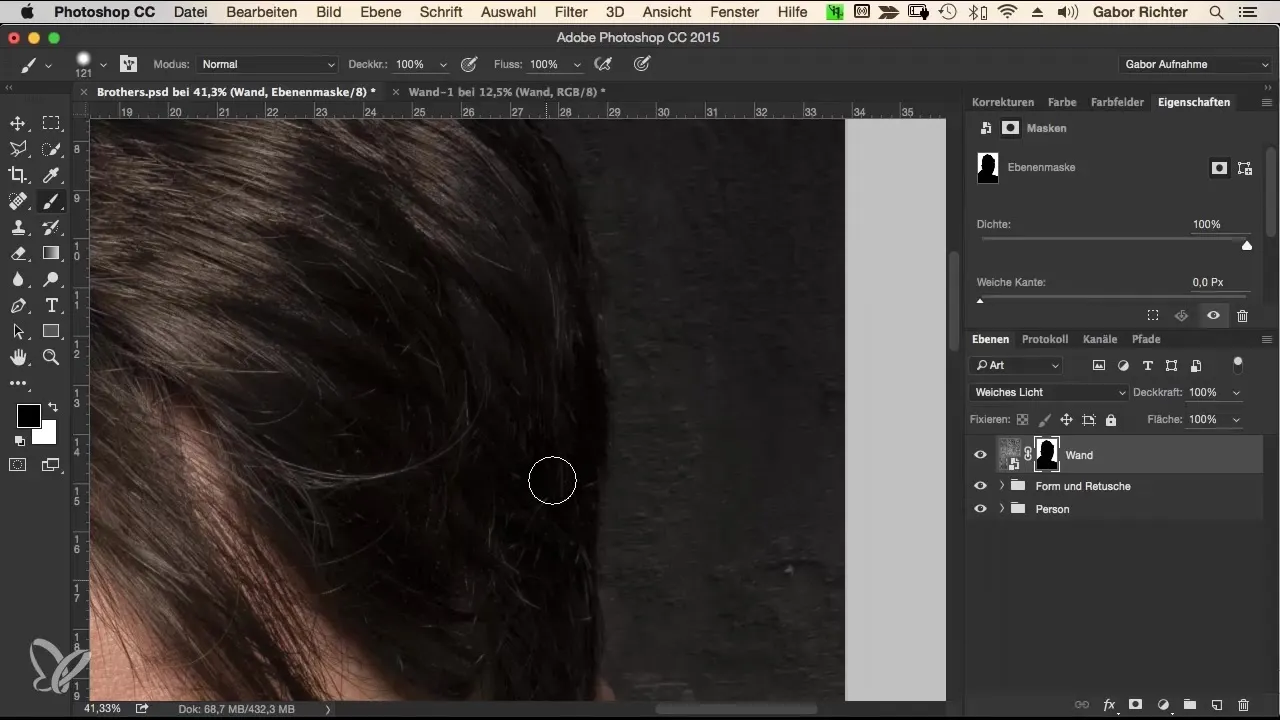
8. Finishing Touches on the Edges
Check all areas where the hair is visible and make corrections there if necessary. Areas like the ears or beard may also need cleaning up to achieve a clean edge.
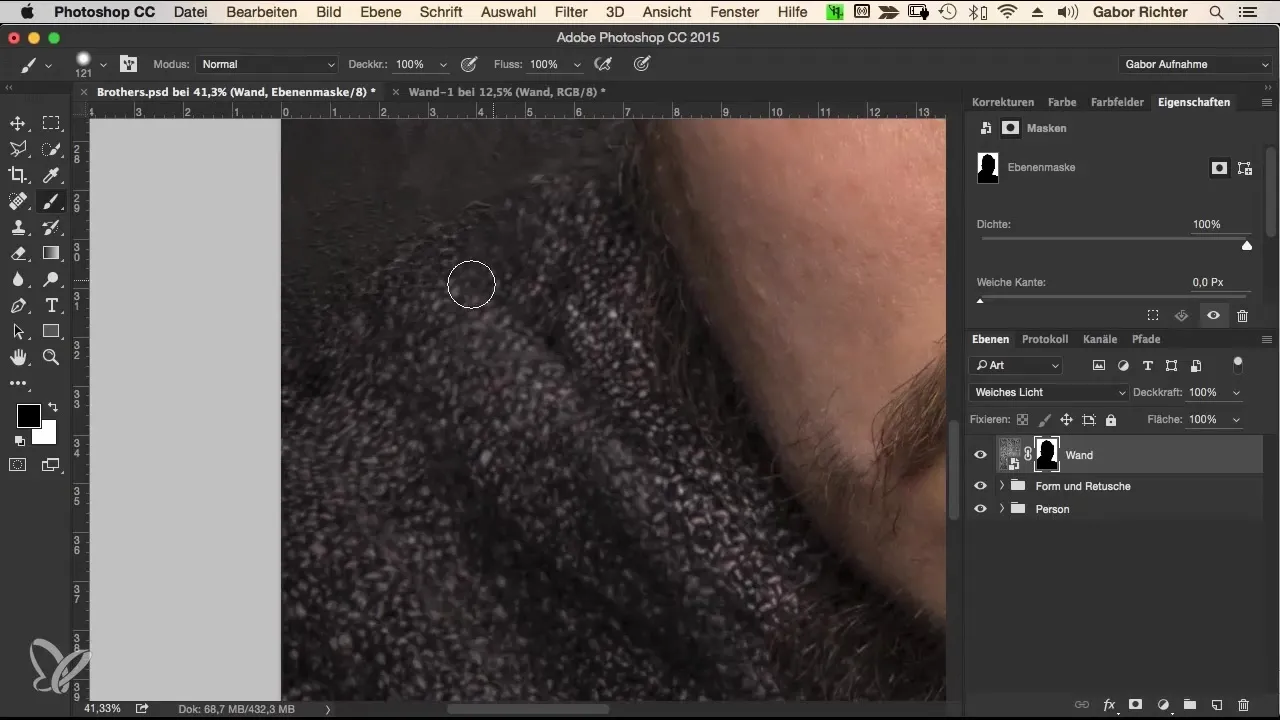
9. Blur Background
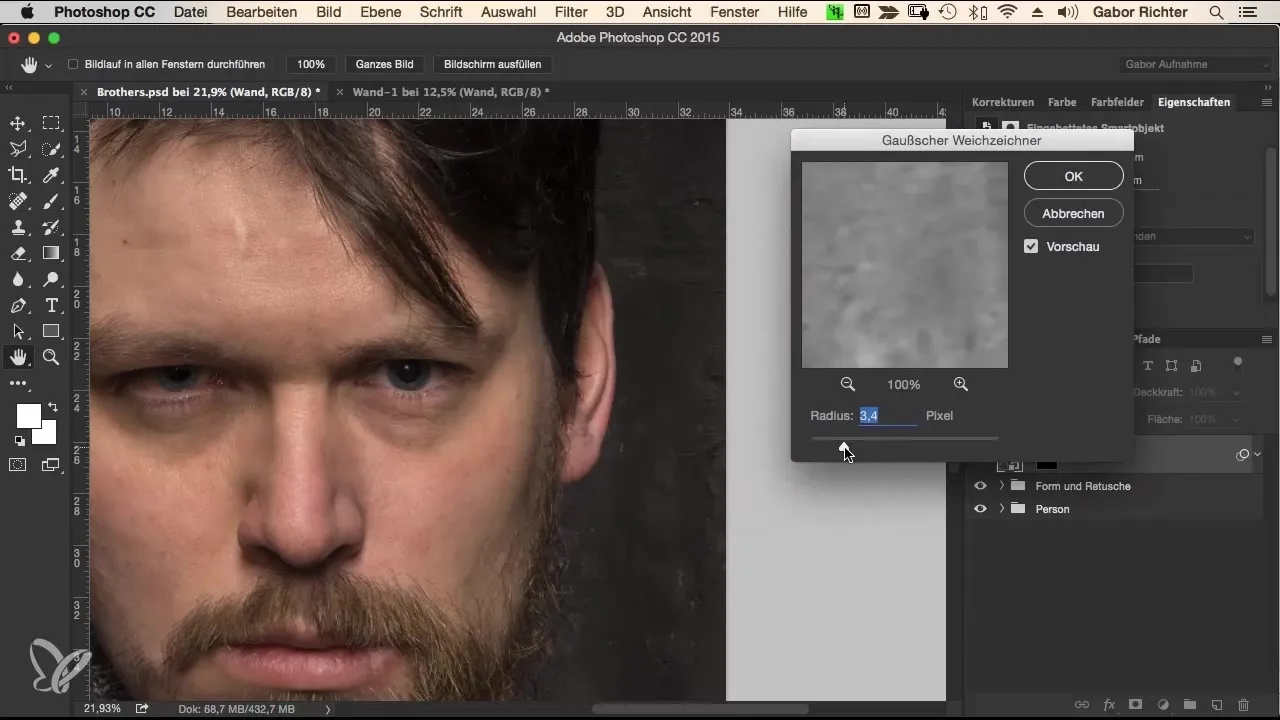
To add a bit more softness to the background, you can apply a blur filter. Go to "Filter" and select "Blur Filter," followed by "Gaussian Blur." A value of 4 pixels can be used here to create a gentle uncertainty that harmonizes the background.
10. Adjust Background Position
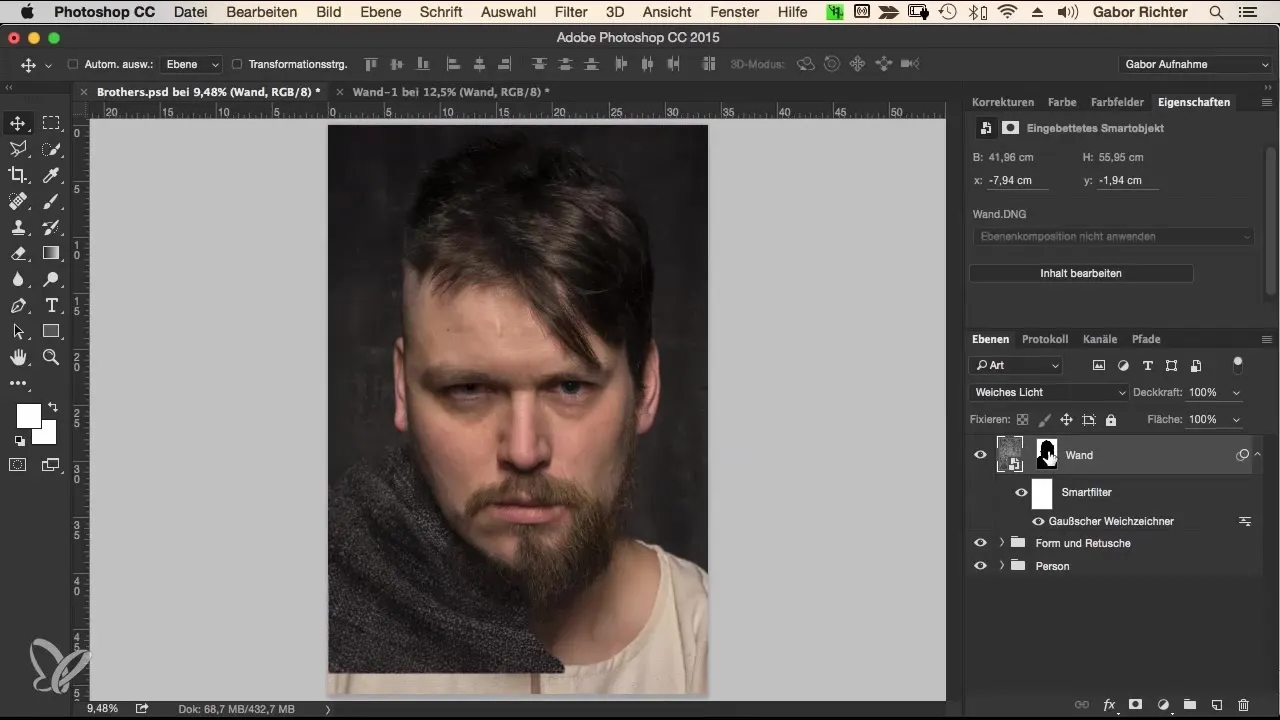
If you want to change the position of the background, make sure the mask is detached from the background layer. To do this, go to the Layers panel and unlink it. Now you can move the background independently until you are satisfied with the position.
11. Final Touches and Grouping
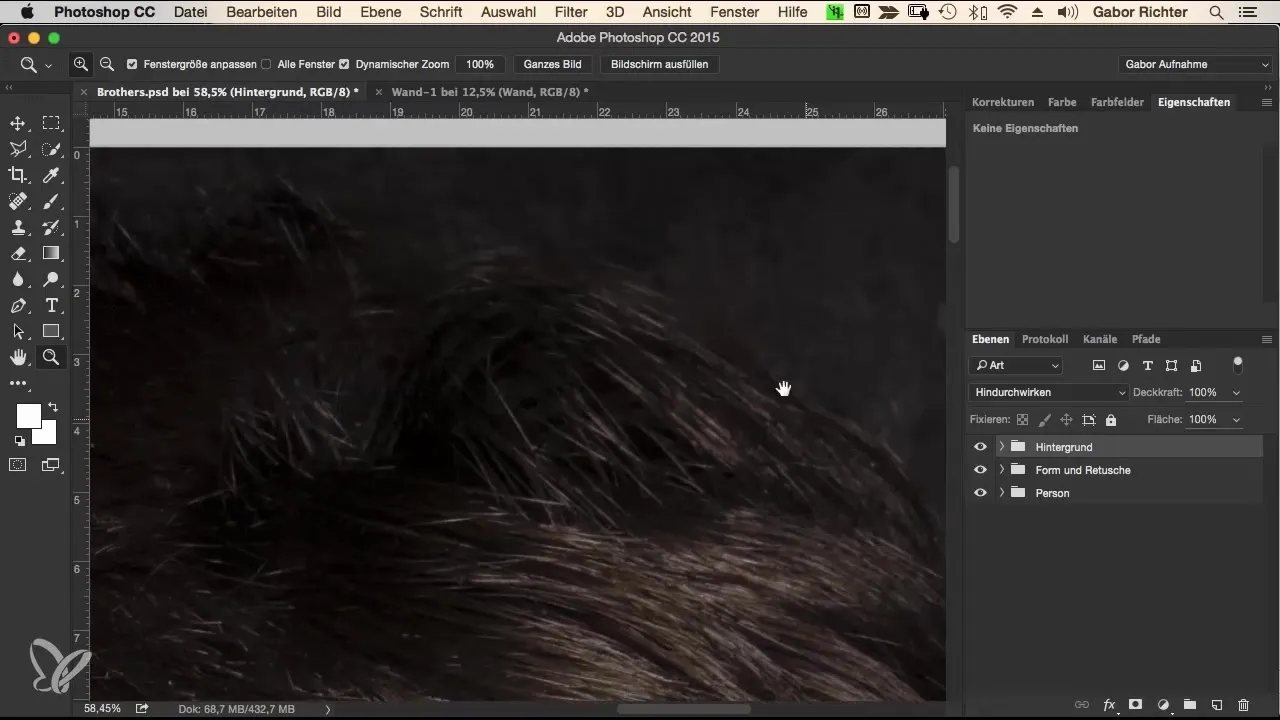
Once you are satisfied with the arrangement of the background and mask, it makes sense to group the layers. This way, you keep track and have everything organized. Select your background image and the mask, right-click, and choose "Group".
Summary – Effective Background Design with Photoshop
You have now learned various techniques to efficiently integrate a background into your portrait. When you choose a suitable texture, optimize it, and skillfully use overlays, your image will have a completely different impact.
Frequently Asked Questions
How do I add a background in Photoshop?Open the background in Photoshop, move and scale it to the desired size.
How can I avoid color overlays?Use the blending mode "Soft Light" and reduce the saturation of the background to zero.
What is a mask in Photoshop?A mask allows you to selectively hide or reveal certain areas of an image.
How can I increase the clarity of the background?Use the Camera RAW filter and adjust the clarity slider to enhance the details.
Why is grouping layers important?Grouping helps maintain clarity and improves workflow.


