In this guide, I will explain how you can work with Conditions in a Flow for your customer acquisition. The tool allows you to respond specifically and appropriately to different prospects. Step by step, I will show you how to set up and apply the Conditions.
Key findings
- Conditions allow you to send targeted messages to your customers based on their attributes.
- By adding tags, you can specifically address target groups.
- Decisions in the Flow can be easily implemented and lead to different communication strands.
Step 1: Add tags
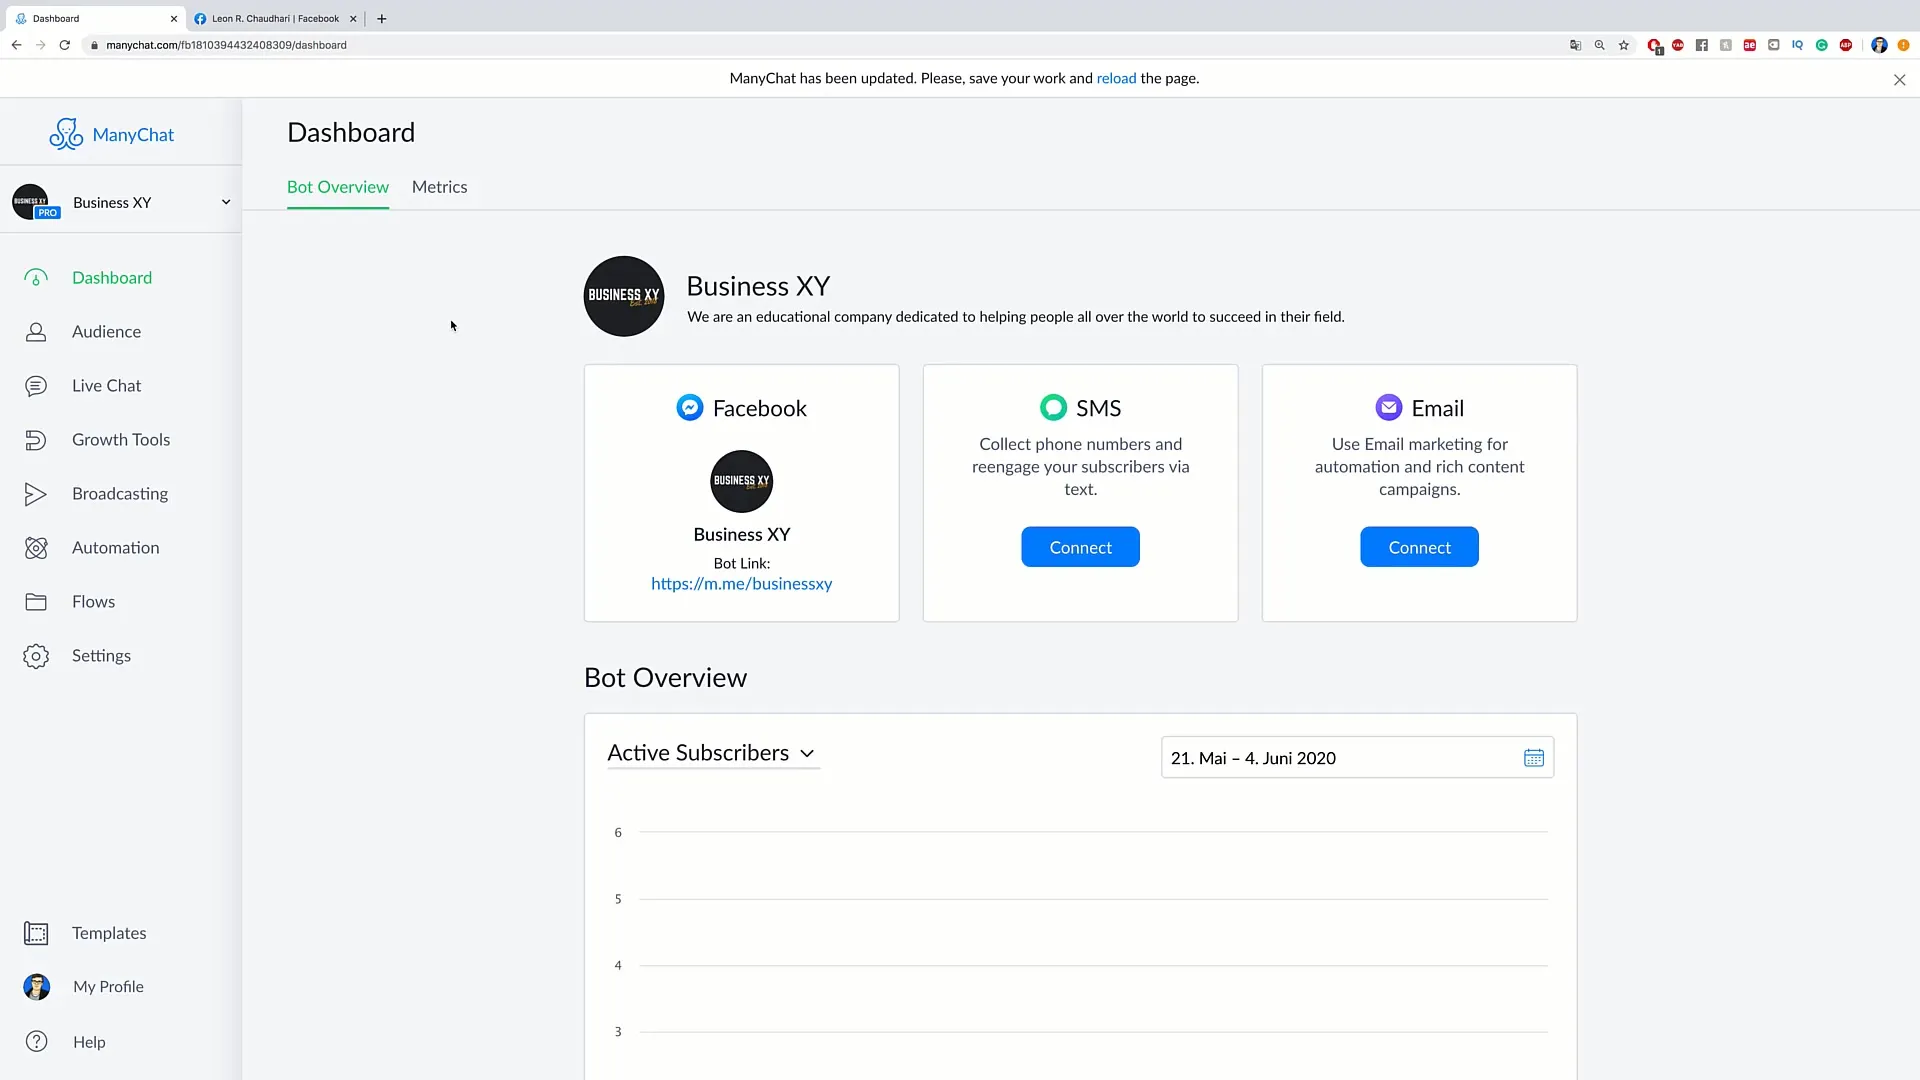
First, it is important to segment your audience accordingly. Go to the "Audience" section. Click on your person and add a tag. Name this tag something like "male". This is an essential step that will help us later when creating the Conditions.
Step 2: Create a new Flow
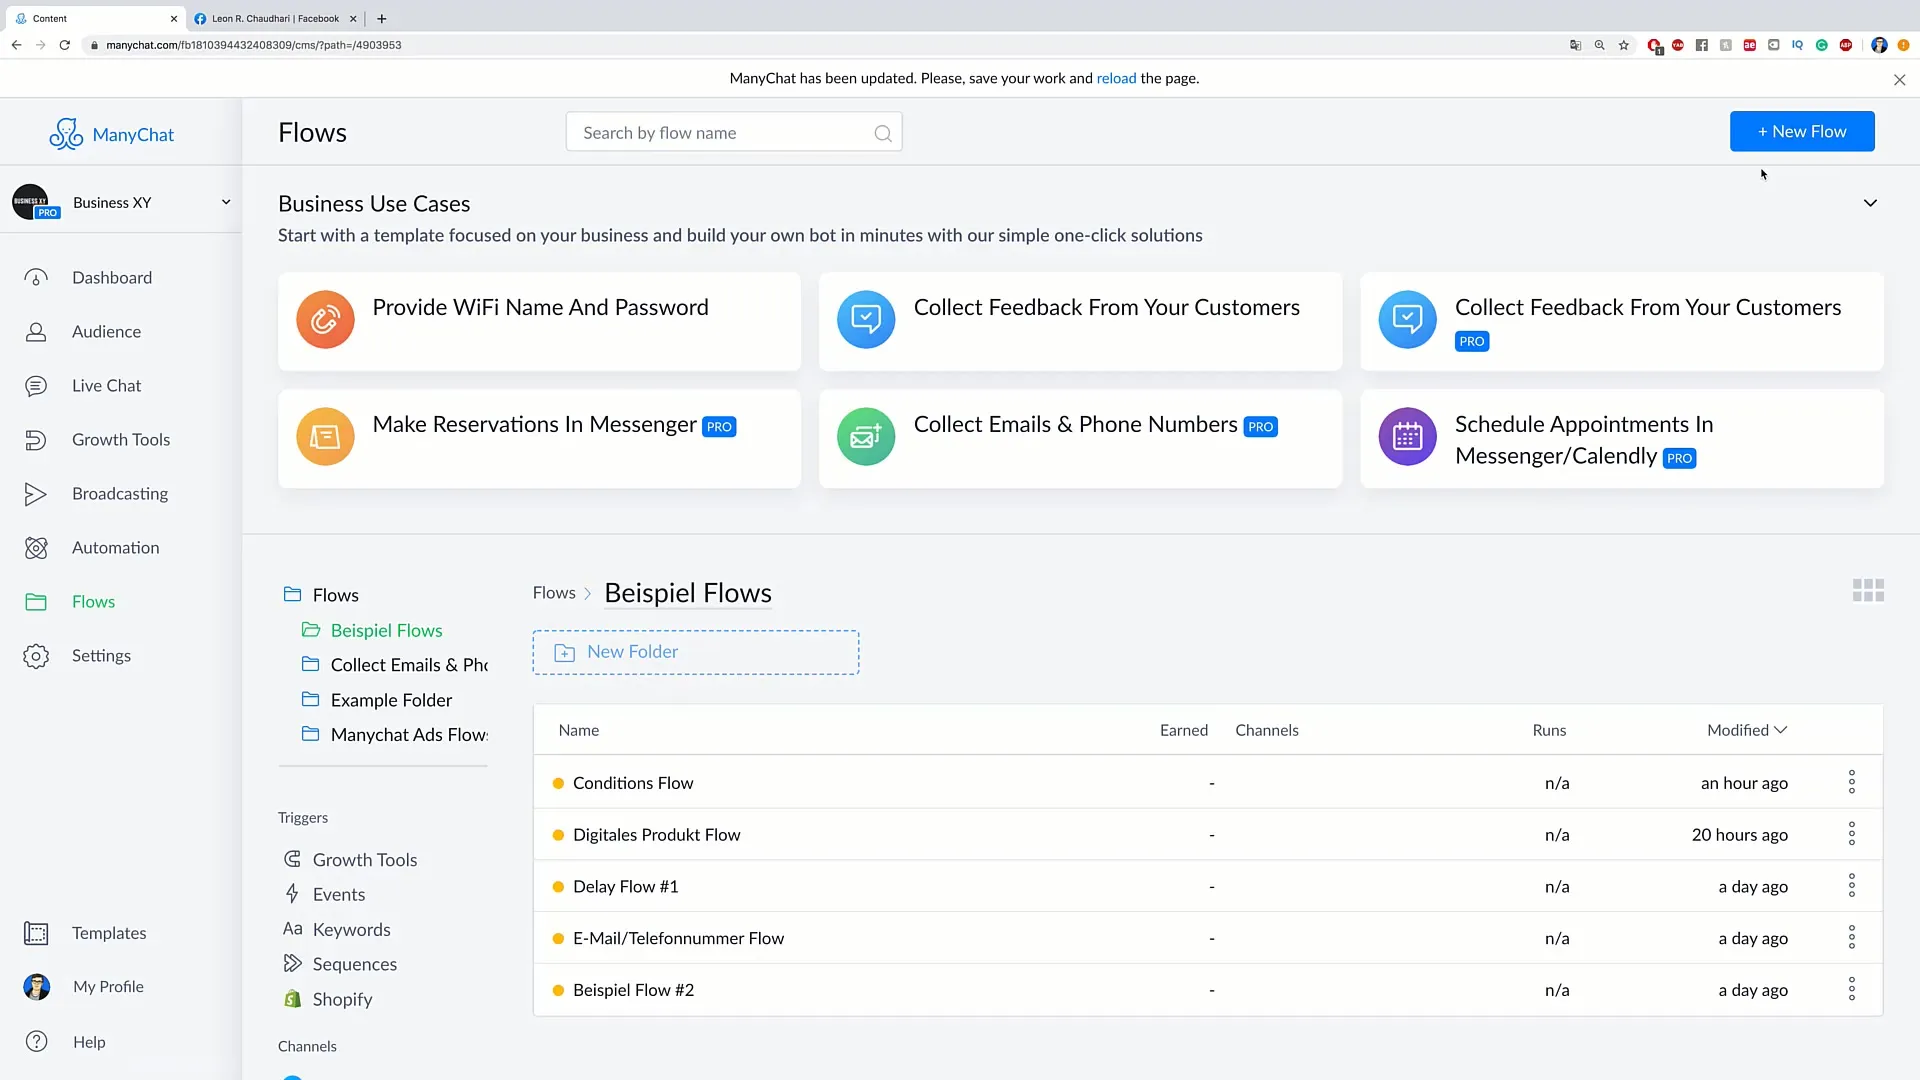
Now navigate to the "Flows" section and create a new Flow. Go to the example Flows and click on "plus new Flow". Simply name the new Flow "conditions flow" and choose "create". Here you can create your Flow.
Step 3: Create messages in the Flow
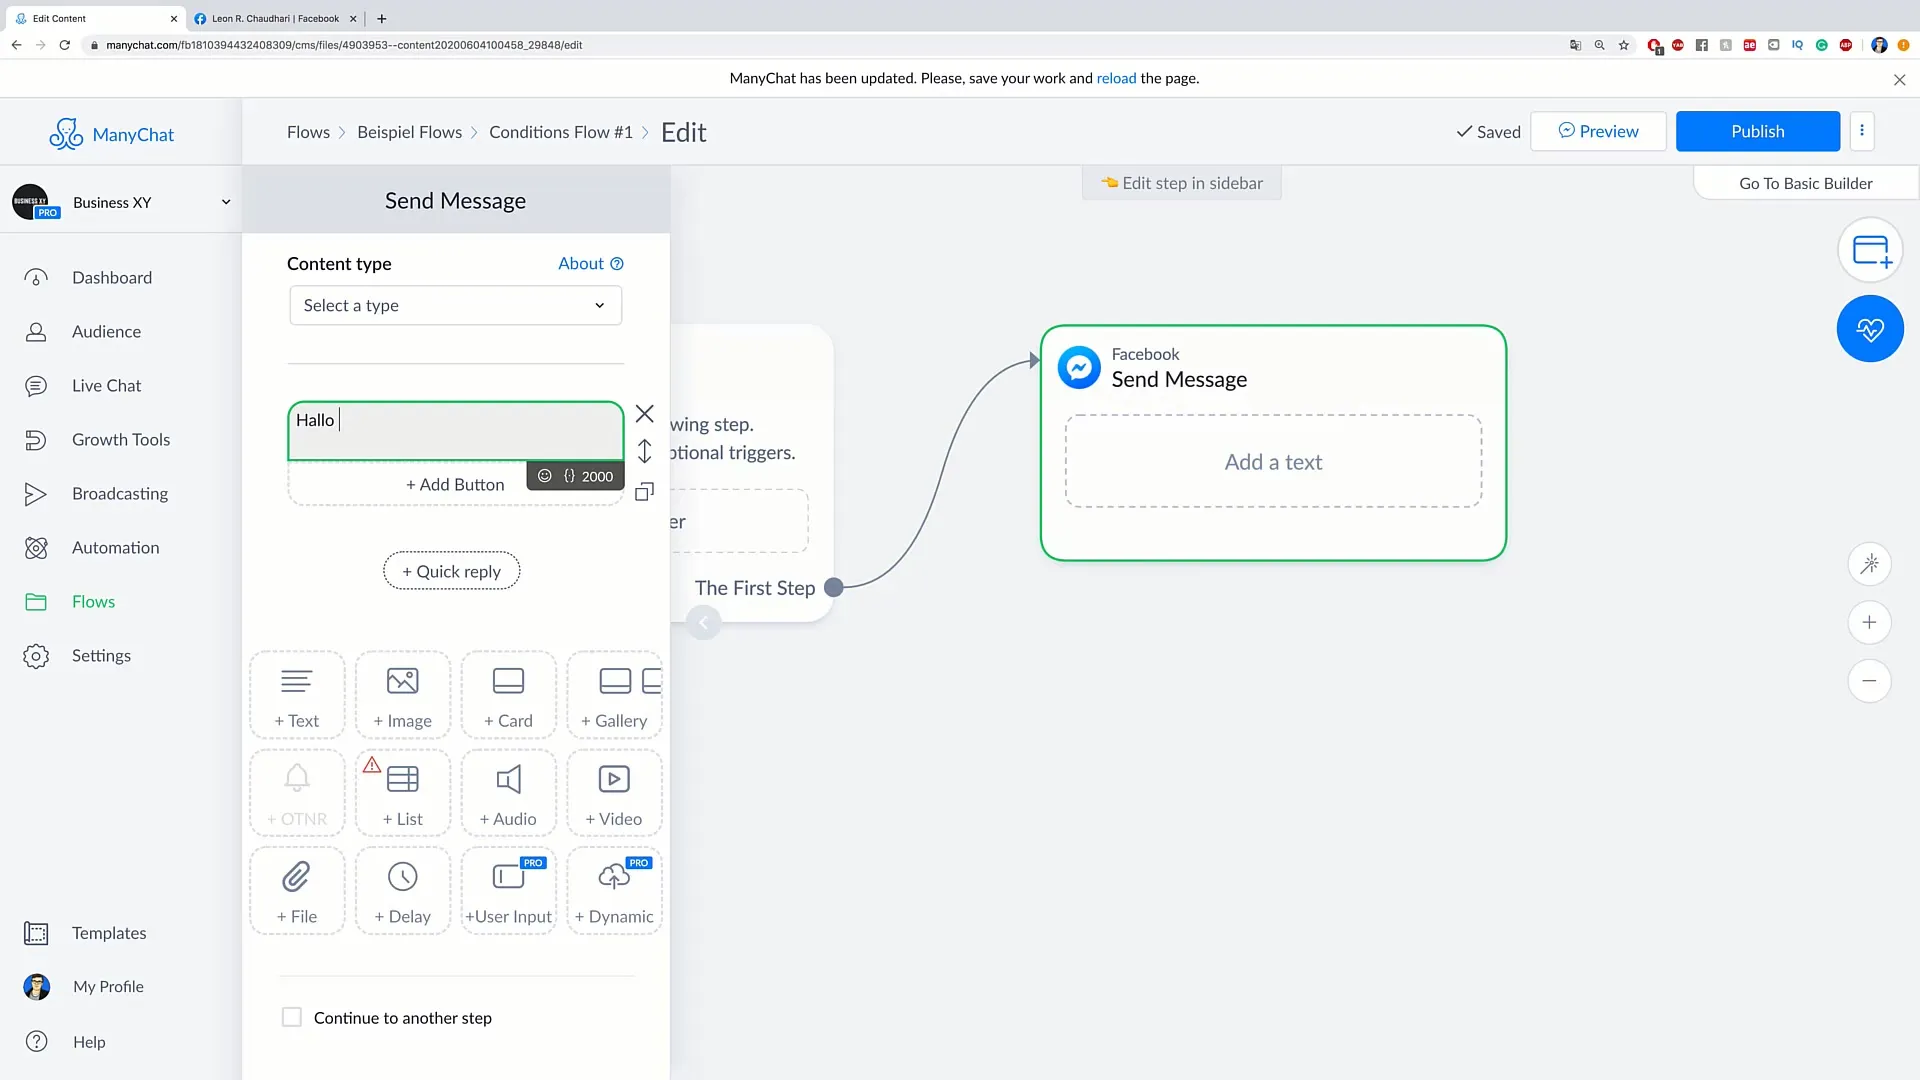
In the first step of your Flow, add a message. You might write something like "Hello, [Name]! How are you today?". This is the introduction and will be the starting point of your customer communication.
Step 4: Add Condition
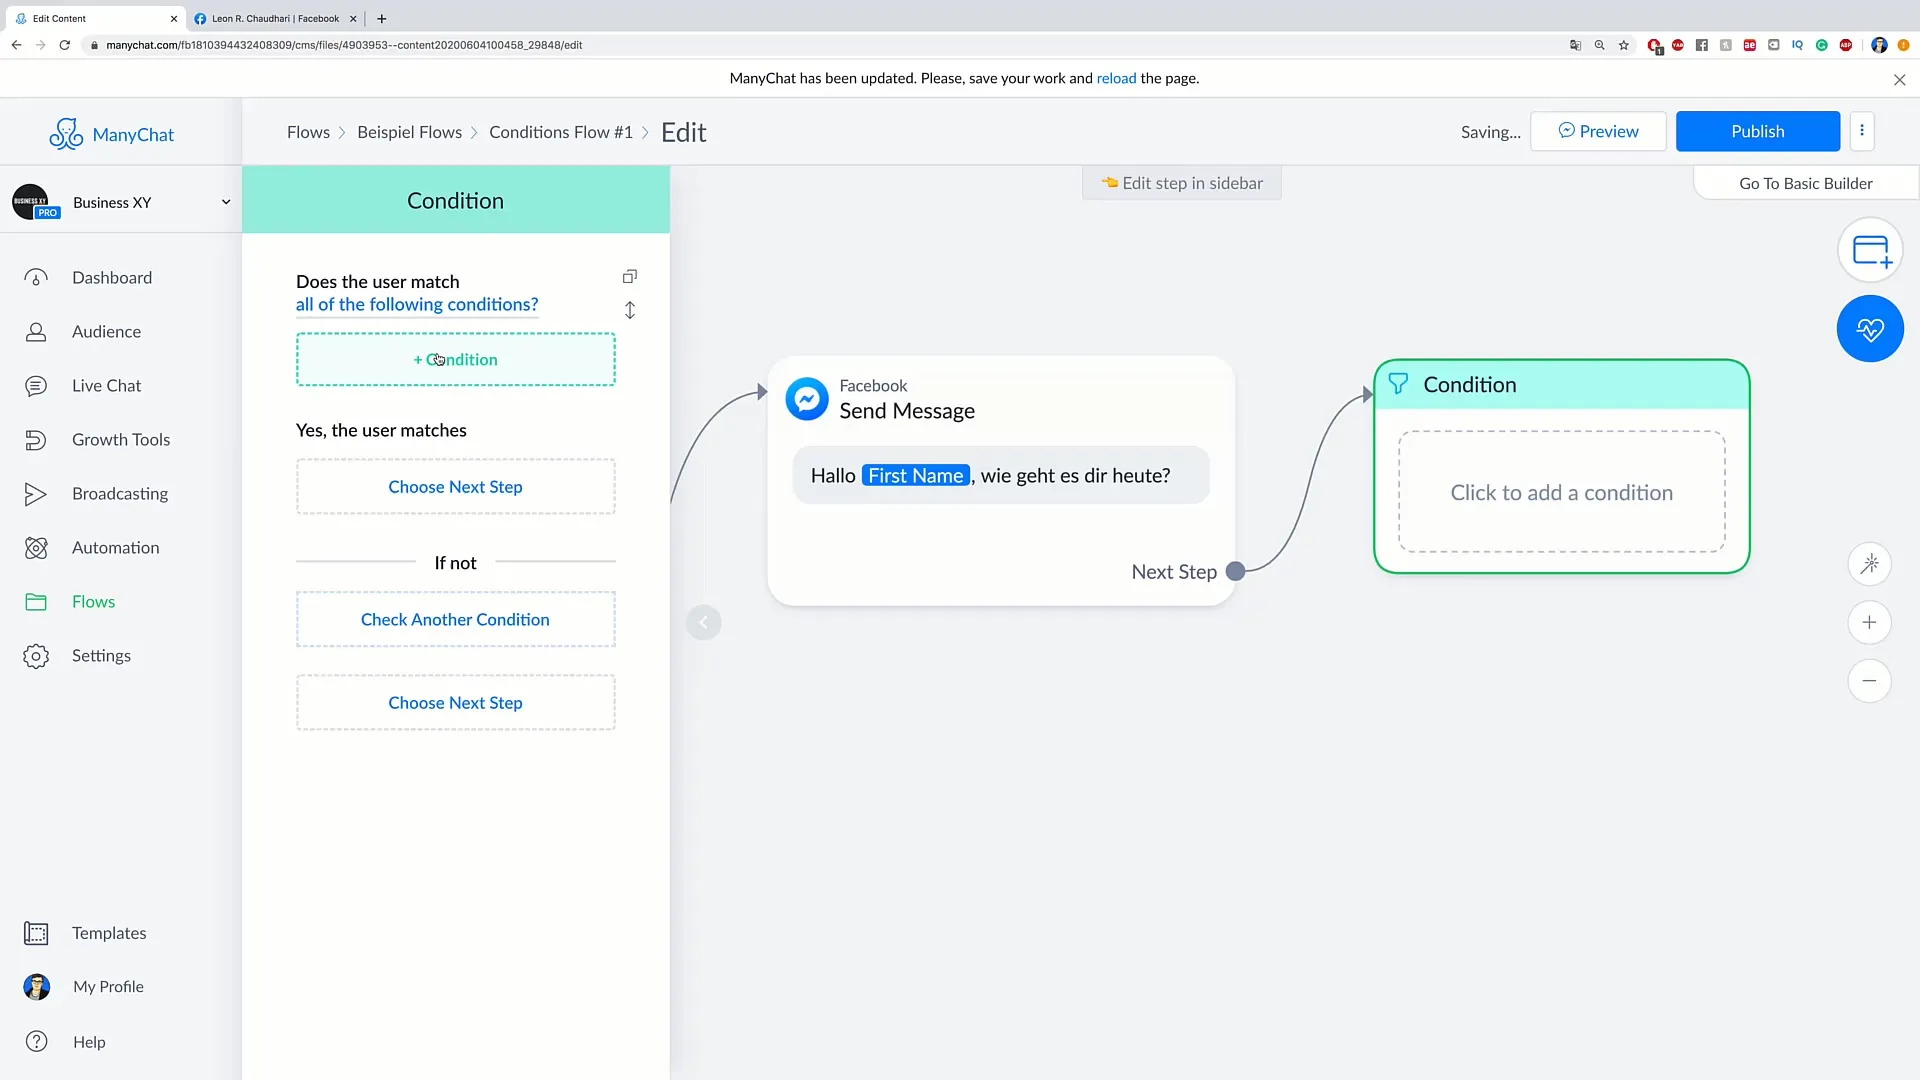
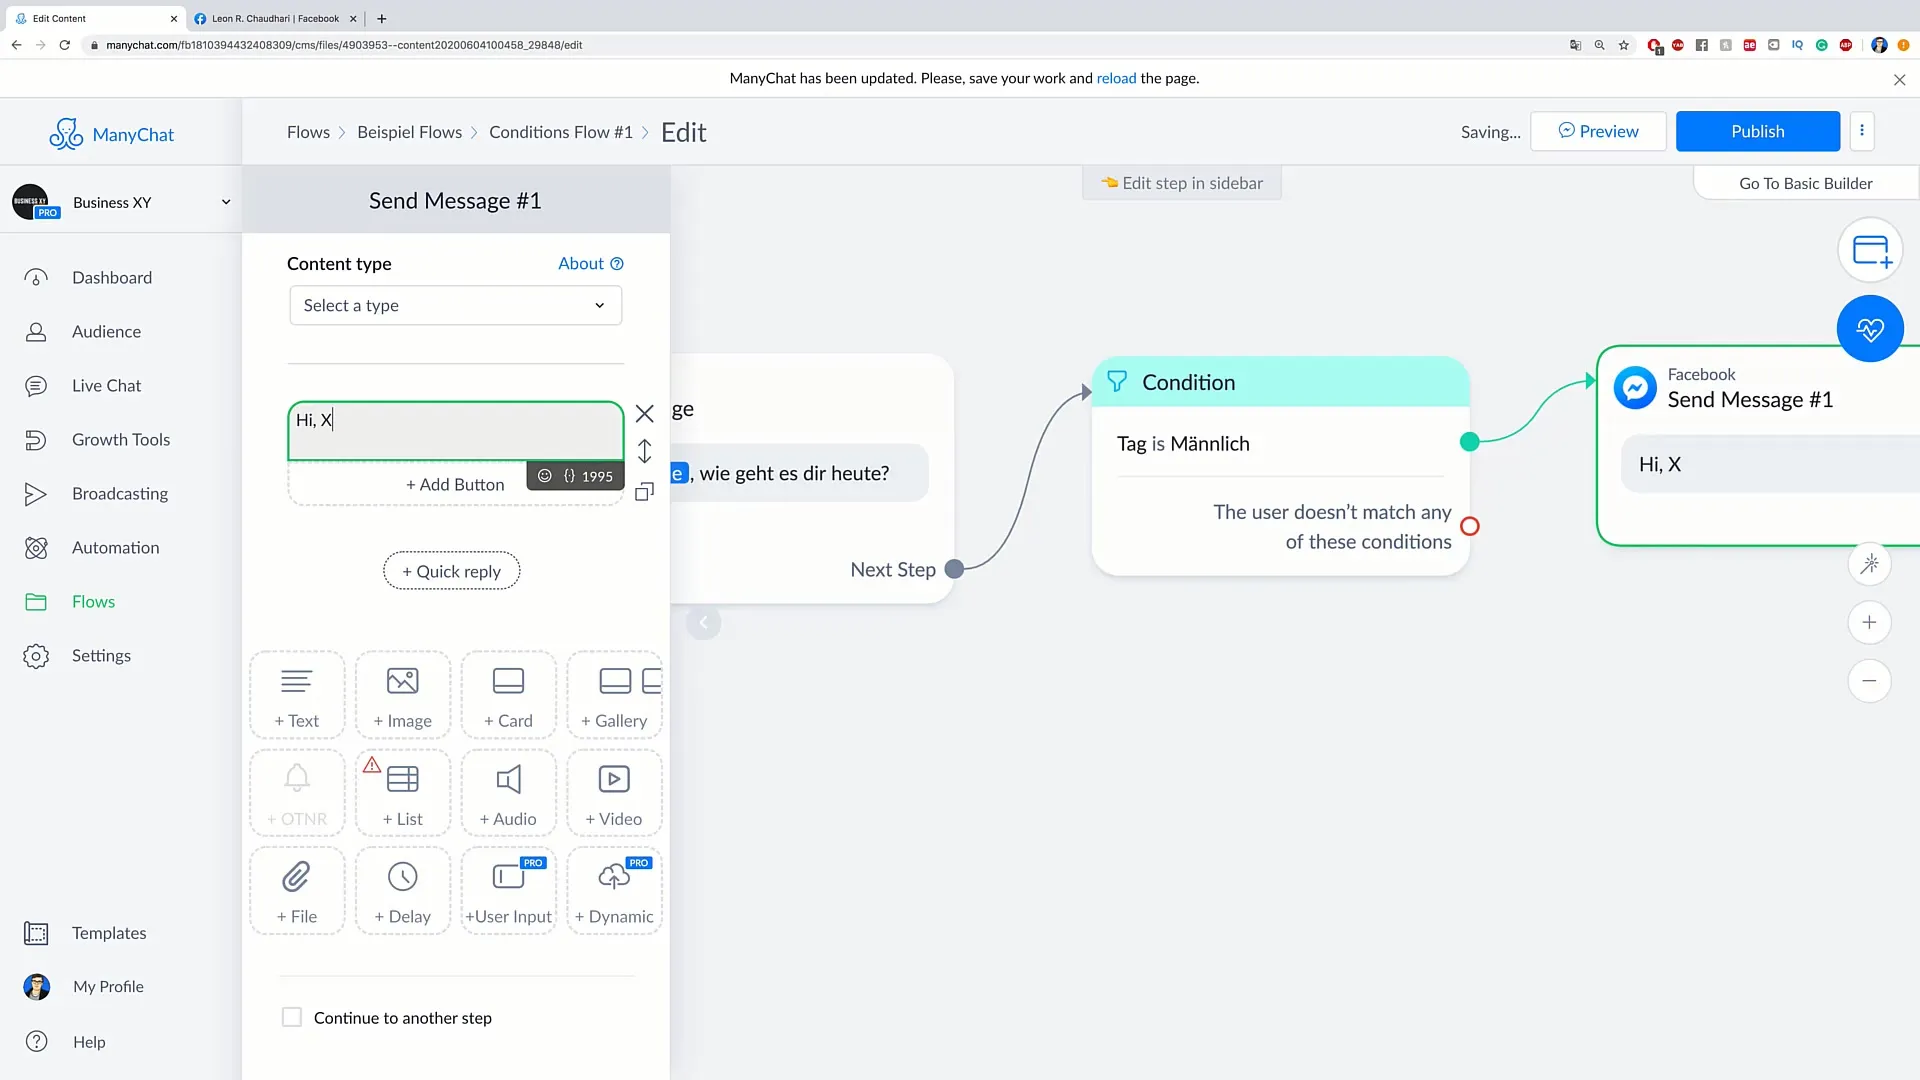
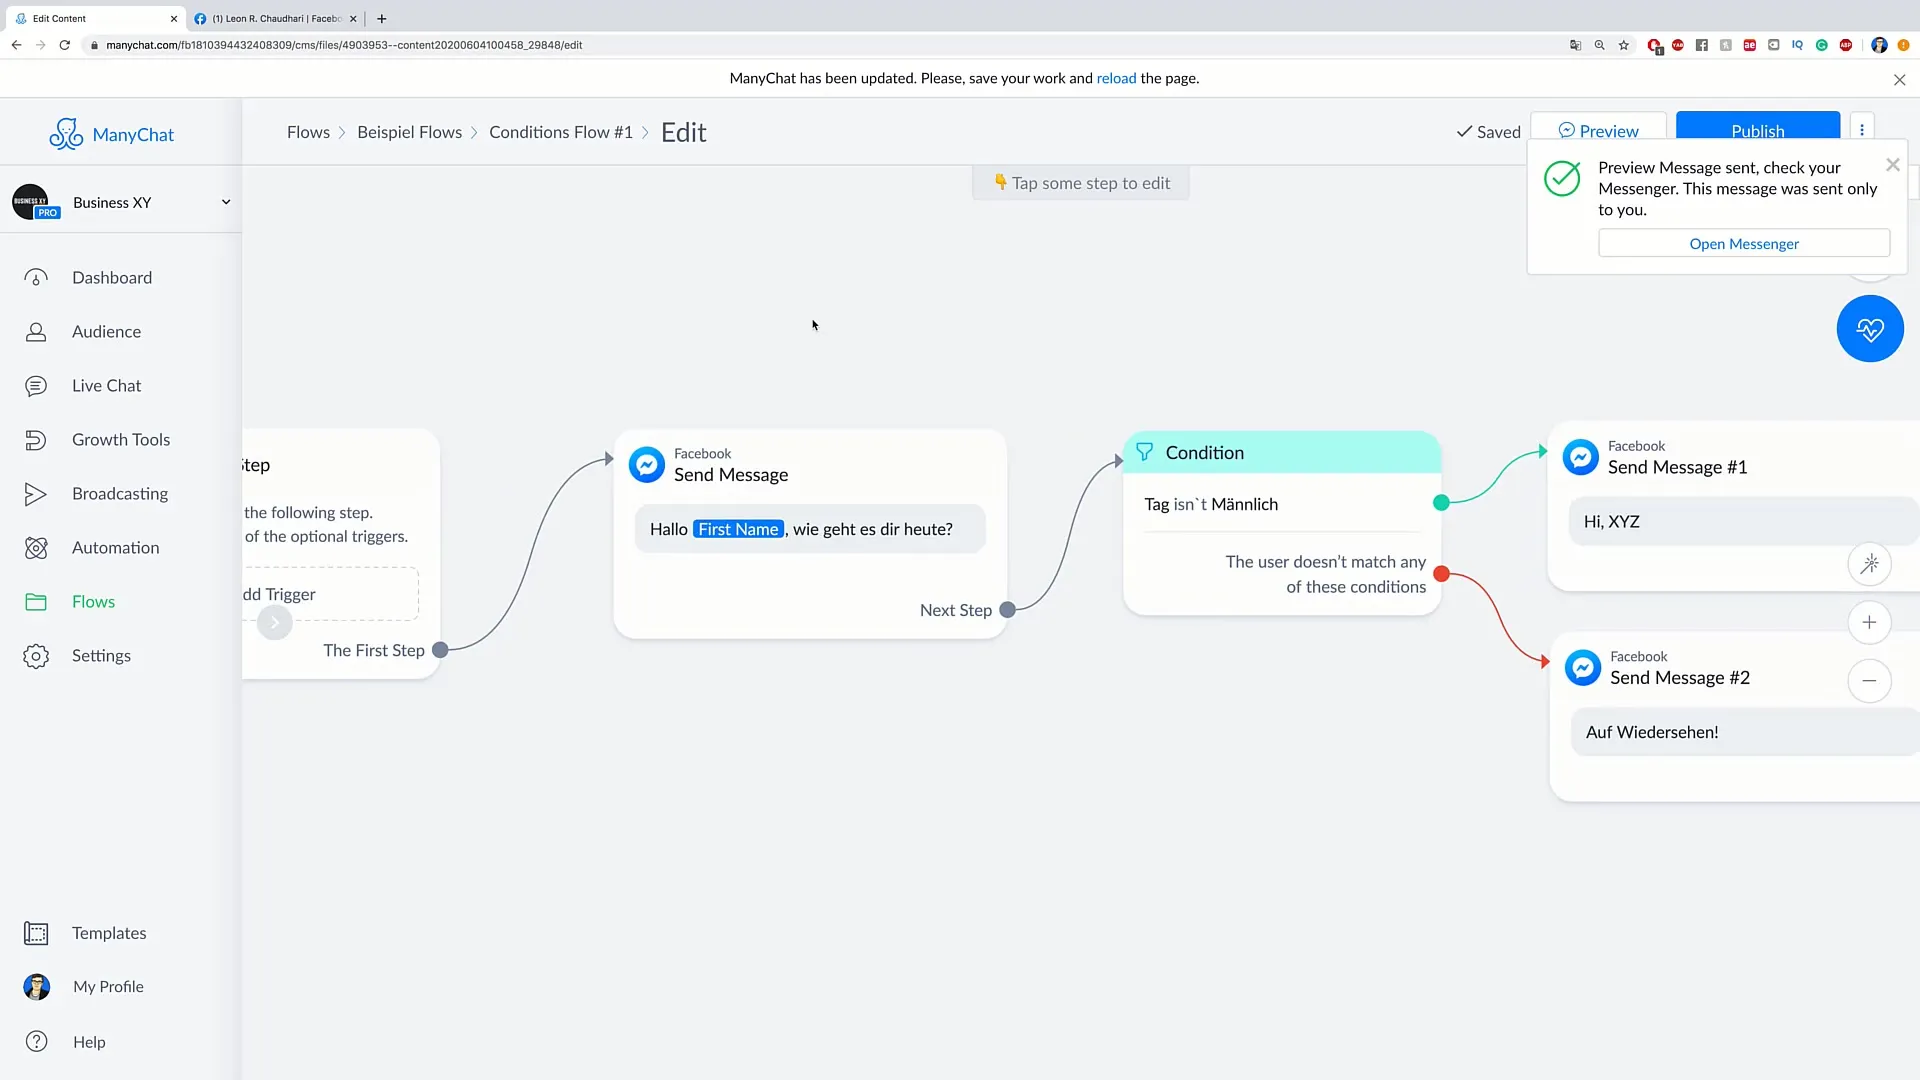
To send specific messages based on the tag "male", now add a Condition. Instead of continuing the conversation with another message, click on "continue to another step" to select the Condition. Here you will define that the person must be male in order to receive the next message.
Step 5: Determine the messages
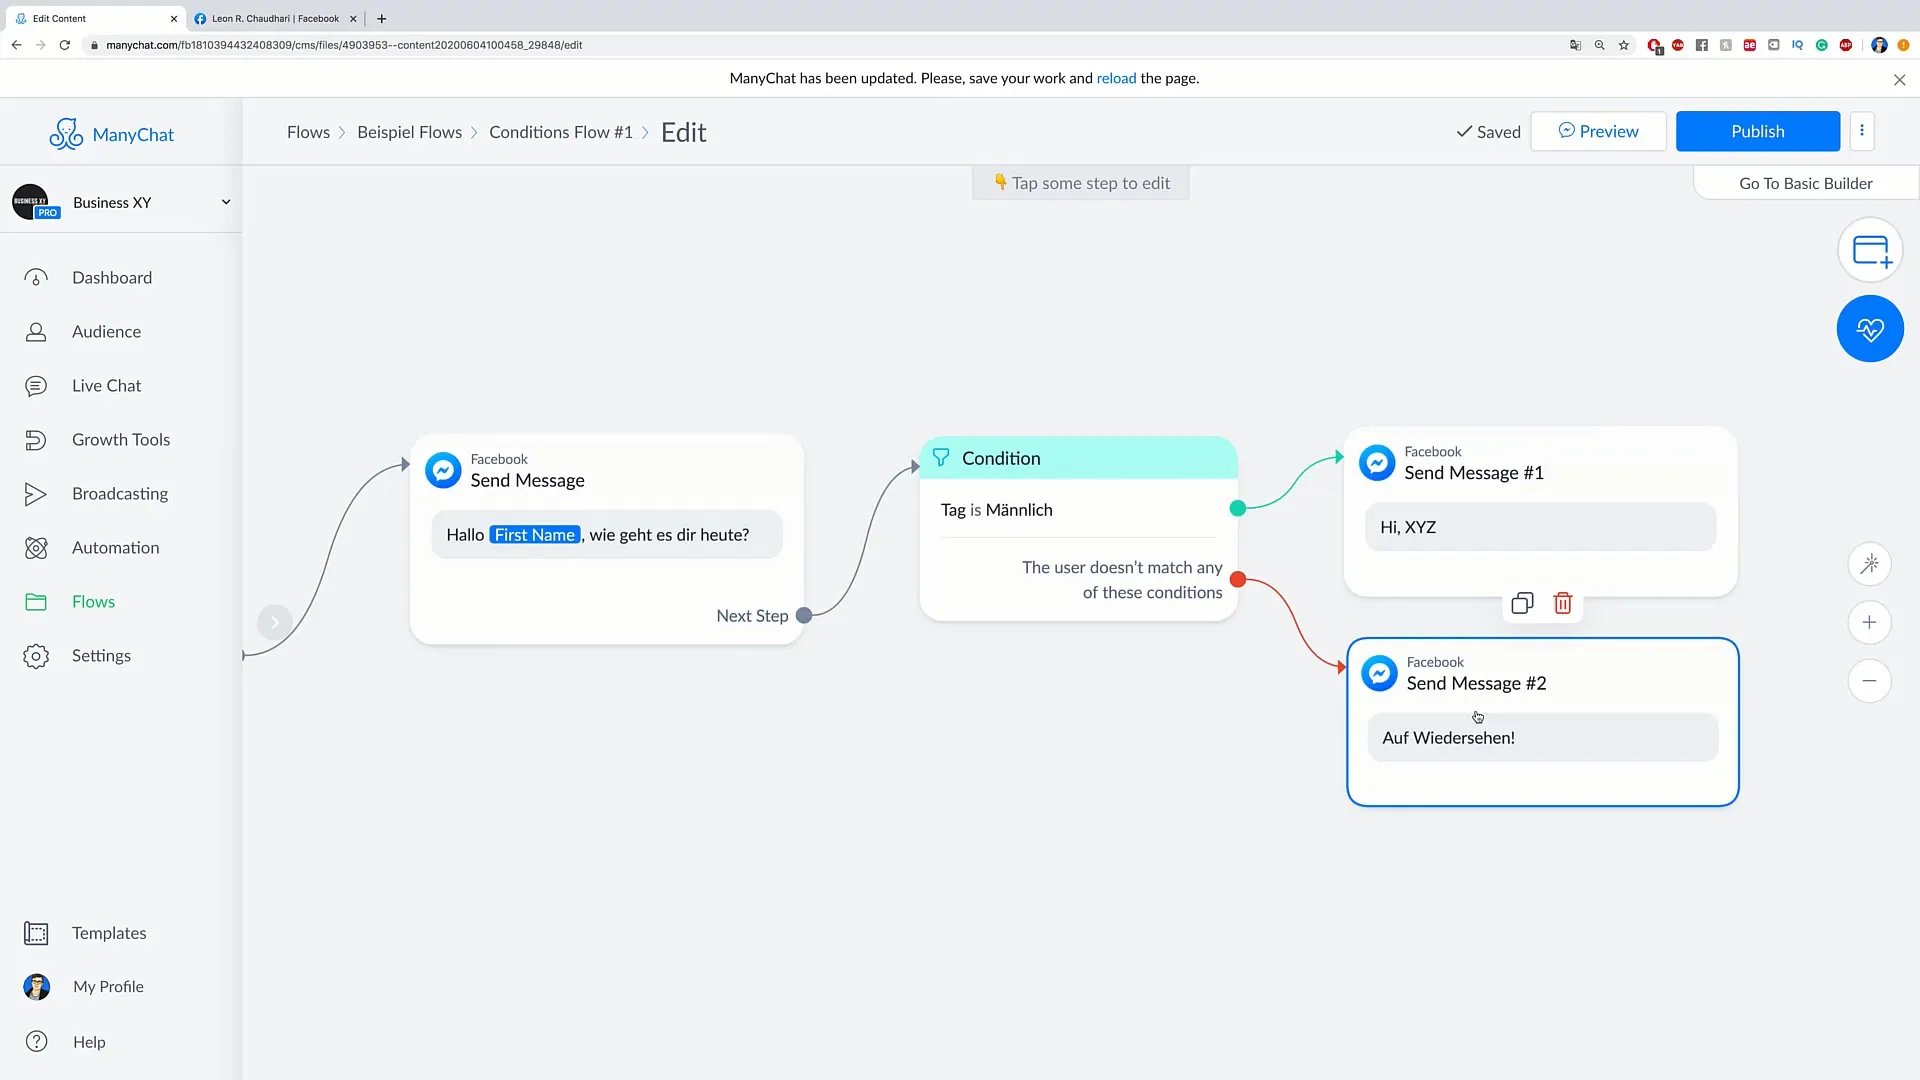
If the person has the tag "male", they will receive a specific message such as "Hi [Name], nice to talk to you again!". If the person does not have this tag, you can set another message, such as "Hello, goodbye!". This shows you how easy it is to create different messages based on tags.
Step 6: Test the Flow
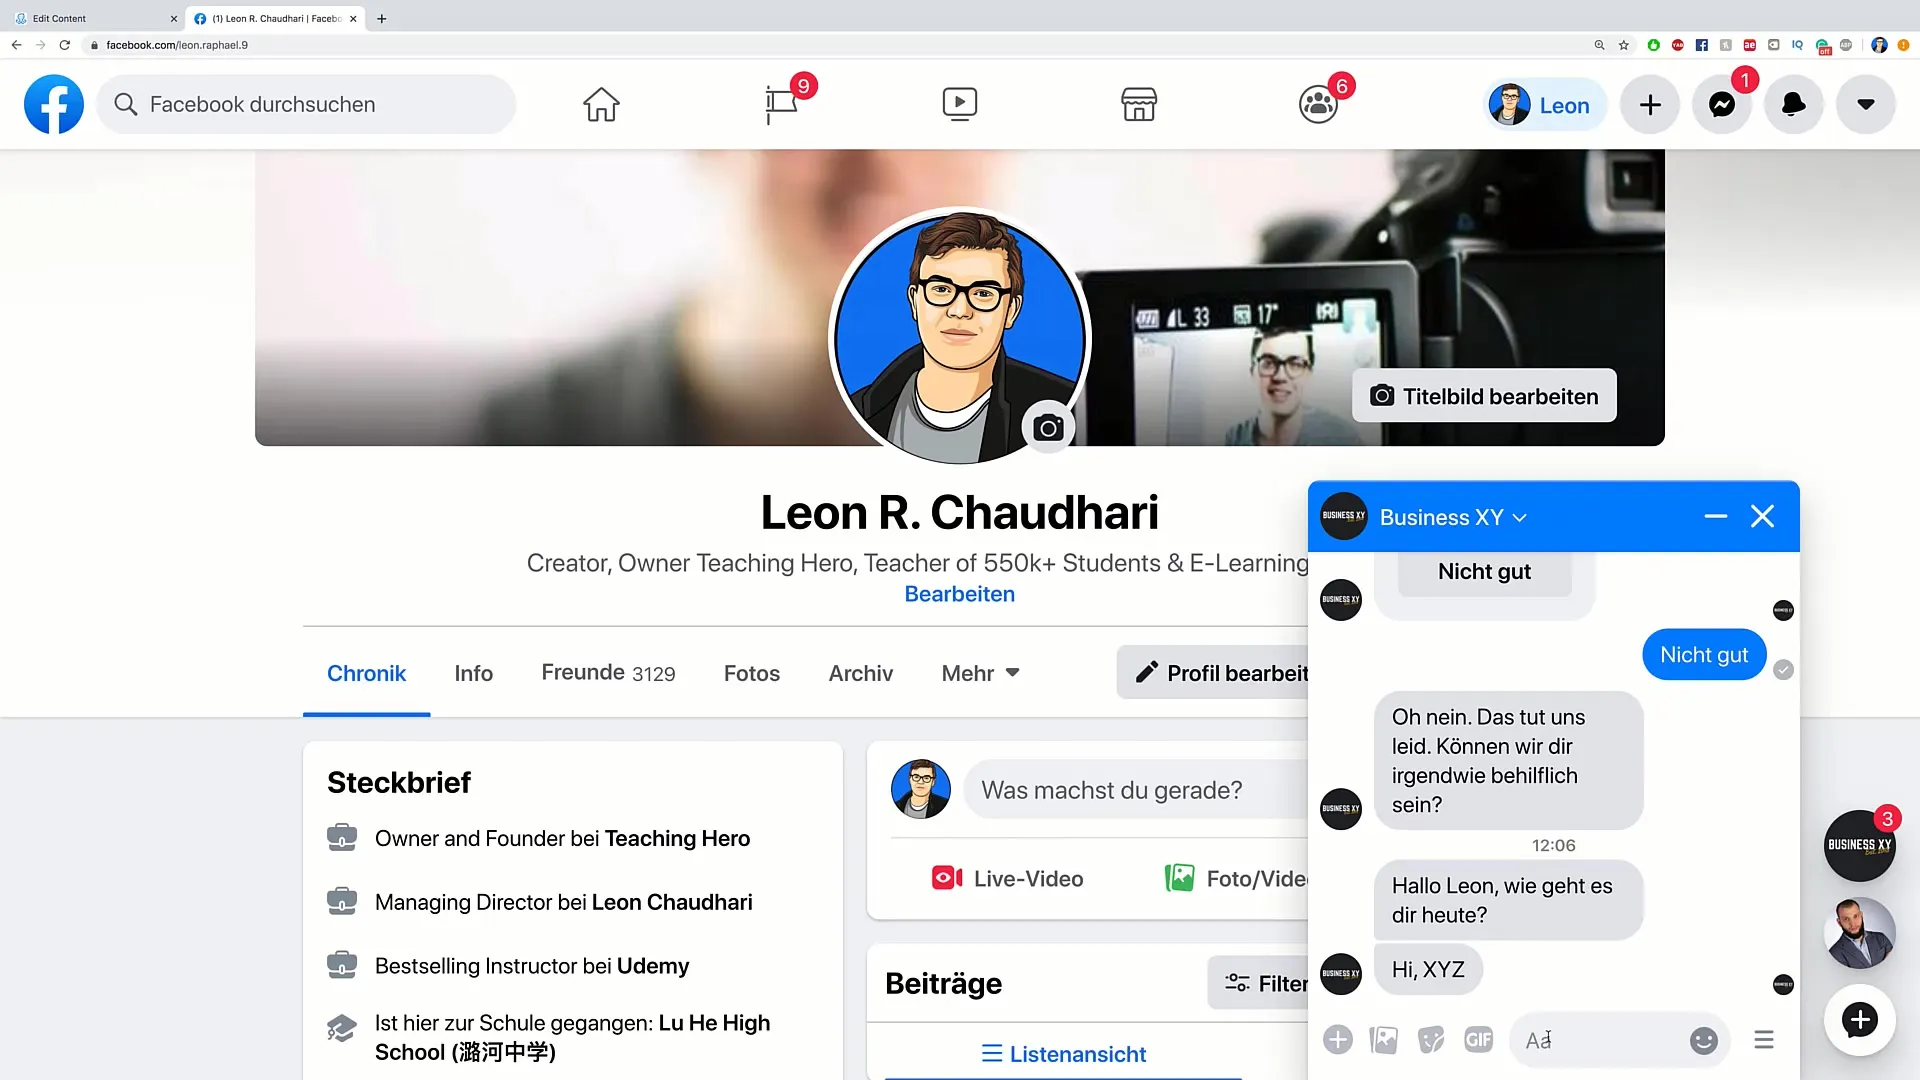
Click on "Preview" to test your Flow and see how the messages are received by your target audience. Check if the tag "male" is correctly selected in the audience – if so, the second message will appear after the first.
Step 7: Test variations
To refine the Flow, you can remove the tag "male" from the audience and select "Preview" again. This will show you that if the tag is not present, the alternative message should occur. This allows you to receive immediate feedback on the conditions and their results.
Step 8: Negative conditions
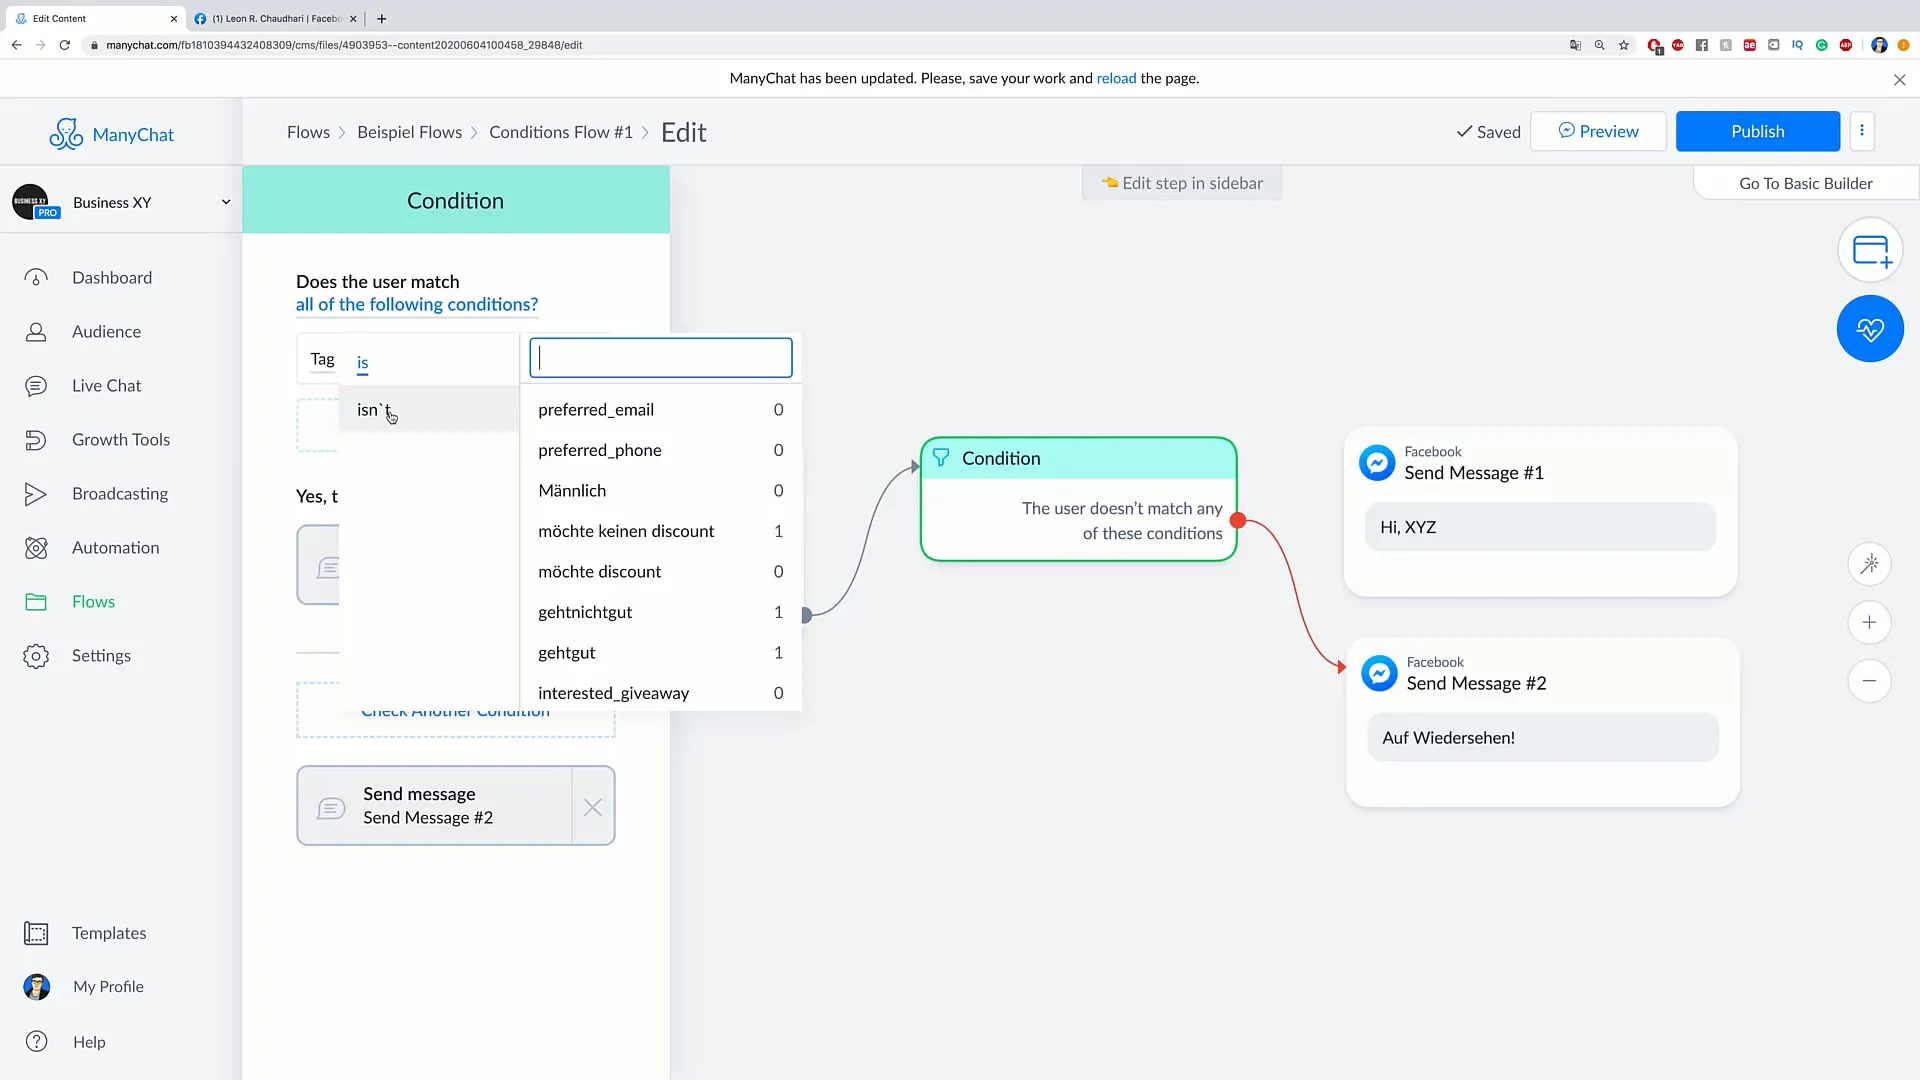
It is also possible to use negative conditions. You can specify that a person who does not have the tag "male" should receive a special message. This expands your options in customer support and communication.
Step 9: More examples
A future video will provide you with more examples and applications of Conditions. It will primarily focus on how you can send specific messages depending on the tags and attributes of your target audience.
Step 10: Conclusion and outlook
You have now learned how to use Conditions in your Flow to shape communication with your prospects. This function allows you to send messages based on specific details to your customers, thus improving your acquisition strategies.
Summary
In this guide, you have comprehensively learned how to use Conditions in your Flow to improve your customer acquisition. The implementation of conditions allows for targeted communication that leads to better interactions with your prospects.
Frequently Asked Questions
How do I add a tag to my Audience?You go to the Audience section, select your person, and can then add a tag, such as "male".
How can I test my Flow?Click on "Preview" to see how the Flow works and what messages are sent.
What happens if I remove the tag from a person?This person will receive the alternative message designed for the case when the tag is not present.
How much flexibility do I have with the Conditions?You can set conditions for both the presence of a tag and the absence of a tag.
Could I use multiple tags for a person?Yes, you can use multiple tags to further segment your audience and enable more specific types of messages.


