Creating a Facebook group can be an excellent way to attract new customers and maintain existing relationships. With the right group, you can build a community that gathers around your products or services. In this guide, you will learn not only how to create a Facebook group but also how to effectively use it to drive your customer acquisition.
Key Insights
- Facebook groups have a higher reach than regular Facebook pages.
- It is important to strategically choose the group name and privacy settings.
- Using visual content and active interaction promotes the growth of your group.
Step-by-Step Guide
To create a Facebook group, follow these simple steps:
Step 1: Create Facebook Group
First, open Facebook and click on the small "+" icon in the upper menu bar. This icon will lead you to various content creation options. From the dropdown menu, select the option "Group".

Step 2: Set Group Name and Privacy
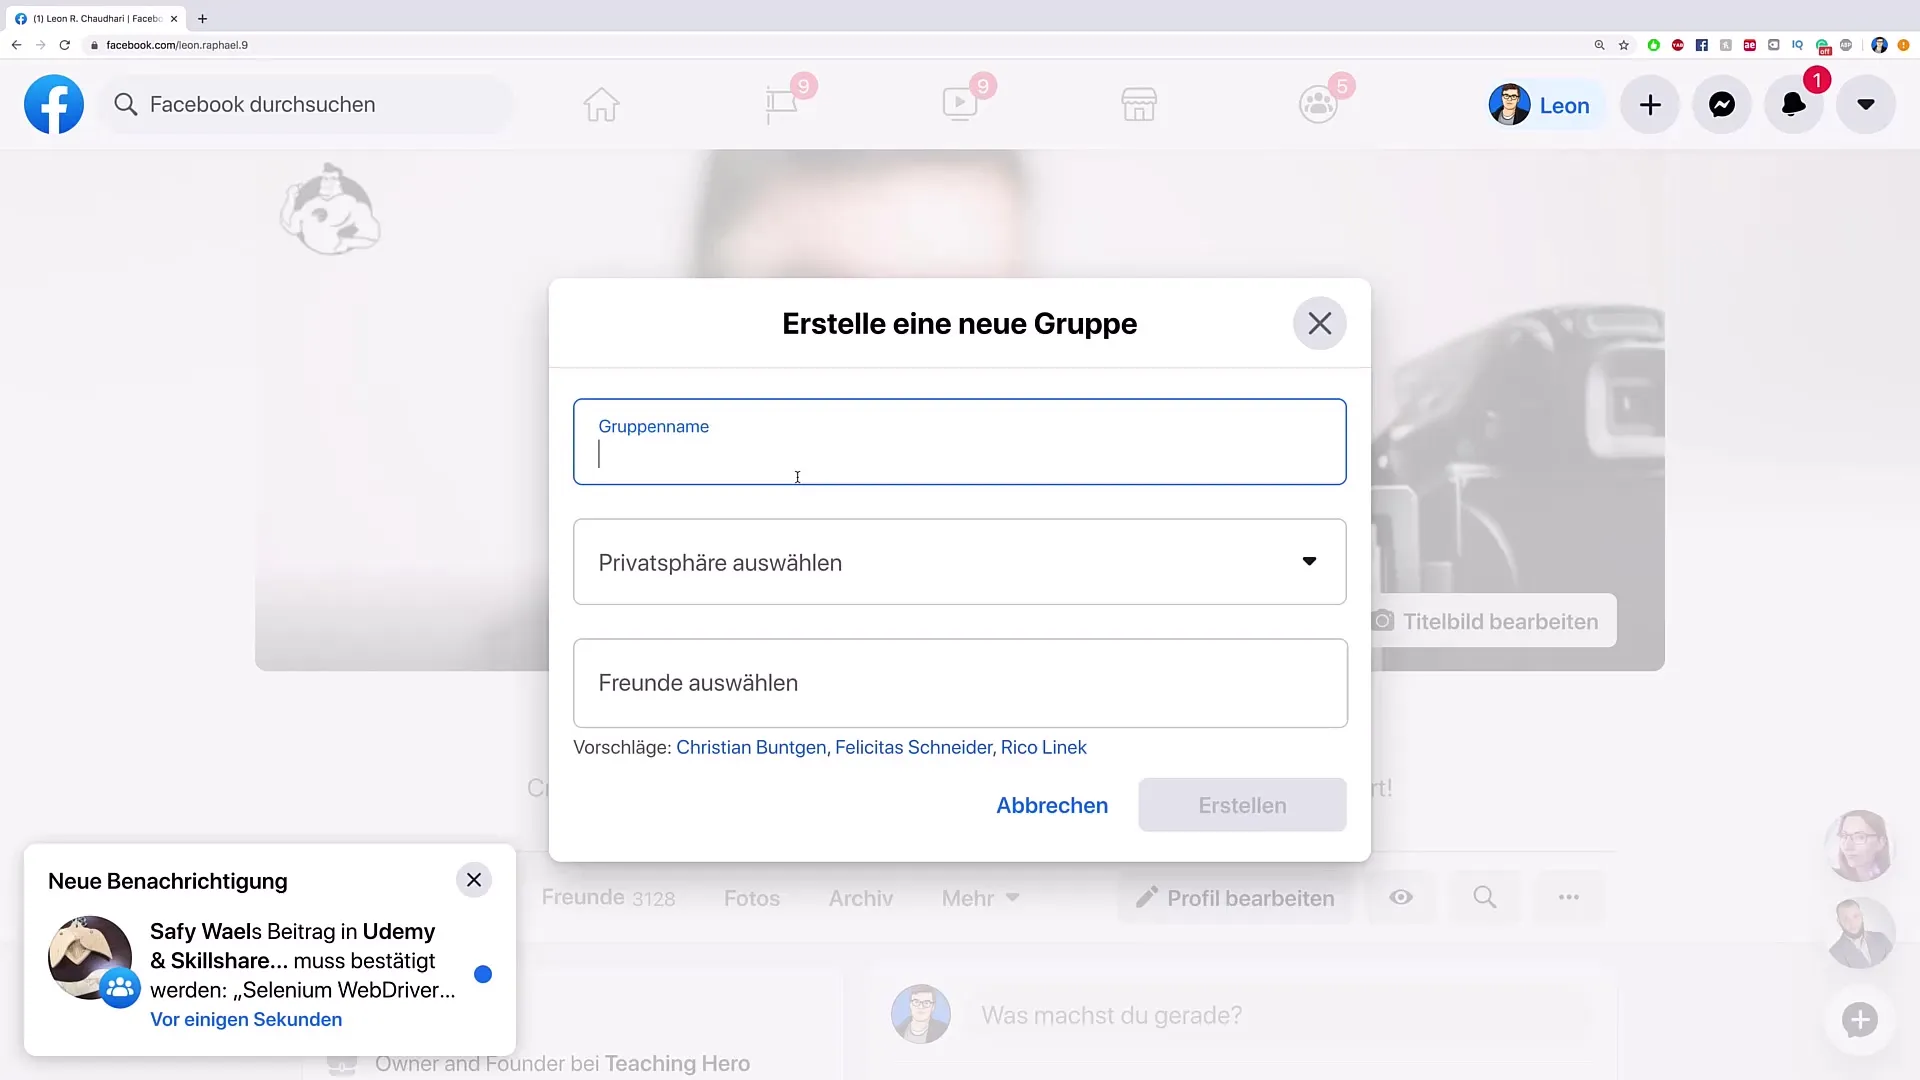
After clicking on "Group", you will be prompted to give your group a name. Think of something catchy, like "Group XYZ". Additionally, you can choose the privacy of the group: either public or private. For a wider reach, a public group is recommended as it is visible to everyone and the members are visible.
Step 3: Send Invitations
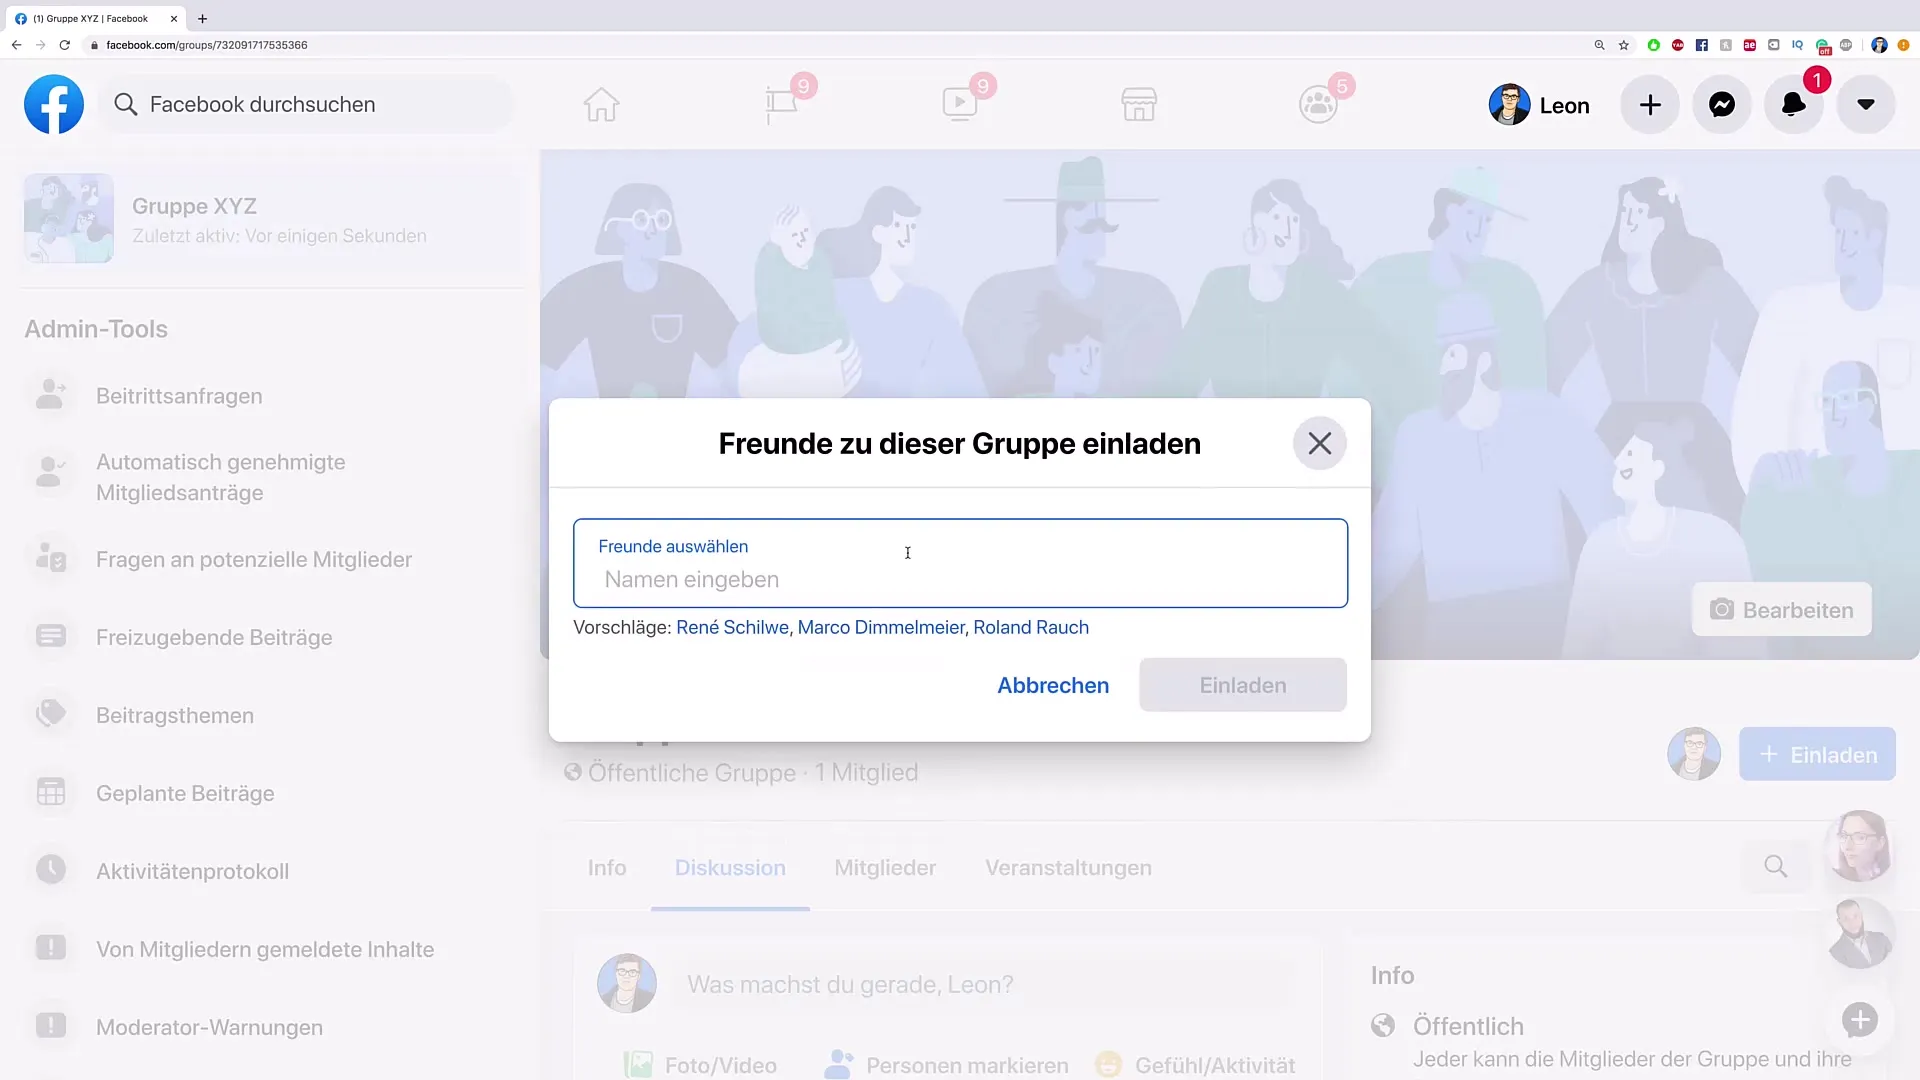
After creating the group, you have the option to invite members. Click on "Invite" and search for friends that you consider relevant. It makes sense to start with a handpicked group to encourage engagement.
Step 4: Add Group Description and Image
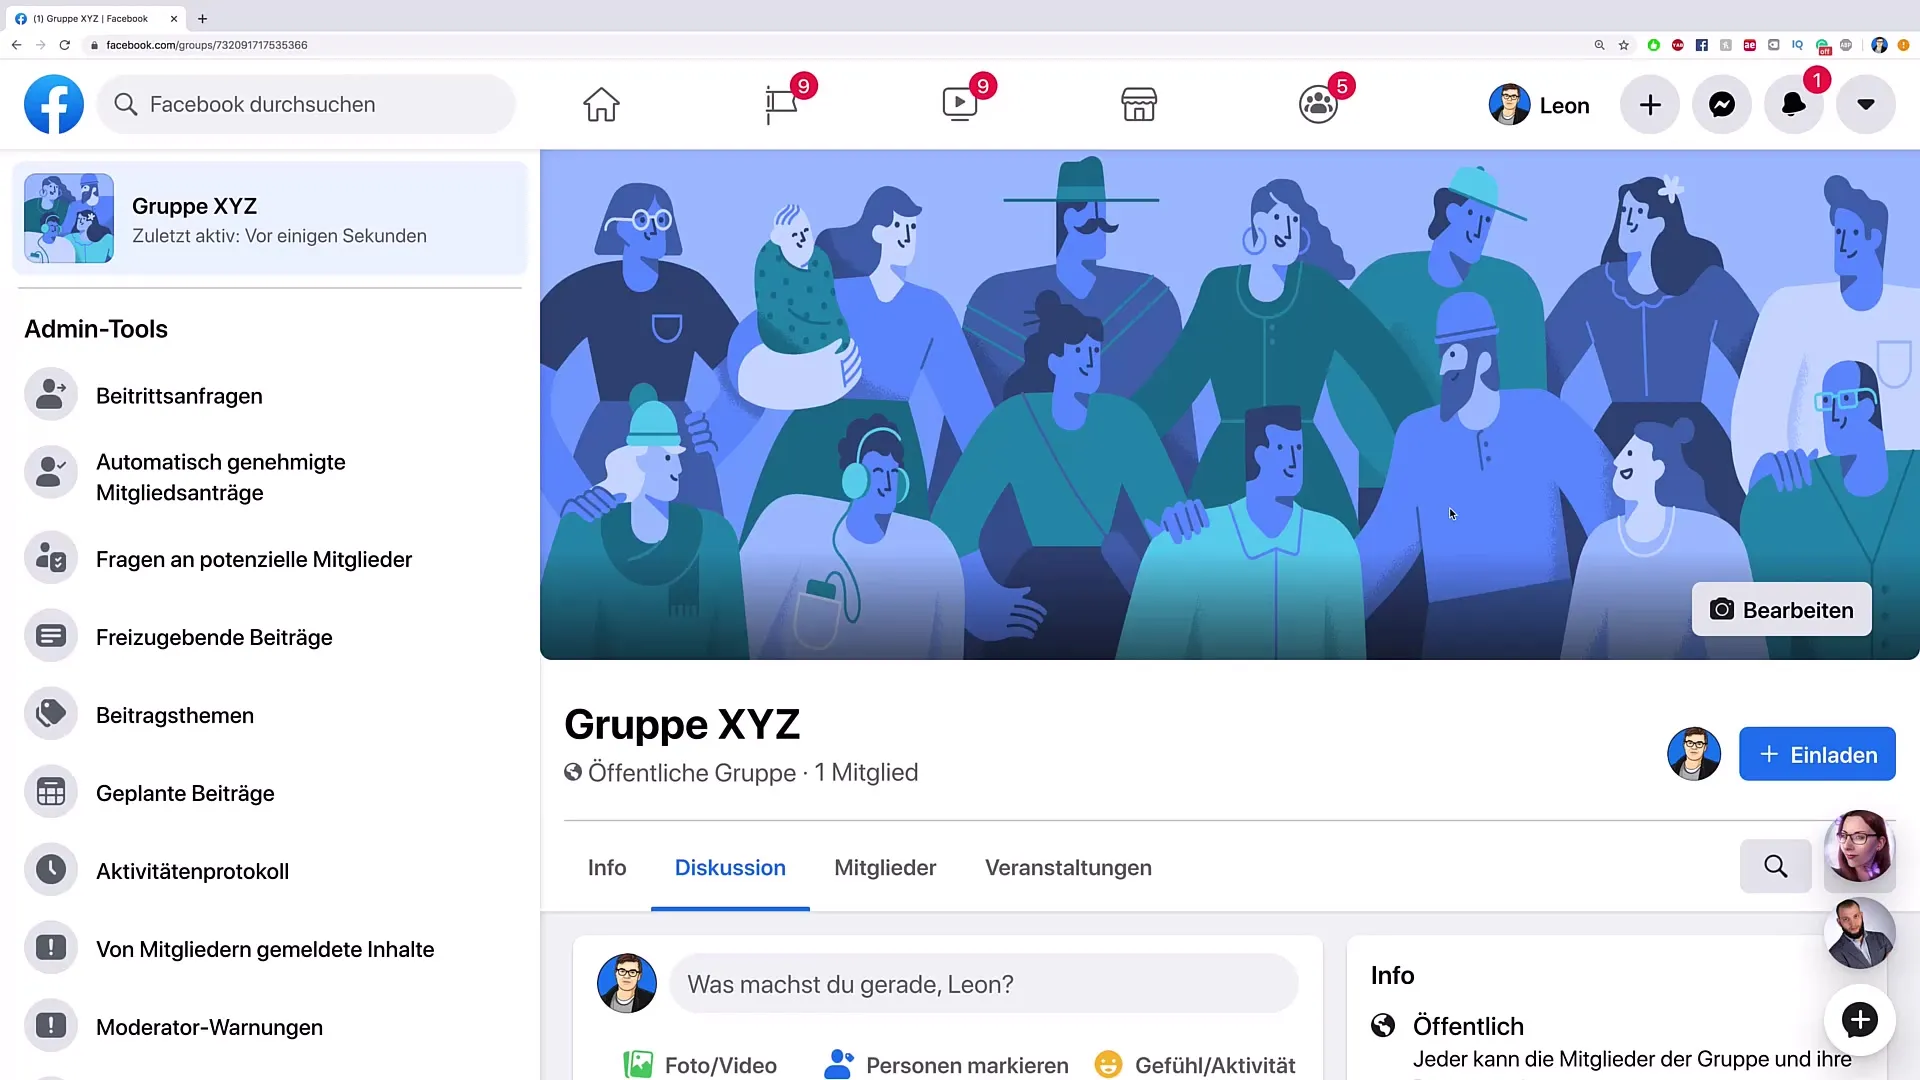
Now you can fill out the group description. Here, you should clearly state what the group is about and what goals you are pursuing. Additionally, it is important to upload an appealing group image. This image should reflect the topics of your group.
Step 5: Initiate Discussions and Posts
Once you have your first members in the group, start actively posting content. Ask questions or share interesting information that encourages discussion. Active interaction promotes growth and enhances the attractiveness of your group.
Step 6: Manage Membership Requests
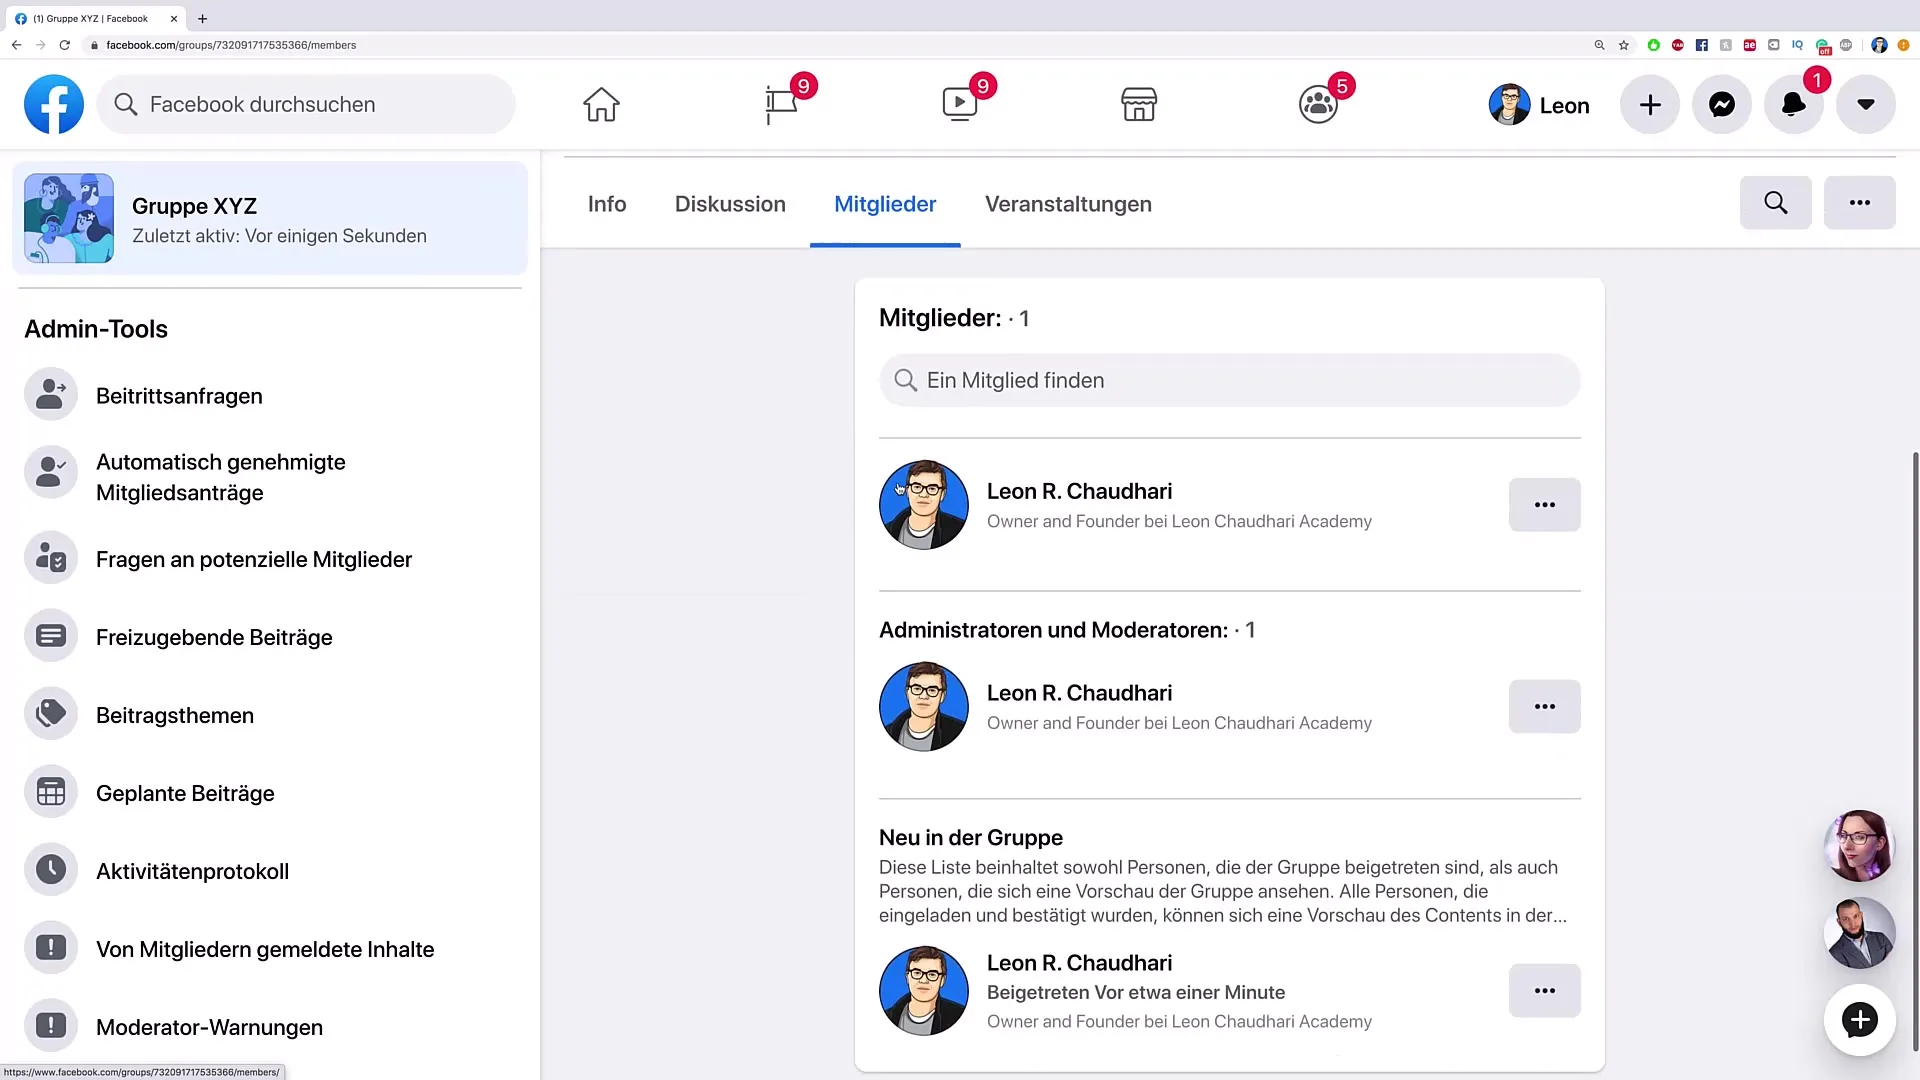
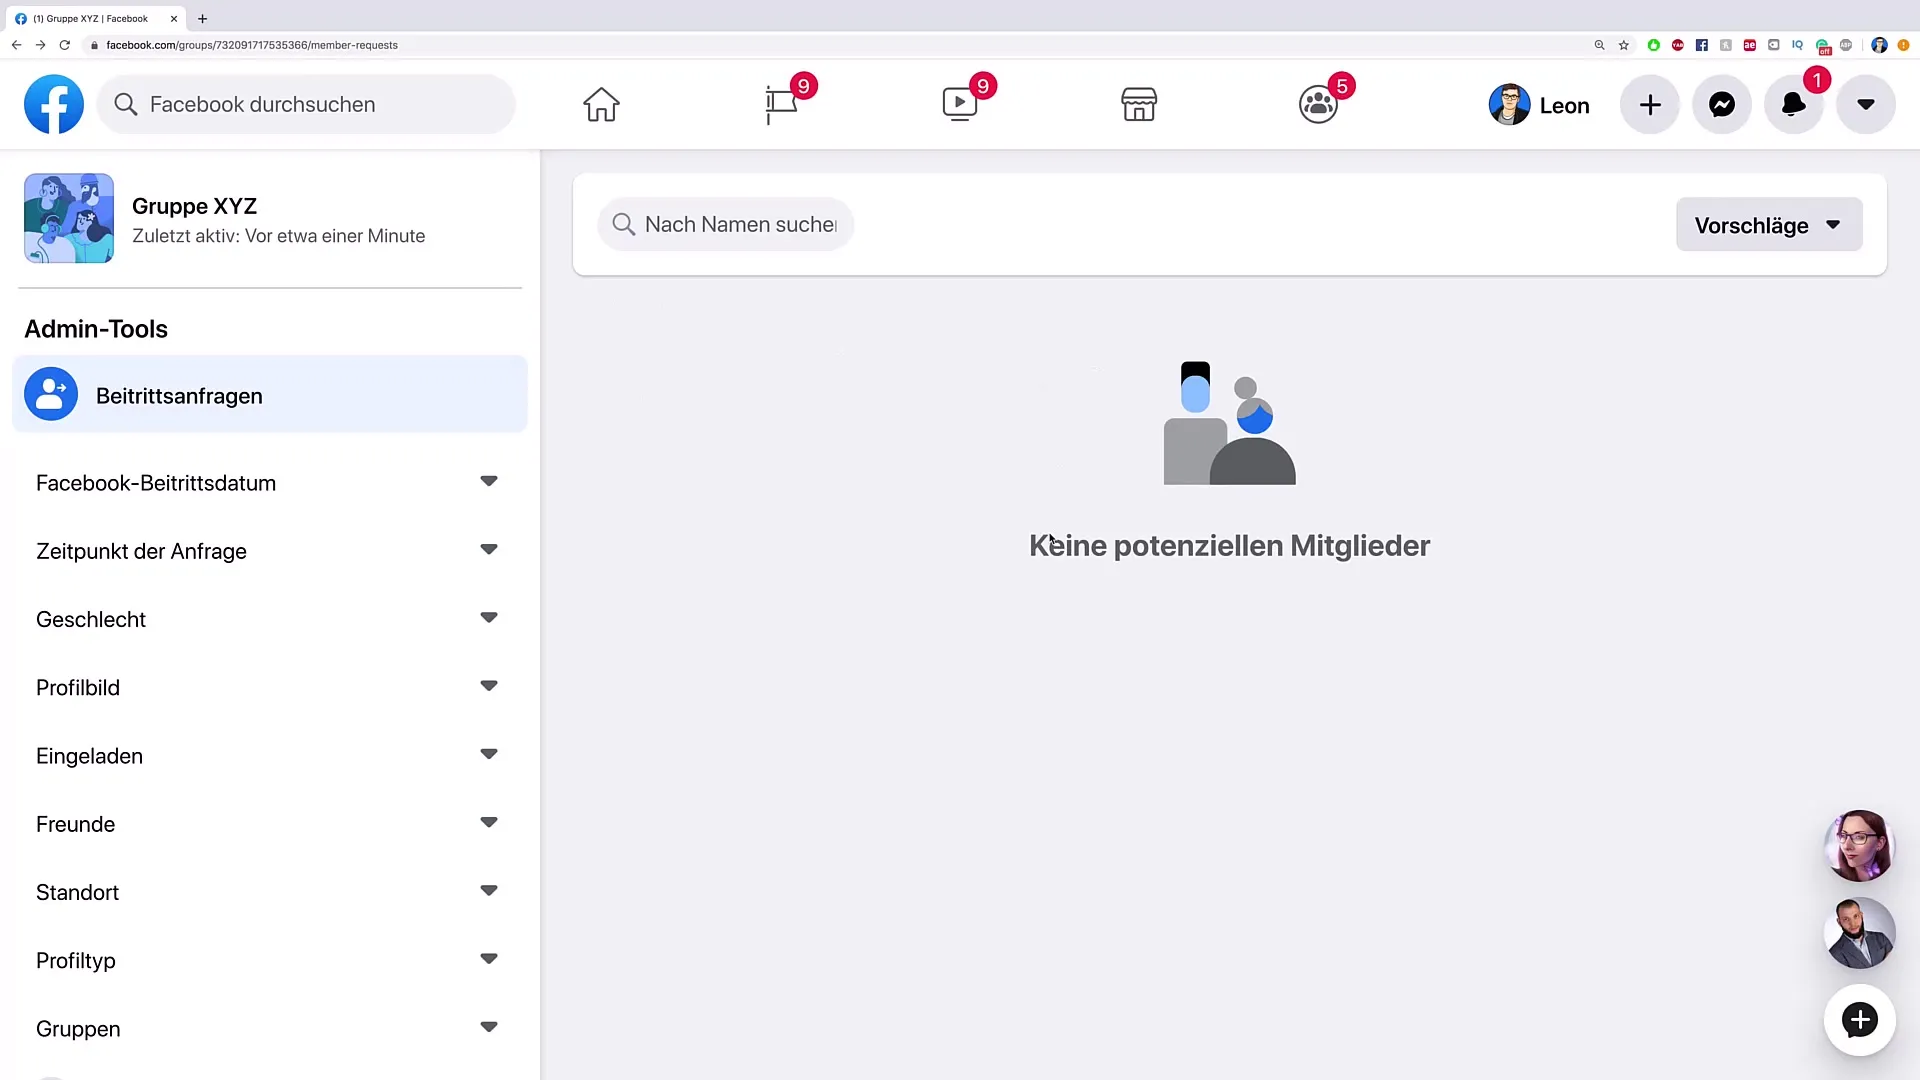
In the menu, you will also find a section for membership requests, where you can approve potential members. Use this to ensure that only serious members are in your group.
Step 7: Set Group Rules
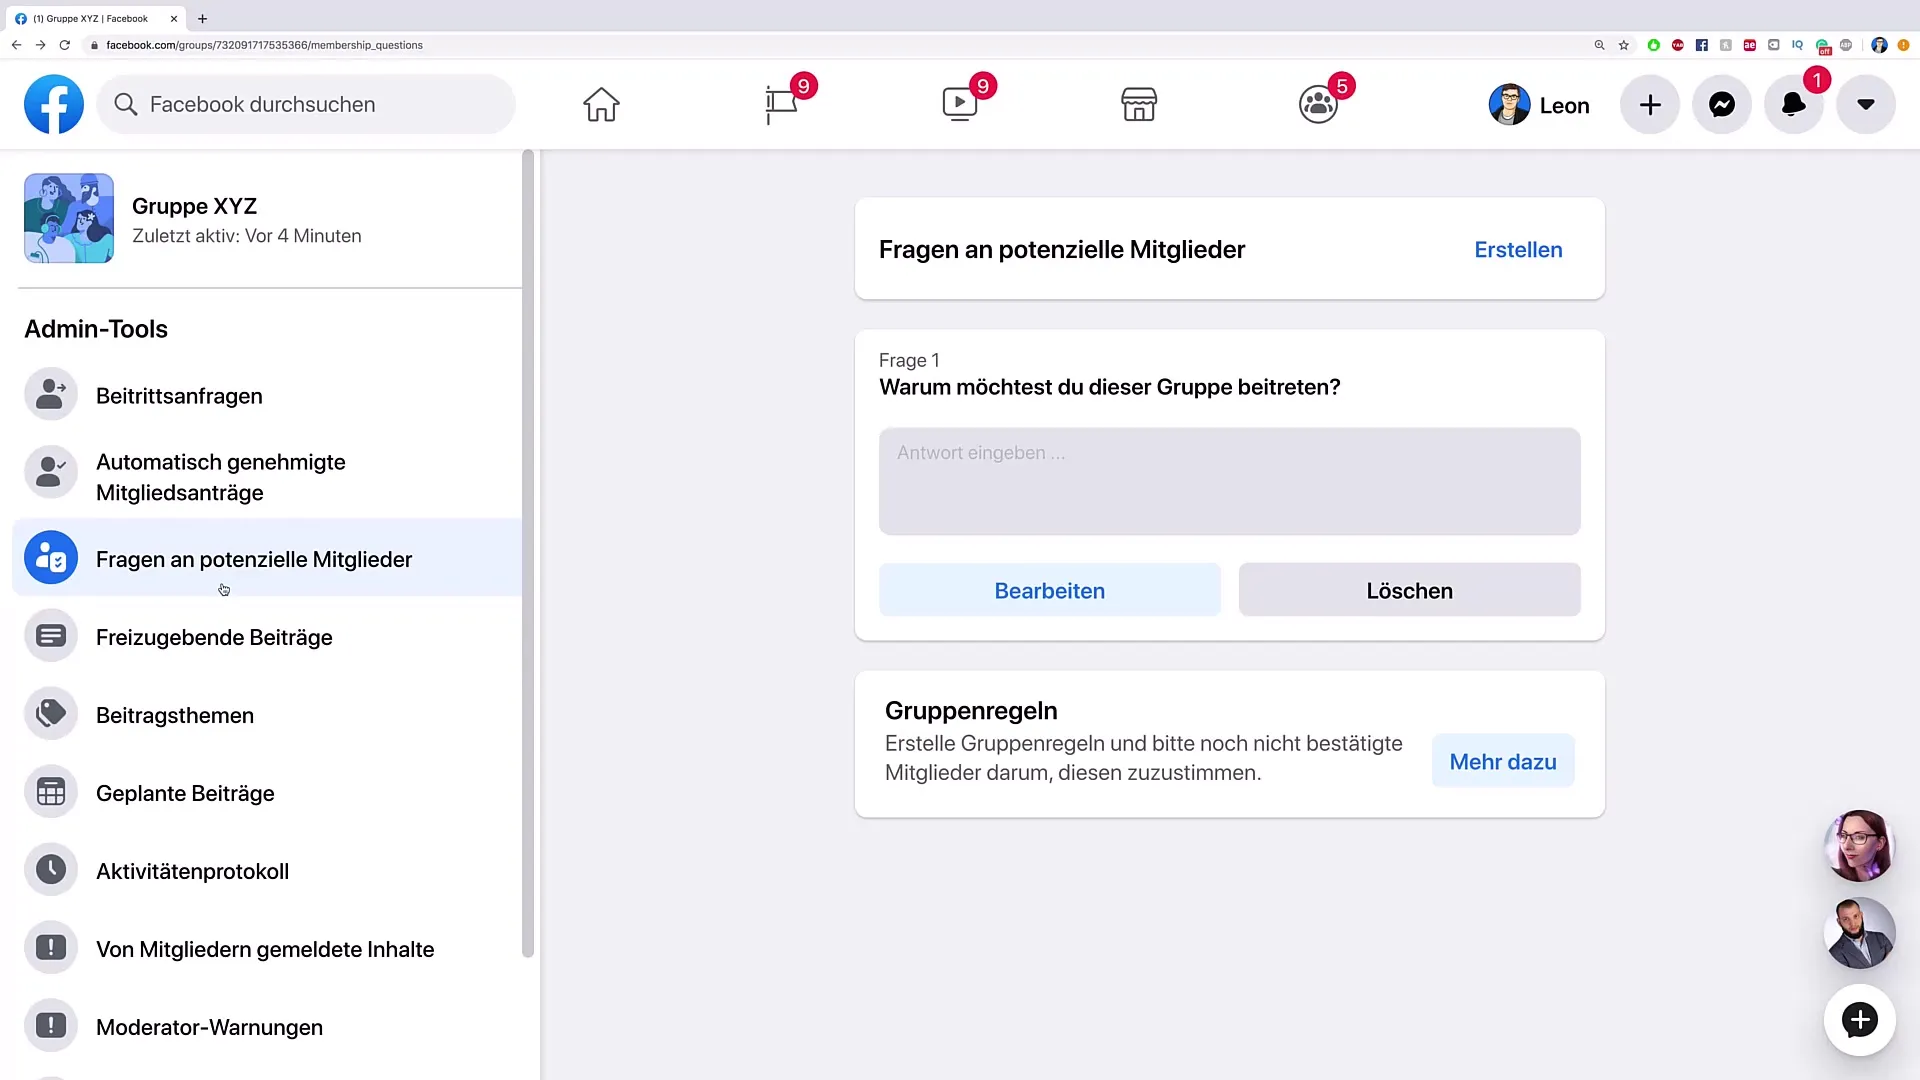
Define clear rules for your group. You can publish the rules in a separate post or use the feature in the group options. This helps keep discussions in your group constructive.
Step 8: Foster Engagement
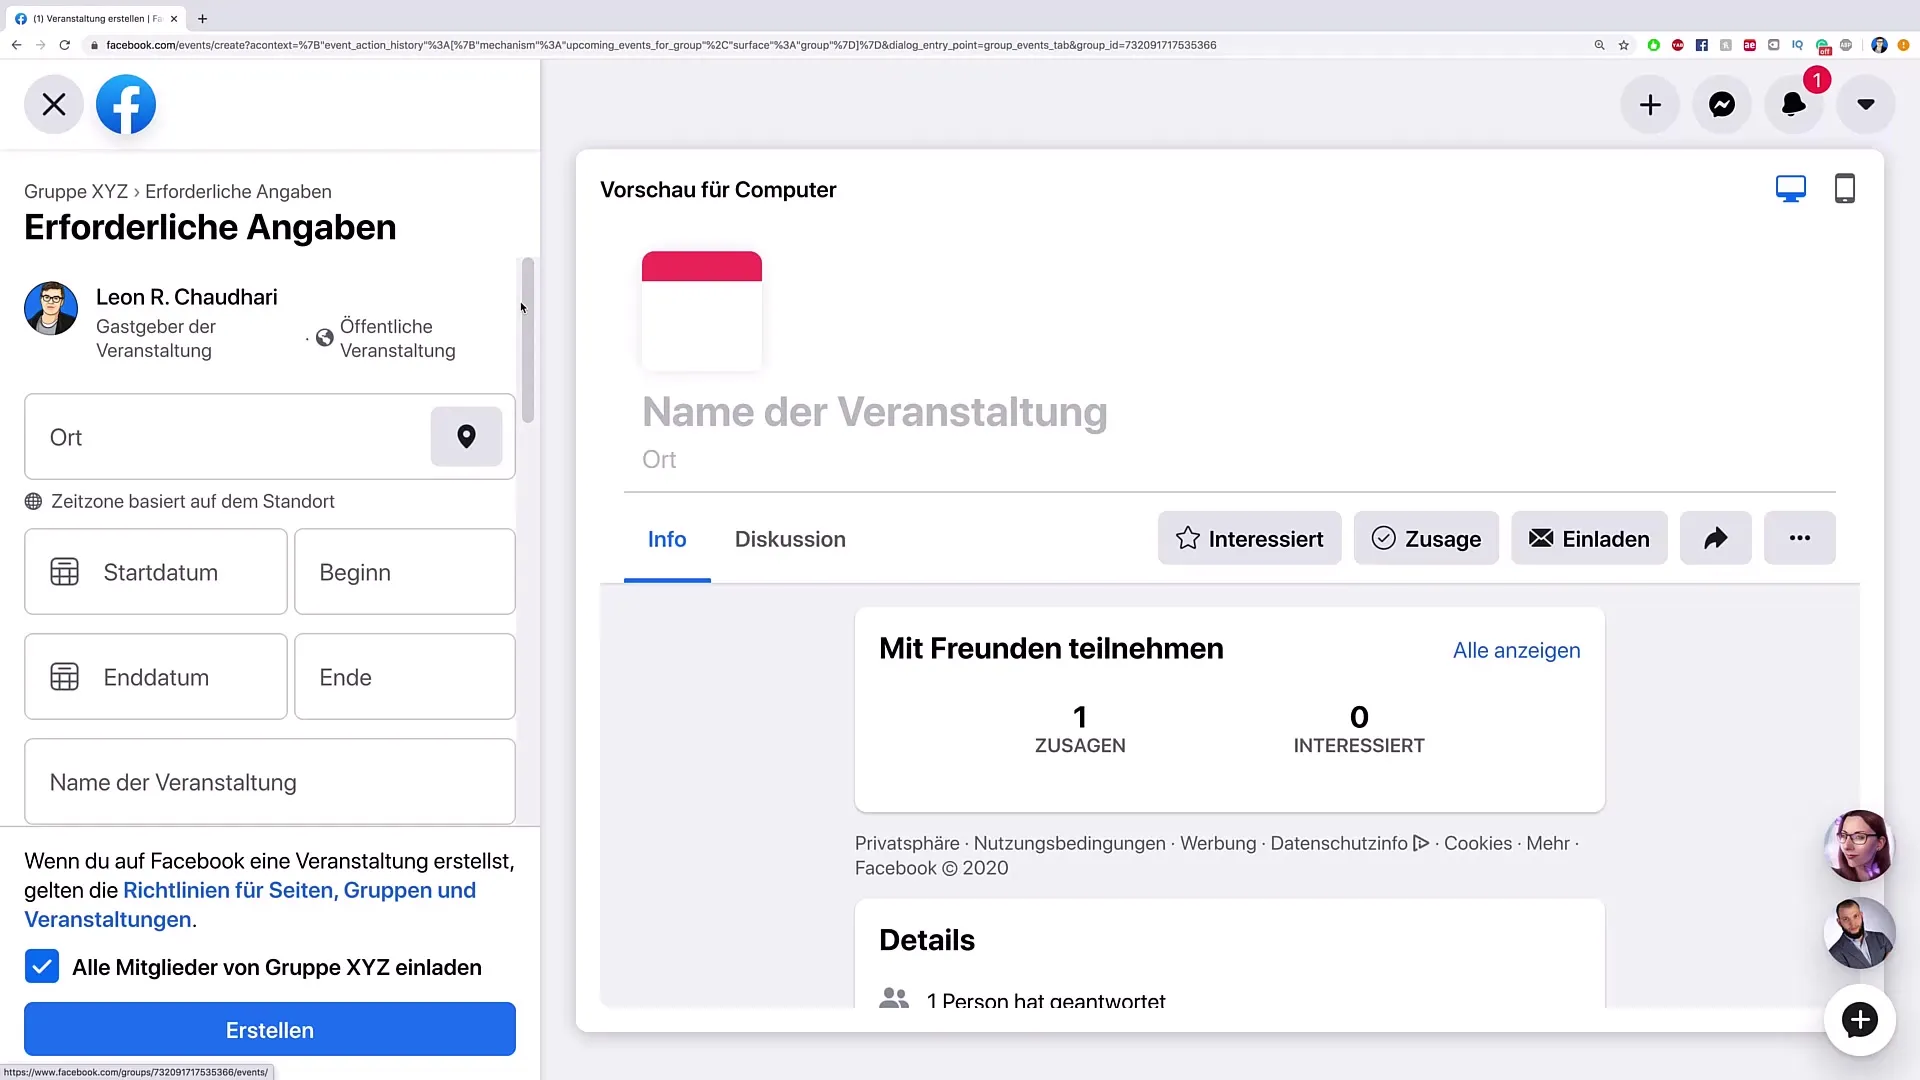
To ensure long-term engagement in your group, regularly organize events or discussions. Ask your members for their opinions or experiences regarding the group's topic. This way, members feel valued and become more active.
Step 9: Use Facebook Ads for the Group
To achieve more visibility, you can run Facebook ads that directly refer to your group. This attracts new members and increases interaction within the group.
Summary – Create a Facebook Group – How to Effectively Acquire Customers Online
Creating a Facebook group is an effective tool for customer acquisition. It allows you to build an engaged audience around your brand. Pay attention to the group name, privacy settings, and active engagement to get the most out of your group.
Frequently Asked Questions
How do I create a Facebook group?To create a Facebook group, click on the "+" icon and select "Group".
What is the difference between a public and a private group?Public groups are visible to everyone, while in private groups, only members can see the content.
How many members can I invite initially?You can invite as many members as you like. Start with a handpicked group for more engagement.
How can I promote my group?Use Facebook ads or share the group invitation within your network.
How do I ensure that discussions in my group remain meaningful?Set clear group rules and actively moderate the content.


