The use of Landing Pages can make a decisive difference in your customer acquisition. With a well-designed and strategically optimized form, you not only collect email addresses but also expand your reach and improve direct contact with potential customers. In this guide, I will show you how to create a landing page that helps you gain subscribers for your bot.
Key Insights
- A landing page is a single, targeted page that can be used to capture contacts.
- You can choose different button types to encourage interactions.
- The design elements of the landing page play an important role in the conversion rate.
Step-by-Step Guide
Step 1: Access Growth Tools
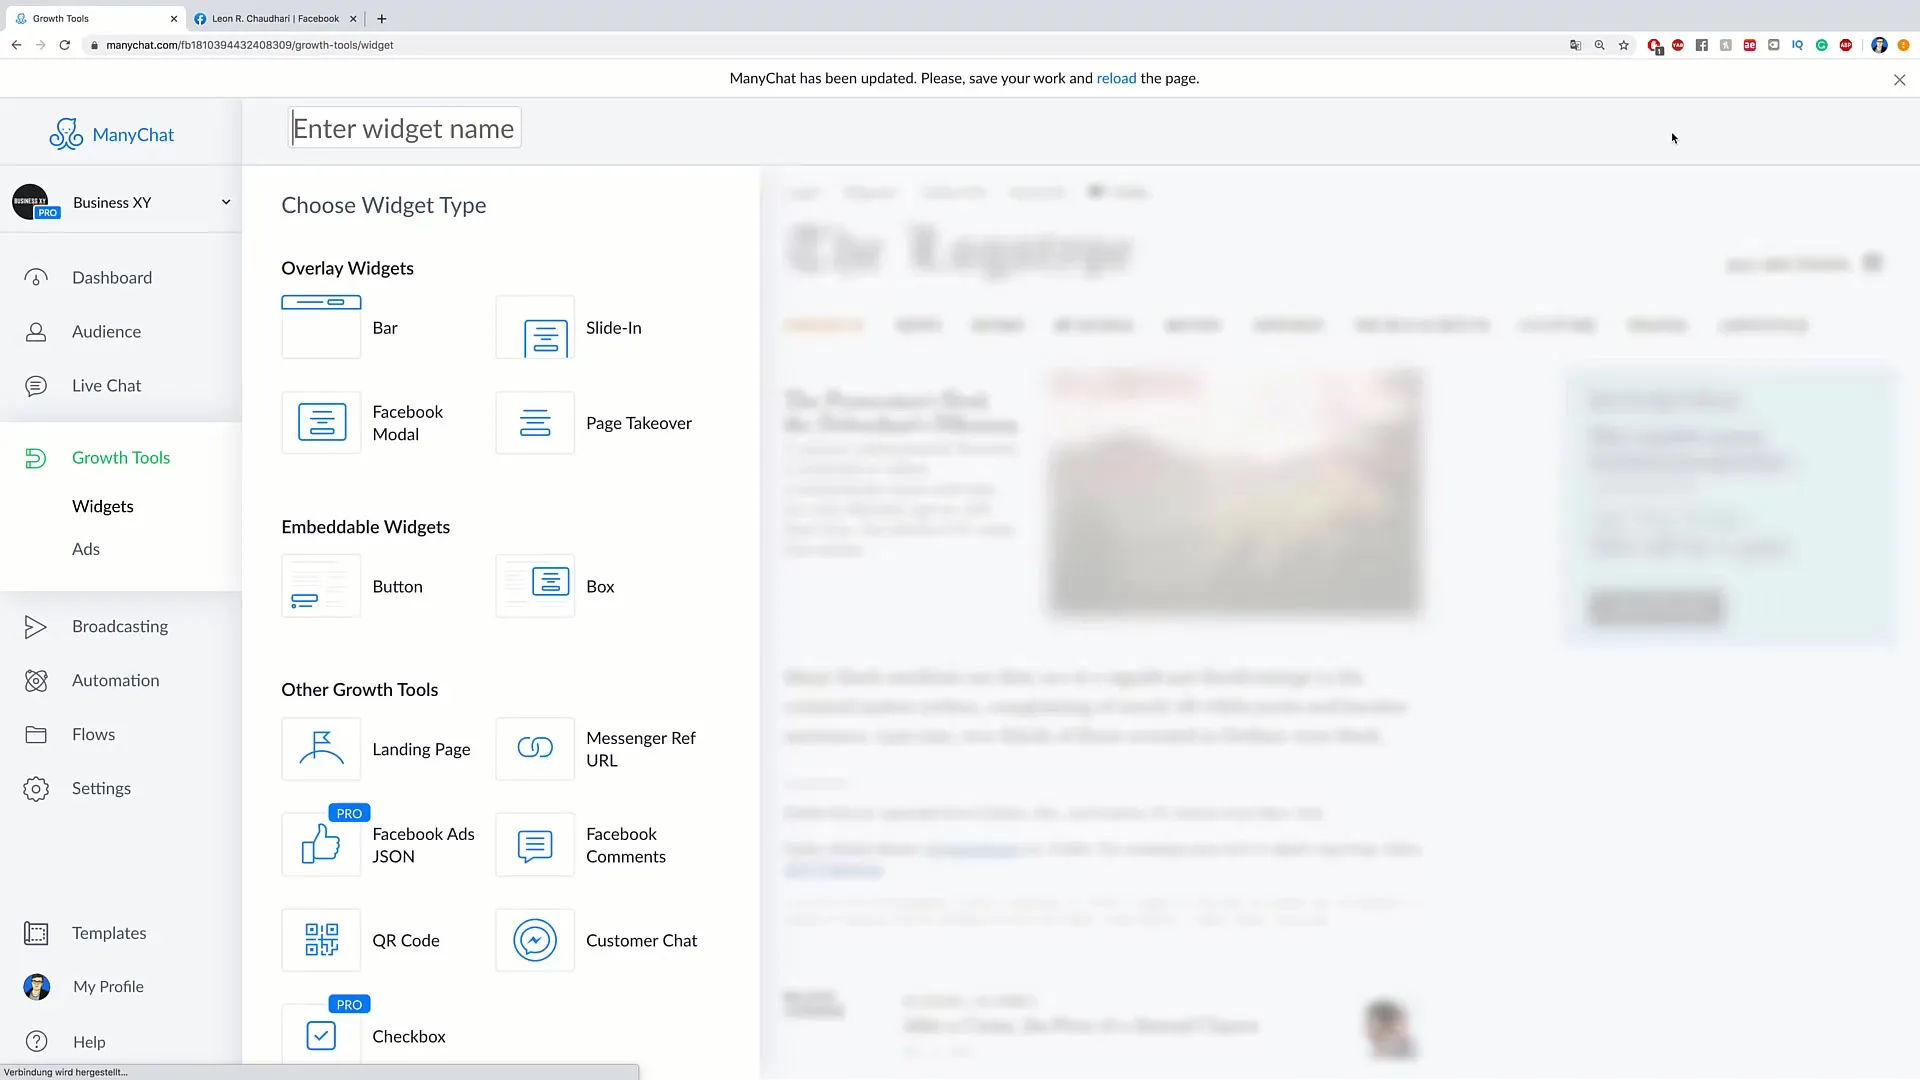
To create a landing page, you first need to click on “New Growth Tool” in your dashboard. This is the first step to starting your customer acquisition via landing page. Once you are in the Growth Tool area, you can see the various available options. Click on “Landing Page” to start the process.
Step 2: Creating the Landing Page
Once you have clicked on the landing page option, you will have the option to create your own landing page. This page should be designed to encourage visitors to leave their contact information. Note that this feature is particularly useful if you do not have your own website.
Step 3: Configuring the Button Type
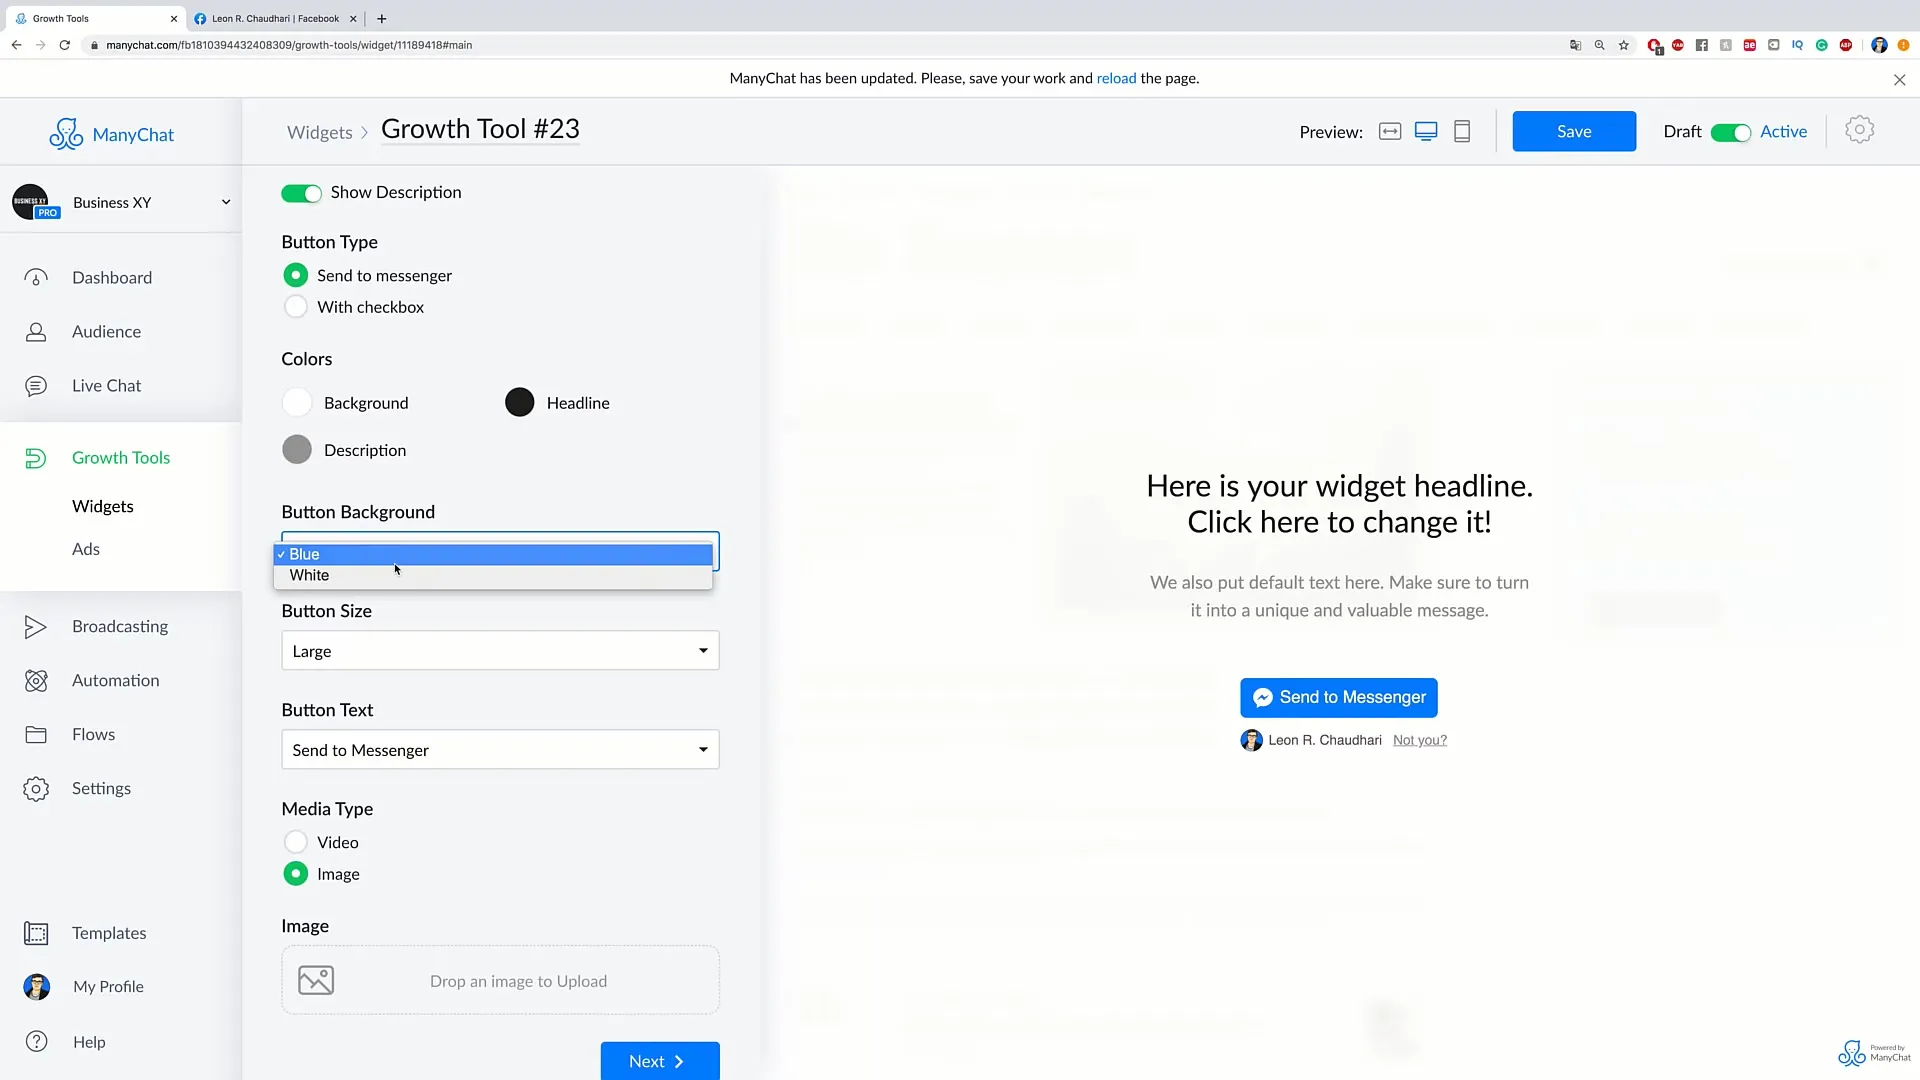
You have various options for the button type you want to use. In this example, choose “Send to Messenger” to direct users to your Messenger. The button should stand out with color and size. Choose a large size and use a striking color, like blue, to increase the likelihood that visitors will click on it.
Step 4: Customizing the Button Text
The text on the button is crucial to encourage users to interact. You can choose, for example, “Subscribe in Messenger” or “Get Support.” This text should be clear and inviting to ensure maximum interaction.
Step 5: Choosing the Media Format
Decide whether you want to use an image or a video as the background of the landing page. It is not mandatory to upload a medium, but an engaging visual element can increase your visitors' attention.
Step 6: Designing the Thank You Message
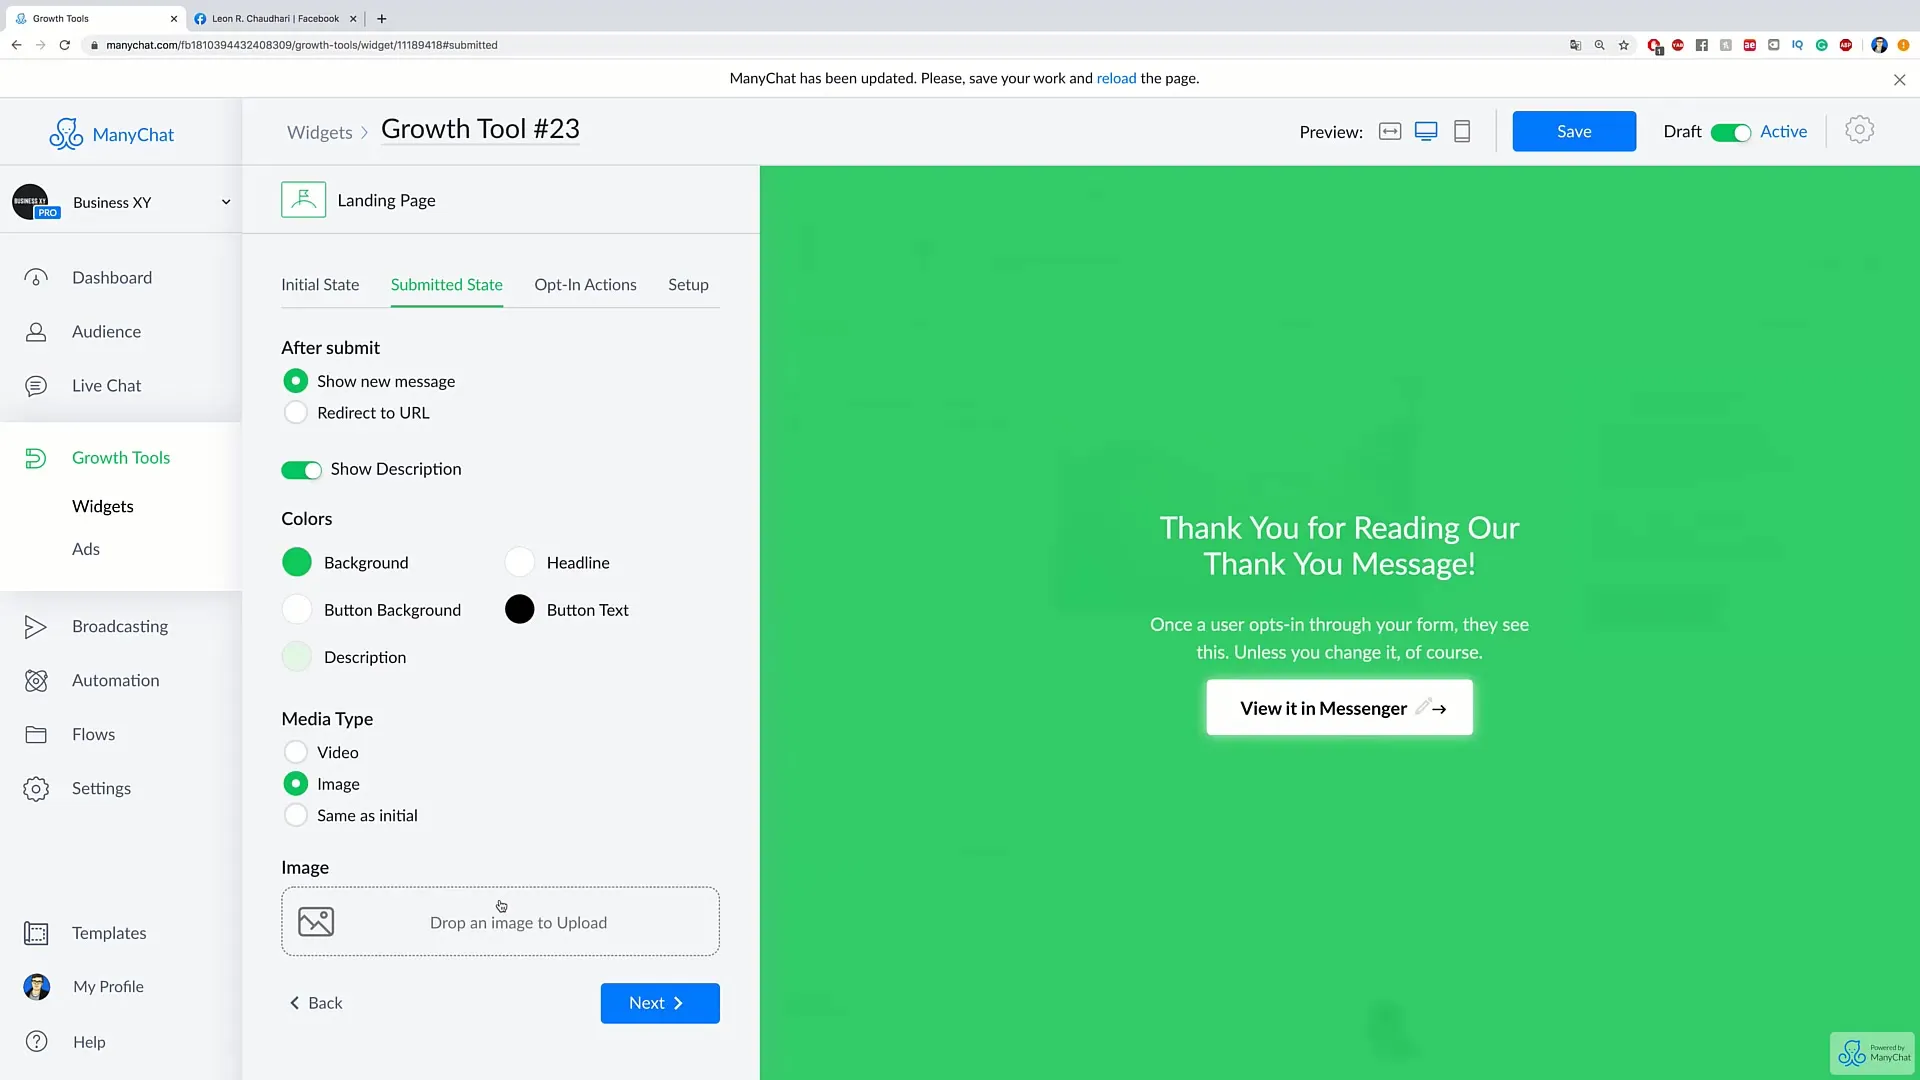
The message that users see after registering for your bot is equally important. You can edit and personalize this message to leave a friendly impression. An example might be: “Thank you for joining your bot!”
Step 7: Publishing the Landing Page
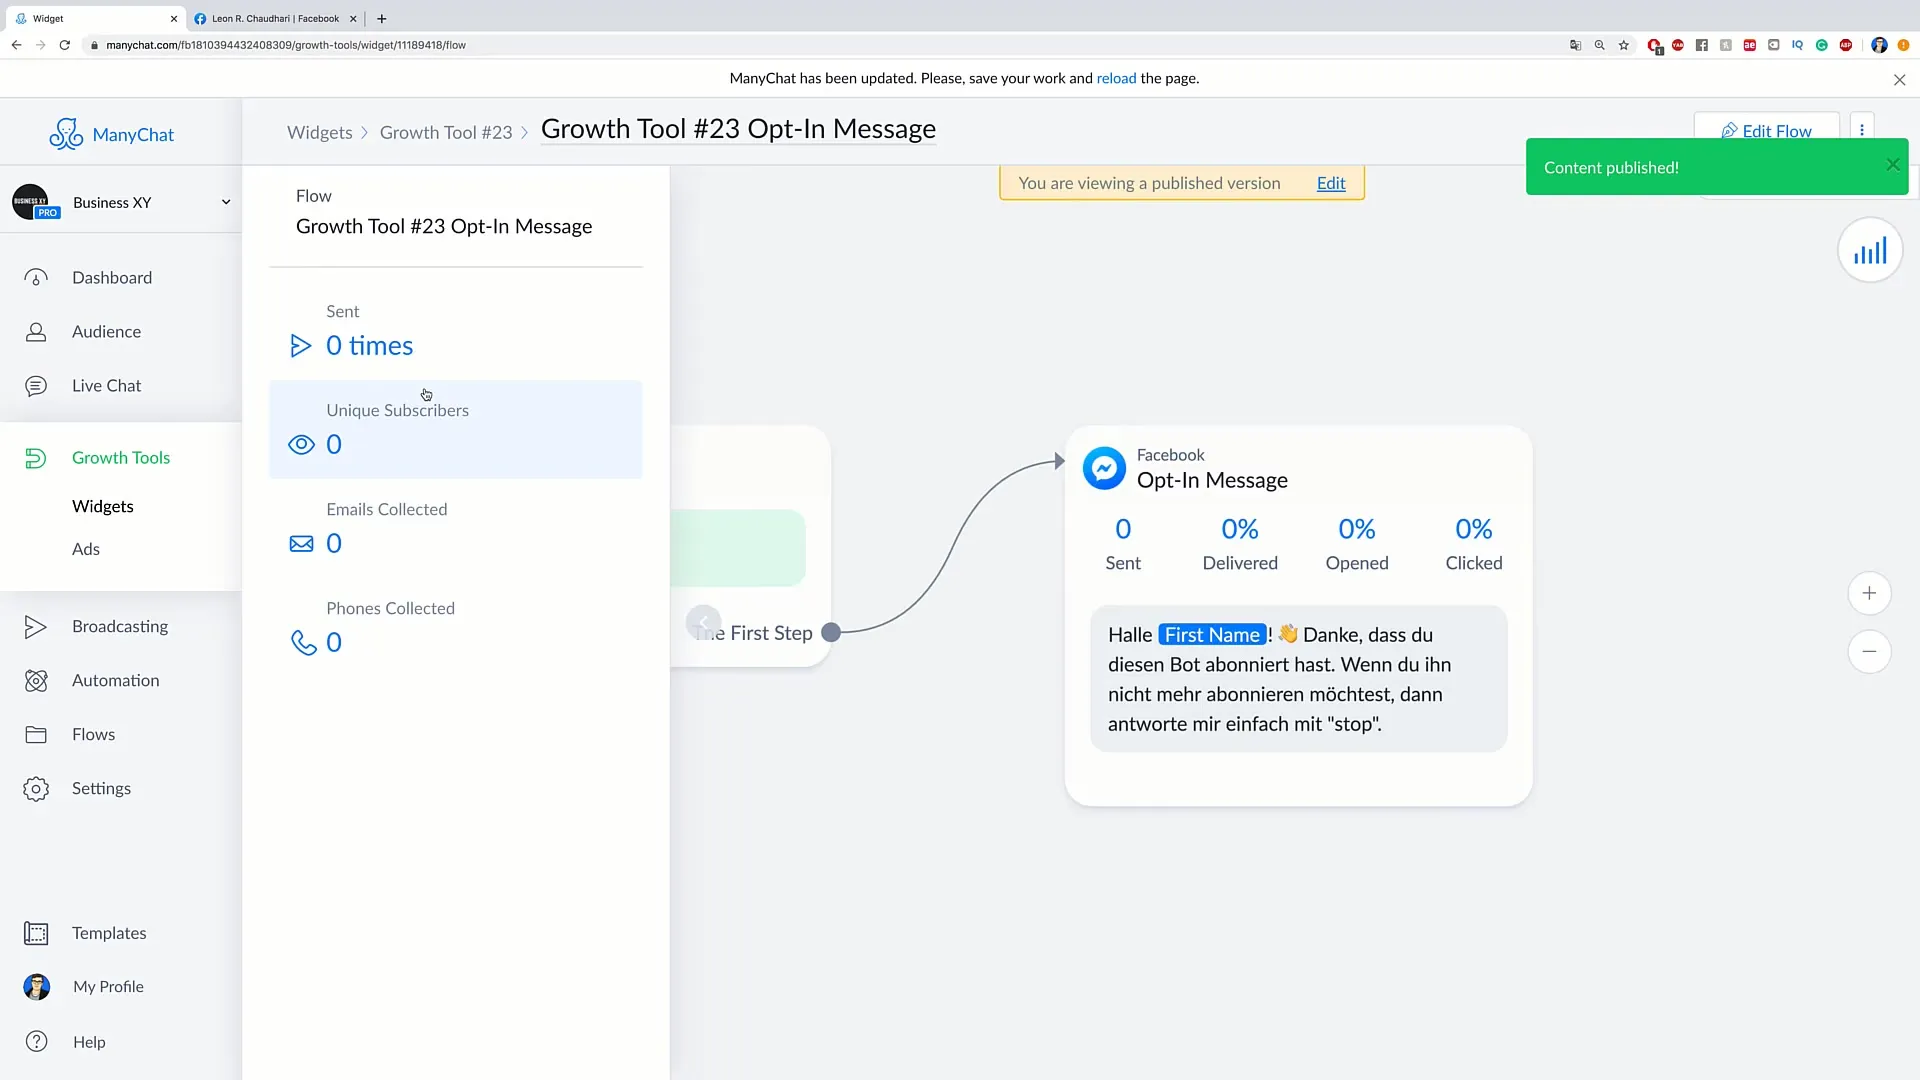
After you have configured all elements, the next step is to publish your landing page. You do this by clicking on “Publish.” Now your landing page is live and ready to be saved.
Step 8: Copying the URL
Copy the URL of your landing page, so you can share it with others or use it in your marketing campaigns. This URL directs users directly to your landing page, where they can sign up for your Messenger.
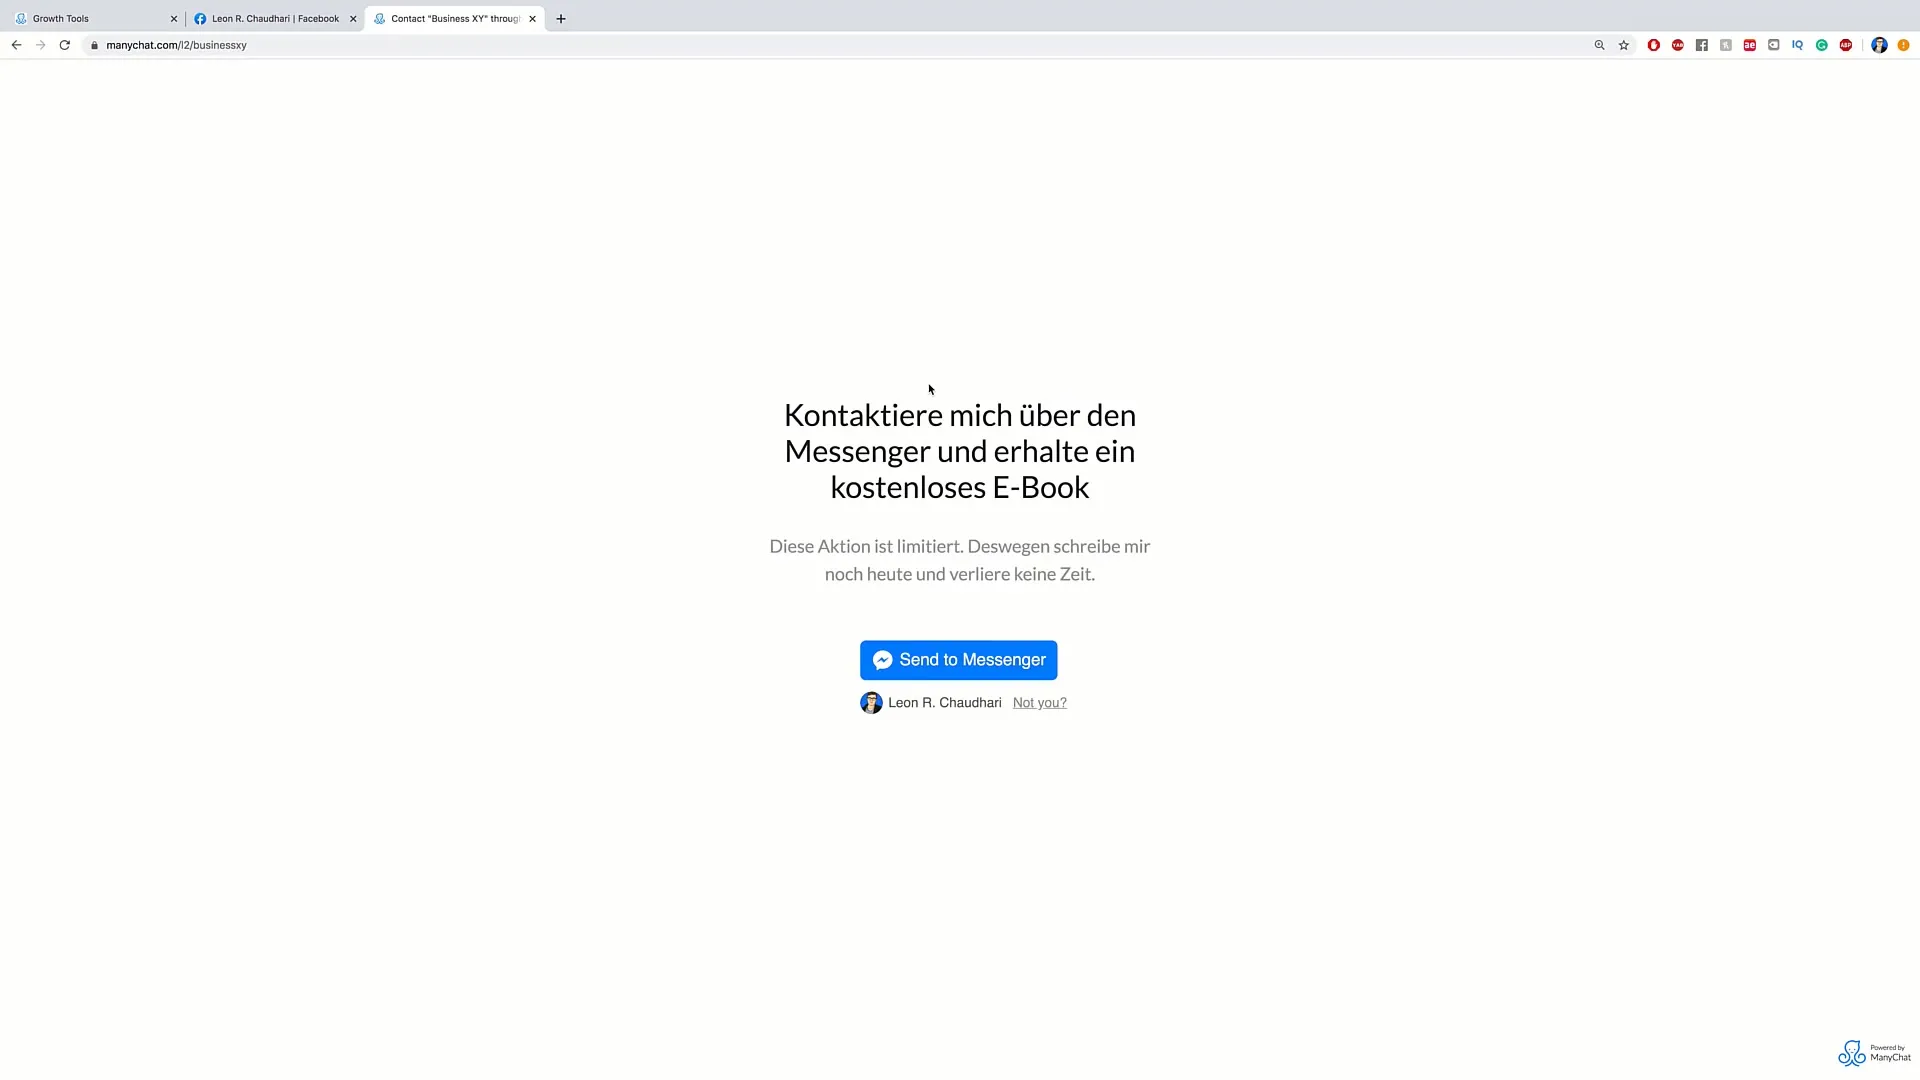
Step 9: Testing the Landing Page
To ensure that everything works as desired, open the URL in a new tab. Check the display of the page as well as the interaction options. Make sure that the messages are displayed correctly and that users can use the button.
Summary – The Ultimate Guide to Creating Landing Pages as a Growth Tool
Creating landing pages is an effective way to generate customer contacts and acquire potential customers. With this guide, you have a clear overview of the necessary steps. Be sure to optimize the design elements and provide relevant content to achieve the best results.
Frequently Asked Questions
How do I create a landing page without a website?You can create the landing page through Growth Tools without needing a website.
What is the best button type for a landing page?The “Send to Messenger” button is ideal for encouraging users to interact.
How important is the Thank You message?The Thank You message creates a positive first impression and enhances interaction.
Can I use images or videos in my landing page?Yes, you can use both images and videos as background media.
How do I test my landing page?Open the URL in a new tab and check the display and functionality of the interactive elements.
