Rendering 3Dscenesin AdobeDimensionCC allows you to create stunning photorealistic images that simulate the interplay of light and materials in your digital world. This process, where 3D information is converted into a 2D image, is crucial for presenting your work in a professional manner. In this guide, you will learn how to effectively export your 3D scenes, utilize the differences between rendering modes and various file formats, as well as understand the factors that influence render time.
Key insights
- Rendering converts 3D information into 2D images.
- The render preview provides a real-time view of your changes.
- You can adjust the quality and file format of your export.
- Factors such as hardware, resolution, and types of materials affect render time.
Step-by-step guide
Step 1: Understanding the rendering process
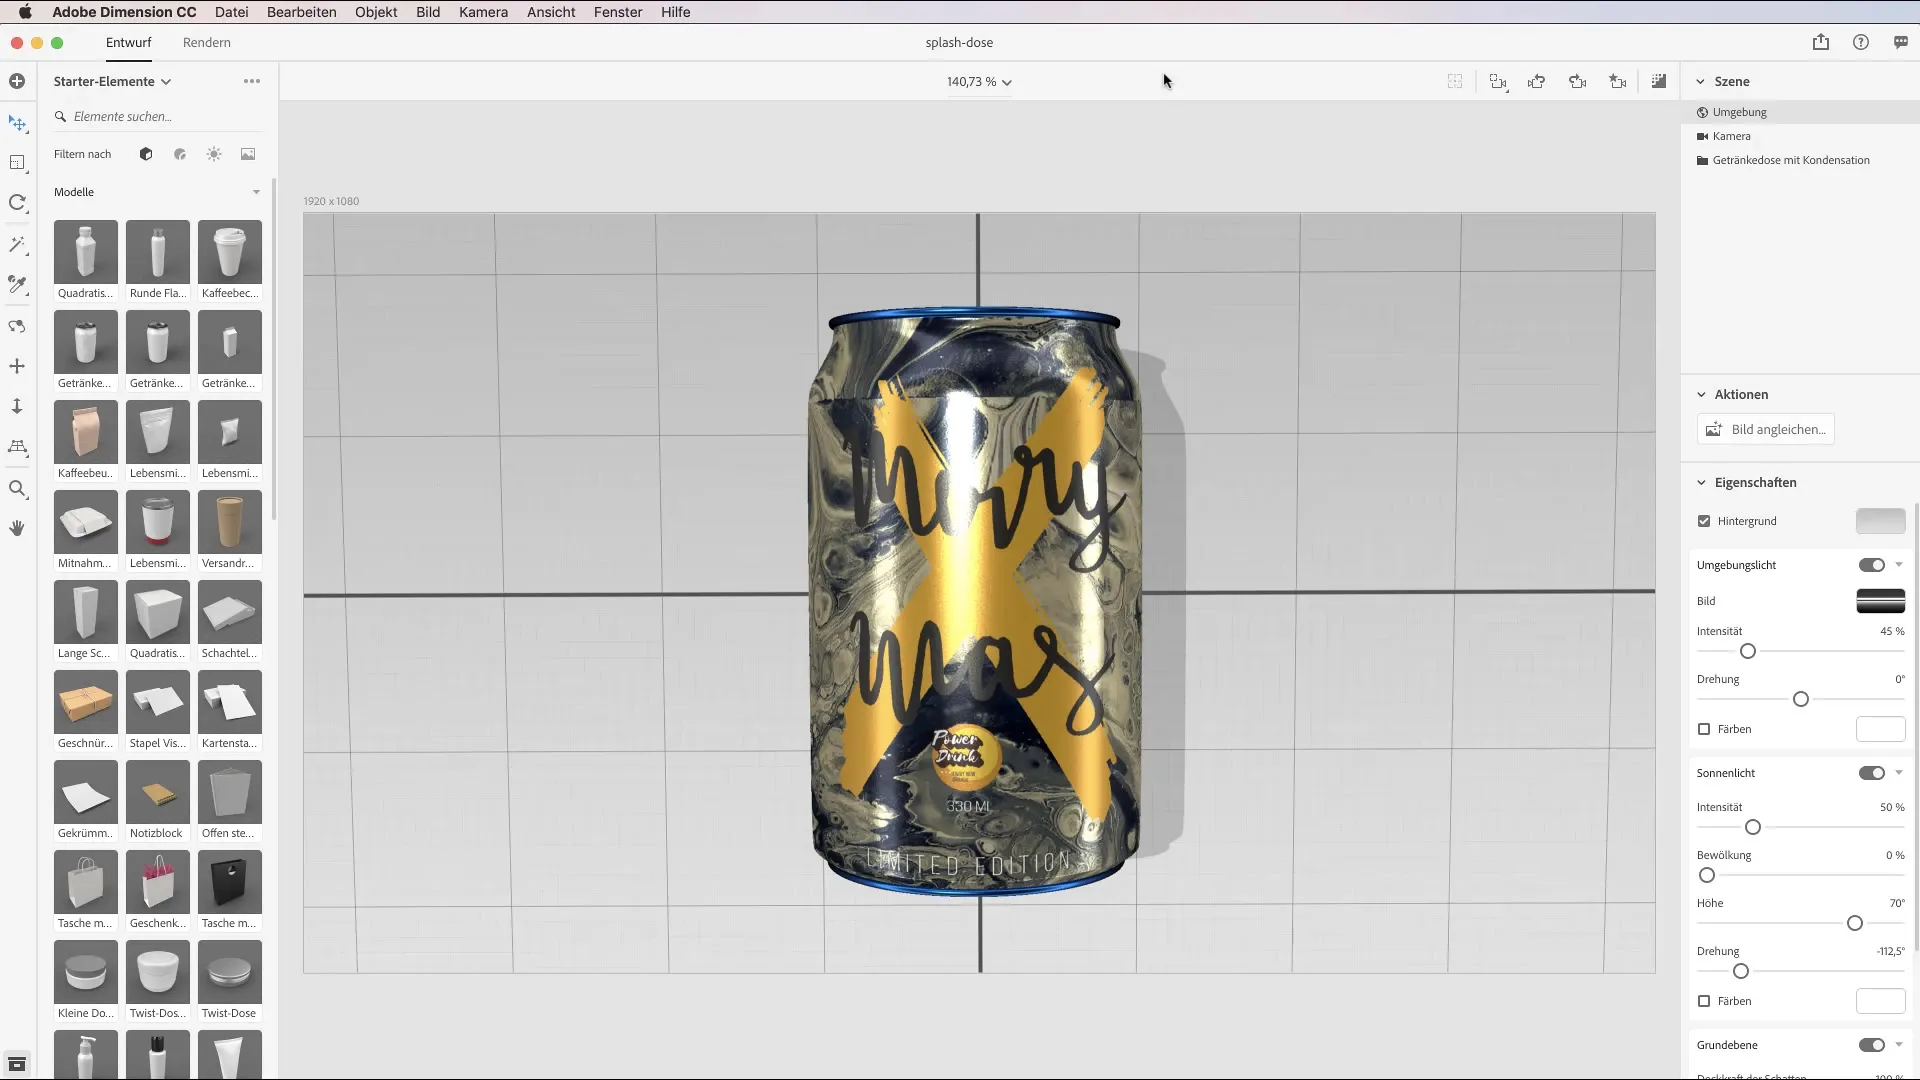
Before you start rendering, you should know that this is a time-consuming process. Through rendering, you not only get an image of your scene but also the ability to realistically represent lighting effects and material textures. To understand this, you can switch to design mode, which allows for quick editing without showing all the details.
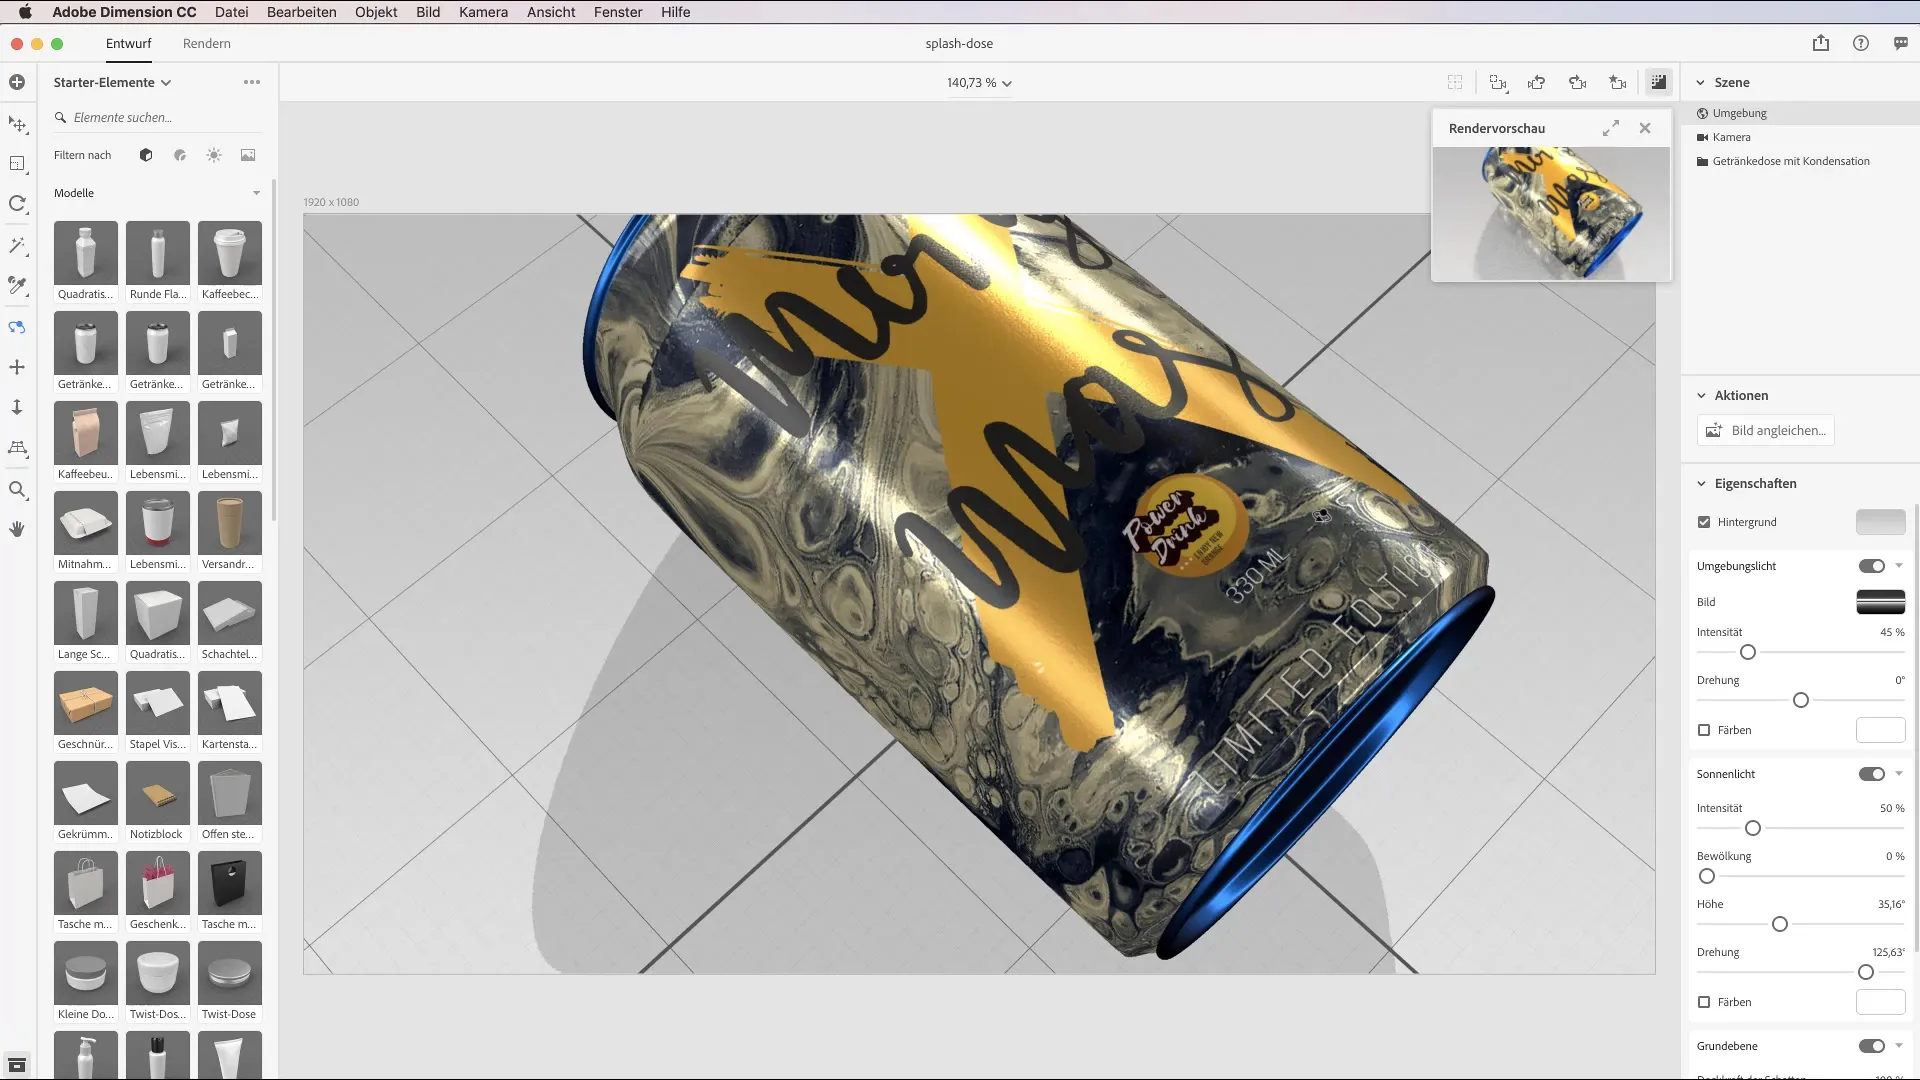
Step 2: Utilizing the render preview
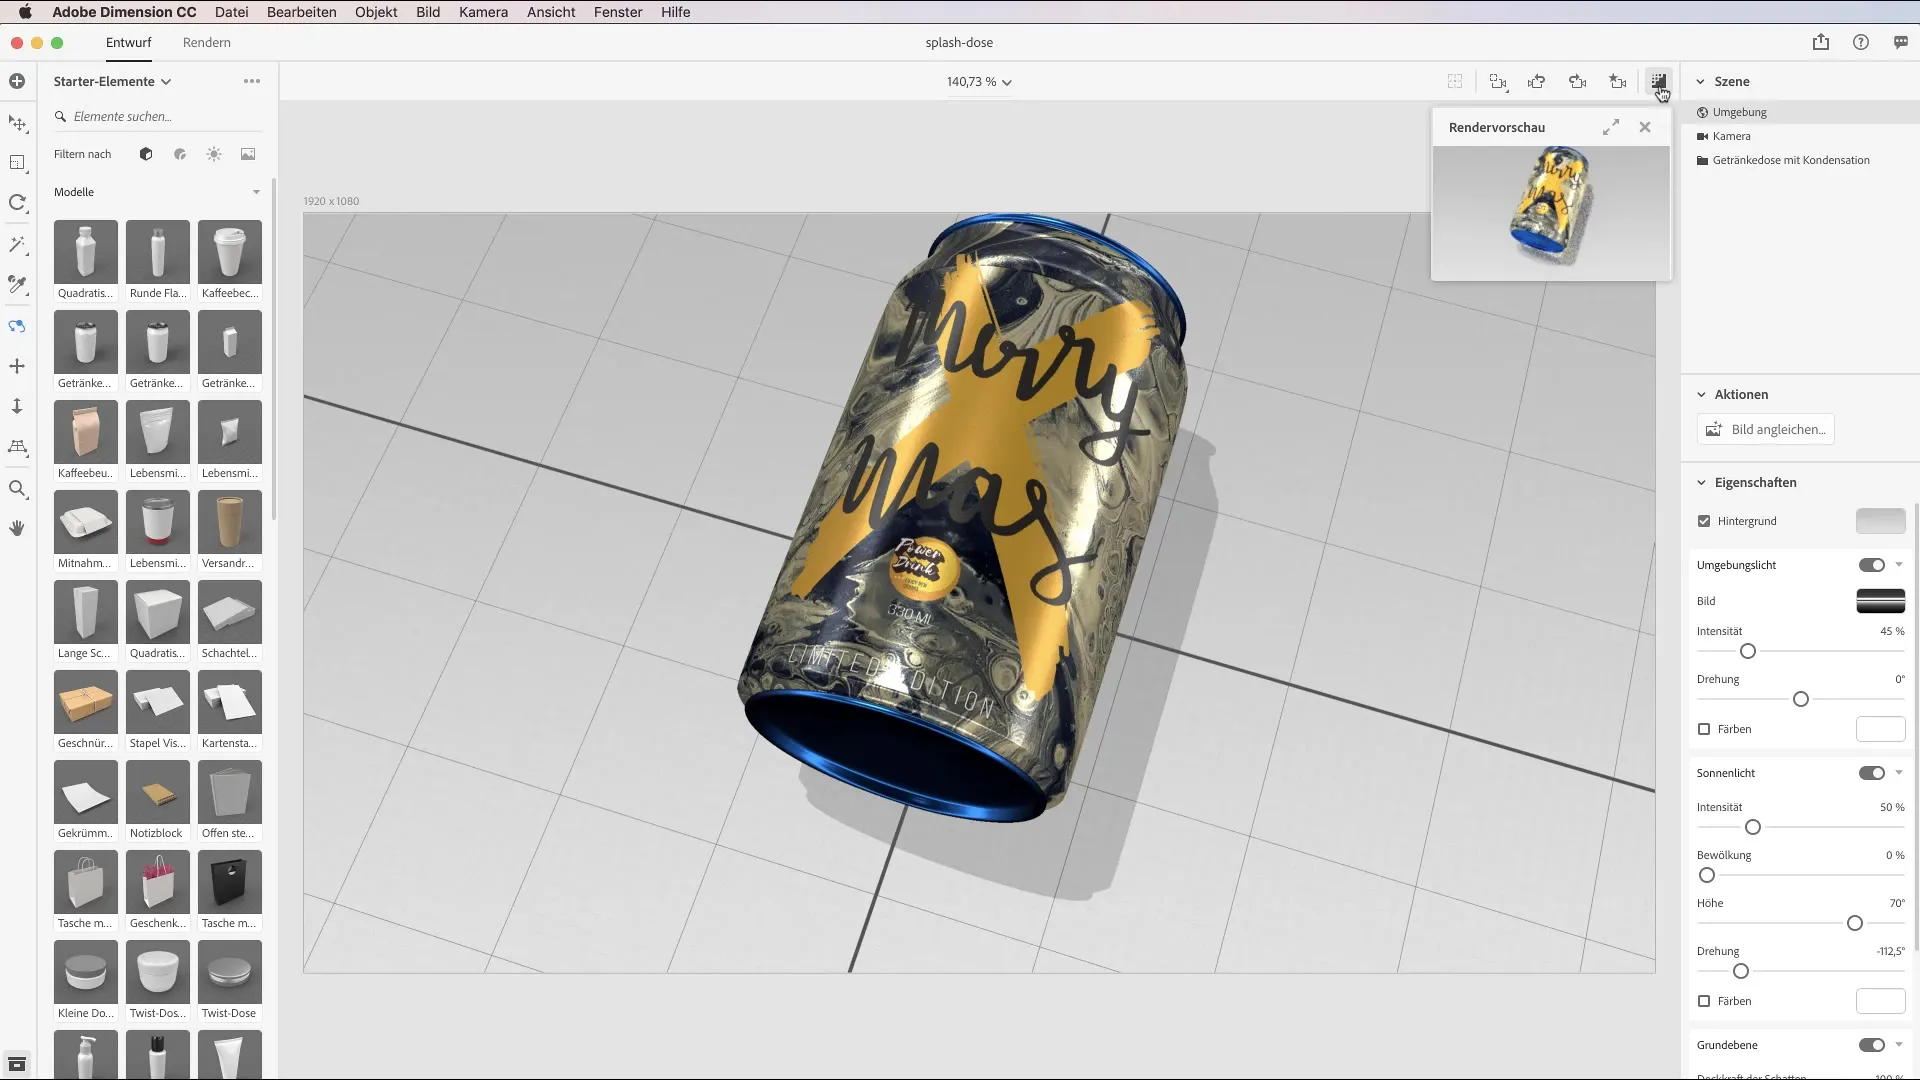
The render preview is an important tool to see how your final image will look. You can find this preview in the upper corner of the user interface. When you make changes to your scene, the preview updates in real-time. This ensures that everything looks good before you start the full rendering process.
Step 3: Adjusting the rendering modes
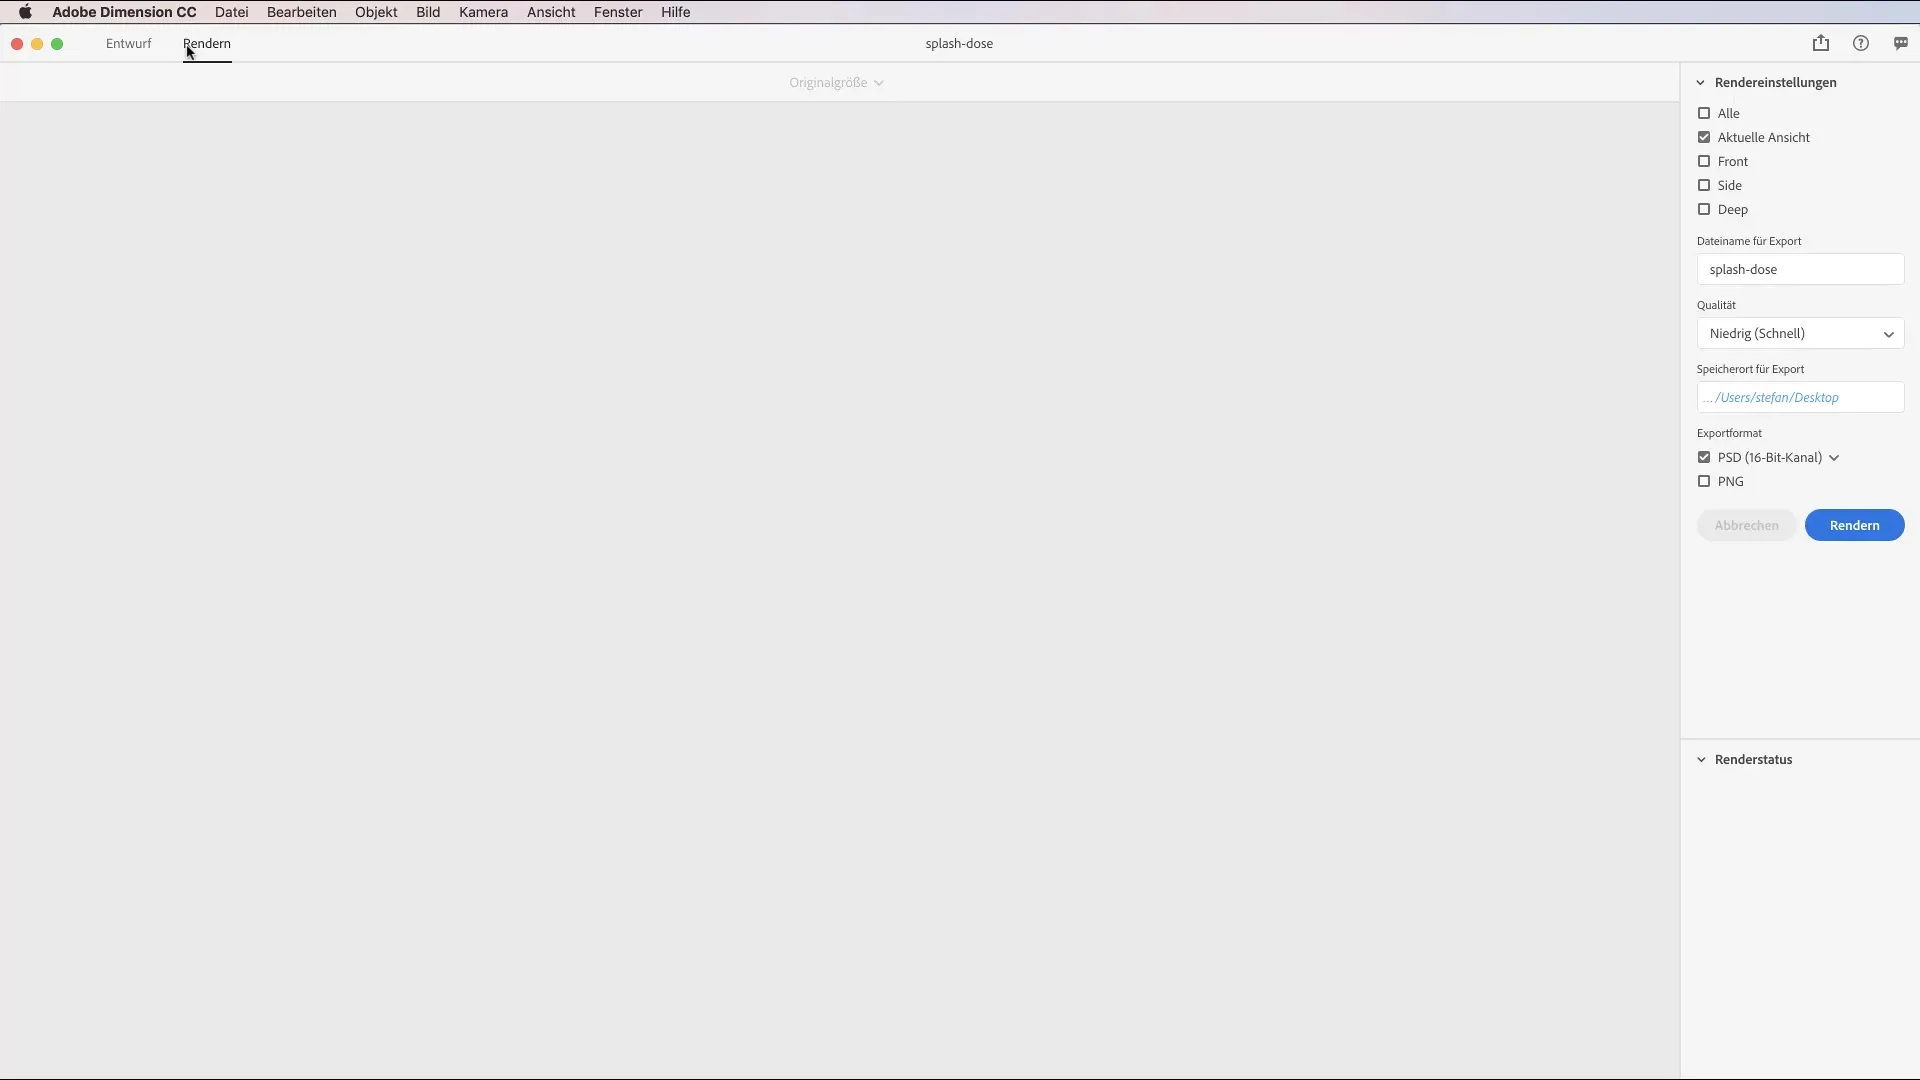
You can find the rendering modes next to the design button. Here you have the option to switch between different camera views as long as you have saved them beforehand. Adjusting the camera view is important because you will only see the desired perspective in the rendering if you have saved camera views. If no camera views are available, you will need to save one first.
Step 4: Selecting the desired file format
Adobe Dimension offers various options for export. The PNG format is ideal if you want to publish the image without post-processing. If you plan to further process your work, choose the PSD format, where you can select between 16-bit and 32-bit. While 16-bit is sufficient for post-production, you should use 32-bit for complex compositing projects.
Step 5: Setting the render quality
You have the option to set the render quality: low, medium, or high. Low quality allows for quick rendering but often results in blurry images. High-quality renderings require much more time but provide significantly better image quality. Depending on your project, you should find the right balance here.
Step 6: The rendering process
Once you have made all the settings, the rendering process starts. This can take anywhere from a few minutes to several hours, depending on the complexity and quality settings. Your computer requires extensive computing power, especially if you are working with higher resolutions.
Step 7: Analyzing the rendered file in Photoshop
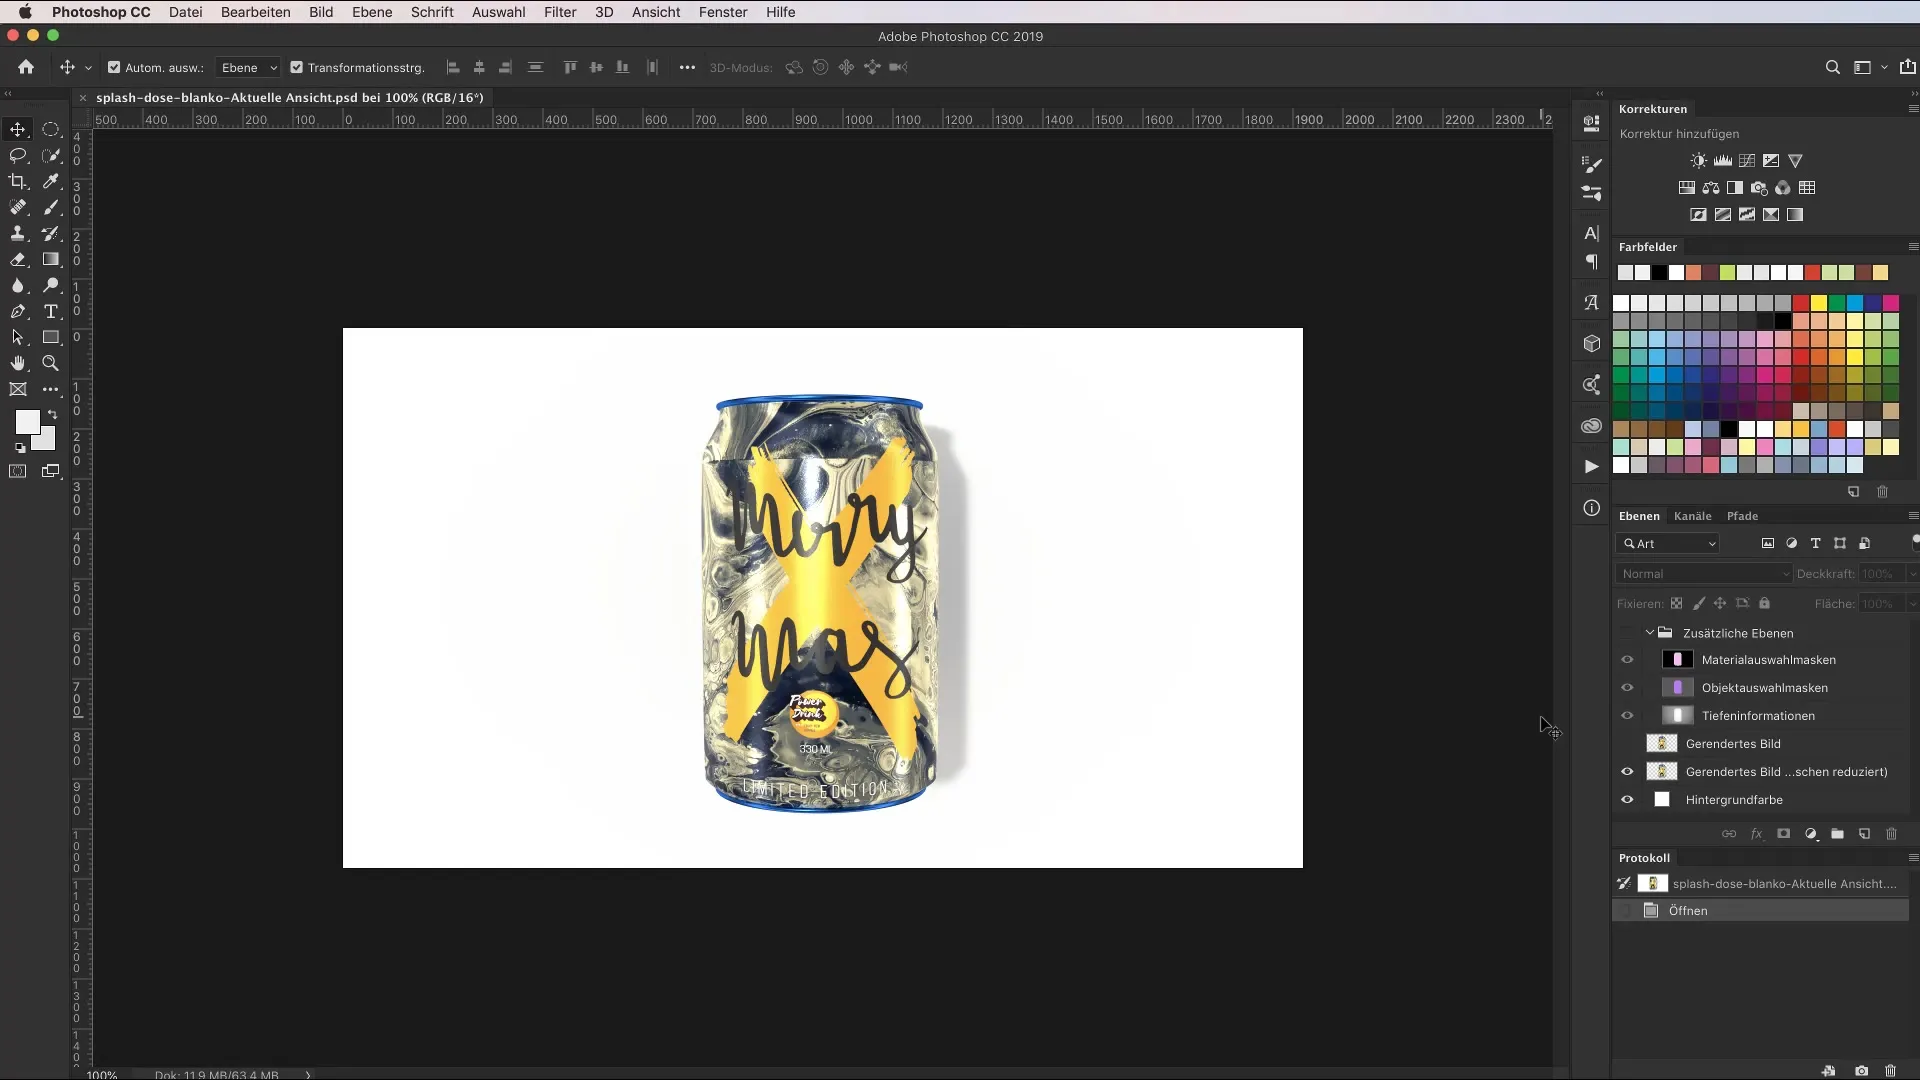
Once rendering is complete, you can open the file in Photoshop and analyze the different layers. Each layer helps you edit the image and make specific adjustments without having to re-render the entire composition. This gives you valuable flexibility during post-processing.
Step 8: Considering the factors affecting render time
Render time depends on your hardware, resolution, and the materials used. A powerful graphics card and CPU significantly speed up the process. The choice of resolution also has an impact; ideally, start with a lower preview resolution before working with the final high resolution.
Summary - Guide to exporting 3D scenes in Adobe Dimension CC
Rendering in Adobe Dimension CCrequires not only technical knowledge but also an understanding of the various tools available. From utilizing the render preview to adjusting the rendering modes and selecting the right file format to considering the influencing factors – every decision counts to achieve excellent results. With this guide, you are well prepared to render impressive 3D scenes and present them optimally.
FAQ
What is rendering in Adobe Dimension CC?Rendering is the process by which 3D information is converted into 2D images.
How does quality affect render time?Low quality leads to faster render times, while high quality requires longer processing times.
Which file formats can I choose for export?You can choose between PNG and PSD formats, depending on whether you plan for post-processing or not.
How can I use the render preview?Just click on the preview icon to give me a real-time view of your changes.
What factors influence render time?Render time is determined by hardware, resolution, and materials used.

