You have the opportunity to create impressive 3D models with Adobe Dimension CC. One of the key components for realistic models is materials. In this tutorial, you will learn how to photograph materials yourself to use in your projects. The Adobe Capture app turns your smartphone into a powerful texture generator. Let's dive right in and go through the steps you can follow to create your own material textures and use them in Adobe Dimension.
Main Takeaways
- With Adobe Capture, you can capture textures from your surroundings and use them in Adobe Dimension.
- Photography provides a simple way to create unique materials.
- In Adobe Dimension, you have extensive options to adjust the properties of your materials.
Step-by-Step Guide
1. Download the Adobe Capture App
To work with your own material, download the Adobe Capture app. This app is available on iOS and Android and is easy to use. You can search for the app in the respective app store and install it to start your journey into the world of material photography.
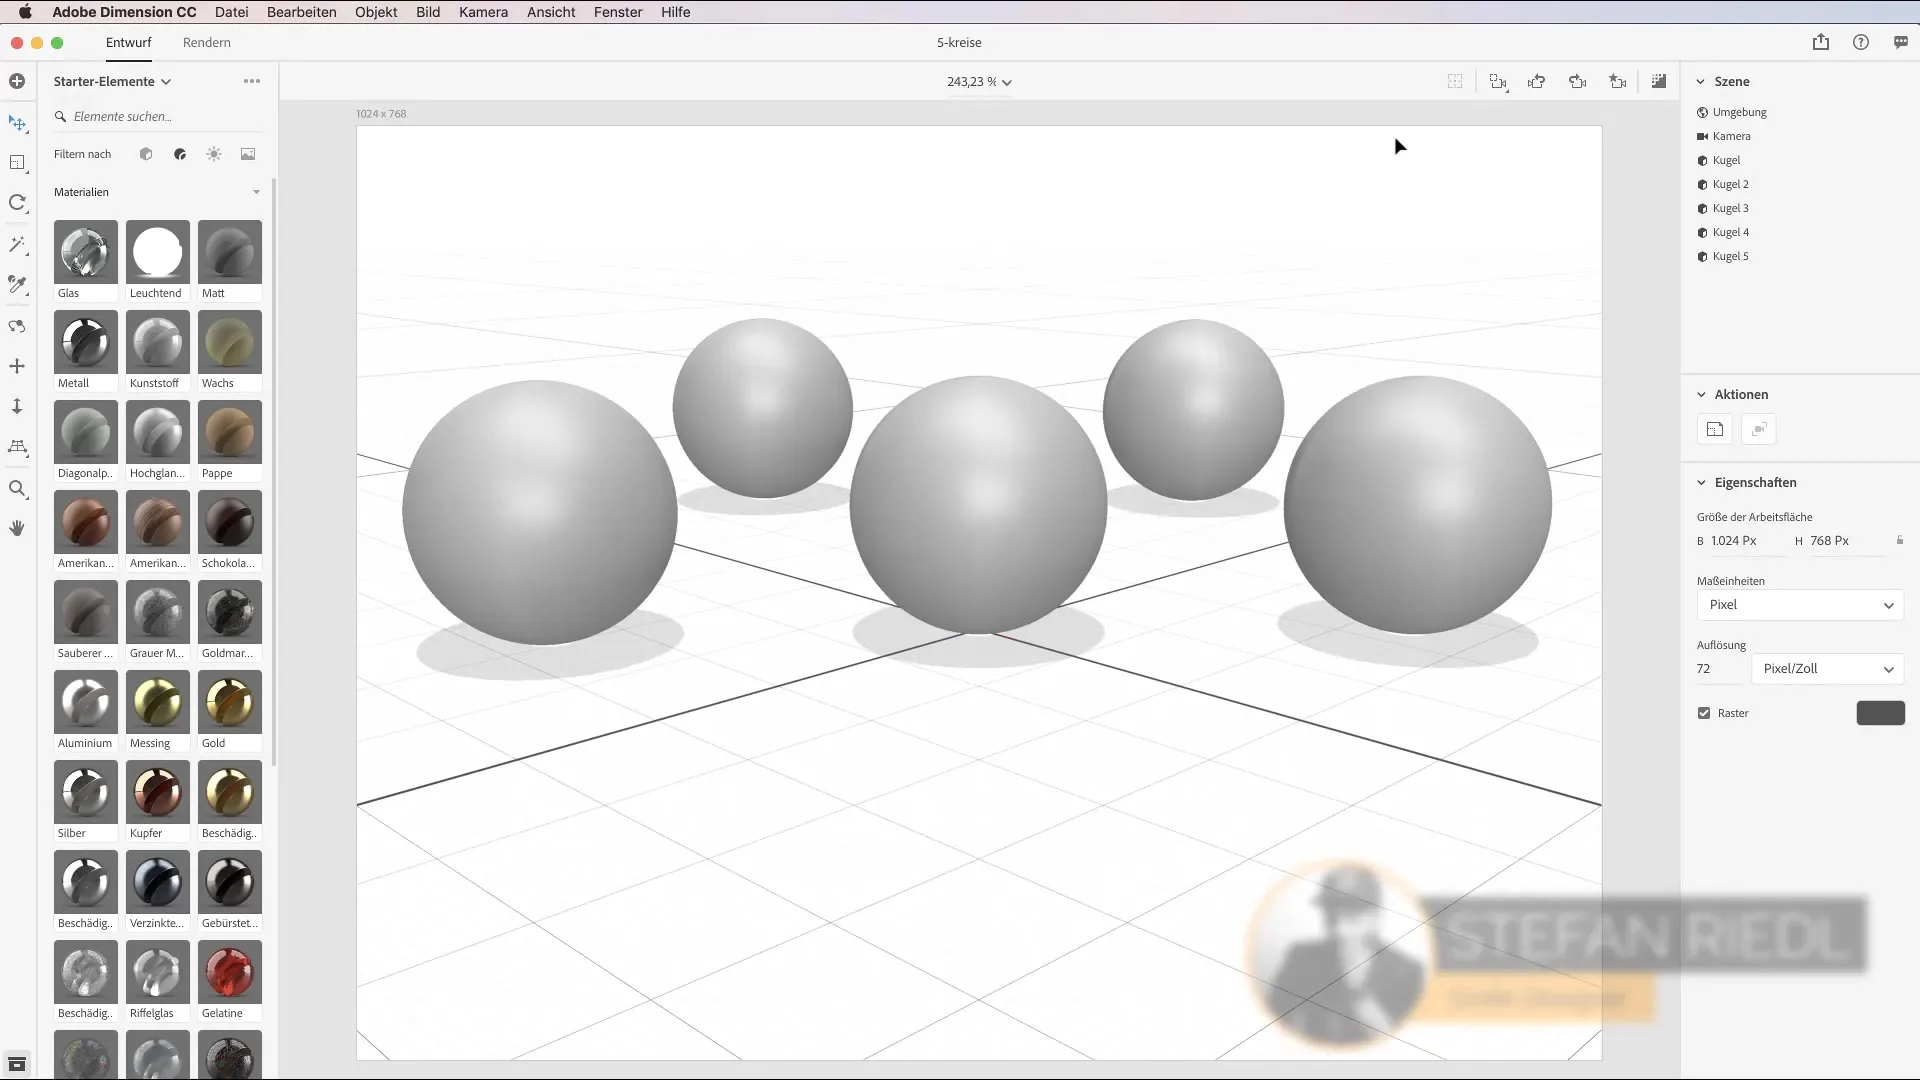
2. Discover Textures in Your Environment
Whenever you move around your environment, whether shopping or on your way to work, pay attention to different textures around you. Textures are everywhere – from floor coverings to furniture surfaces. Look out for interesting materials that you could use for your designs.
3. Photograph Materials
Use your smartphone to photograph the desired textures. Open the Adobe Capture app and point the camera at the texture. Looking at the ground or other surfaces often provides unexpected opportunities. When you take a photo, you get an instant preview and can save the material.

4. Adjust Material
After photographing, you can adjust the material. The app provides various sliders that allow you to define properties such as roughness and intensity. These sliders enable you to refine the texture and adapt it to your specific needs.

5. Import Materials into Adobe Dimension
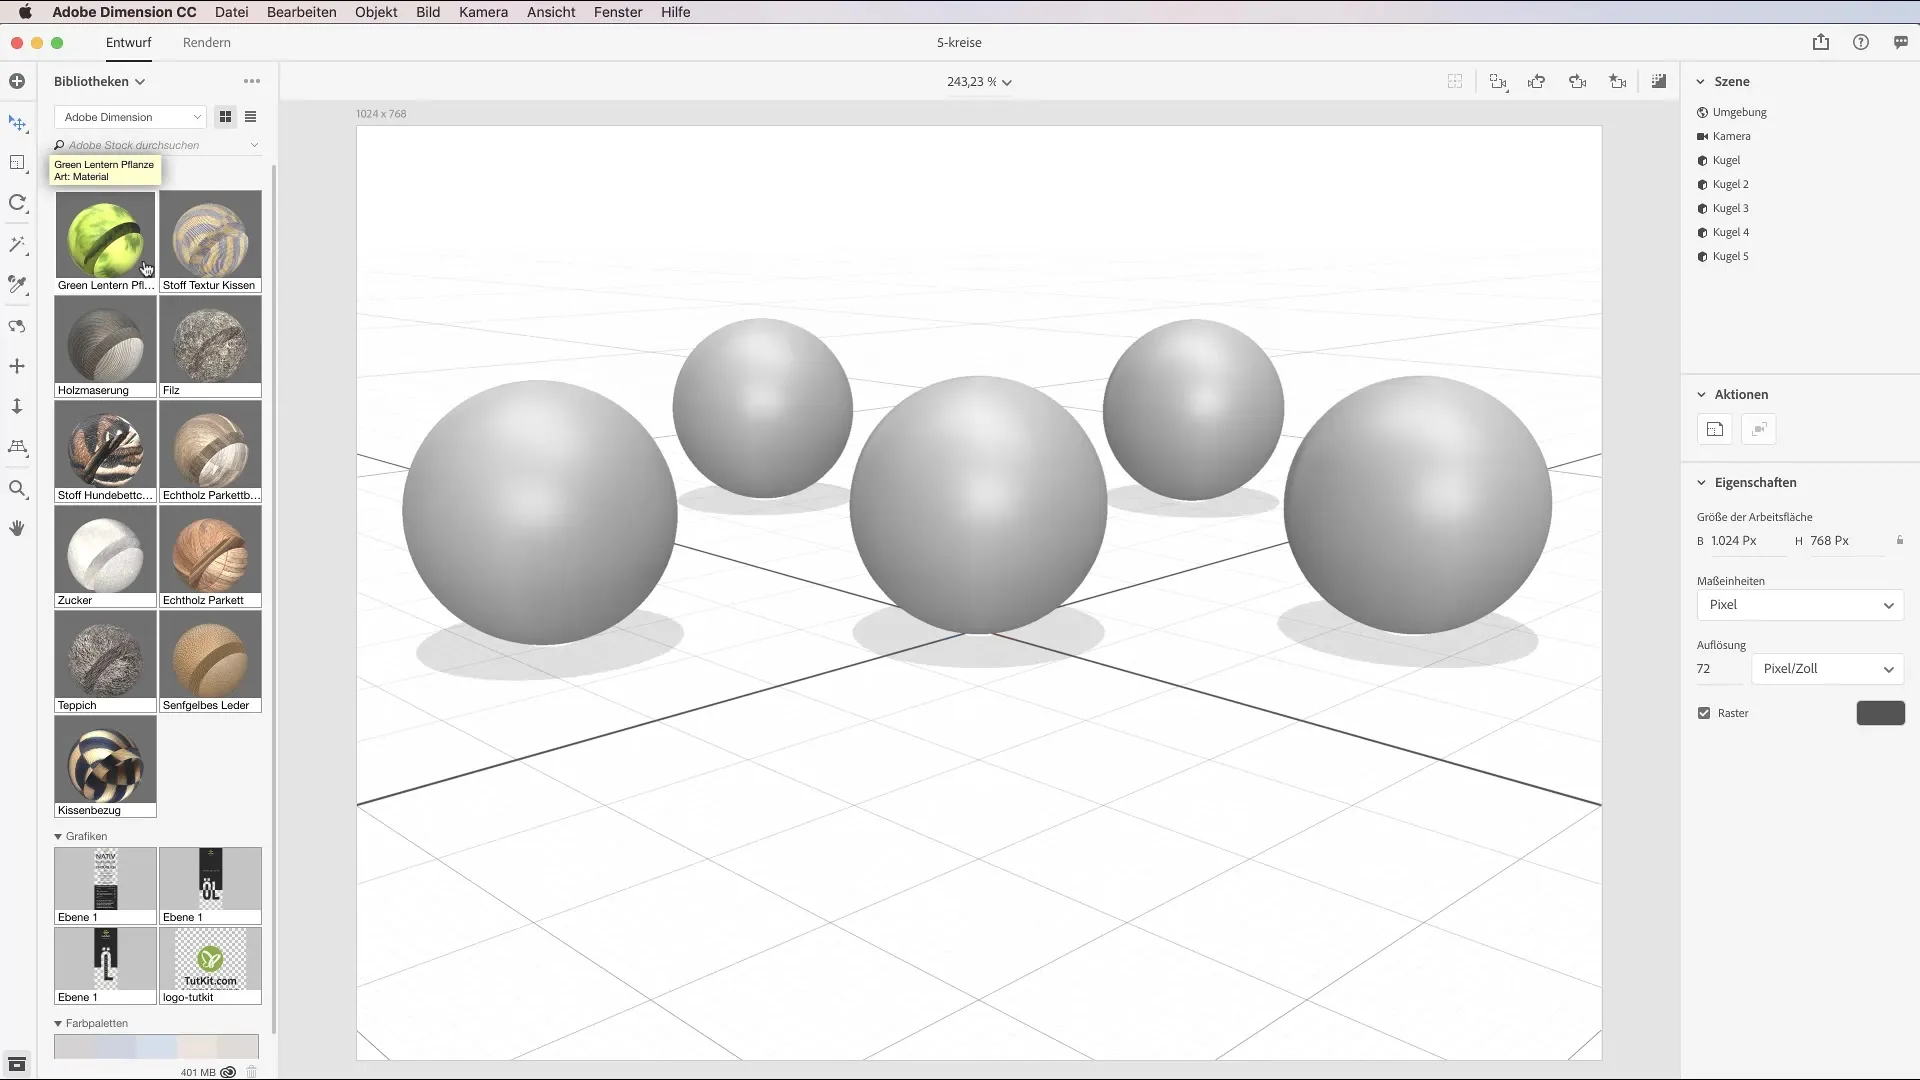
Once you have created the material in Adobe Capture, it will be automatically synchronized with your Adobe Dimension library. You can now simply go to Adobe Dimension, select the material, and apply it to your 3D model. Just drag the material onto the appropriate surface of your model.
6. Understand and Adjust Material Properties
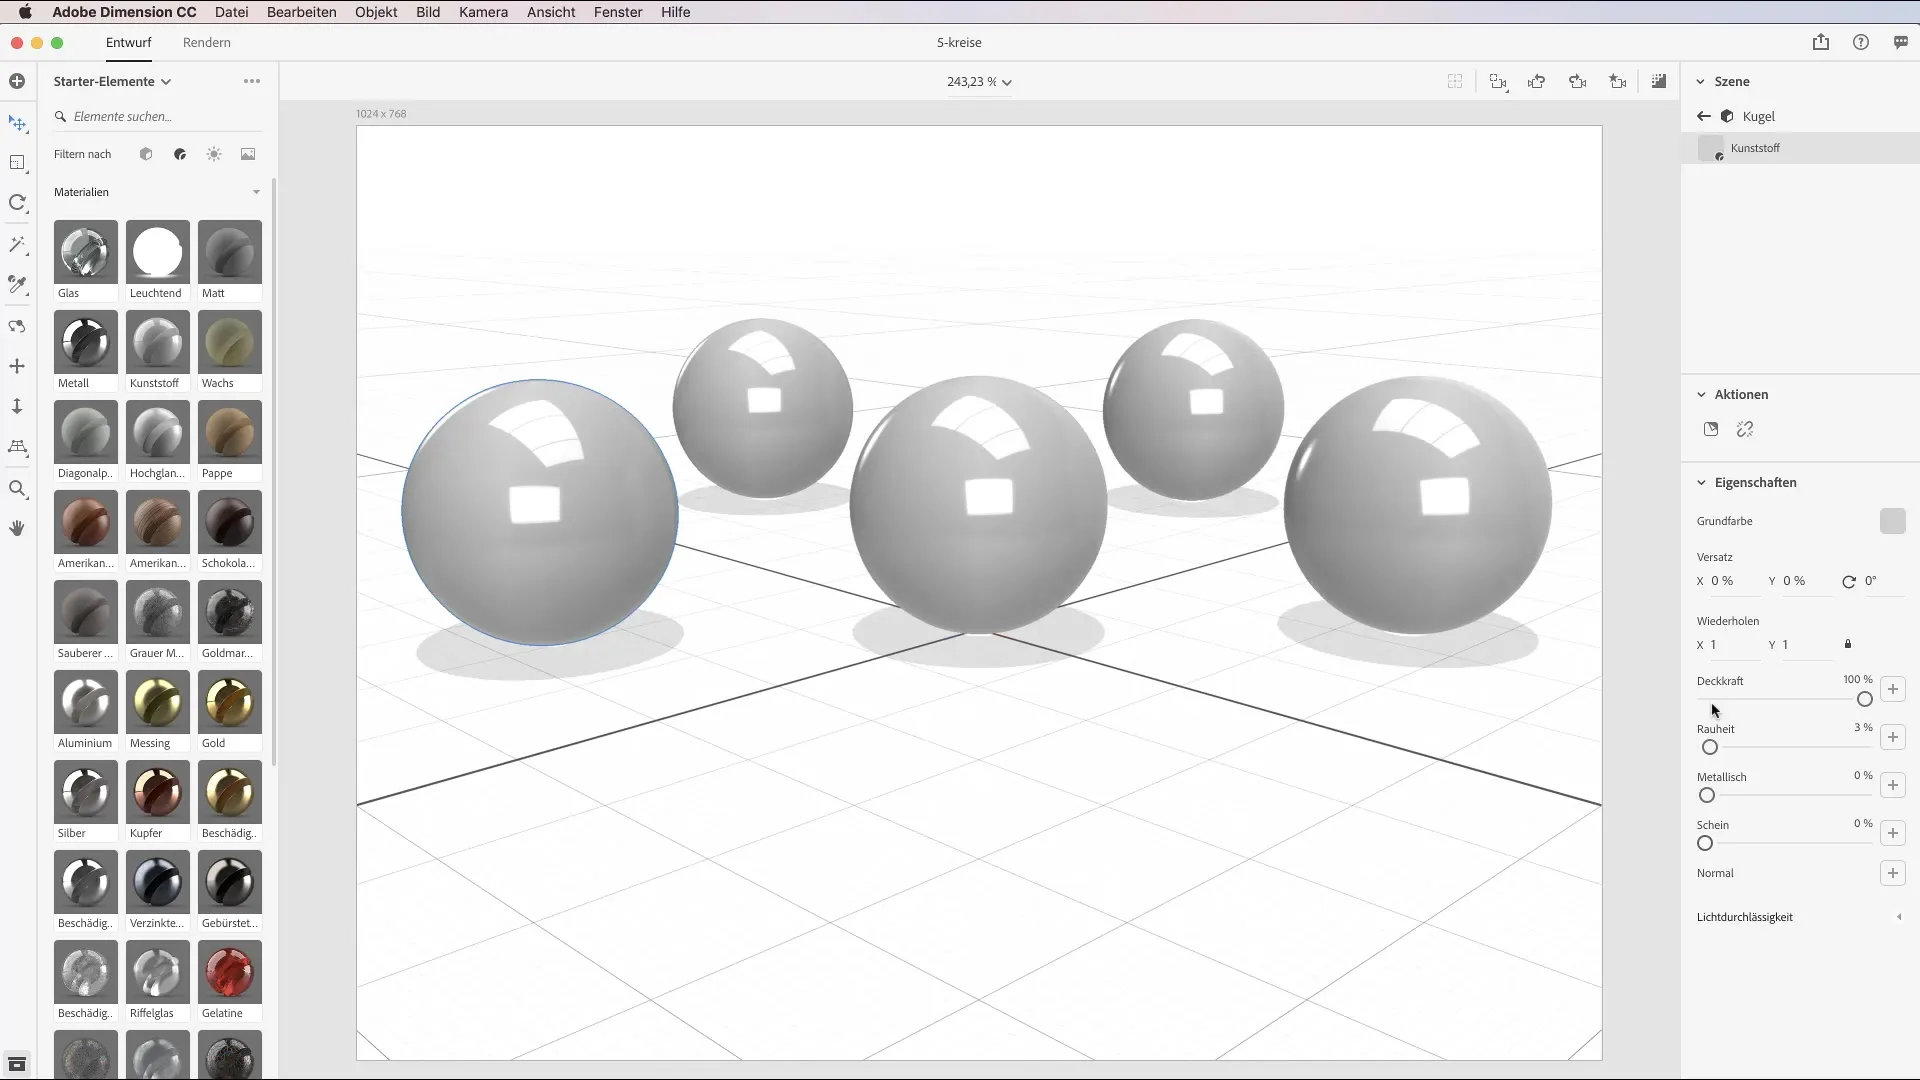
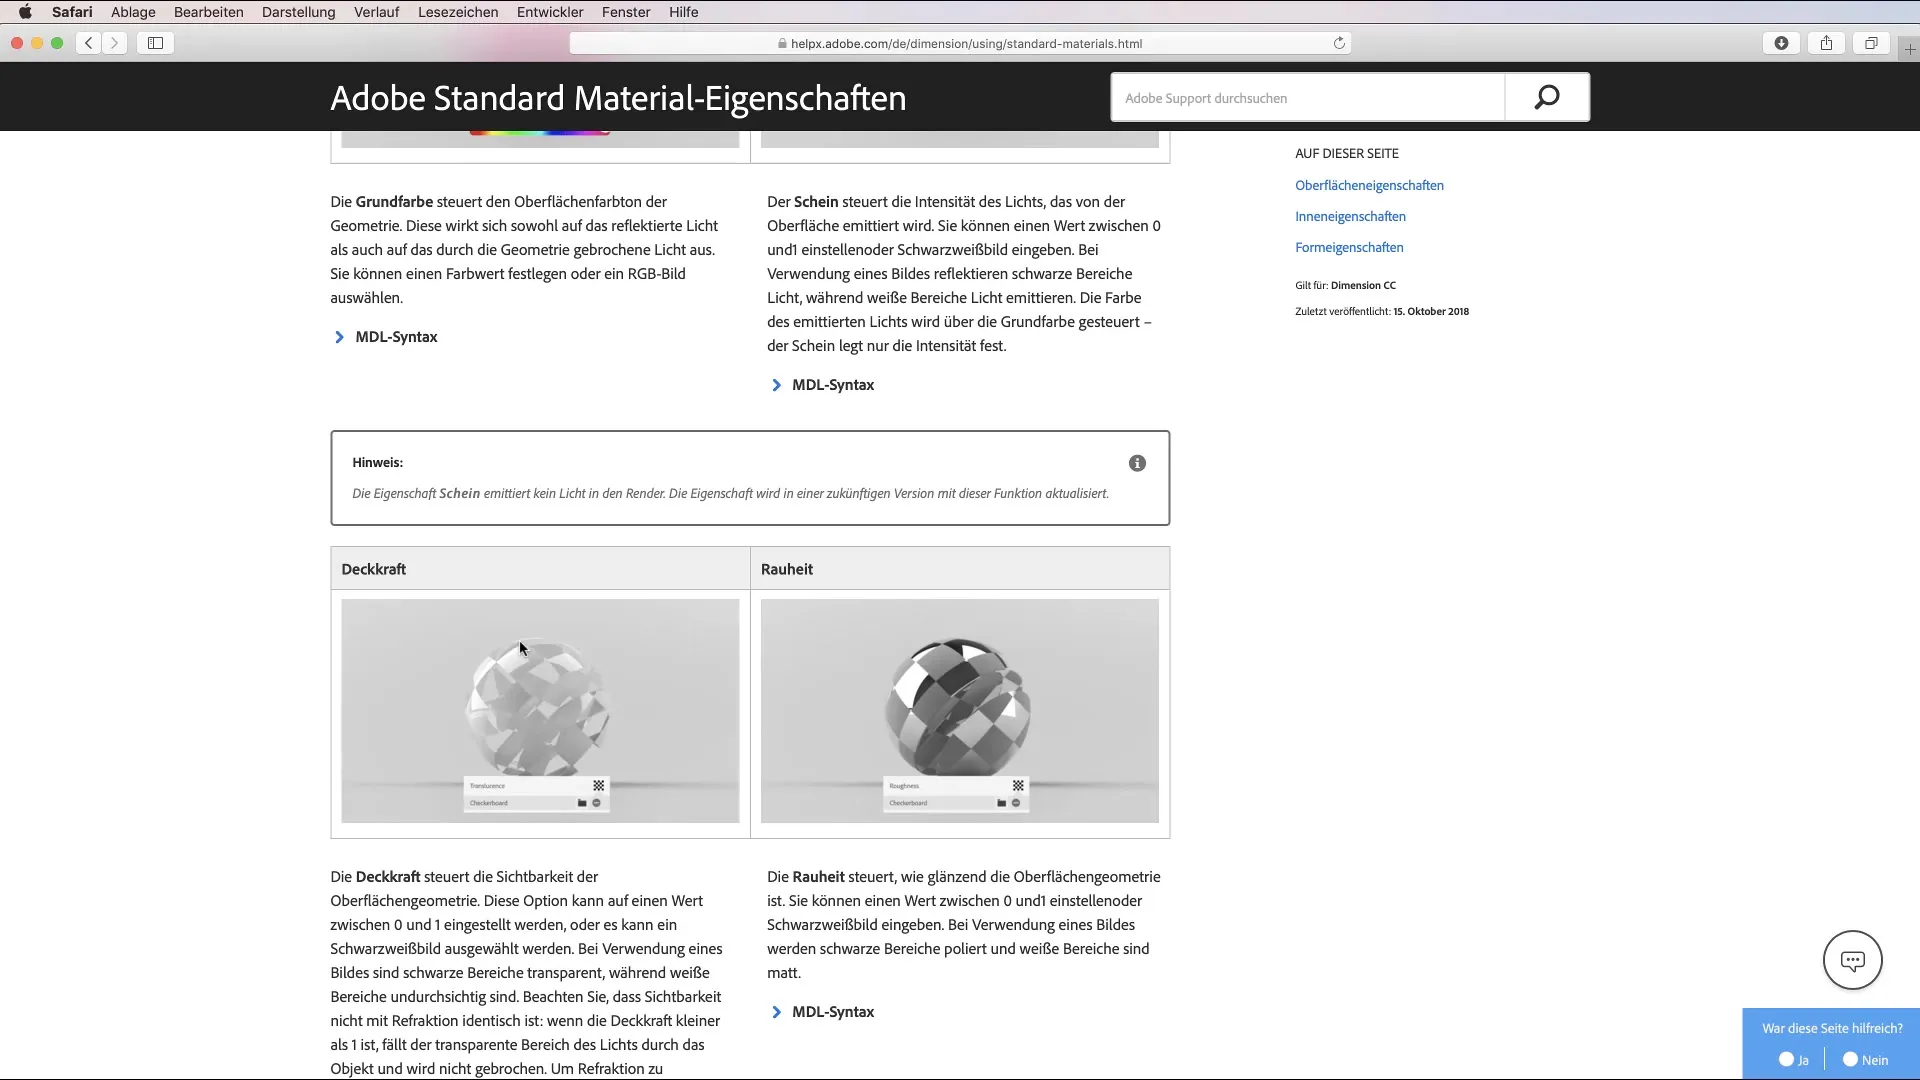
In Adobe Dimension, you can further adjust the properties of the materials. For each material, there are options such as roughness, metallicity, and more that influence the appearance and behavior of the material. Explore these settings and experiment with different values to achieve the desired results.
7. Adjust Lighting Settings in Adobe Dimension
Light plays a crucial role in the presentation of your materials. Experiment with different lighting settings to optimize the effect of your material. The right lighting can make the texture appear more realistic and significantly impact the overall image.
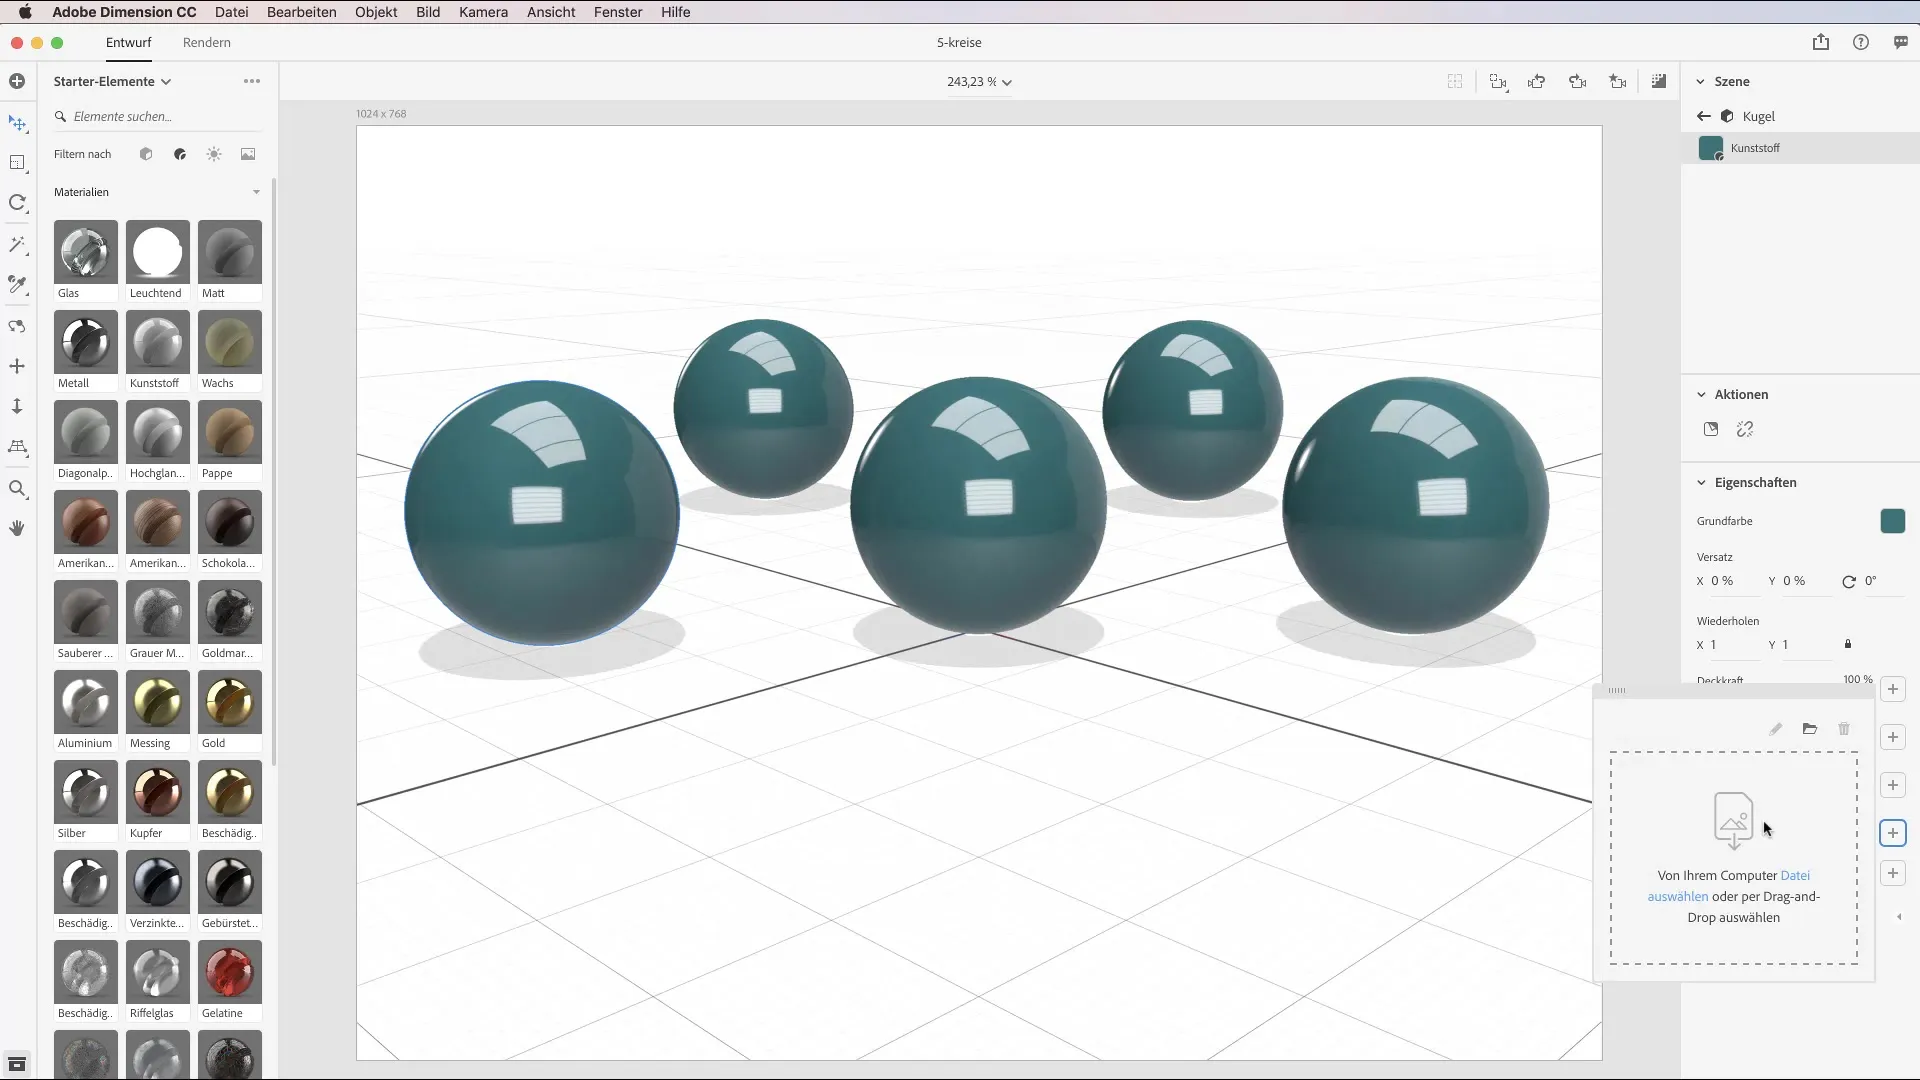
8. Completion and Use of Your 3D Models
Once you are satisfied with your materials and lighting settings, you can finalize your 3D models. Save your work and present your designs either digitally or print them out. You now have the opportunity to work with unique materials that you have photographed yourself.
Summary - Photographing and Using Materials in Adobe Dimension CC
In this tutorial, you have learned how to photograph materials with Adobe Capture and use them in Adobe Dimension. By photographing textures in your environment and adjusting the properties of materials, you have the opportunity to create impressive 3D models.
Frequently Asked Questions
How do I download the Adobe Capture app?Search for the app in the iOS App Store or Google Play Store and download it.
Can I use my own materials in Adobe Dimension?Yes, you can photograph your own materials using the Adobe Capture app and import them into Adobe Dimension.
How do I adjust the properties of my materials in Adobe Dimension?In Adobe Dimension, you can directly adjust material properties such as roughness and intensity.
Is there documentation on material properties?Yes, Adobe provides documentation on material properties, which you can find in the video description.
How important is light for my material design?Light is crucial in influencing the appearance of your material and making it look more realistic.
