Design is the be-all and end-all in visual communication. Whether you want to place logos, labels, or other graphics on 3D objects, Adobe Dimension CC provides you with the ideal tools for that. In this guide, you will learn how to place graphics on your models and how to adjust the material properties to optimally create the look of your designs.
Key Insights
- Graphics can be placed in isolation on objects.
- Different file formats such as PNG and JPEG can be used.
- Material attributes significantly affect the appearance of graphics.
Step-by-Step Guide
Start by selecting the objects on which you want to place the graphics. In this example, we are using a long box available in Adobe Dimension. You will find the box in the library – once you have dragged it into your scene, it is ready for editing.
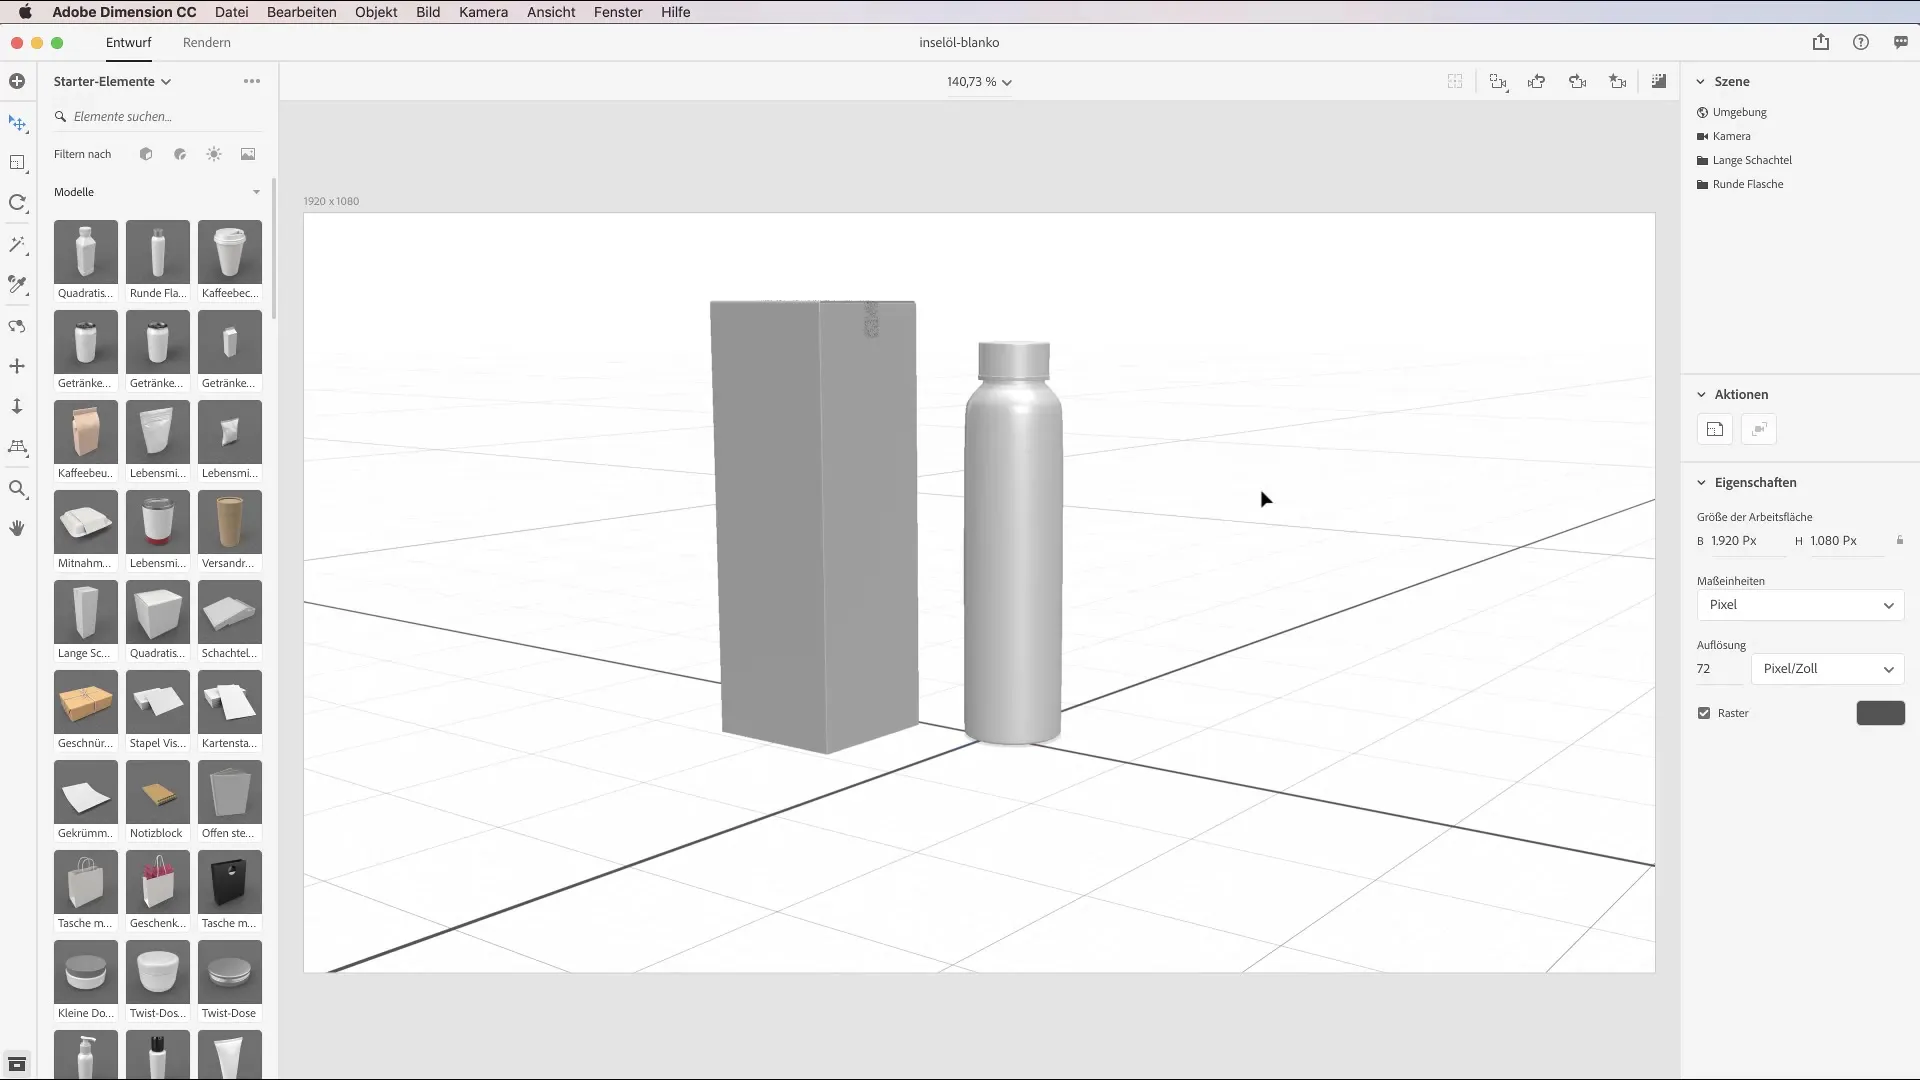
First, you probably want to refresh your objects, as they appear quite sterile without graphics. Drag an image from your desktop or use the image tab to pull in a graphic. However, note that it is often more effective to insert the image properly into the material properties rather than just dragging it in.
Double-click on the material properties of the object. Here, you can choose an image instead of the base color. Drag and drop your image into the corresponding field on the right side. You will notice that you can adjust the repeat frequency to better fit the shape of the object.
To achieve an appealing look, give the round bottle a new material. Choose a plastic material with a slight metallic effect and a nice sheen. Make sure it is bright enough to showcase the graphic well.
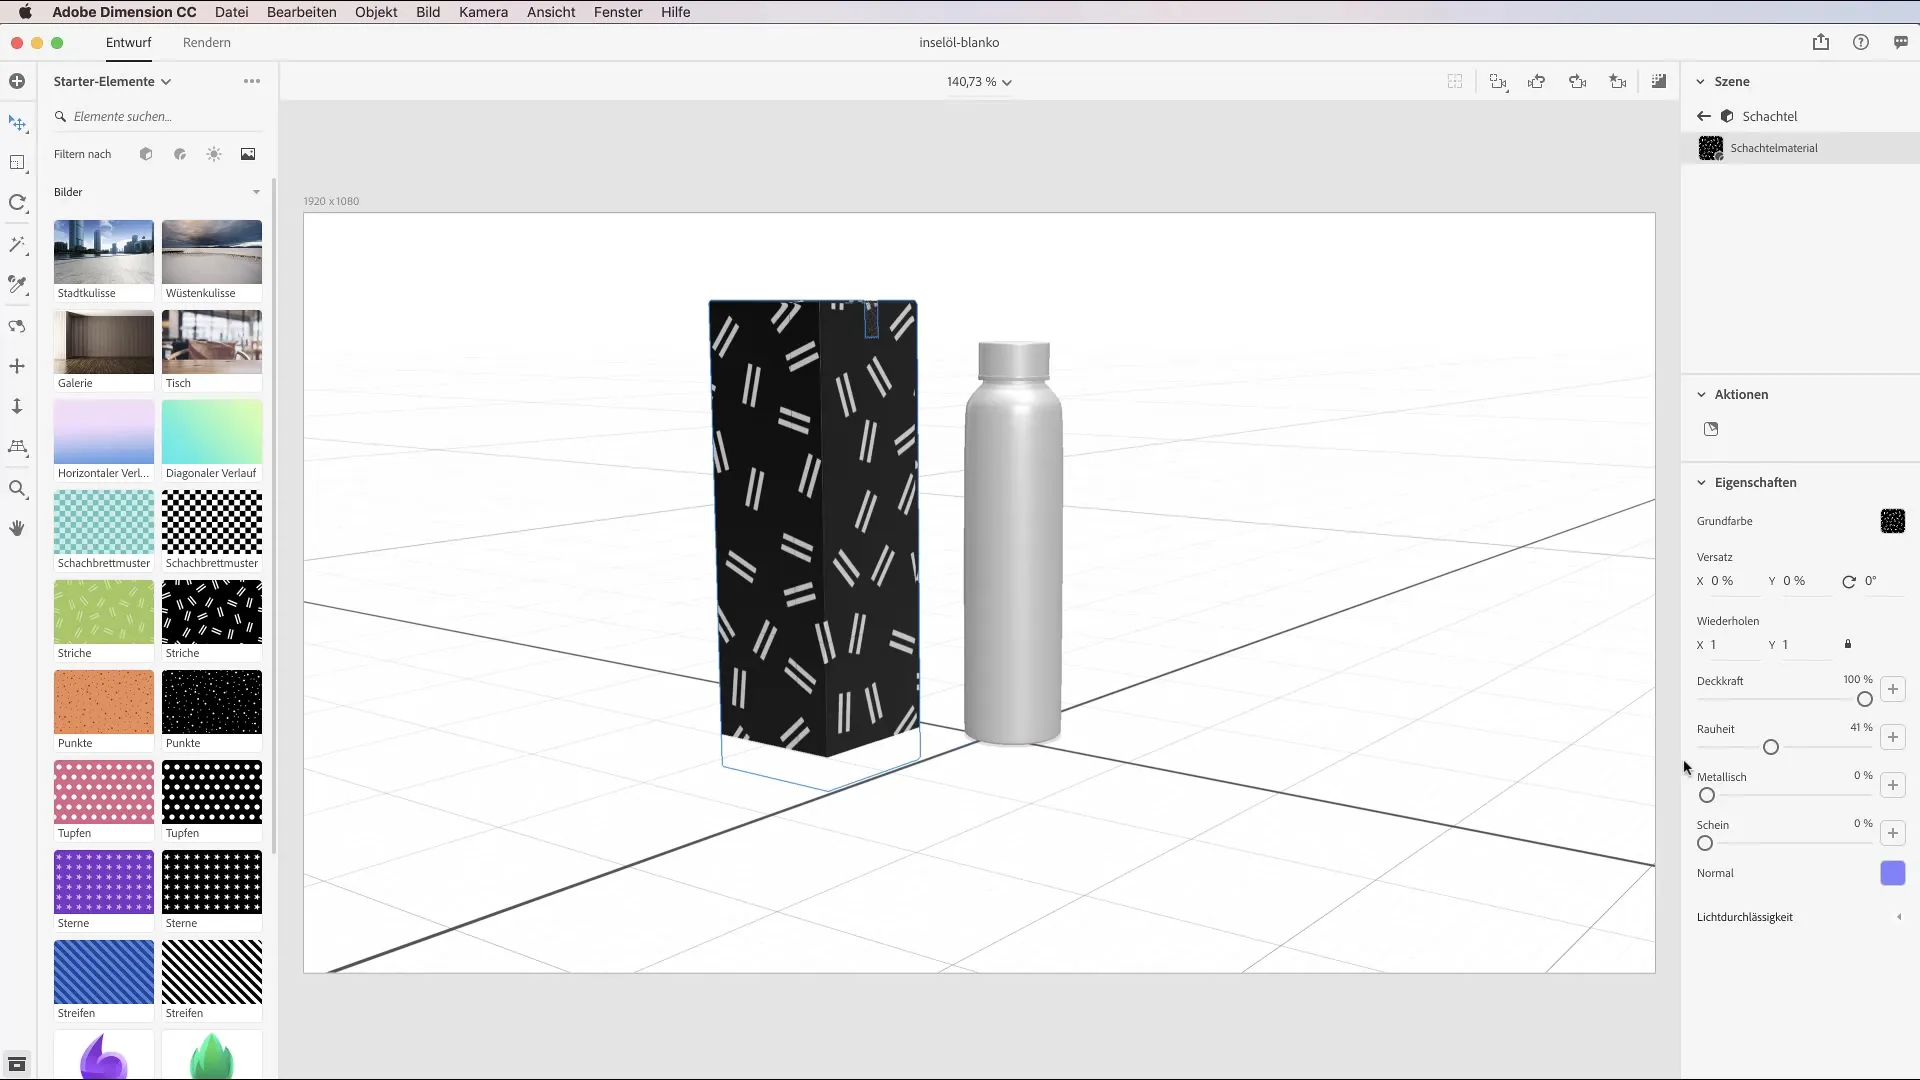
Now it's about strategically placing your graphics. You can use both PNGs and JPEGs. There are various methods to pull an image onto the model. The quickest way is through drag-and-drop. Alternatively, you can also insert elements into the scene using the context menu.
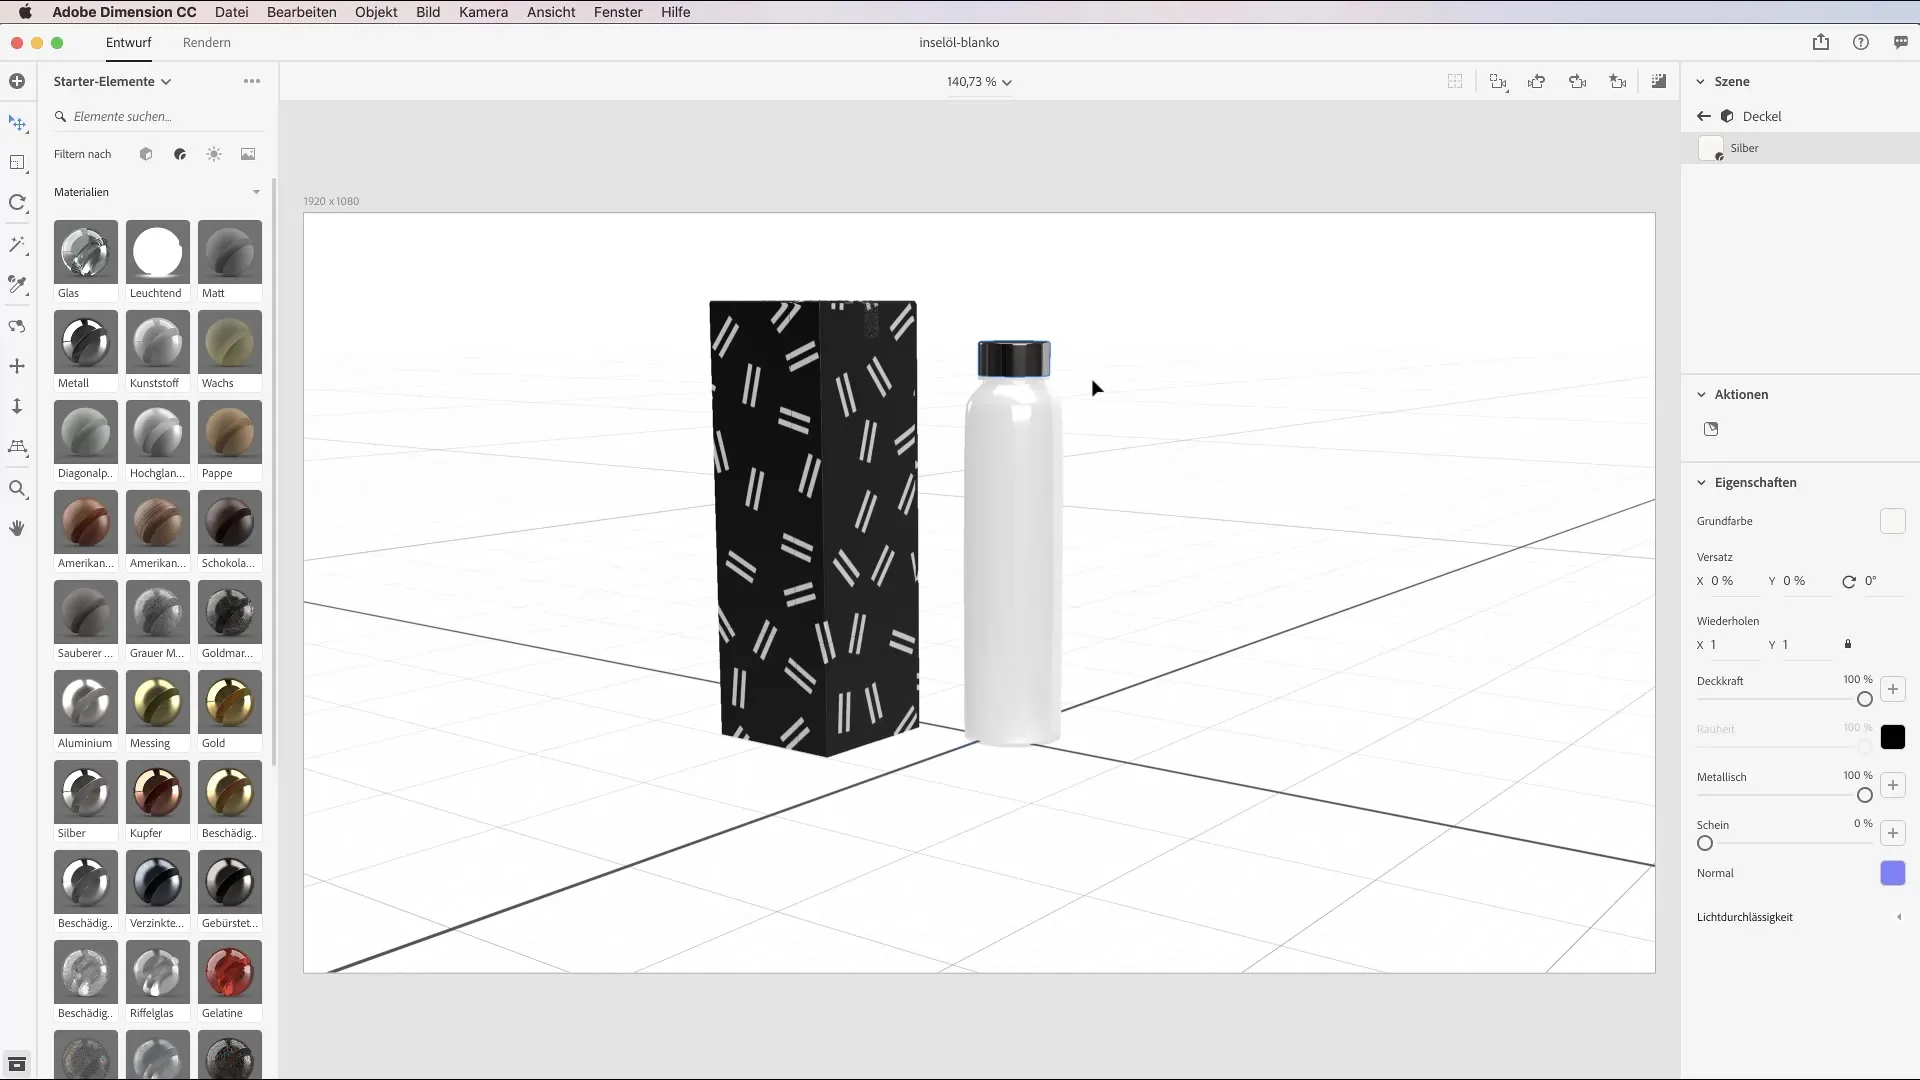
To position a graphic on the bottle, either click directly on the bottle icon or drag the graphic onto the model. You can now freely move and scale the image. Experiment with the size until it achieves the desired effect.
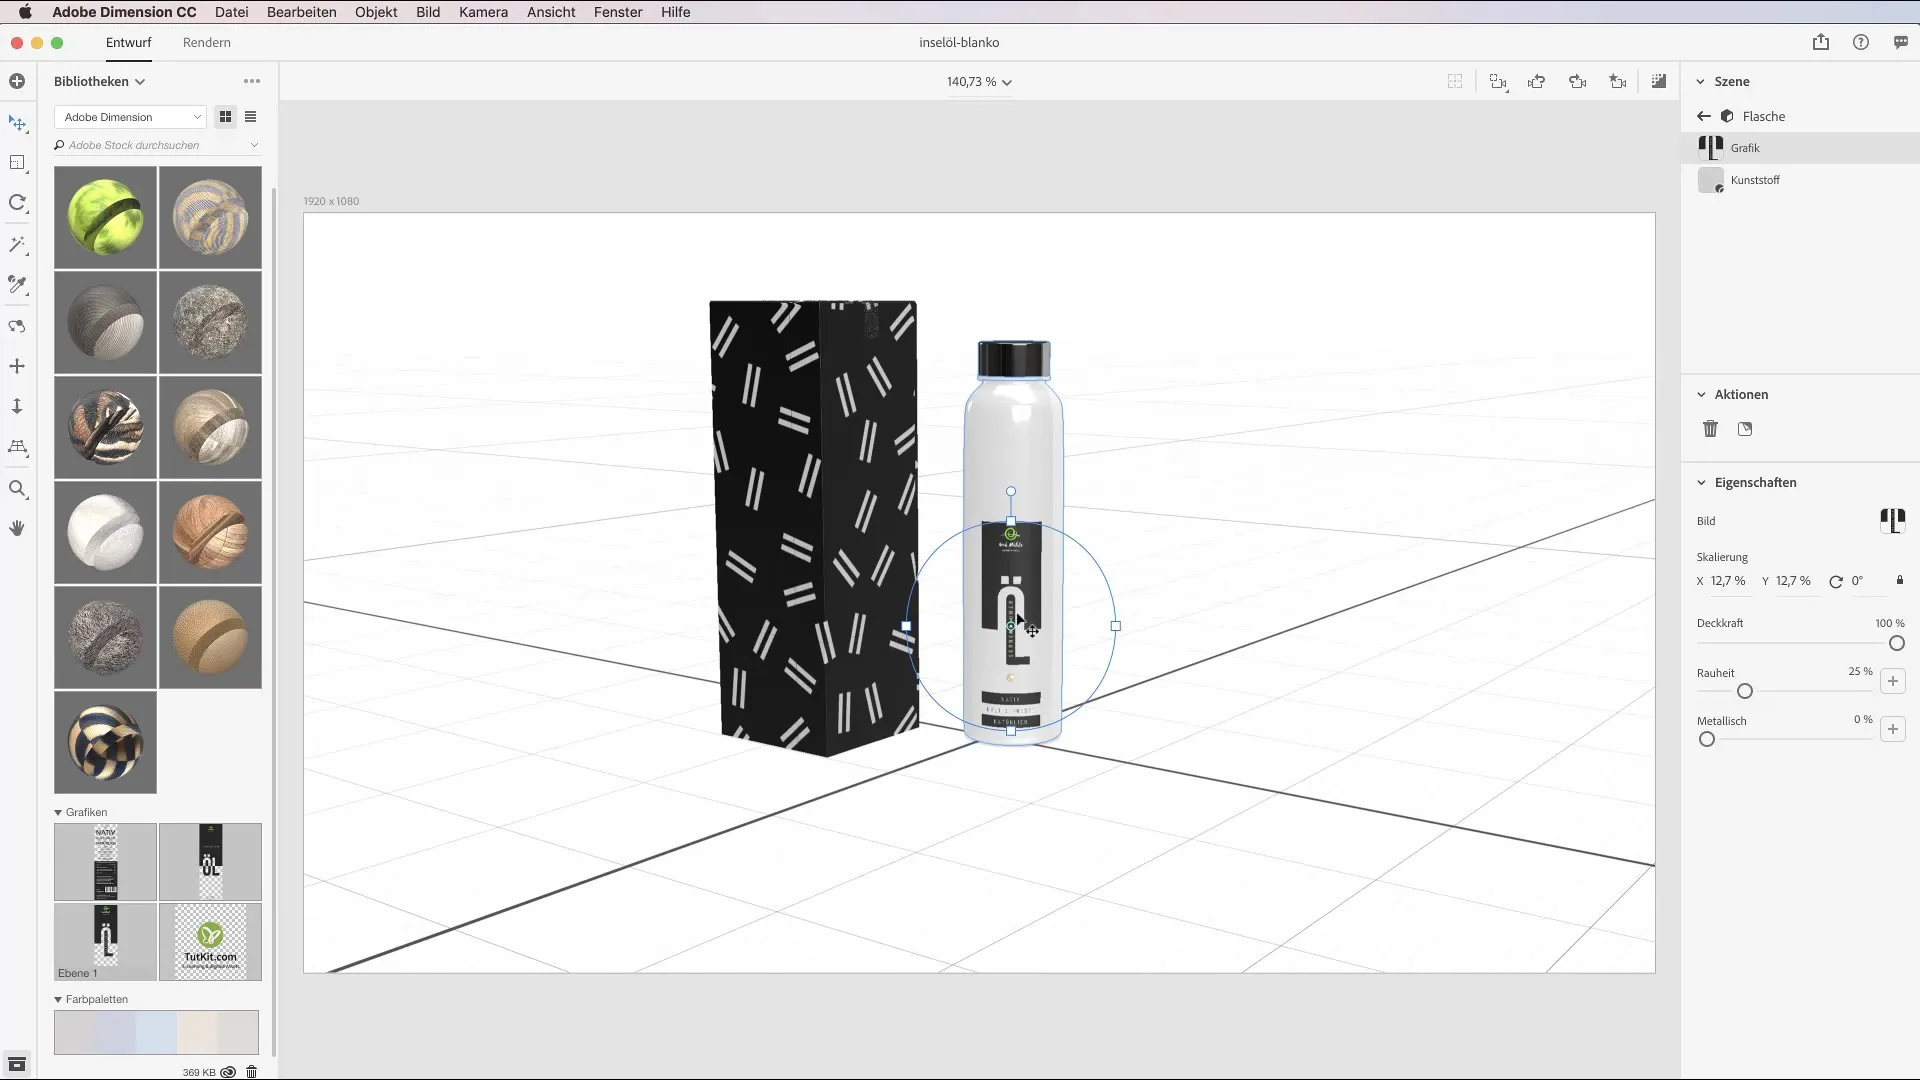
If you rotate the bottle to work on the back, you can use the orbit tool. Click on the bottle label and position it accordingly. This can be a bit fiddly, but with a little patience, you will manage to place the label correctly.
To further develop the idea, create a copy of the bottle, place it above the first, and rotate it by 90 degrees. This adds a dynamic component to your still life. Drag the bottle to the right position so that it doesn't "sink" into the ground.
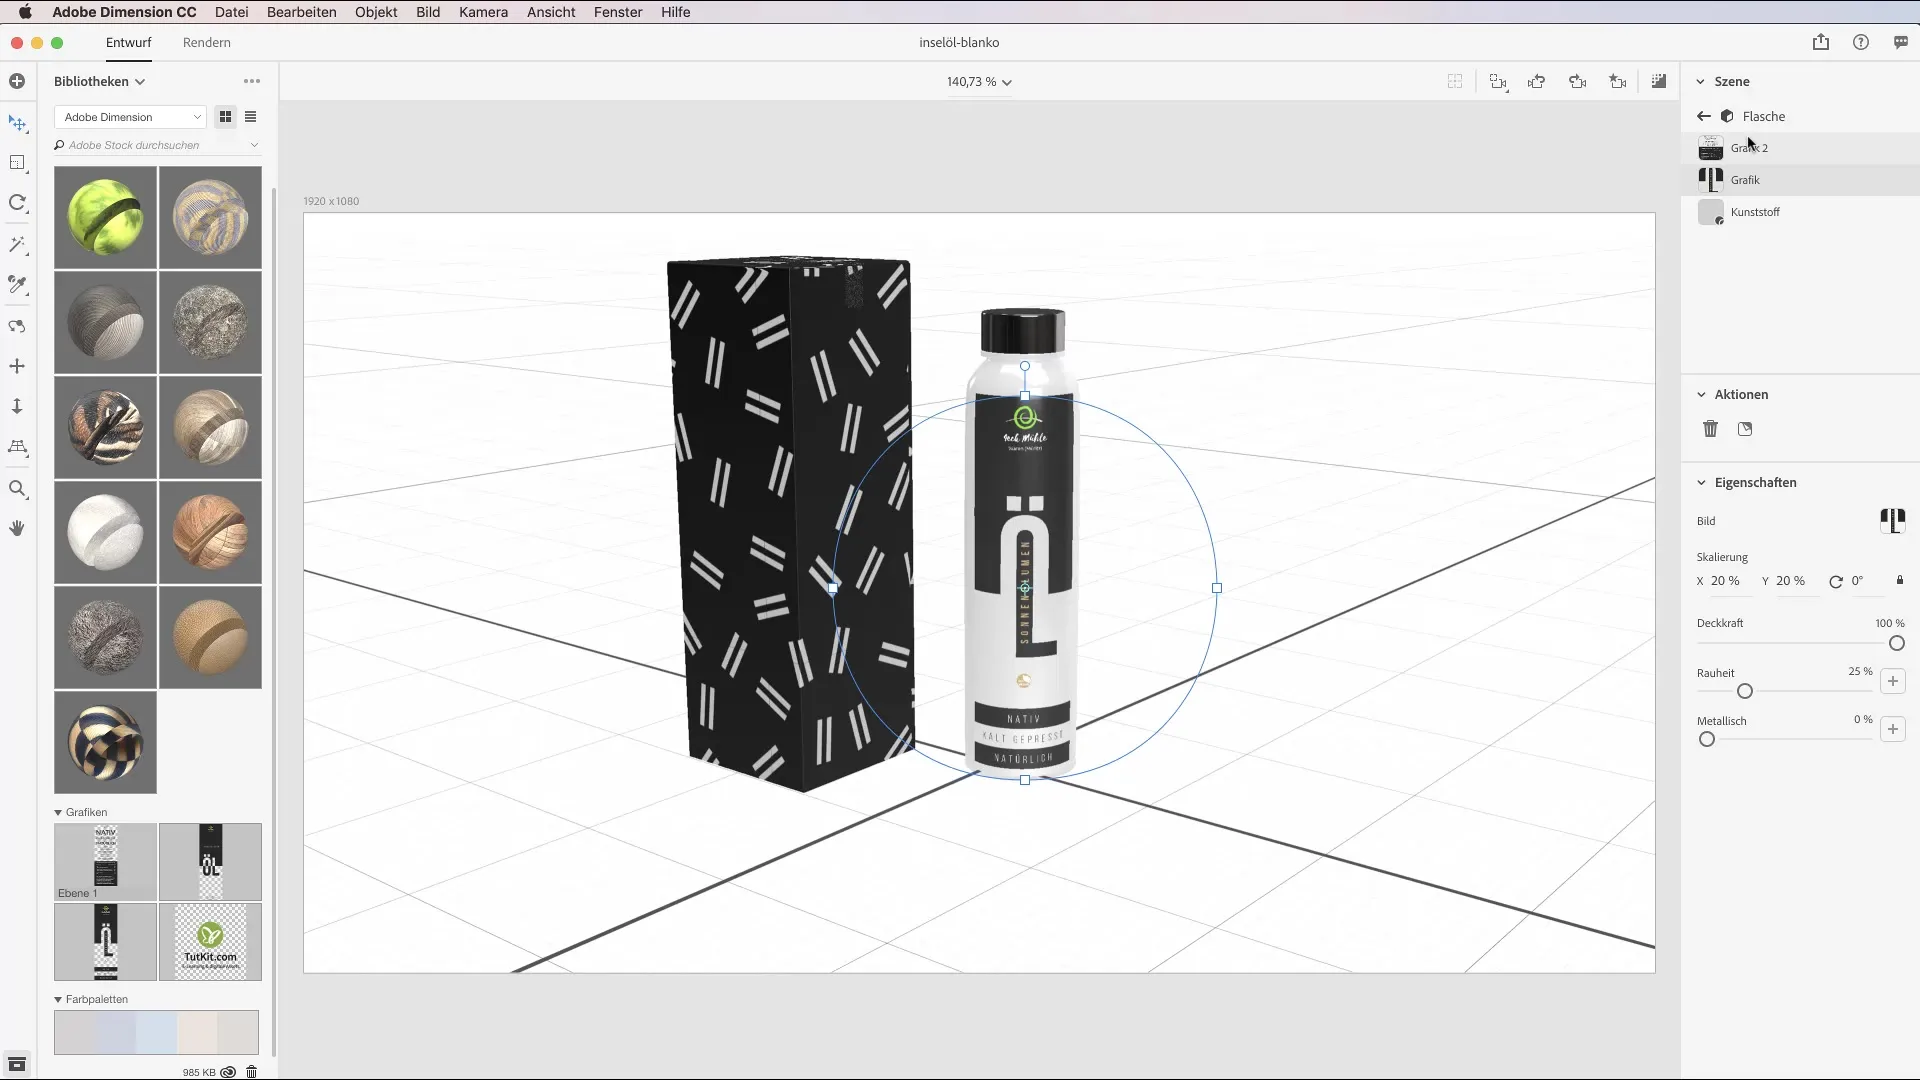
If you want to add more graphics, you can do this again through the libraries. With different file formats from Illustrator or Photoshop, you get even more design freedom.
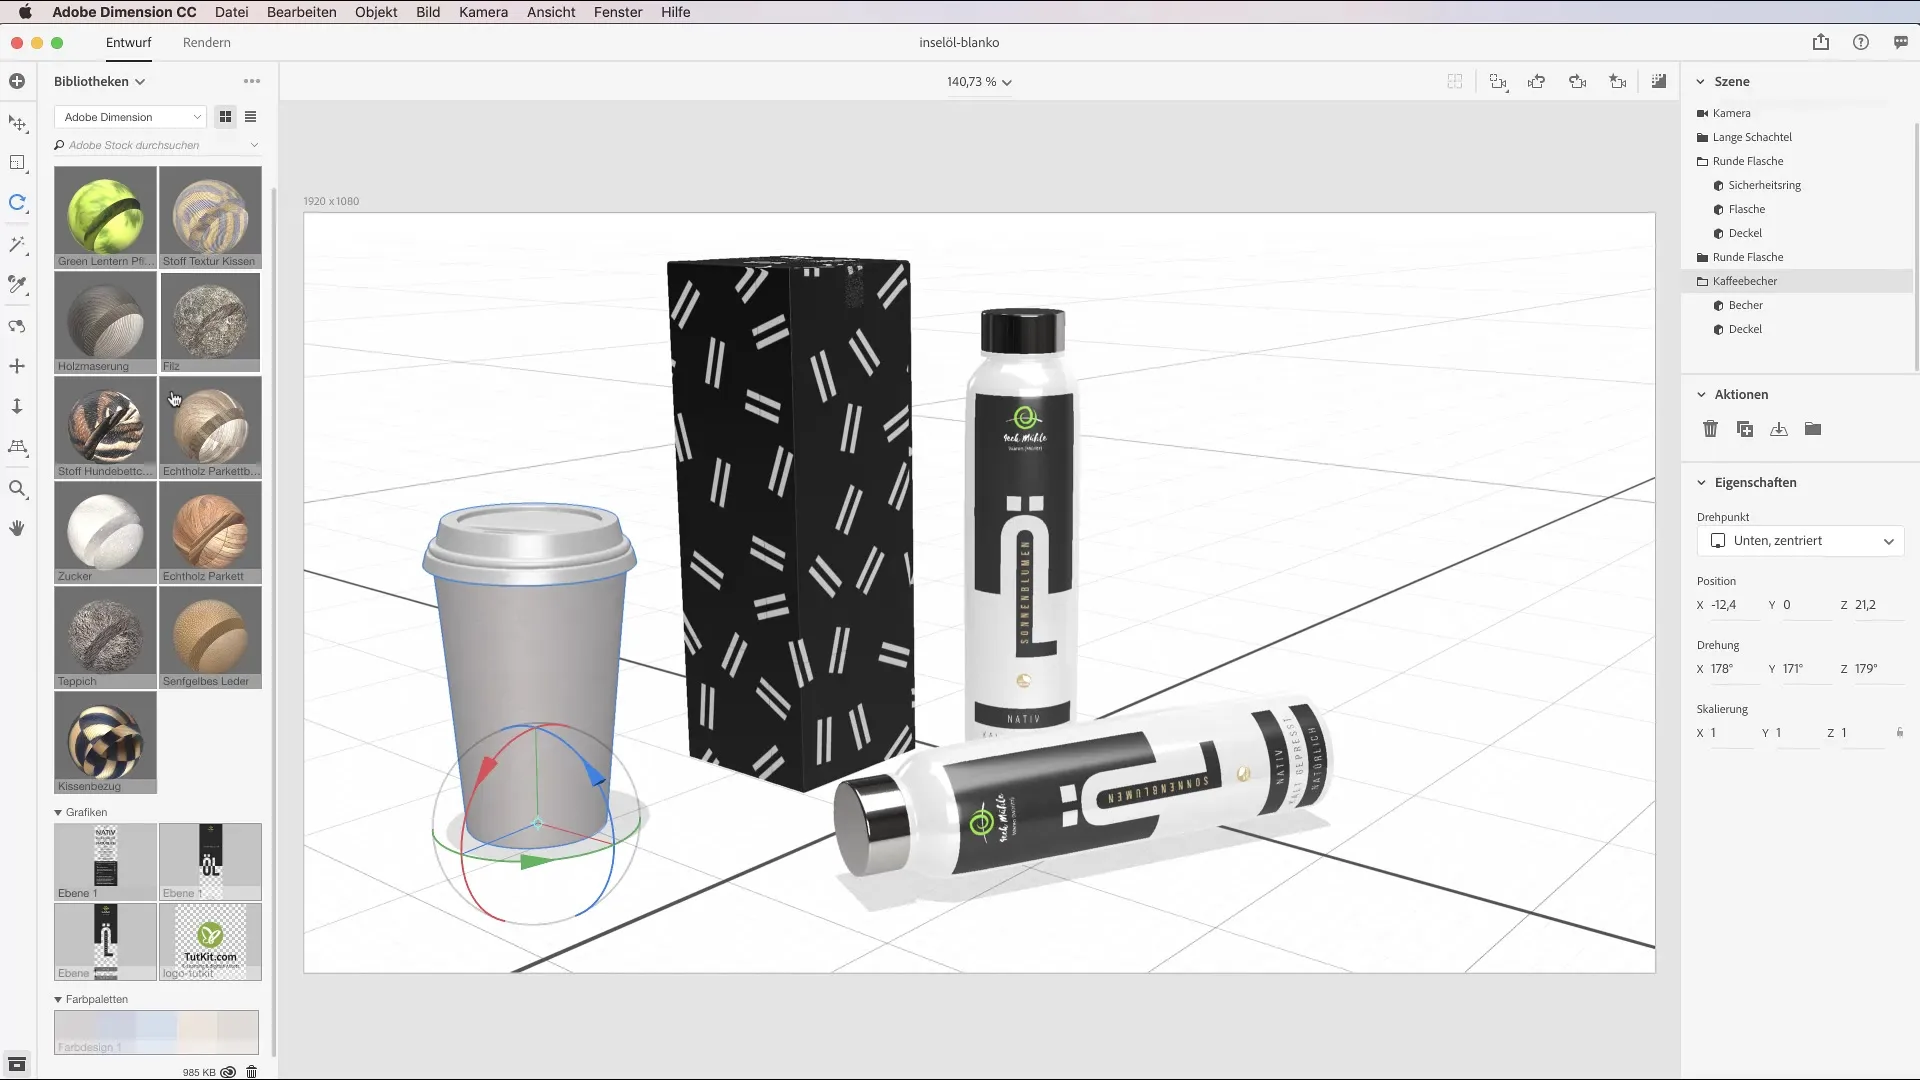
As you have seen, you can further adjust the material attributes by setting the roughness or metallic effect of your graphics through the properties panel. This allows you to add the texture of your choice to the graphic.
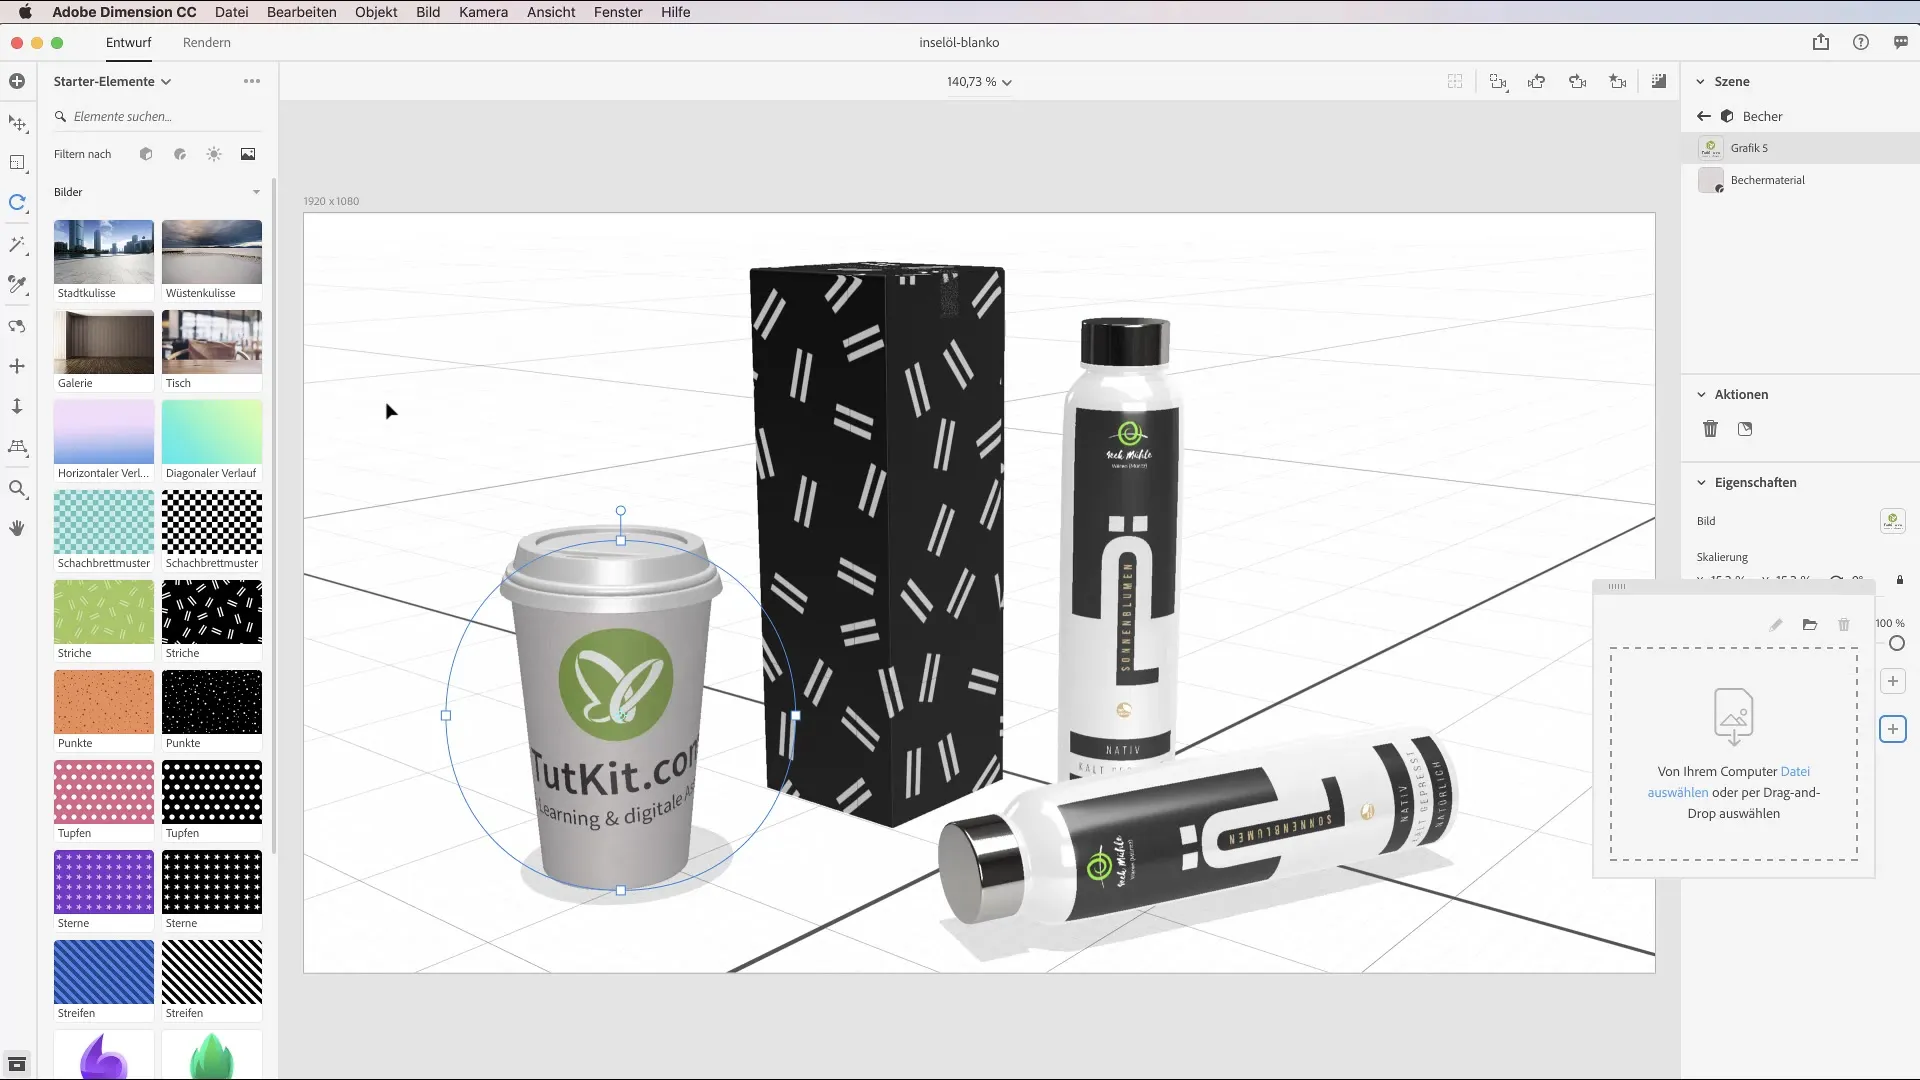
This gives you the opportunity to customize your 3D objects in a highly individual way. Make sure you can also turn your objects upside down by using the rotation tool.
Finally, you can view your final rendering. With the right graphics and adjusted material properties, your design will look professional and appealing, which will ultimately increase your customers' satisfaction.
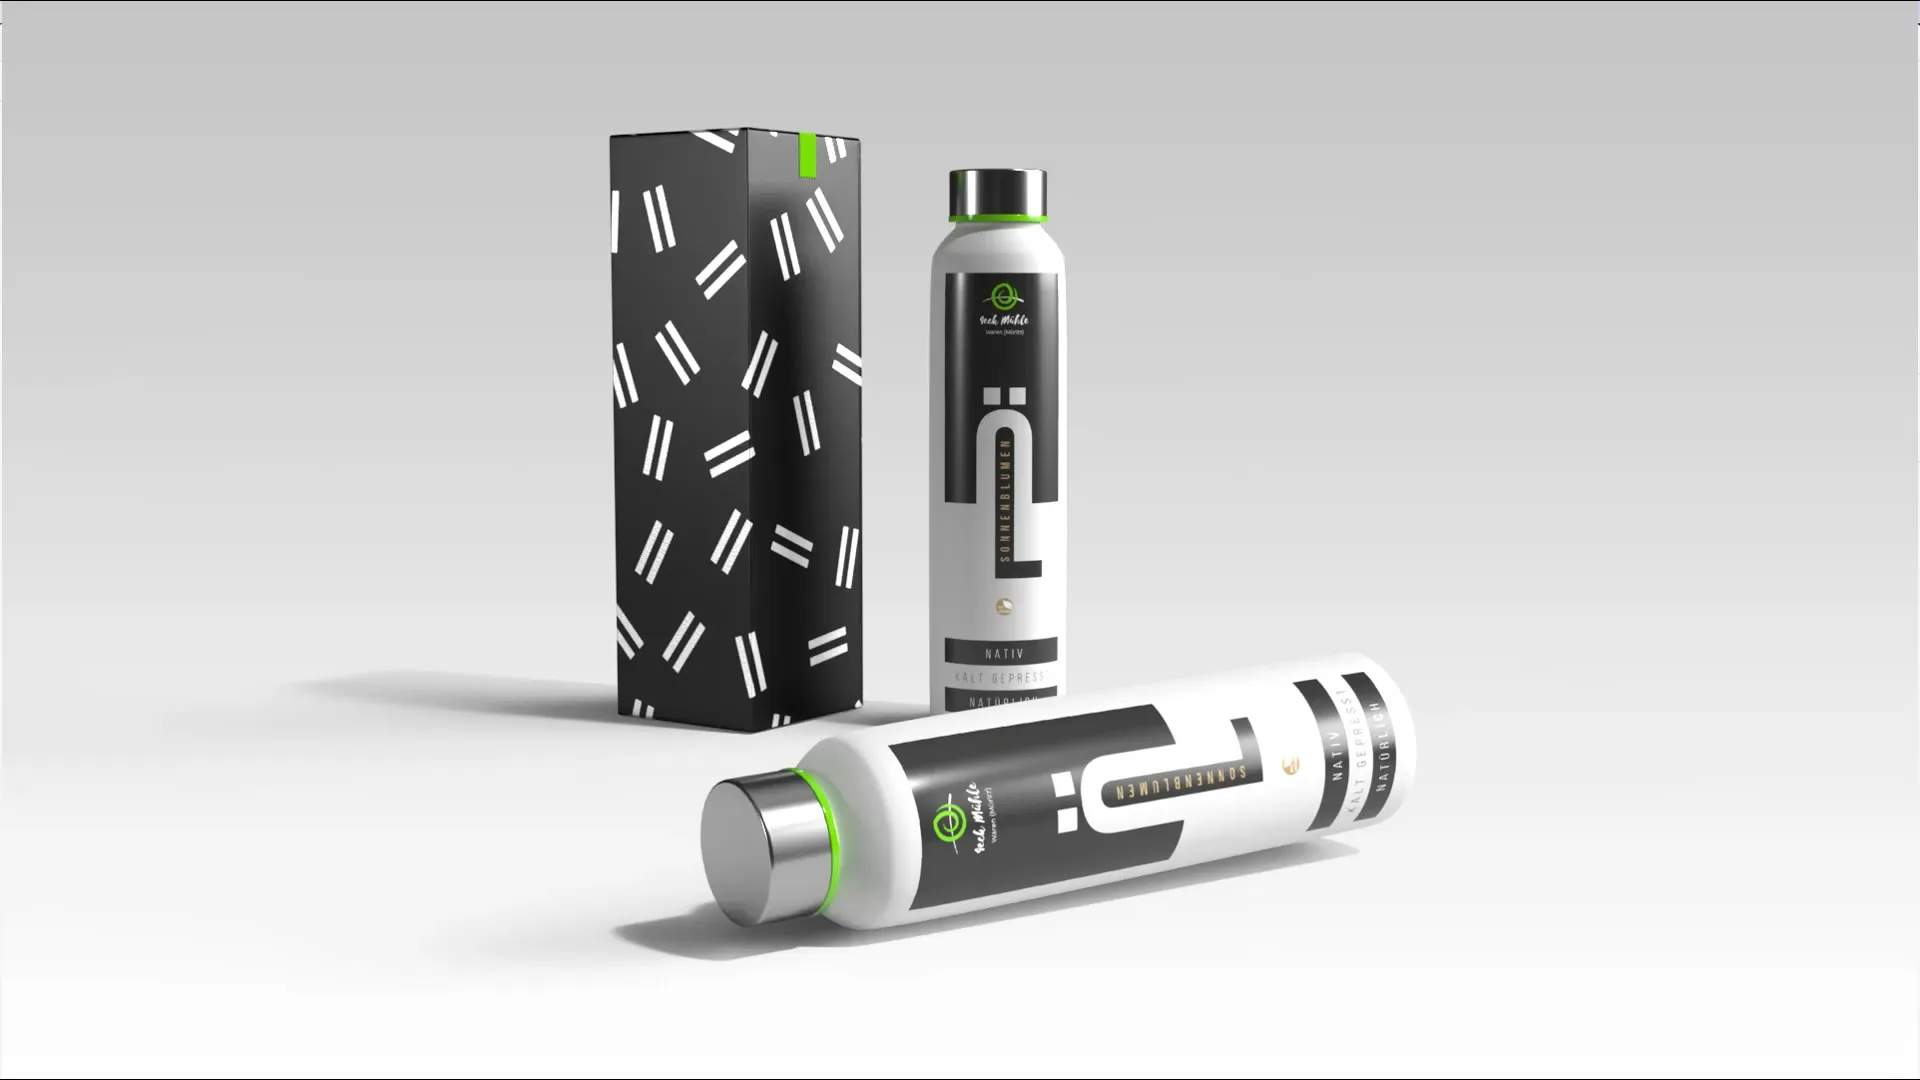
Summary – Effectively Placing Graphics and Logos on 3D Models in Adobe Dimension CC
In this guide, you have learned how to effectively place graphics on your models in Adobe Dimension CC. From selecting the object to adjusting the material properties to the final presentation – each phase offers you the chance to make creative design decisions.
Frequently Asked Questions
How can I place an image on a 3D model in Adobe Dimension?You can drag and drop an image onto the model or use the corresponding options in the context menu.
What file formats can I use?In Adobe Dimension, you can use both PNG and JPEG files.
How can I adjust the material attributes of a graphic?You can adjust the material attributes in the properties panel by setting the roughness and metallic effect.
Can I place graphics individually on different surfaces?Yes, you can place graphics in isolation on different models or surfaces.
