Editing photos can often be time-consuming, especially when you have a series with different exposures. However, with few clicks, you can adjust the exposures of your images to match harmoniously. In this tutorial, I will show you an efficient way to adjust the exposure of photos automatically using Adobe Lightroom. This is particularly useful when you're photographing events like weddings or landscapes, where lighting conditions can vary.
Key Insights
- You can automatically adjust the exposure of multiple photos in Lightroom.
- Only the image with the desired exposure needs to be active.
- This method works efficiently with many images, saving you time.
Step-by-Step Guide
To adjust the exposures of your photos in Lightroom, follow the steps below.
Step 1: Select Photos
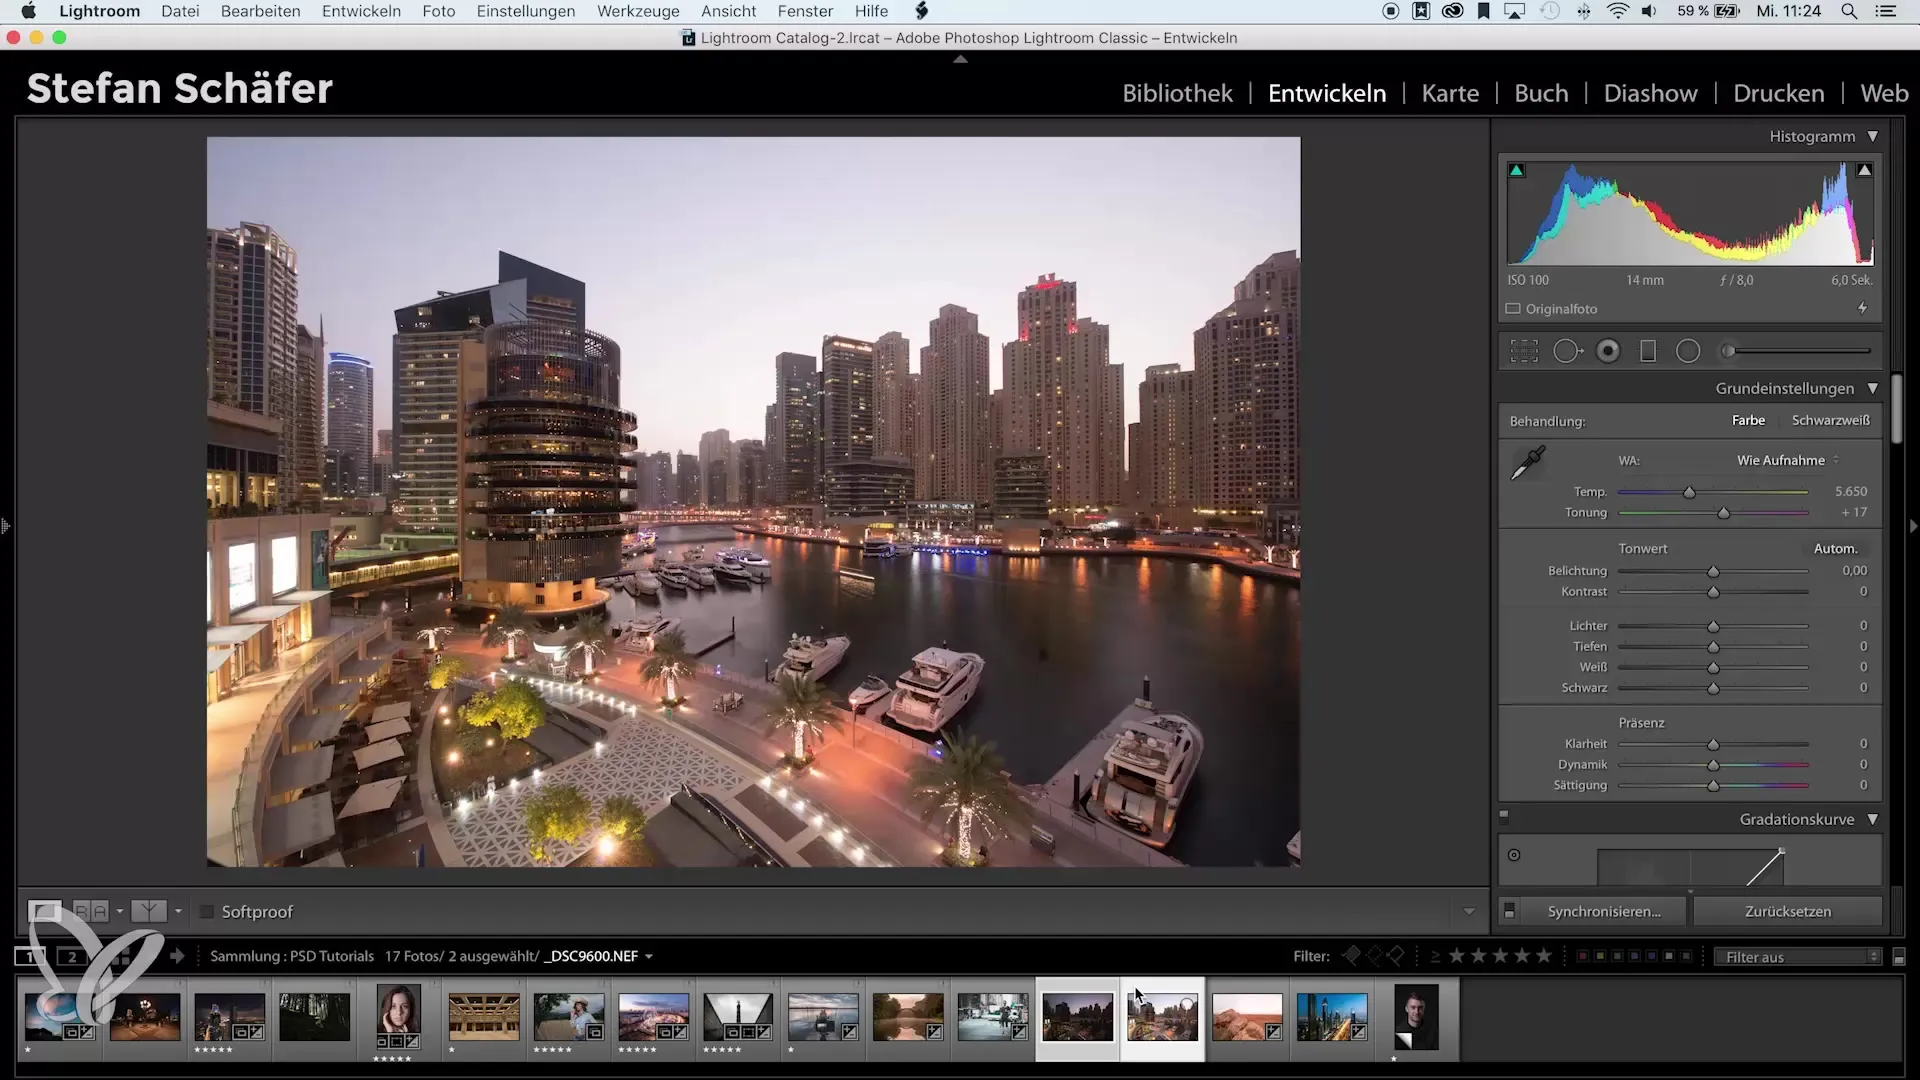
Open Lightroom and load the photos you want to adjust. Then select the images you want to edit. Hold down the Shift key to select multiple photos. Click on the second image while holding down the Shift key to select both images.
Step 2: Configure Active Image
It is important that the image whose exposure you want to adjust is set as the active image. This image should have the best exposure you want to use for your photo series. Click on the image that has the preferred exposure so that all other images are adjusted based on this setting.
Step 3: Adjust Exposures
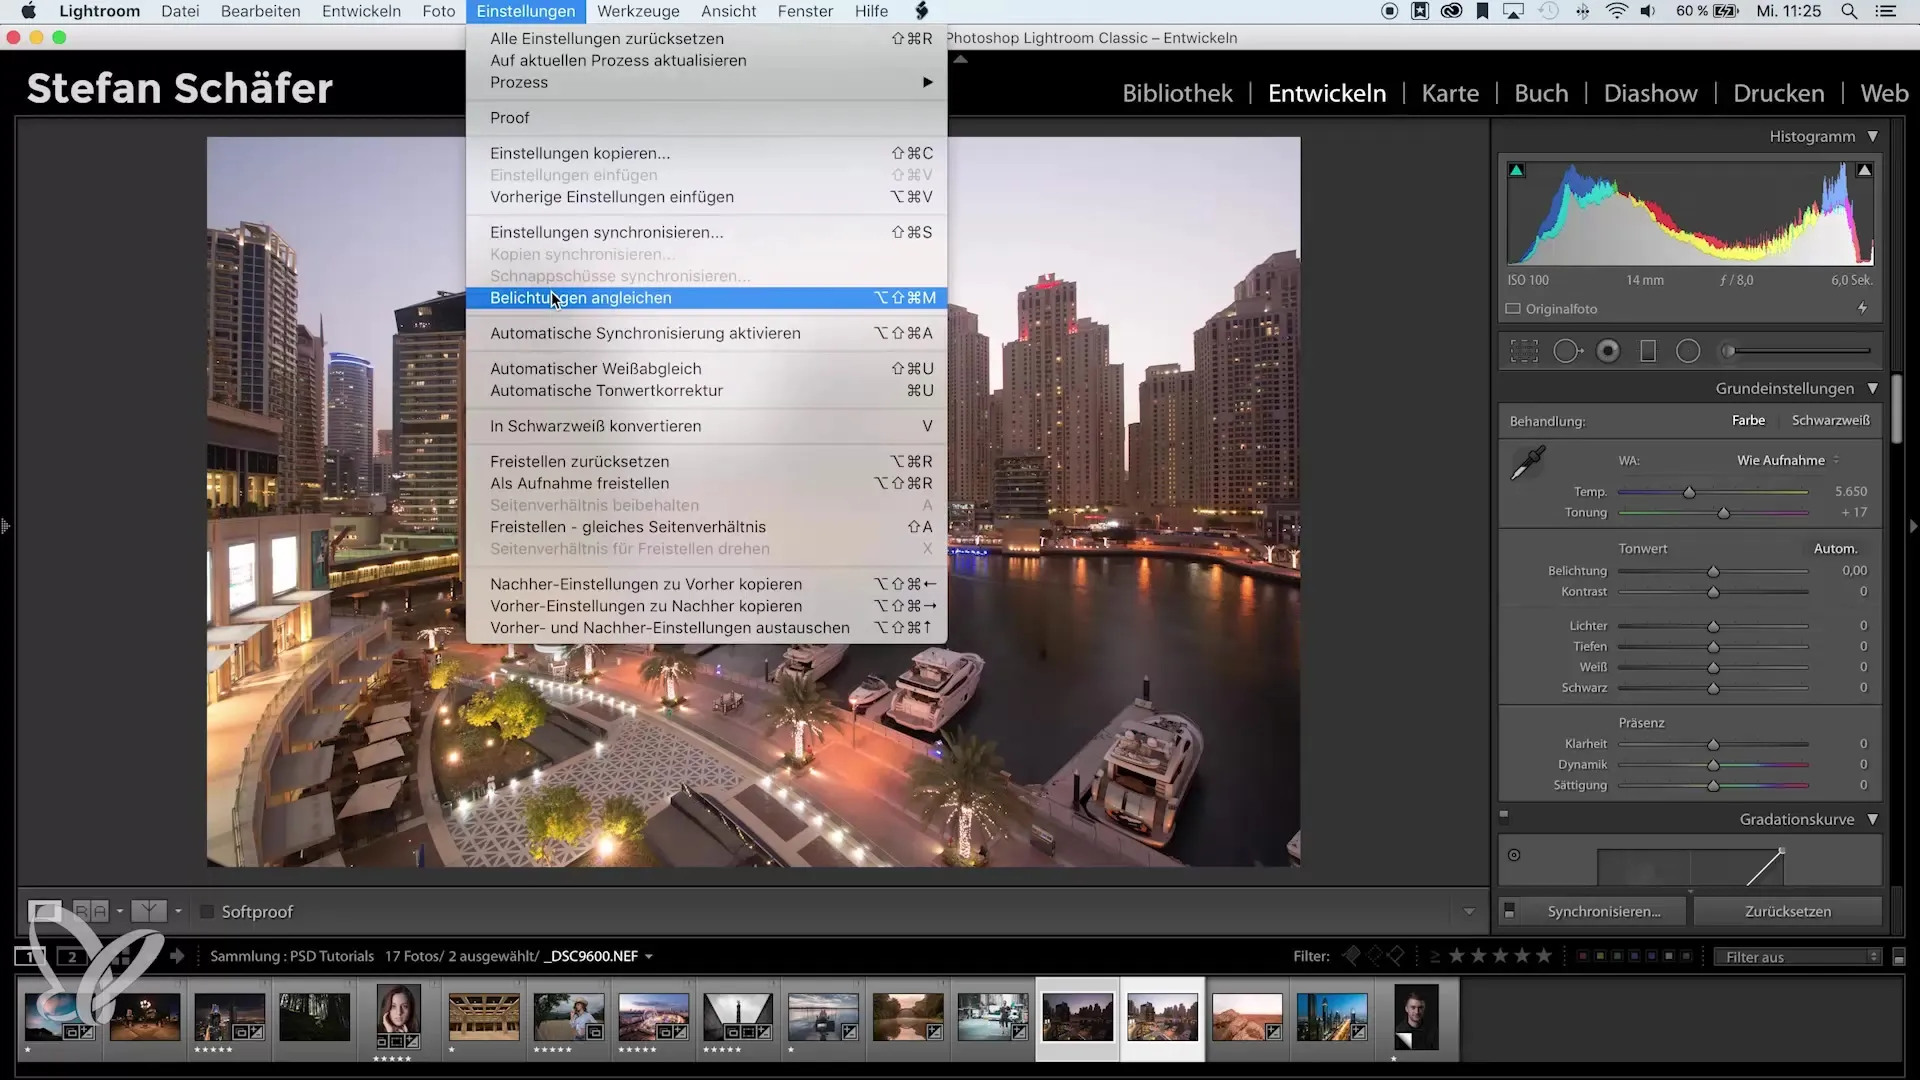
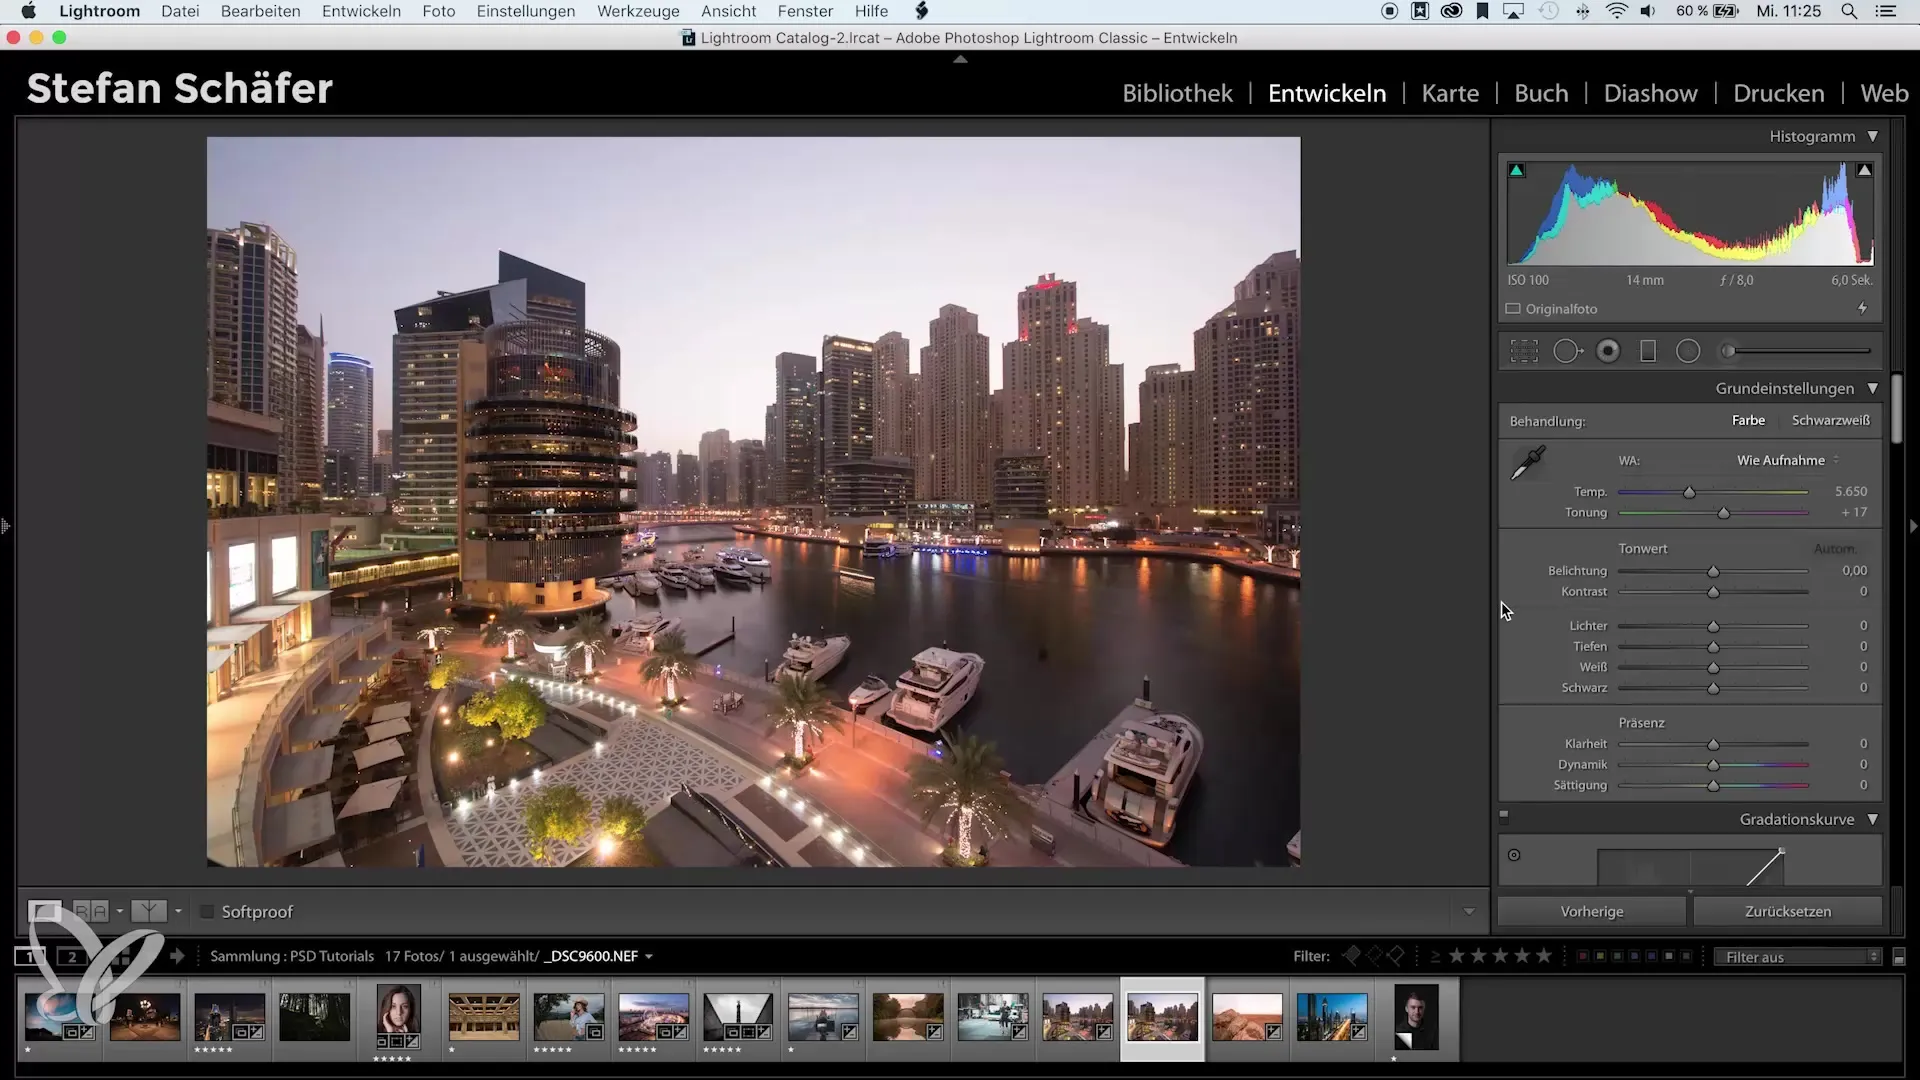
Now go to the top menu bar and click on “Settings”. There you will find the option “Adjust Exposures”. A click on it activates the process. Lightroom will now analyze the exposure of the selected images and automatically adjust them to the exposure of the active image.
Step 4: Review Adjustments
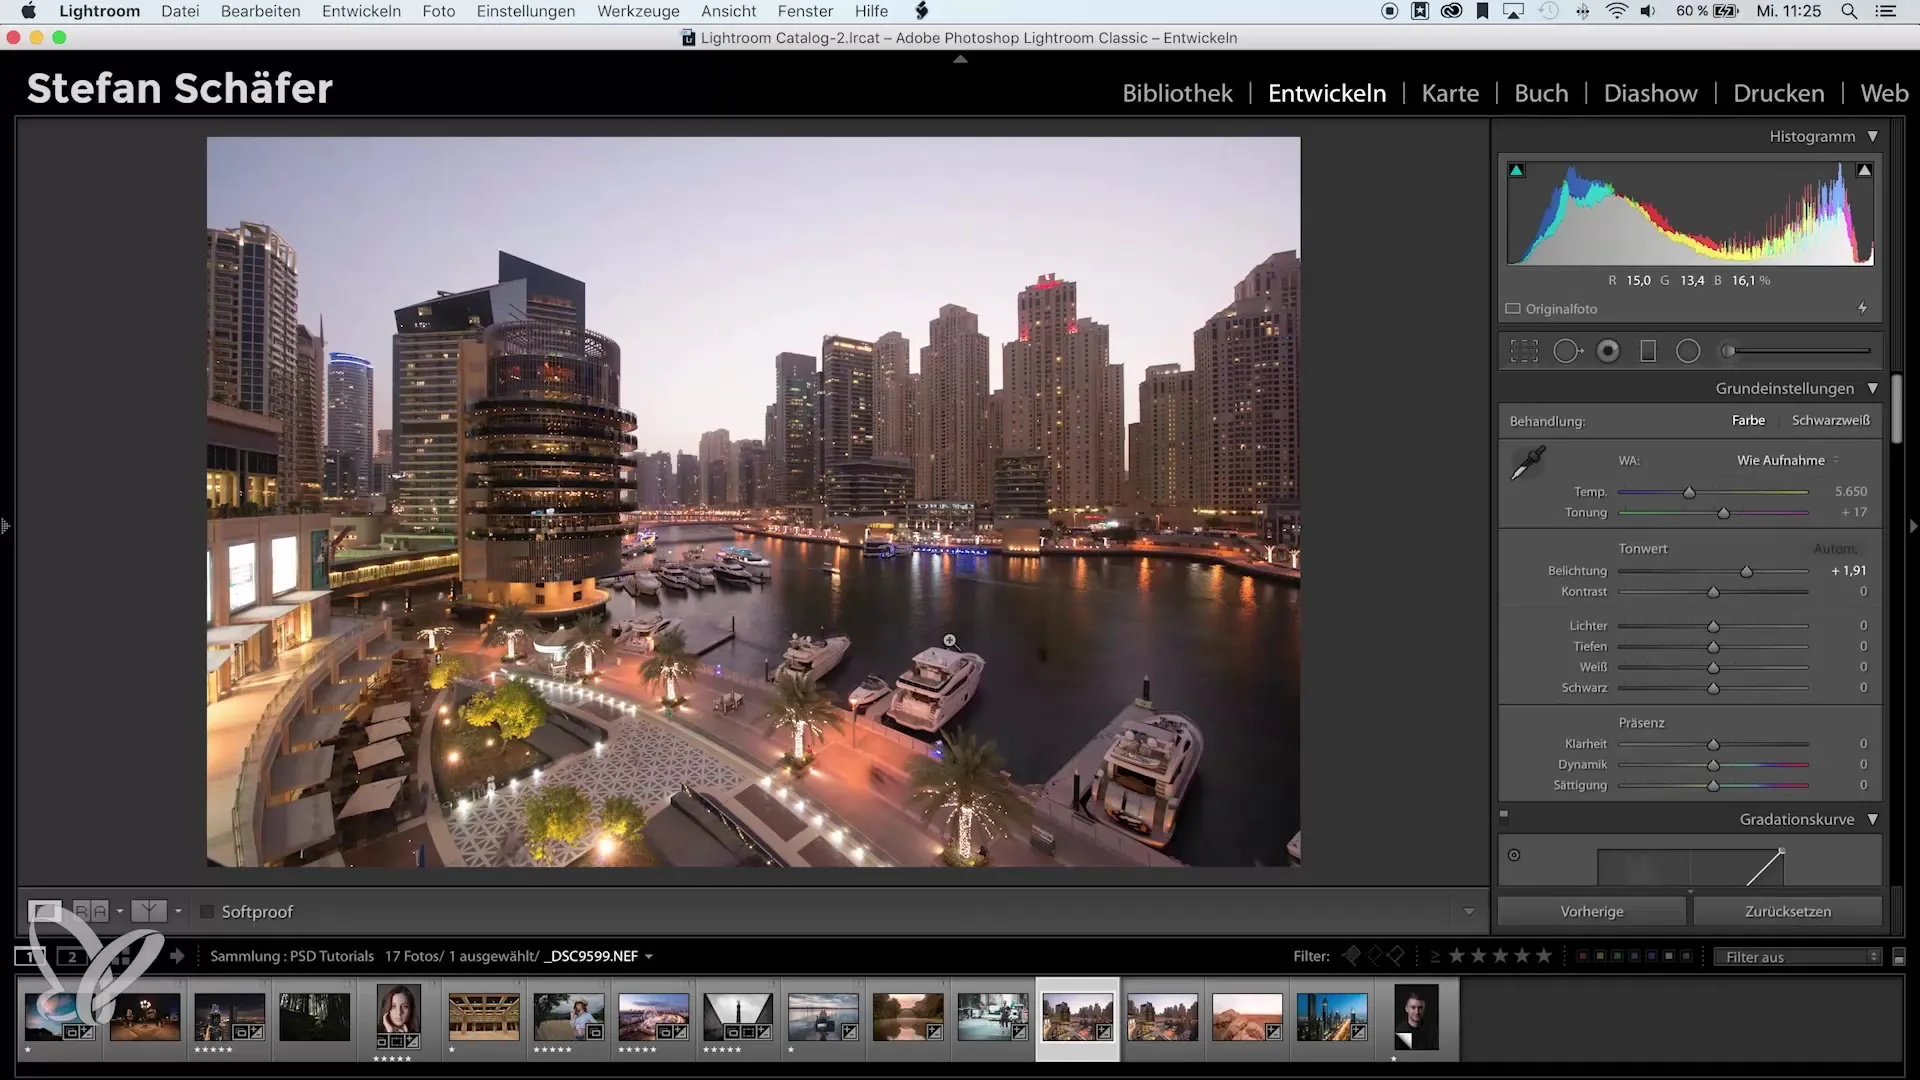
After Lightroom has adjusted the exposures, you will notice that both images now have the same brightness. To verify the exact exposure, check the value under “Exposure”. Lightroom has automatically adjusted the values, which allows for more precise work than manual adjustments.
Step 5: Further Process the Images
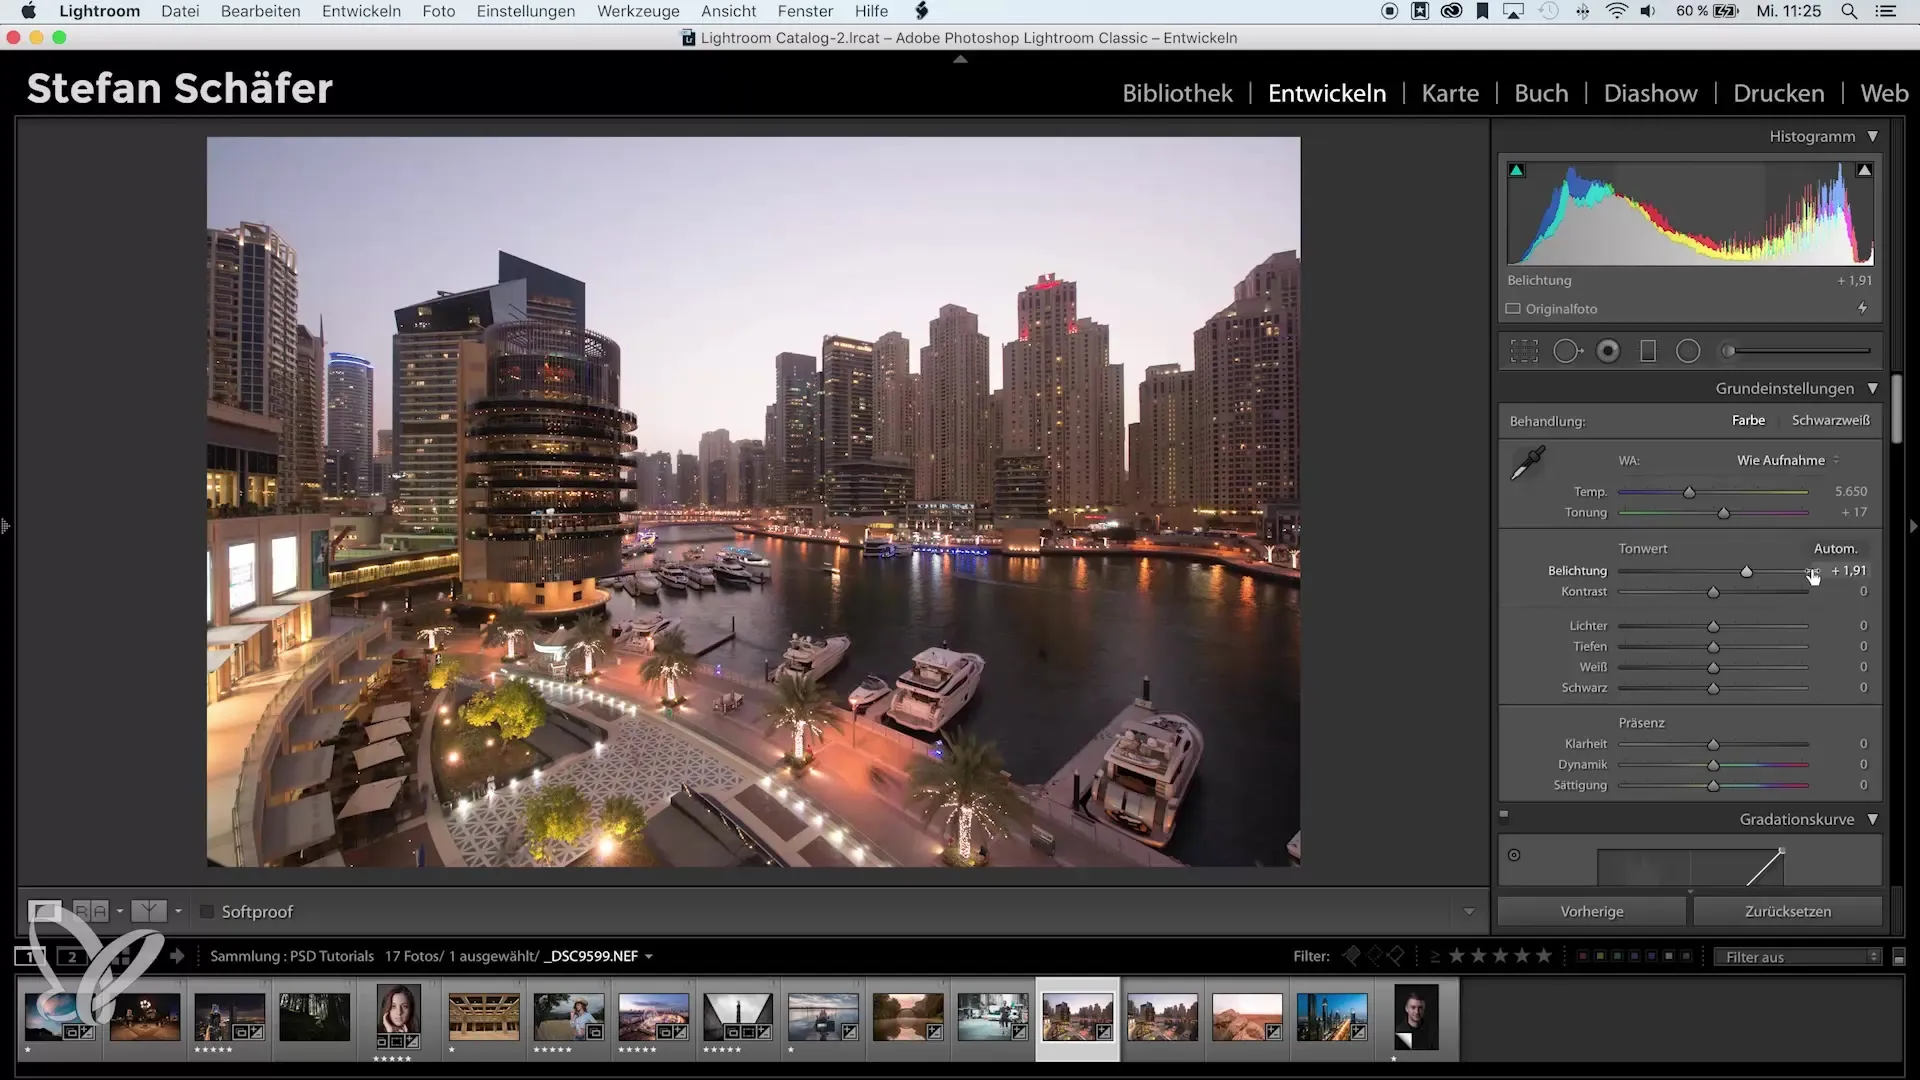
Now take a closer look at the photos, especially areas like the sky where differences often stand out. You should find that the adjustments have been made efficiently and that the images now look harmonious. This technique can also be applied to many photos in a series, providing even greater time savings.
Step 6: Apply to Larger Series
If you are editing an event or a series with many photos, you can use this technique to save time by unifying the exposure. This not only gives you a consistent look but also makes it easier to continue editing in Photoshop.
Summary – Effectively Aligning Photos in Lightroom
With these steps, you were able to quickly and easily adjust the exposure of your photos in Lightroom. The automatic adjustment saves you time and ensures that your images look consistent and professional. Use this trick to optimize your workflows when editing photos!
Frequently Asked Questions
How do I select multiple photos in Lightroom?Hold down the Shift key and click on the individual images.
What do I do if the exposure doesn’t match perfectly?Check the active image and manually adjust if needed.
Can I use the technique with many images at once?Yes, you can adjust the exposure of many photos in one step.
Does this method also apply to RAW images?Yes, the exposure adjustment works with RAW files in Lightroom as well.
I have more than two images, can I still adjust them?Yes, the method can be applied to any number of images.


