The histogram is a often underestimated tool in Lightroom that can help you adjust the exposure of your photos precisely. In this guide, you will learn how to use a simple but extremely effective method to optimize the highlights, shadows, and contrasts of your images in seconds. With the right understanding of the histogram, you will be able to significantly improve your images and greatly speed up your workflow.
Key insights:
- The histogram displays the distribution of highlights and shadows in your image.
- You can use the histogram directly to make exposure adjustments.
- This visual approach helps you work more precisely and save time.
Step-by-step guide
1. Discover the histogram
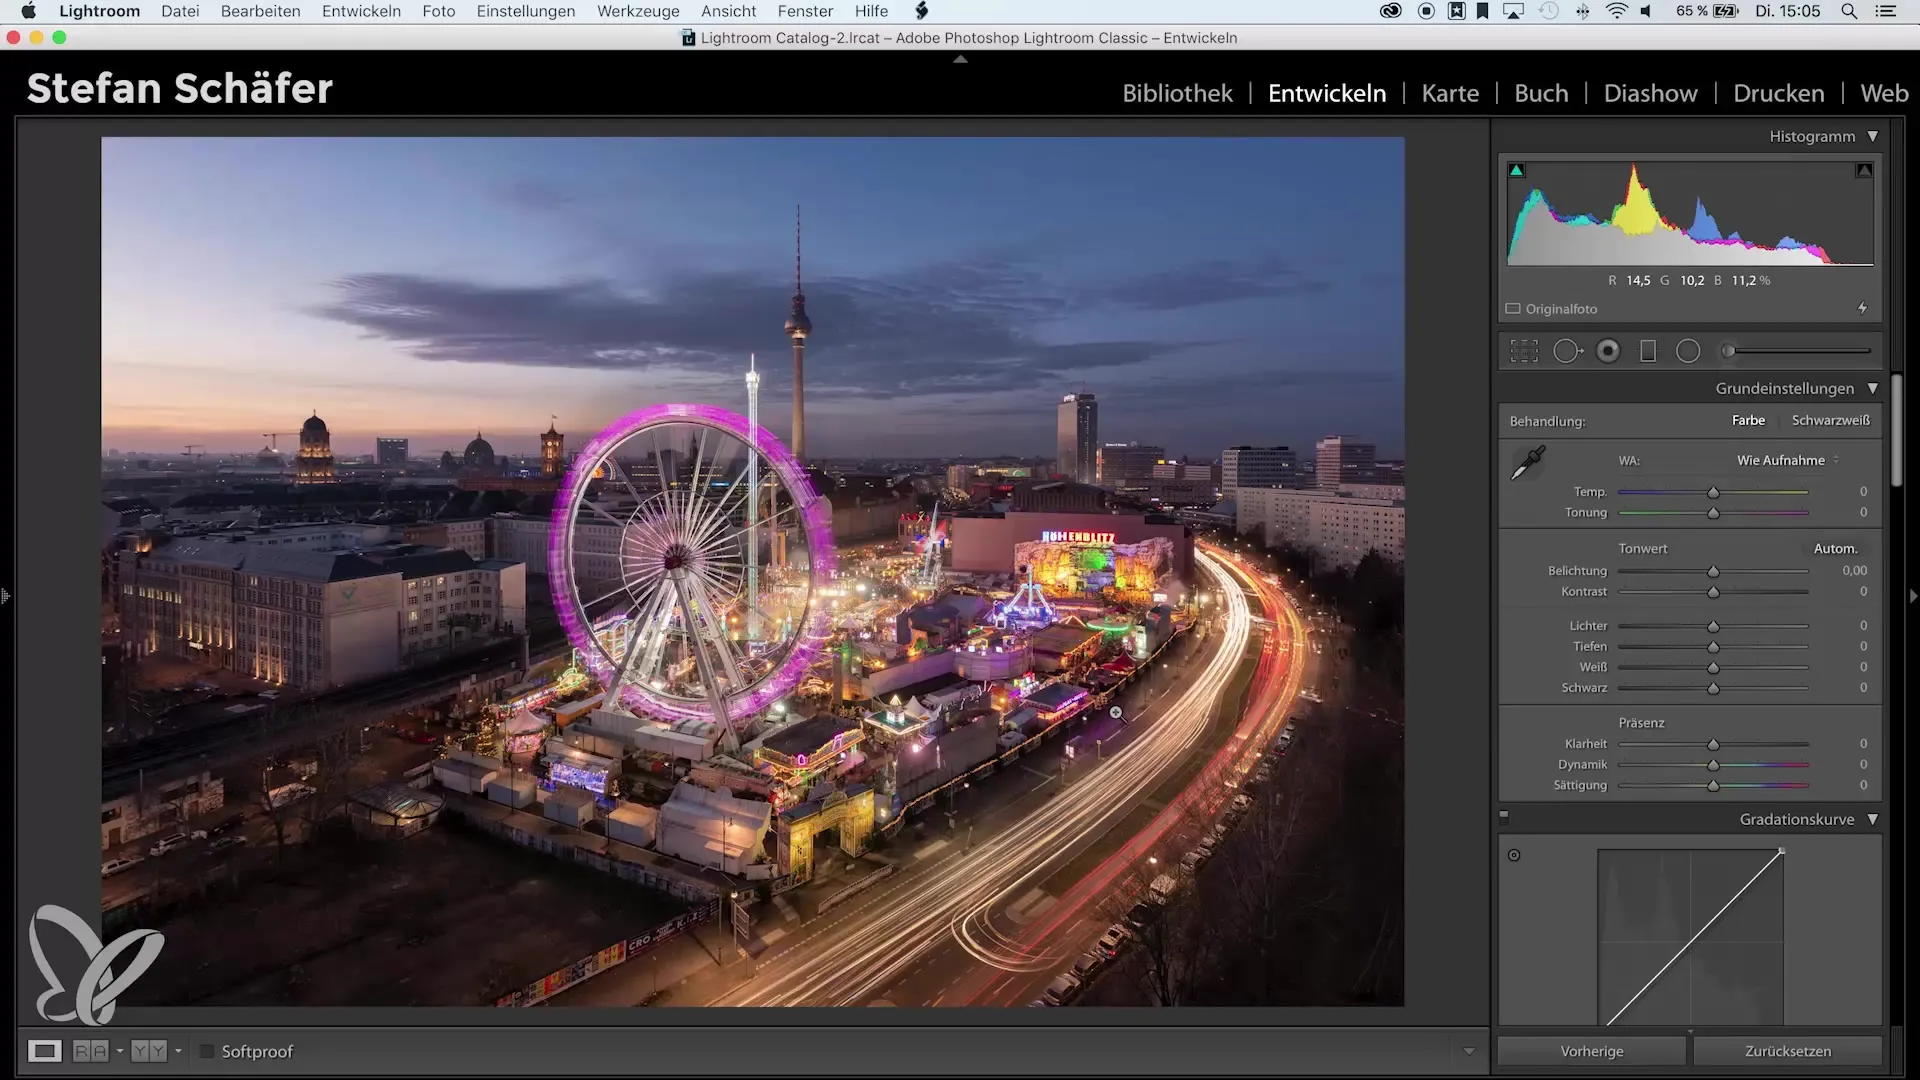
Before you start making adjustments, open a photo in Lightroom. You will notice that the histogram is visible in the develop module. This is a graphical representation of the brightness values of your image.

2. Analyze image and histogram
To better understand the histogram, take a look at the different areas. The shadows are on the left, the midtones are in the middle, and the highlights are on the right. You can use the small sliders under the histogram to manually adjust the exposure of your images.

3. Adjust exposure
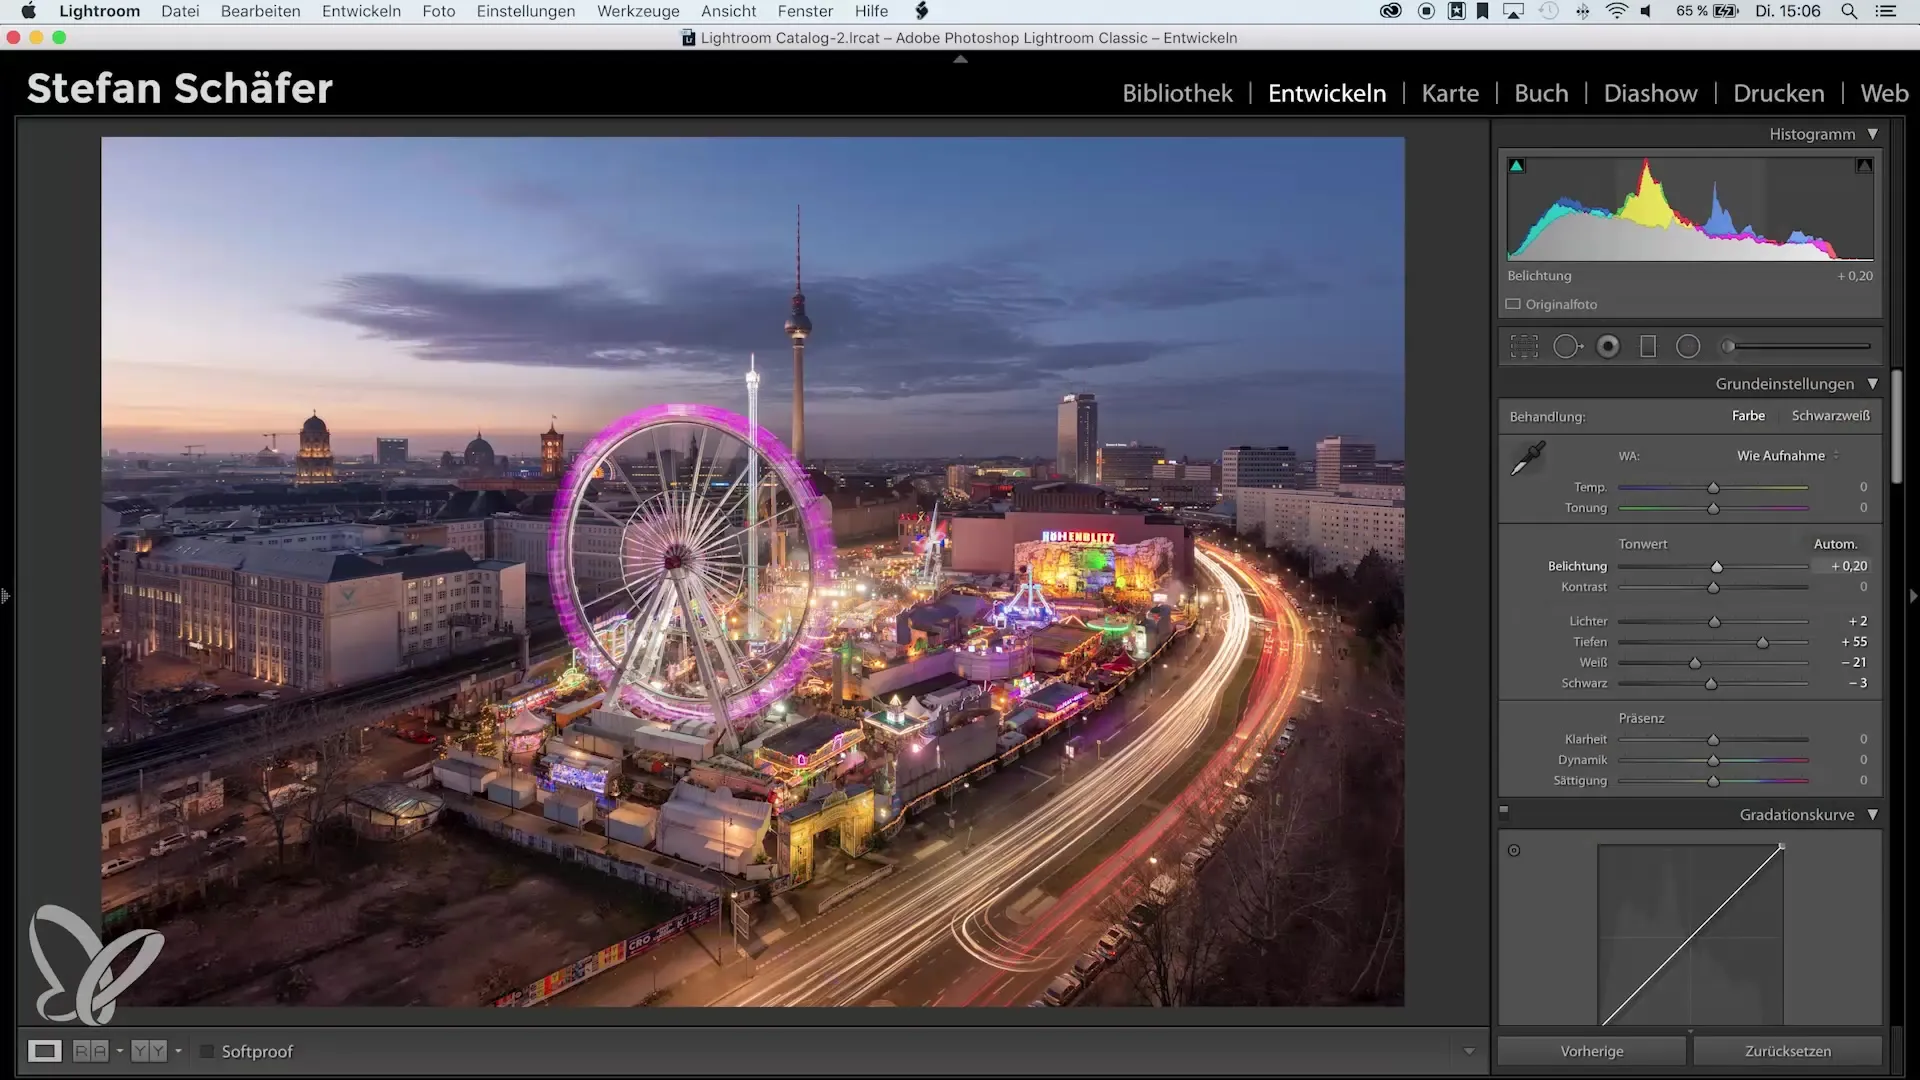
For a basic adjustment of the exposure, go to the sliders for highlights, shadows, whites, and blacks. Move the sliders and observe the changes in the histogram. You will quickly realize that the consistency between the histogram and the image is crucial for achieving good exposure.
4. Use the new trick
Here's the exciting part: you can use the histogram itself as a controller. Click on the histogram and hold down the mouse button while moving the histogram left or right. This way, you can directly and intuitively change the brightness settings.

5. Make visual adjustments
This visual approach revolutionizes your editing. Instead of laboriously switching between sliders, you can work directly in the histogram, saving time and effort. As you move the histogram, you will observe how the sliders automatically adjust, allowing you to optimize your image precisely.
6. Conclusion for a new workflow
Remember, it's up to you whether you want to use this trick or not. Some photographers prefer the traditional sliders, while others appreciate setting their exposure directly through the histogram. Just give it a try and find out which method you like best.
Summary – Histogram tricks in Lightroom
In this tutorial, you learned how to use a simple trick to utilize the histogram in Lightroom for faster and more precise image editing. By moving the histogram instead of the sliders, you have the opportunity to edit your images more intuitively and save time.
Frequently asked questions
How can I access the histogram in Lightroom?To view the histogram, open an image in the develop module of Lightroom.
What exactly does the histogram show me?The histogram shows the distribution of shadows, midtones, and highlights in your image.
How can I use the histogram to adjust exposure?Simply click on the histogram and drag it left or right to change the exposure settings in real-time.
Is there a downside to using the histogram?Some users prefer the traditional sliders as they are more visually intuitive.
Can I also use the histogram for more complex adjustments?Yes, the histogram is particularly helpful for precisely setting white and black points in the image.


