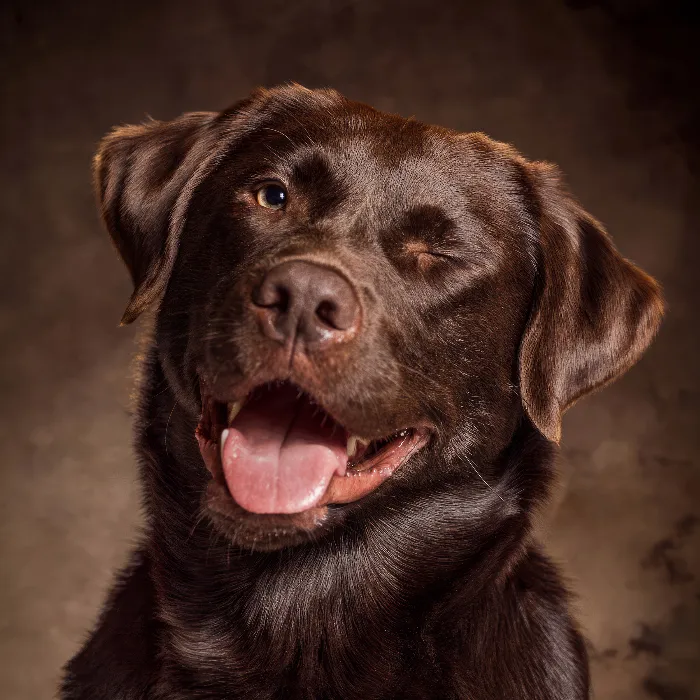
Photography with dogs, for example, can be a challenge, but the right studio setup is key to impressive portraits. By a well-planned setup, you can not only create the best conditions for shooting but also ensure that your four-legged friend feels comfortable. In this guide, I will show you step by step how to optimally set up your home studio to create impressive dog portraits.
Key Insights
- Ensure that the dog can get used to the setup.
- Use a flexible folding background for optimal results.
- Position the light sources strategically to ensure soft lighting.
- Consider the height and position of the light sources in relation to the size of the dog.
Step-by-Step Guide
1. Preparing the Studio
Before you start photographing, ensure that all studio equipment is ready. Set up the background and light sources to deliver the desired results. It is important that the dog has time to get used to the new environment. Make sure everything is in its place so the animal is not startled by rearranged equipment.
2. Setting Up the Background
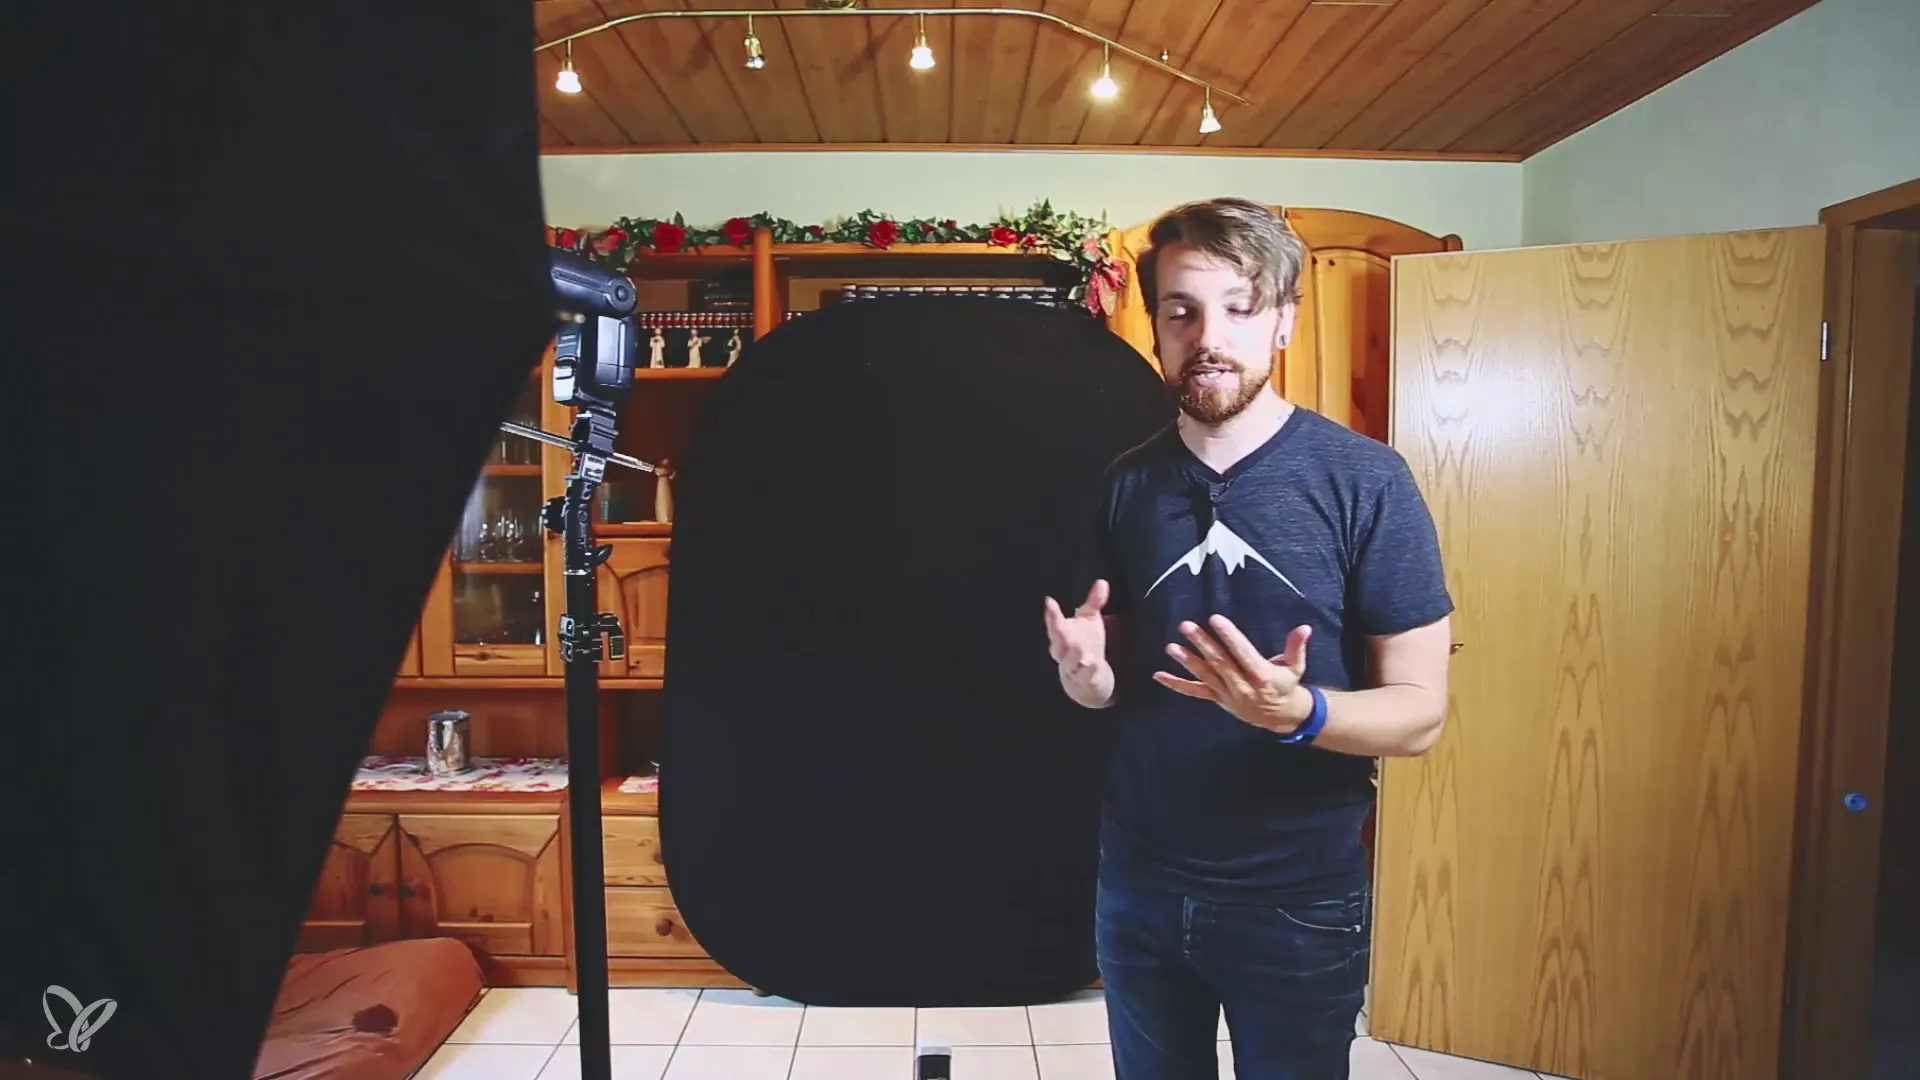
Start by setting up the folding background, which can easily lean against the wall. This should be easy and quick to use in the photography area. Make sure that the background does not have wrinkles to achieve a professional effect. A black background allows the animal to stand out nicely and is therefore ideal for photography.

3. Attaching the Flash
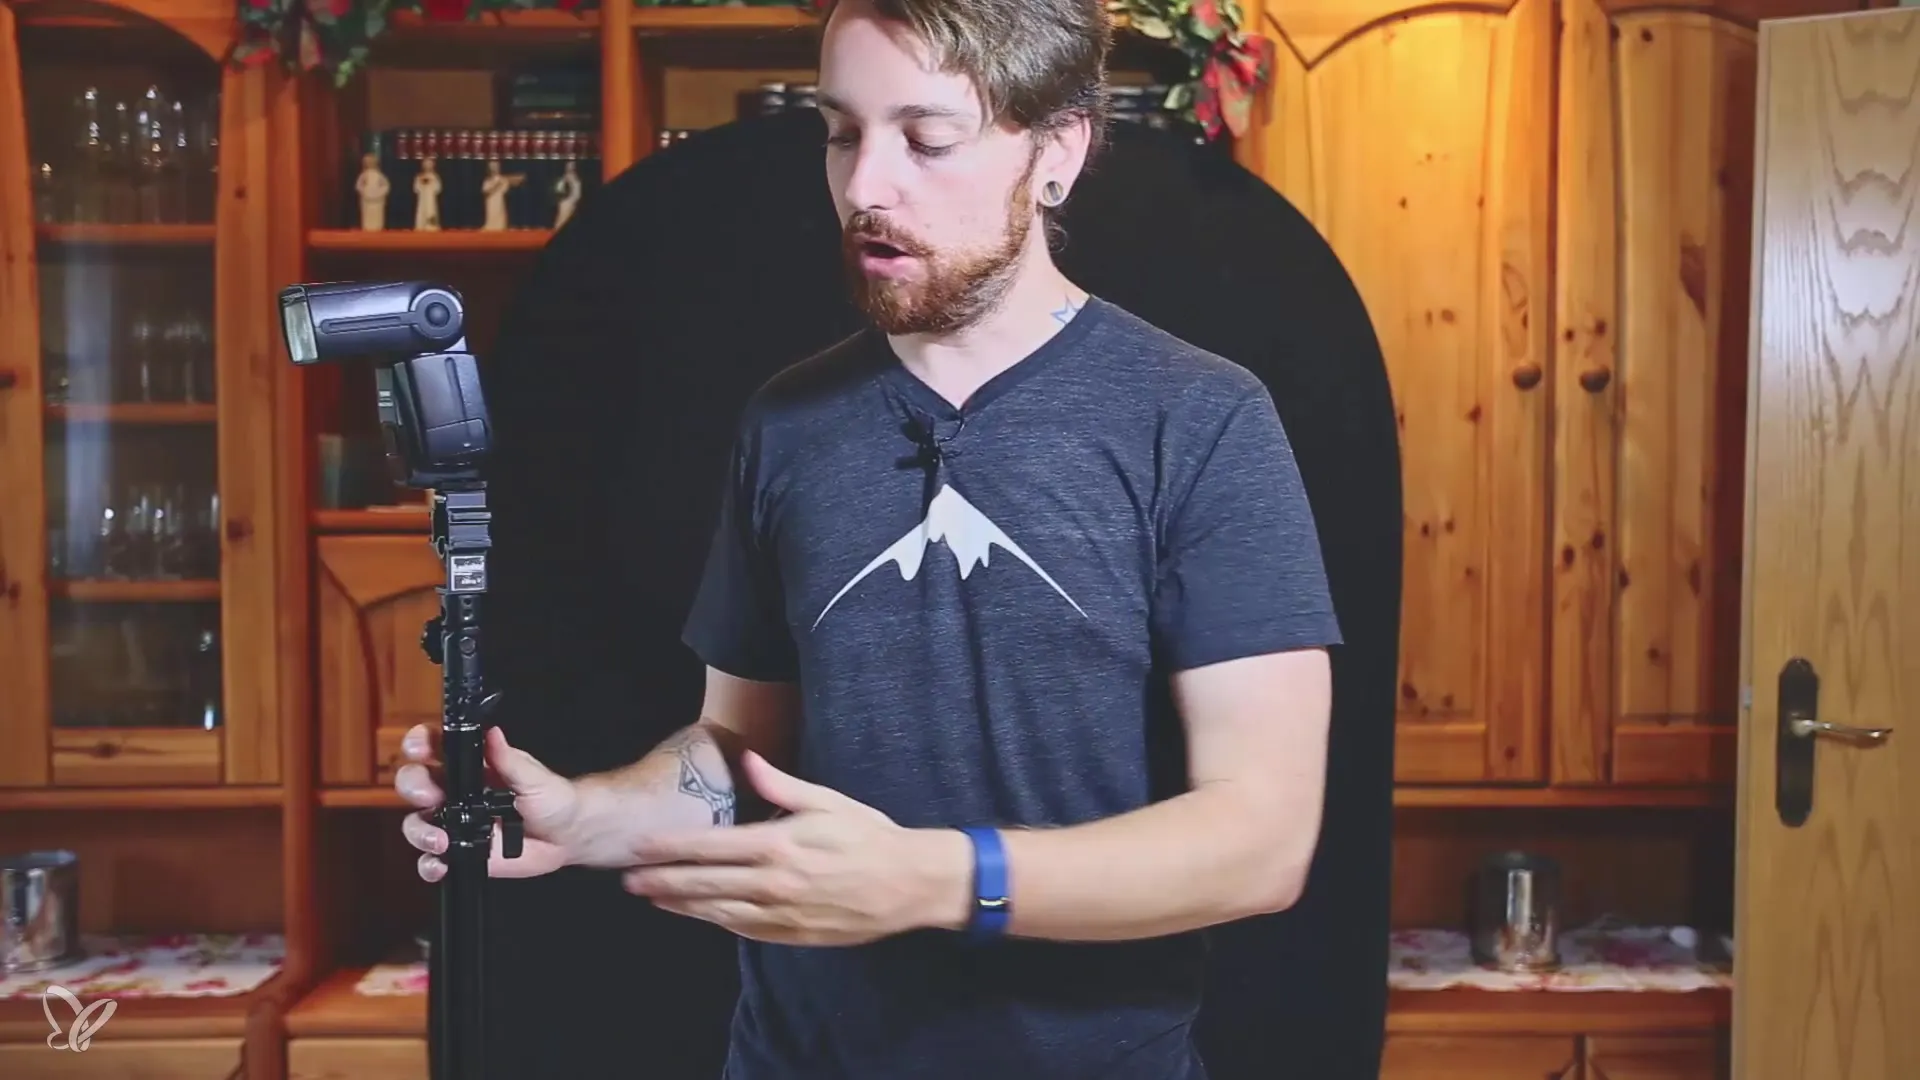
The next step is to set up the flash with a umbrella bracket. The flash should be oriented to distribute the light evenly. Make sure that the flash is not too steep to avoid unsightly shadows in the image. The orientation should be slightly tilted downwards so that the light creates a gentle transition over the dog.

4. Using a Reflector
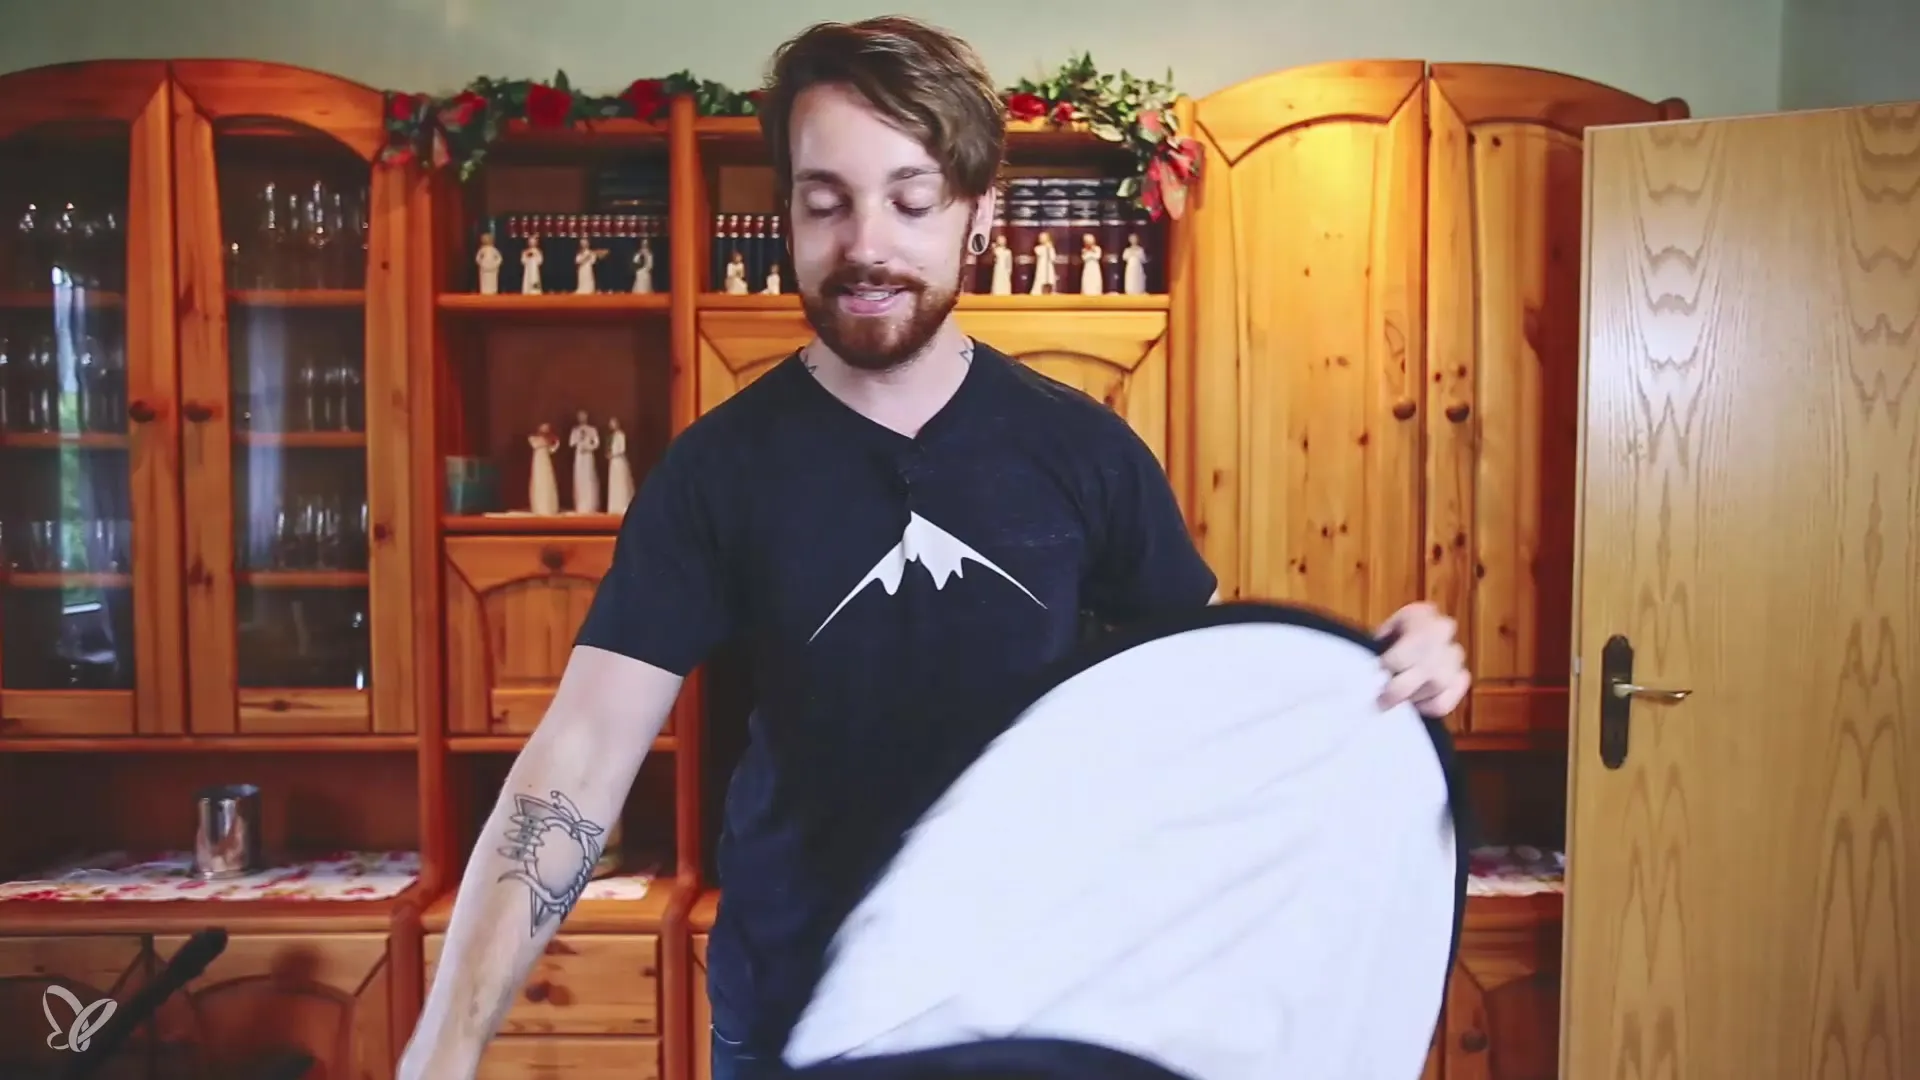
The reflector serves as a light source and ensures that the light from the flash source is widely diffused. This creates a softer light that beautifully highlights the dog's details. The light from the flash passes through the reflector and distributes the light harmoniously over the area where you are photographing.
5. Adjusting the Flash Height
The height of the flash should be adjusted to the size of the dog. If the dog is sitting or lying down, lower the tripod. For larger dogs, the flash should be positioned higher, around head height. Make sure that the main light comes from slightly in front to create interesting shadows and contours.
6. Setting Up the Second Flash
The second flash acts as a fill light for the background. Place it about half a meter in front of the background and aim it upwards. This creates a nice light circle that subtly separates the dog from the background.
7. Considering the Dog's Size
When photographing smaller dogs, the flash could be visible in the image. In this case, use a table to place the dog on. The flash can be placed under the table, making the masking process easier and preventing awkward post-editing. Make sure the flash remains properly aligned.

8. Equipment Check
Gather all necessary items for your shoot: a foldable background, a main light with a large light source, and a second flash for background lighting. The background should preferably be black to better highlight the light cone.
Summary - Setting Up a Dog Studio for Impressive Portraits
The right studio setup is crucial for dog photography. The arrangement of backgrounds and light sources, as well as considering the size of the dog, guarantee impressive results that meet both your requirements and those of your four-legged models.
Frequently Asked Questions
How can I ensure that the dog feels comfortable in the studio?Let the dog explore the entire environment first and get familiar with the setup.
Why is a black background better?A black background visually highlights the dog and allows light conditions to stand out better.
How high should the flash be?The height of the flash should be adjusted to about the dog's head height.
What to do if the dog is small?Use a table to place the dog on so that the flash is not visible.
Is it necessary to use a reflector?Yes, a reflector provides an even and softer light distribution, which is important for portraits.


