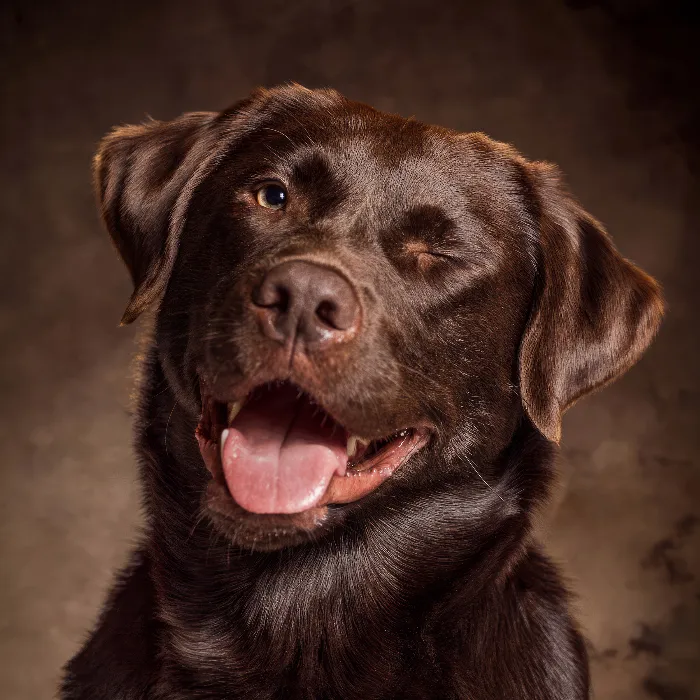
You have invested a lot of time and effort into creating a dog portrait, and now it's time to make the final adjustments to let the image shine in all its beauty. The final touch in Lightroom is crucial for your dog portrait to achieve the desired effect. In this guide, I will show you step by step how to make the optimal settings to make your image even more impressive.
Key Insights You will learn how to make final adjustments in Lightroom to optimize image quality and give your dog portrait the final touch. This includes adjusting clarity, editing shadows and highlights, and using vignettes for more impact.
Step-by-Step Guide
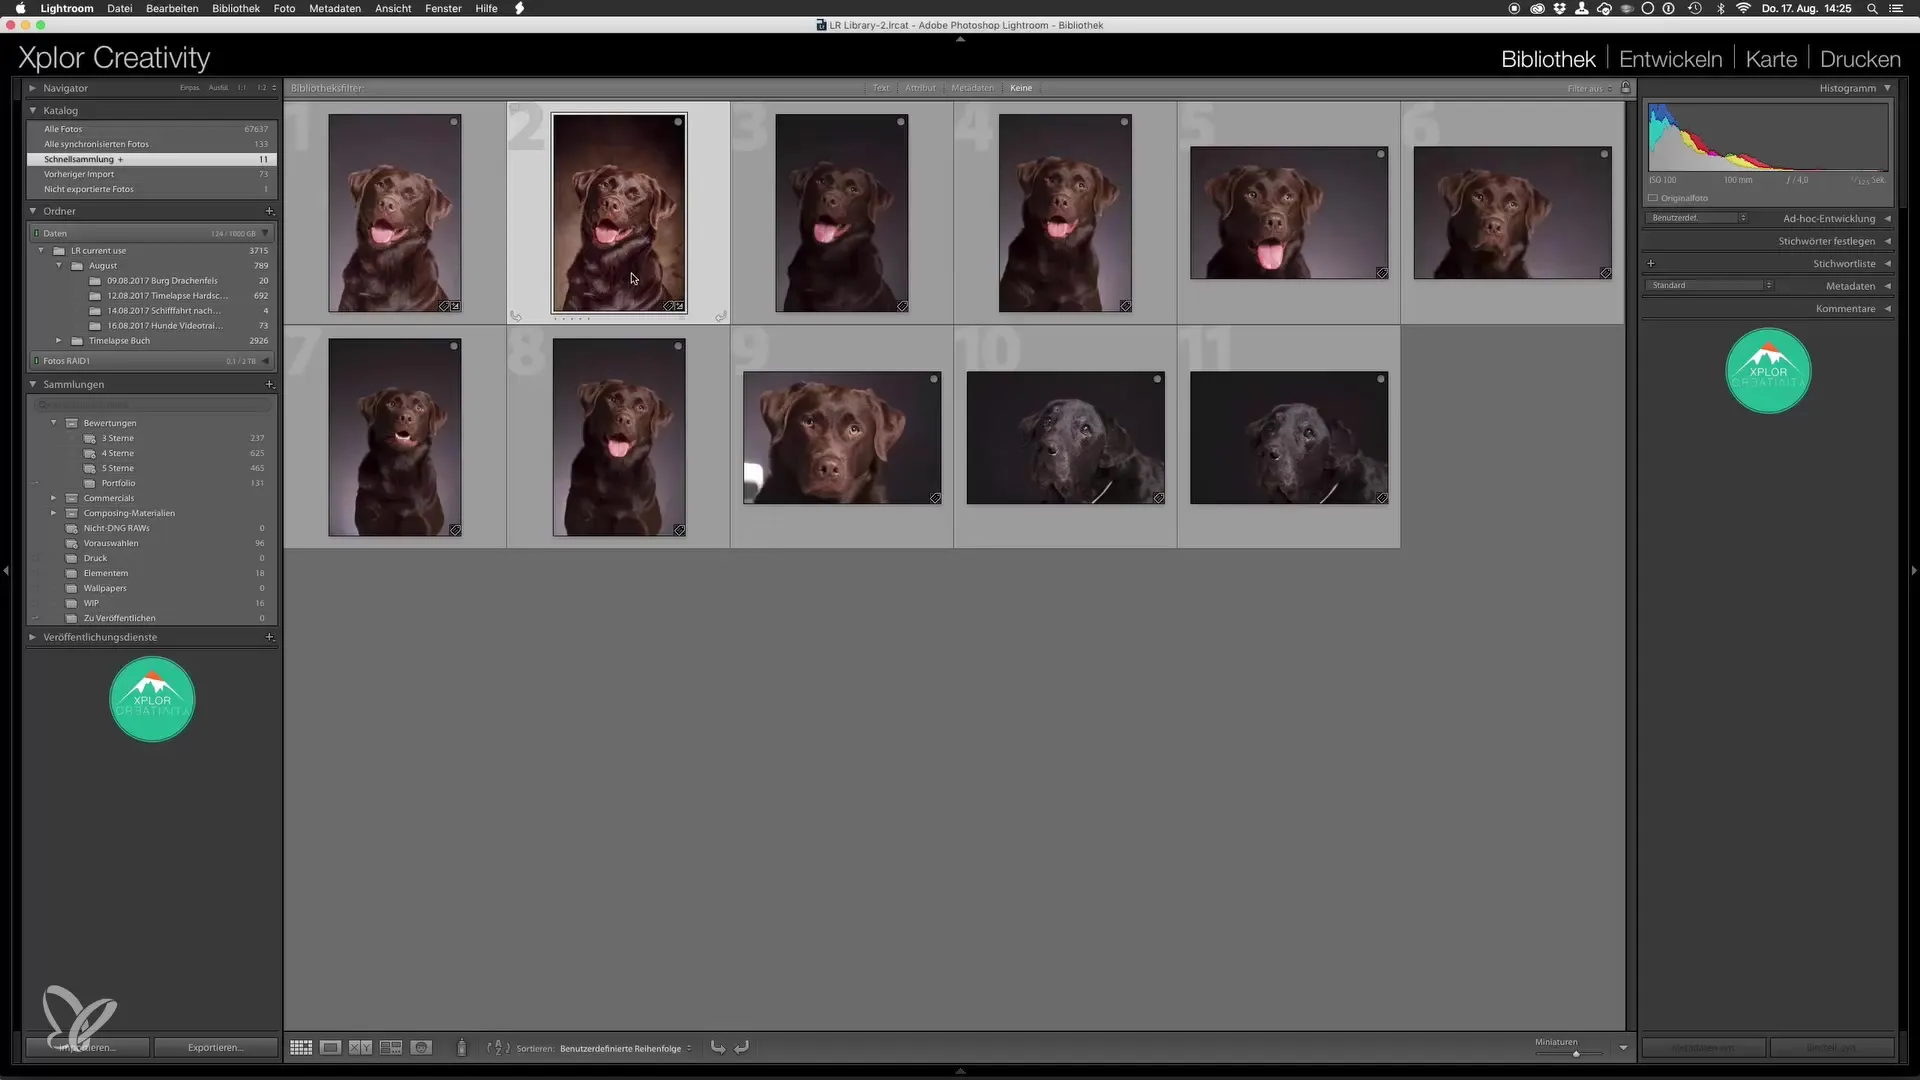
First, open an existing image in Lightroom. Once you have loaded the image, you will see two versions: the final image and the original image. Now you can take a closer look at the differences between the two images.
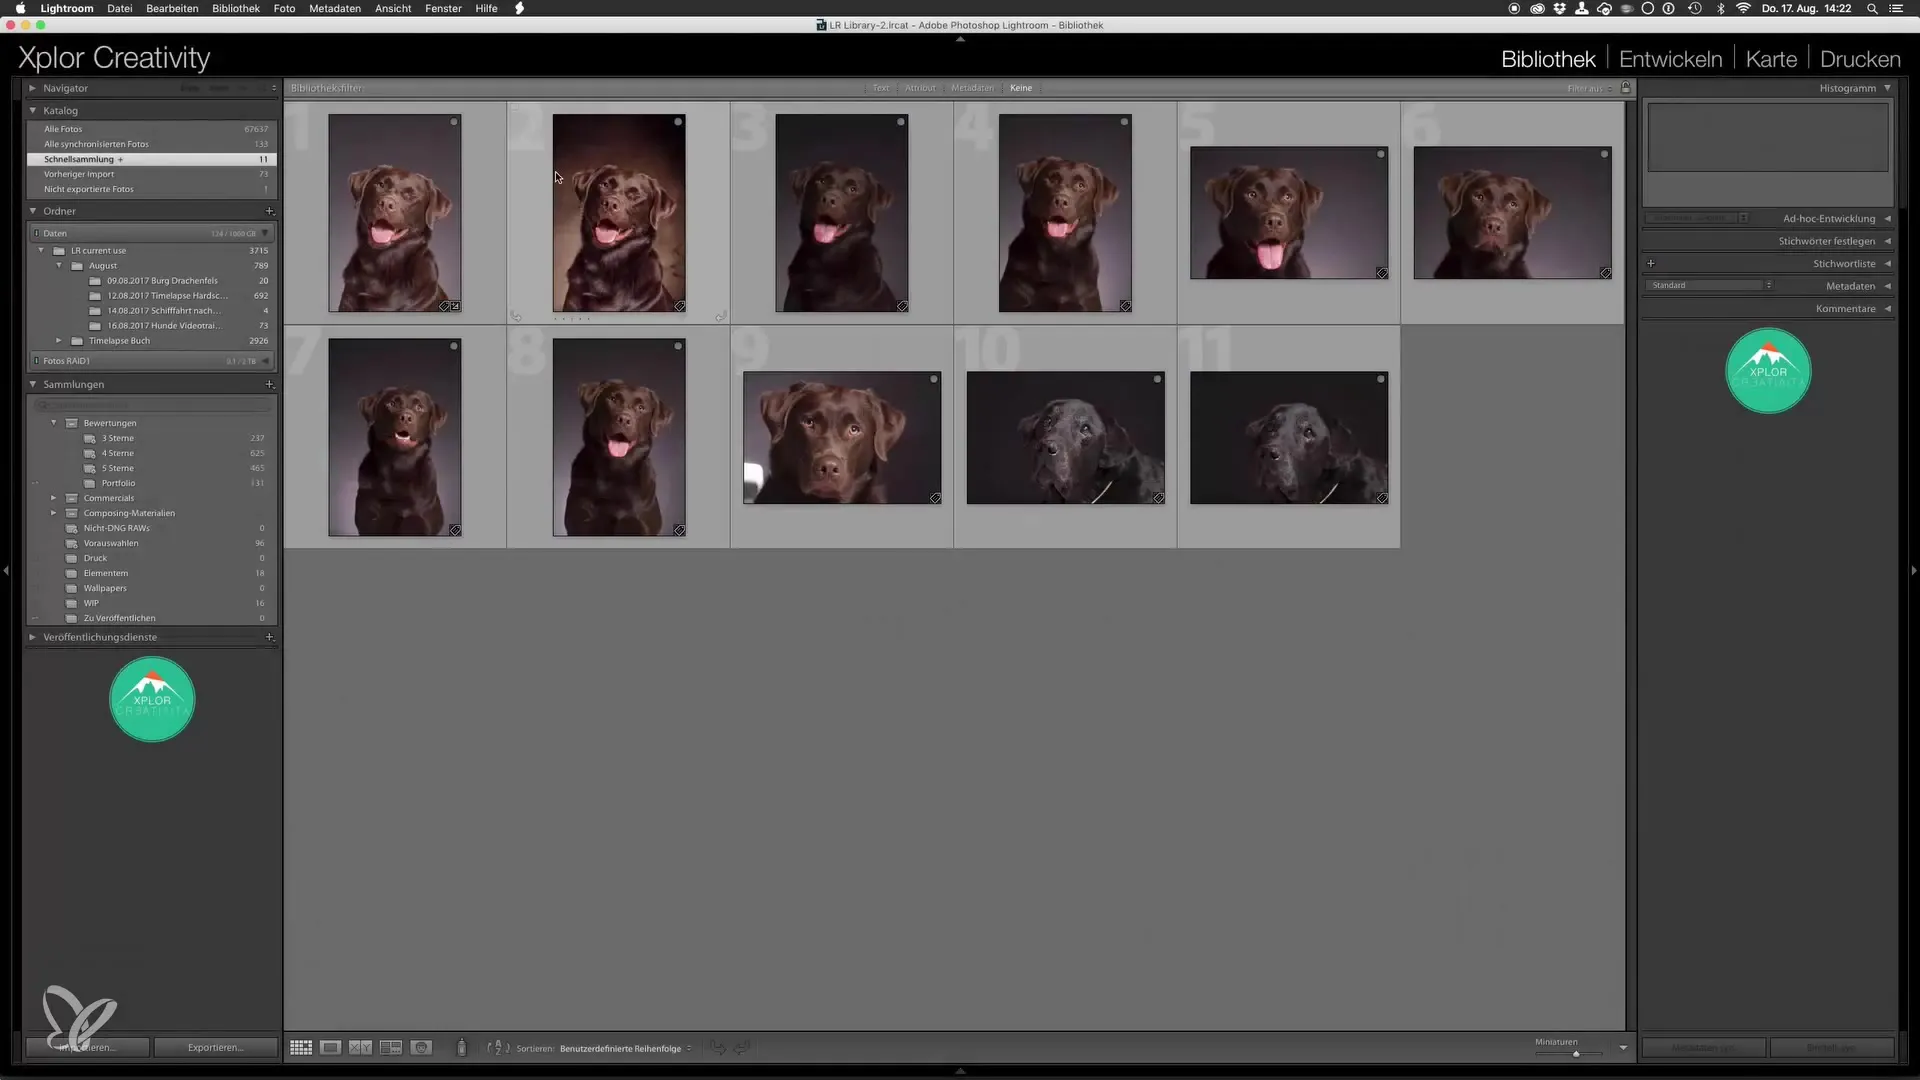
Compare the final image with the original. You will quickly notice how much the image has benefited from the editing. The new background gives the image a different atmosphere, and the overall appearance looks more epic.
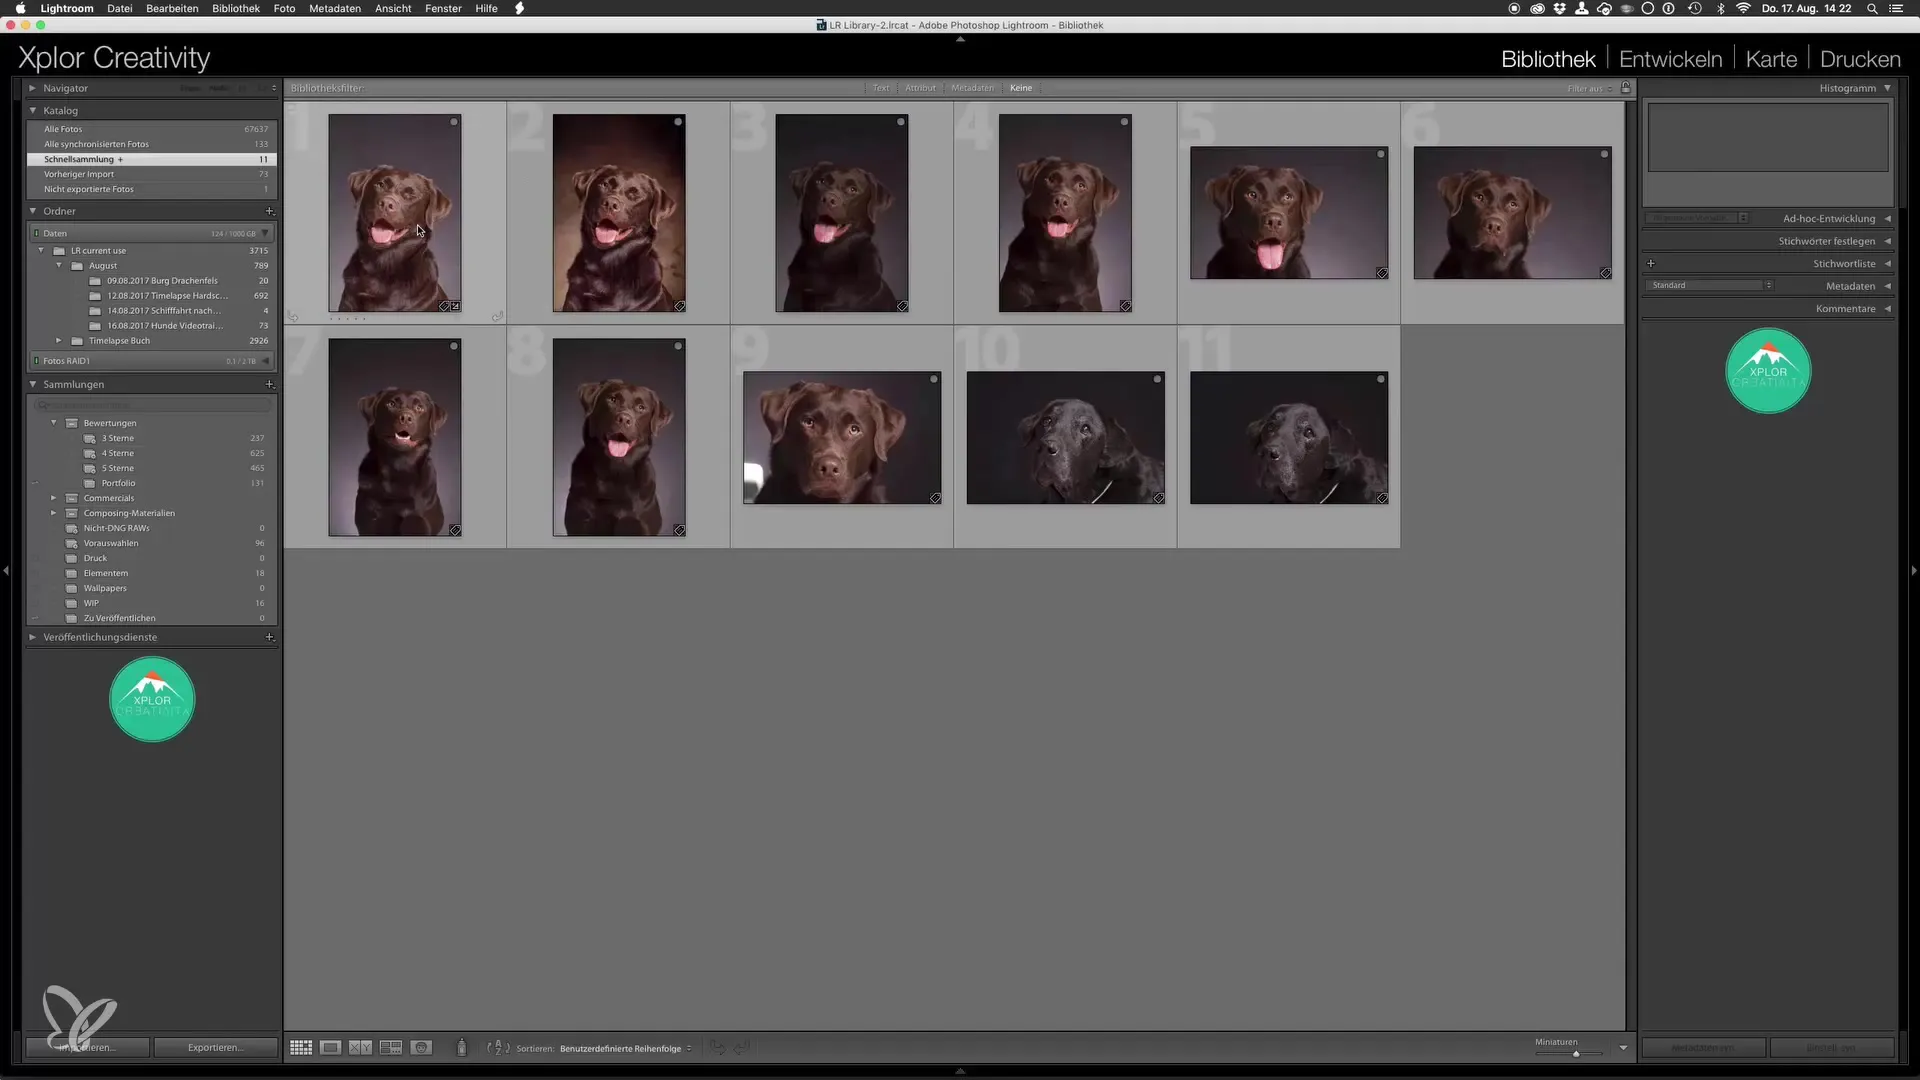
Now it's time to make the final adjustments. Select the final image and switch to the Develop tab in Lightroom. Here you have several tools available to make fine-tuning adjustments.
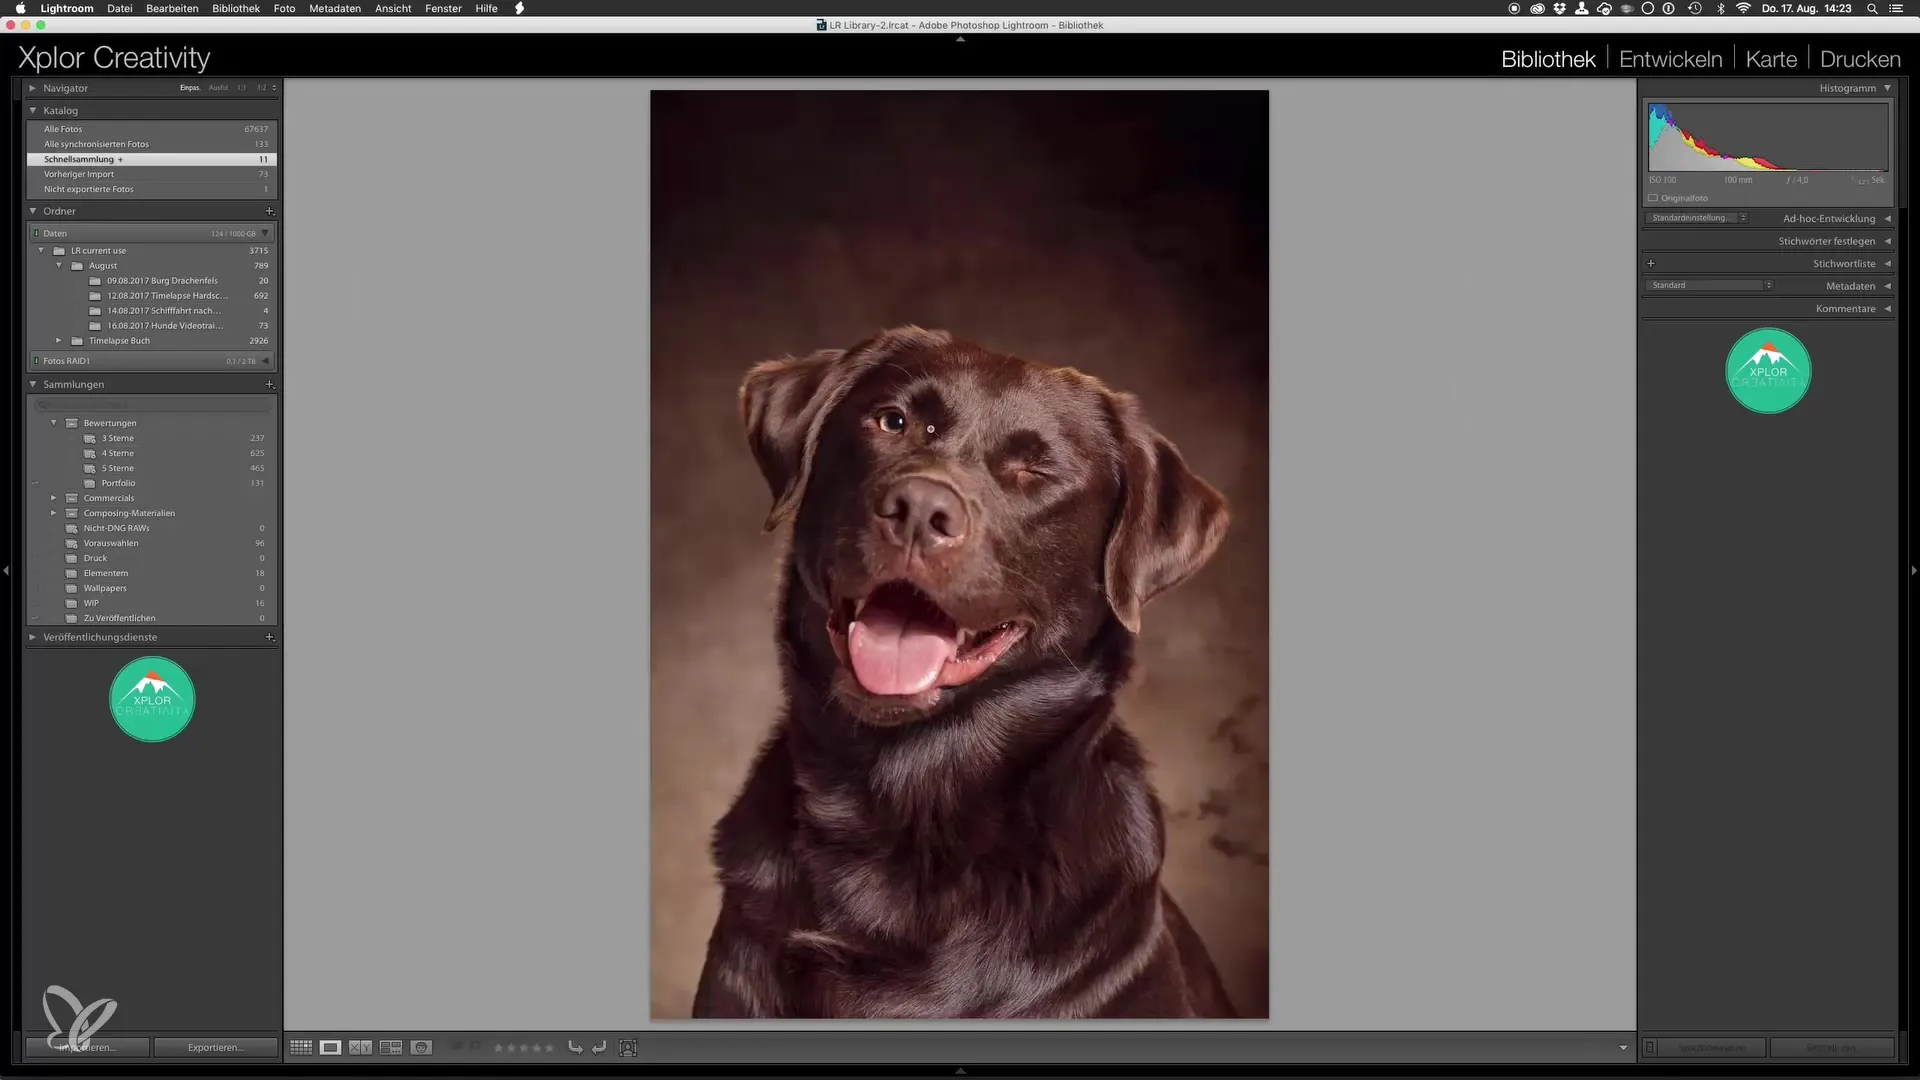
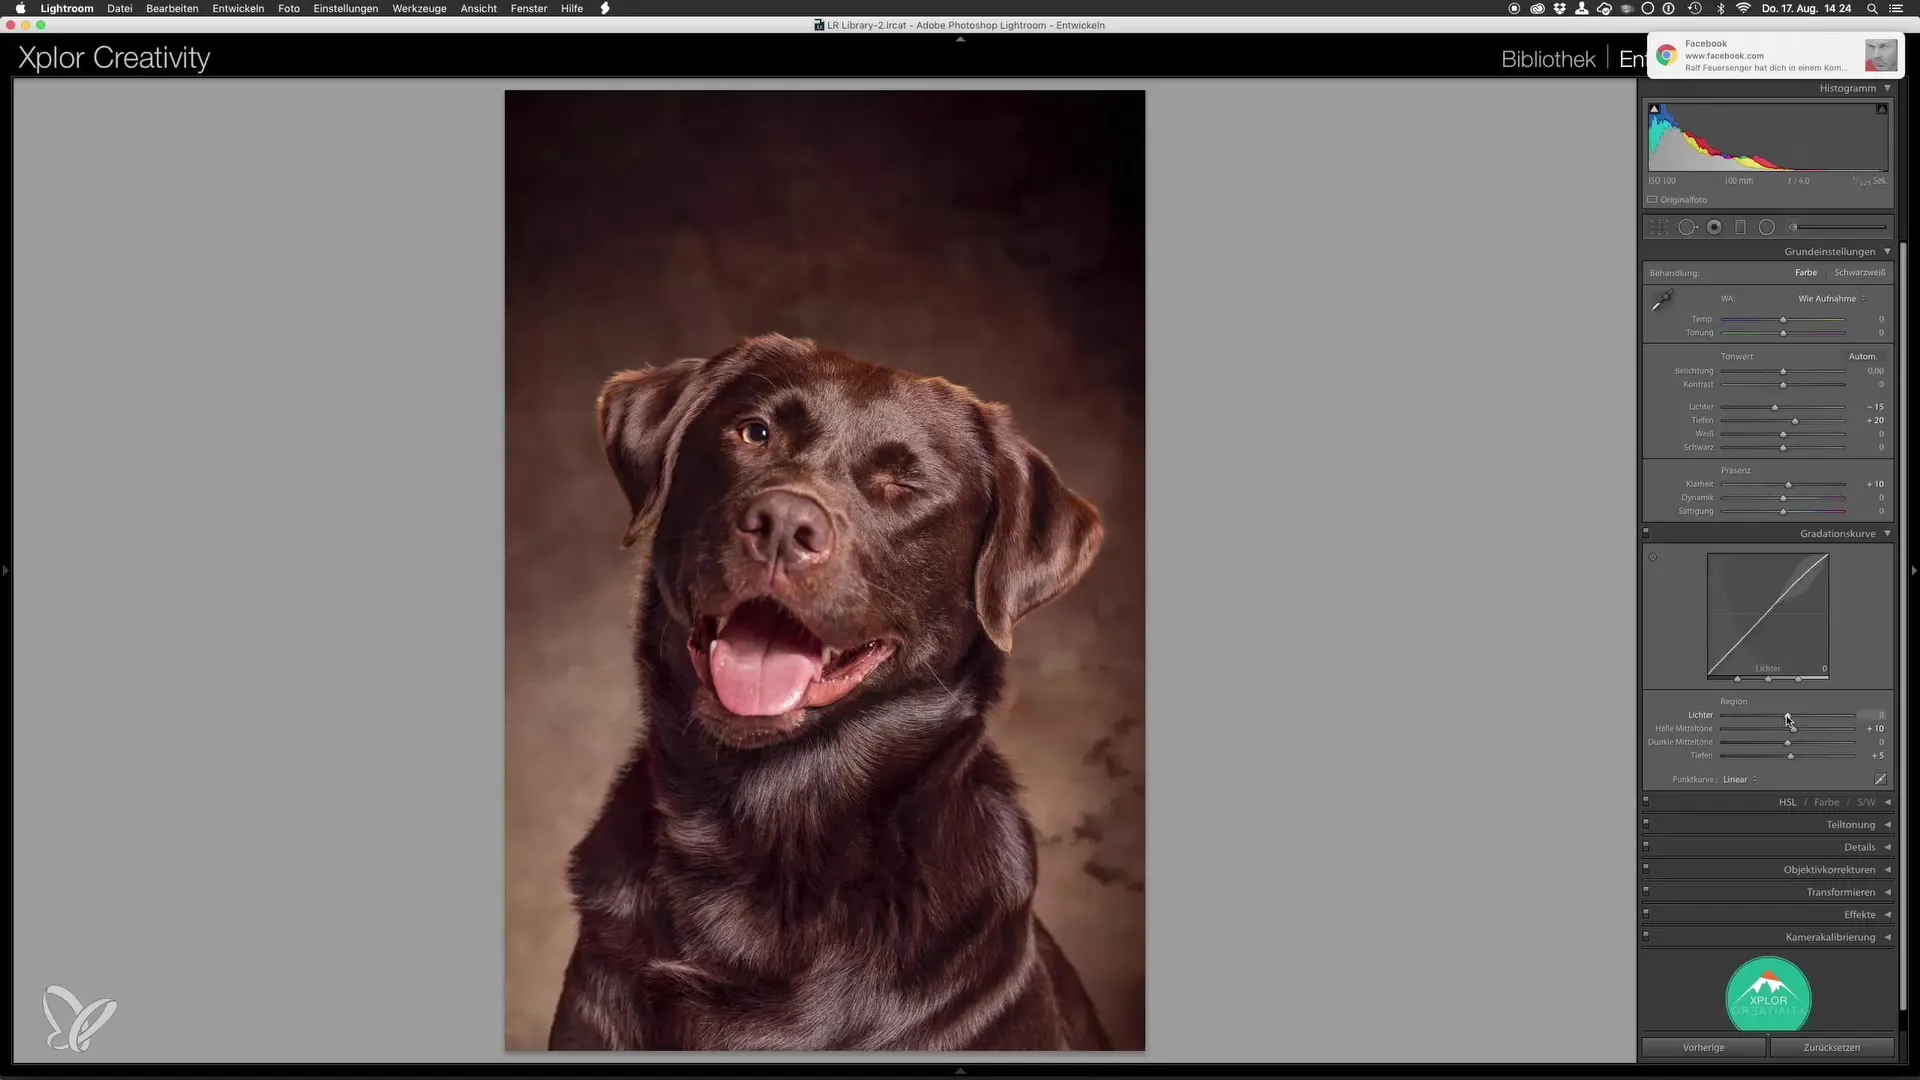
One popular step is to slightly increase the clarity of the image. A small increase enhances the texture of the fur without making the image look over-edited. You don’t need to overdo it; a gentle rise is often enough to see noticeable improvements.
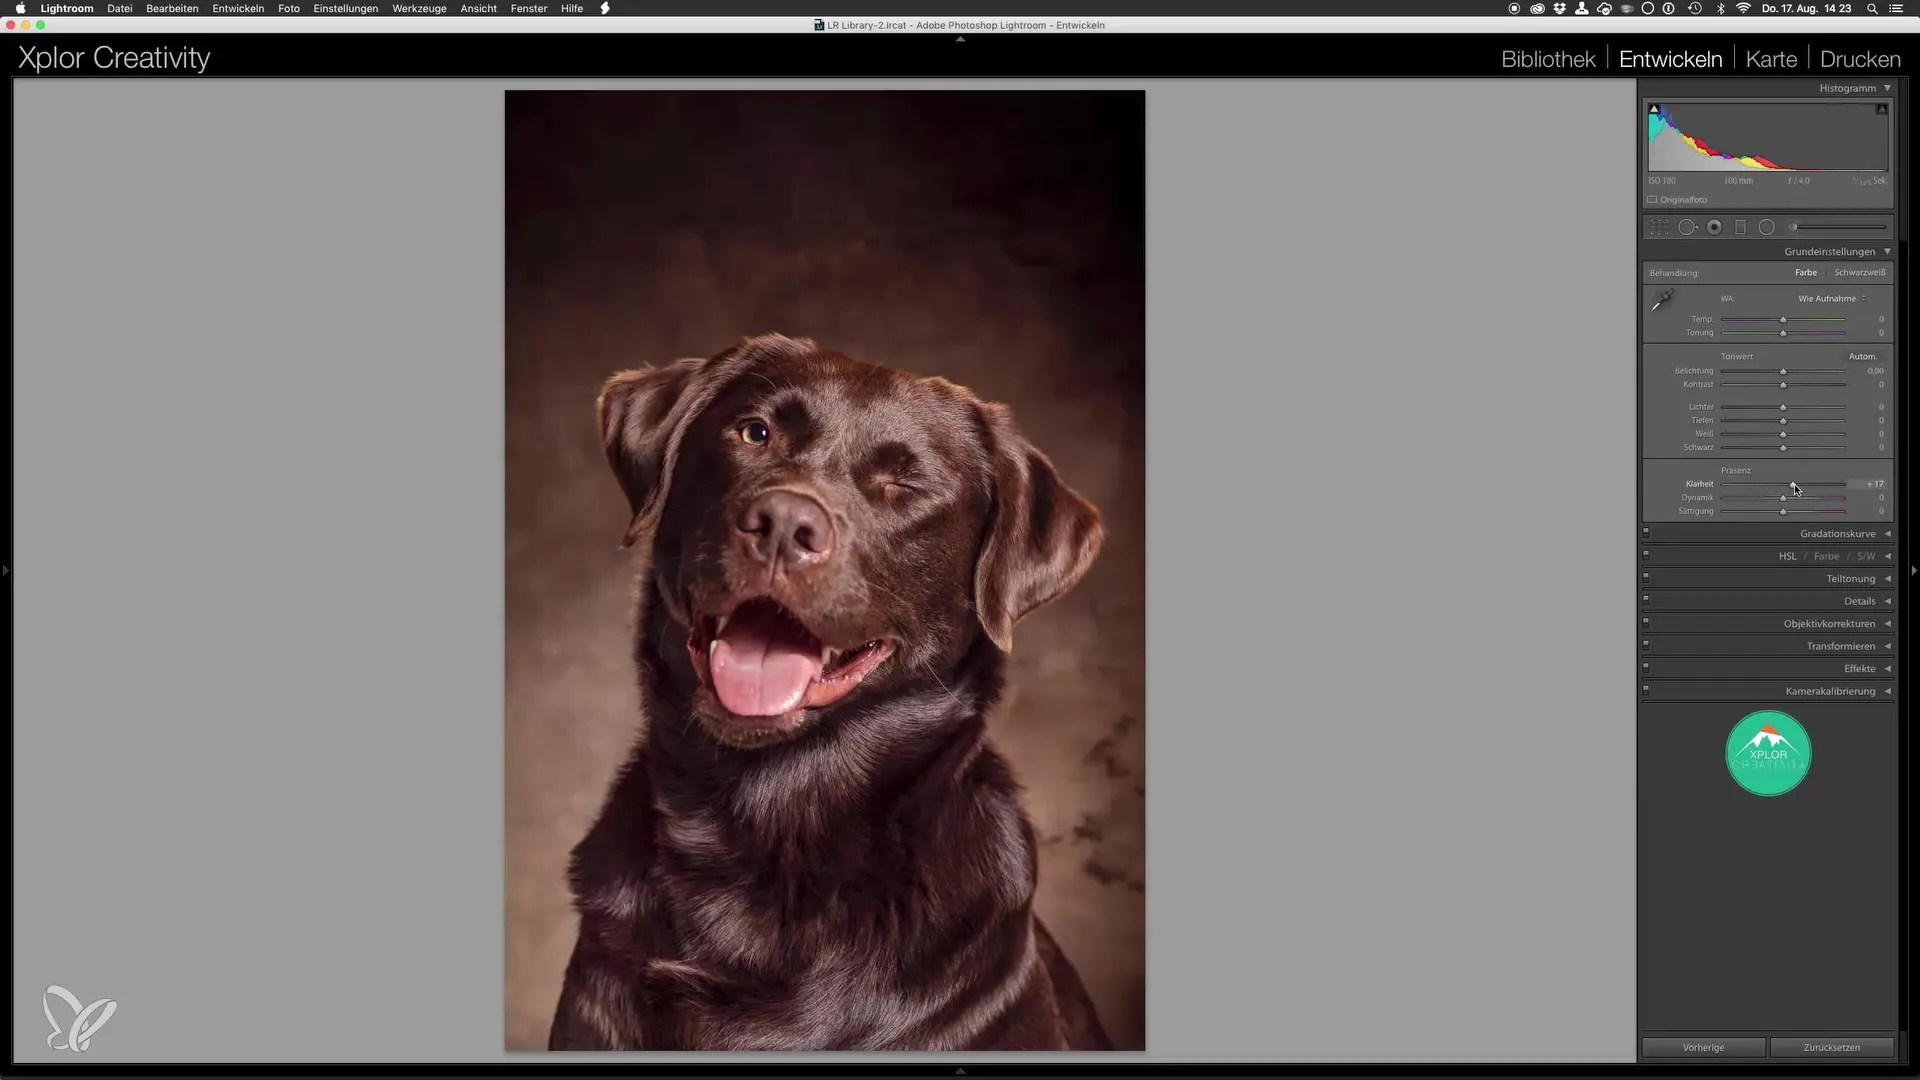
Another important aspect is the sliders for shadows and highlights. These help you find the balance in the image. You may want to slightly lower the highlight slider to neutralize the bright areas, thus creating a more harmonious look.
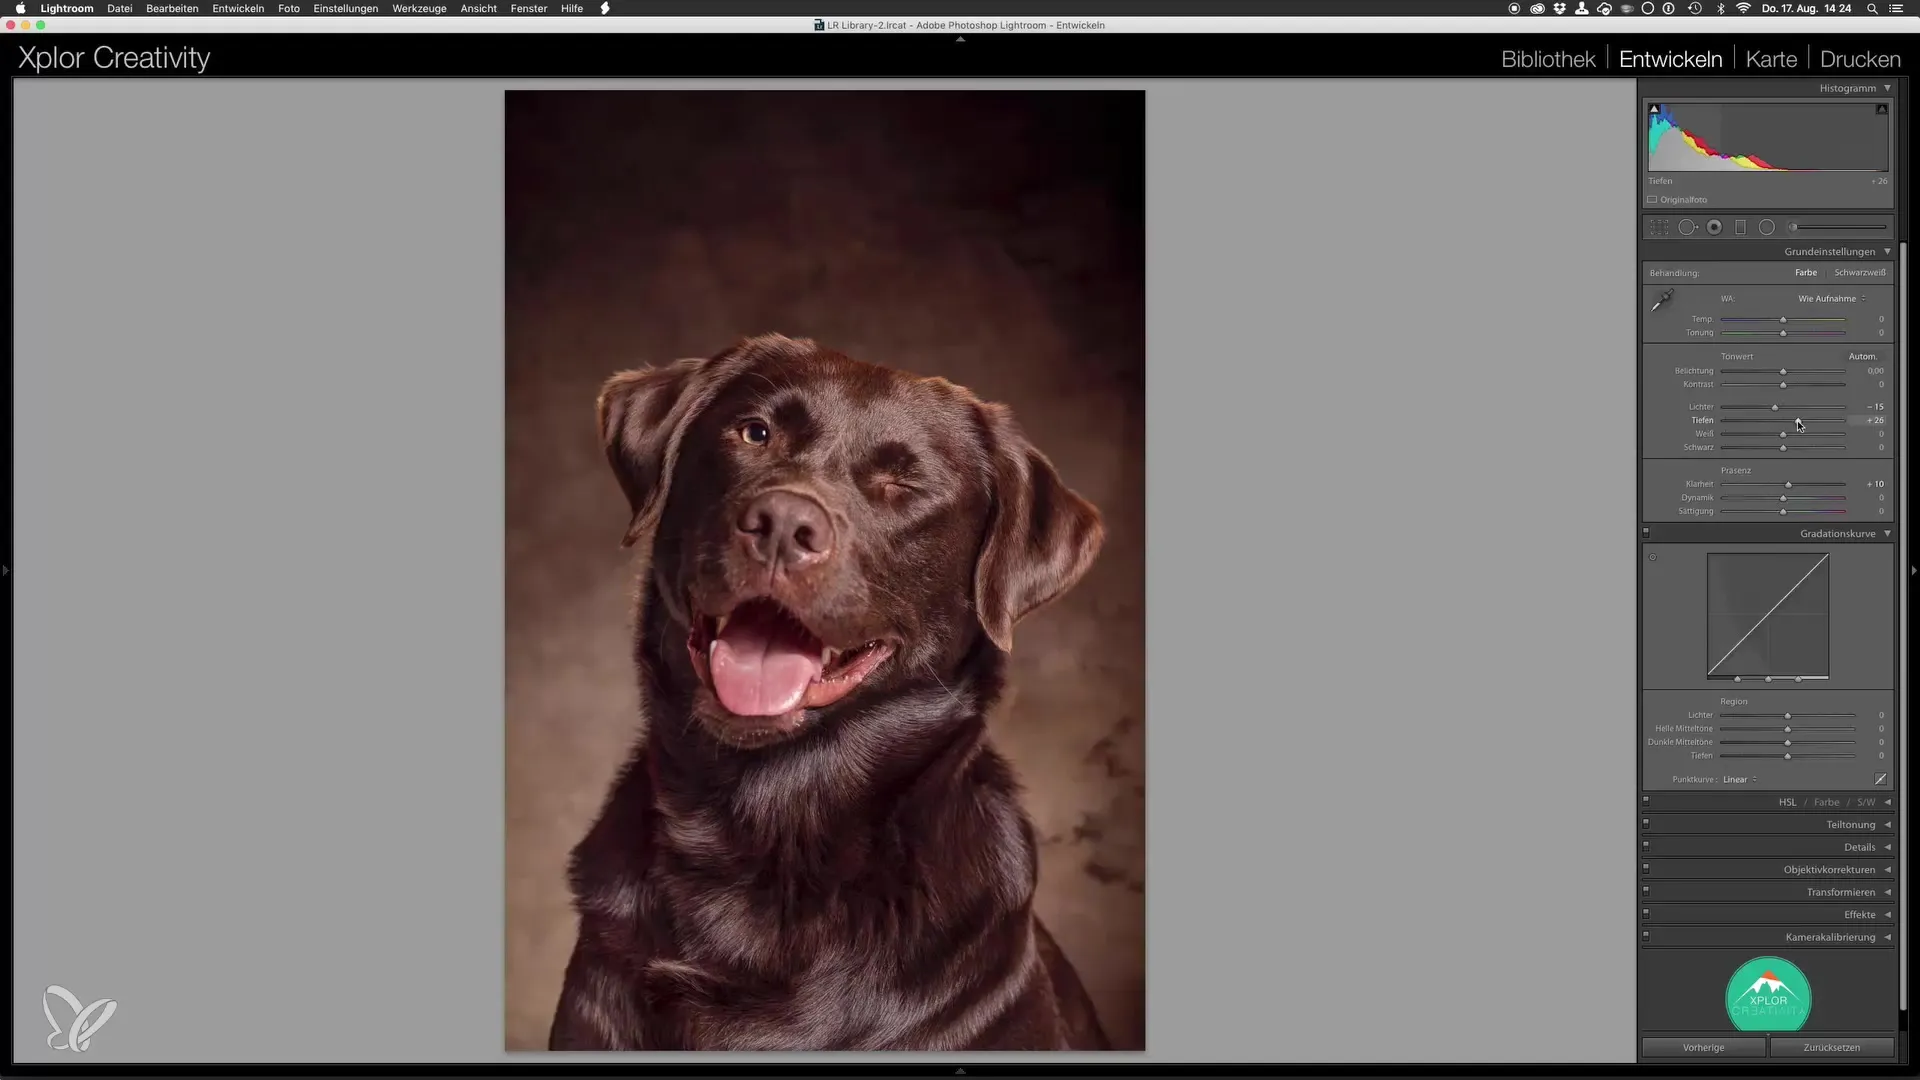
Also, take a look at the shadow slider. By raising the shadows, you can bring out more details in the darker areas of the fur. This creates a vibrant and natural appearance.
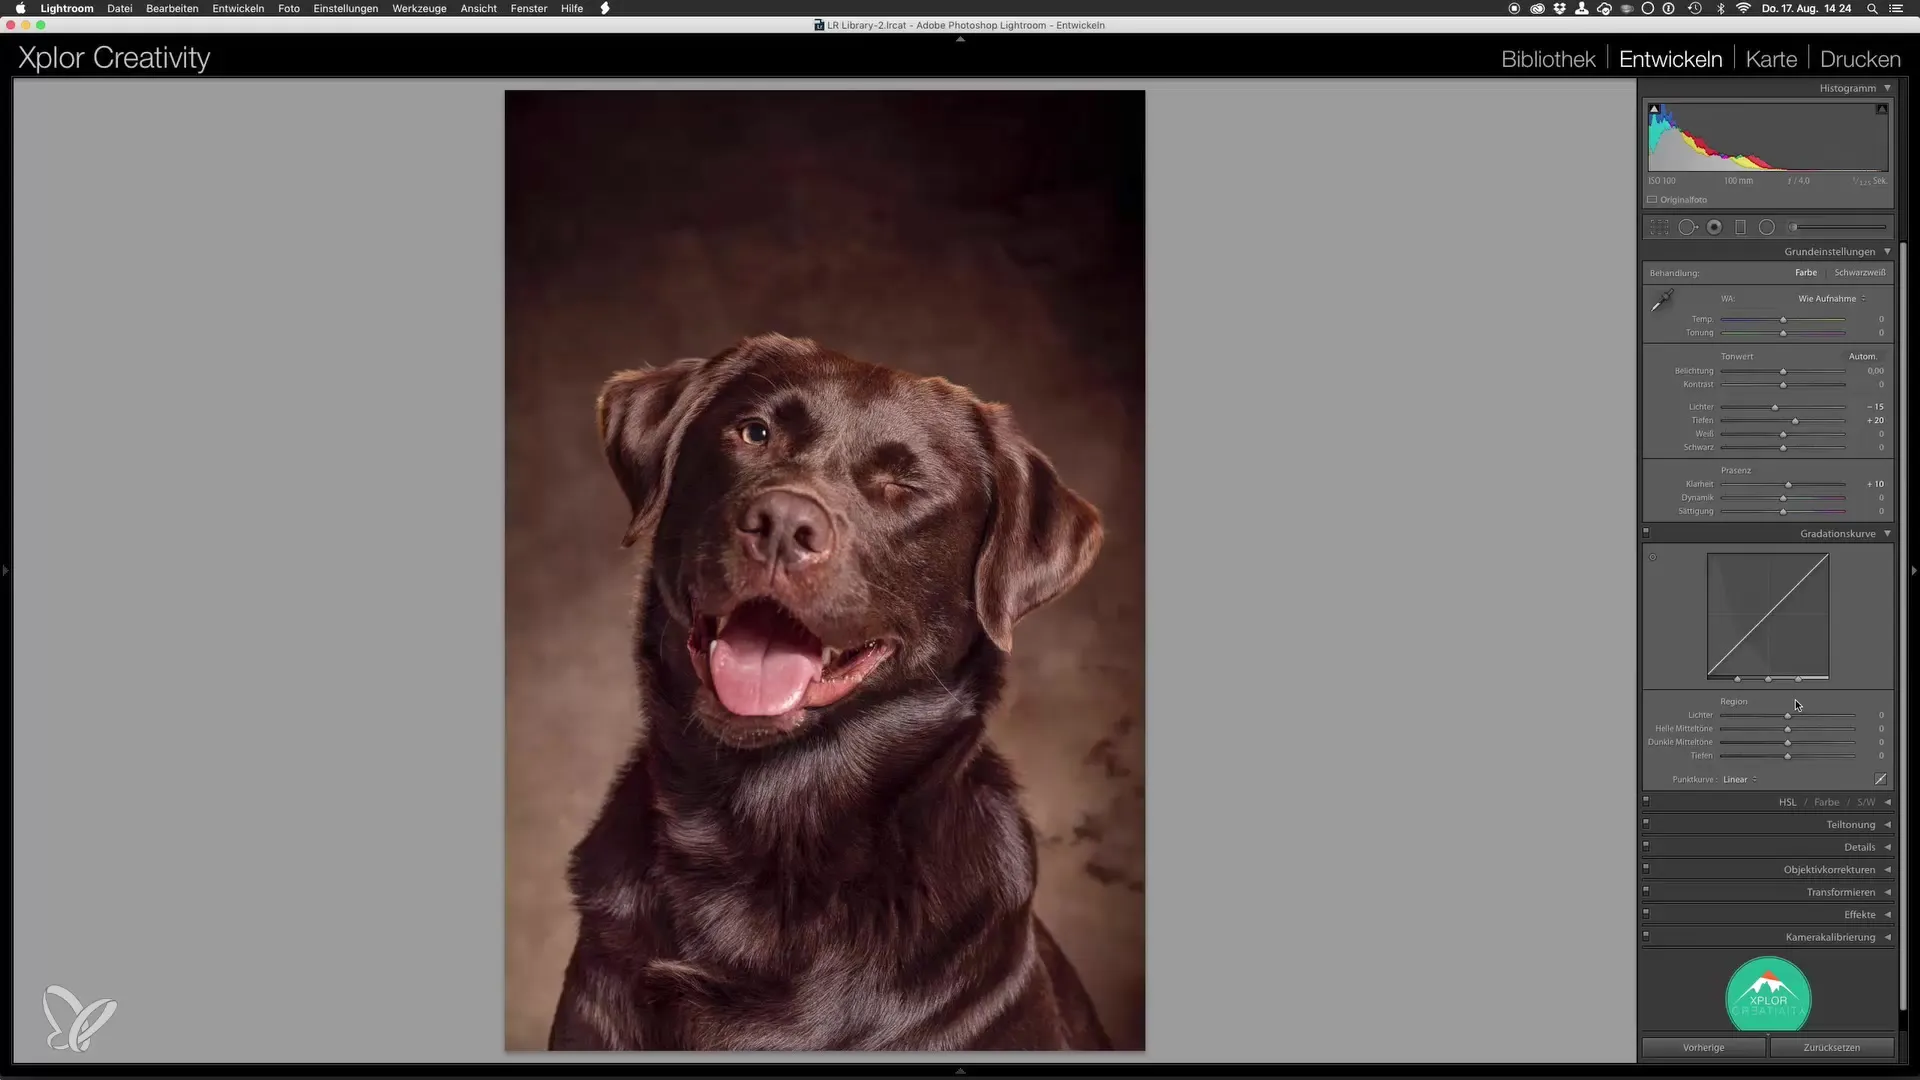
Use the tone curve for an even more precise adjustment. This gives you control over various tones and their contrasts in the image. Lightly pull up the shadows to retain more detail in the fur.
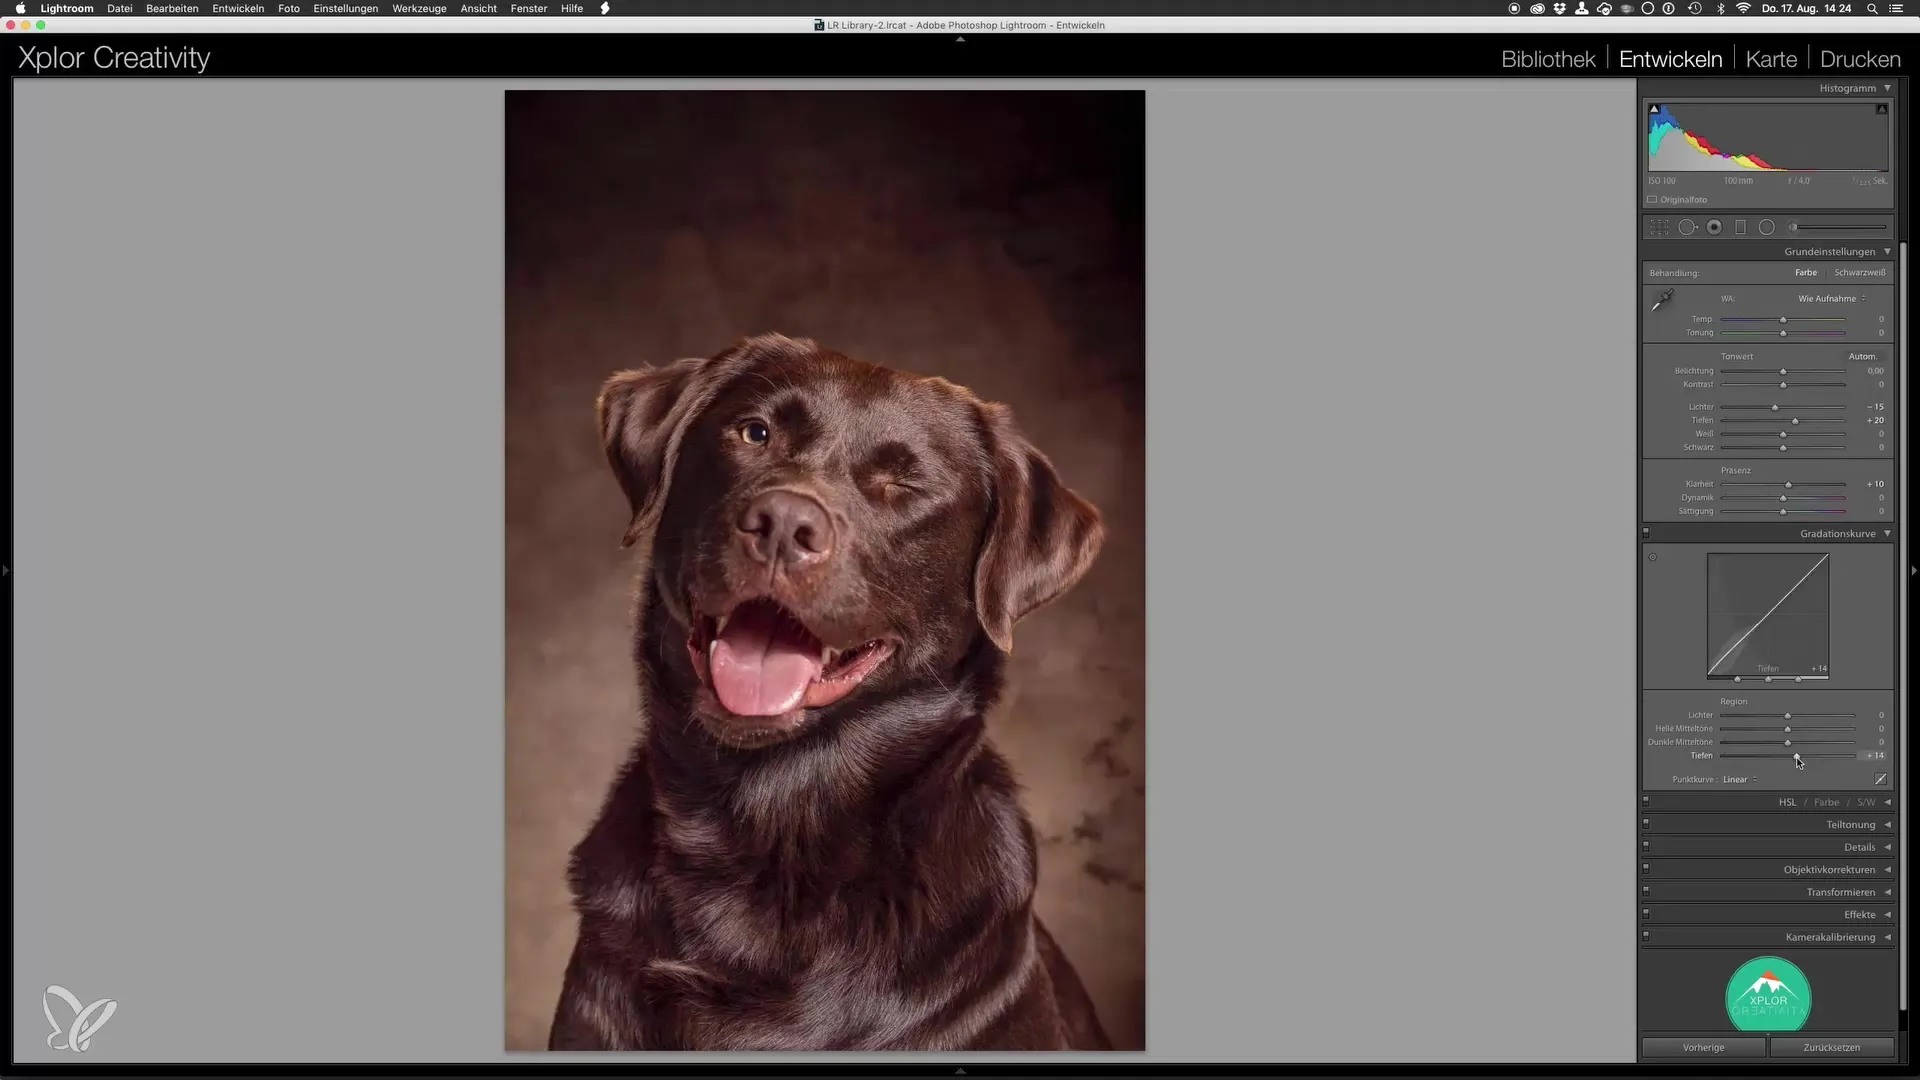
You should also check the highlights. A small adjustment here can make a big difference. If the image has very bright areas, it might be sensible to slightly reduce these while raising the midtones to achieve a balanced overall look.
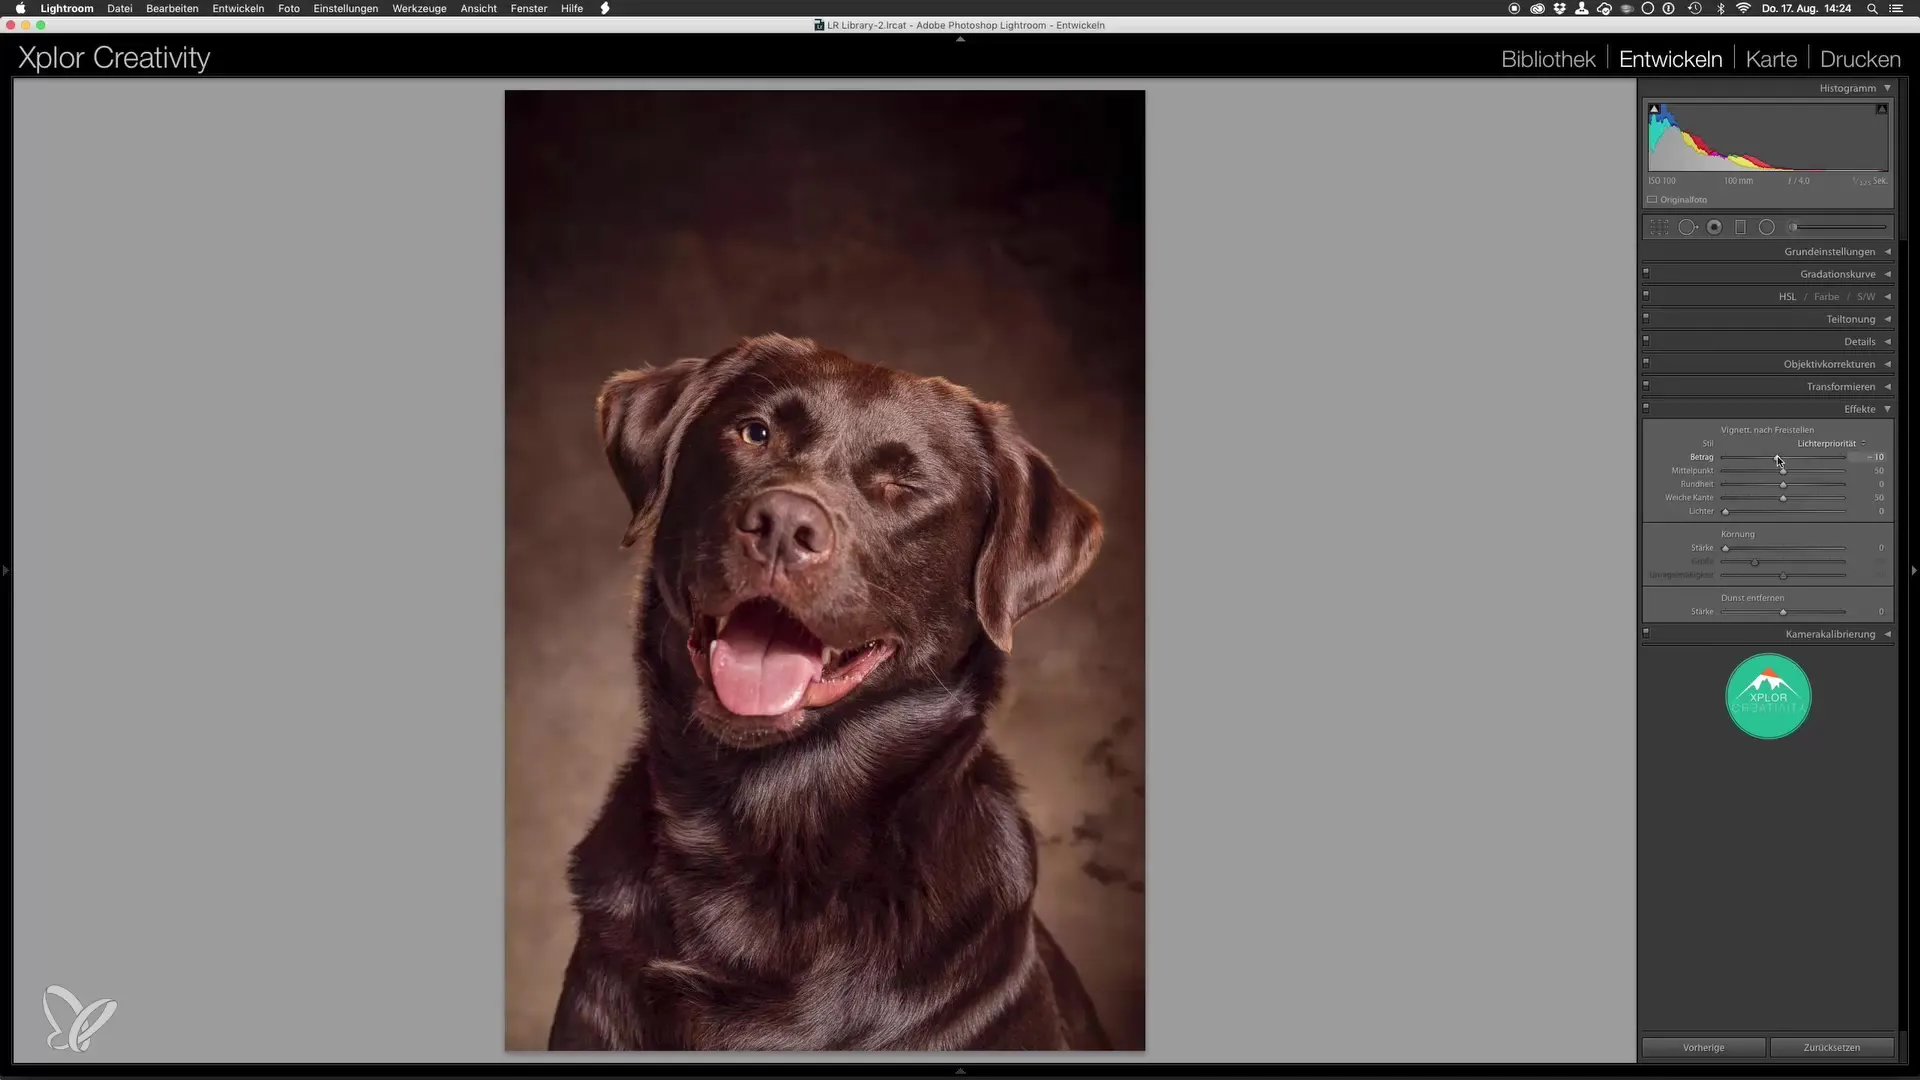
Additionally, you can use the vignette at the end to direct the focus onto the main subject. A stronger vignette can help draw attention to your dog and make the overall image appear more dramatic.
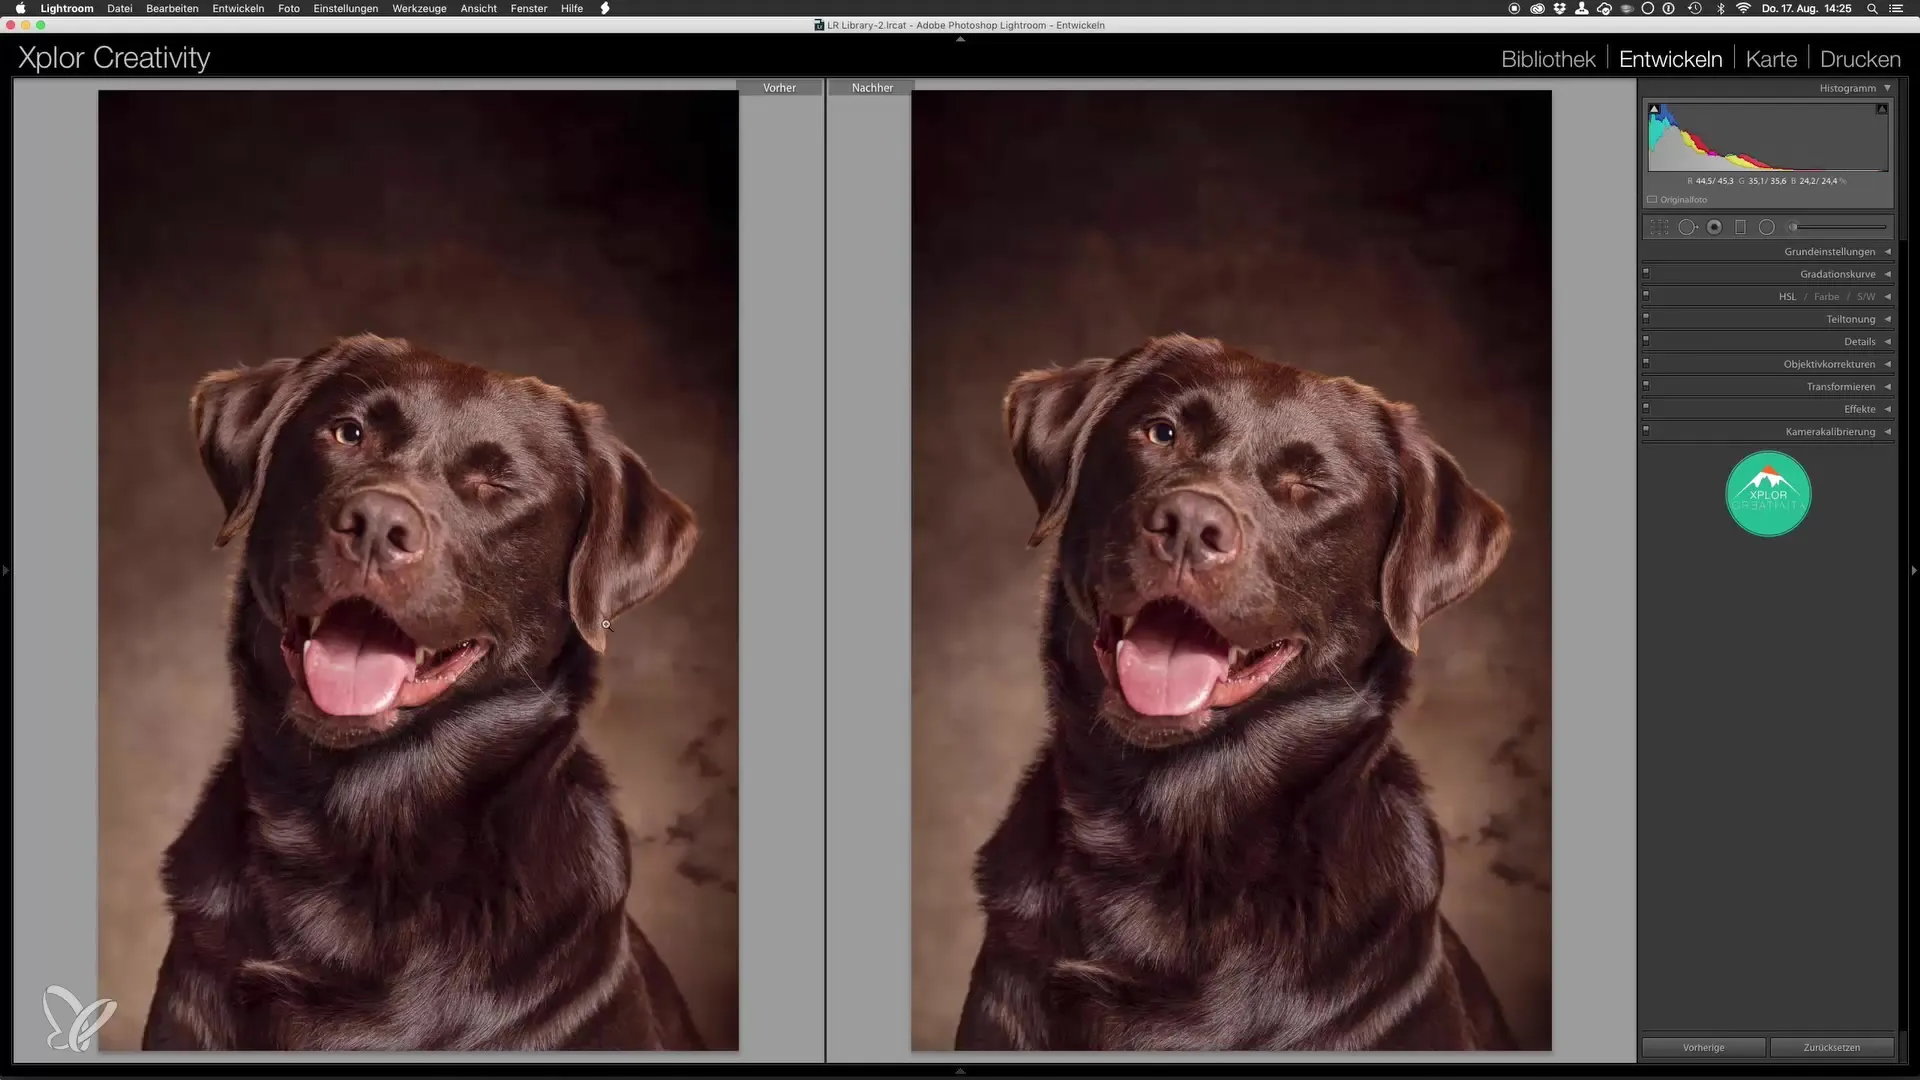
Finally, it is important to make a direct comparison between the optimized image and the version from Photoshop. Here you can see how the adjustments have changed the final result.
After you have made all your adjustments, you are ready to declare your dog portrait finished! You have succeeded in creating an impressive image that shines in both technique and artistry.
If you follow all these steps, you will be able to create very appealing and professionally edited dog portraits. With these final adjustments in Lightroom, you have given your image the fine polish it needed.
Summary – Dog Portraits in the Studio: Optimization in Lightroom
By applying clarity adjustments, tweaking shadows and highlights, and utilizing vignettes, you have learned the essential steps for the final editing of your dog portrait. These techniques allow you to achieve impressive results that enhance both quality and visual appeal.
Frequently Asked Questions
How do I increase clarity in Lightroom?You can adjust clarity under the Develop tab. A slight increase improves the textures in the image.
What are the best settings for shadows and highlights?Experiment with the sliders to find the balance. Typically, you should slightly lower the highlights and raise the shadows.
How do I use the tone curve?The tone curve allows for detailed adjustments to the tonal values. Raise the shadows and reduce the highlights to optimize contrast.
Why should I add a vignette?A vignette draws attention to the main subject and adds more depth and drama to your image.
How do I compare the final image with the original version?You can simply switch between the two images in the Develop tab or view them side by side to see the differences clearly.
