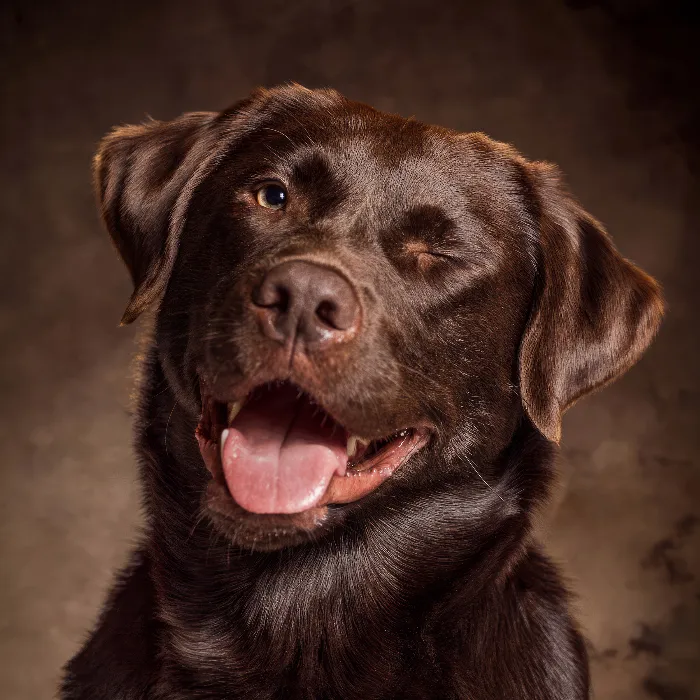
Creating an appealing dog portrait requires not only the right light and the perfect moment but also the art of image editing. In this guide, you will learn how to effectively adjust hues, contrasts, and the overall impression of your images with various techniques to achieve outstanding results.
Key Insights The key to impressive dog portraits lies in the targeted adjustment of colors and contrasts. By using various techniques such as selective color correction, color balance, and targeted adjustments of individual image elements, you can create a harmonious overall picture. This not only highlights the animal but also seamlessly integrates the background.
Step-by-Step Guide
First, we’ll deal with selective color correction. With this technique, you can influence specific color channels in the image. Start by selecting the gray tone to create a warm tone. Set the cyan slider to -10 and the yellow slider to +100.
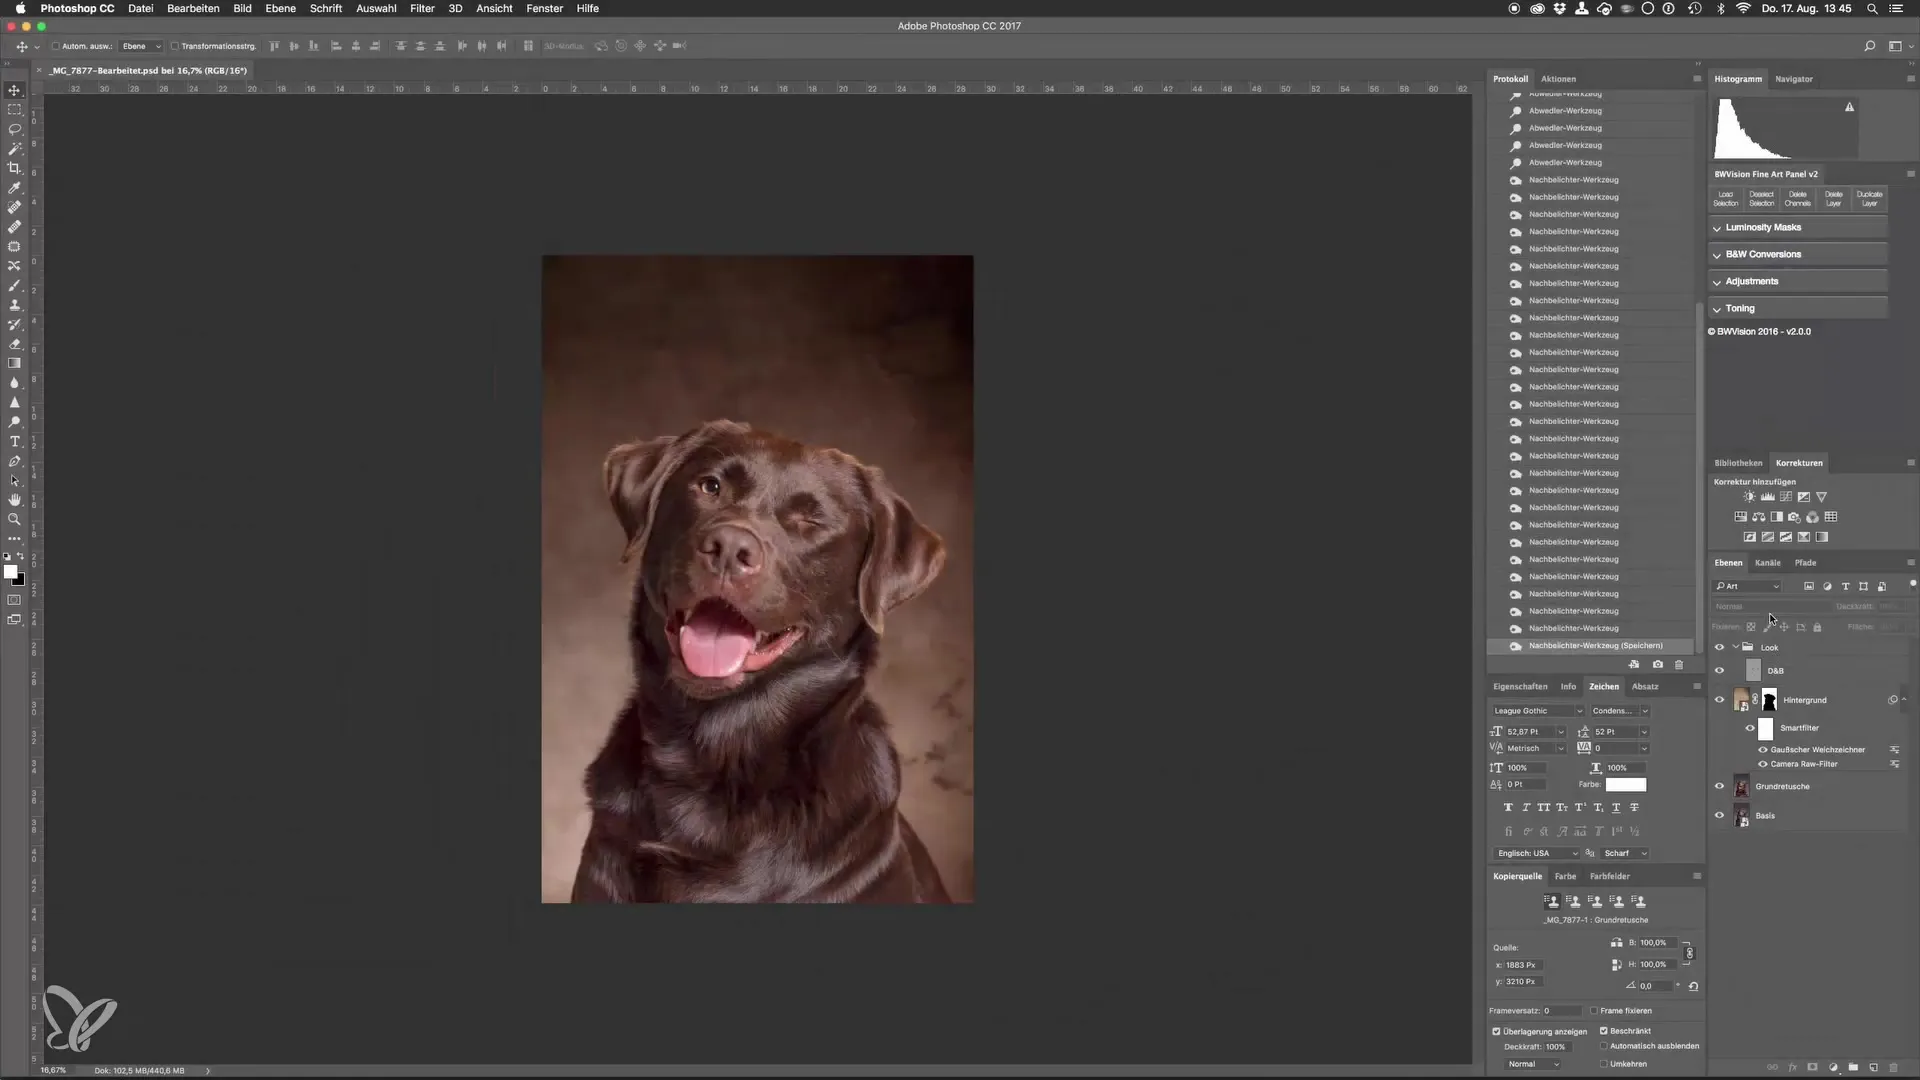
Now go to the black slider and pull the black value up to +5. This adjustment slightly lowers the contrast and brings out details in the shadow areas. You will soon notice that the look seems quite exaggerated. No problem; you can reduce the opacity of this adjustment. Set the opacity to about 15% to make the effect more subtle.
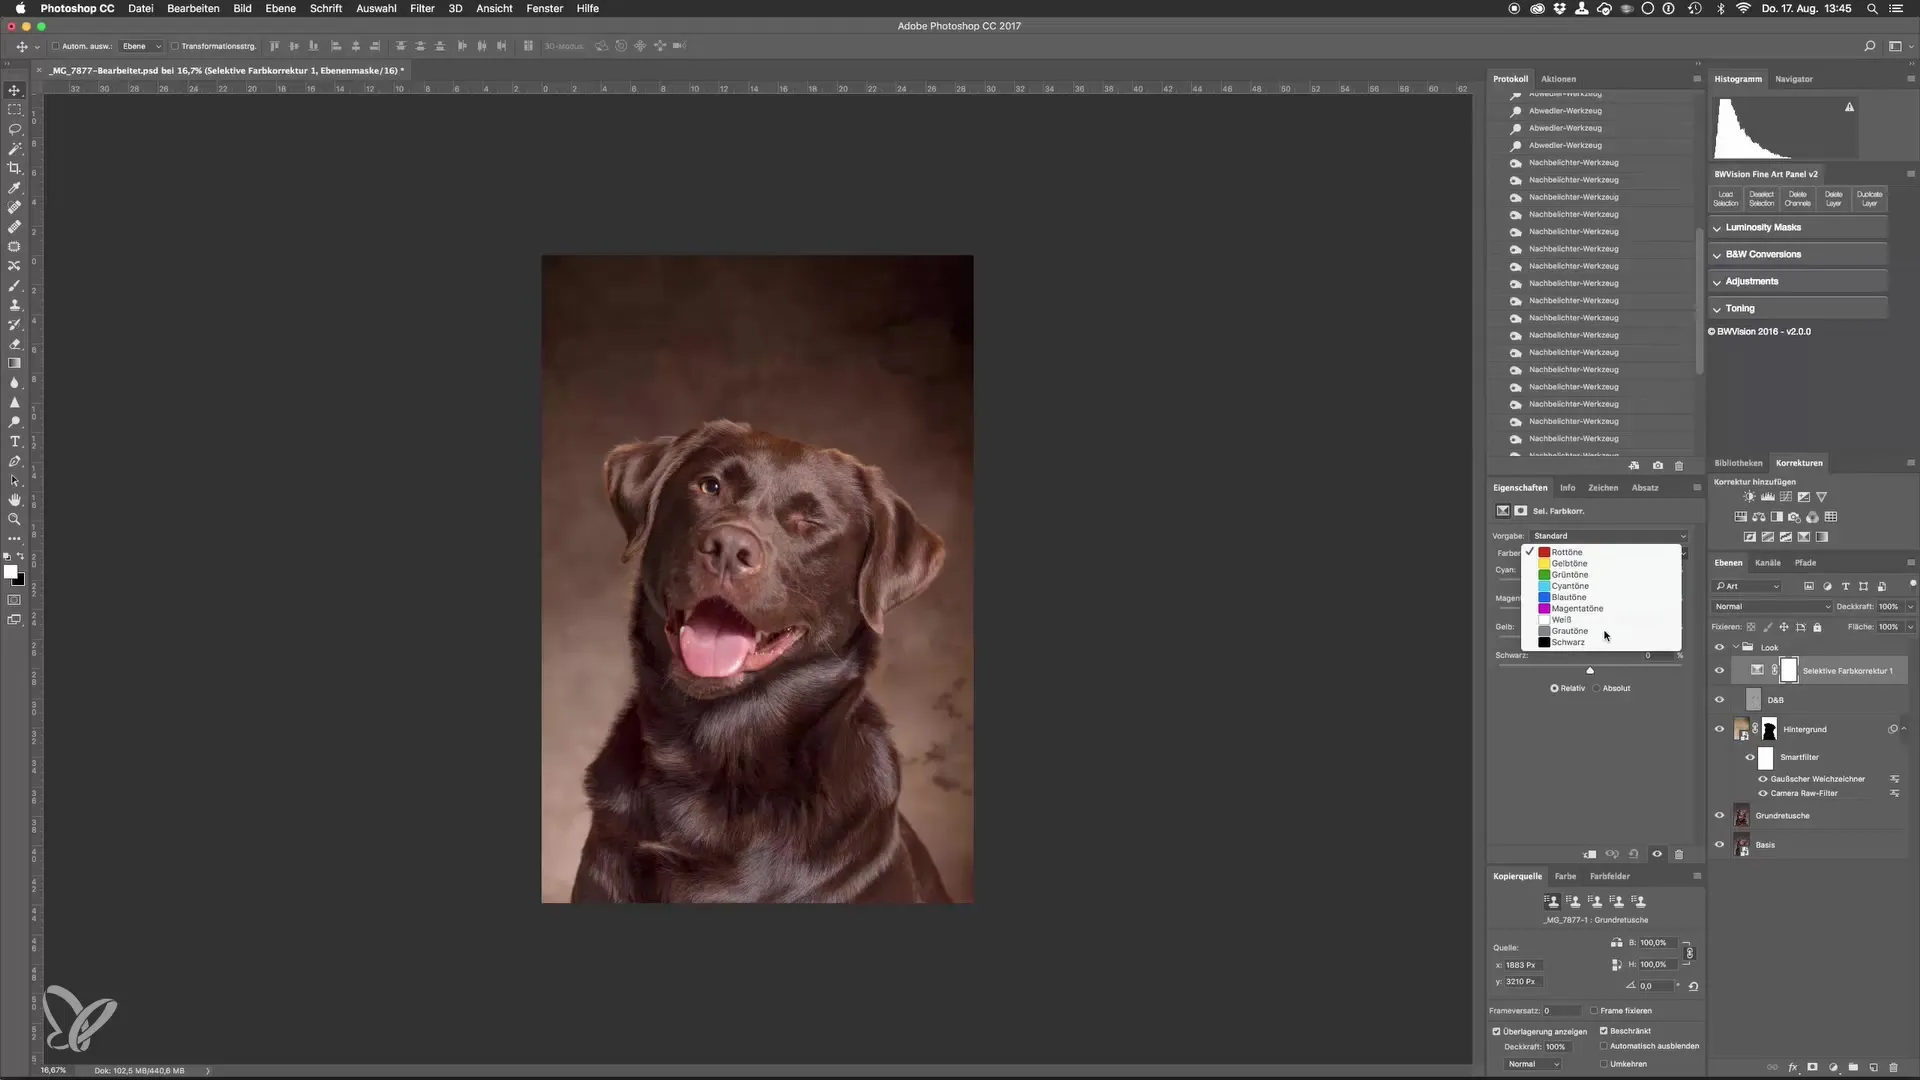
With this color change, the transition between the dog and the background becomes more harmonious, making the image look as if the background was right there.
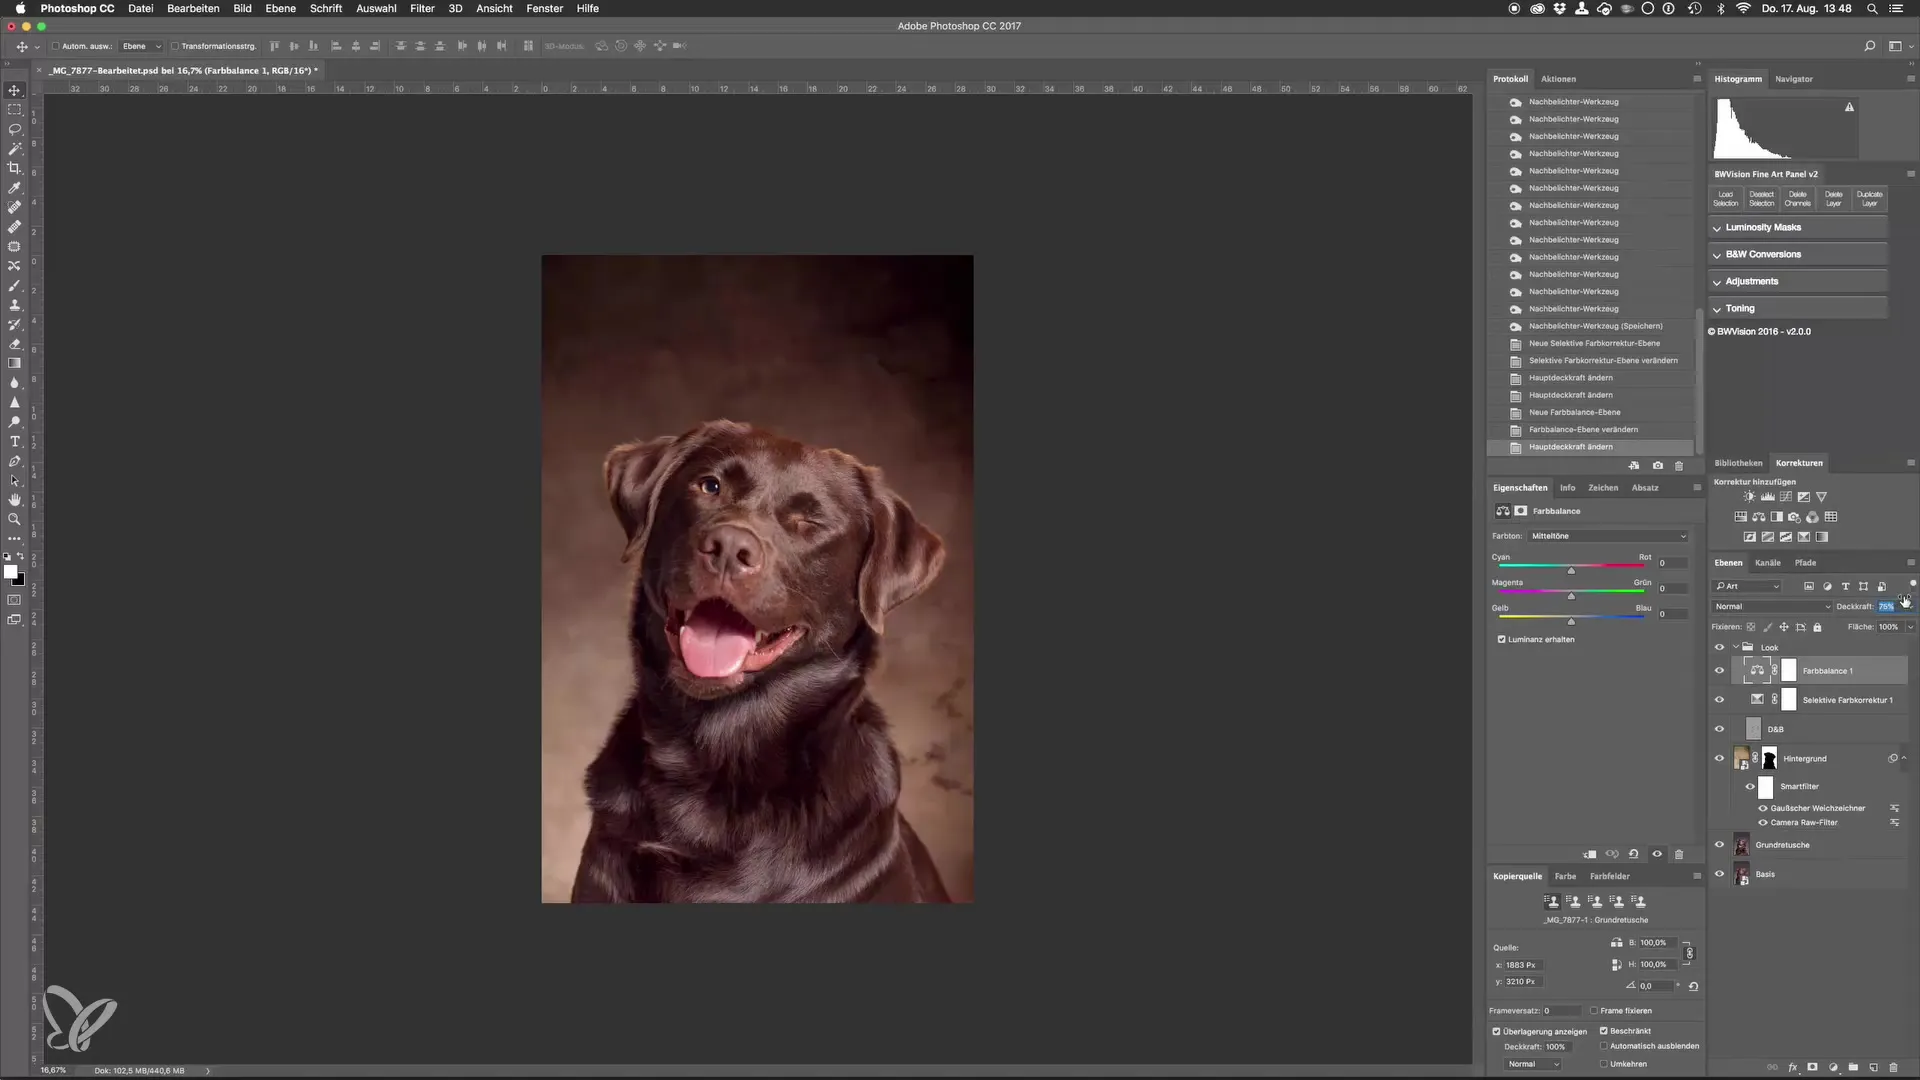
The next step is adjusting the color balance. This allows you to tint the colors in shadows, midtones, and highlights. Generally, I slightly tint the shadows towards blue, perhaps around 5, while the highlights are tinted a bit yellowish to aim for a value of 10.
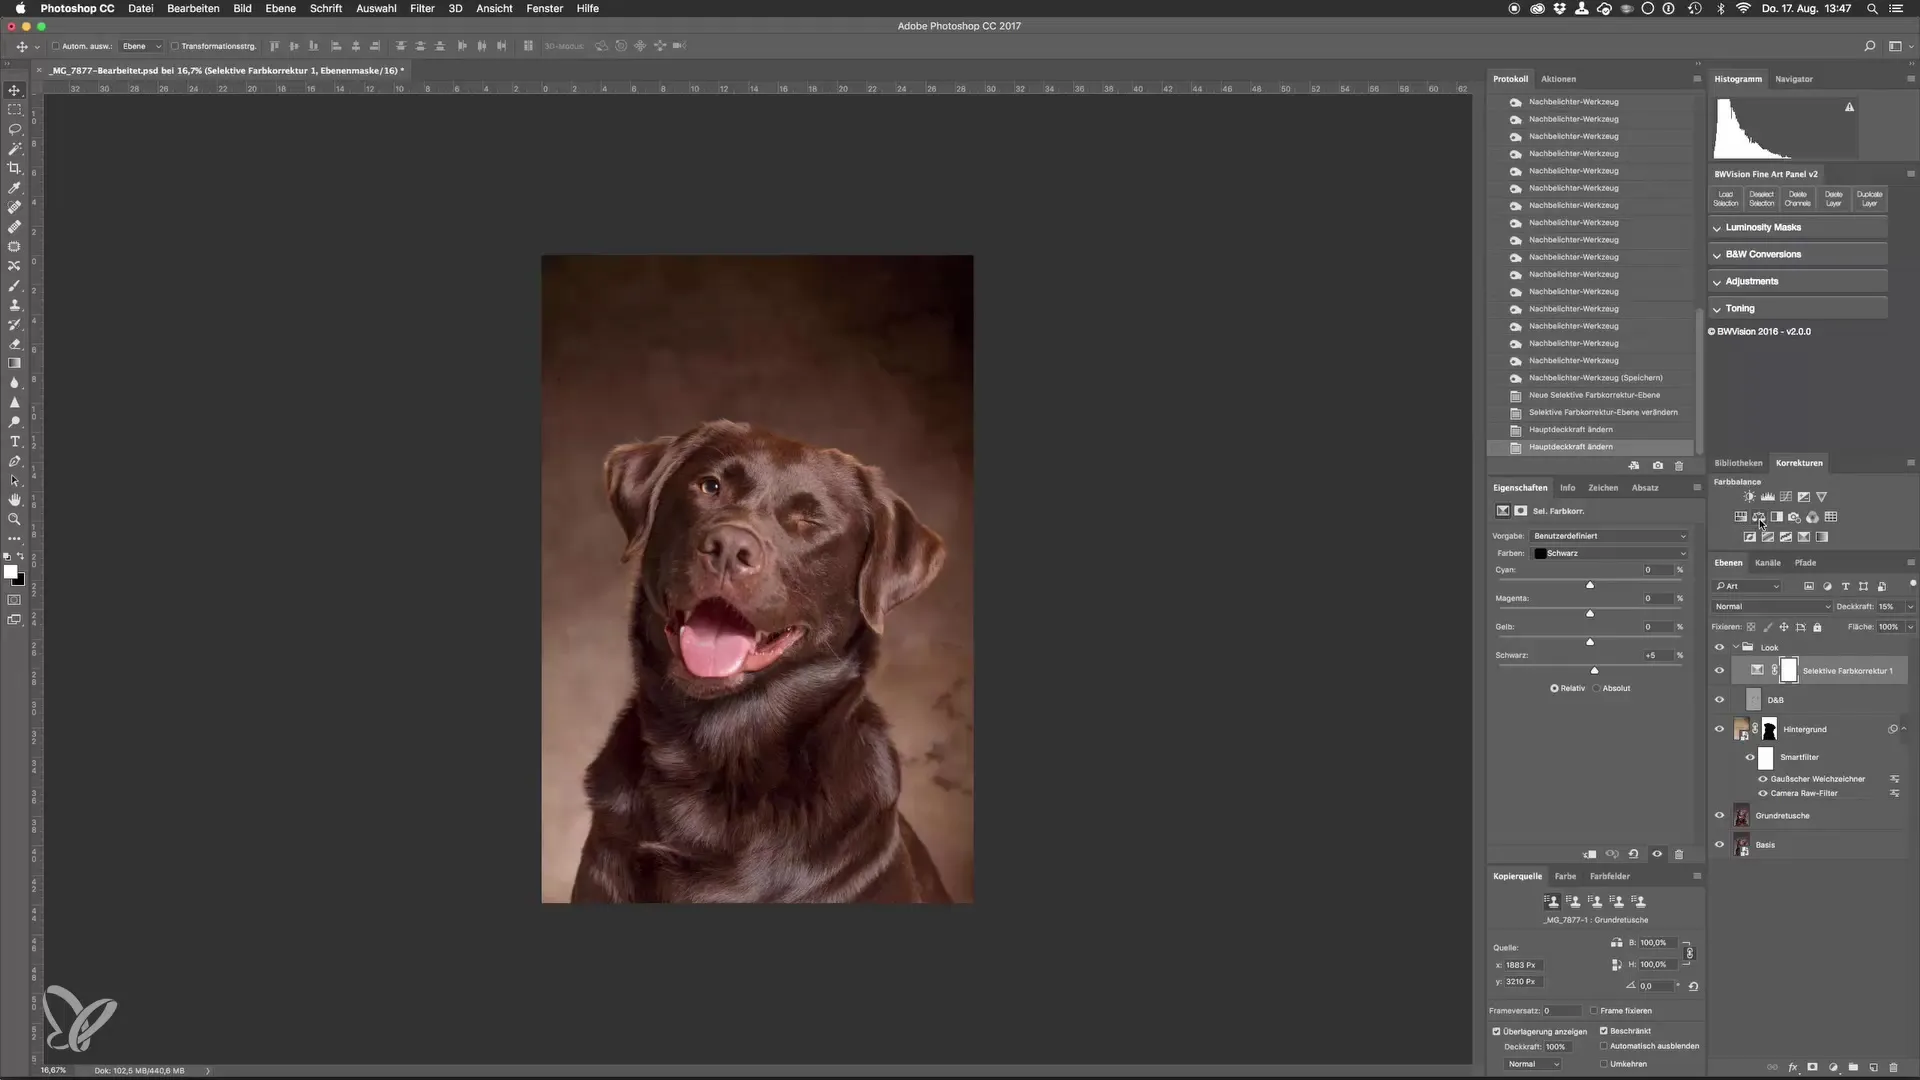
This color balance increases contrast and highlights without making the colors appear uncontrolled. Here you can also adjust the opacity to achieve the desired effect. A value of 75 might work well here.
Another interesting point is the hue adjustment for special parts of the image, such as the dog’s tongue. Here you can adjust the hue and saturation settings by creating a mask. First, make the mask black to apply the effect only to the tongue.
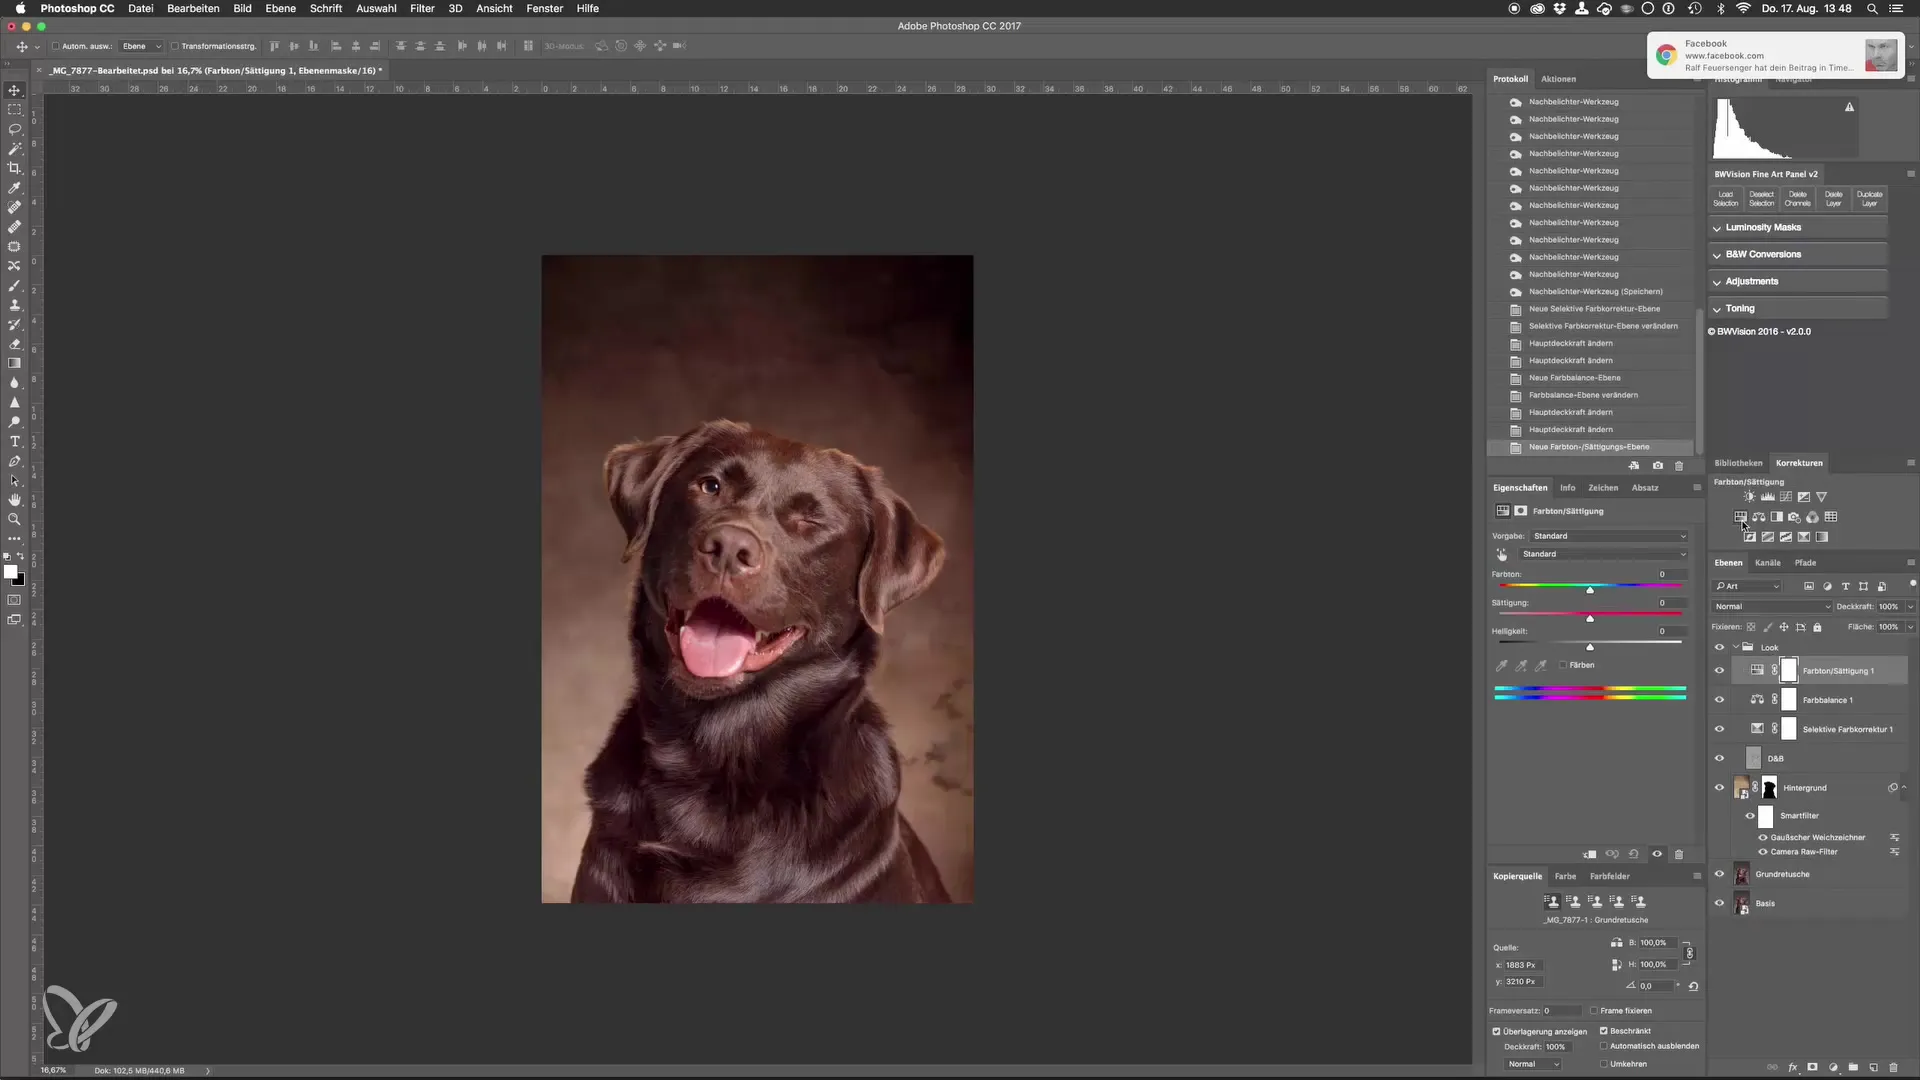
With Command and I (or Ctrl and I), you invert the mask. Simply zoom into the image to see the tongue better. With the brush tool set to white foreground color, you can paint over the tongue. You might prefer a brighter shade, so set the saturation to 20 and test the brightness.
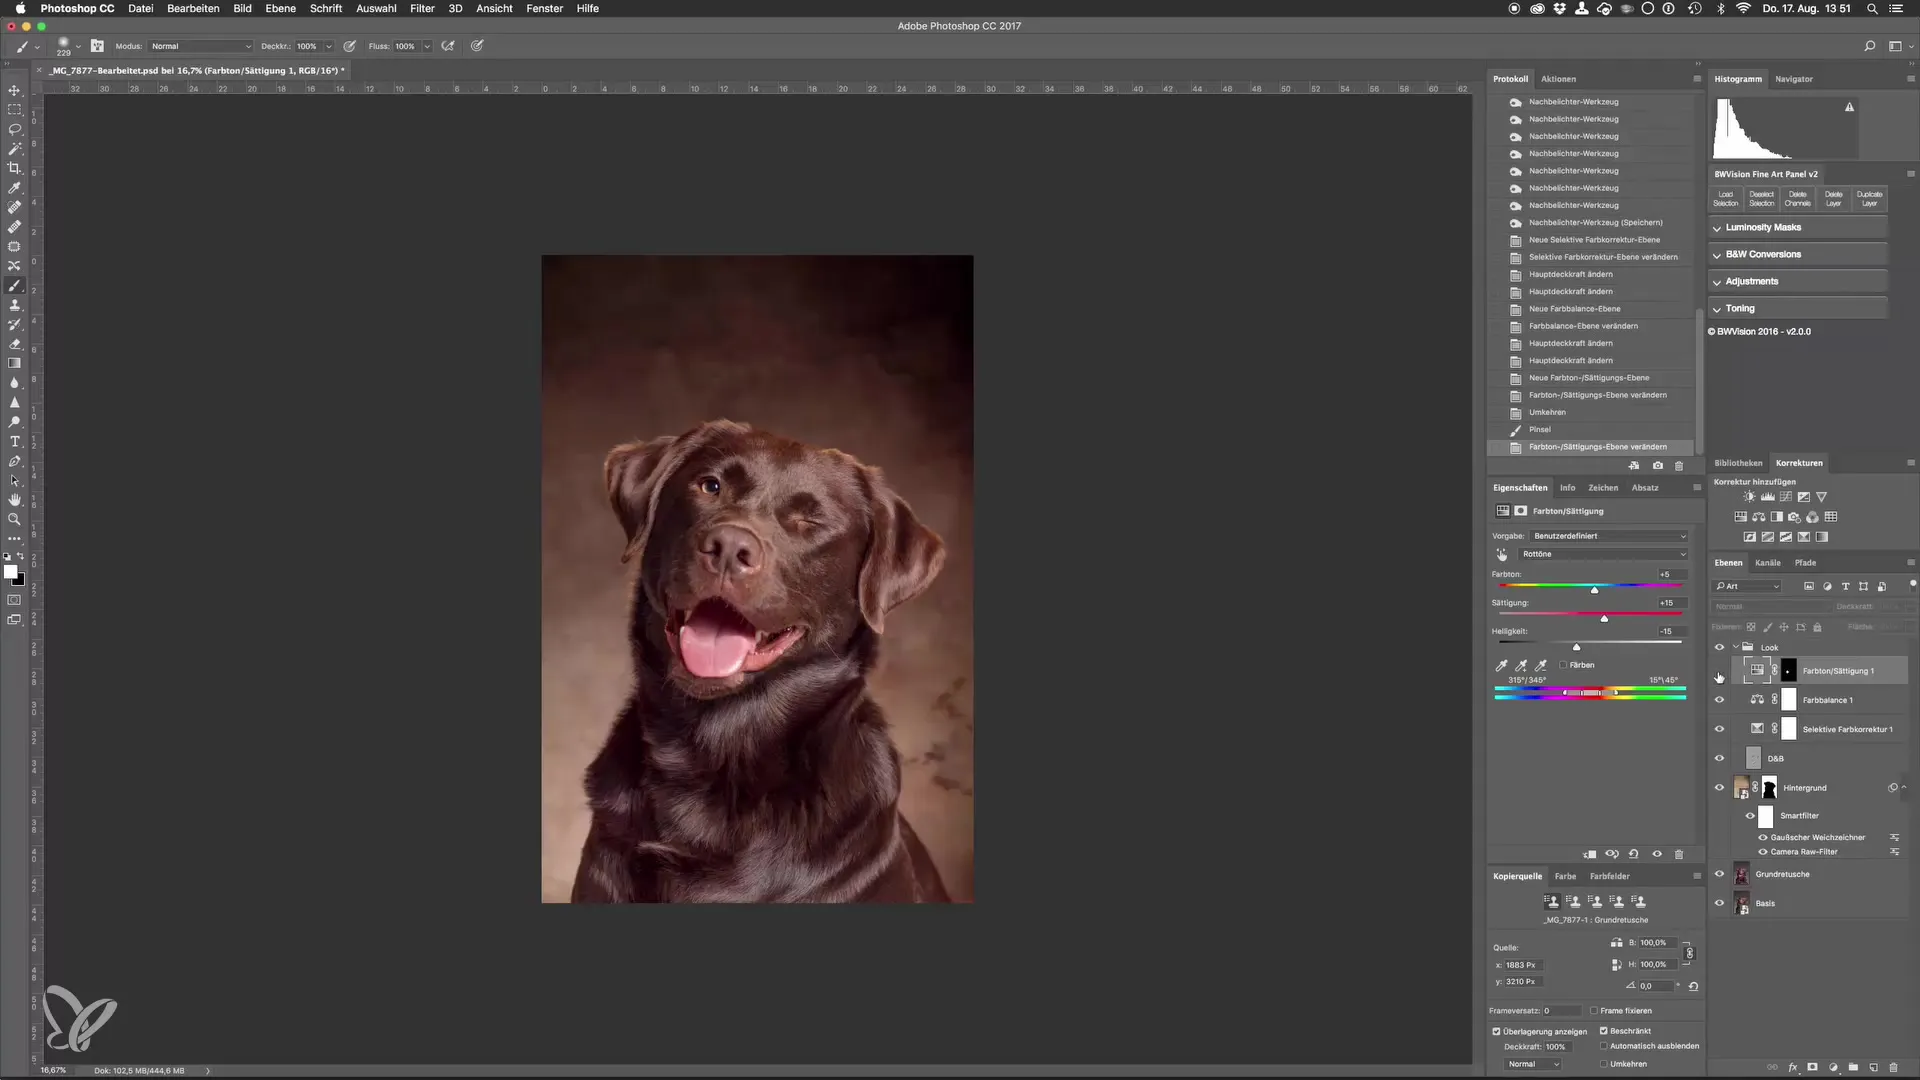
Once you have made the adjustments, zoom back out and see the overall result. You now have a subtler, better-matched tongue in the image.
To further adjust the contrasts in the image, go back to the adjustment layer and use the black-and-white setting. Here you select the blending mode “Soft Light” to increase the contrast. Start by significantly reducing the opacity and gradually increase it until you are satisfied with the effect. A value around 25% might be suitable.
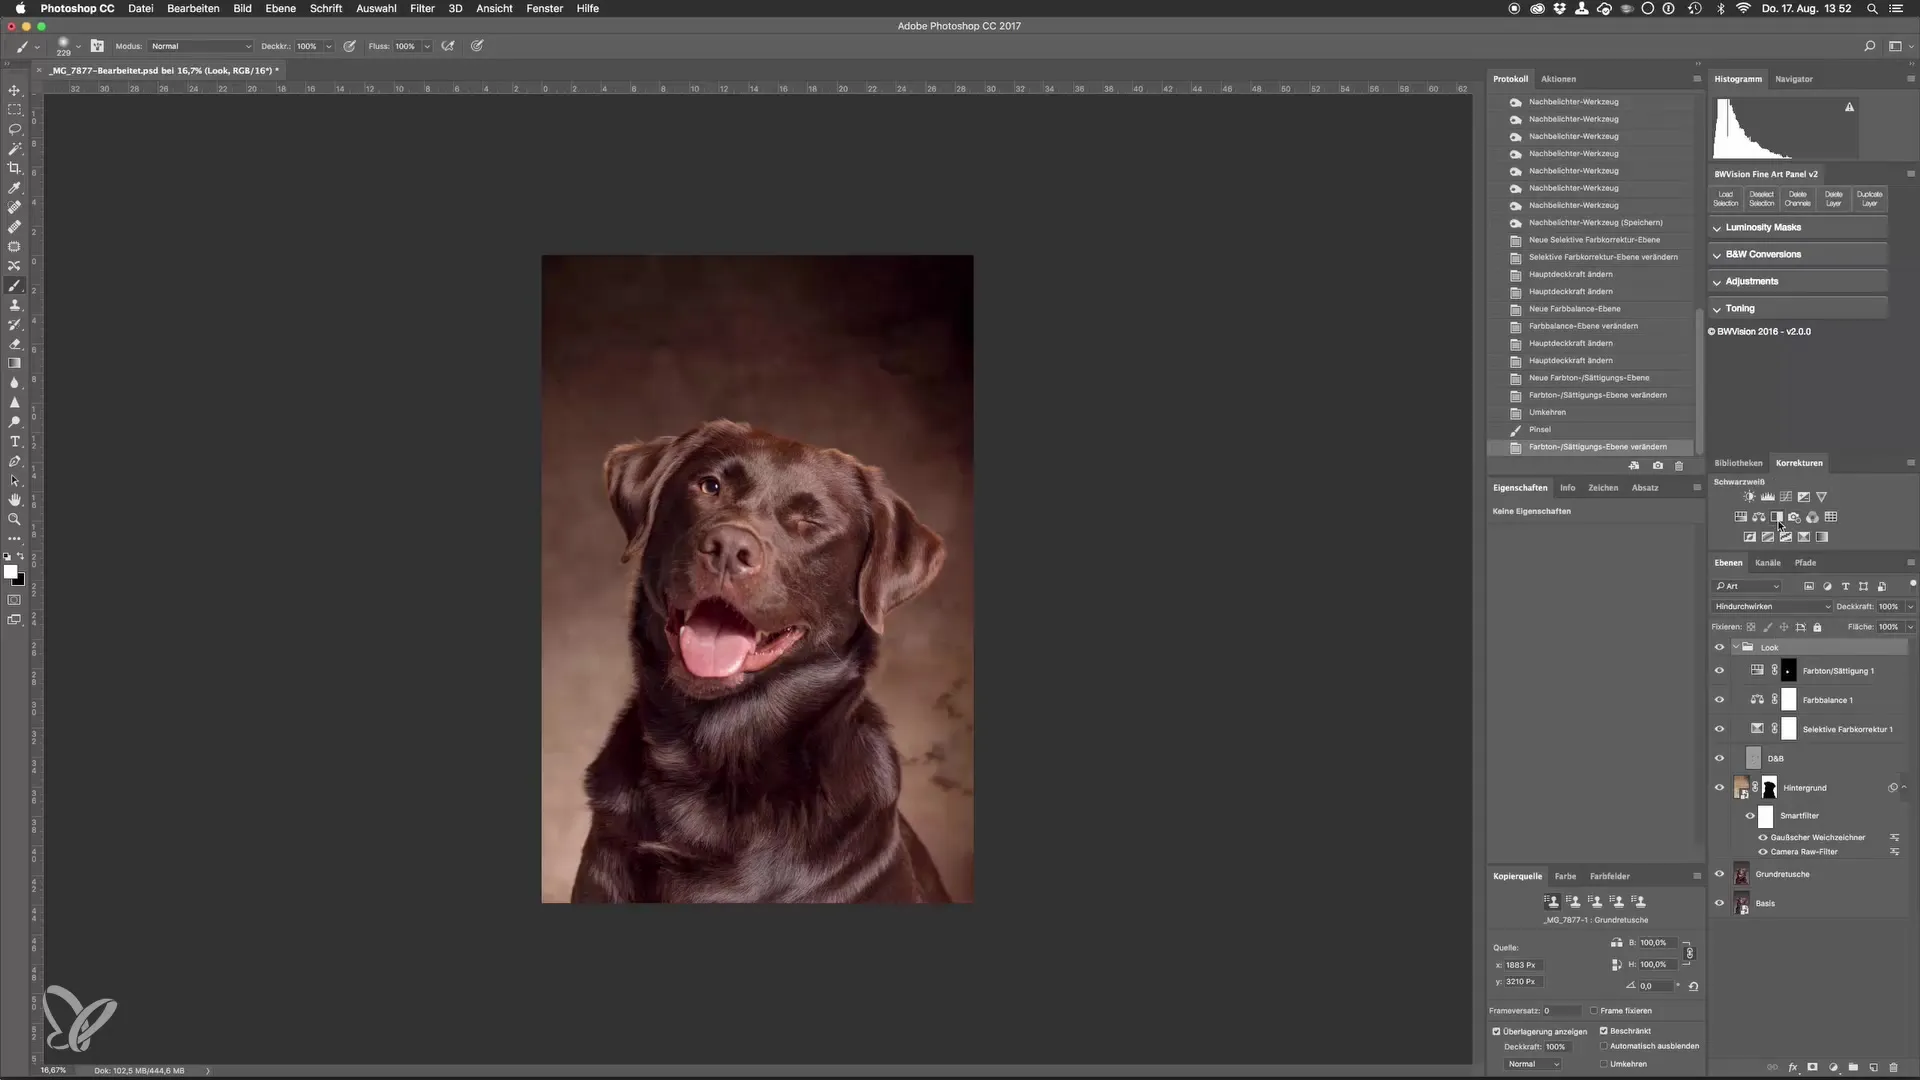
Now you have the opportunity to further adjust the brightness of individual color channels without making the entire image darker. This way, you maintain the drawing in the depths of the image.
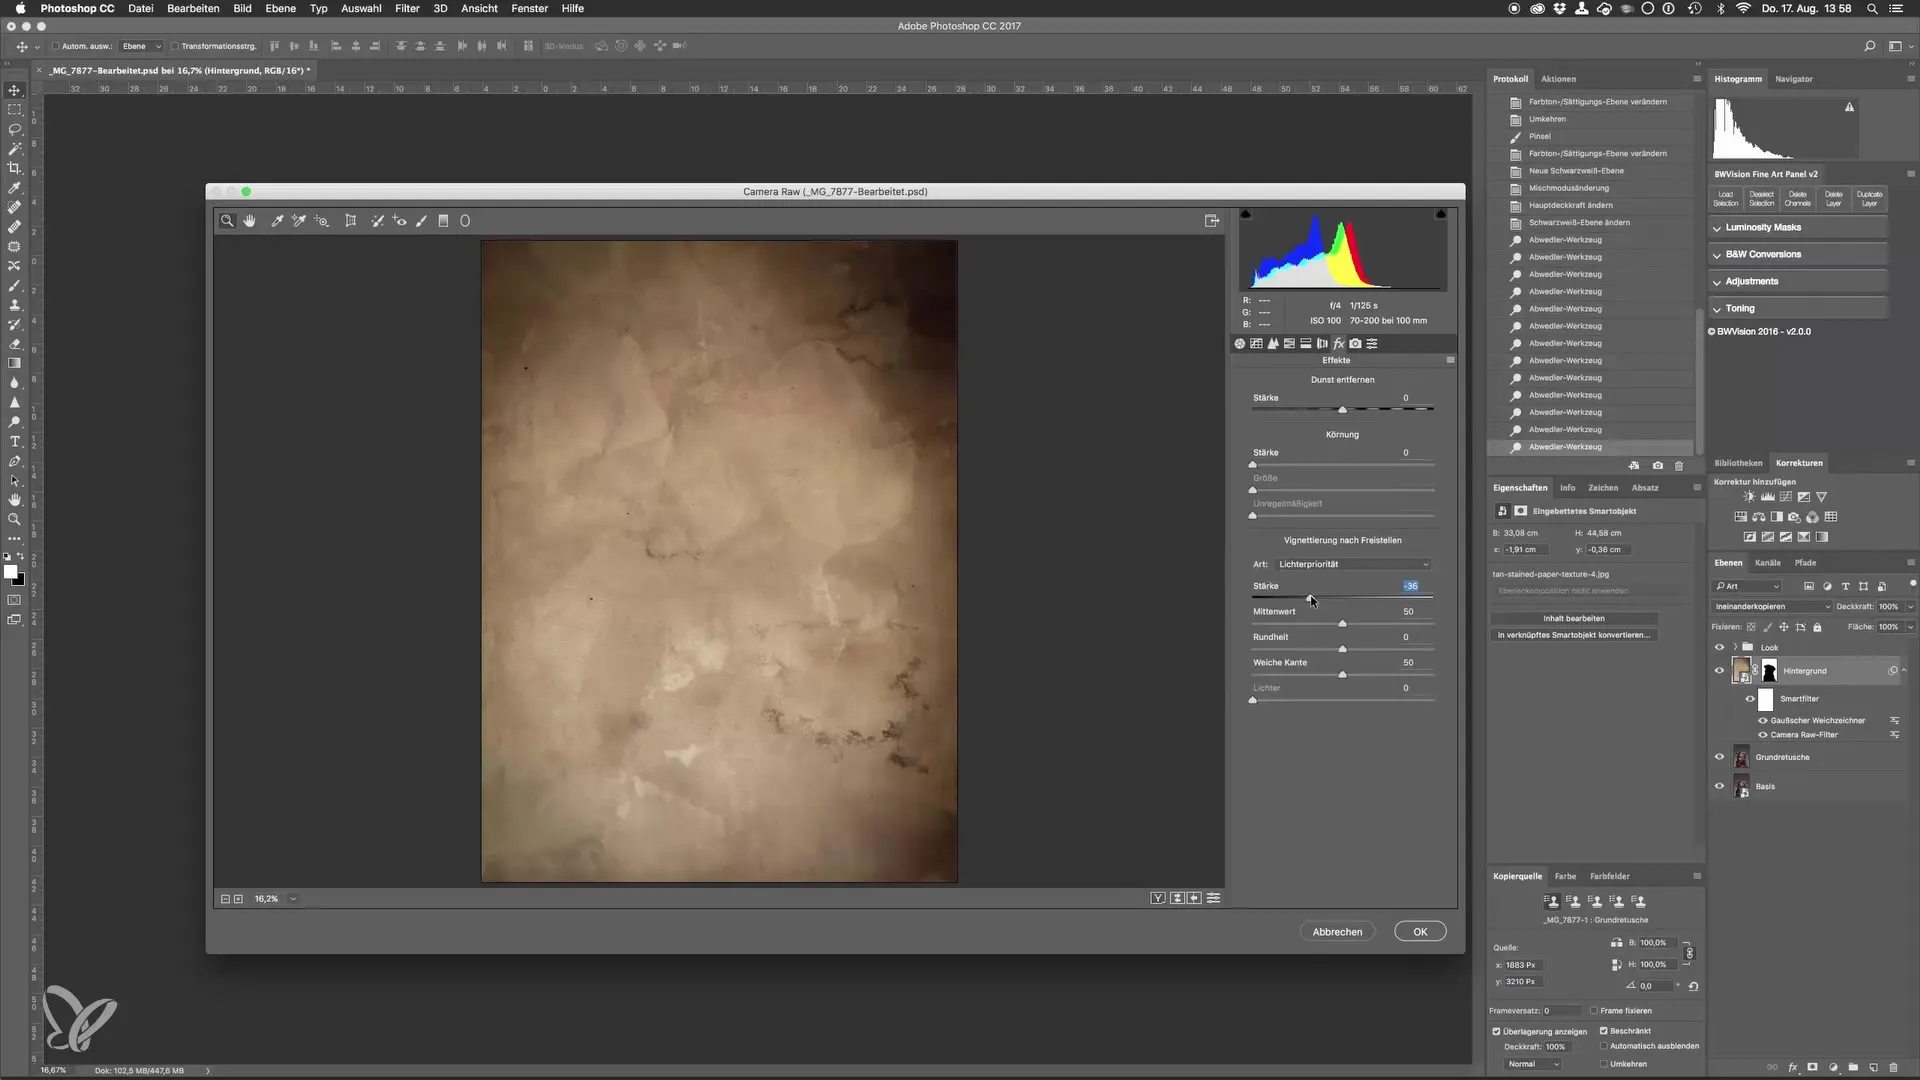
A final adjustment could be a vignette for the background to darken the edges. Go to the Camera Raw Filter and select the vignette under “FX,” adjusting the values to give your image flavor and depth.
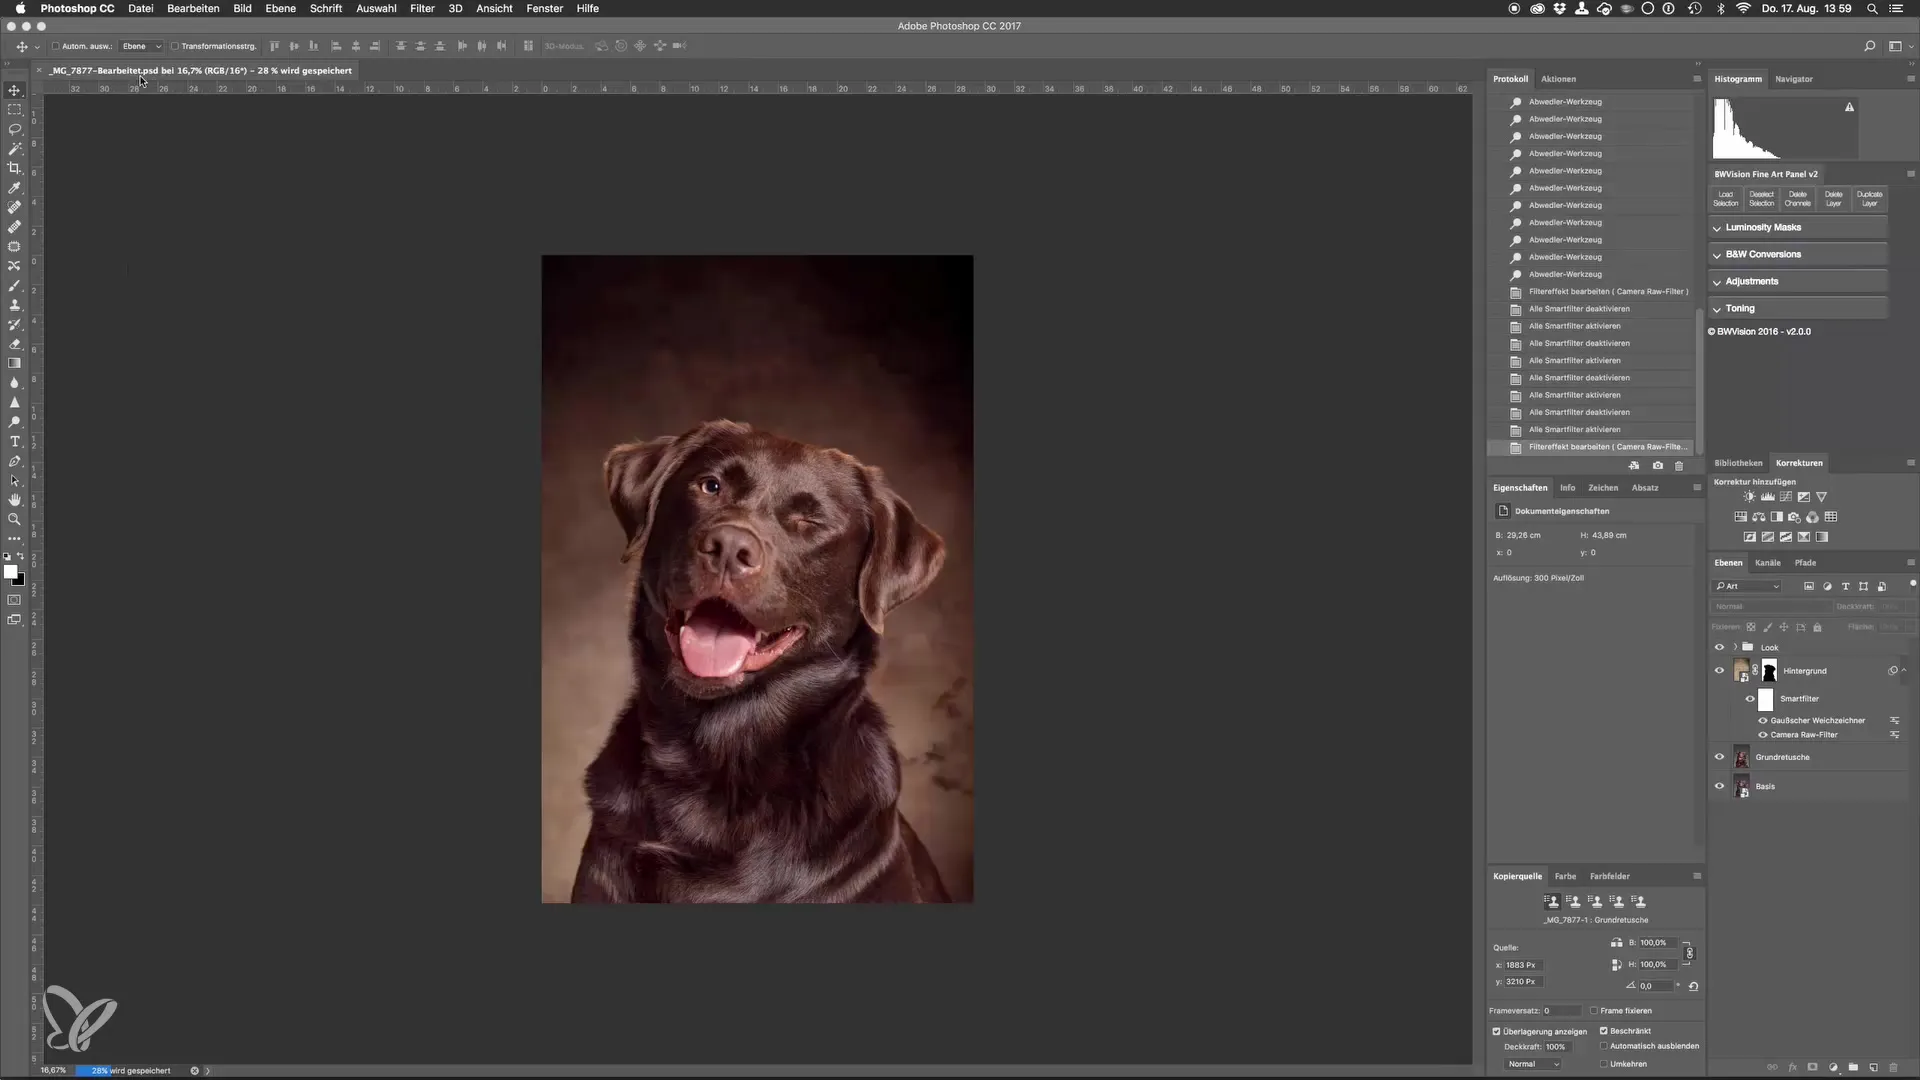
After all these adjustments, your image is now ready to be saved. You can either use the keyboard shortcut Command + S or go through the menu to “File” and “Save.” The image will then be saved as a PSD file and can be further edited in Lightroom later.
Summary – Master the Art of Dog Portraits: Adjust Image Looks in the Studio
By applying these various image editing techniques, you can significantly enhance your dog portraits. Always look for the balance between color adjustments and contrasts to achieve a harmonious image.
Frequently Asked Questions
How can I adjust the colors in a dog portrait?Use selective color correction to change individual color channels and the color balance for shadows, midtones, and highlights.
How can I increase the contrast in the image?You can use the black-and-white adjustment in the “Soft Light” blending mode and adjust the opacity to achieve the desired effect.
What is an effective method to improve specific parts of the image?Use hue adjustment along with a mask to specifically edit targeted areas.
