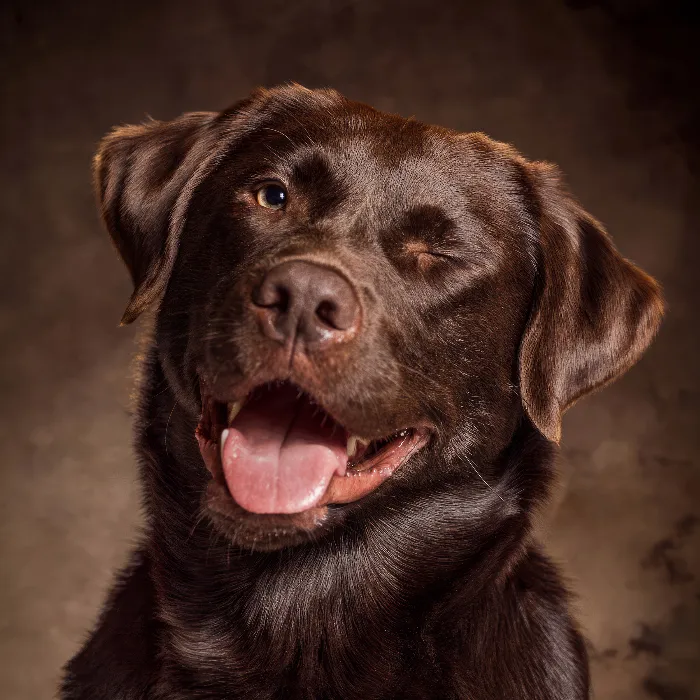
If you want to take a dog portrait in the studio, it is important to prepare the image optimally from the very first editing phase. Lightroom provides the ideal tools for this, allowing you to optimize the image before further editing in Photoshop. In this guide, I will explain step by step how to design the basic editing in Lightroom.
Key findings Considering lens correction, adjusting contrast, and working specifically with sharpness are fundamental steps to achieve an appealing result. Keep a close eye on ensuring the background remains bright and neutral so that you can later make an optimal exchange in Photoshop.
Step-by-step guide
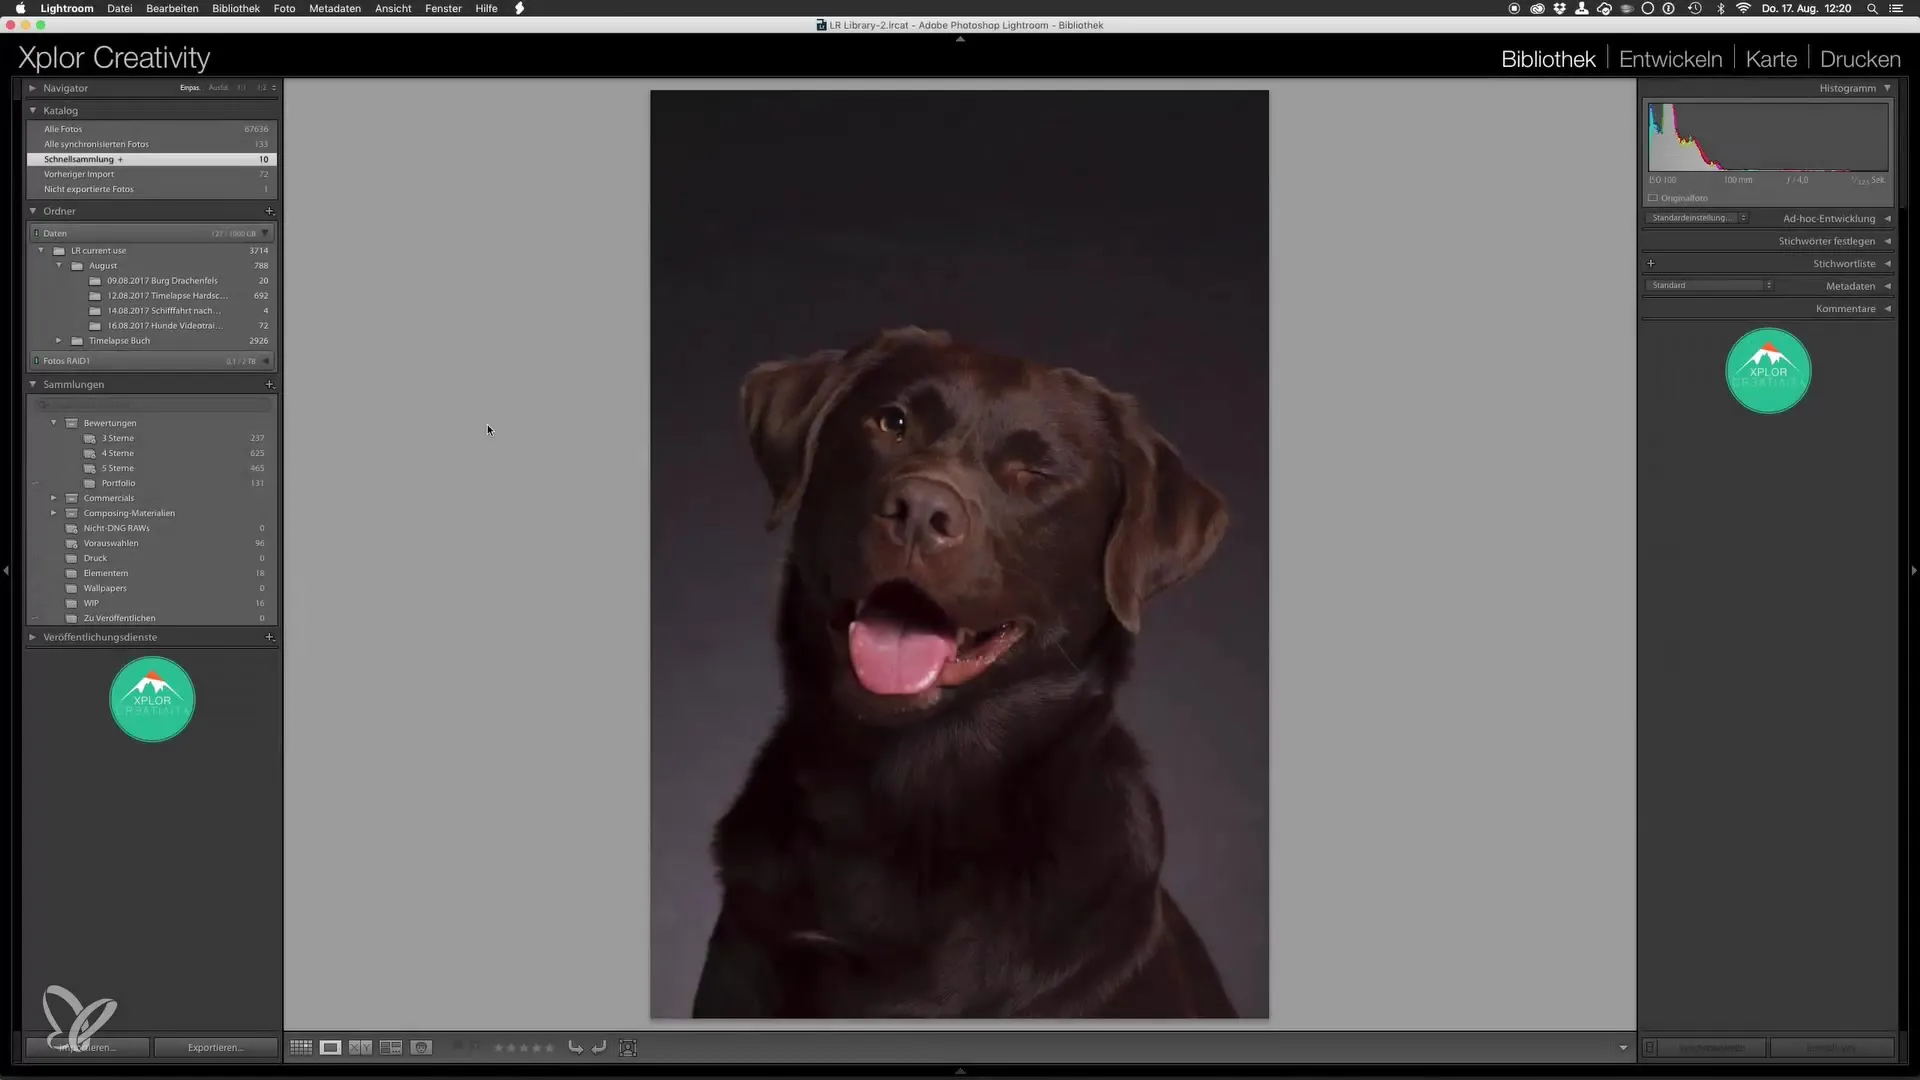
First, open your image in Lightroom and switch to the Develop tab. This is the area where you can work with the various settings. All relevant options can be found on the right side in expandable tabs. Here, we will tackle the first preparation of the image: the basic editing, so it can be further refined in Photoshop later.

1. Lens correction
The first step you should take is to activate lens correction. By checking the appropriate boxes, Lightroom removes distortions and vignetting that could affect the image. This usually happens automatically, as the program recognizes which lens was used. Before continuing, you should compare the changes: toggle the lens correction on and off to see the differences.
2. Adjust basic settings
After lens correction, go to the basic settings. Here, it is important to make the background as gray and bright as possible. The goal is to be able to perform an easy background exchange later in Photoshop. You will ensure that there is little contrast in the image and no extreme black or white values are displayed.
Start by raising the shadows. Increase the exposure to about 0.75 to create a well-lit base. Also, be sure to pull back the highlights a bit to avoid overexposed areas.
3. Increase clarity
To emphasize the details in the fur, you should adjust the clarity. A stronger value enhances the texture and better highlights the dog's fur. Check the recommendation to slightly raise the clarity value in this step and control the effect's punchiness. You will find that this makes the image more appealing, even during later editing.

4. Optimize tone curve
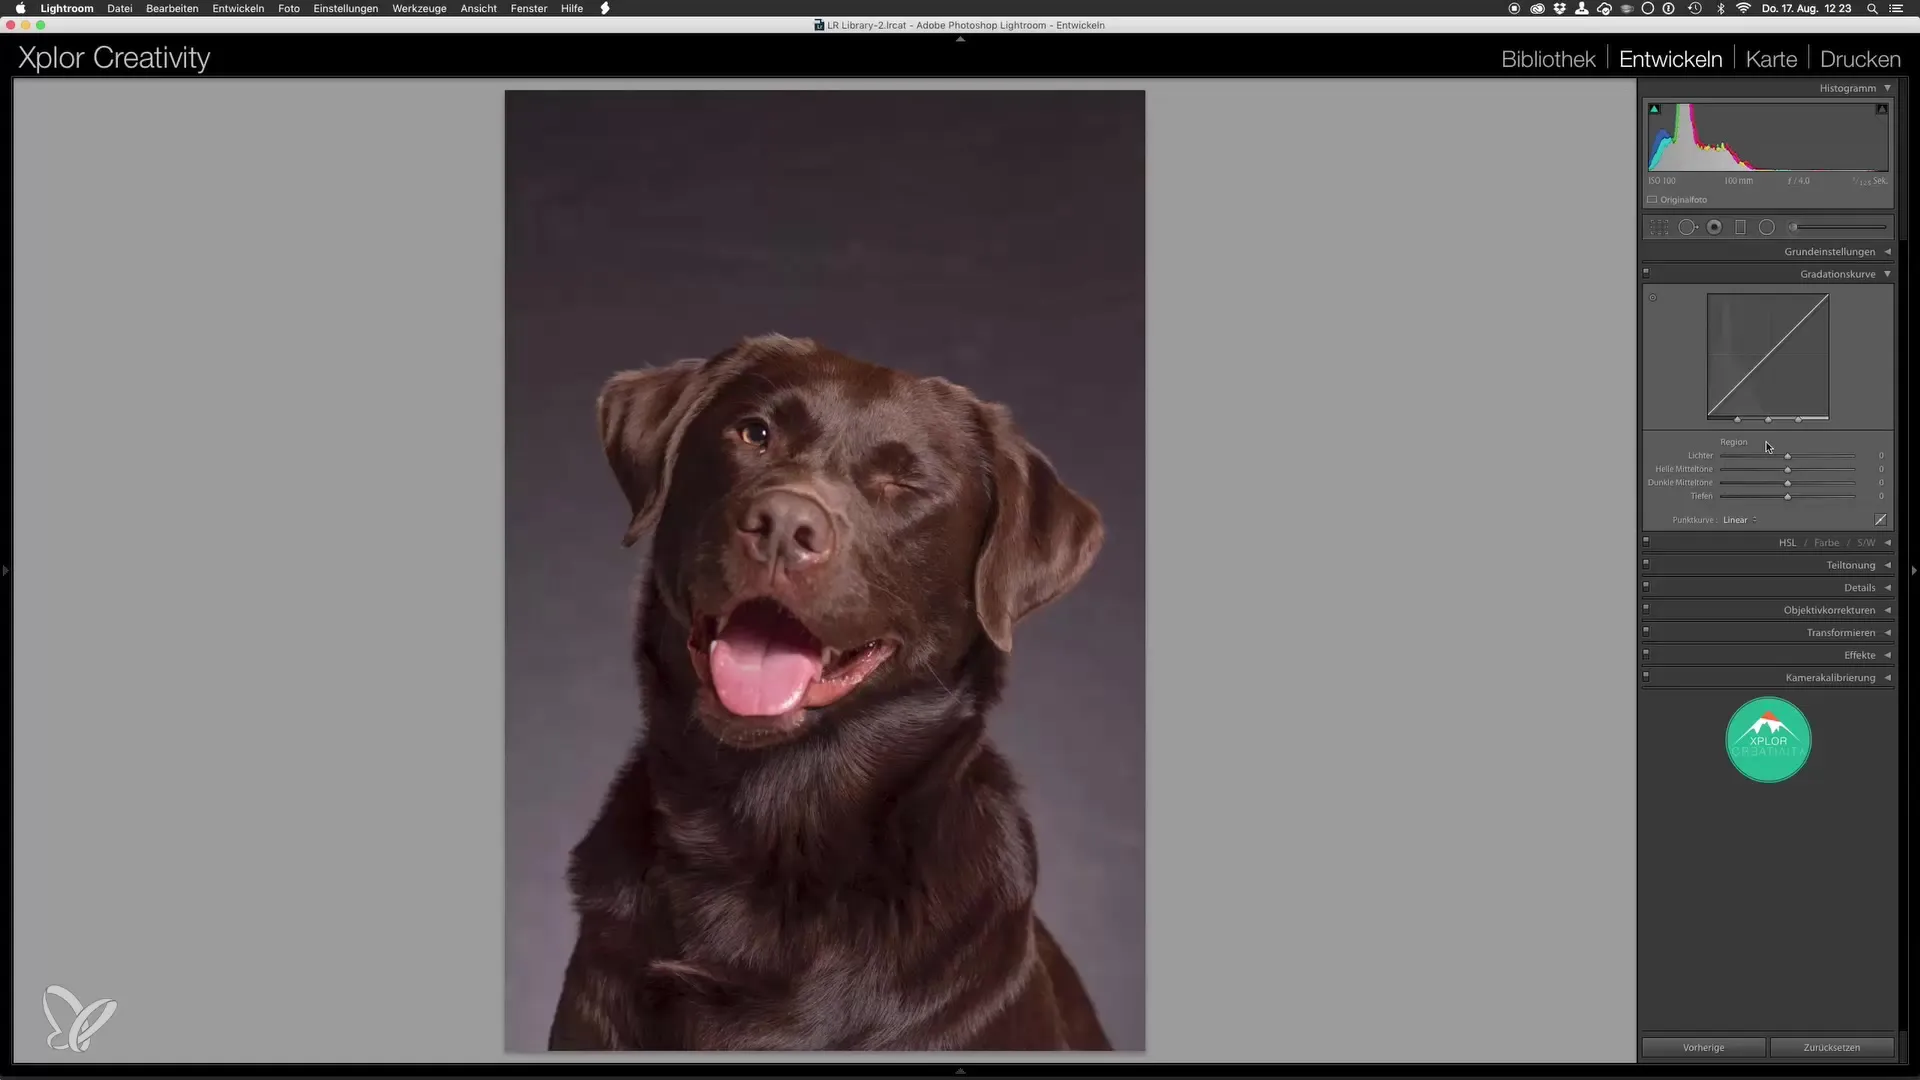
Switch to the tone curve and make sure you have the parametric option enabled. Go into the dark mid-tones and adjust them to slightly lighten the image. This adjustment ensures that the image has a clear look, which is important for Photoshop editing. Make sure the light mid-tones are also slightly adjusted to promote image depth and avoid highlights.

5. Check histogram
Check the histogram of your image. The goal is for it to look balanced, without black or white areas. A well-distributed histogram provides a safe contrast range necessary for the next editing. You can make adjustments until the histogram meets your specifications.
6. Add basic sharpness
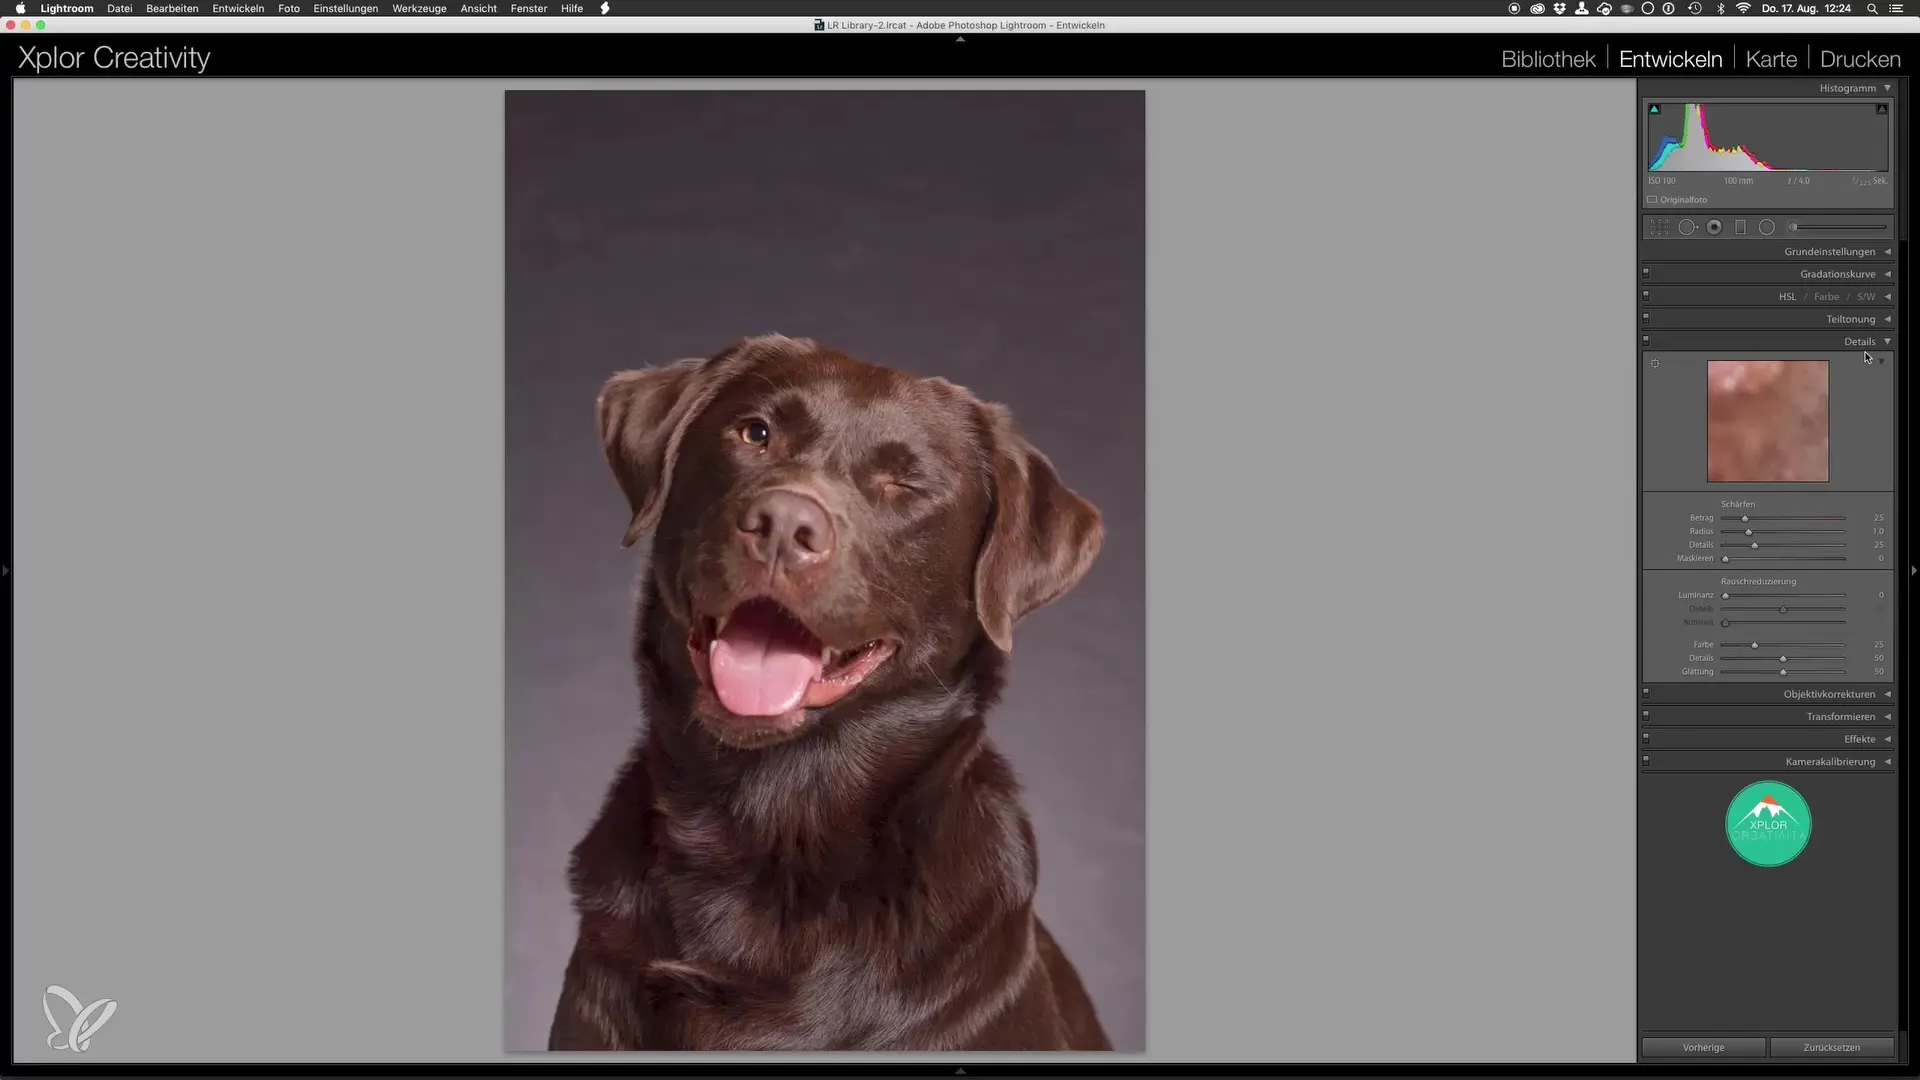
The final step in Lightroom is to apply basic sharpness. This sharpness is not the final edit — that will happen later in Photoshop. Set the value to 50 and work with the masking slider. Hold down the ALT key while moving the slider. This shows you which areas of the image are being sharpened. It is important that the background remains blurry to keep the focus on the dog. A masking value of 50 is often optimal.

Summary – Step by step: Dog portraits in the studio – Basic editing in Lightroom
The preparation of a dog portrait in Lightroom involves several crucial steps, ranging from lens correction to exposure adjustment and sharpness. By being mindful of contrast ratios and removing distortions, you create an optimal foundation for further editing in Photoshop.
Frequently Asked Questions
How do I perform lens correction?Activate lens correction in the basic settings to automatically remove distortions and vignetting.
Why is a bright background color important?A bright background makes it easier to exchange in Photoshop and avoids distracting contrasts in the image.
What is the masking slider?The masking slider allows you to sharpen only specific areas of the image to keep the focus on the main subjects while the background remains blurry.
What role does the histogram play?The histogram shows the tonal range of the image and ensures that there are no extreme black or white values that could interfere with later editing.


