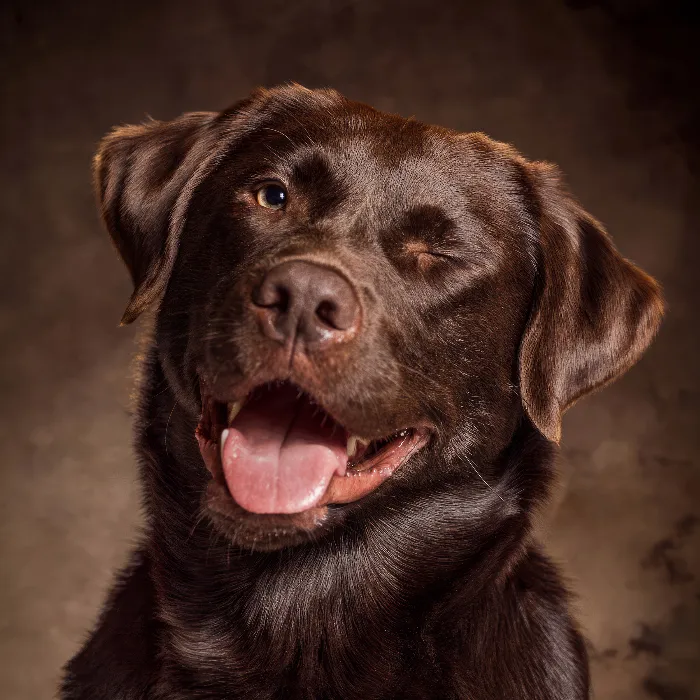
Dogs are not just loyal companions, but also great photo models. If you want to unleash your dog's potential in professional studio photos, you’re in the right place. In this tutorial, you will learn how to effectively showcase your dog to create impressive portraits. You don’t need an expensive studio – with a few affordable, portable pieces of equipment, you can create a perfect setup in your own living room. Let’s begin this exciting journey into the world of dog photography!
Key Insights
You will learn how to set up a home studio for dog portraits, apply effective techniques for the shoot, and edit your images in Lightroom and Photoshop to get the best out of your shots.
Step 1: Choose the Right Equipment
First, it's important that you have the essential equipment to set up a home studio for dog photography. The key is in the mobility and compactness of the equipment. You will need a lighting set consisting of softboxes or flashlights, and an unobtrusive background that draws attention to your dog.
Step 2: Find a Suitable Location at Home
The next step is to find a suitable location in your home. Your living room or bedroom is great for setting up the basic equipment. Make sure the room has enough space for your gear and sufficient natural light, if you want to use it.

Step 3: Prepare the Dog for the Shoot
Before you start photographing, it’s important to prepare your dog for the shoot. This can be done through playful training to ensure your dog looks at the camera and remains relaxed. Use treats or favorite toys as rewards to gain your dog’s attention.
Step 4: Choose the Right Camera Settings
Now it’s time to set up the camera optimally. Be sure to open the aperture wide to blur the background. A shorter shutter speed helps capture moving snapshots while the ISO level should be adjusted to the lighting conditions in the room. This way, you’ll achieve sharp and clear shots of your dog.
Step 5: Start the Shoot
Now is the moment to begin photographing. Pose your dog, but make sure he feels comfortable. Experiment with different angles and perspectives to best capture your dog's character. Always leave room for spontaneous actions, which often yield the best photos.
Step 6: Perfectly Edit the Shots
After you’ve taken the shots, post-processing in Lightroom or Photoshop is the next step. Here you can adjust exposure, optimize colors, and remove unwanted elements. Use the tools to get the maximum out of your photos and perfect them.
Summary – Photographing Dog Portraits – Step-by-Step Guide for Optimal Studio Shots
Dog photography in the studio is an art that can be easily mastered with the right equipment, a suitable location, proper preparation, and editing tools. Implement these steps to create impressive portraits of your four-legged friend.
Frequently Asked Questions
How much equipment do I need for dog photography?You only need a lighting set, a background, and a camera.
Can I set up a studio at home?Yes, with a few affordable devices, you can set up an effective home studio.
How do I keep my dog's attention during the shoot?Use treats or toys to gain your dog’s attention.
What software is suitable for editing my photos?Lightroom and Photoshop are ideal for post-processing.
How do I find the best angles for the photos?Experiment with different perspectives to capture your dog's character.

