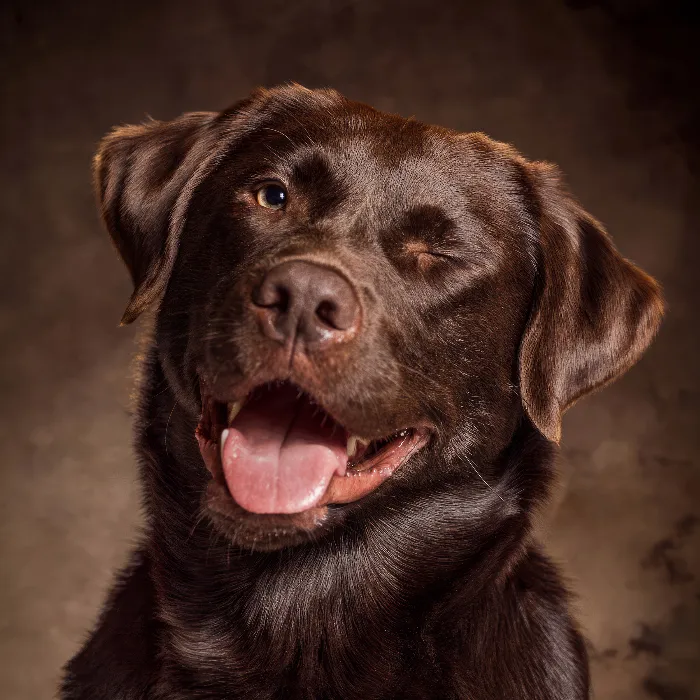
Sharpening images is a critical step in image editing, especially when it comes to dog portraits. After all, you want every detail of your furry friend's muzzle, every hair, and their vibrant eyes to stand out perfectly. In this tutorial, I will show you a technique in Photoshop that allows you to sharpen your images effectively without leaving unwanted artifacts. The method I present requires a few steps but delivers impressive results.
Key Takeaways This technique allows you to sharpen images without sharpening artifacts. You will learn how to create and edit layers to achieve a perfect sharpness. The adjustments are simple, and you can see the effects immediately.
Step-by-Step Guide
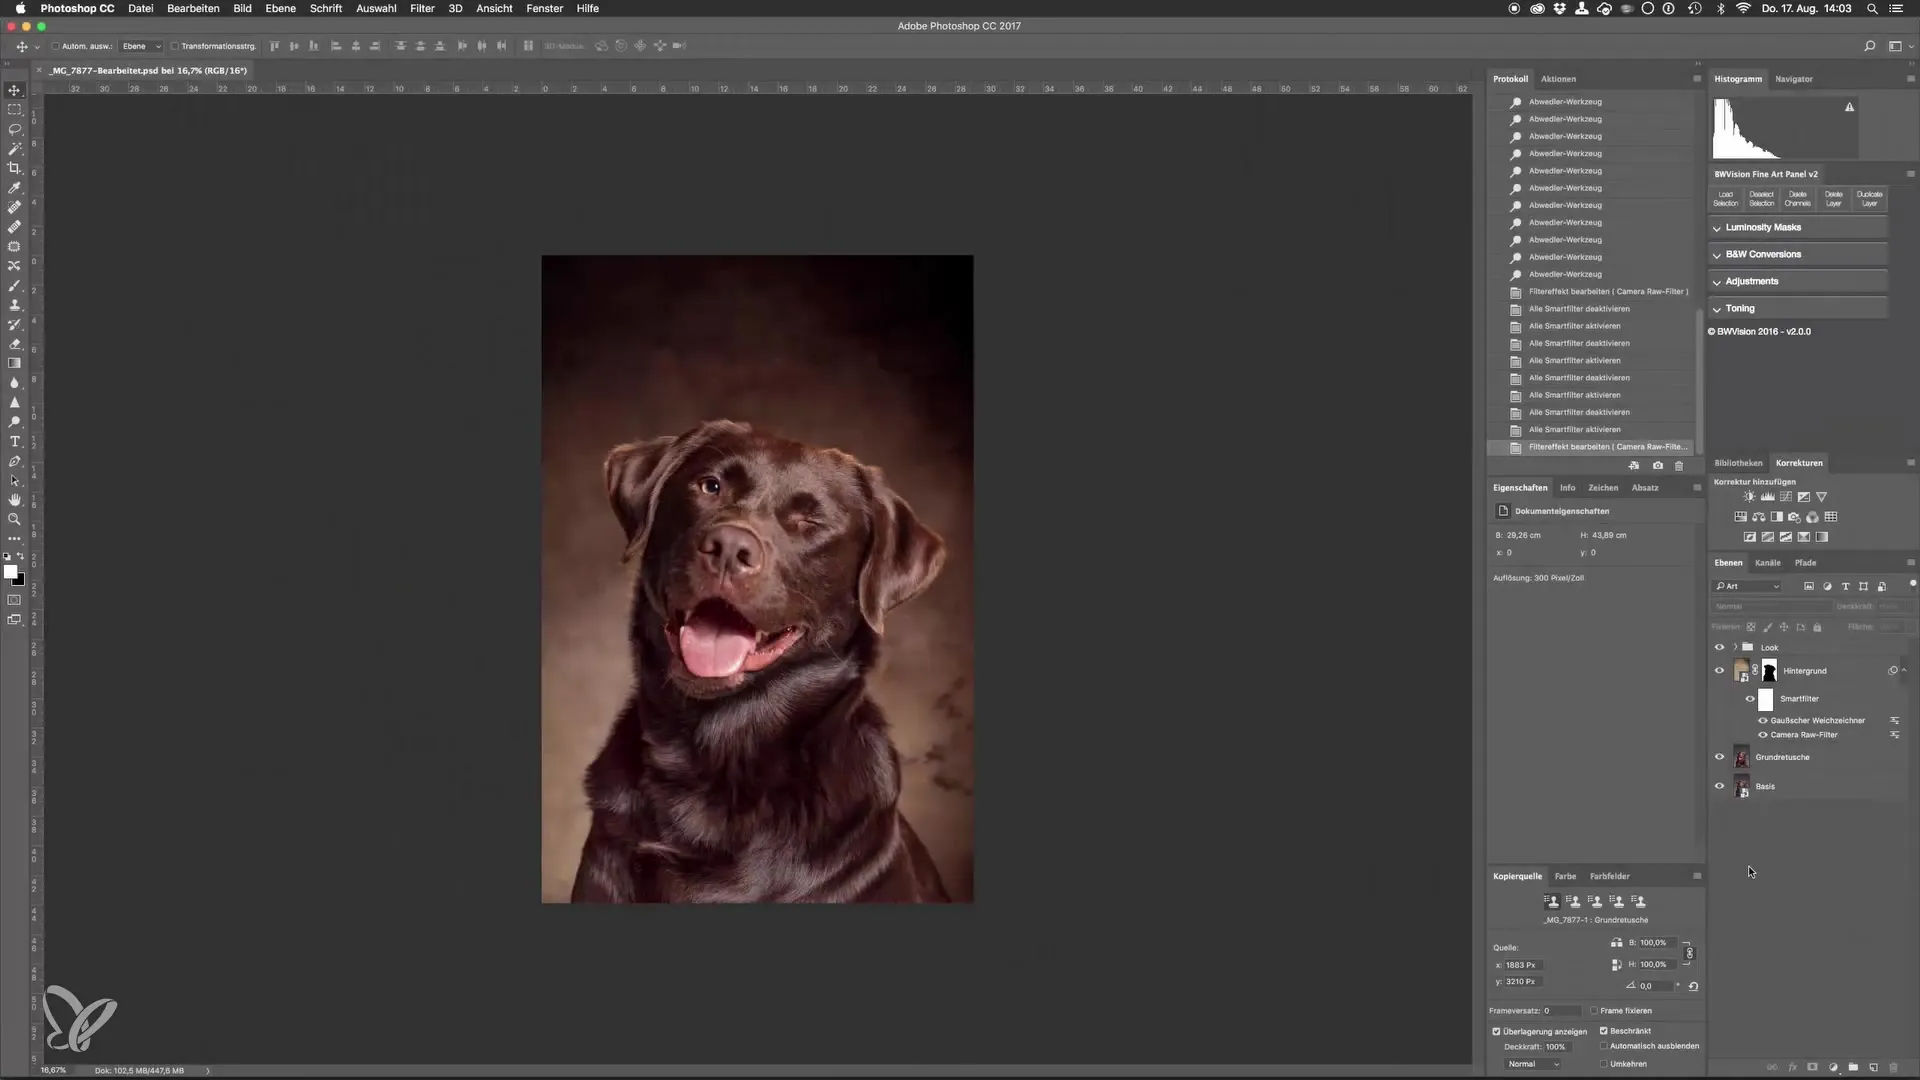
Start by opening your image in Photoshop. To sharpen correctly, you first need to create two new layers. These layers consolidate all previous adjustments so you can move on to the next step without affecting the original image. To create a new layer, you can use the keyboard shortcut Command + Alt + Shift + E. This new layer will be called "Layer 1" and will contain all your previous changes.
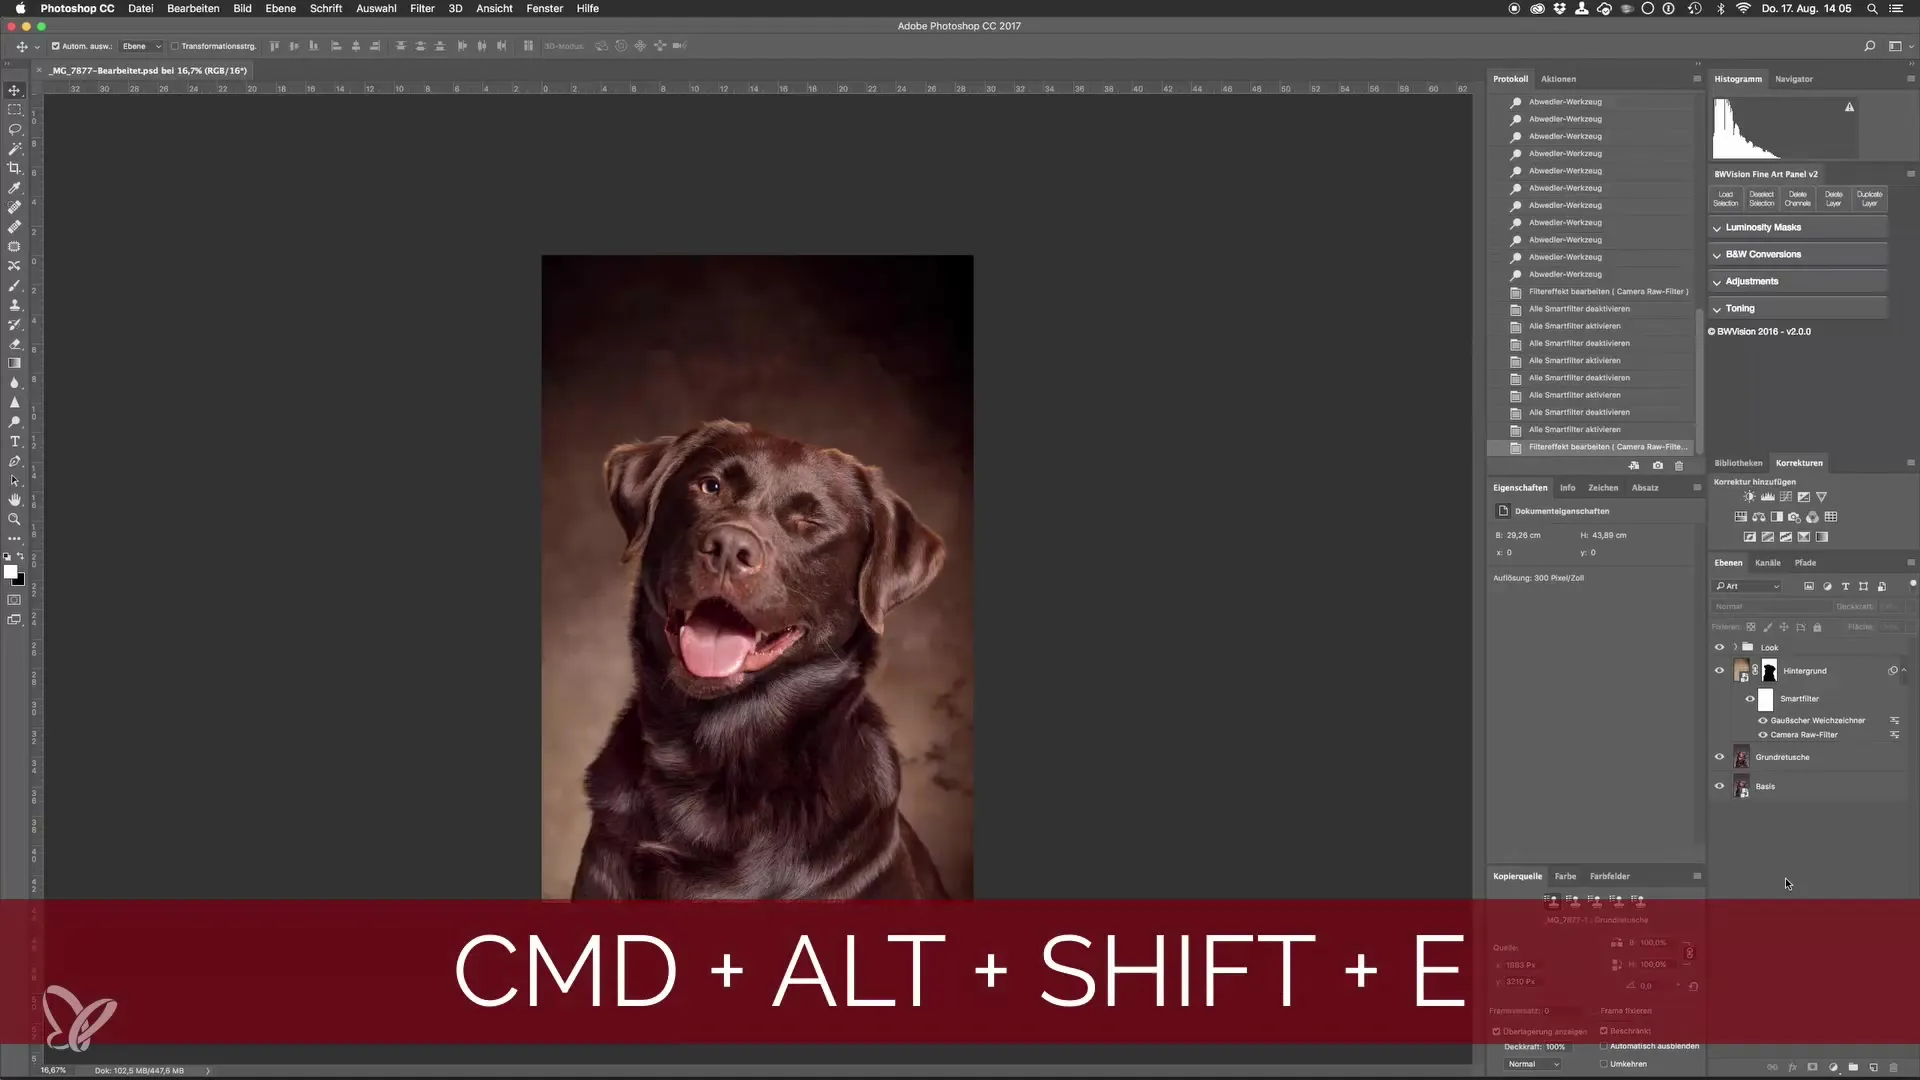
In this next step, you should duplicate the layer you just created. This can easily be done by pressing Command + J. You should ensure that the top of the two layers is selected. Change the mode of this layer to "Linear Light". This ensures that the sharpening technique can work more efficiently by providing greater control over contrast.
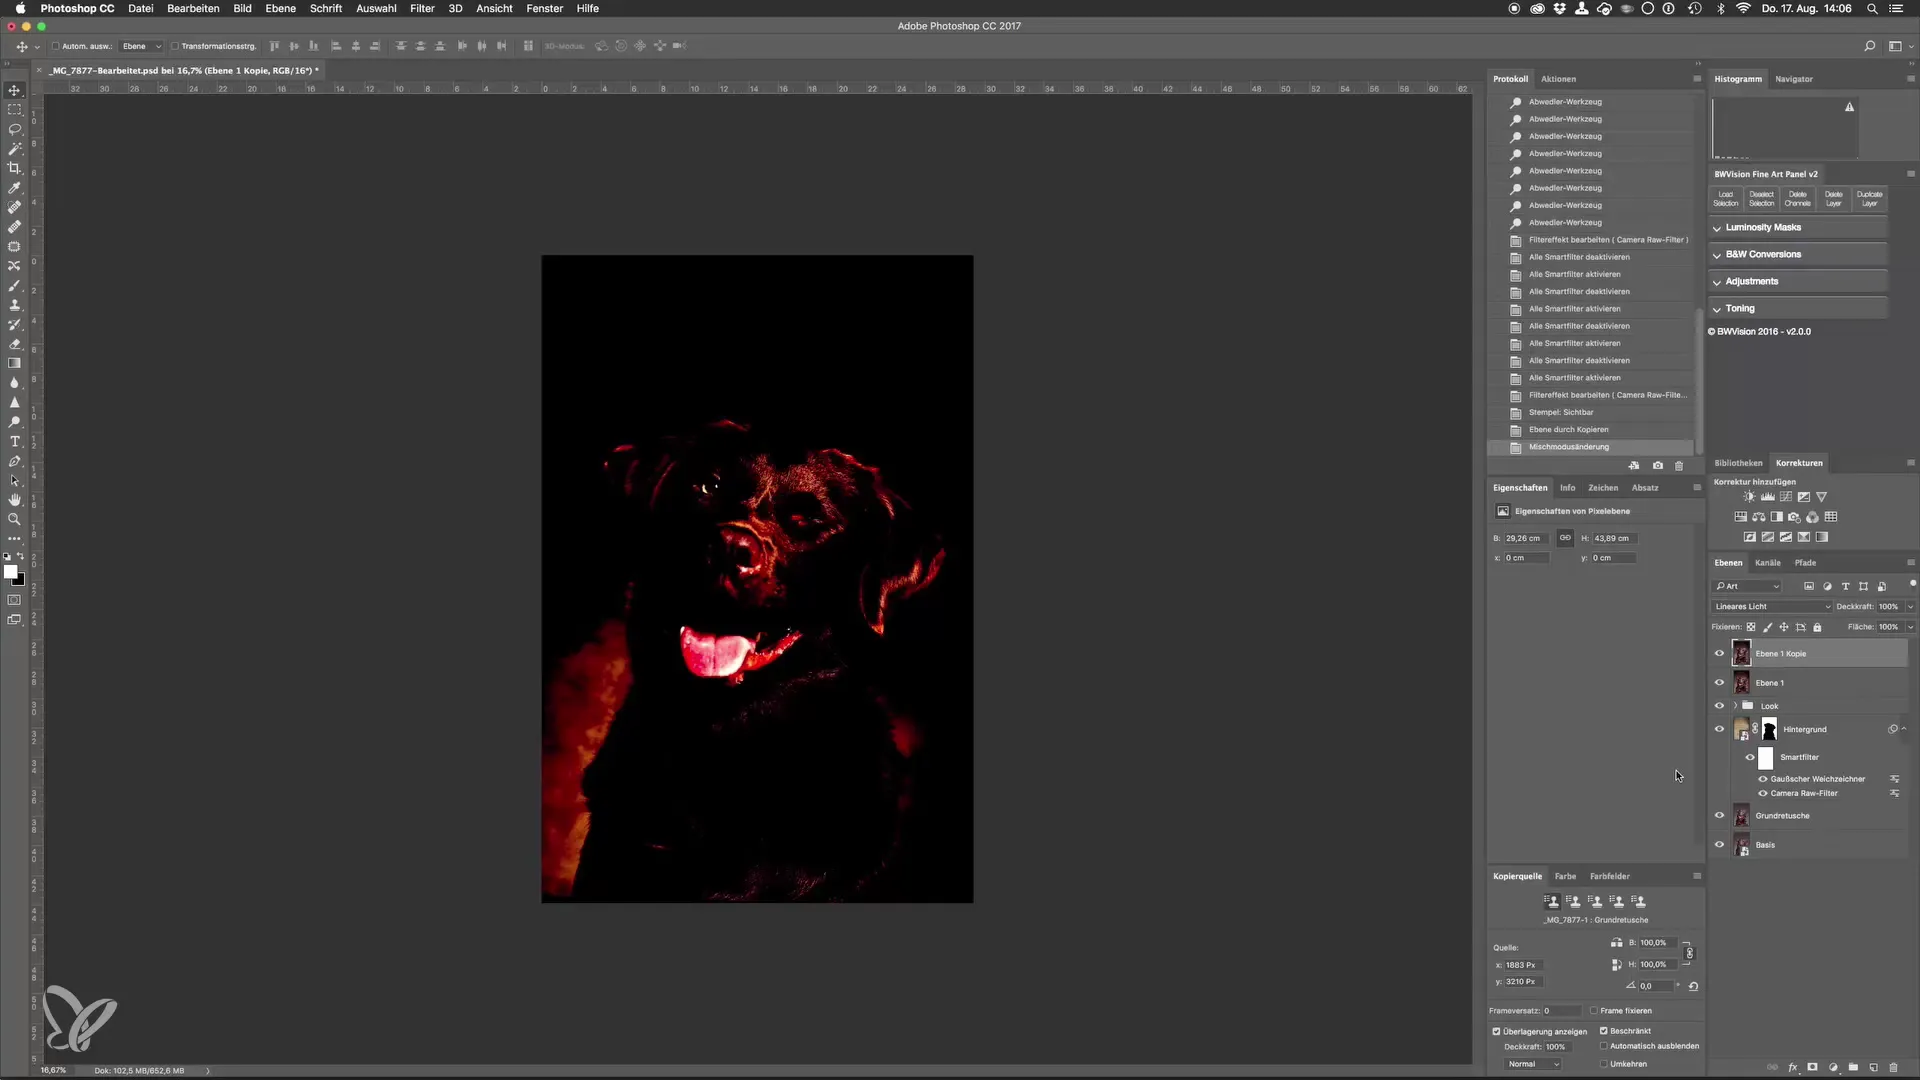
The now active layer is ready for the next adjustments. In this step, you need to invert the layer, which you can also do with a keyboard shortcut: Command + I. This will turn the image gray and invisible. It’s important to reduce this layer's opacity to exactly 50% to create the best foundation for sharpening.
Now it's time to apply a filter. Go to Filter > Blur Gallery > Gaussian Blur. In the preview, you can already see that the edges of the image are being emphasized more. Set the radius to 5 pixels, while you can adjust the threshold between 45 and 55 pixels. I recommend setting the value to 55 to achieve a noticeable but still controllable sharpness.
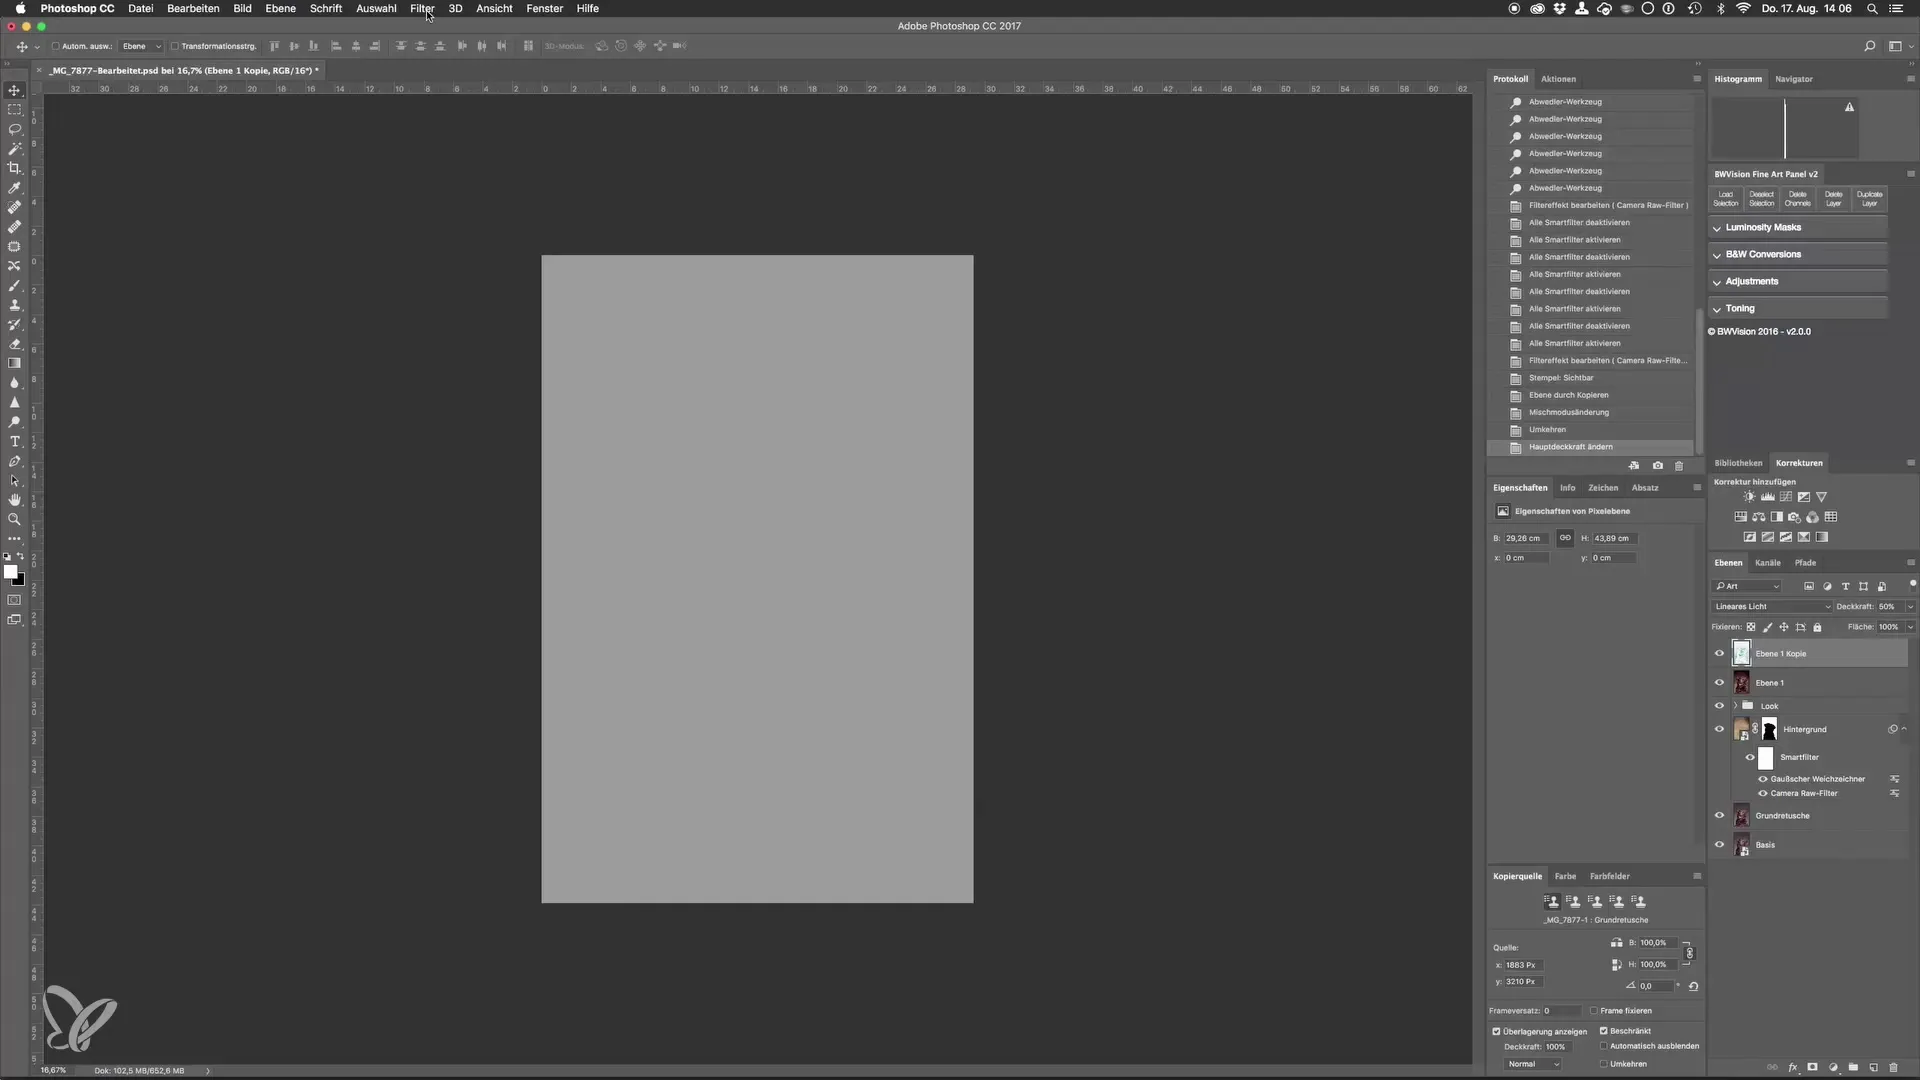
After you have made the adjustments, click "OK". Note that Photoshop may take some time to process the calculation due to the complexity of the filter. Patience pays off!
Once the filter is applied, it’s time to merge the two layers you created. To do this, select the top layer, hold down the Shift key and click the bottom layer. Then right-click and choose "Merge Layers". This will combine the content of both layers into a new layer, which you can rename to "Sharpening Layer".
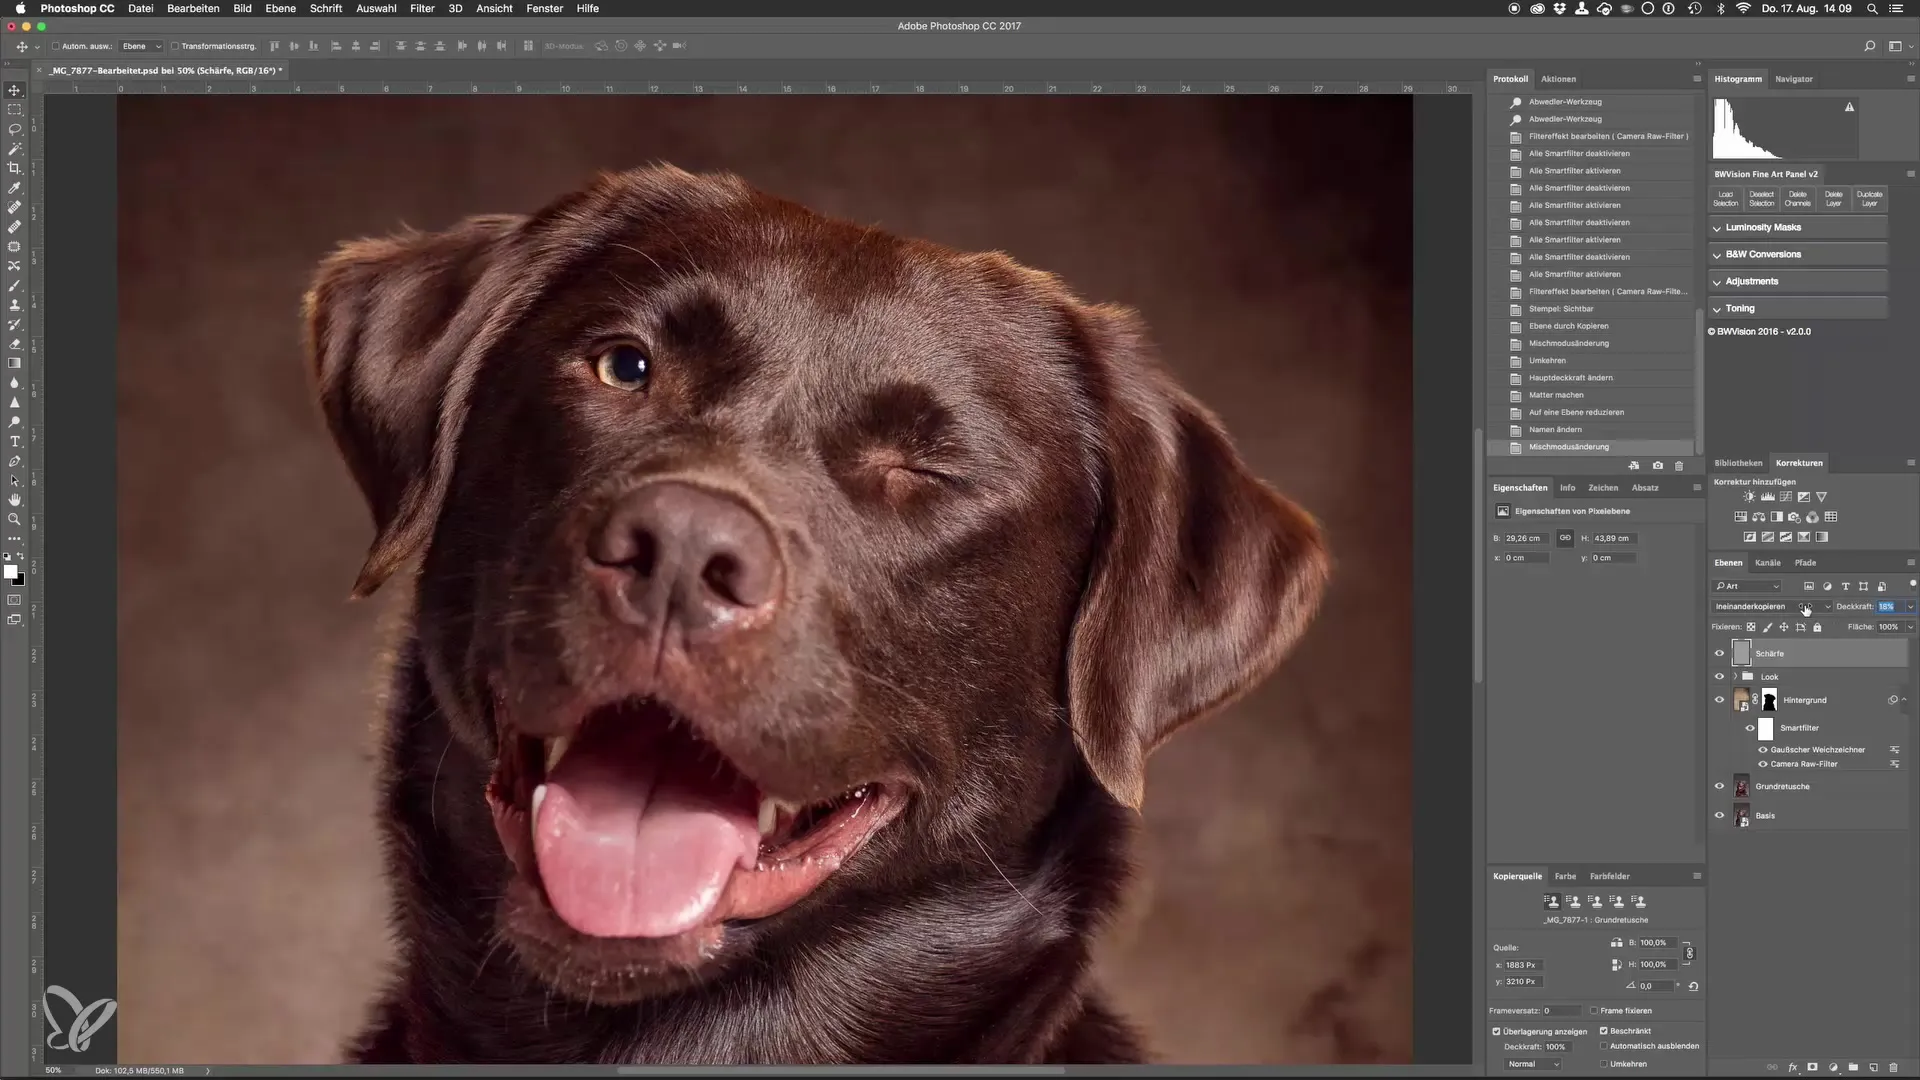
To achieve the final result, you need to change the blending mode of the new sharpening layer from "Normal" to "Overlay". This will give you the desired sharpness in your image while avoiding unwanted artifacts.
You can further optimize the effect of the sharpening by adjusting the opacity of the new sharpening layer. Set the opacity as needed to vary the sharpening level. Consider whether you want to use a value of 80% or even 100%. Remember that higher values provide more sharpness while lower values offer subtler effects.
Finally, save your work in Photoshop, and the image will automatically be imported into Lightroom. Once the saving process is complete, you can switch back to Lightroom to make the final adjustments.
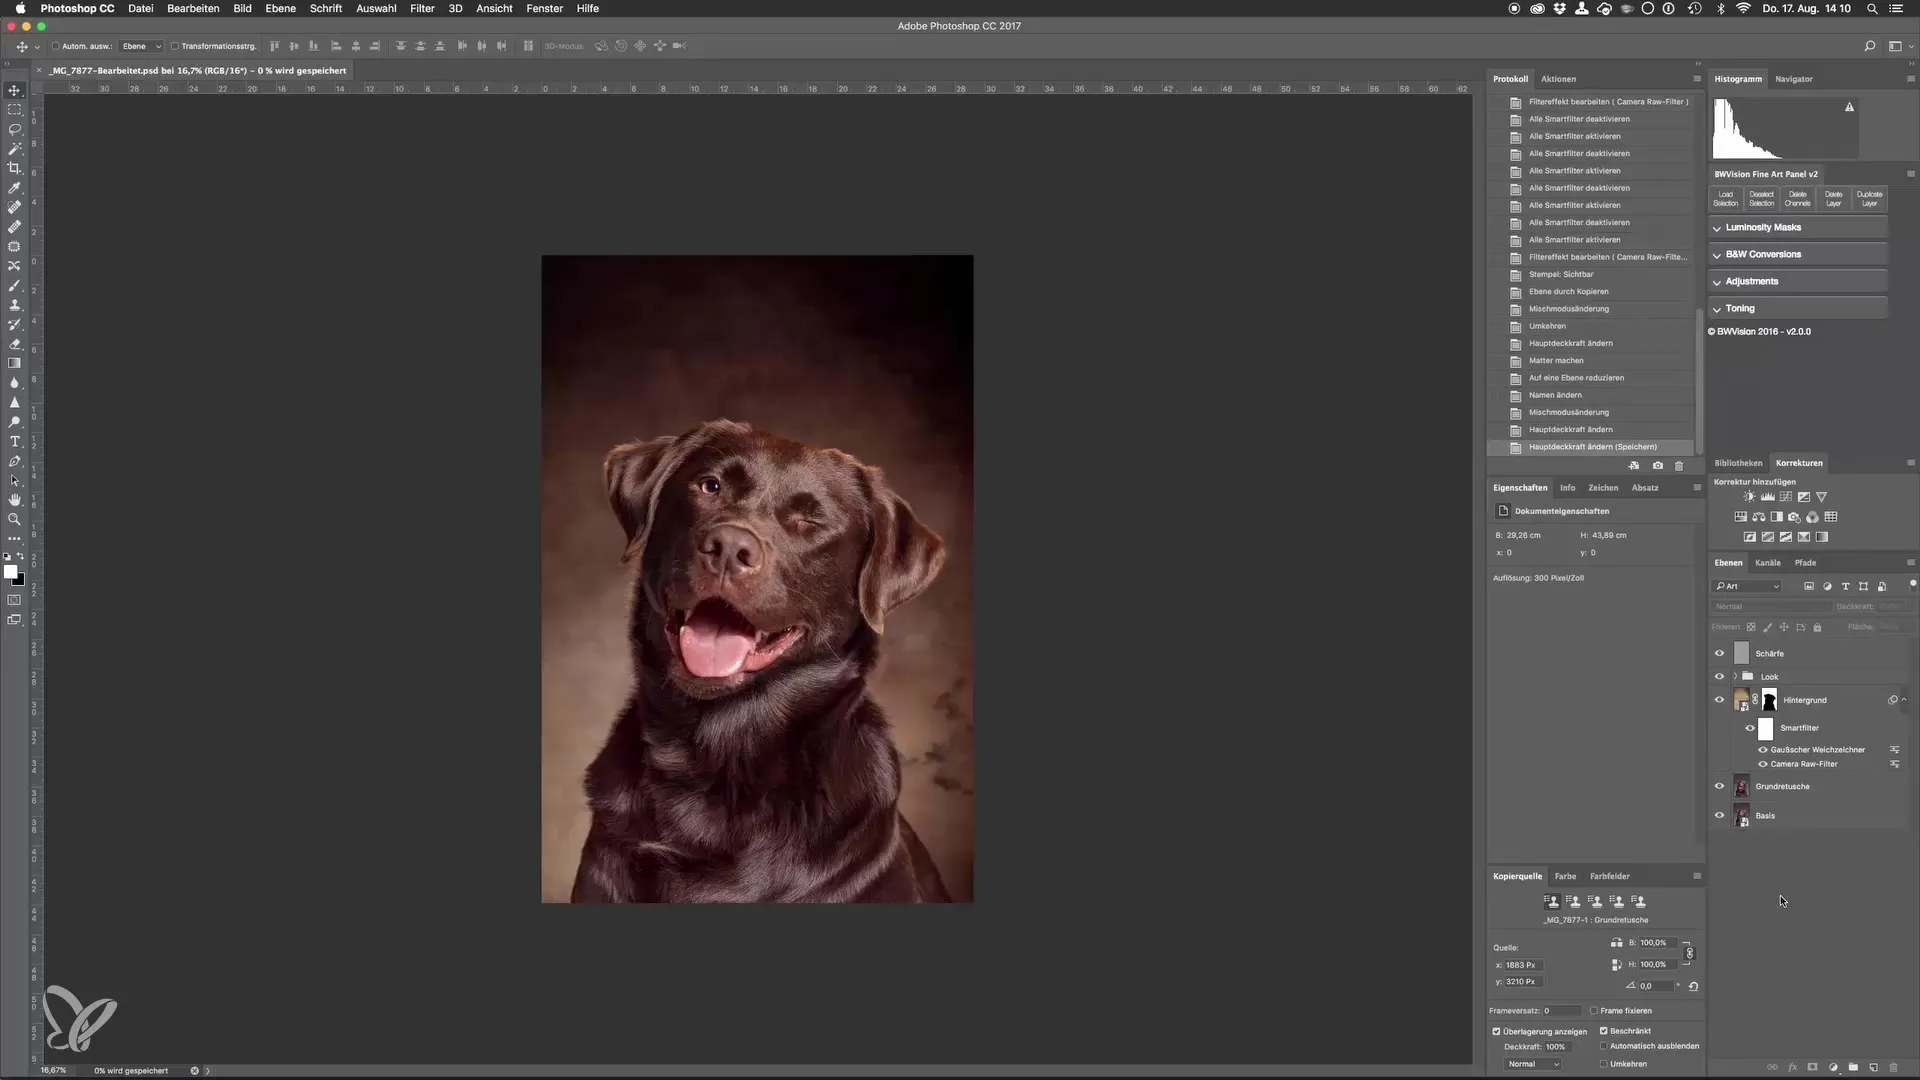
Summary – Step by Step: Dog Portraits in the Studio – Perfect Sharpening Without Artifacts
In this guide, you learned how to elegantly sharpen dog portraits using a specific technique in Photoshop. By skillfully layering and applying the filter, you achieve impressive sharpness without compromising the image quality with artifacts.
Frequently Asked Questions
How can I open Photoshop?You can open Photoshop through the start or application menu on your computer.
What is the difference between the blending modes?The blending modes determine how the colors and brightness of the layers interact with each other.
How often should I save while sharpening?It is advisable to save regularly, especially after major changes.
Why should I adjust the opacity?The opacity allows you to regulate the sharpening effect without compromising the original quality of the image.
What should I do if I'm not satisfied with the sharpness?You can adjust the opacity at any time or delete the layer and start the process over.
