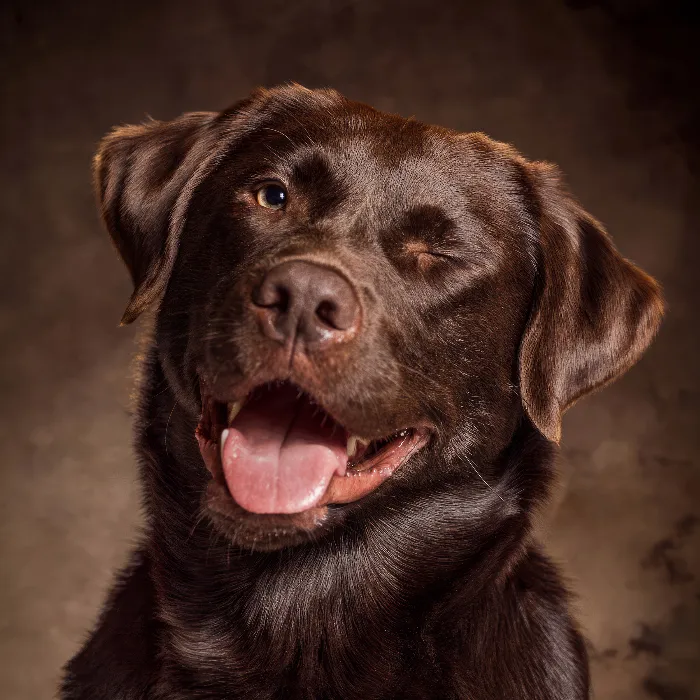
With the targeted application of the Dodge-and-Burn technique, you can significantly improve the image quality of your dog portraits. This method allows you to selectively enhance contrasts and bring both light and dark areas of your photo into the right light. In this guide, I will show you how to go through the process with simple steps, so your dog portraits appear more radiant and vibrant.
Key Insights
- The Dodge-and-Burn technique highlights the plasticity and contrasts.
- By working with layers and groups, you can flexibly adjust changes at any time.
- A targeted color adjustment is crucial for image quality.
Step-by-Step Guide
First, you should ensure that you are working in Photoshop and have the basic tools available. Follow these steps to apply the Dodge-and-Burn technique to your dog portrait.
Create Layer Group
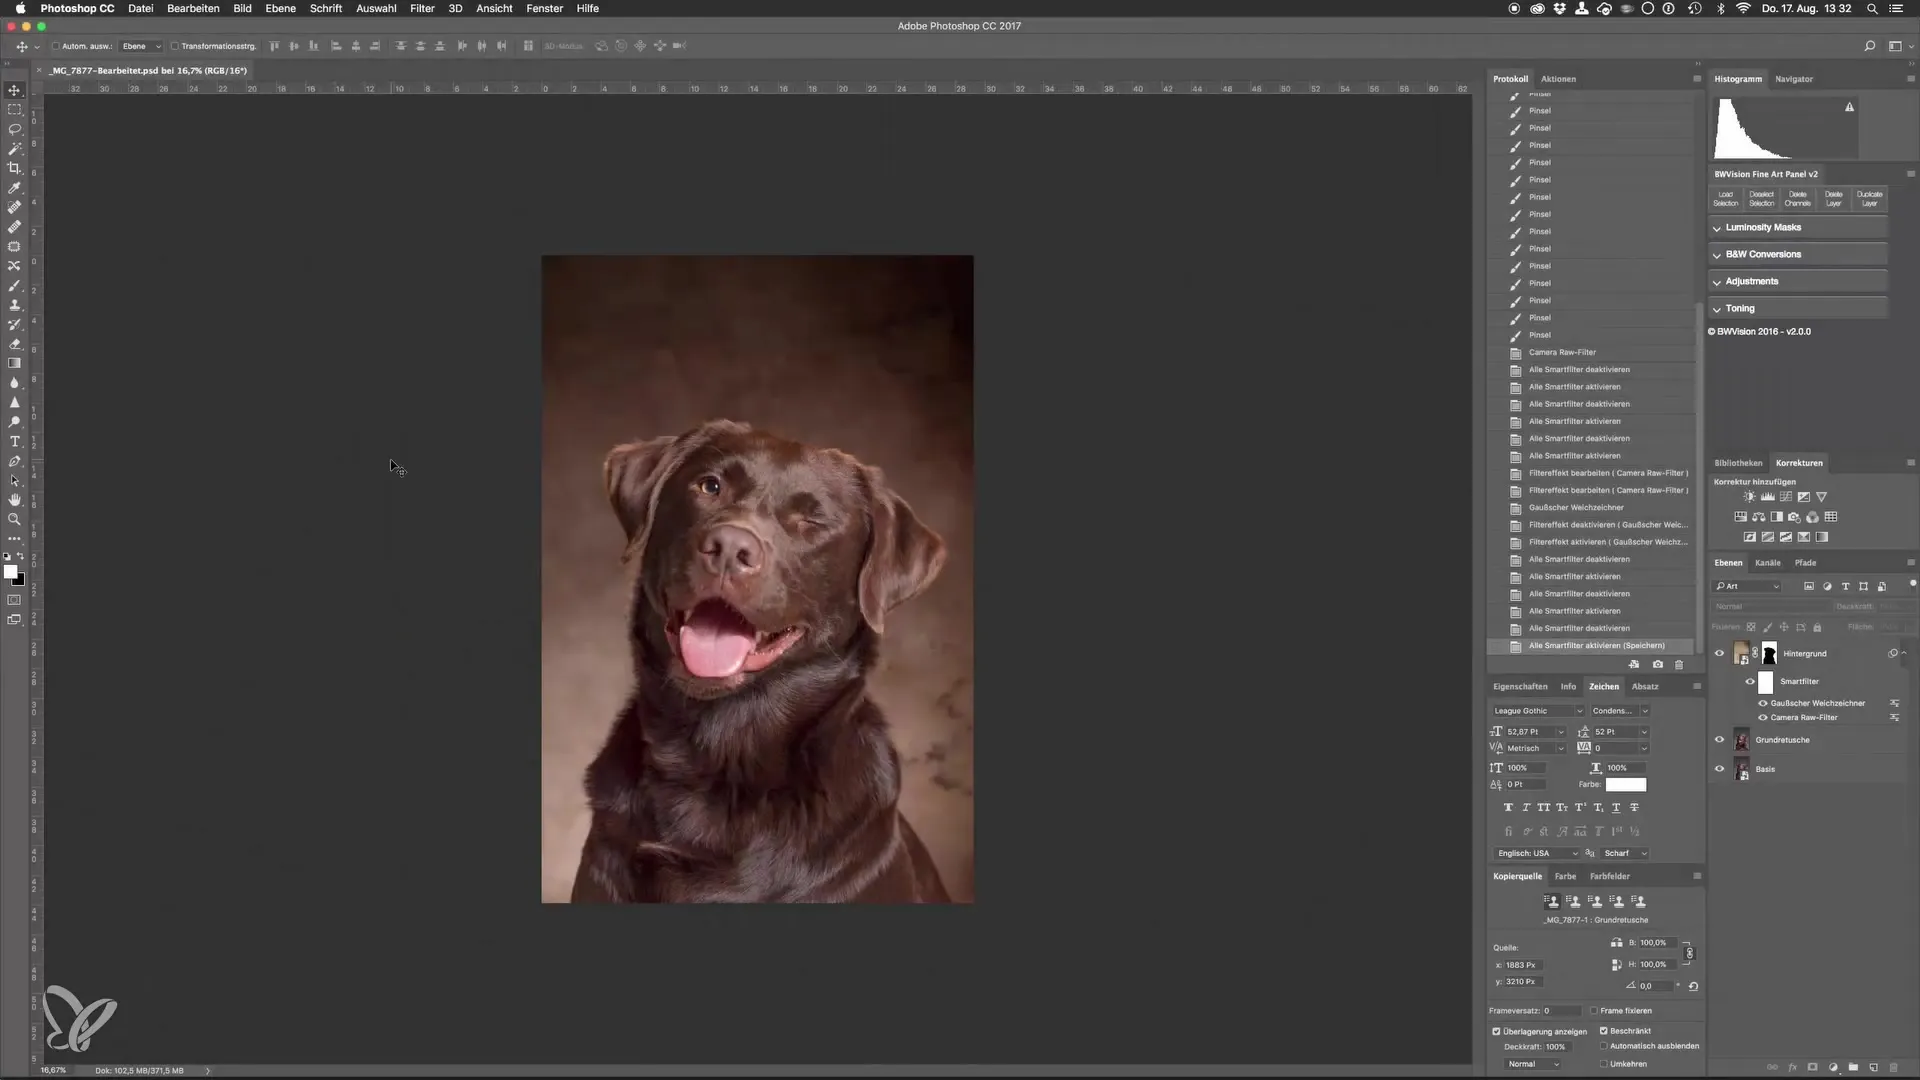
Start your image editing by creating a new group for all color adjustments. Click on the folder icon in your layers panel to do this. Once the group is created, name it "Look" to organize all layers that change the appearance of the image. This way, you can easily toggle the entire group on or off to see what you have achieved so far.
Create New Dodge-and-Burn Layer
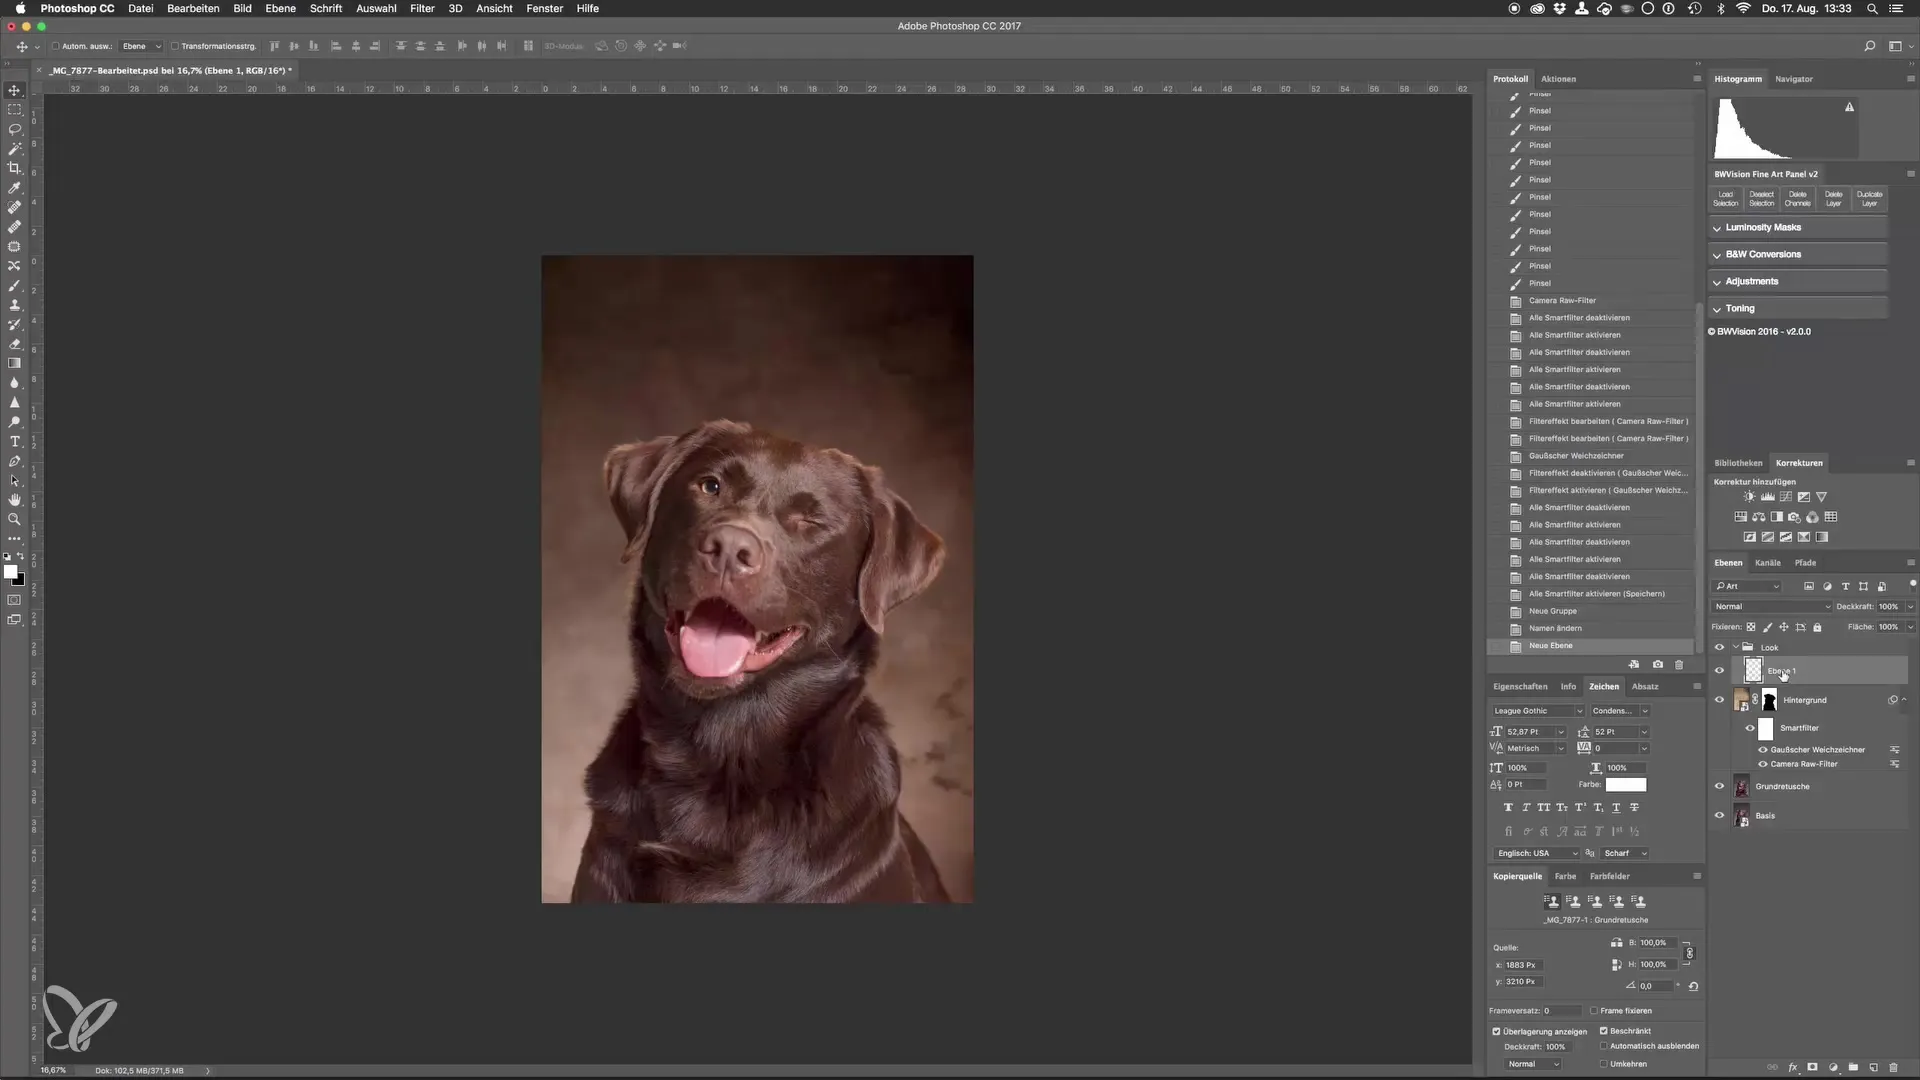
Now proceed to create a new Dodge-and-Burn layer. Click on the new empty layer icon in your layers panel and name this layer "Dodge and Burn". Make sure this layer is filled with 50% gray. You can easily do this through the menu option "Edit" and then "Fill". Be sure to select the layer before doing this.
Adjust Blending Mode
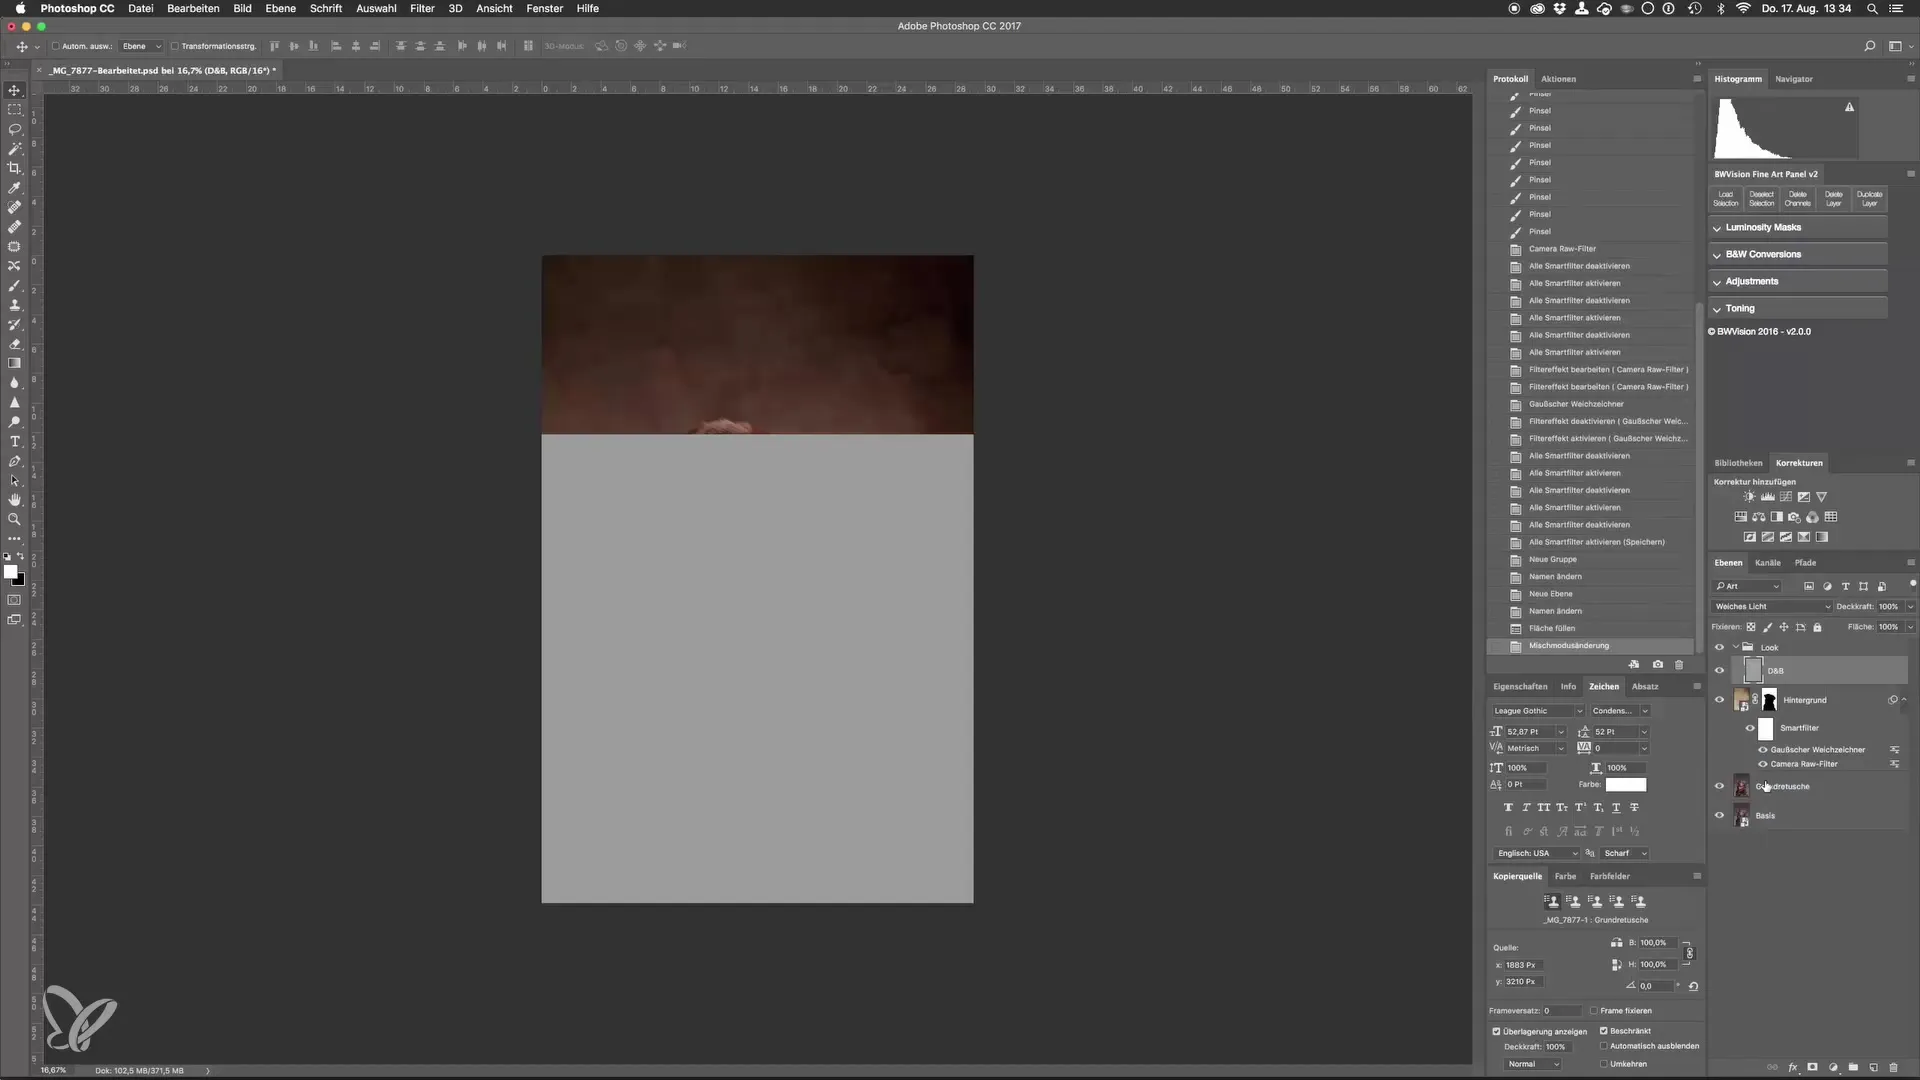
To achieve the desired effect, you need to change the blending mode of this new layer to "Soft Light". This mode makes the 50% gray filling invisible, allowing you to see only the deviations from this gray.
Select Dodge-and-Burn Tool
Now go to the tools and select either the Dodge or Burn tool – you can activate both with the "O" key on your keyboard. The Dodge tool lightens areas, while the Burn tool darkens them. I recommend starting with the Dodge tool since you want to adjust the light areas.
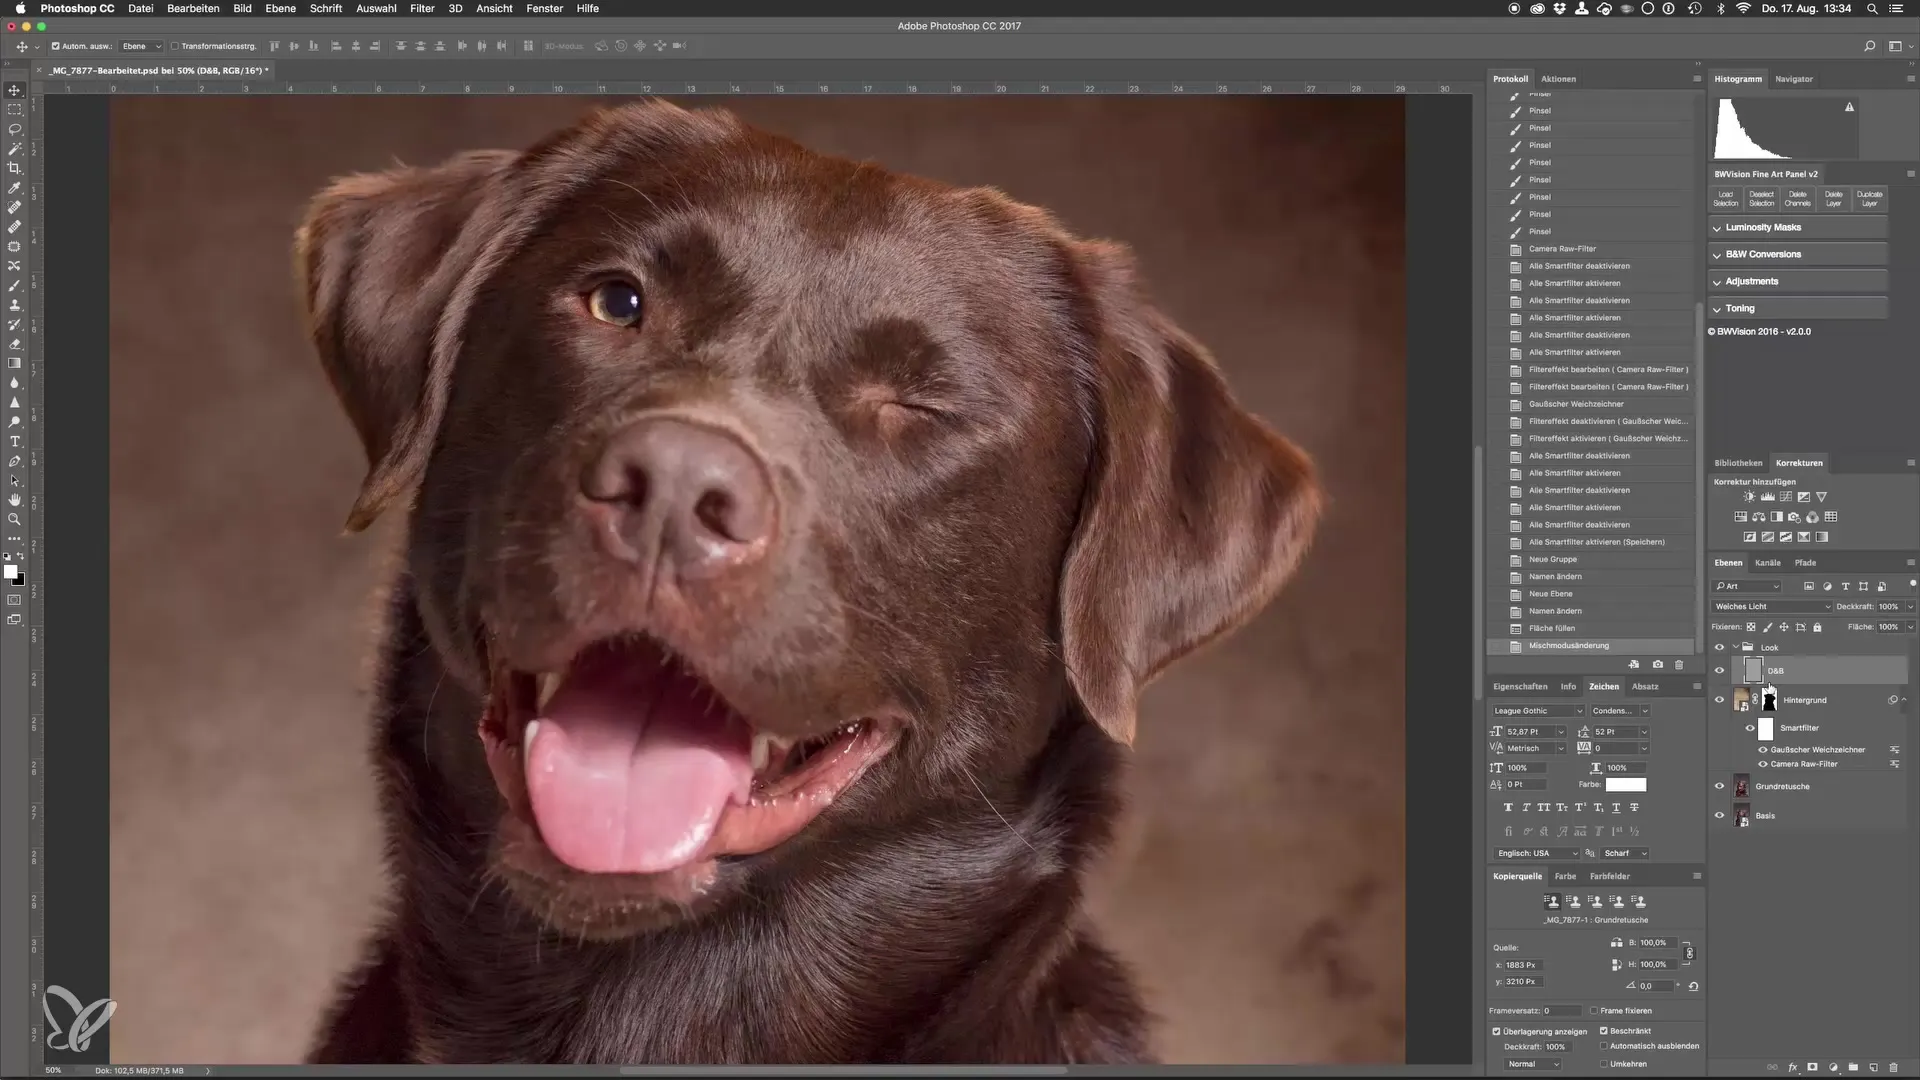
Dodge-and-Burn Tool Settings
Make sure to select "Range: Midtones" when selecting the tool. Set the exposure to a value between 10 and 15%. This is important to achieve a subtle effect. You can go over the area multiple times with the brush to increase the intensity of the effect.
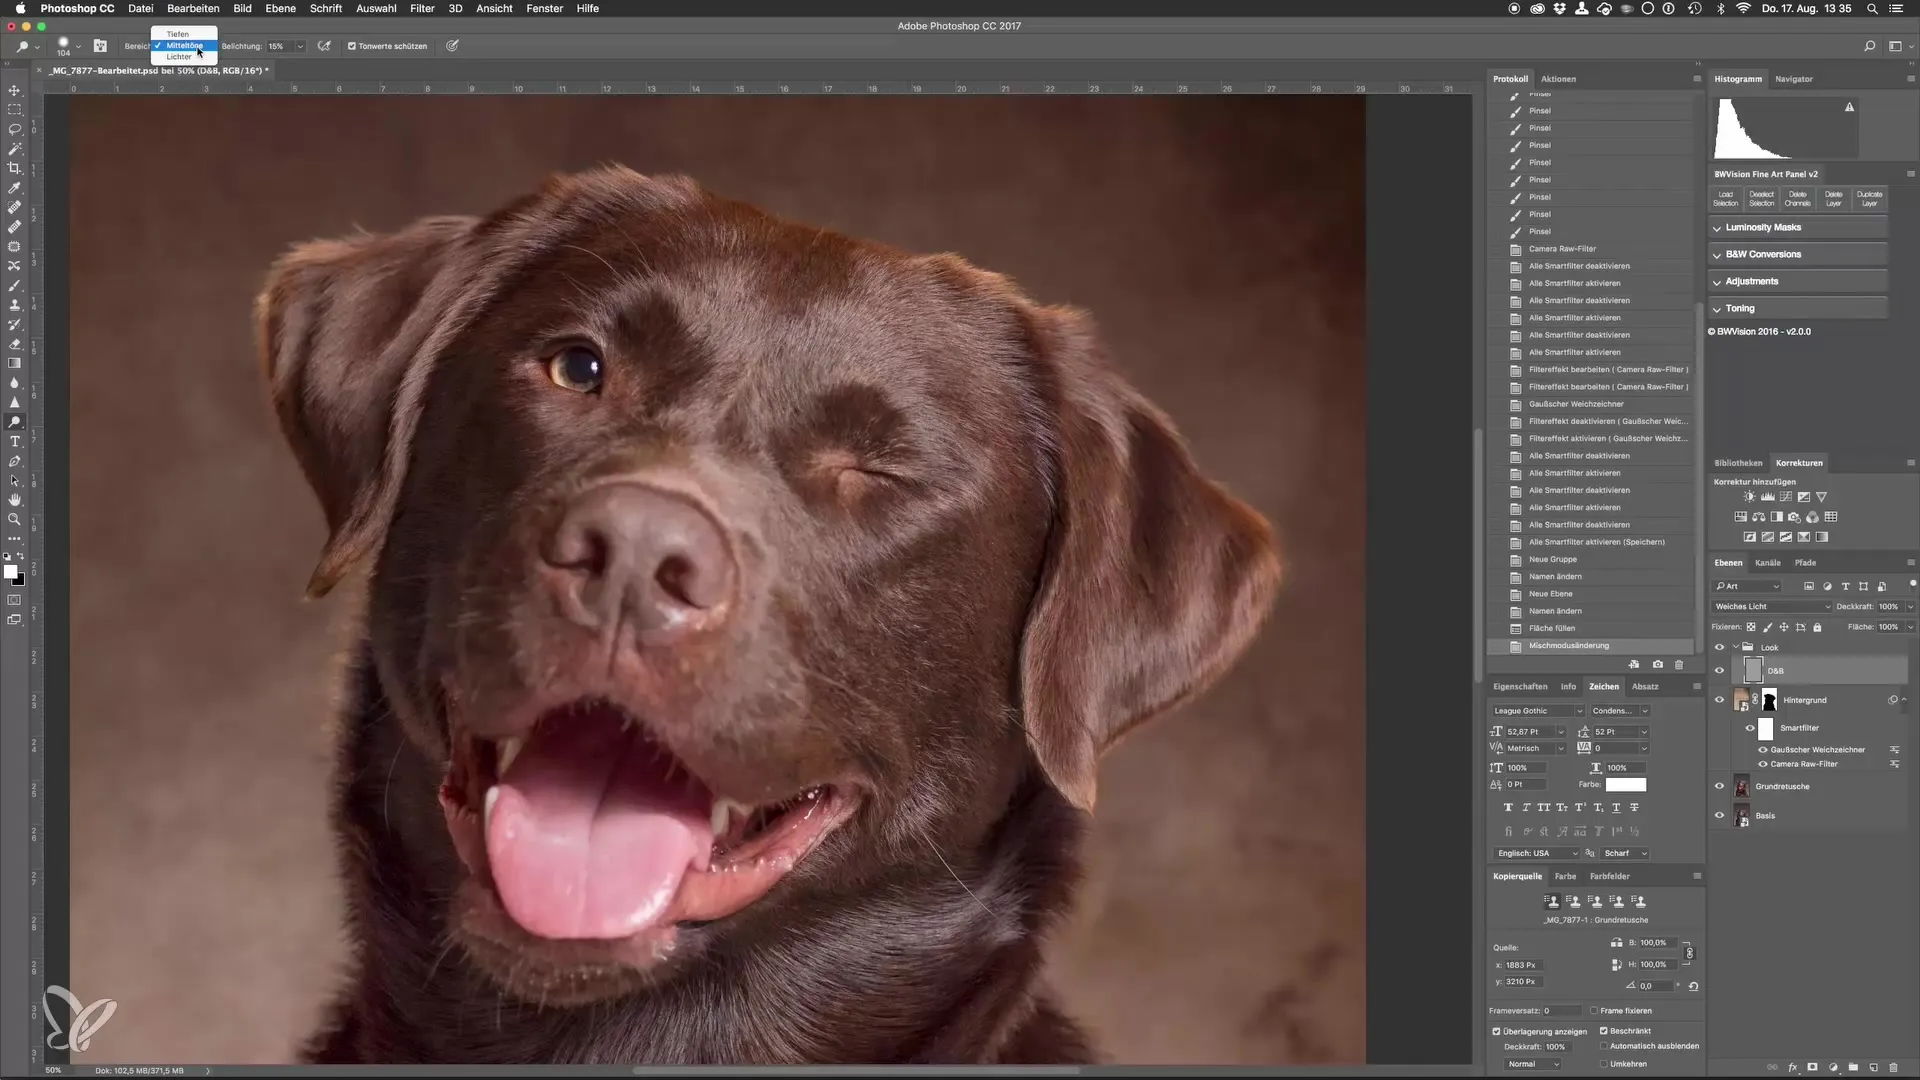
Emphasize Bright Areas
Now brush over the already bright areas in the image to brighten them further. By repeatedly brushing over them, you create a higher contrast, adding additional dynamics to the image.
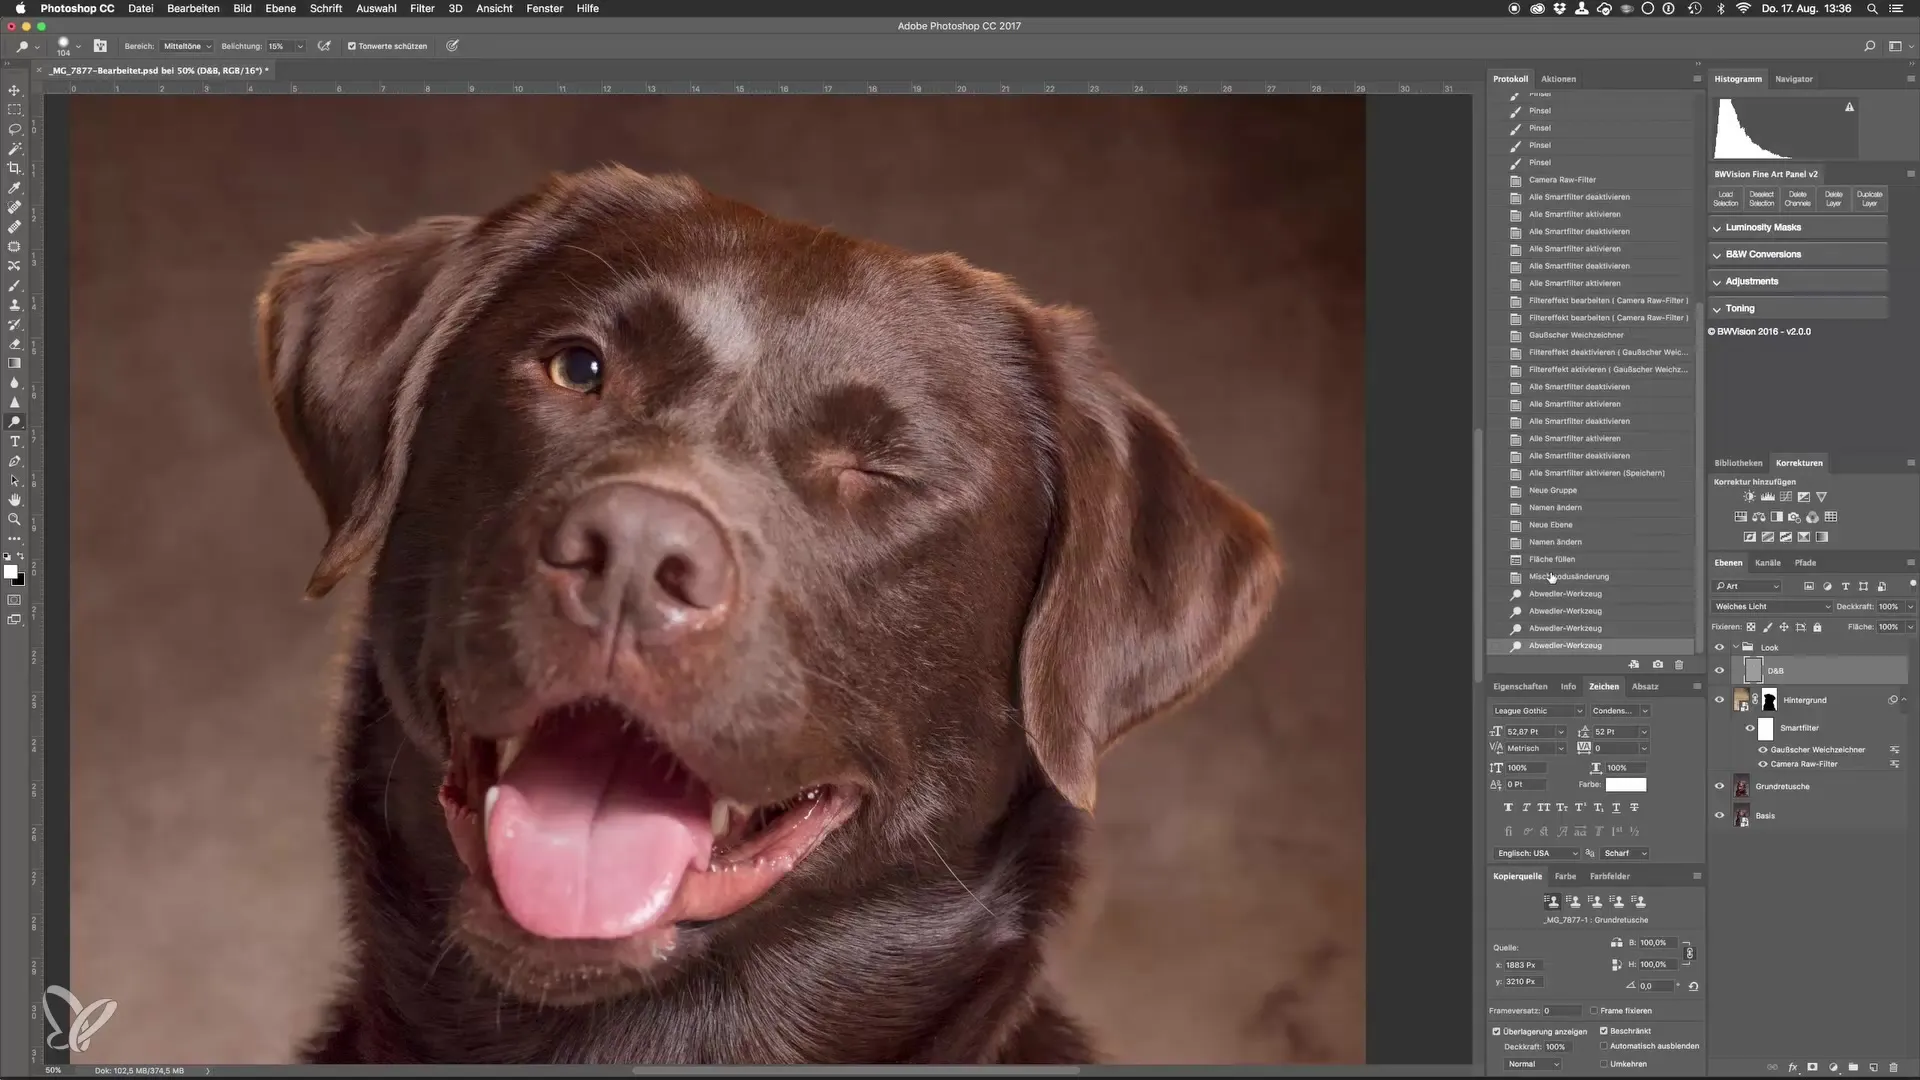
Emphasize Dark Areas with ALT
To enhance plasticity, hold down the "ALT" key while brushing over the dark areas. This will emphasize the adjacent dark areas and contribute to the three-dimensional effect of the portrait.
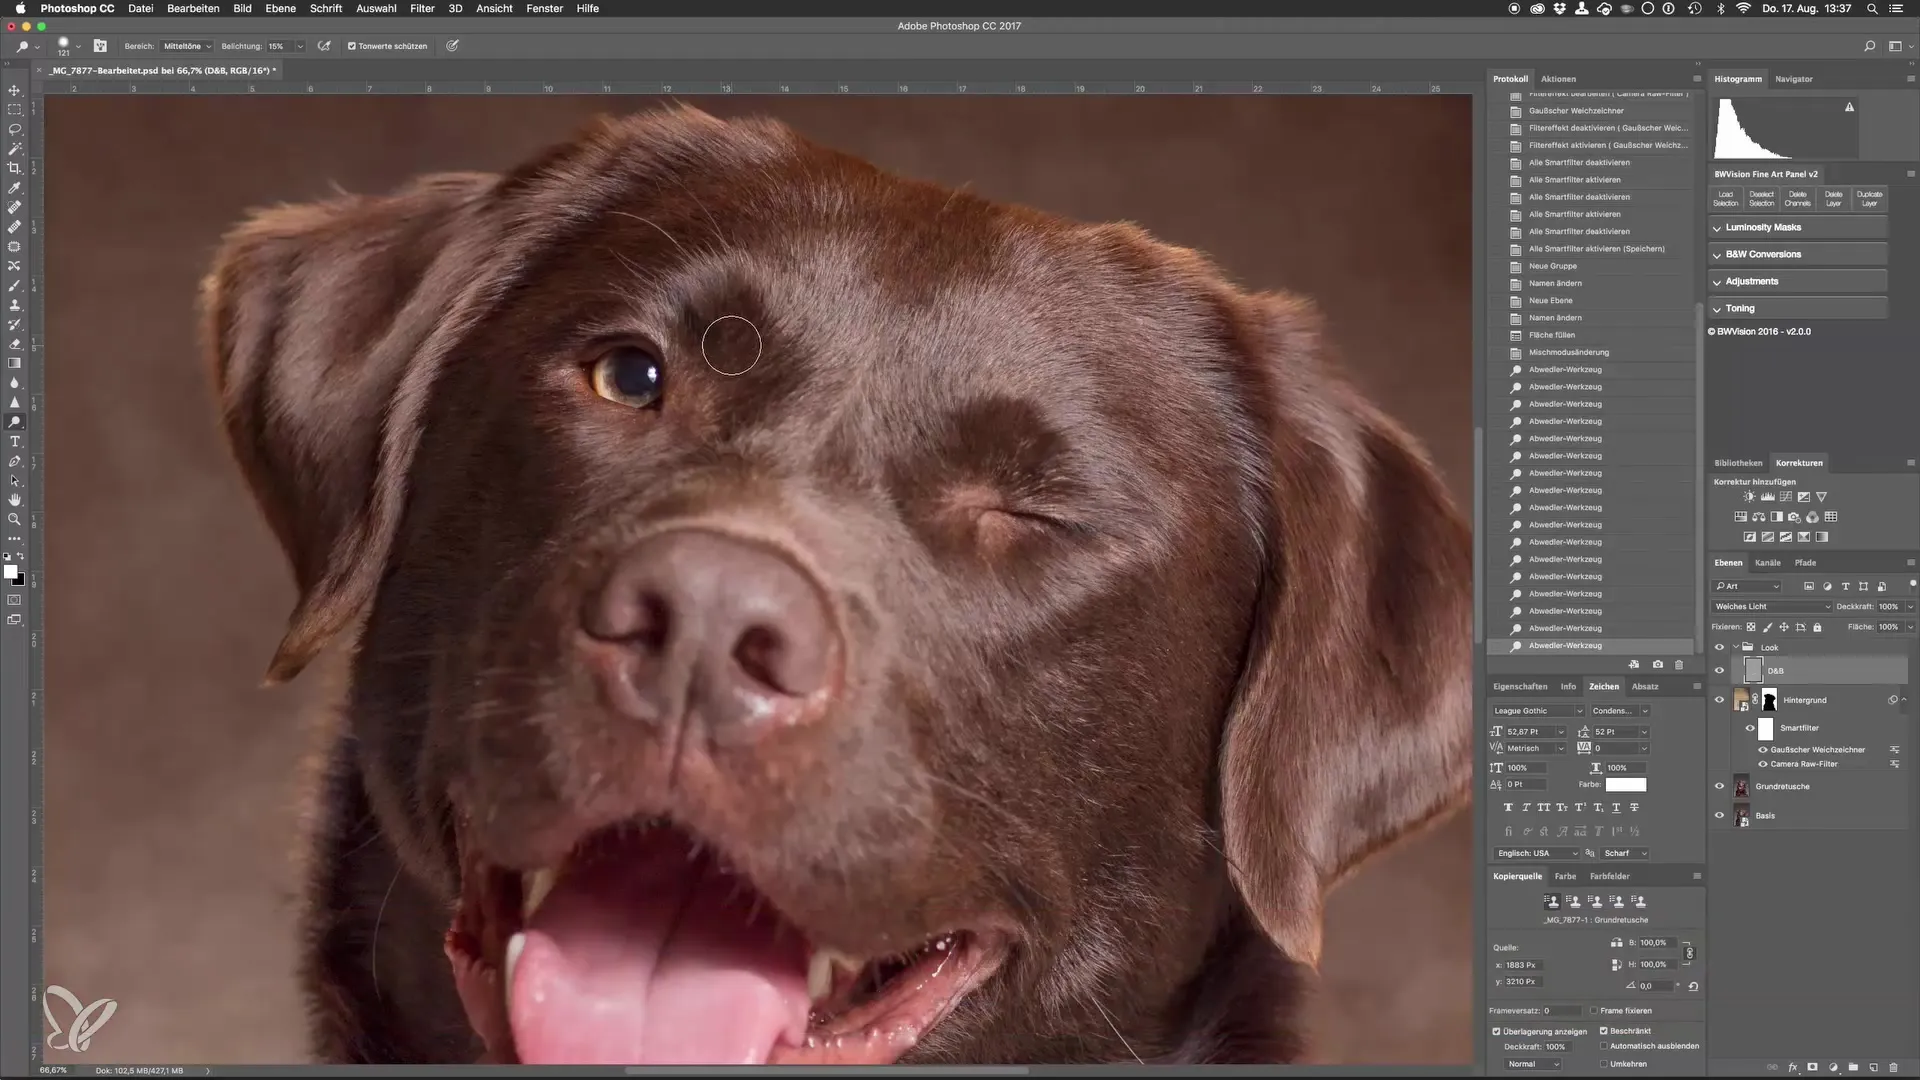
Corrections to Specific Areas
Pay attention to specific areas that may appear too light or too dark. For example, the dog’s nose may need some nuanced adjustments. Increase the brush size and brush over the nose to adjust the brightness so it looks more natural.
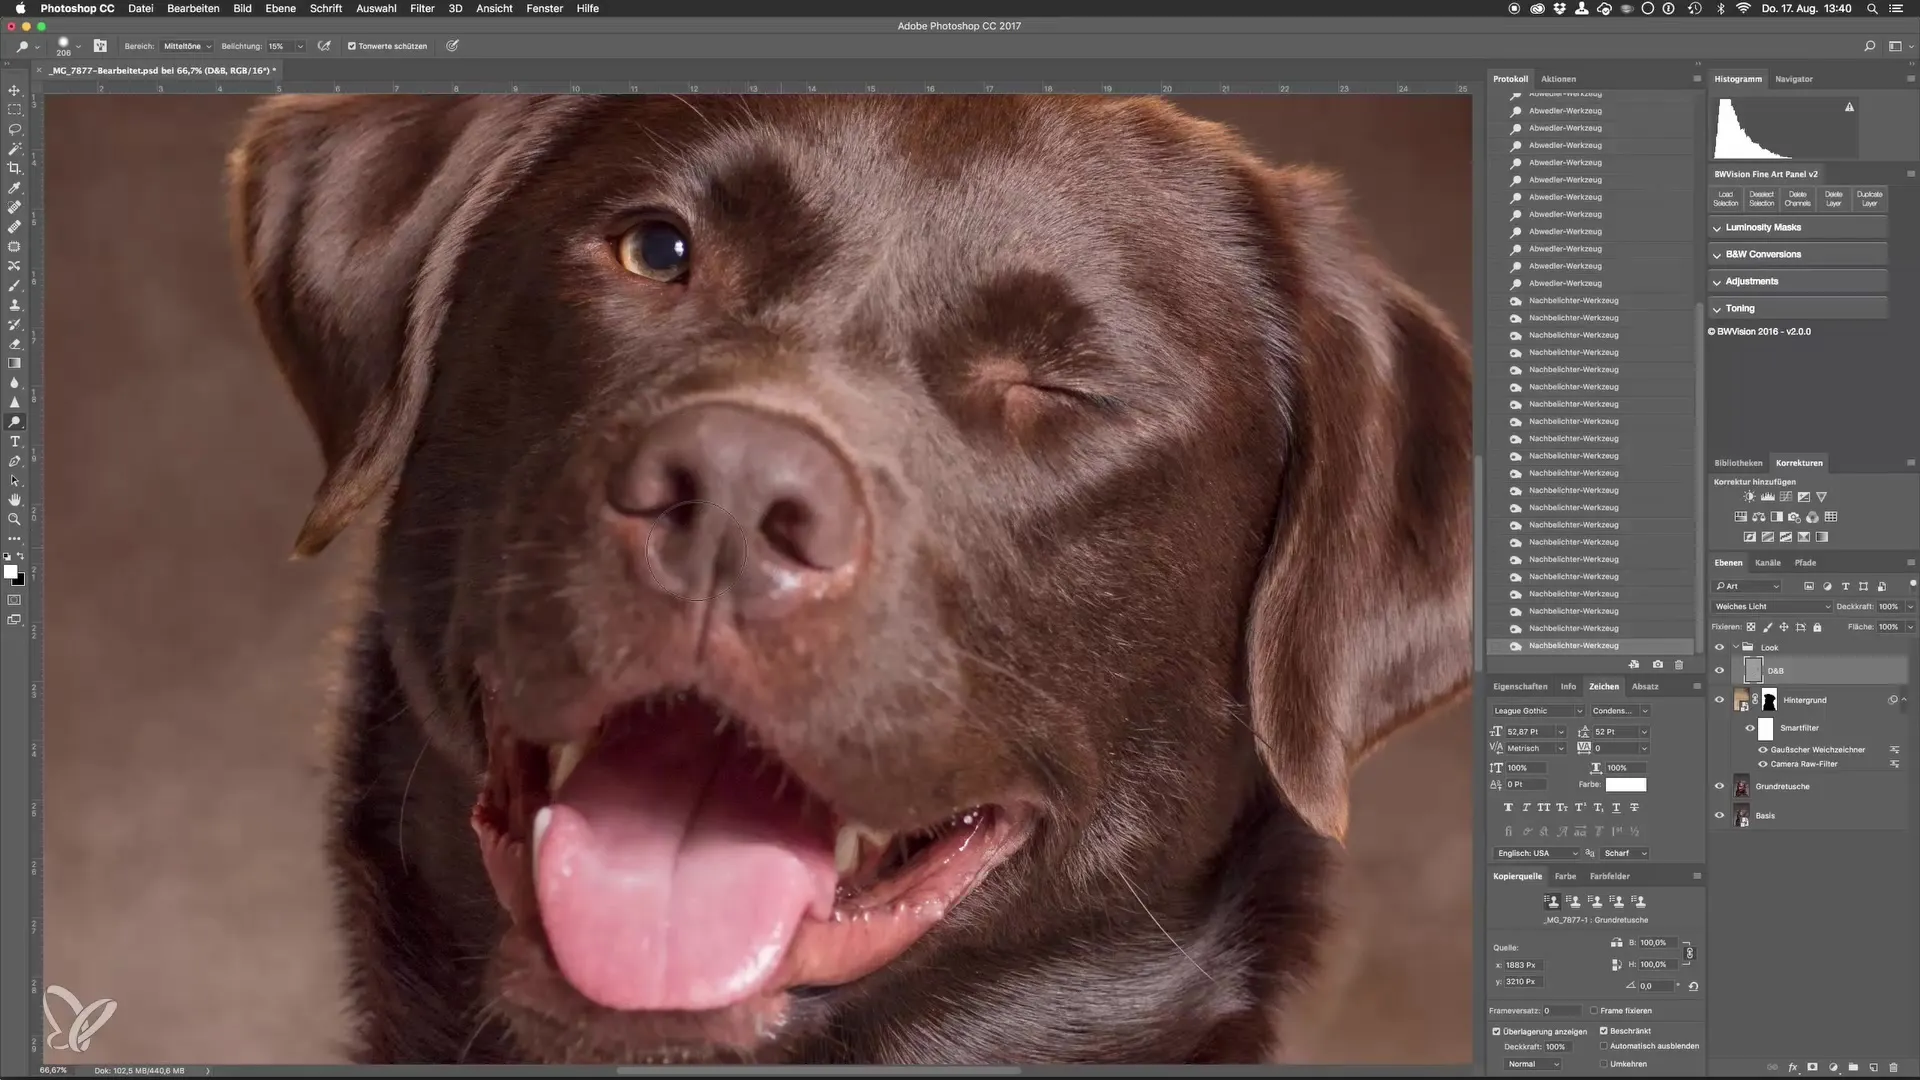
Check and Adjust Results
When you are satisfied with the adjustments, you can toggle the changes on and off via the group layer to check the effect. This allows you to see the optimization in a complete image and make further adjustments.
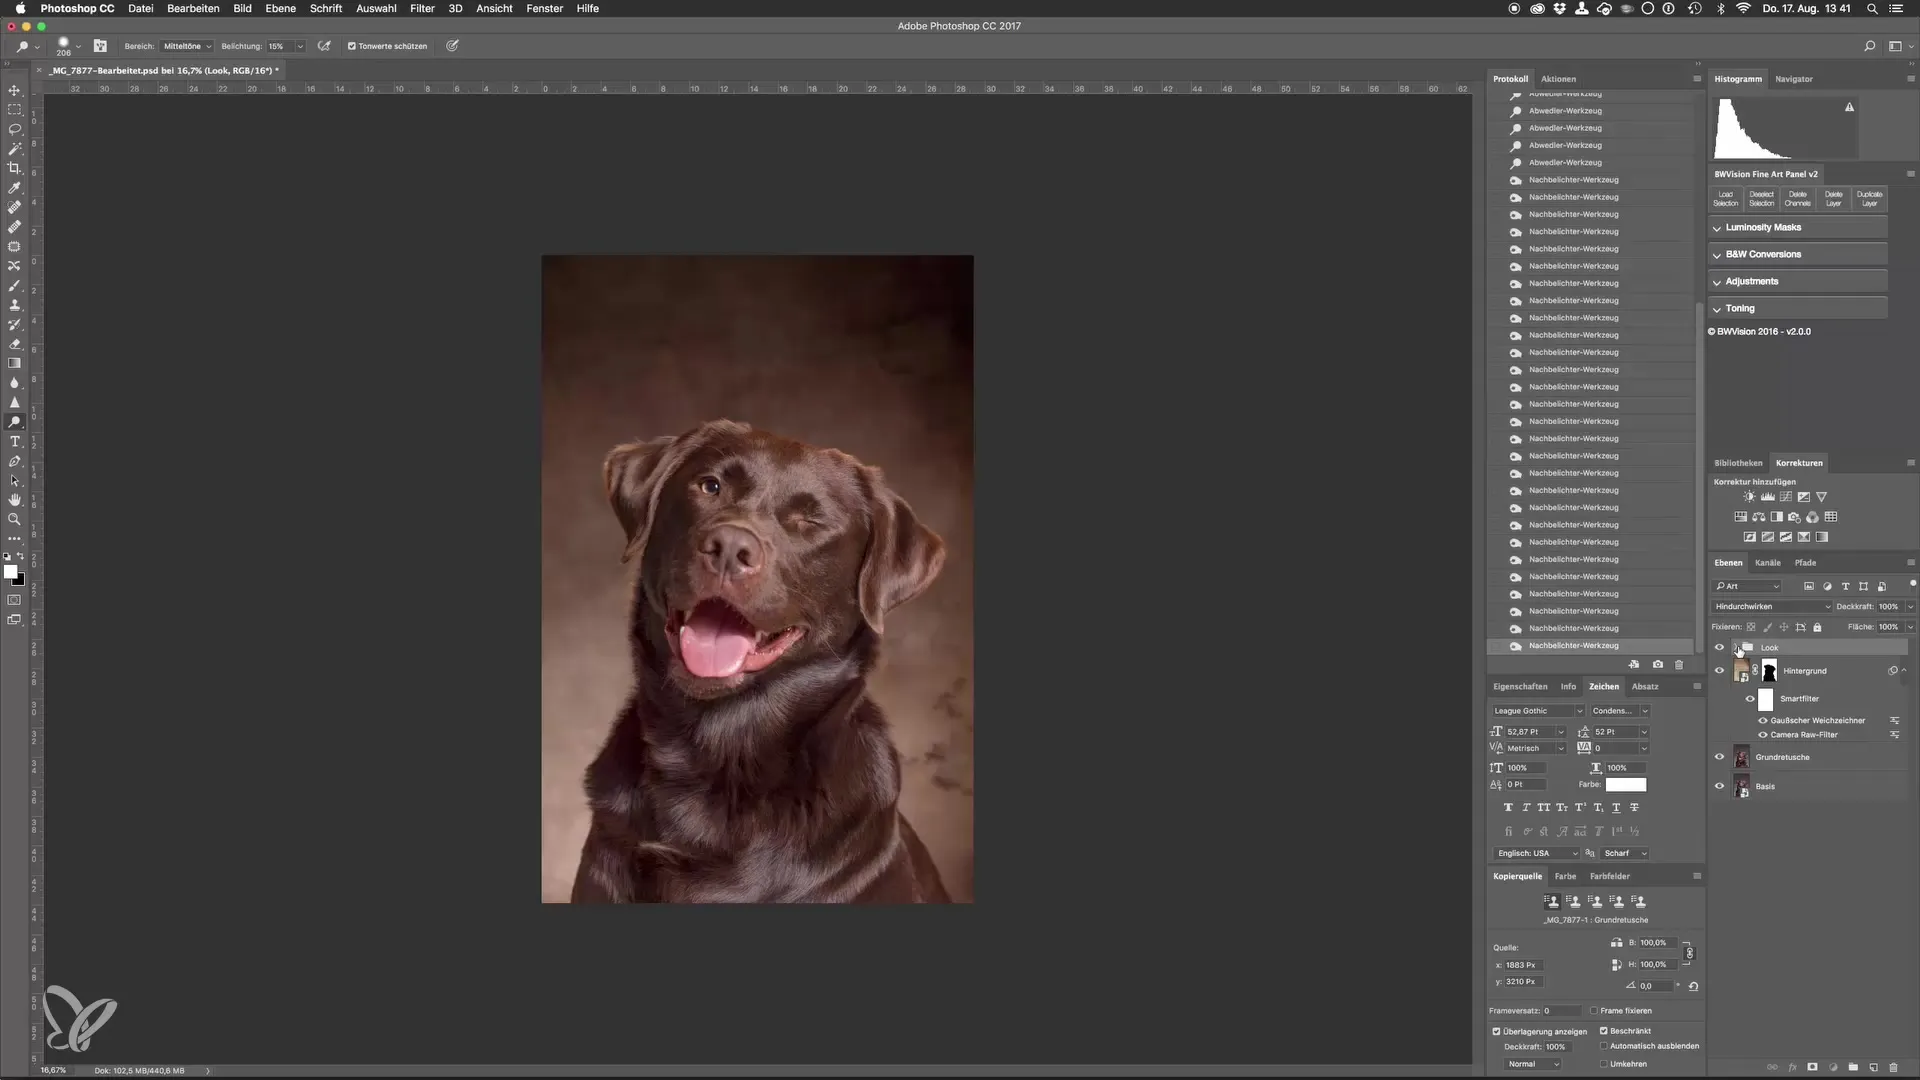
Summary - Dog Portraits in the Studio: Dodge & Burn Step by Step
With this guide, you have learned the fundamentals of the Dodge-and-Burn technique to selectively optimize the contrasts in your dog portraits. By effectively working with layers and targeted adjustments, you can significantly enhance the quality of your photos.
Frequently Asked Questions
What is the Dodge-and-Burn technique?The Dodge-and-Burn technique is used for the selective adjustment of light and dark areas in an image to create contrasts.
Why should I start with 50% gray fill?50% gray is the neutral point in Photoshop where no color or white and black components are effective, and only the overlays become visible.
How can I ensure that my adjustments are not permanent?By creating a separate group for color adjustments, you can toggle all changes on and off at any time.
