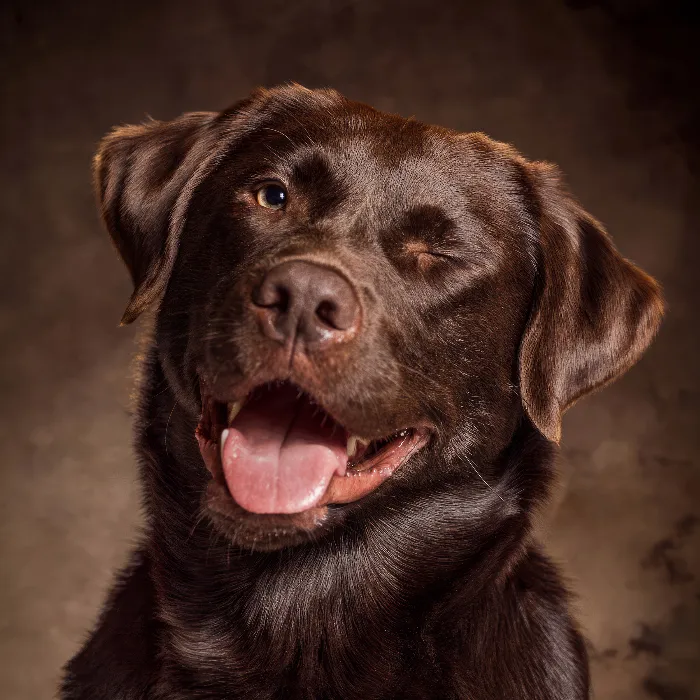
You have now reached the final steps of the video training and are well-informed about the art of dog photography in the studio. It has been an exciting journey that we have traveled together, and I am glad that you took the time to expand your knowledge in this area. In this guide, I summarize the key insights and provide you with a comprehensive step-by-step guide to create great dog portraits.
Key Insights
You have learned what equipment is necessary to create impressive dog photos, how to get the best out of your camera and lighting, as well as tips for working with your four-legged friend during the photo session. Additionally, you will learn how to edit your images with Lightroom and Photoshop to bring them to life.
Step-by-Step Guide
1. Provide the Right Equipment
Before you start dog photography in the studio, it is important to assemble the appropriate equipment. This includes a camera with a lens suitable for pet photography and good lighting. Make sure your studio has enough space to observe and photograph the dog from all angles.

2. Adjust Camera and Flash Settings
Your camera and flash settings have a significant impact on the quality of the photos. Make sure to optimally adjust the ISO, aperture, and shutter speed to suit the lighting conditions. Flash can play an important role, as proper adjustments ensure that the dog's colors appear vibrant and clear. Experiment a bit to find the best settings that suit your dog and the background.
3. Proper Handling of the Dog
The way you handle the dog during the photo session is crucial. Stay patient and calm to create a relaxed atmosphere. Use toys or treats as incentives to motivate the dog and get it into the right position. Make sure that the dog feels comfortable and is not stressed, as this can directly affect the quality of the photos.
4. Conducting the Photo Session
Now it’s time to take the photos. Choose different perspectives and angles to create interesting images. Experiment with various backgrounds and compositions. Keep the focus on capturing the dog's personality by paying attention to its expression and movements.
5. Image Editing in Lightroom and Photoshop
After you have taken your photos, it's time for digital editing. In Lightroom, you can make basic adjustments like exposure, contrast, and color corrections. After that, you can make finer adjustments and retouches in Photoshop to bring your images to life. Be sure to give the image an interesting color look that matches the dog's character.
6. Conclusion and Feedback
Once you have finished editing your images, it is time to present them. Select the best shots and share them with other dog photographers or on social media. Encourage your friends and acquaintances to give you feedback so that you can continuously improve your technique.
Summary – Dog Portraits in the Studio: Creative Tips and Techniques for Your Dog Photography
In this guide, you have learned the steps necessary to create impactful dog portraits in the studio. From the right equipment to technical settings and image editing, we have covered all the essential aspects you need to take your dog photography to the next level.
Frequently Asked Questions
How do I find the right equipment for dog photography?Look for a good camera with a suitable lens and reliable lighting.
What are the best flash settings for dog photography?Set the ISO, aperture, and shutter speed so that the colors appear vibrant and clear.
How do I motivate the dog during the photo shoot?Use toys and treats to animate the dog and get it into the right position.
How do I edit the photos after the shoot?Use Lightroom for basic adjustments and Photoshop for detailed retouches and color looks.
Where can I share experiences and tips with other photographers?Join my Facebook group for dog photography to exchange ideas and ask questions.


