Before you dive into the exciting world of template creation in Adobe InDesign, it's essential to set up your workspace optimally. A well-thought-out workspace increases your efficiency and allows you to work faster and more purposefully.
Key Insights Customizing the workspace in Adobe InDesign is the first step to a productive workflow. You can arrange panels according to your needs and save these settings as a workspace to call up at any time. Outdated or unnecessary panels can be hidden to minimize distractions.
Step-by-Step Guide
Step 1: Select Workspace
To customize your workspace, start by selecting the desired workspace. In this case, the current workspace is set to "Essentials." You can use this workspace as a starting point.
Step 2: Find Panels
Go to the right side of your screen. Here, you'll find the panels that can be useful in your activity area. However, it's possible that not all are currently visible or that you do not need some of them.
Step 3: Close Unnecessary Panels
Close the panels that you won't need for your template creation. For example, you can remove >Stroke< and >Swatches< since you won't require these functions in this specific application case.
Step 4: Access Relevant Panels
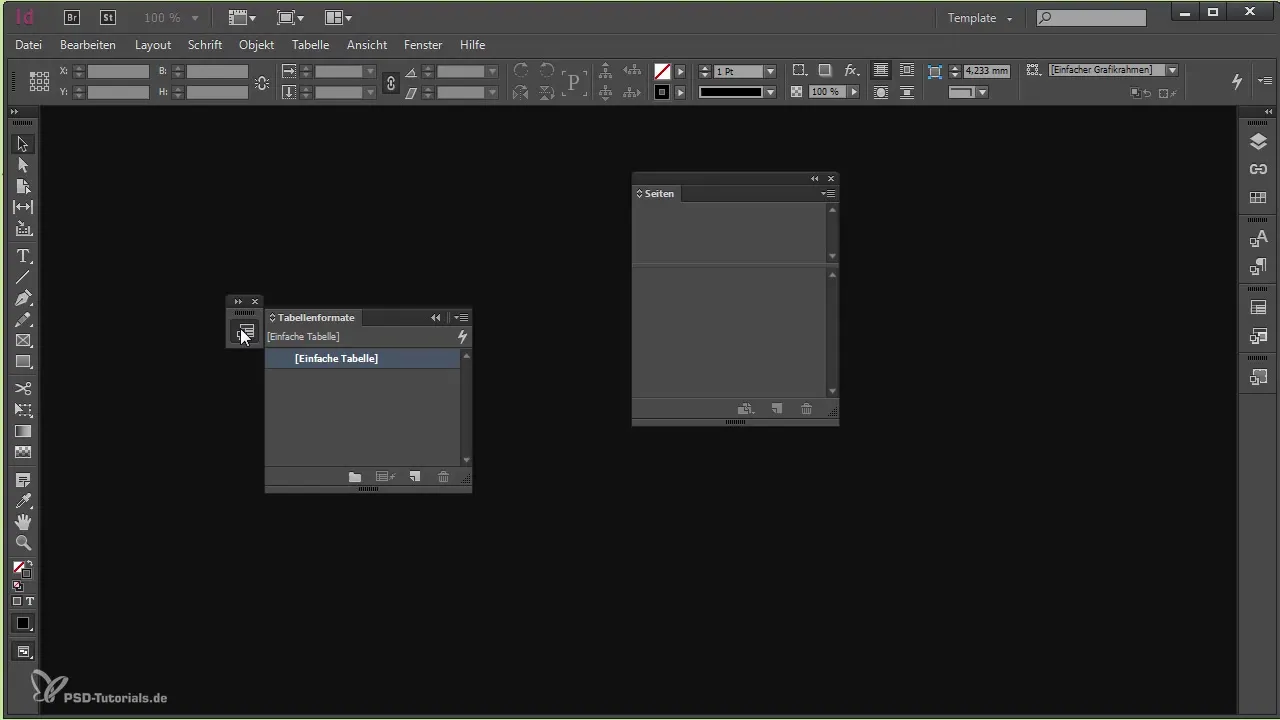
Now look for the important panels that you will definitely need during the creation of your template. These include formats such as paragraph styles, character styles, table and cell styles, as well as object styles.
Step 5: Customize Workspace
After you've called up all the relevant panels, adjust the arrangement of the panels according to your needs. A customized arrangement ensures that you have all important information at a glance.
Step 6: Save Workspace
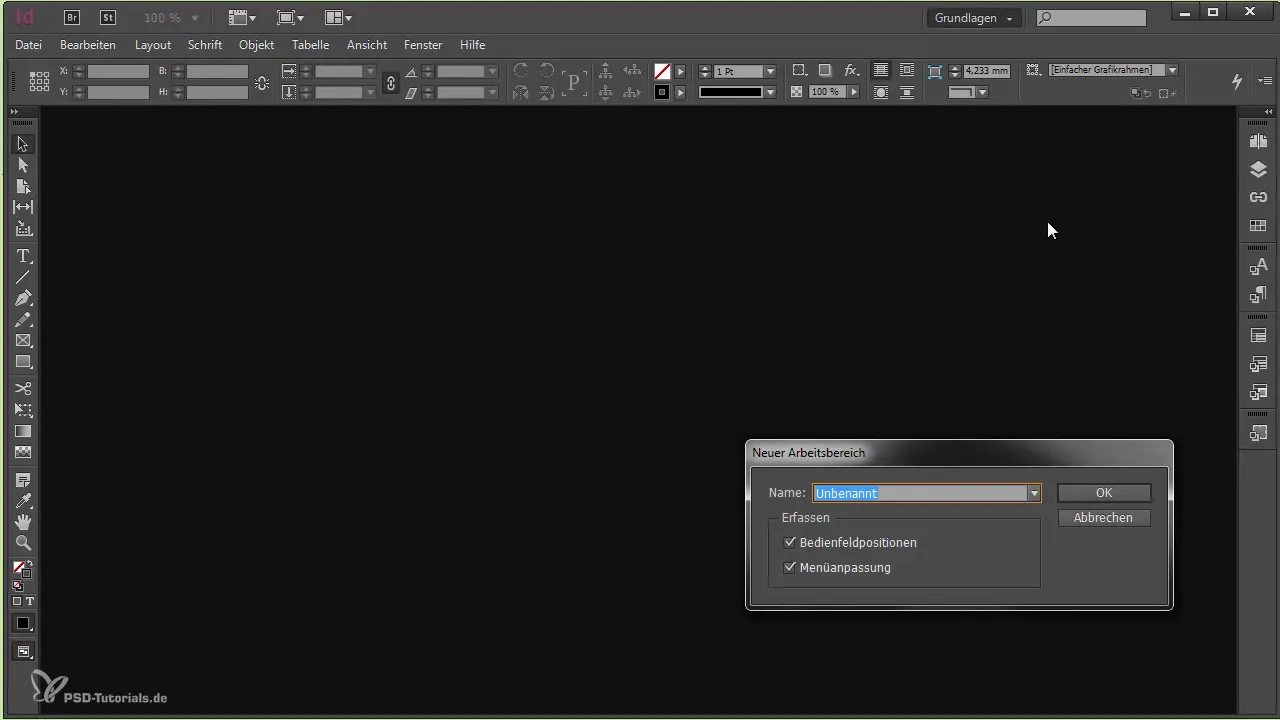
When you're satisfied with the arrangement of your panels, save your new workspace. You can do this through the "New Workspace" command. This allows you to quickly return to your perfect working environment.

Step 7: Return to Saved Workspaces
If you've been working on another project in the meantime and your workspace has become disorganized, you can always return to your previously saved workspace. This keeps your work structured, even when you switch between projects.

Summary – Setting Up Workspace in Adobe InDesign
The effective use of Adobe InDesign begins with a well-set workspace. You have now learned how to close unnecessary panels, select relevant ones, and save them in a optimal arrangement for you. This prepares you well for template creation.
Frequently Asked Questions
How can I customize my workspace in InDesign?You can close panels and access relevant ones, as well as change their arrangement.
Why should I save a workspace?A saved workspace allows you to quickly and efficiently return to your preferred arrangement at any time.
How do I return to a previous workspace?You can simply select the saved workspace in InDesign or create a new one if your current one is messy.


