The creative work in Adobe InDesign is greatly facilitated by the use of master pages. You want to design a new master page based on an existing one to maximize your efficiency when creating and altering layouts. This guide shows you how to effectively generate a new master page from the existing master page and customize it to work optimally for your opening pages.
Key Insights
- A new master page can easily be created from an existing one.
- Specific elements such as page numbers or text frames can be easily removed.
- Text frames and other layout elements can be efficiently integrated by copying and pasting.
- Chapter numbers and titles can be automatically updated using text variables.
Step-by-Step Guide
To create your new master page, open Adobe InDesign and follow these steps:
Start by creating a new master page. Open the master pages panel and select the option for a new master page. Choose the existing master page as the basis. Click on "New Master Page" and rename it. After you confirm this, you will see that the new master page has automatically taken over all elements from the content page.
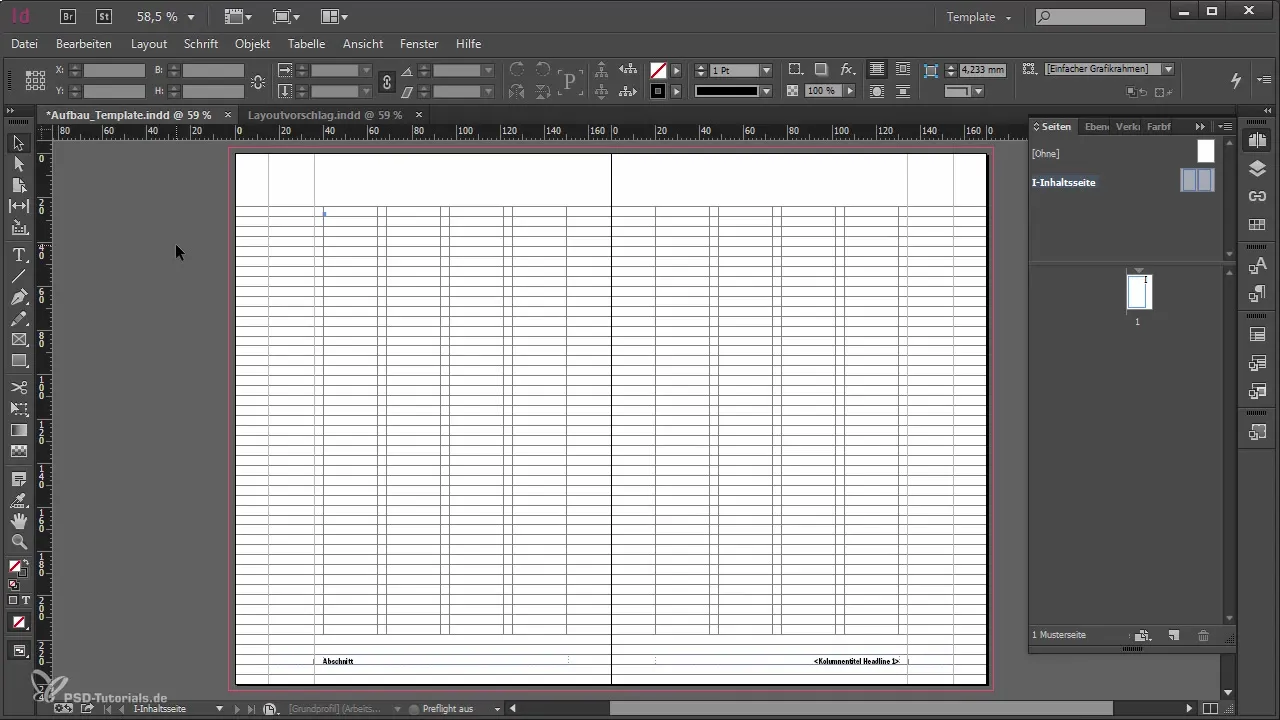
However, it is likely that you do not need all the elements on the new master page. For example, you do not need the page number, the text frame, and the column title. To remove these elements, simply click on them. To delete them, use the command "Unlock All Master Page Objects" to ensure that you can select all elements to delete. Alternatively, you can also use the shortcuts Ctrl + Shift or Cmd + Shift to select the desired elements and remove them.
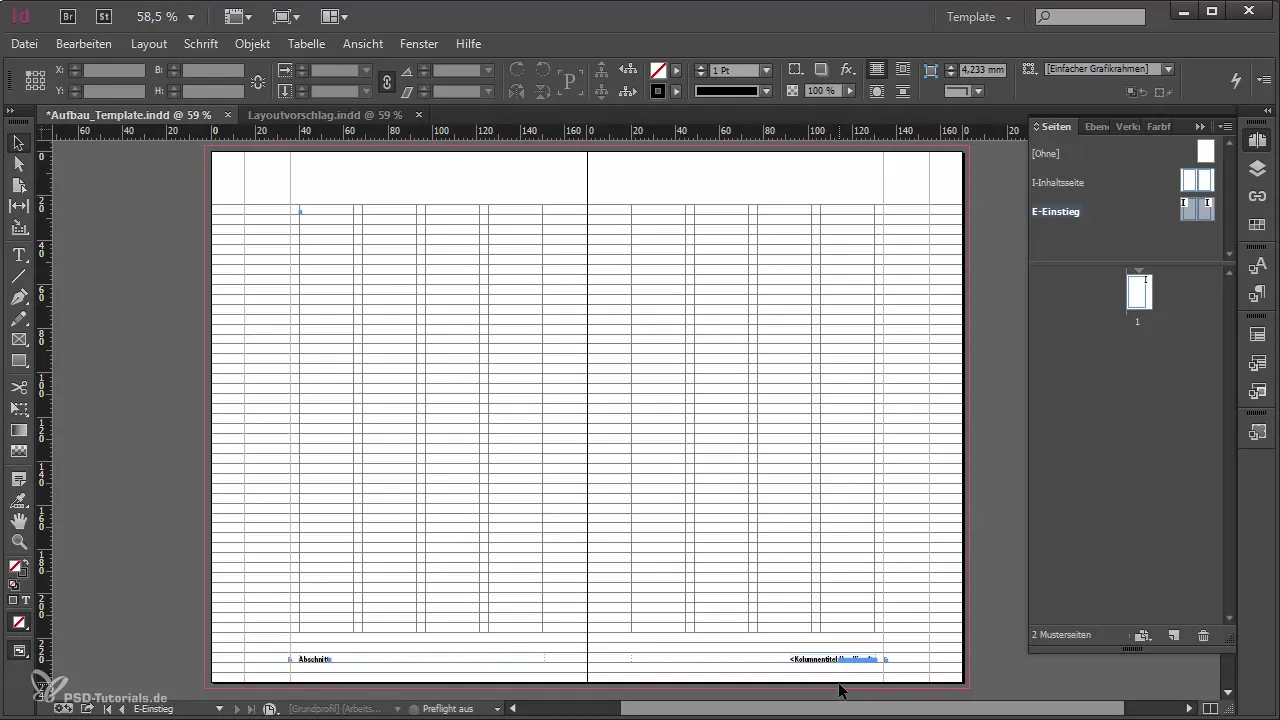
After you have removed the unnecessary elements, you can design the new entry page. Plan for a text frame for the chapter name and chapter number, as well as for the chapter content. An image should be placed next to this, and a small table of contents for this chapter should be inserted. Make sure to maintain the column layout, with the chapter name spanning the full column width, while the table of contents is aligned to the margin column. The layout should be optimally adjusted so that changes in the content page will also take effect on the entry page.
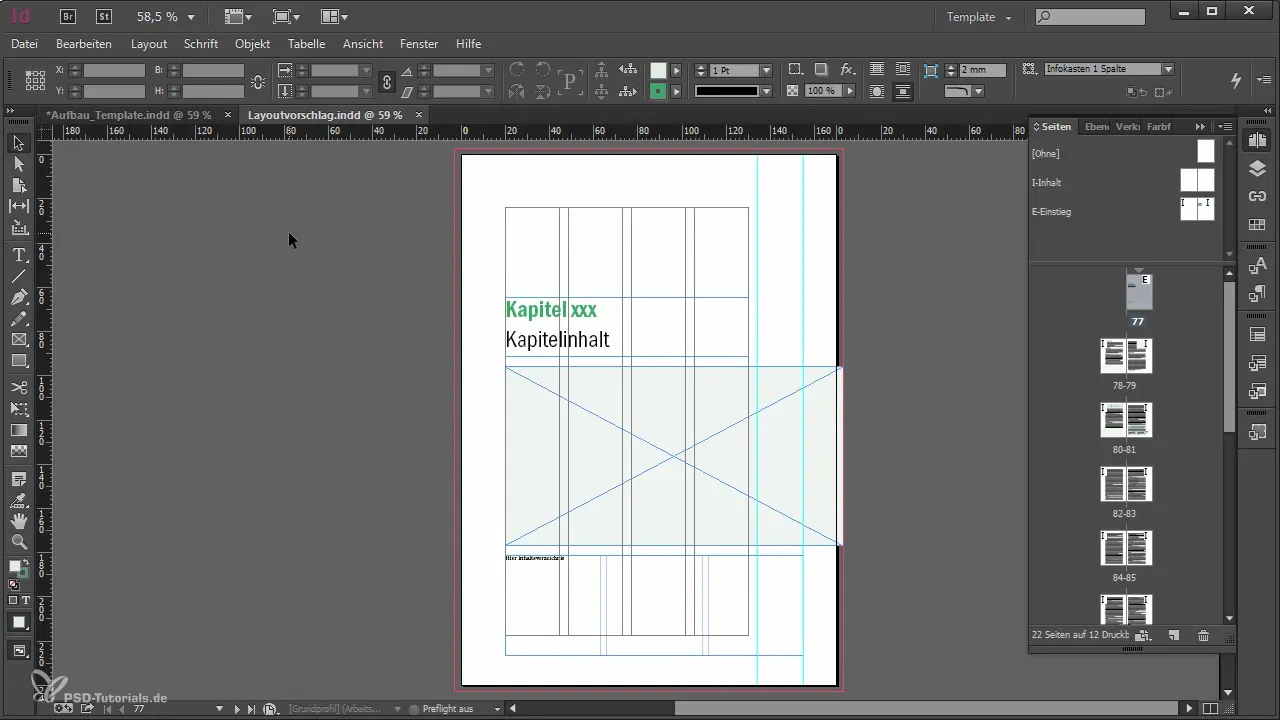
To save time, you can copy useful elements from your existing master page. Select the corresponding elements and click on "Copy". In the new document, choose the option "Paste in Original Position". This saves you the effort of rebuilding the layout elements.
Now add a text frame to represent the chapter and content text. Make sure to set the correct fonts and sizes right away. In this case, you use sans-serif fonts with a size of 29 points – the top font is formatted as "Demi" and the bottom as "Book". Ensure that both texts are aligned to the baseline grid.
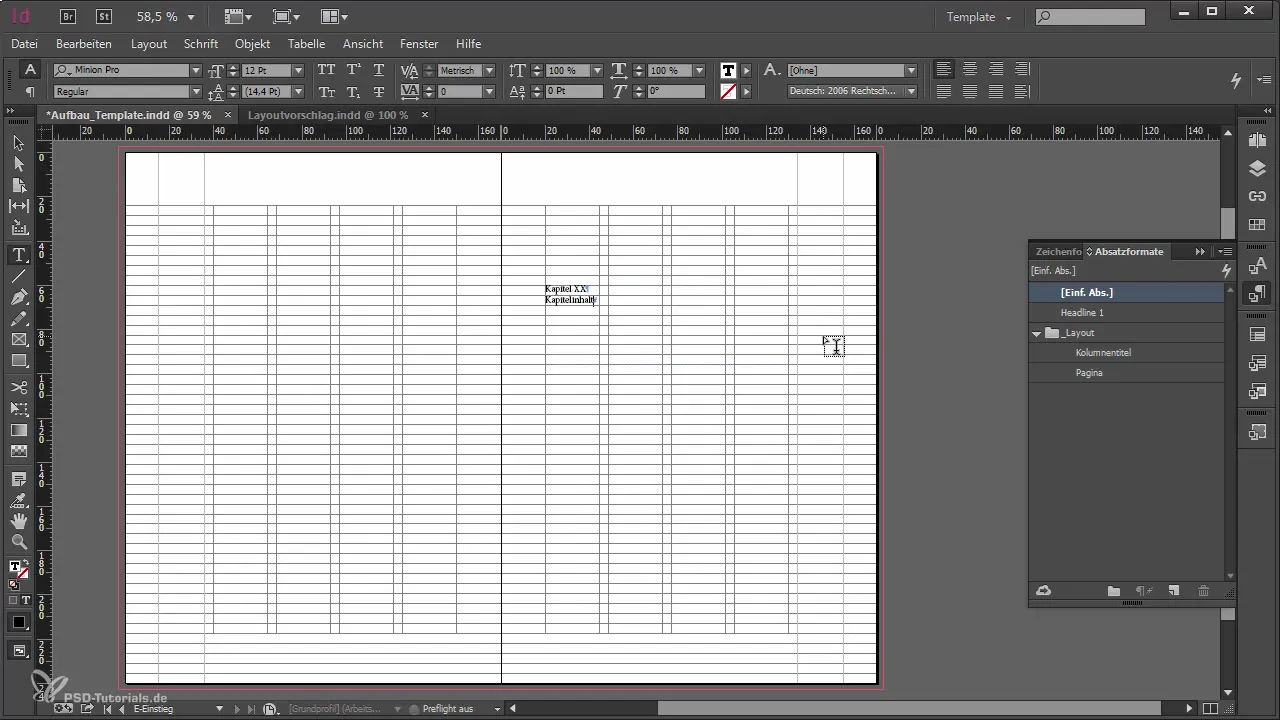
To further customize the layout, assign a paragraph style to the first paragraph and repeat this step for the second paragraph. Save the styles in your layout folder to avoid clutter during typesetting. Now you can create a graphic frame as a placeholder for the image. Consider whether you want to color this placeholder so that the typesetter recognizes it as a placeholder.
Create a text frame for the chapter-specific table of contents. Through the option "Object > Text Frame Options", you can also set the column layout to fit your content. Now all content that belongs on the entry page is ready. Later, you will use the book feature that allows you to manage multiple documents in a specific order via an InDesign book file.
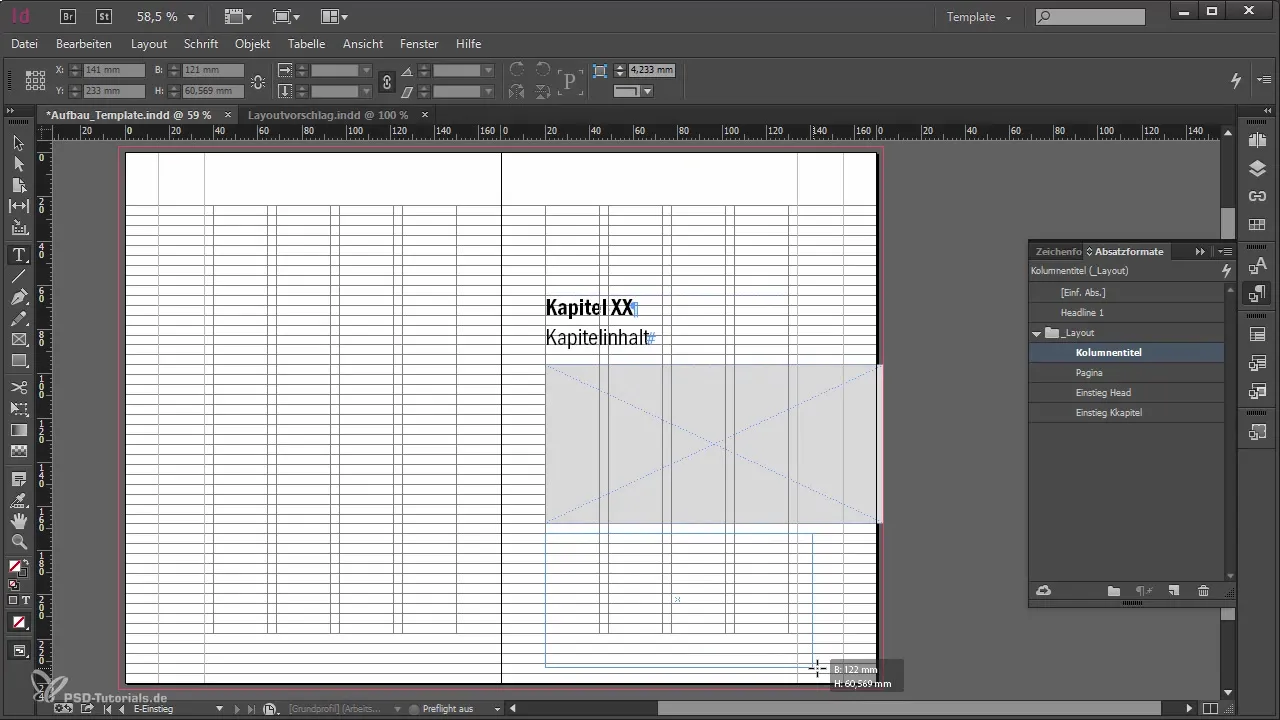
You can adjust the chapter numbering by going to the Pages panel and opening the "Numbering and Section Options". Here, you can activate the chapter numbering and decide whether you want to set it manually or generate it automatically. This feature helps you number the chapters in the order they appear in the book.
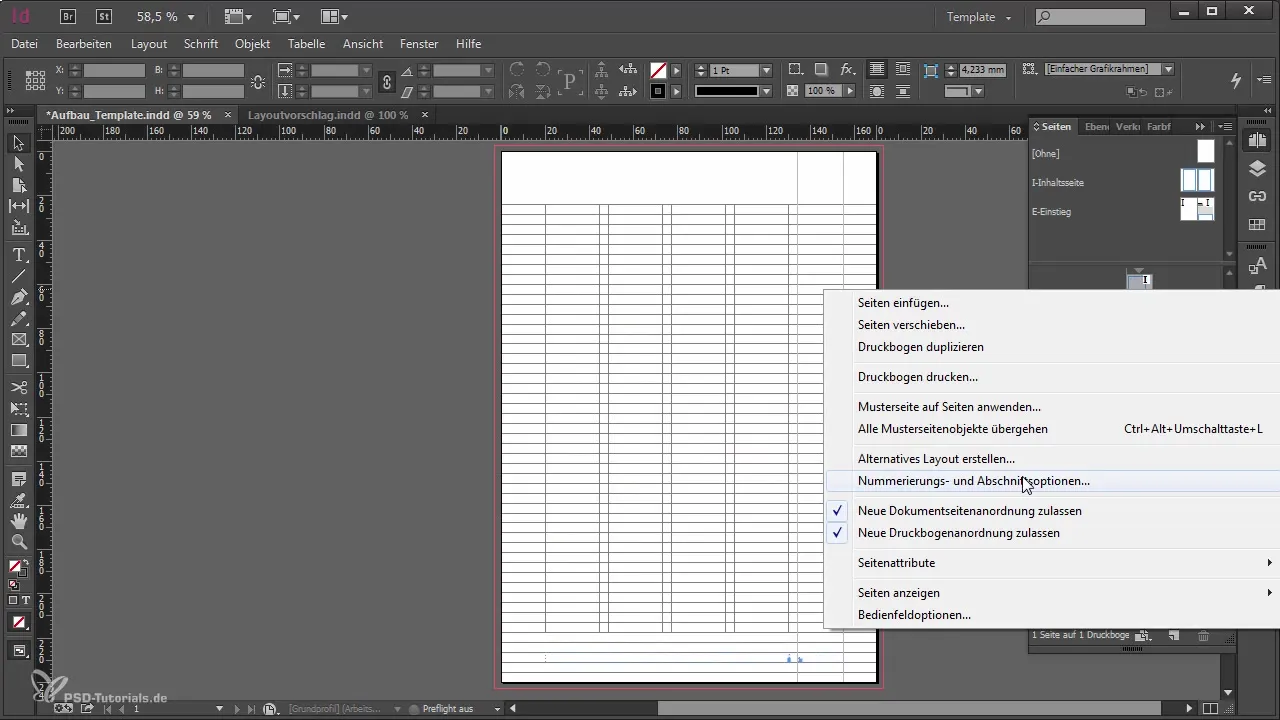
To automatically adjust the chapter number in your placeholder for the entry page, you use a text variable. Insert the text variable for the chapter number on the page by selecting it. This simplifies the later layout, as the chapter number in the book file is automatically updated, ensuring the correct order of the chapters.
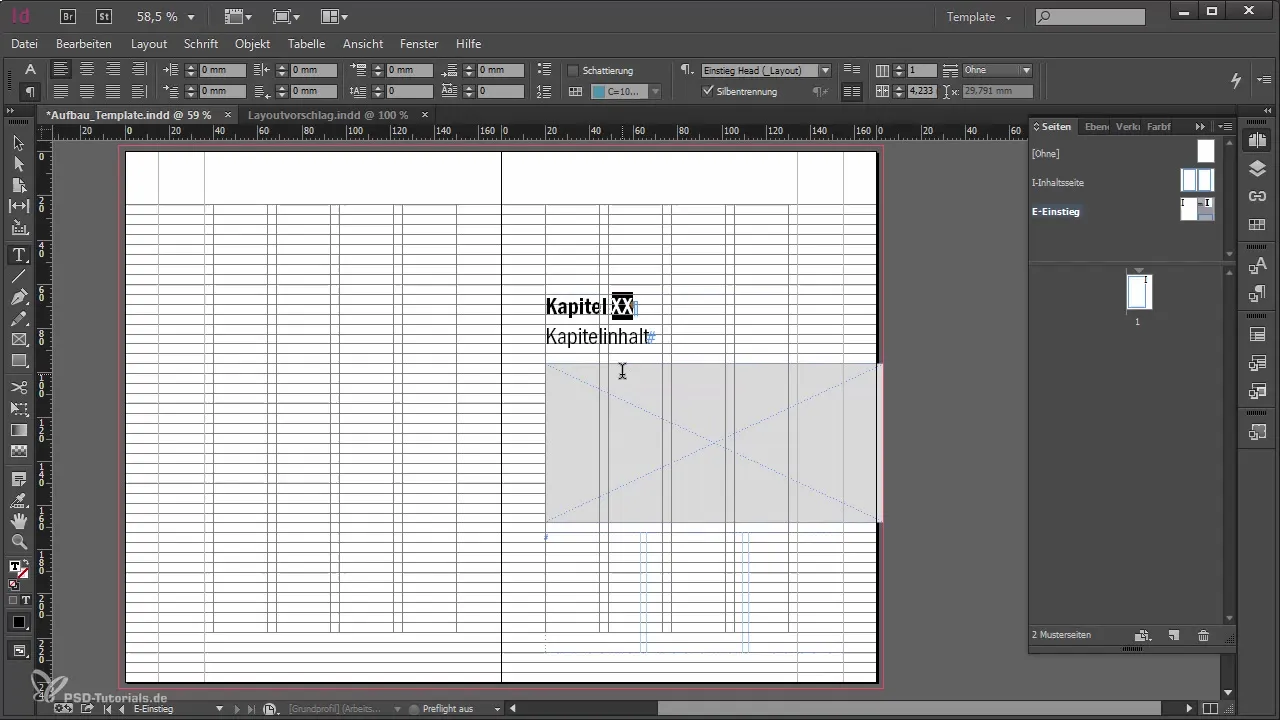
Another elegant solution for the heading "Chapter Content" is to use an already created section marker. This refers to the name of the chapter and can be easily used. Instead of having to manually enter the title, you can simply insert the section marker, allowing the text to be generated automatically.
Summary
You have learned how to create and customize a new master page in Adobe InDesign to design your entry pages efficiently. By using existing layout elements and integrating text variables, you can significantly speed up the creation process.
Frequently Asked Questions
How do I create a new master page in Adobe InDesign?Open the master pages panel and select "New Master Page", based on an existing master page.
Can I easily delete elements from a master page?Yes, you can select elements and delete them with the command "Unlock Master Page Objects" or shortcuts.
What is a text variable in Adobe InDesign?A text variable is used to automatically update recurring text elements such as chapter numbers.
How can I create graphic frames as placeholders on the master page?You can insert a graphic frame and color it to indicate that it serves as a placeholder.
How do I use section markers for titles on the master page?You can insert section markers so that titles are automatically generated based on chapter information.


