You are faced with the challenge of inserting newly delivered images with a different file extension into an existing project in Adobe InDesign? Instead of manually searching and replacing each image for hours, you will learn how to do this efficiently and time-saving. In the newer versions of InDesign, the process has become significantly simpler, which can save you a lot of hassle.
Main Insights
With the "Relink to Folder" function in the Links panel, you can quickly swap images with a new file extension without replacing them individually. This allows you to work more efficiently and save time, especially when the file formats change during the project.
Step-by-Step Guide
To use the "Relink to Folder" function, follow these steps:
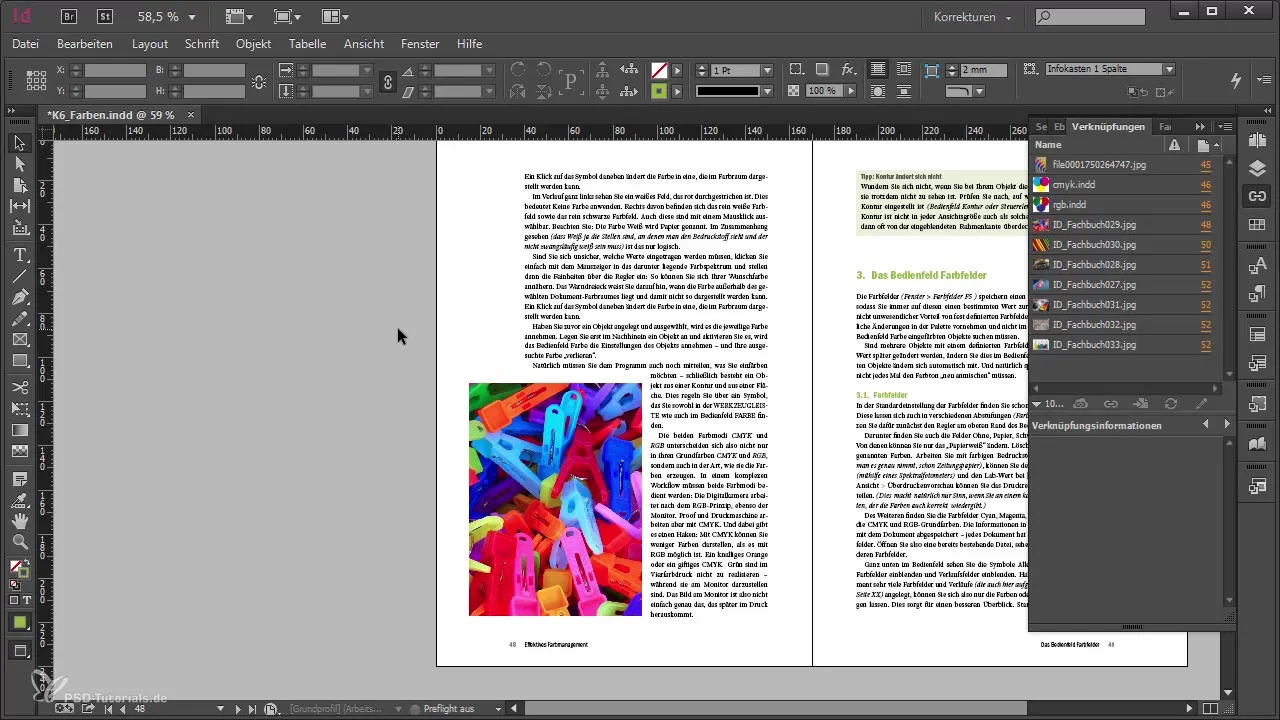
First, open your existing InDesign document. Place your images, which may be in different file formats, into your desired layout. In older versions, a lot of manual work was needed to replace the images individually. However, in newer versions, this process has been greatly simplified.

If you have an image that has a new file extension and this image is needed urgently, open the Links panel. You can find it in the panel menu, which is visible in most InDesign workspaces. This lets you see all linked images at a glance.

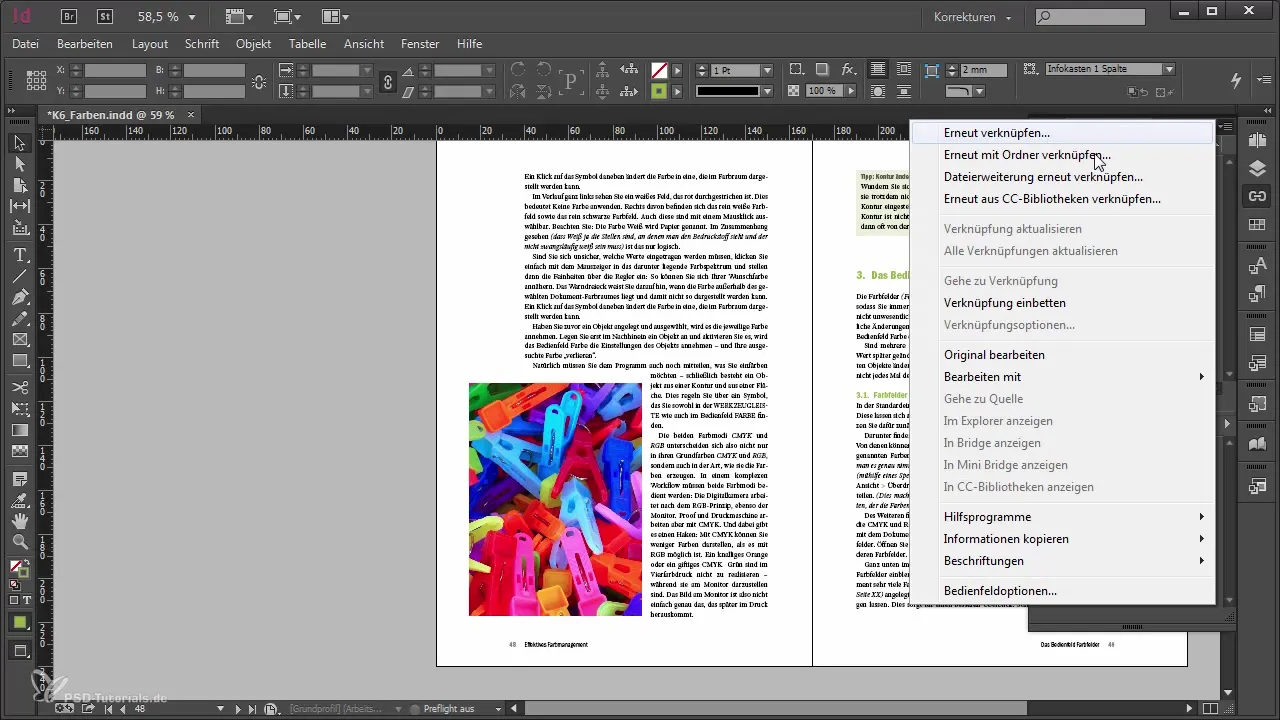
In the Links panel, select the "Relink to Folder" command. This command allows you to inform InDesign about the location of your newly delivered graphics and in what format they are available.
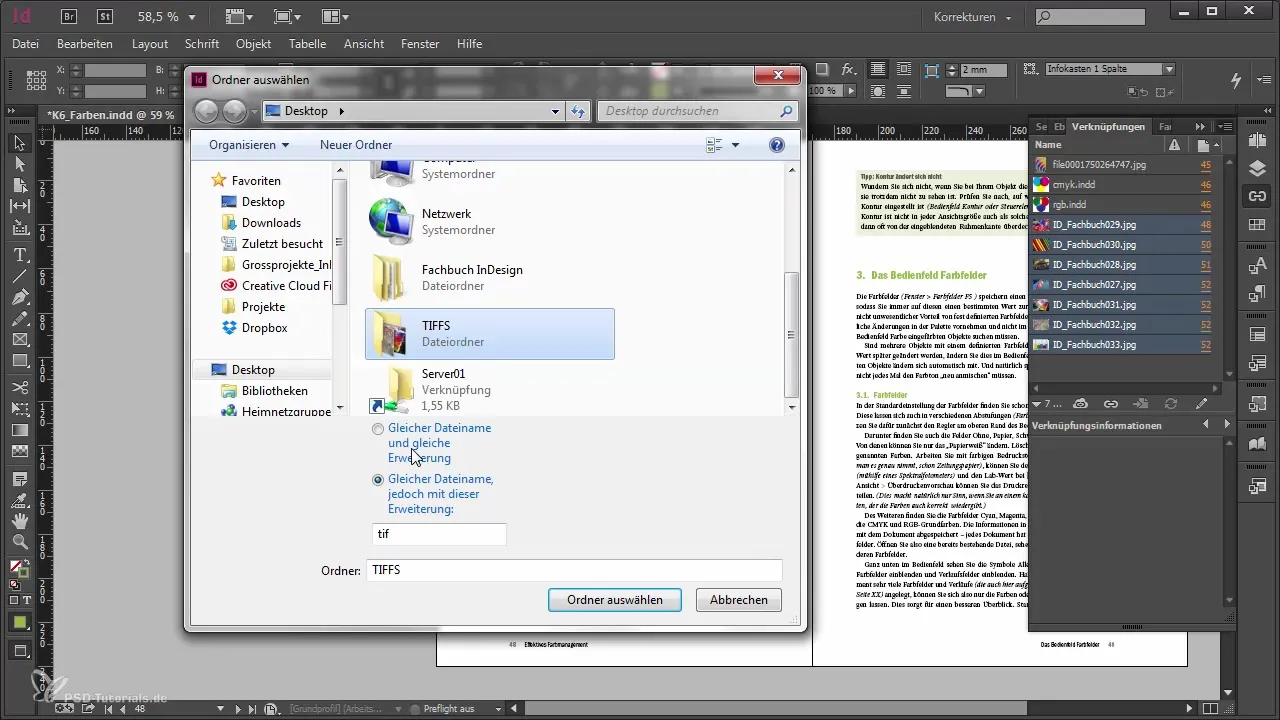
Now you can select the new folder. In this example, we assume that the folder is saved on your desktop. Select this corresponding folder to proceed with the process.

After selecting the folder, you will be prompted to confirm that the files in this new folder have the same filenames as the old files but have a different file extension – in our case, TIFF.
Once everything is set, click on “Select Folder”. InDesign will take a moment to process and verify if it can successfully relink the new files.

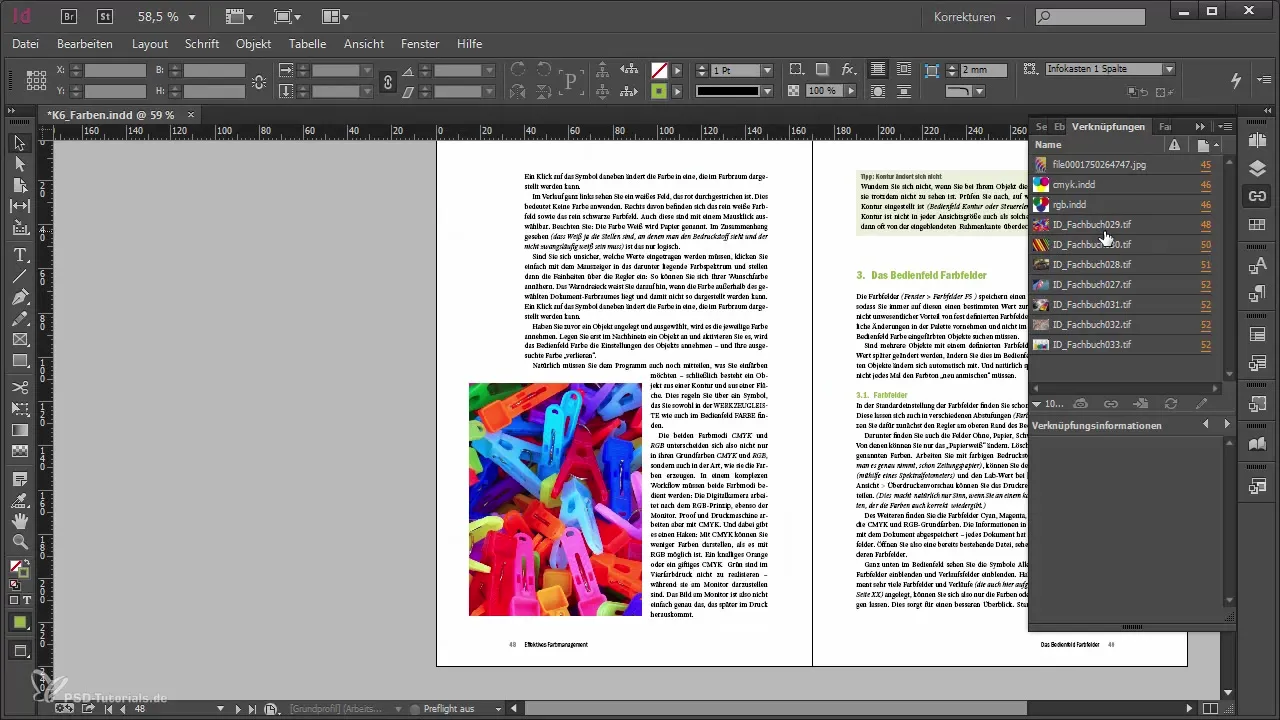
After a few seconds, you will notice that all TIFF files or JPEG files you had somewhere in the document were automatically replaced with the new TIFF. This is a significant step toward a more efficient workflow, as you can achieve considerable time savings when replacing images if the file formats change during your work process.
Summary - Reload Images in Adobe InDesign Easily
In this guide, you learned how simple and quick it is to replace images with a different file extension in Adobe InDesign using the "Relink to Folder" function. Instead of painstakingly replacing each image manually, you can make all changes with just a few clicks, thus saving time for more important tasks.
Frequently Asked Questions
How do I find the Links panel in InDesign?You can find the Links panel in the panel menu, usually in the right sidebar.
What should I do if the new folder contains no files?If the new folder contains no files, the relink will not be successful. Make sure the required image files are present in the folder.
How can I ensure that the filenames are identical?Compare the filenames in the old and new folder before creating the link in InDesign.
Are there any restrictions on the file formats?InDesign recognizes different file formats as long as they have the same naming but a different file extension.


