If you want to work effectively in Adobe InDesign, it often depends on how objects are integrated into your text flow. An anchored object means that it is dynamically linked to the text and moves accordingly when you change the text. This is especially important if you want to create an eBook from your InDesign file, as it maintains the integrity and layout of your text. In this guide, you will learn all the important details about anchored objects and how to use them optimally in your projects.
Key Insights
- Anchored objects are integrated into the text flow and move with the text.
- There are various ways to anchor objects, depending on your needs.
- Custom positioning gives you the greatest flexibility and control over the layout.
- Showing the text threading makes it easier to work with anchored objects.
Step-by-Step Guide
Start by placing an image directly into your text. This is usually done by dragging an image into your document area. Once you load it, an anchored object is automatically created. Anchored objects may initially appear a bit messy, but you can quickly adjust them. If you need the image at the right size, hold down the control and shift keys to ensure proportional scaling.
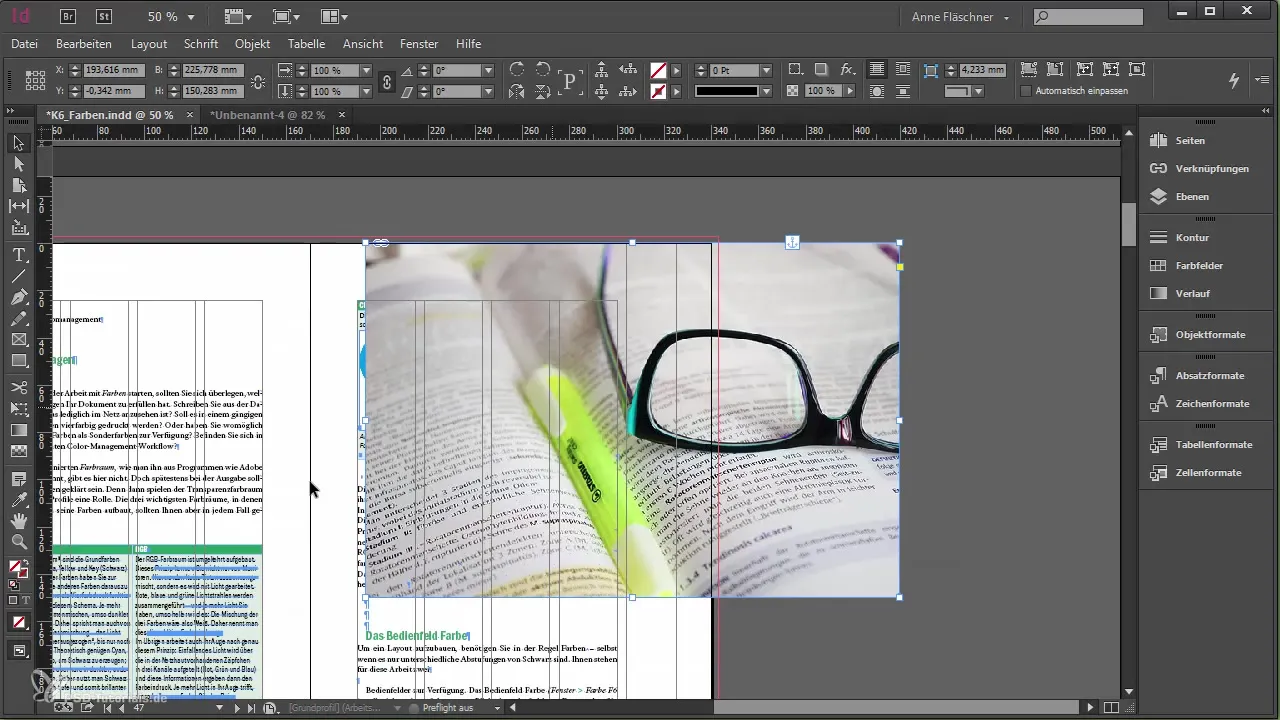
Now that your image is anchored in the text, it will automatically move with the text. This means that when you add or change text, the image remains in the intended position. To adjust the image accordingly, you can make adjustments in the anchored object settings. The quickest way to access them is by right-clicking on the image or using the "Object" option in the menu bar.
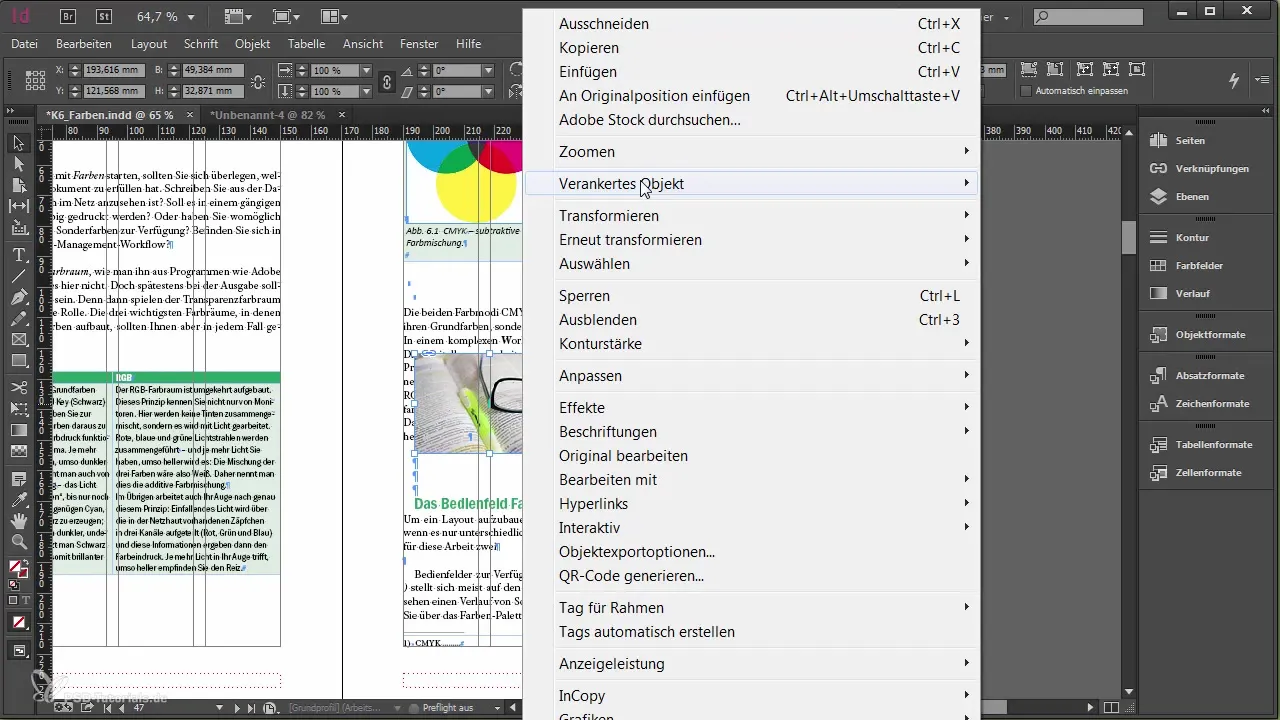
In the options for the anchored object, you have several settings available. By default, the "Inline" setting is activated. This means that the image is treated like a character in the text and is integrated into the text flow. Here, you can also take advantage of the option to move the image slightly up or down, which is particularly suitable for small graphic elements. To achieve a cleaner presentation, it makes sense to place the image "above the line." This way, the image is treated like its own line in the text.
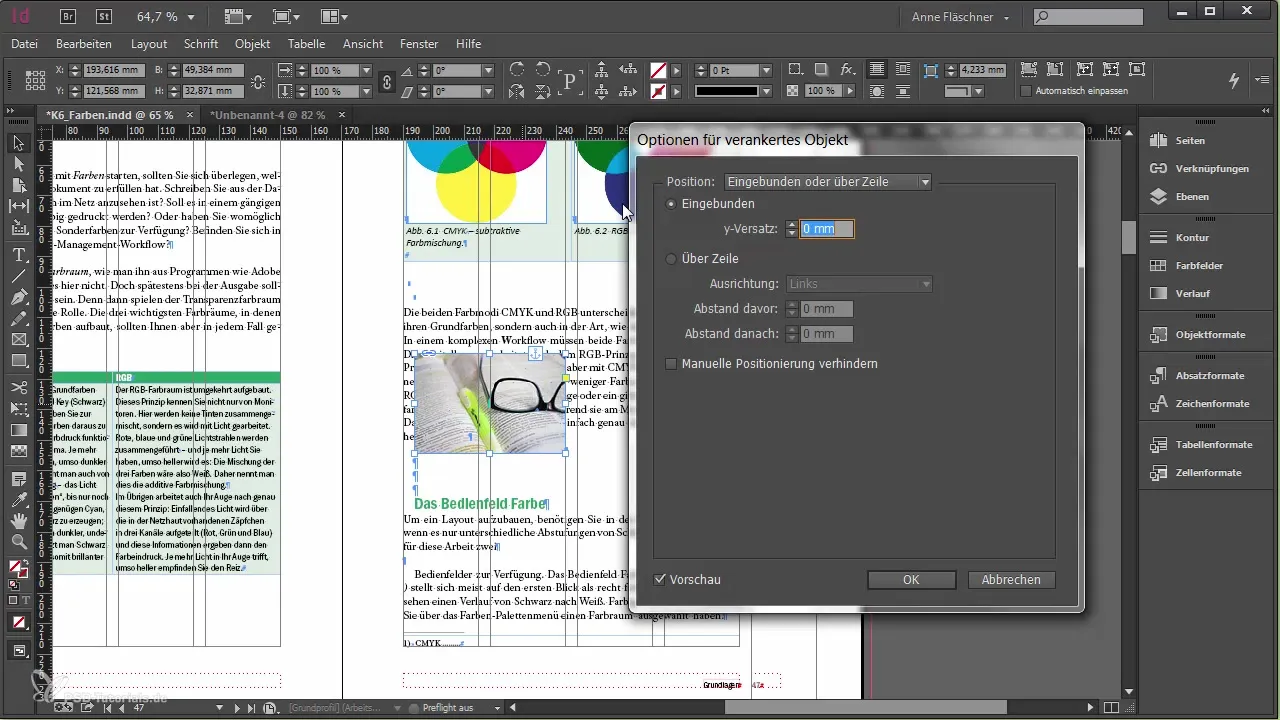
Once you have anchored the image above the line, you can adjust the alignment. You have several options, such as centered, right, or left. This setting ensures that the image behaves according to the text alignment defined in your paragraph style. Additionally, you can define spacing before and after the object to further refine the layout. If you deactivate manual positioning, the image is firmly anchored at the chosen spot and cannot be moved anymore.
Another helpful aspect is the custom setting for anchored objects. This option allows you to set the reference point for the placement of the object. You can choose whether the image should align with the upper left corner of the text frame or, for example, with the page margin. This gives you more control over the exact placement. Adjusting the offset lets you move the image even further, if necessary.
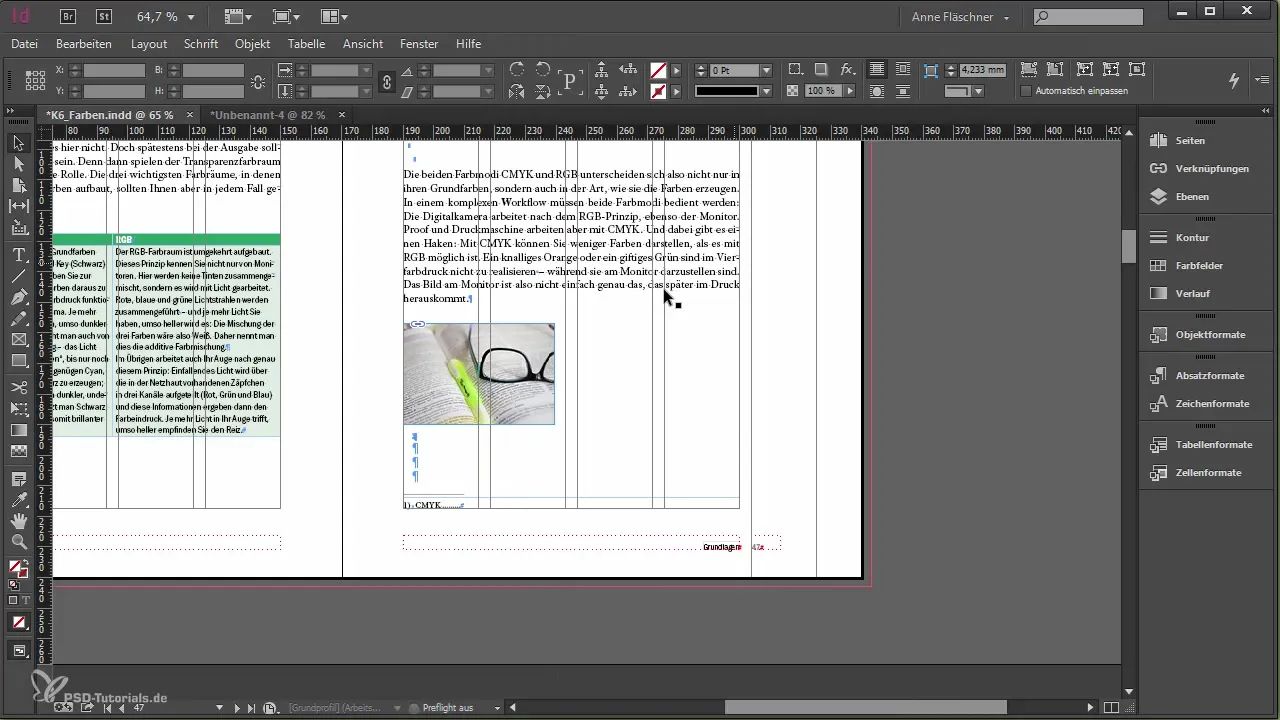
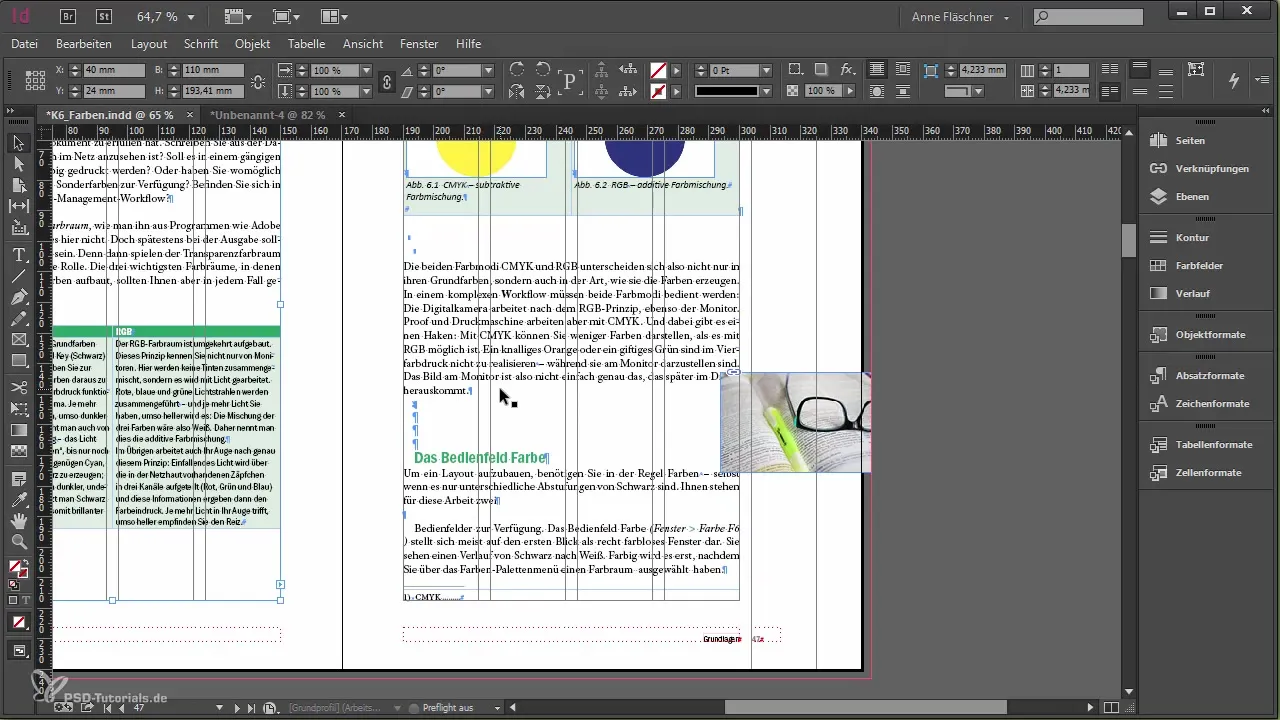
Decide whether you want your object to not be moved beyond the text frame. Often it is beneficial to deactivate this function, as it allows for more flexibility to position the image further down in the layout if necessary. Even when manually adjusting the position, the object remains connected to the text. When you insert text now, you will see that your image stays exactly where you placed it, which is especially important for the consistency of your design.
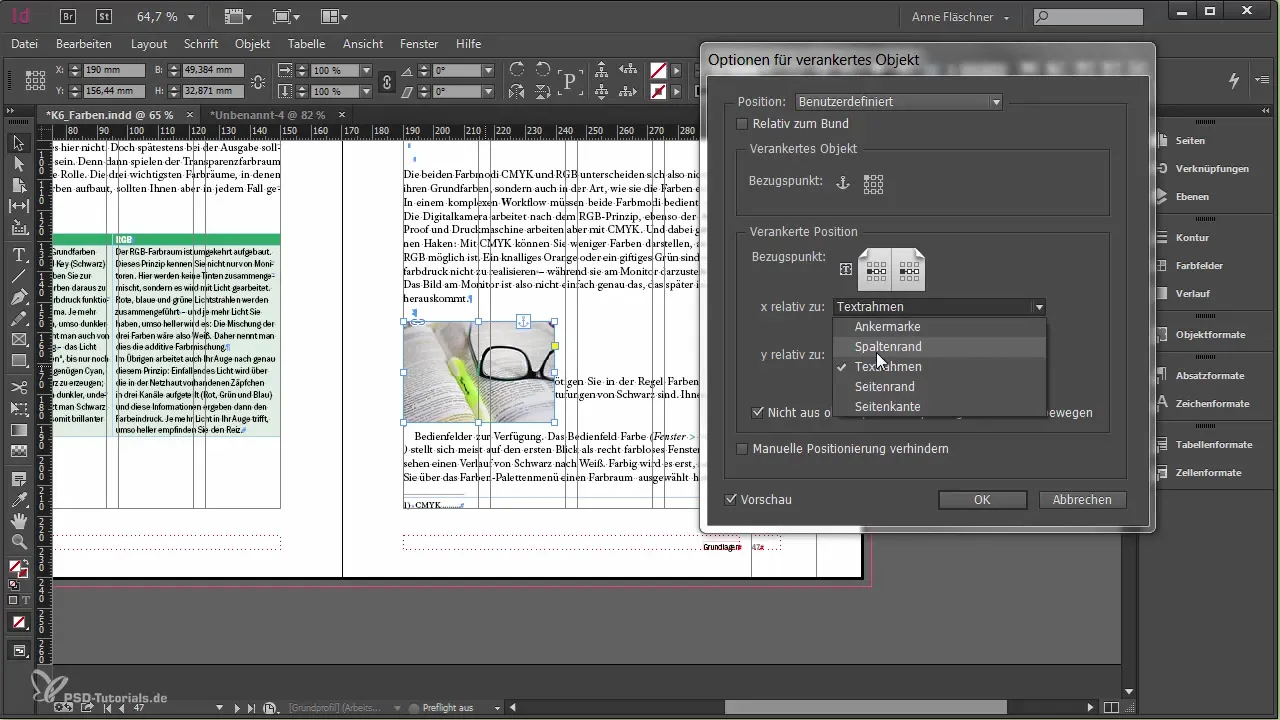
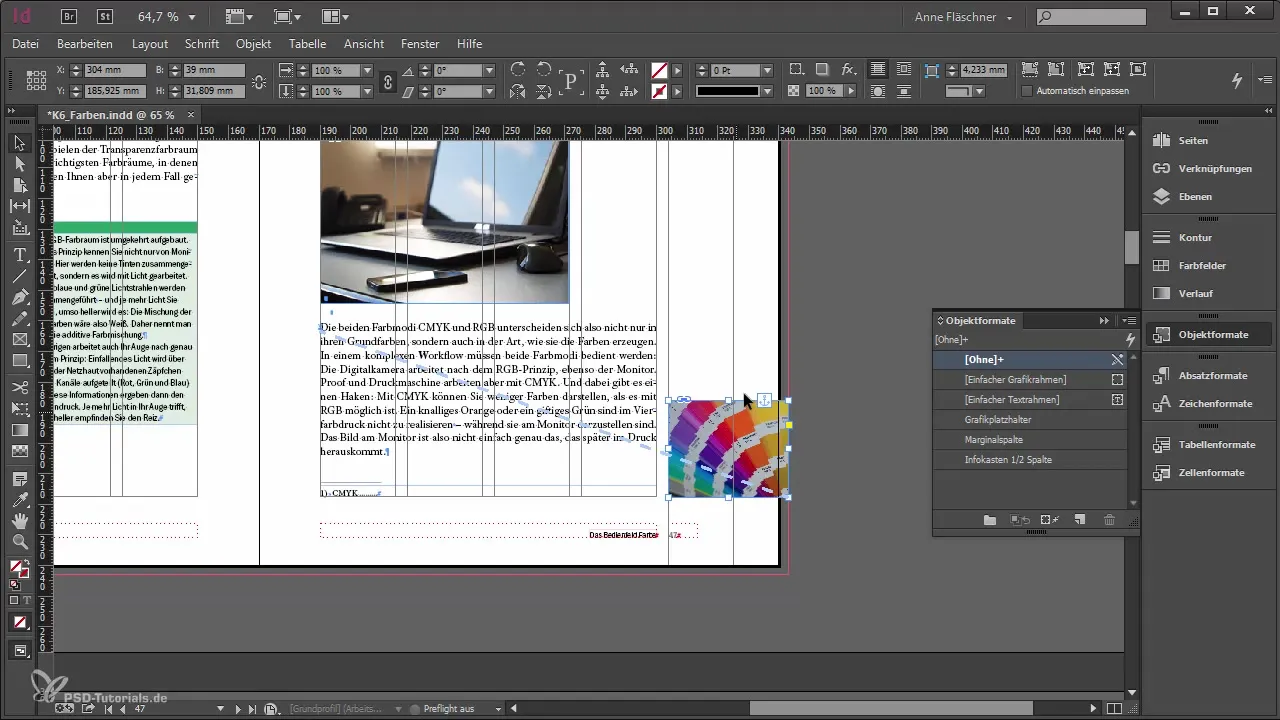
If you are working with text threading or using multiple anchored objects, it is advisable to show the text threading to get a better understanding of the flowing text. This way, you can clearly see where the text frame ends and where the text continues. If you placed the image, for example, at a position on the page, it remains anchored at that text spot, no matter how often the text itself changes.
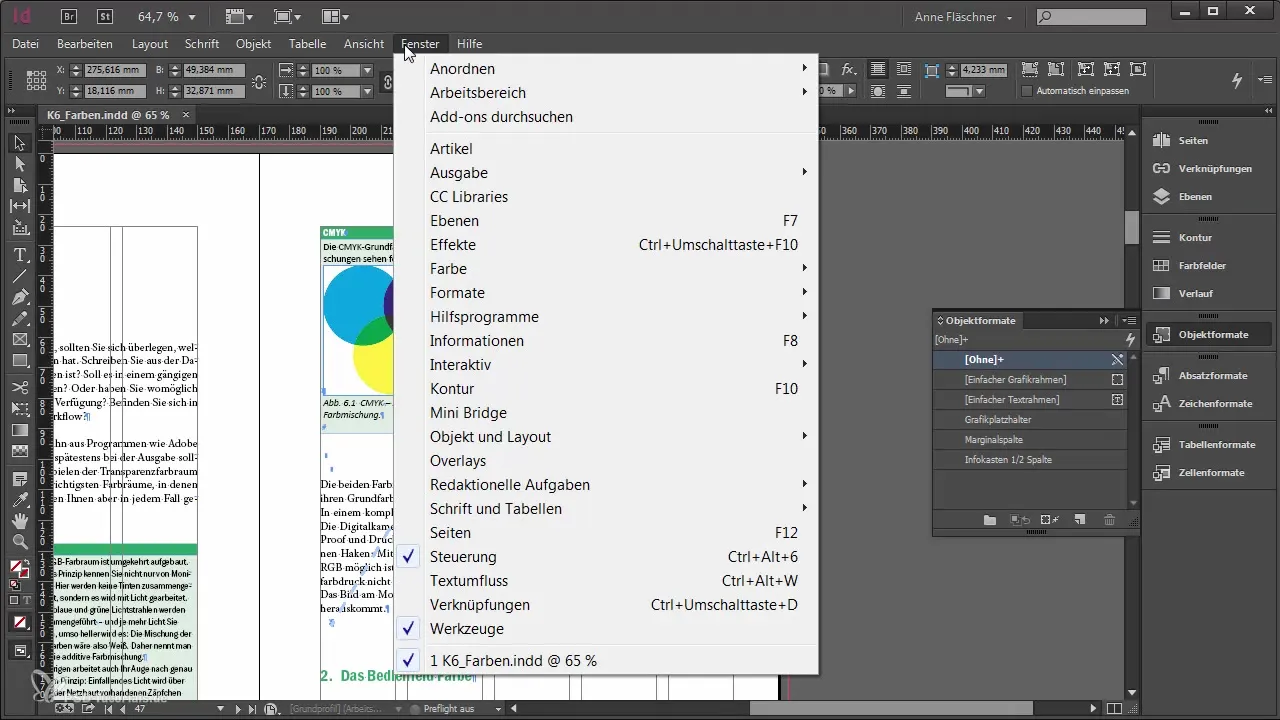
All the settings you make to your anchored objects can be saved as styles. For this, go to "Window," select "Styles," and then "Object Styles." Here you can open your styles palette and choose a suitable predefined object style. If you want to anchor an image in the text, it makes sense to work in text mode. Simply place an image at the desired location in the text, and it will be automatically anchored there.
If you prefer to place an image in free space, you can simply paste it at the desired location after copying it to the clipboard. The image will then be placed so that it links with the text. Be sure to format the spot where the image is located so that it always stays in the correct position. Also, place the necessary images in margin areas to ensure they correctly follow into the bleed or onto the next page when switching pages.
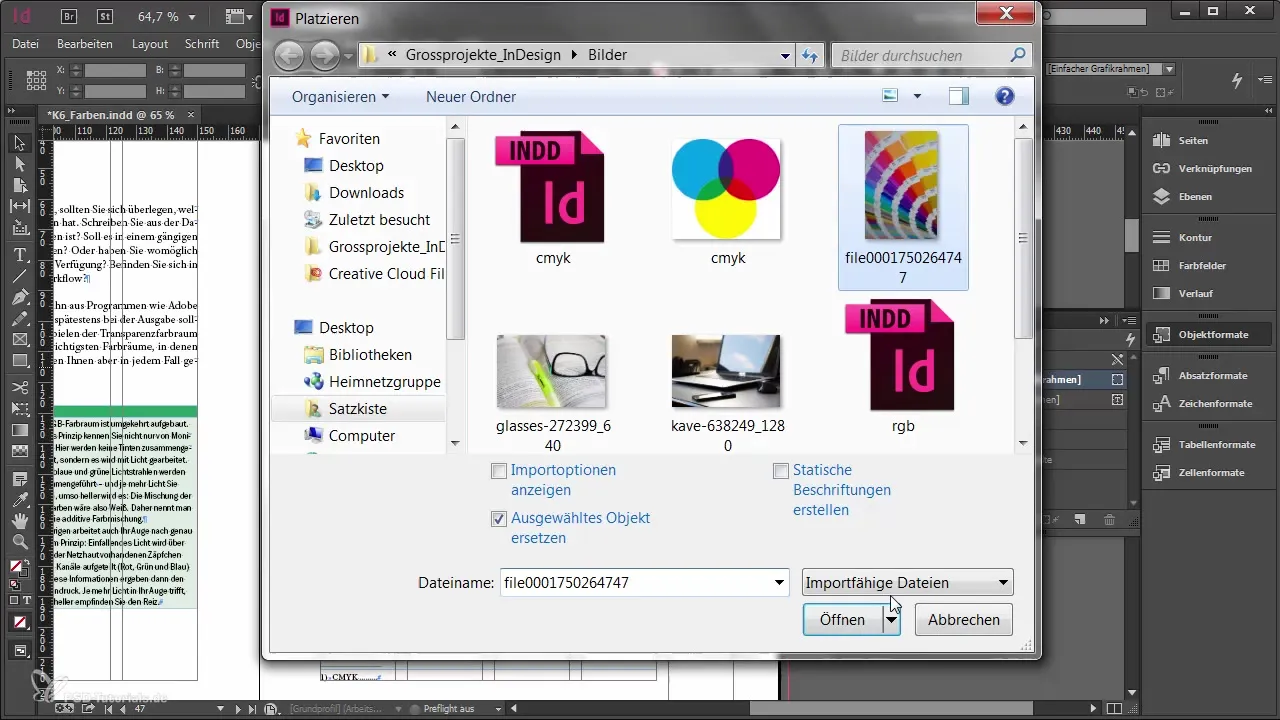
Inserting and anchoring images is usually done with the help of a special tool – the small blue box. This was introduced in InDesign CS5.5 and helps you to pull the image to the intended position and automatically anchor it. You will also see a line indicating the anchoring if you have activated this view accordingly. You can then always check how the anchoring is set and whether you have the correct positions through the options.
Summary
Using anchored objects in Adobe InDesign offers you many advantages in the layout process. Your graphics and texts remain dynamically connected, helping you maintain control over your design. With various placement and adjustment options, you can work precisely and ensure that your designs look appealing both in print and digital formats.
Frequently Asked Questions
What are anchored objects in Adobe InDesign?Anchored objects are graphics or images that are integrated into the text flow and move accordingly when editing the text.
How do I place an image as an anchored object?You simply place an image in the text area, and it will automatically be treated as an anchored object.
Can I adjust the position of an anchored object?Yes, you can adjust the position and alignment of the anchored object through the settings for anchored objects.
What happens to anchored objects when the text is changed?The objects remain anchored at their position in the text and move automatically with the text.
Can I save the format of an anchored object?Yes, you can save all settings for an anchored object as an object style and reuse it later.
