The process of creating a template in Adobe InDesign begins with careful planning of a new document. Based on the specifications you received from the client, you can ensure that the layout meets expectations. In this guide, I will provide you with a comprehensive overview of how to create a new document effectively and the key settings you should not forget.
Key insights
- Know the layout specifications of your project.
- Capture important values like the number of columns, gutter widths, and text sizes.
- Ensure that your documents are correctly formatted before you start working.
Step-by-step guide
First, it is useful to check the layout specifications you received from the client or graphic designer. Based on these specifications, you can design the layout of your new document.
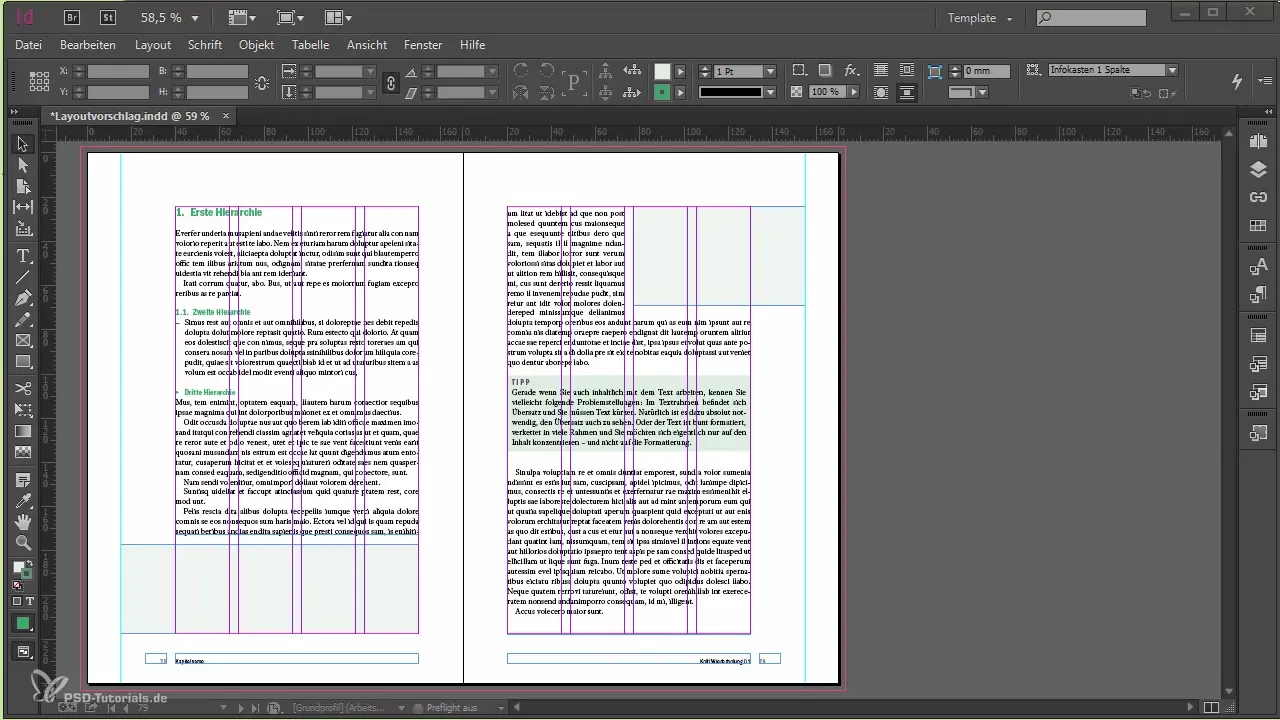
In this example, you have a delivered InDesign file from which you can extract the relevant information. Pay attention to the details, like the desired text, so you know how your layout should look later.
Extract the values from the InDesign file. This includes, among others, the column configuration, widths of the gutters, and text sizes. If the layout, for example, includes four columns, you should consider how the text is distributed in these columns.
Make sure that this column configuration is resolved when placing images or graphics. Also, inform yourself about specific elements like tip and info boxes, tables, and margin columns that need to be integrated into your document.
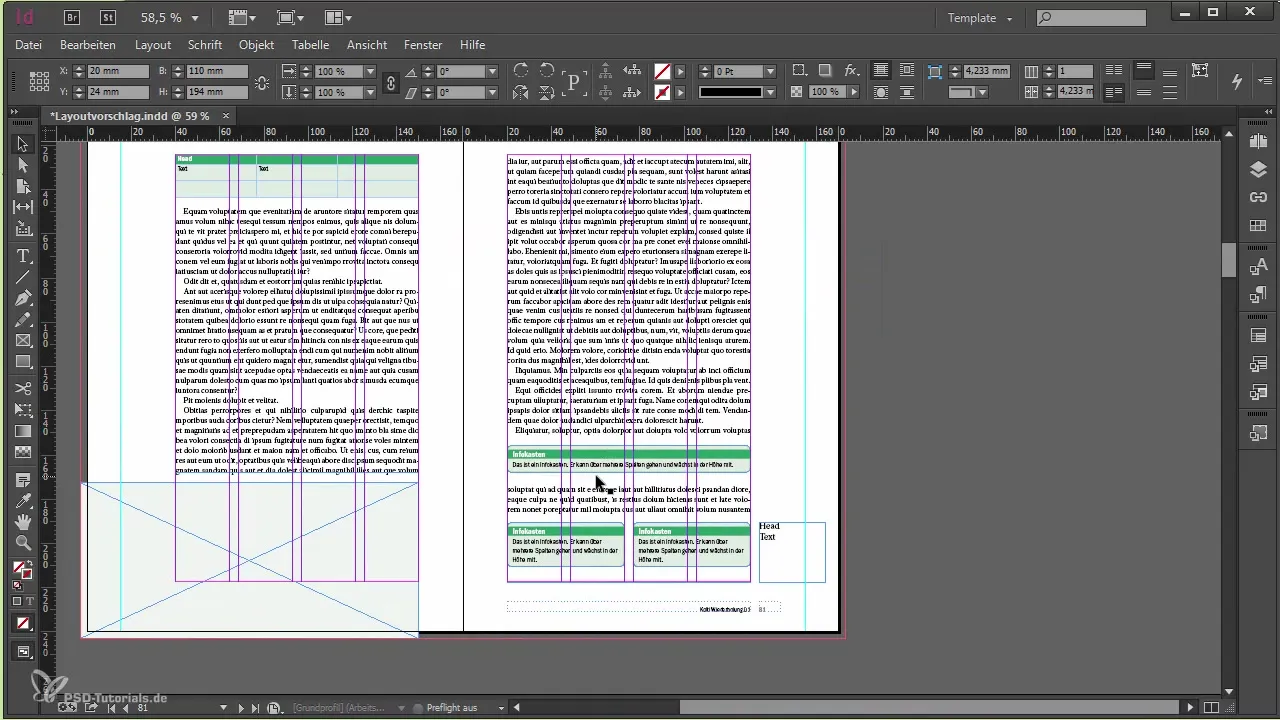
Note down the most important values on a notepad so you can quickly access them without having to toggle between different documents.
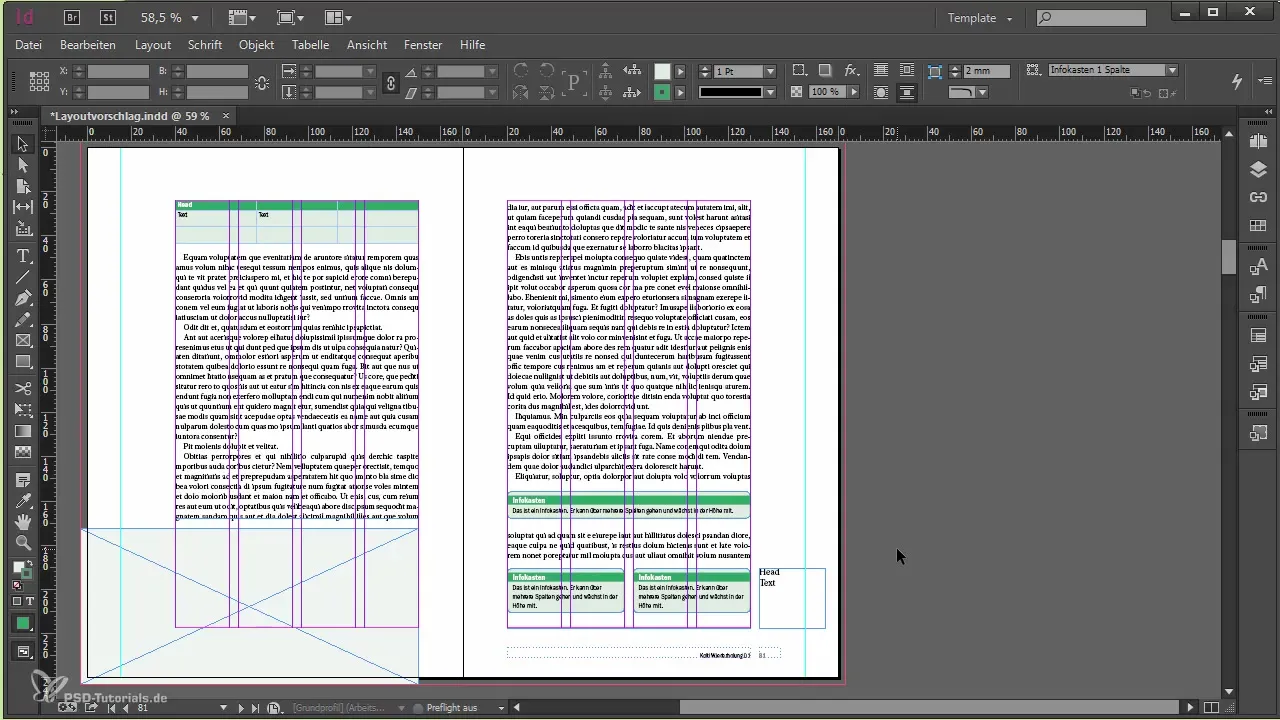
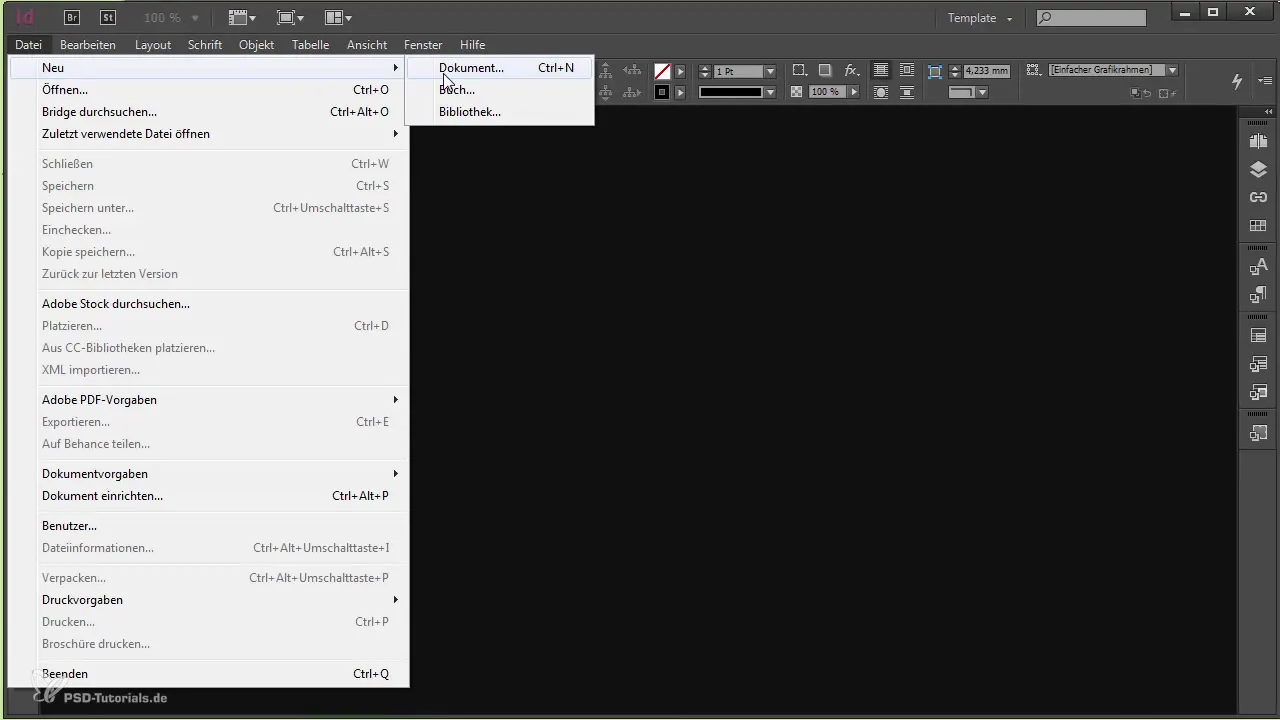
Now it's time to create a new document in InDesign. Select the option "New Document," and you will receive a dialog box in which you can enter all the values for your document.
Start by setting the width and height. In our case, the width is 170 mm and the height is 240 mm. The orientation for the document should be chosen as portrait, and since we are laying out a book, we also need double pages.
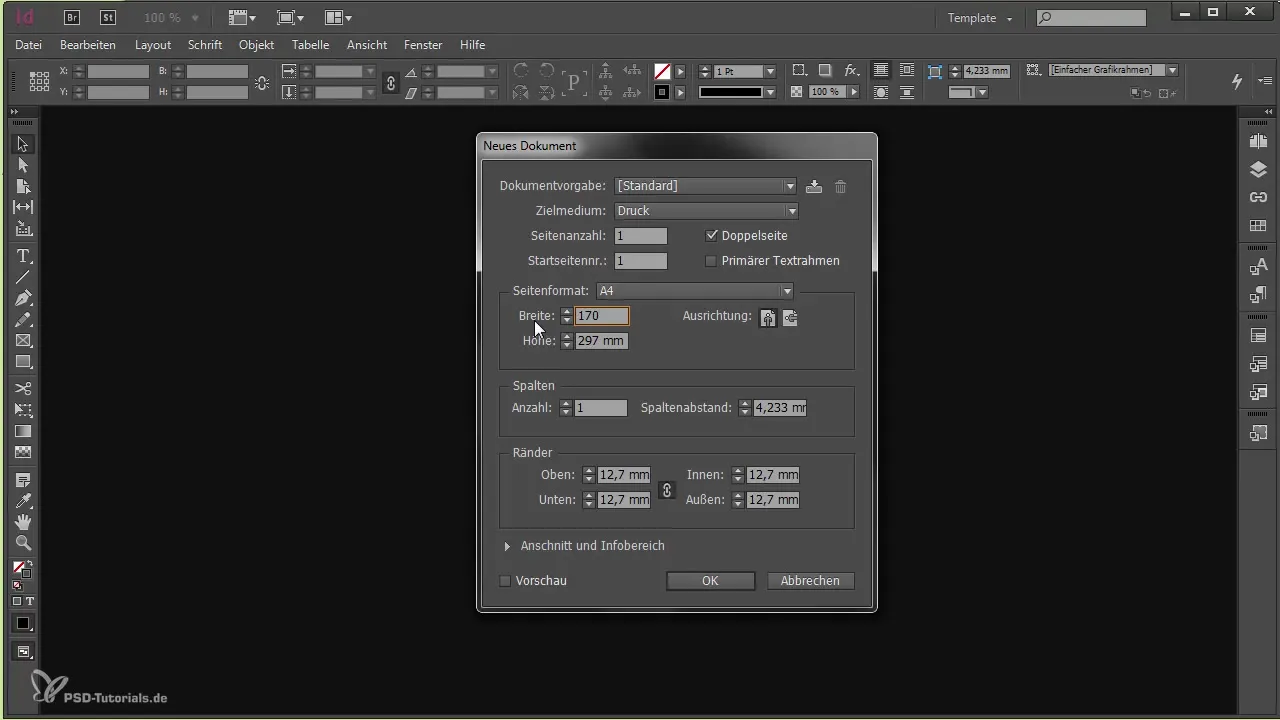
Directly in the dialog box, you can also set the number of columns. Since we know that four columns are needed, set this here, and also pay attention to the column spacing, which in our example is 4 mm.
Don't forget to set the margins: Top 24 mm, bottom 22.59 mm, inside 20 mm, and outside 40 mm. Make sure these values are correct to ensure a proper layout.
There is also the option to check the "Primary Text Frame" checkbox. This checkbox ensures that a text frame is automatically generated over the master pages. In this case, however, the checkbox should be disabled, as the four-column layout does not belong in the primary text frame.
Instead, you will create your own text frame later. Before you finalize the document, make sure that the bleed is set to 3 mm. This is an important detail that is often forgotten, so it is advisable to make this a habit.
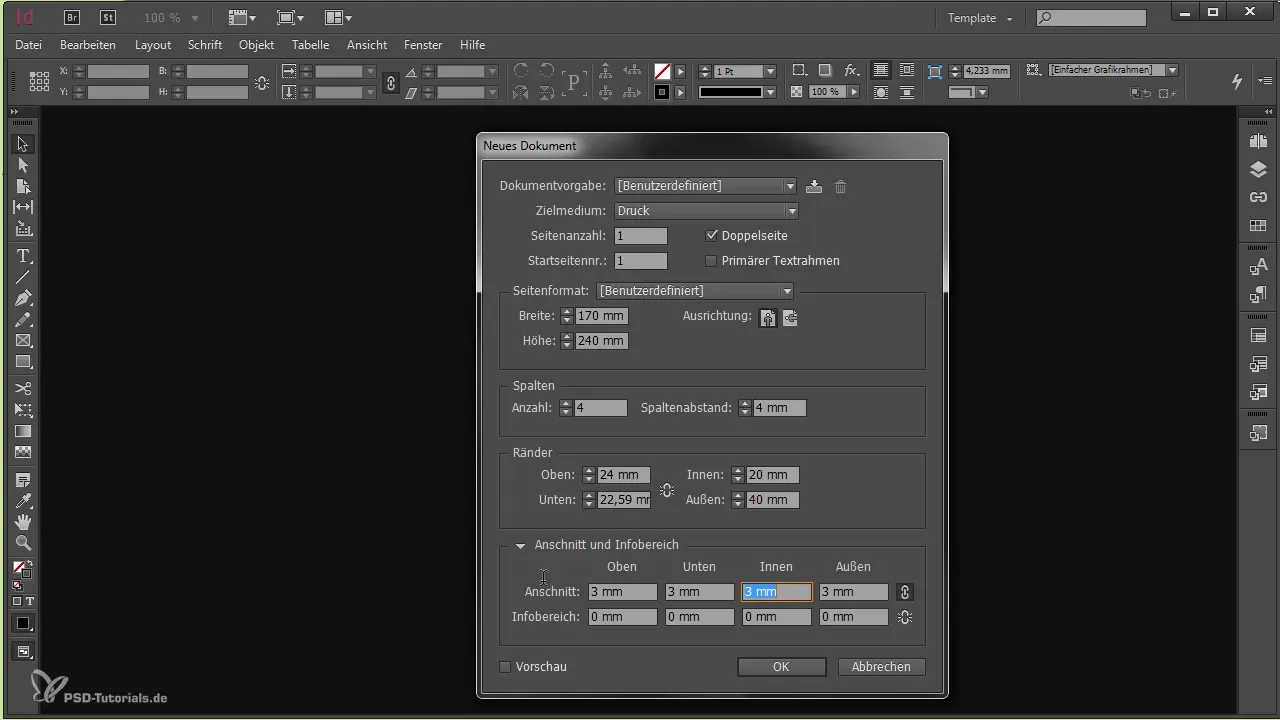
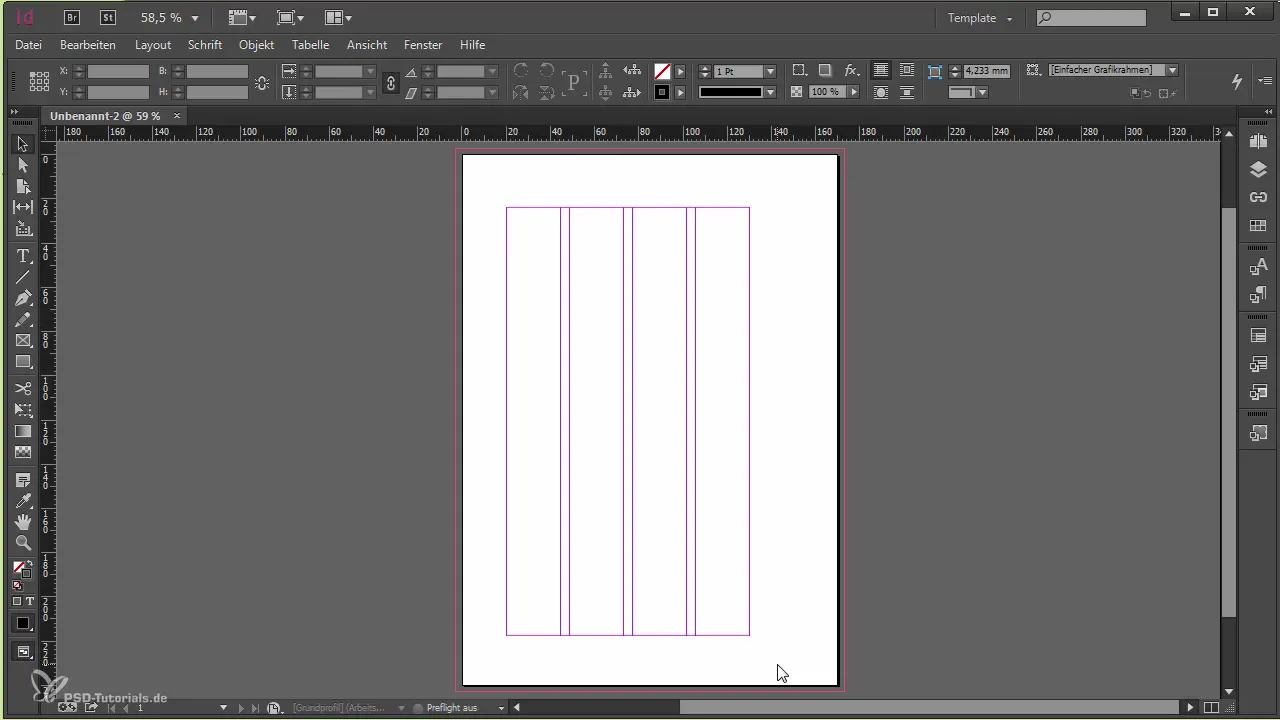
Confirm the settings, and after clicking "OK," your new document will be created, and you are ready to start with your design.
Summary
In this guide, you learned how to systematically create a new document in Adobe InDesign. By carefully observing the layout specifications and necessary settings, you ensure that your project can be effectively implemented.
Frequently Asked Questions
How do I start creating a template in InDesign?Check the layout specifications and extract important values from the delivered file.
Where can I find the column settings?The columns are set in the dialog box for the new document.
Why should I set the bleed?The bleed prevents important design elements from being cut off at the edges.
What is a primary text frame?A primary text frame is an automatically generated text frame that you should disable in certain cases.
Why is it important to set the margins correctly?Incorrect margins can lead to the final layout not meeting the project specifications.


