Adobe InDesign is a powerful tool for designers and graphic artists that allows you to create professional print products. This guide shows you how to effectively and correctly export PDF files for printing. Whether you are creating a book, a brochure, or other printed materials, with the right settings you can ensure that your PDF files meet the requirements of the printing house.
Main insights
- You can export PDFs directly from InDesign without manually handling individual files.
- There are various PDF standards for printing: PDF/X-1a, PDF/X-3, and PDF/X-4.
- The right settings during export are crucial for print quality.
- Consulting with the printing house about specific requirements is essential.
Step-by-step guide
To create a PDF for printing from your InDesign file, follow these steps:
1. Open the Export menu
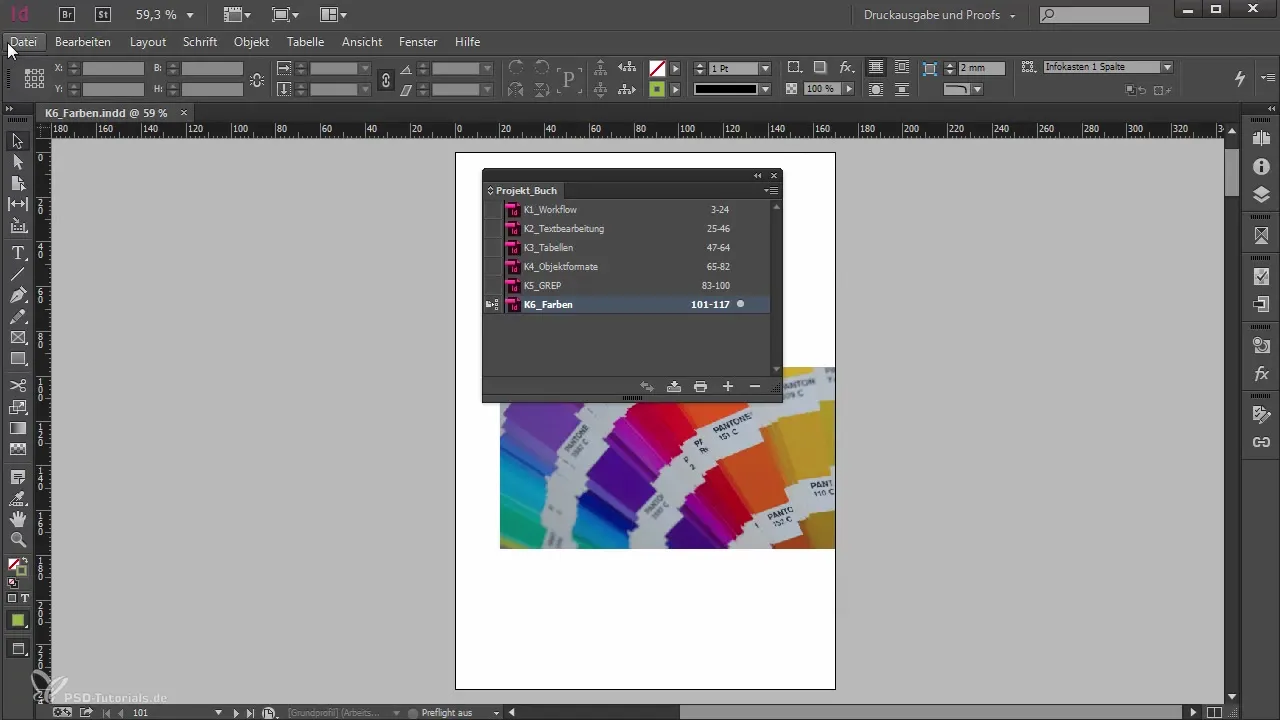
Start by opening the "File" menu in InDesign. Here, you can find the export command to begin creating the PDF.
2. Choose the export method
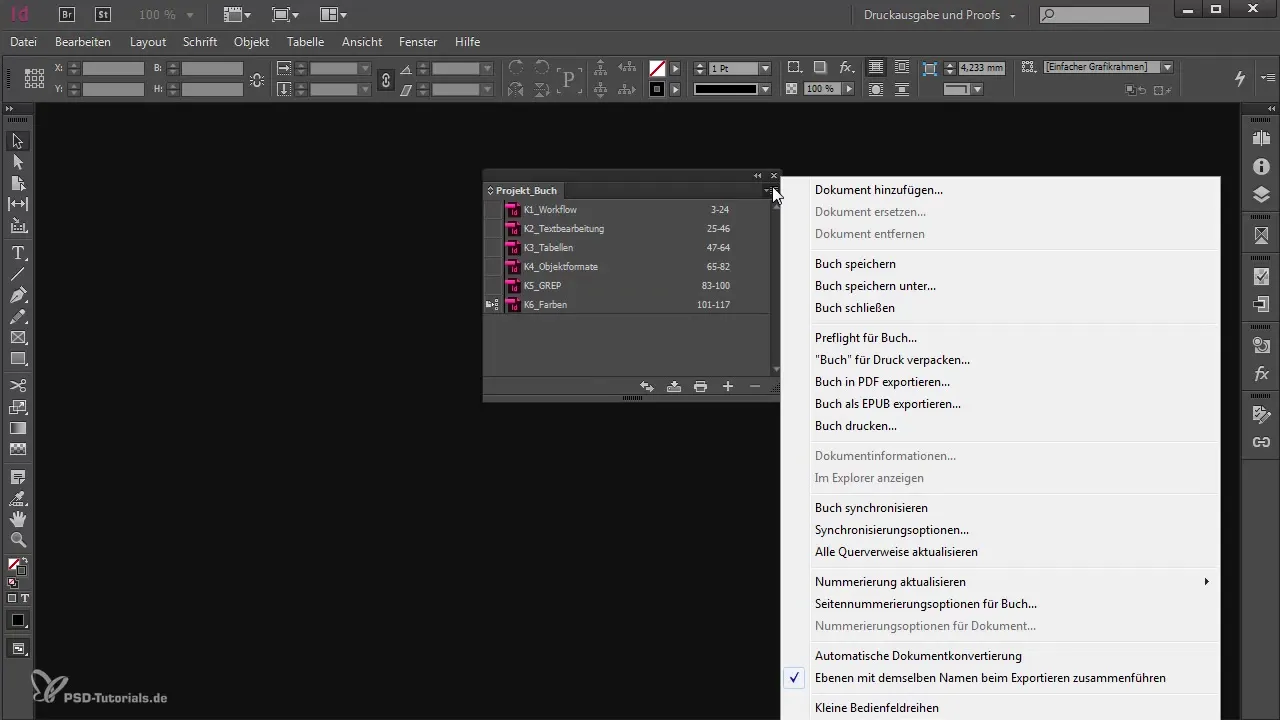
If you want to create a PDF from a book or multiple documents, use the "Export Book to PDF" feature. This saves time and avoids manually exporting each individual document.
3. Choose location and file options
Decide on the storage location of the PDF file and name the file as desired. If a version already exists, you can overwrite it.
4. Print presets
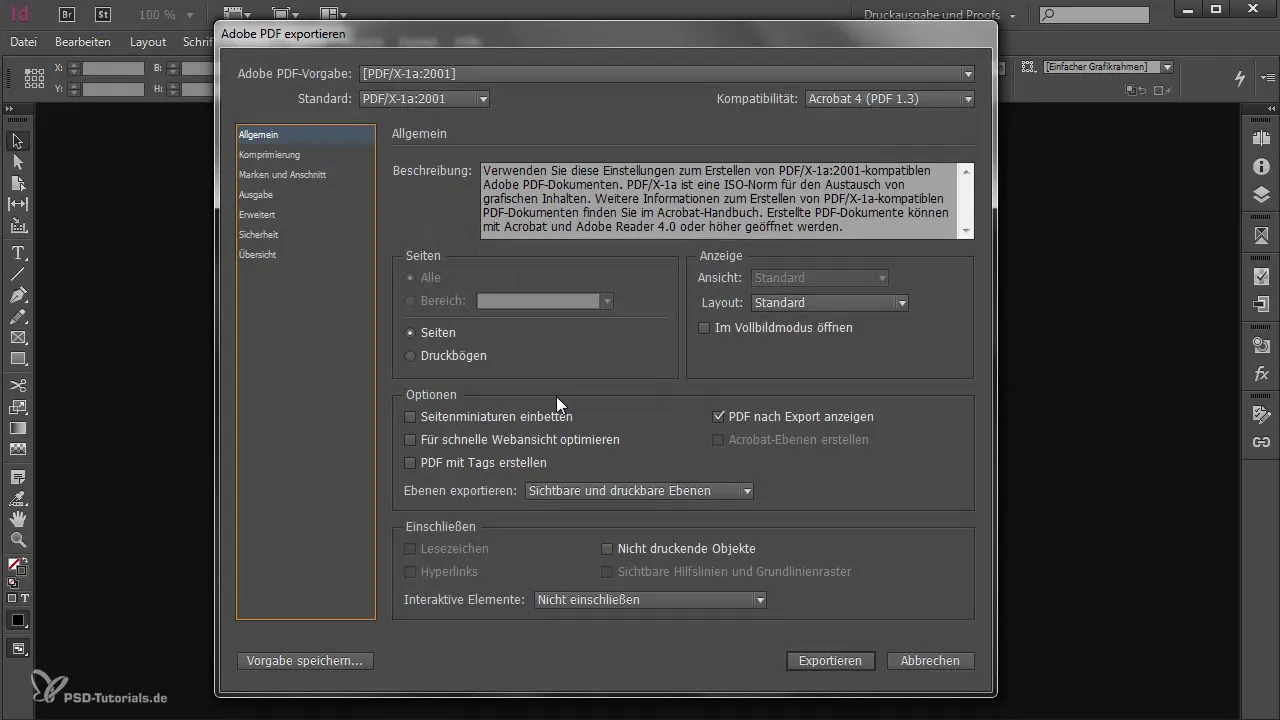
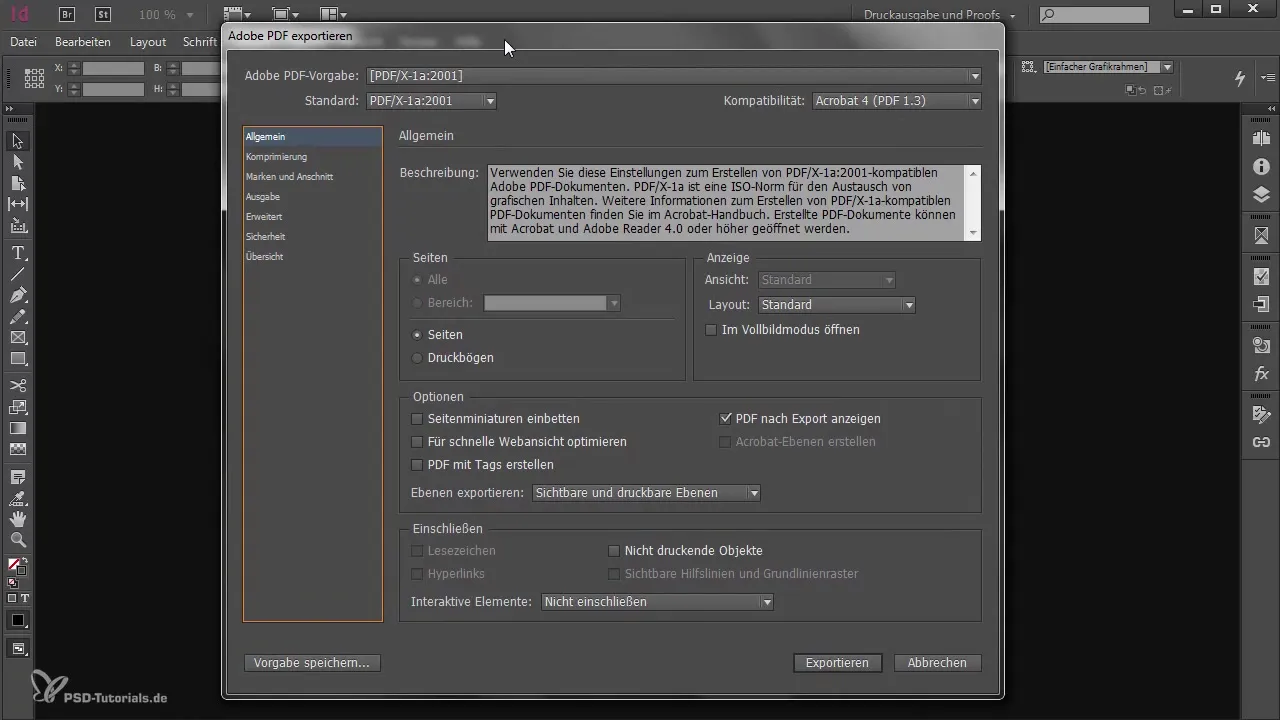
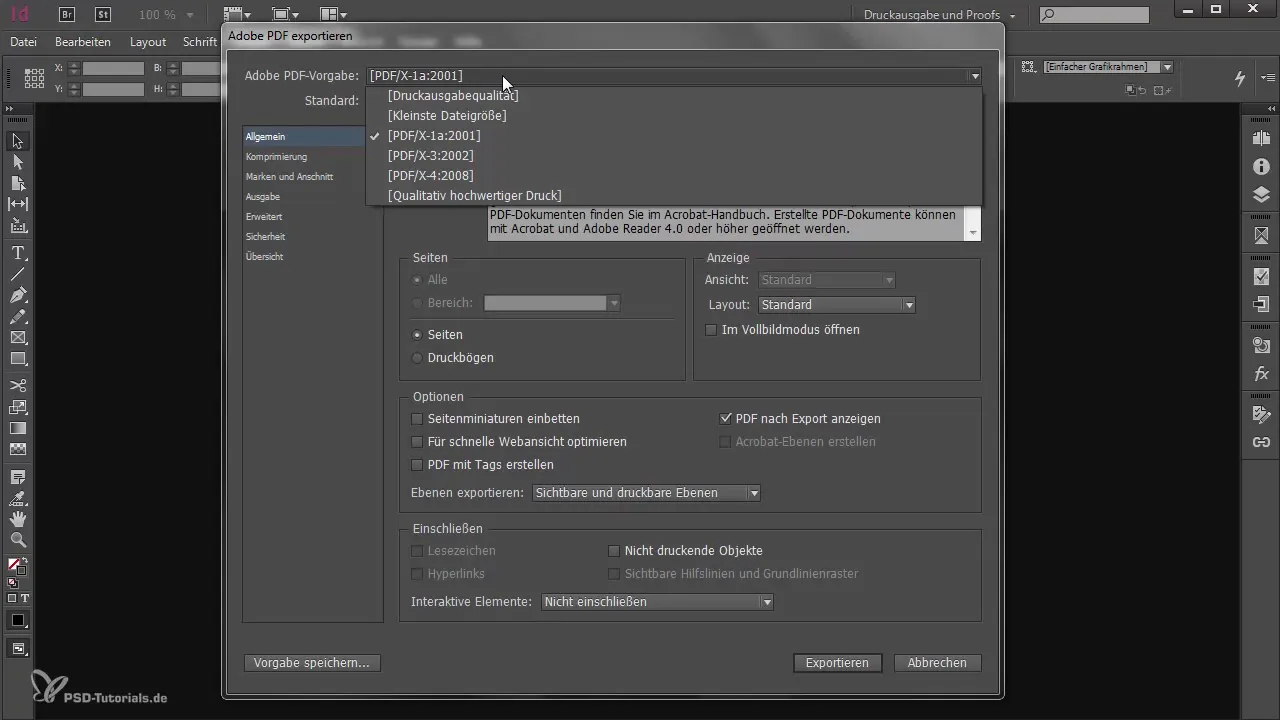
Here you can make all necessary adjustments. Since it concerns print PDFs, choose between different presets to meet the requirements of the printing house if necessary. It is advisable to check with the printing house about their specifications in advance.
5. Selection of the PDF standard
In the export dialog, you will be asked for the desired PDF standard. The three common standards are PDF/X-1a, PDF/X-3, and PDF/X-4. Choose the standard preferred by your printing house. This is important, as different standards support different color models and transparencies.
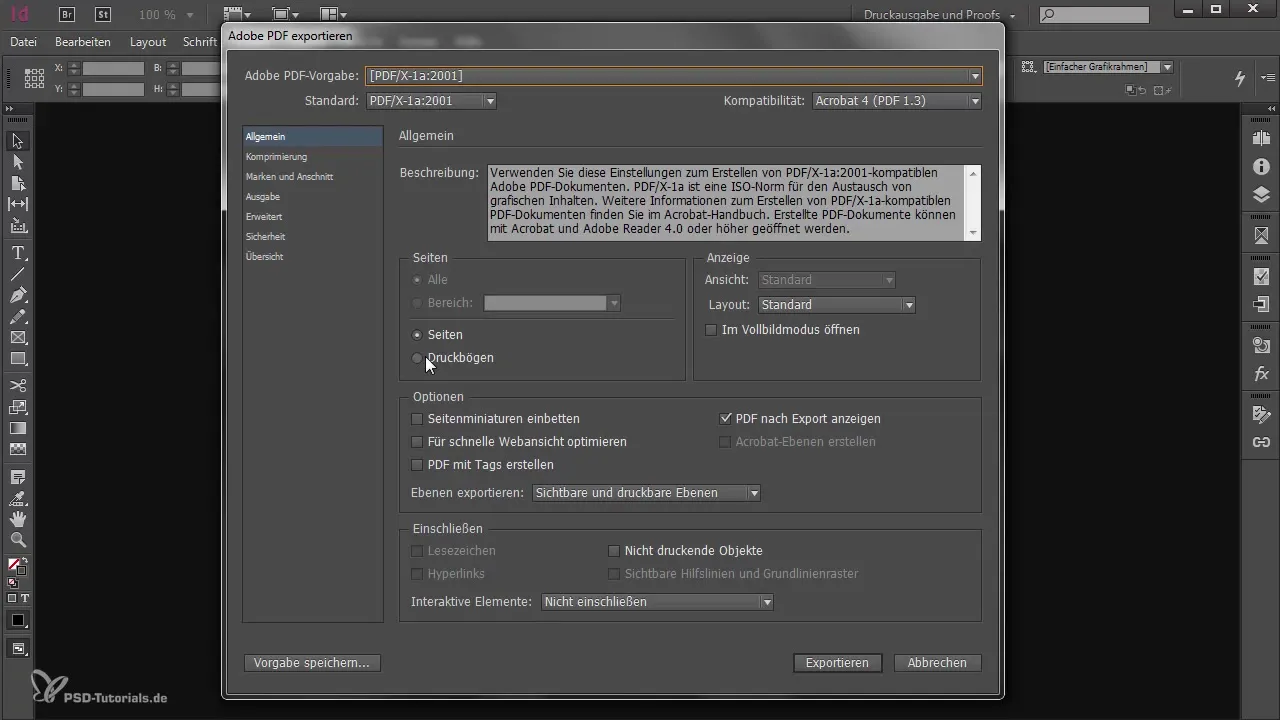
6. Export options for pages
When exporting a book, note that you usually export all pages. However, you can set whether you want single pages or printed sheets (double pages).
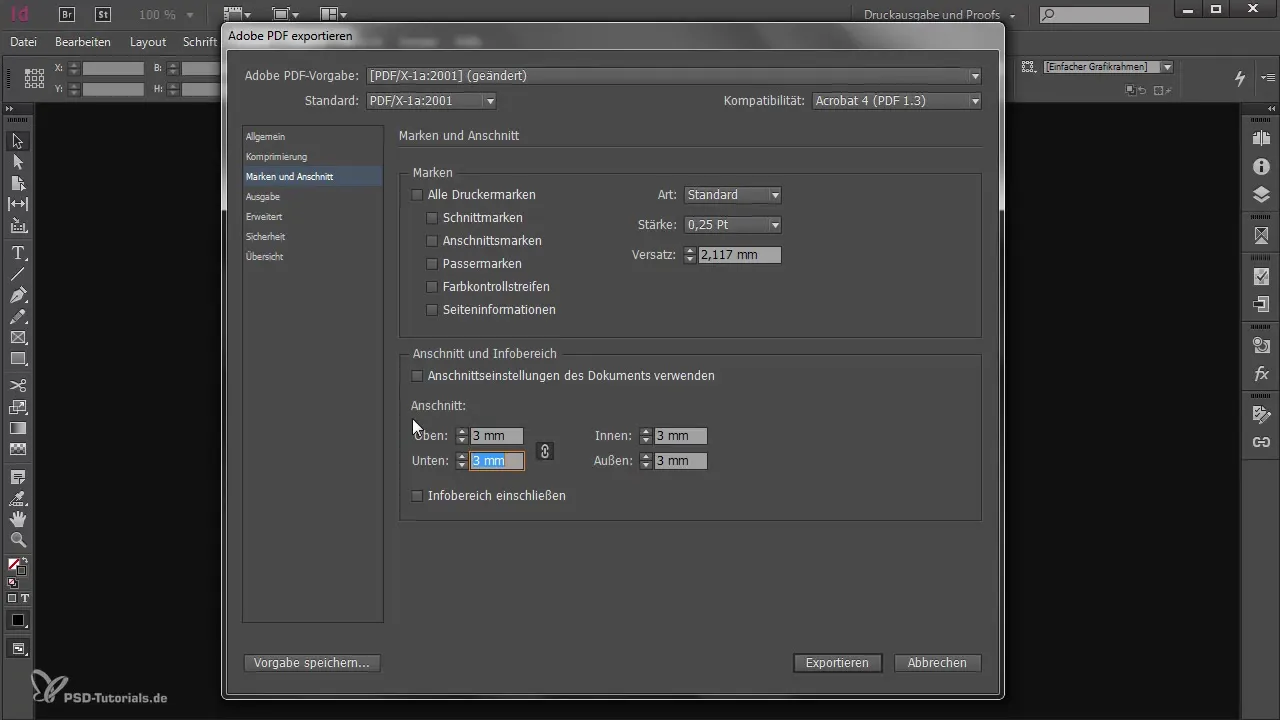
7. Format settings and bleed
Make sure to set the correct bleed width. In some cases, the printer may require bleed. It is worth consulting on this to ensure that everything is set correctly.
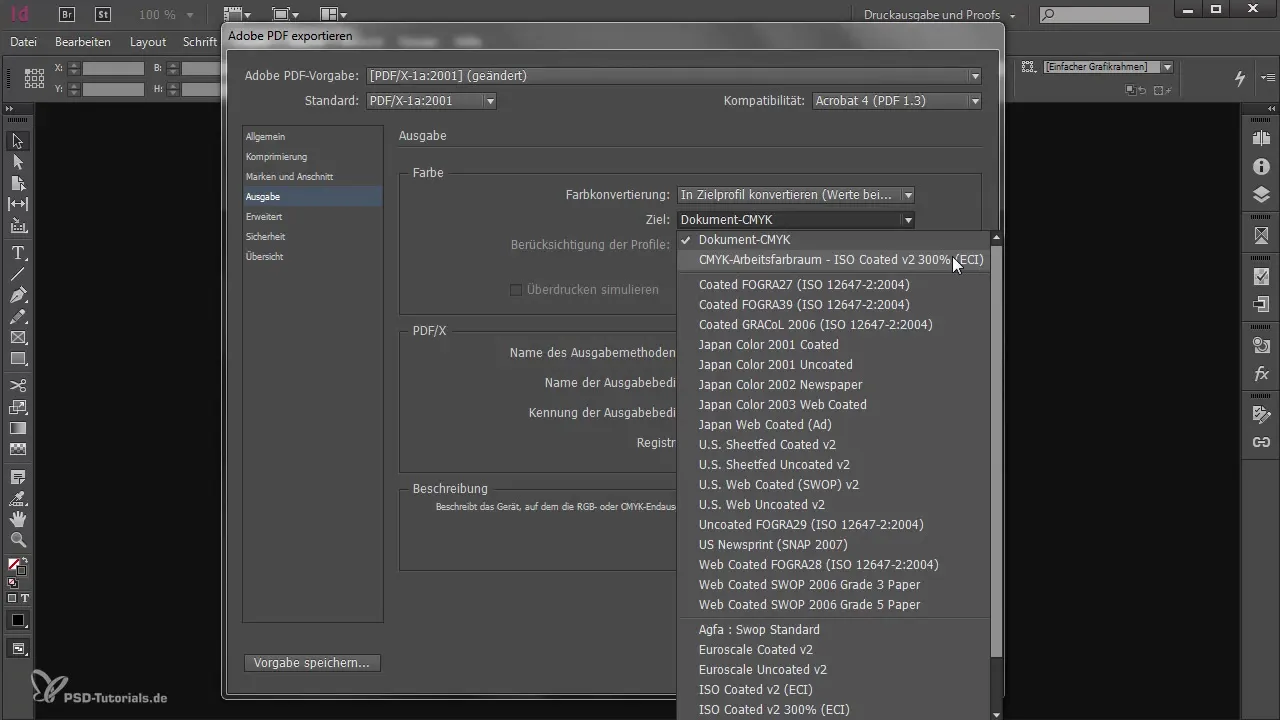
8. Color management and conversion
If you have RGB data in your document, convert it to the desired color profile (usually CMYK). Ensure that the existing CMYK values are not altered.
9. Check the settings
Review your settings, especially regarding transparency reduction and the degree of compression. Adhere to the specifications of the printing house to avoid issues.
10. Verify and export the PDF
Before finalizing the export, check for any error messages that may indicate problems in the document, such as missing images or fonts. Correct these if necessary, and then click "Export".
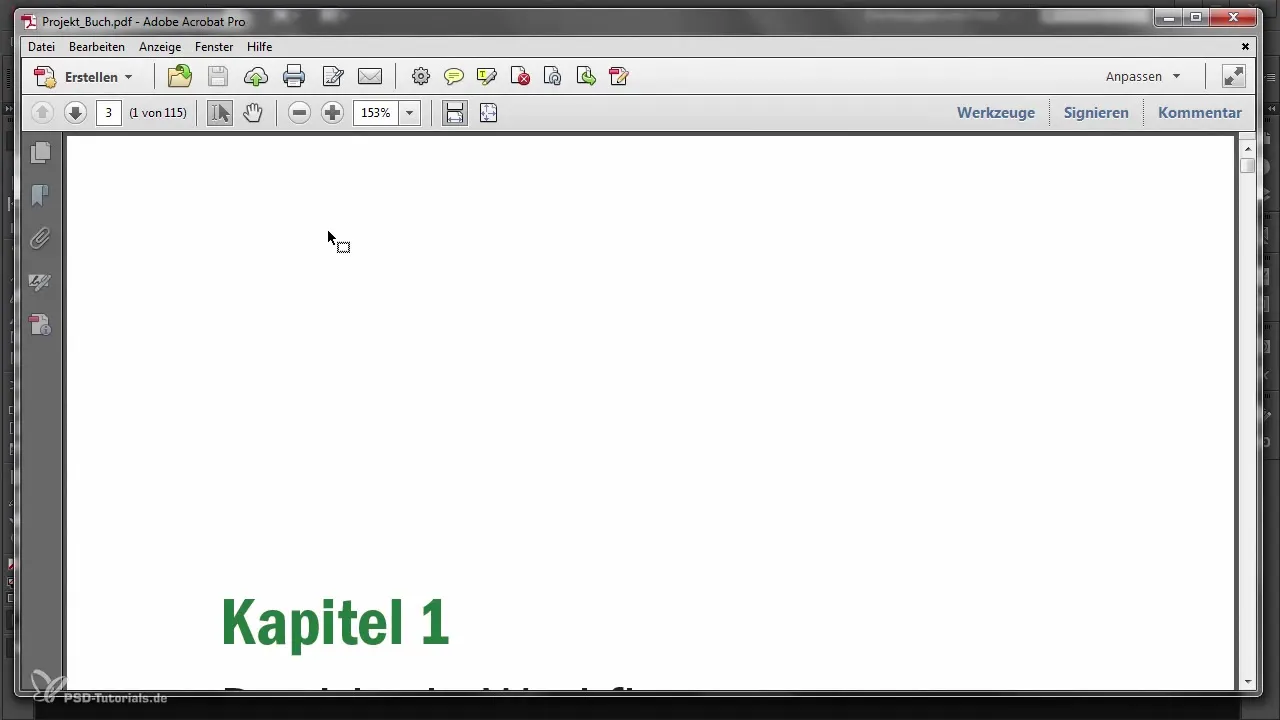
11. Close the window and find your file
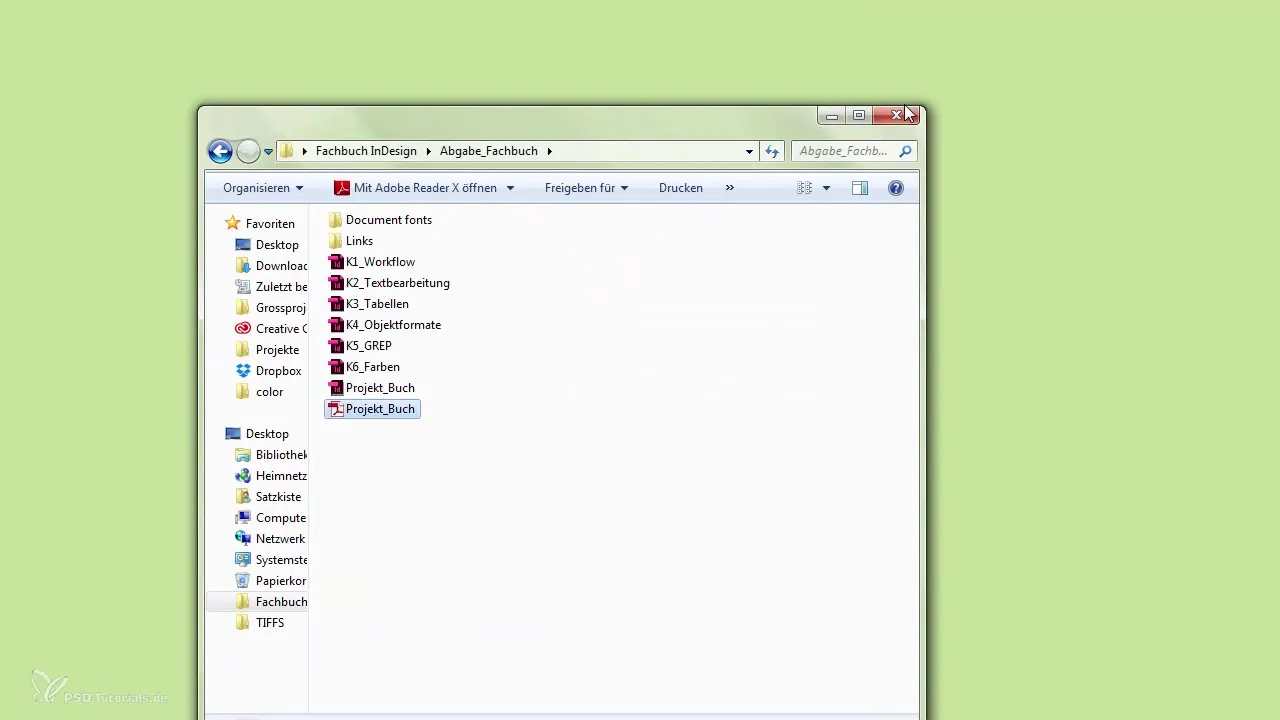
After successfully creating the PDF, the file will be saved in the chosen location. You can now close the window and navigate to the folder to find your completed PDF.
Summary
In this guide, you have learned how to quickly and efficiently create PDFs for printing with Adobe InDesign. It is crucial to choose the right settings and to verify with the printing house to avoid problems. Follow the steps in this guide to ensure that your printed product is delivered in the best possible quality.
Frequently Asked Questions
How many pages can I export in a PDF?You can export all pages of a book or selected pages.
Which PDF standards are important for printing?PDF/X-1a, PDF/X-3, and PDF/X-4 are common standards.
Do I need to clarify with the printing house which settings I choose?Yes, it is important to consider the specifications of the printing house.
What should I do if there are error messages during export?Resolve any displayed issues, such as missing images or fonts, before repeating the export.
How can I ensure that my colors are correct?Convert RGB data to the CMYK profile and check the settings.


