The editing of objects in Adobe InDesign is often essential for visualizing your projects. Have you ever wondered how changes to graphics or information boxes can be implemented quickly and efficiently? In this guide, you will learn how to facilitate the editing of your designs through the targeted use of object styles. You will learn how to save time on changes and keep track of everything, even when working with many pages.
Key Insights
- Object styles allow for quick changes to objects in InDesign.
- You can easily adjust various elements like images, graphics, or text boxes.
- The Find & Replace function provides a flexible way to change objects, even without precise specifications.
Step-by-Step Guide
For easy and quick changes to objects in your document, start using object styles. This technique allows for efficient implementations of extensive changes in a large project.
To work with object styles, you should ensure that you use them consistently from the beginning. For example, if you create an information box and specify that it should be green, you later have the option to change the color to white with one click, without having to manually adjust every single box.
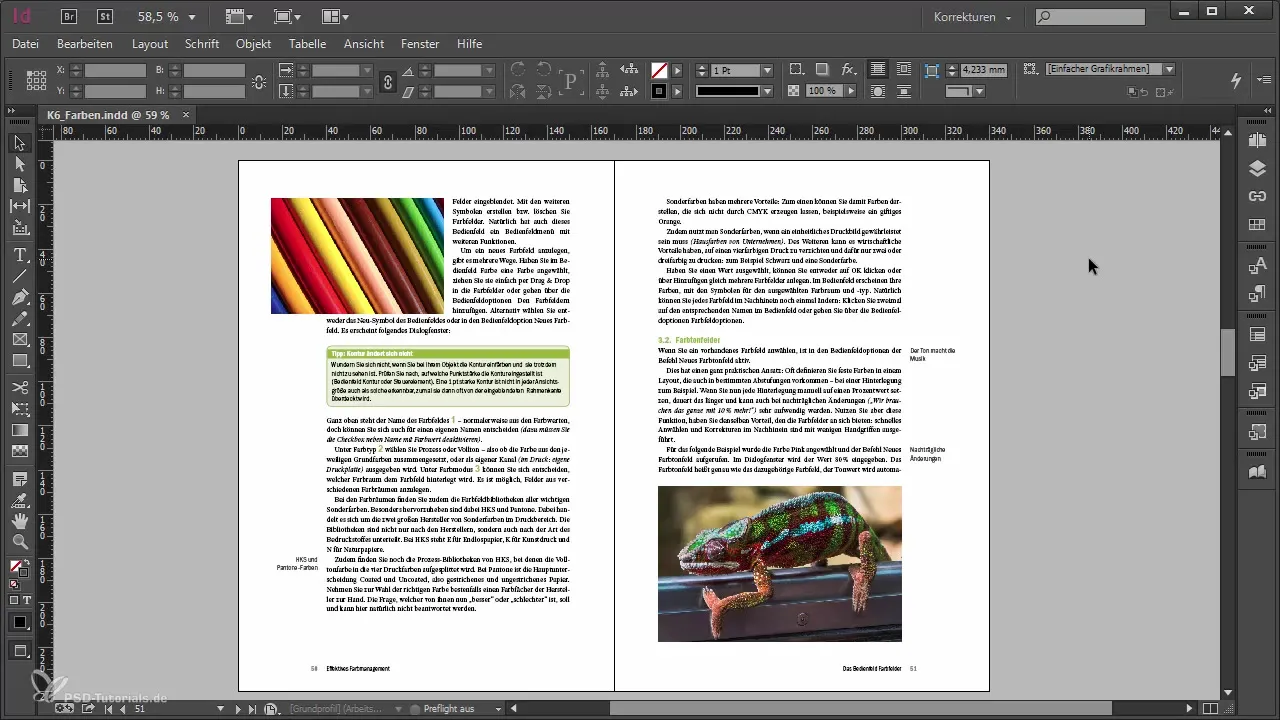
In the context of images and graphics, it is also worthwhile to use specific object styles. First, you may want to think about why you should create a separate style for simple graphic frames. The big advantage of this approach becomes apparent when adjustments to the frames are needed later. You will be grateful that you laid the foundation correctly from the start.
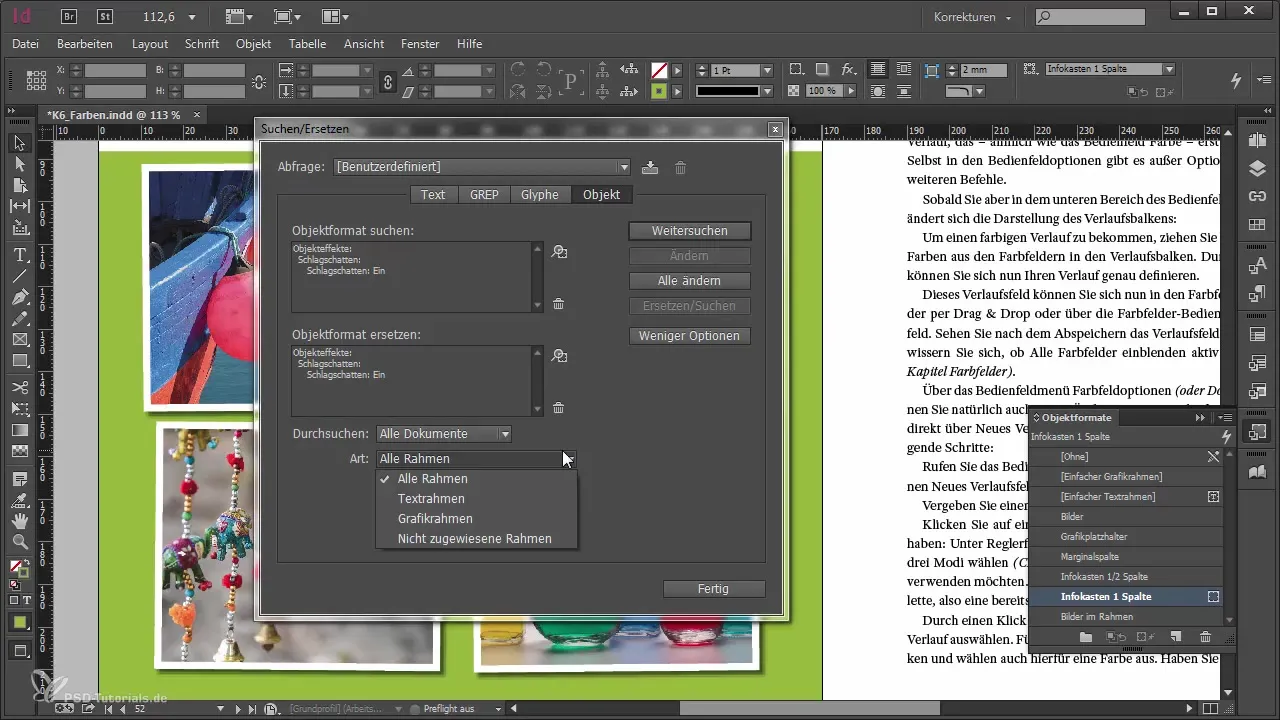
However, if you have not consistently worked with object styles in the past and now have to revise about 300 pages, the Find & Replace function in InDesign is particularly useful. You can search for specific attributes like a drop shadow and have the option to switch to a simpler, consistent design.
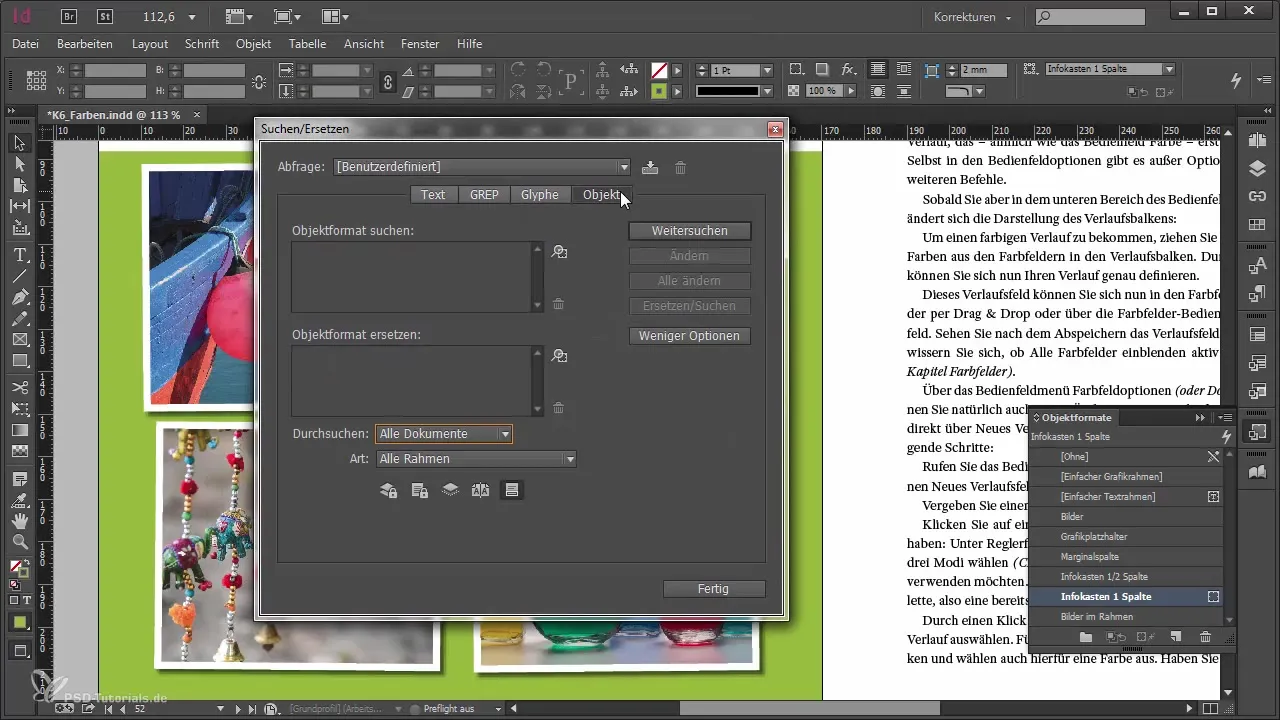
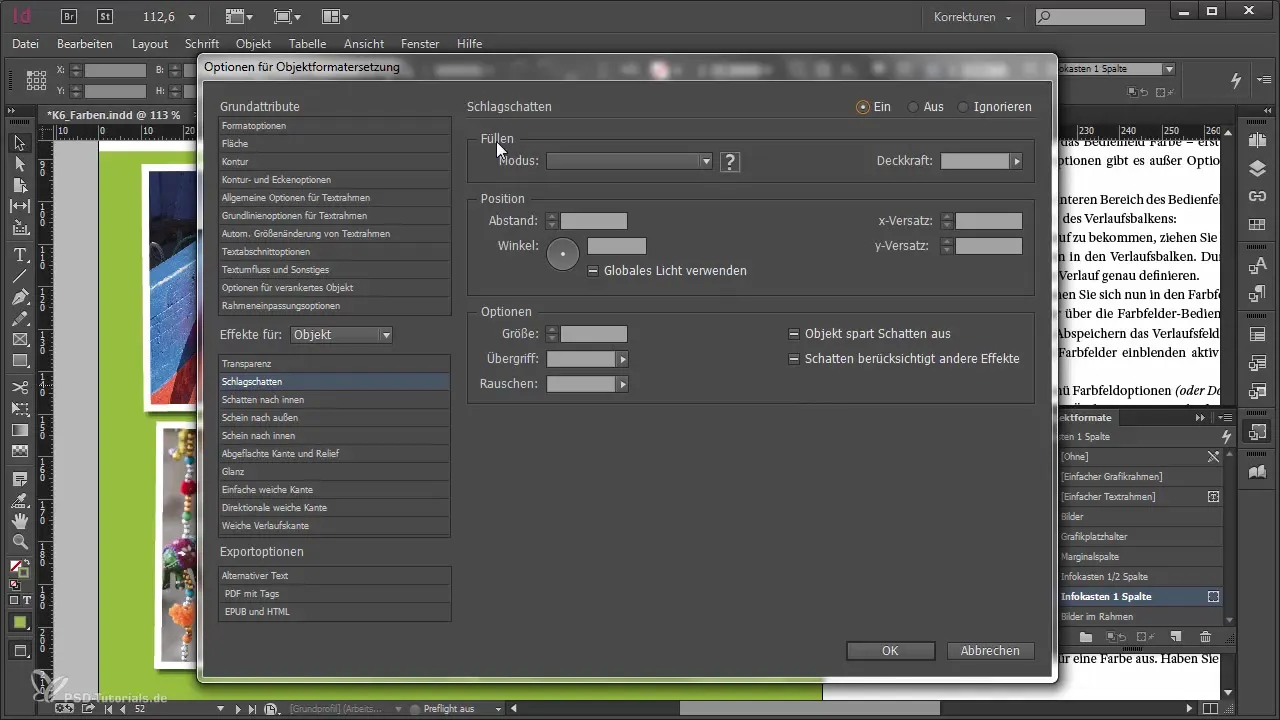
To use the Find & Replace function effectively, you search in the search mask for a drop shadow without defining it exactly. Then, select the option "Replace Object Style" to either use a newly created object style or apply a uniform setting for the drop shadow. This gives you the freedom to not only change your objects but also to apply the correct style from the beginning.
The search can also be limited to specific frame types. If you want to specifically target all graphic frames in your images, that is easily possible. This function allows you to work efficiently and make targeted adjustments without having to question the entire structure of your document.
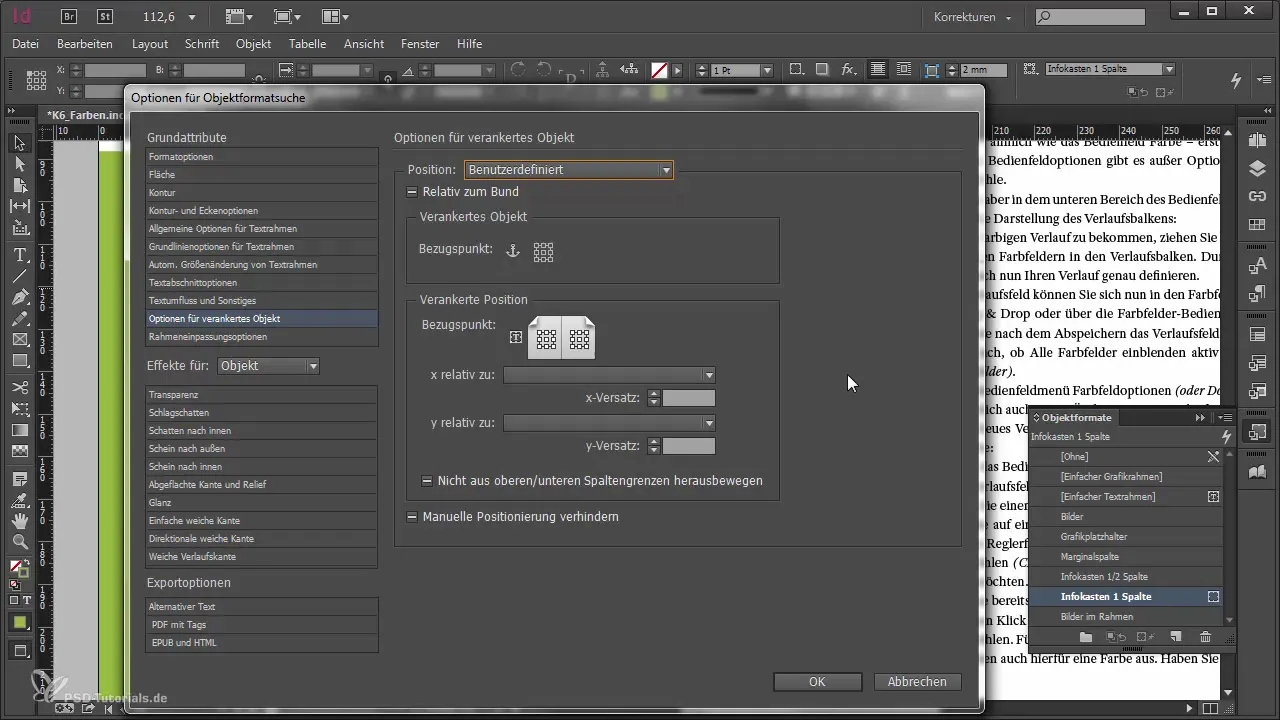
Another aspect you should consider is anchored objects. If you want to address all user-defined embedded images and anchor them in a specific way, you can again use the Find & Replace function to save time and effort.
These methods not only enable faster editing afterward but also provide a deep understanding of the structure of your project. The consistent use of object styles also brings long-term benefits. By making the right decisions early on, you significantly ease future adjustments.
Summary – Object Corrections in Adobe InDesign: Tips for Time-Saving Work
In this guide, you have learned how to optimize your workflow in Adobe InDesign by using object styles. You can make targeted changes to objects in large projects and utilize the Find & Replace function to create efficient designs. Do not lose sight of the fact that careful planning from the beginning is the key to smooth implementation.
Frequently Asked Questions
How do I use object styles in Adobe InDesign?Define specific styles for objects like text boxes or graphics to make changes quickly.
What is the Find & Replace function?A feature in InDesign that allows you to search for specific attributes and replace them with new settings in your document.
Why should I work with object styles from the beginning?By using object styles, you make future adjustments easier and maintain a consistent design.
