Podcasts are gaining popularity, and editing the audio plays a crucial role in the quality. An important step in audio editing is the normalization of the sound. This technique ensures that the volume of your podcast is more even and therefore more pleasant for listeners. In this guide, I will show you how to effectively implement the normalization of your audio track in Audacity.
Key Insights
- Normalization is important to balance the volume of your audio recording.
- The normalization effect can be set differently to achieve various results.
- A combination of normalization and compression can significantly improve audio quality.
Step-by-Step Guide
Step 1: Select Audio Track
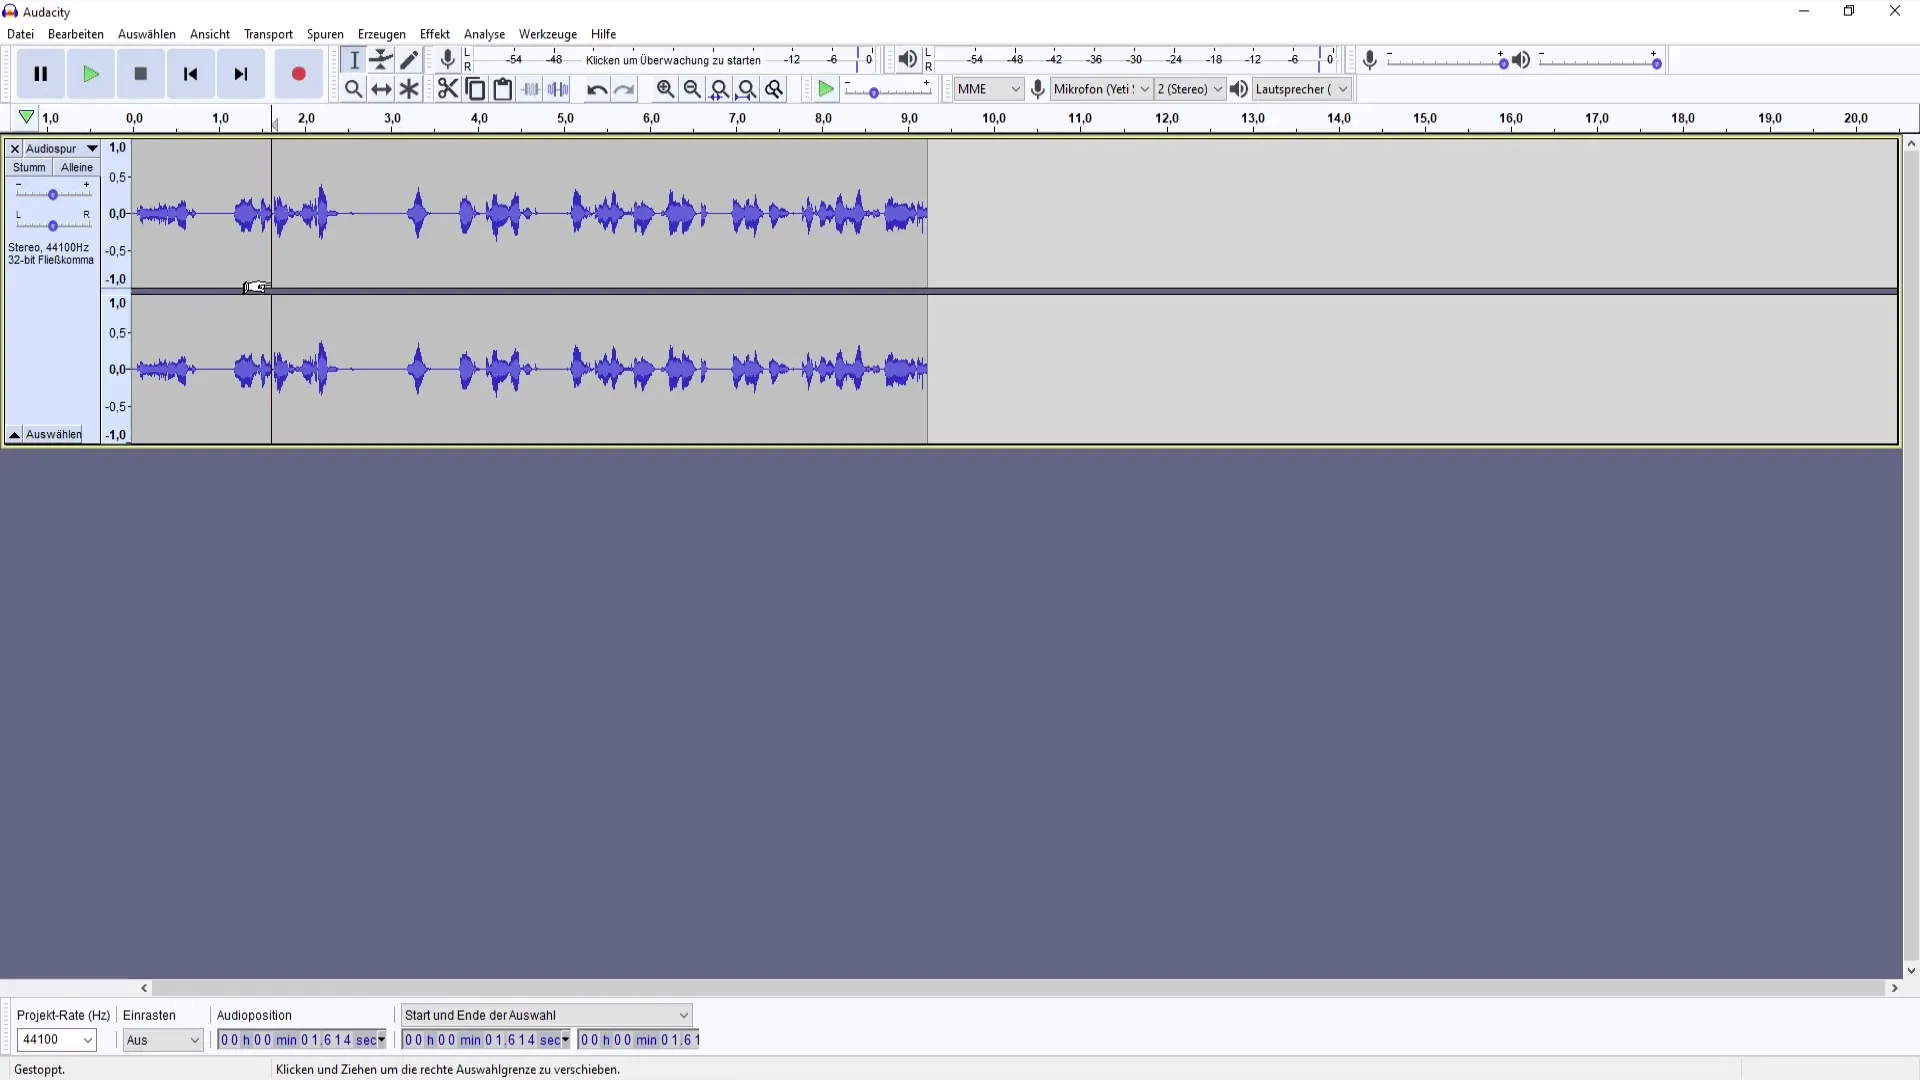
First, open Audacity and load the corresponding audio track you want to edit. Make sure to start with a recording that may have already undergone some editing, such as noise reduction. You can achieve this using the "Remove Noise" function.

Step 2: Remove Noise
To improve the quality of your recording, it is helpful to remove unnecessary noise before normalization. First, select a segment where only the noise is audible, and then click on "Remove Noise." Follow the displayed options to efficiently remove the noise.
Step 3: Apply Compression
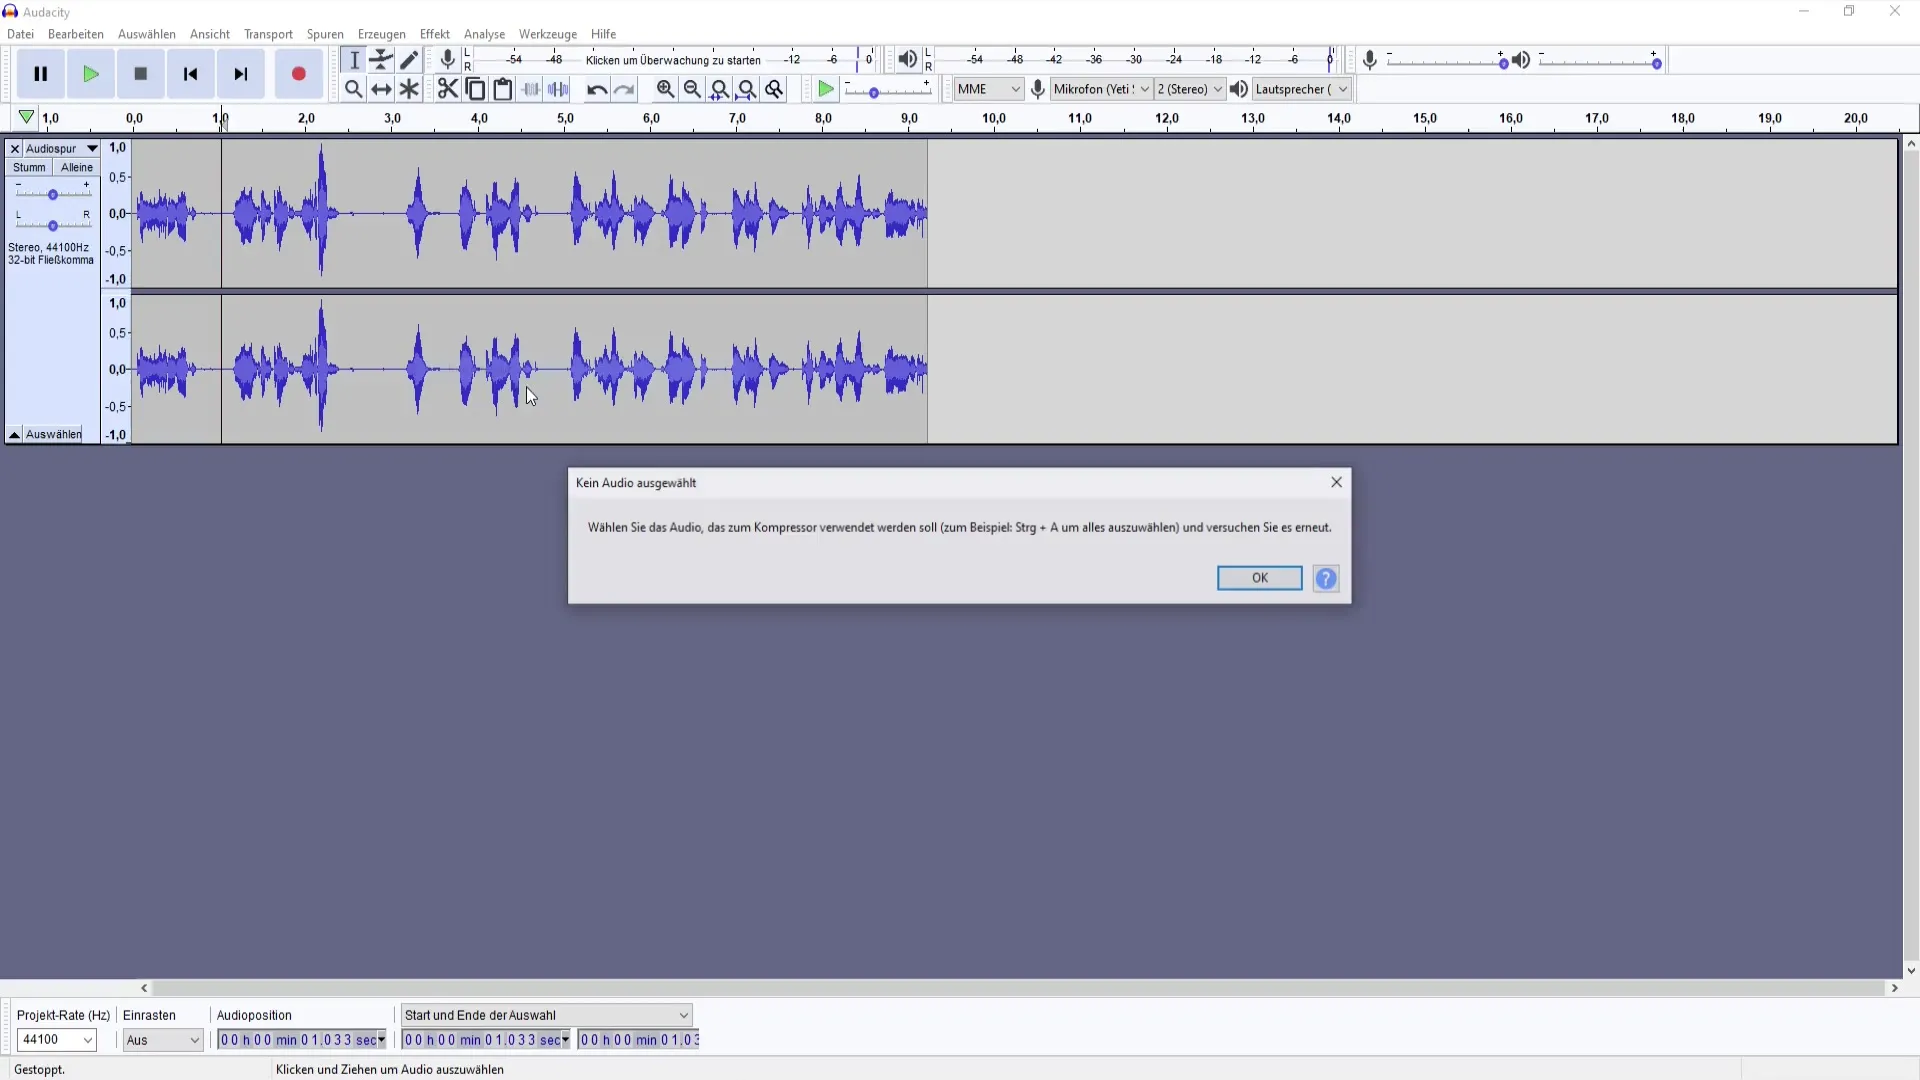
After removing the noise, you can apply compression. This function helps to equalize the volume peaks in your recording and provides a clearer sound overall. Choose your desired compression setting and check the changes.
Step 4: Normalize the Audio Track
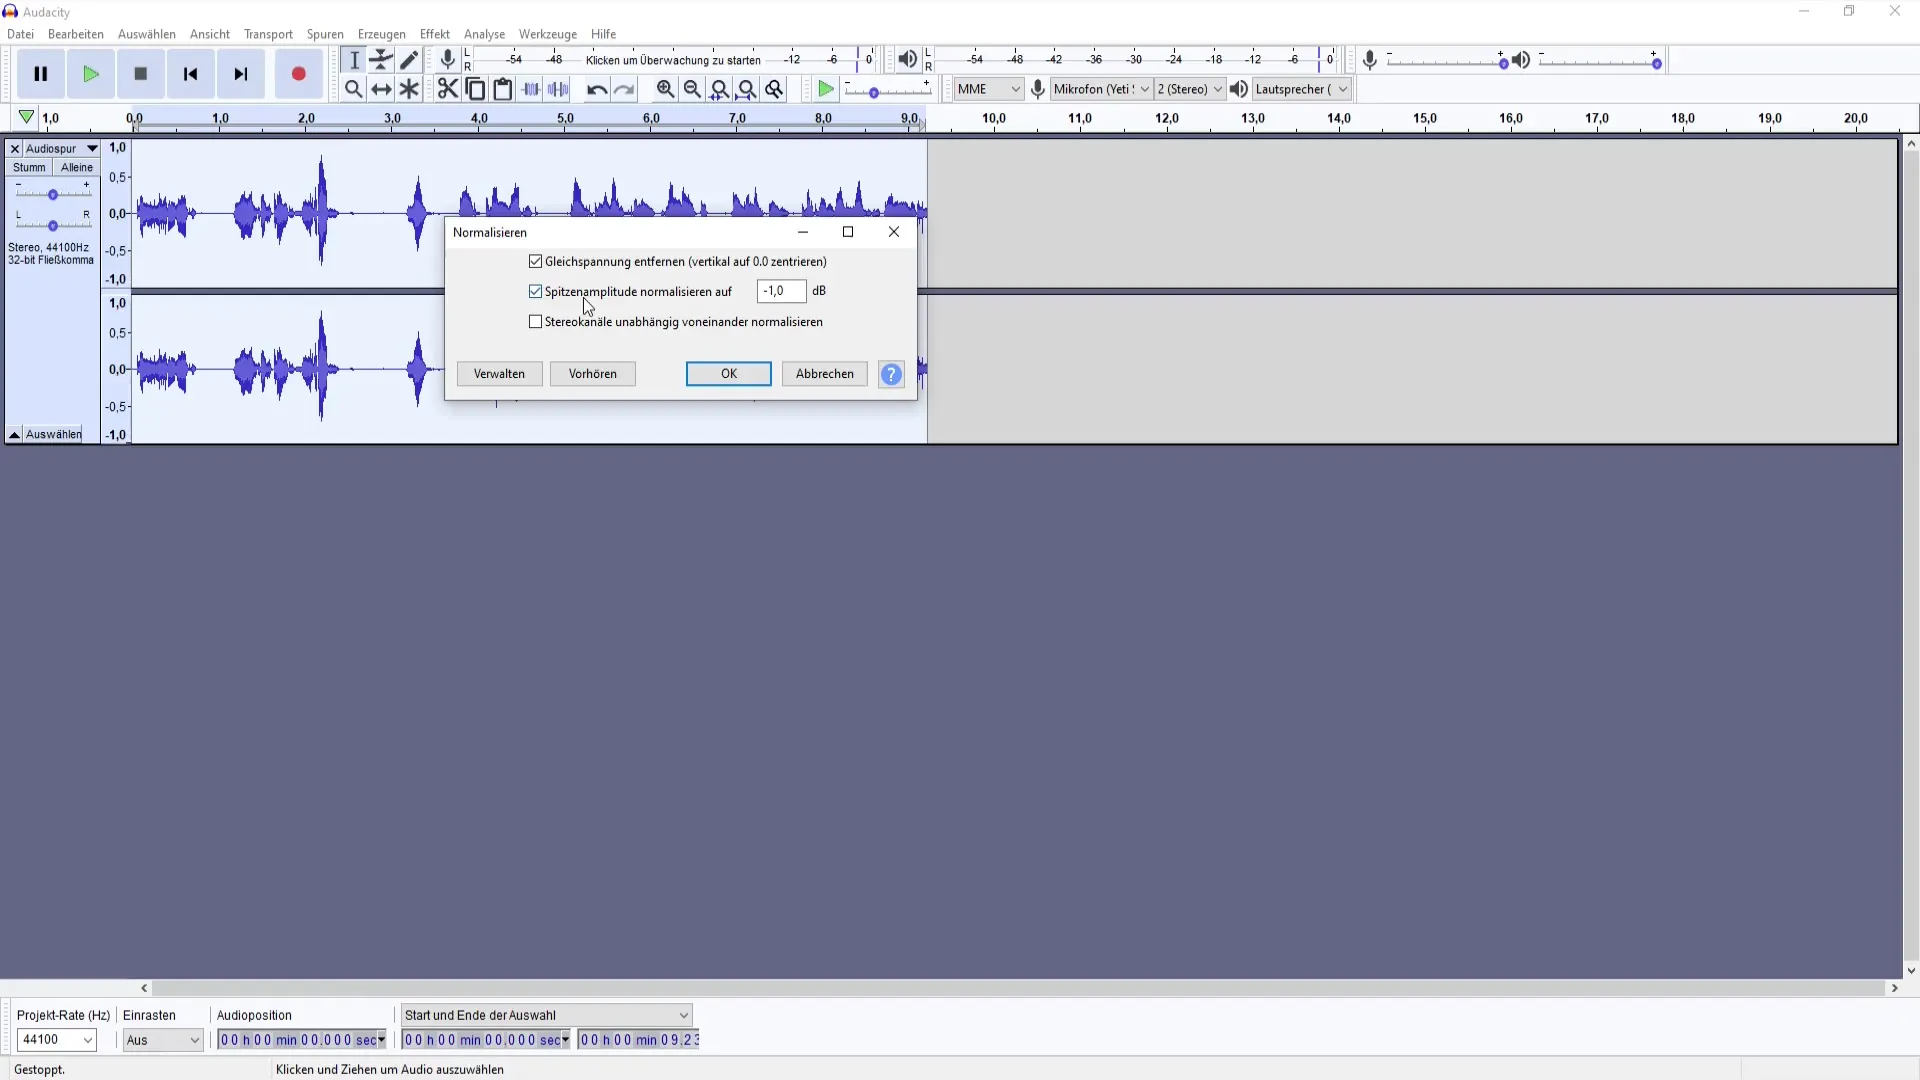
Now comes the crucial step: Normalization. Select the entire audio range that you want to normalize. Then go to Effects and choose "Normalize." In this menu, you can adjust various parameters, such as the peak amplitude value. A common setting is -1 dB, as this ensures that no clipping occurs.
Step 5: Adjust Settings
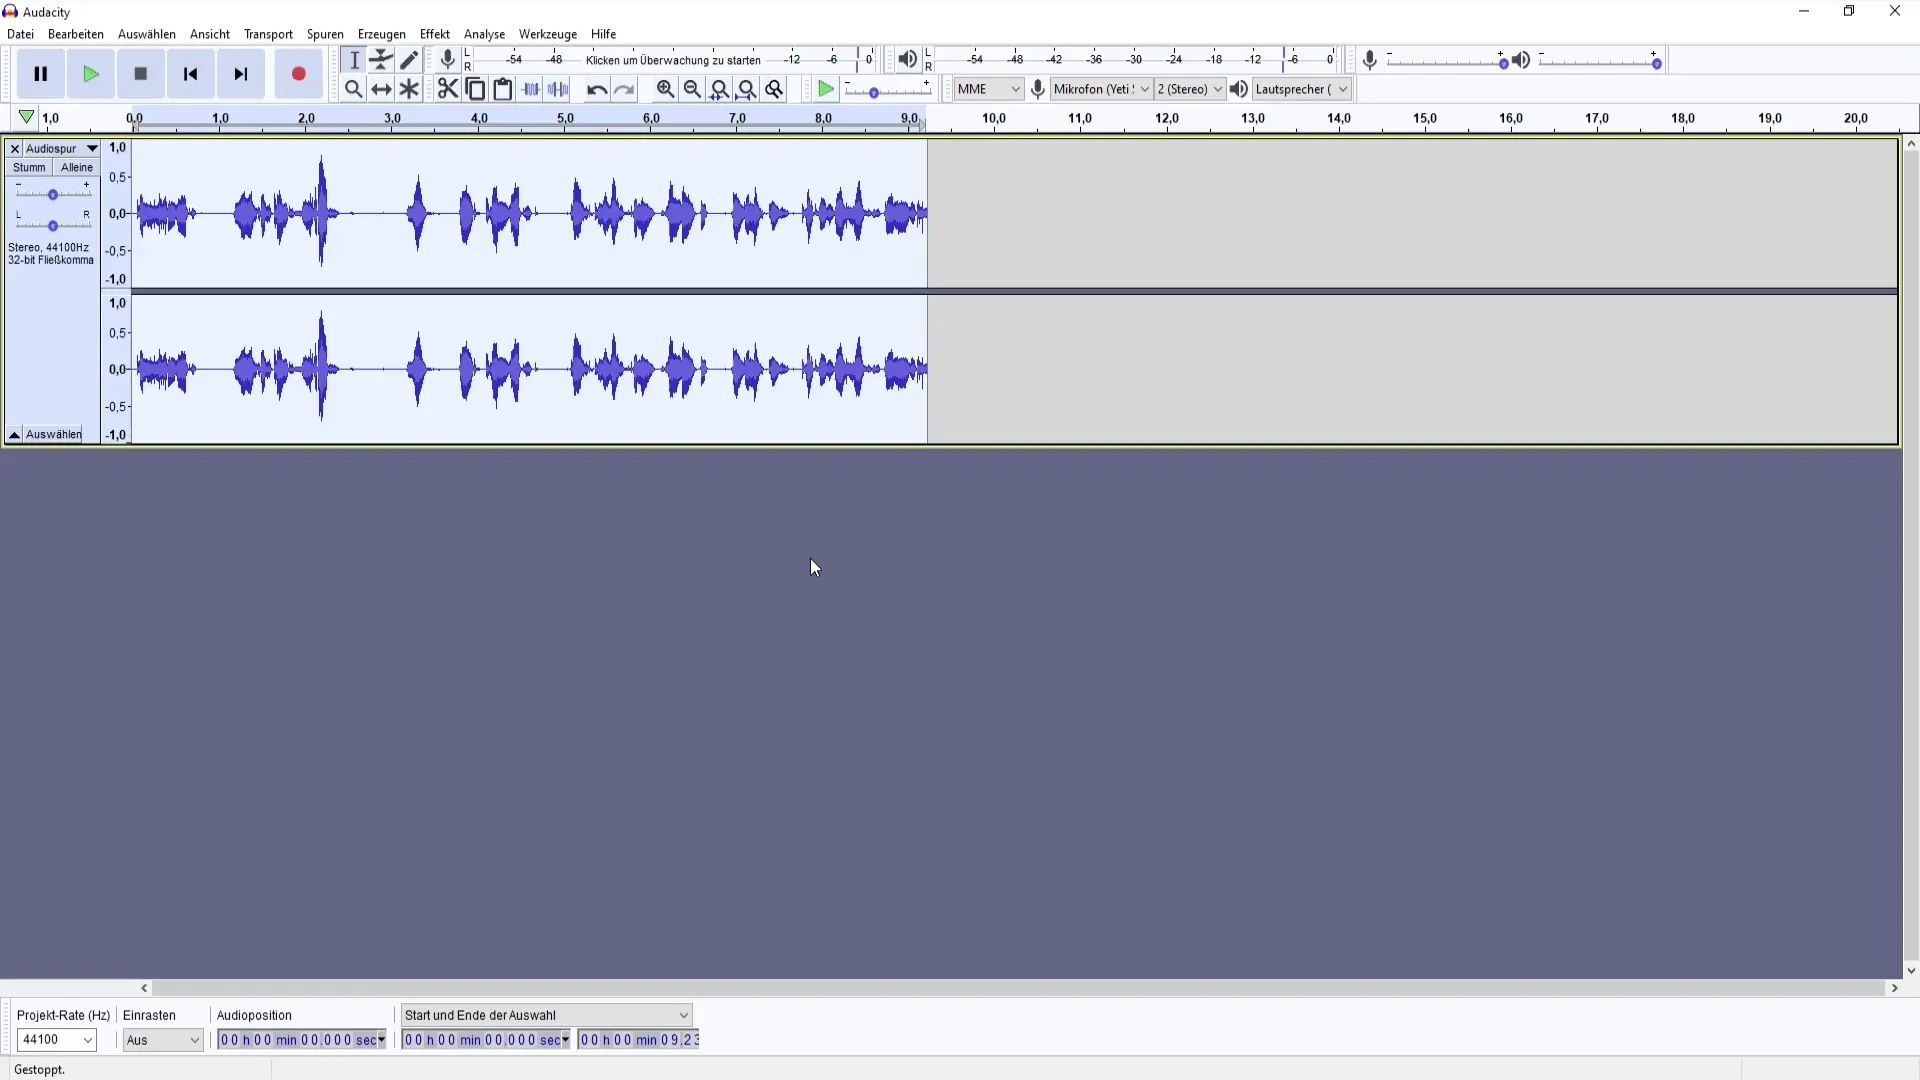
You have the option to adjust the normalization value. You can experiment with positive values or even stay in the range of -2 dB to -1 dB to achieve the desired sound profile. Depending on your preferences and the specific recording, a subtle adjustment can make a difference.
Step 6: Playback and Review
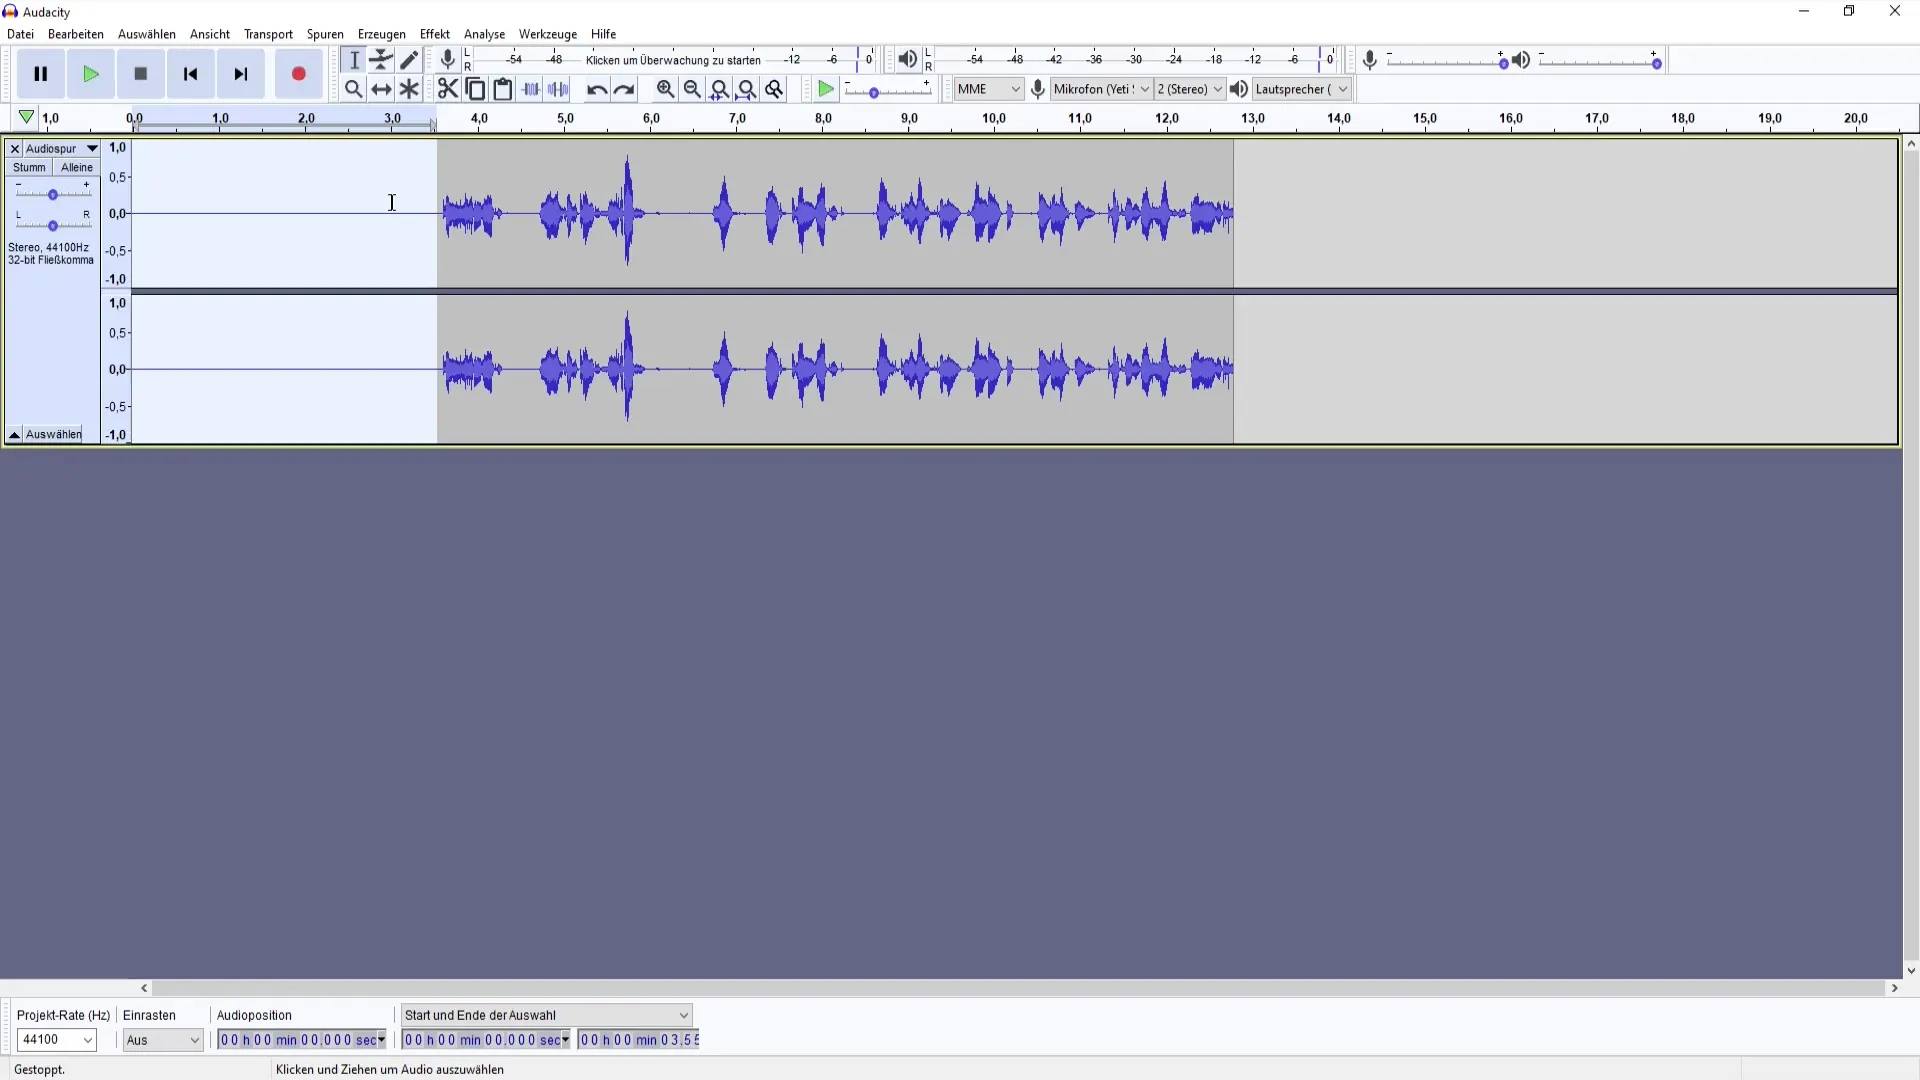
After you have performed the normalization, play back the entire track to review the changes. Pay close attention to whether the volume is pleasant and even. If necessary, you can always return to the effects and adjust the settings.
Step 7: Add Additional Effects
If you are satisfied with the normalization, you may consider adding further effects, such as an equalizer or additional compression, to refine the sound profile further. However, these steps are often optional and depend on your personal taste.
Summary – Creating Your Own Podcast: Normalizing in Audacity
In this guide, you have learned how to apply the normalization effect in Audacity to optimize the volume of your podcast. You have gone through the steps of noise removal, compression, and normalization. Be sure to experiment with different settings to achieve the best possible result that suits your style.
Frequently Asked Questions
How do I normalize my audio track in Audacity?Select the audio track, go to "Effects" and choose "Normalize." Set the desired parameters.
What are the best settings for normalization?A common setting is -1 dB for the peak amplitude, but you can vary from -2 dB to 0 dB as needed.
Should I always compress before normalizing?It is a good practice to compress first to tame the volume peaks before you normalize.


