There is hardly anything more annoying than a podcast permeated by unwanted background noise. If you are in the process of recording your own podcast, it is essential to deliver clean and clear audio. In this guide, you will learn how to effectively apply noise removal in Audacity and filter out distracting noises from your recording.
Key Takeaways
- Noise removal is essential for high-quality recordings.
- You need a piece of audio with silent noise to determine the noise profile.
- The basics of the settings are simple, but fine adjustments can optimize the results.
Step-by-Step Guide to Noise Removal in Audacity
First, you need to load Audacity and create a new project. Adjust your audio input settings accordingly to start recording. It is generally recommended to record at least four seconds of silence to create an accurate noise profile. This will give you a good starting point to identify the noise.
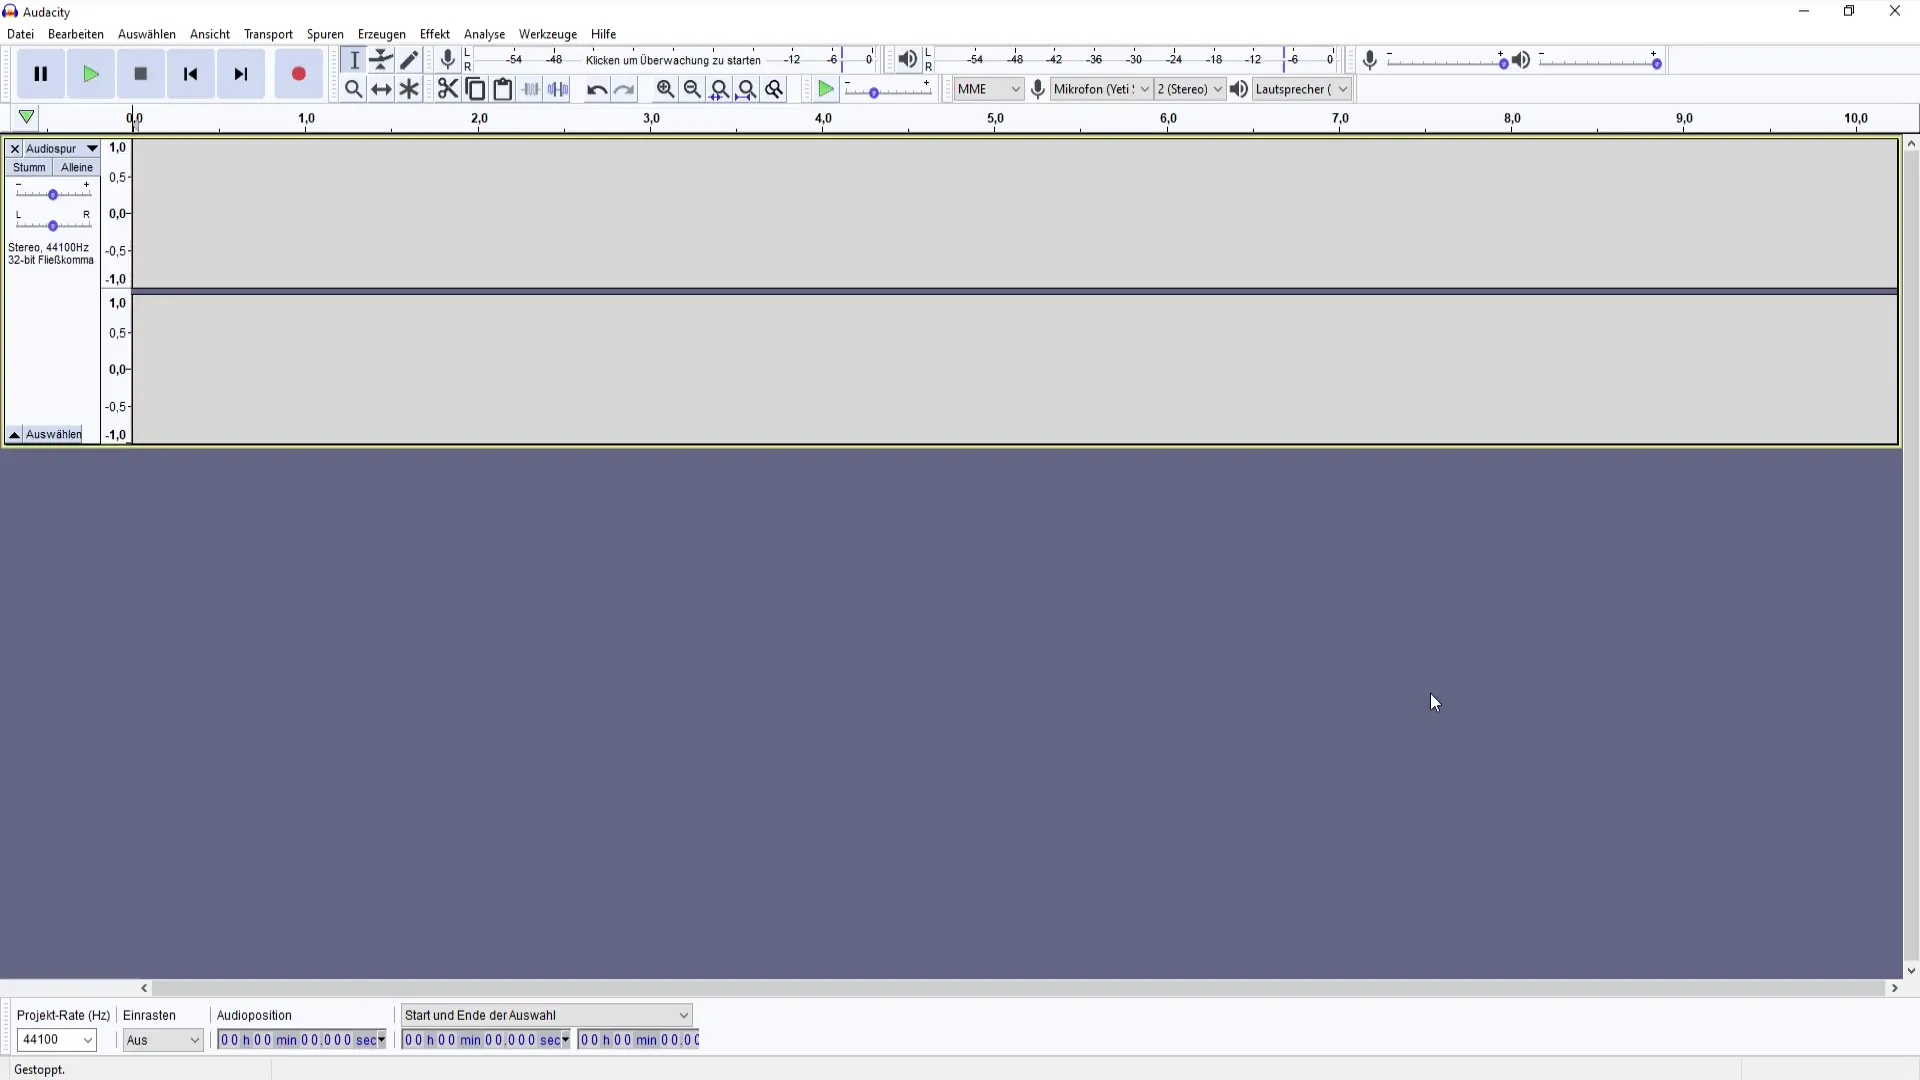
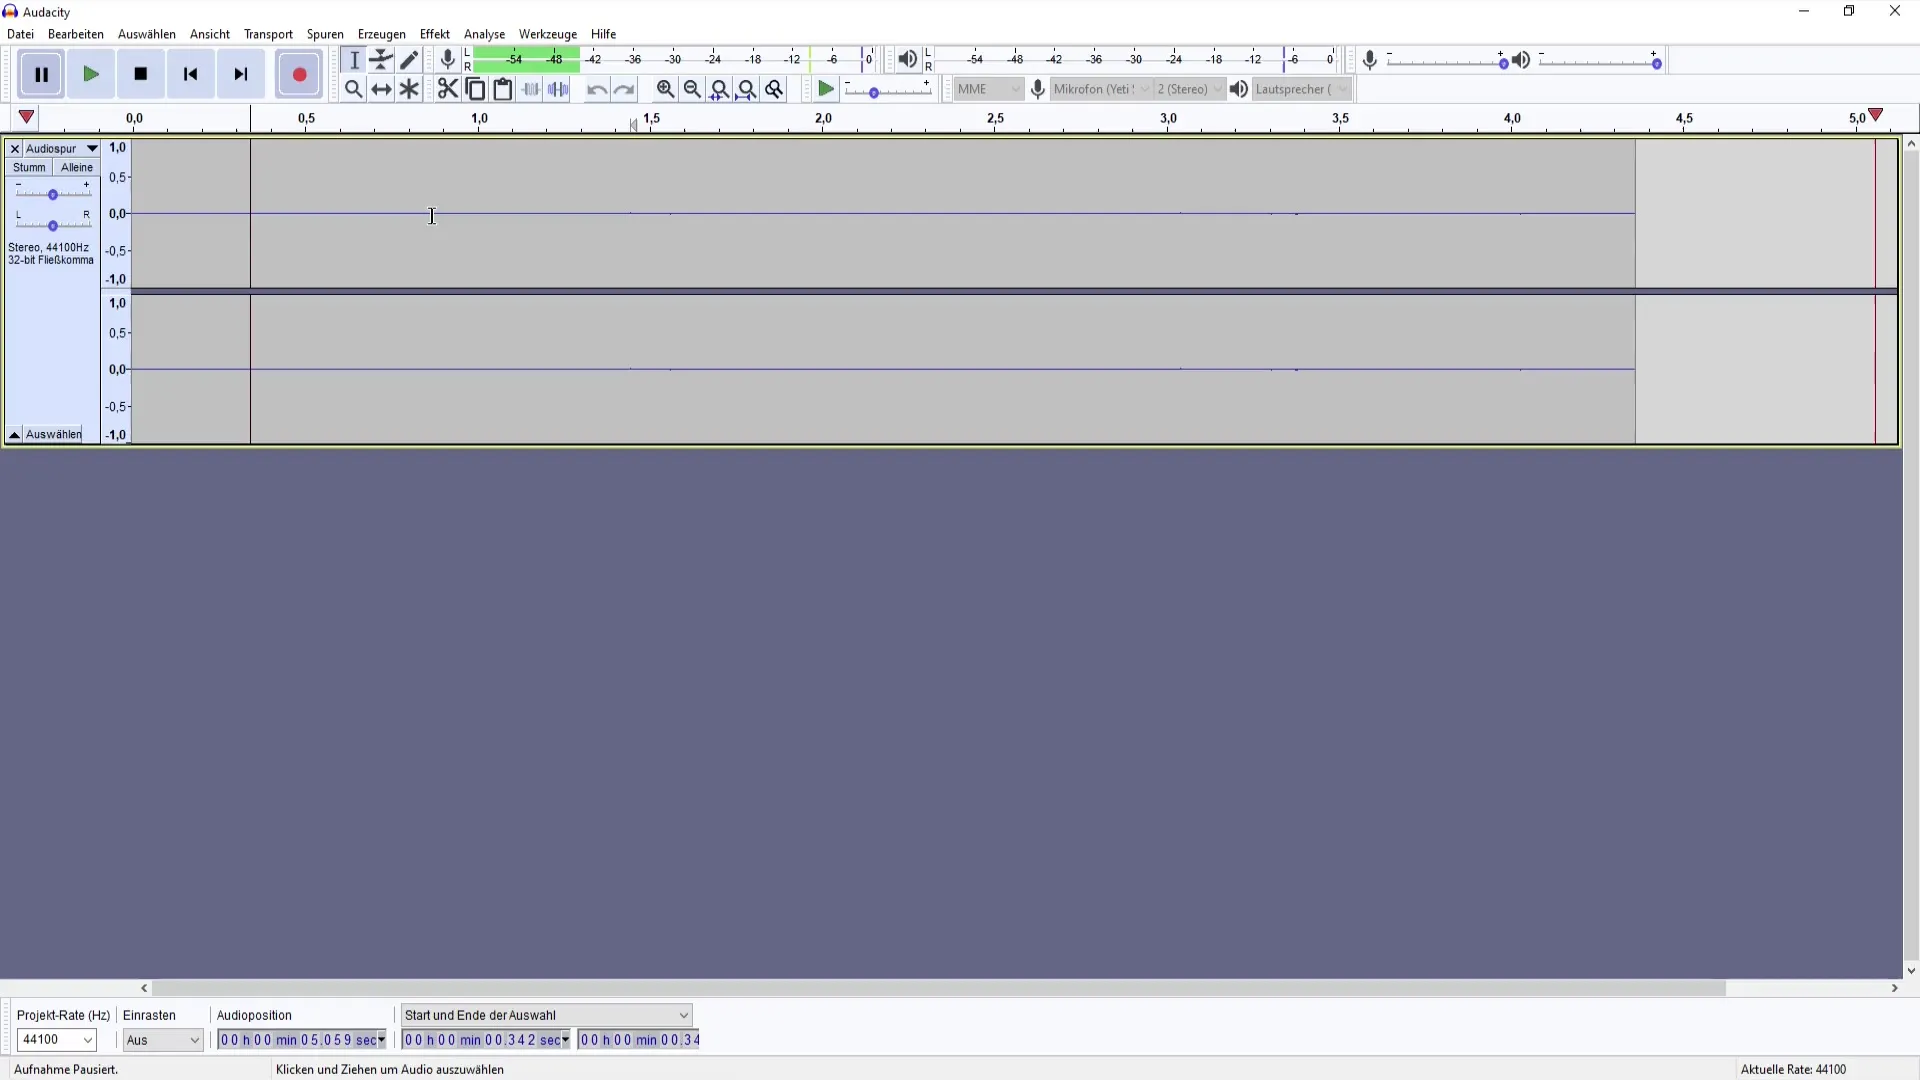
You start by recording your audio material. Make sure the environment is as quiet as possible so that the noise is clearly detectable. The silence you record gives you the opportunity to capture the specific noise of your microphone or the surroundings. When you are ready, press Stop to pause the recording.
After recording the first four seconds of silence, you should see the password field on the screen, where minor deviations of noise are represented. Listen to the recording and pay attention to how the noise sounds. Make sure the noise you want to remove is clearly audible.
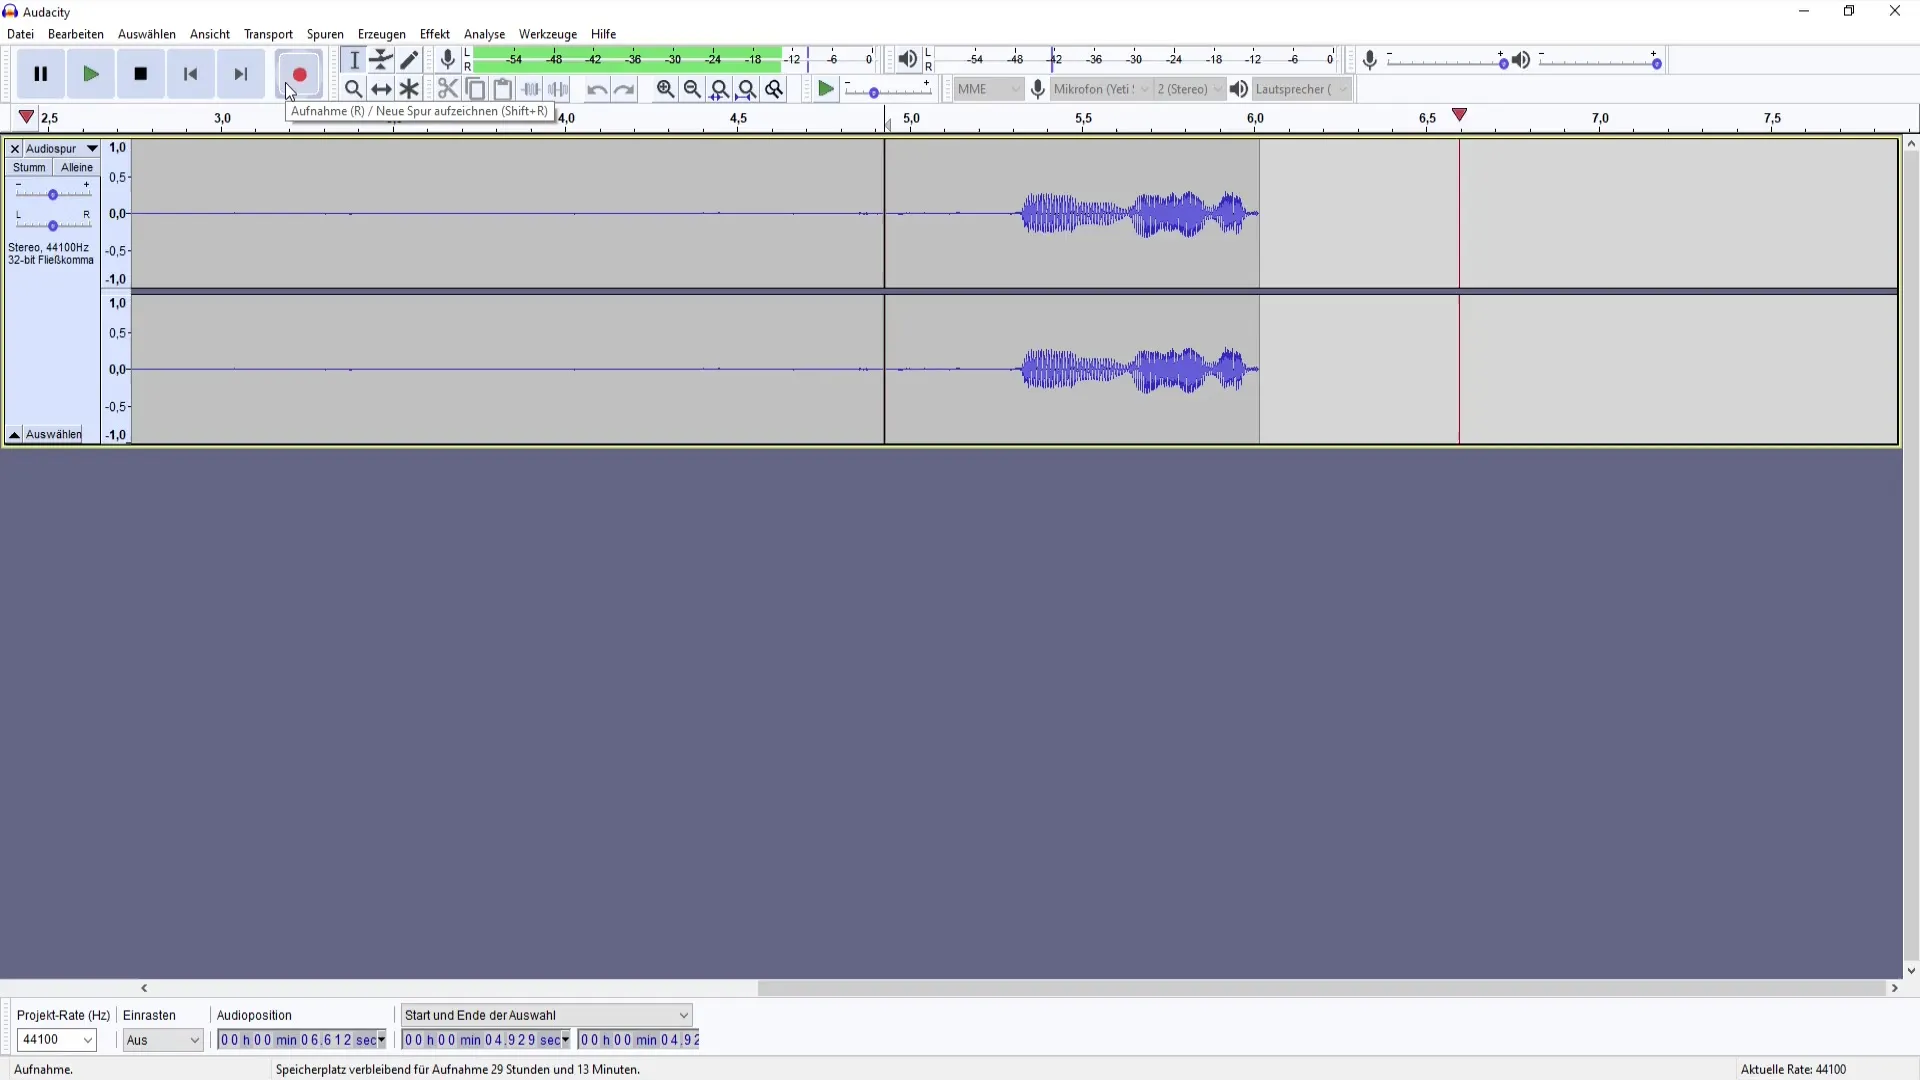
Now you can start recording your actual text. Make sure to take good breaks and speak in a quiet environment to improve the quality of your audio material. While recording the text, it is important to speak clearly to facilitate editing afterwards.
Once you have completed the recordings, you need to merge the audio tracks. Select the first four seconds of the silent recording with noise and zoom in to keep the selection precise. Then go to "Effect" and look for Noise Reduction. In your Audacity, it might also be called "Noise Removal" or "Noise Minimization" - however, the function remains the same.
In the next step, you need to determine the noise profile. This is a crucial step because it tells Audacity which noise to filter. Find the option "Get Noise Profile" and select the silent phase with noise that you previously recorded.
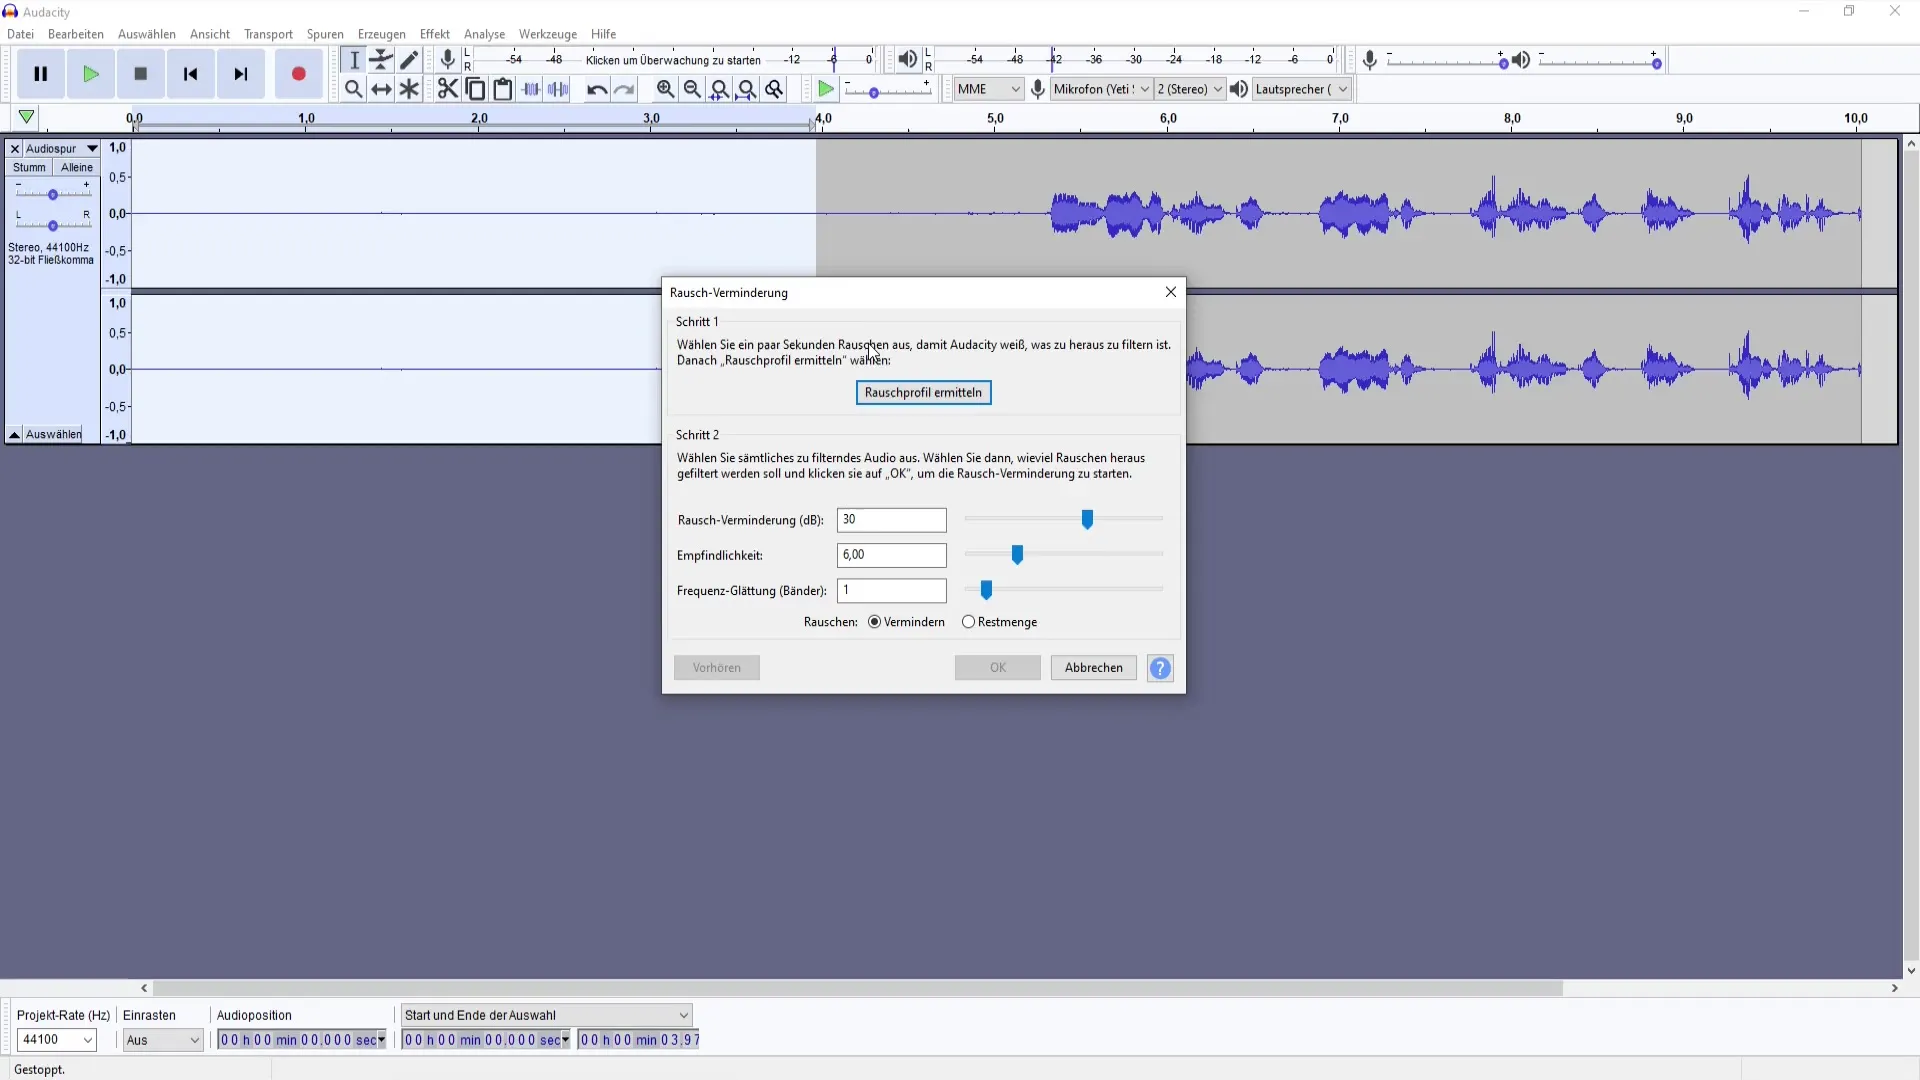
Now, select the entire audio track by pressing the Ctrl + A key combination (or Cmd + A on Mac). Go back to "Effect" and choose Noise Reduction. Here you can adjust settings, such as the decibels to be filtered, the sensitivity, and the frequency. For the first application, the default values are recommended. Experiment with the values if necessary to achieve the best results.
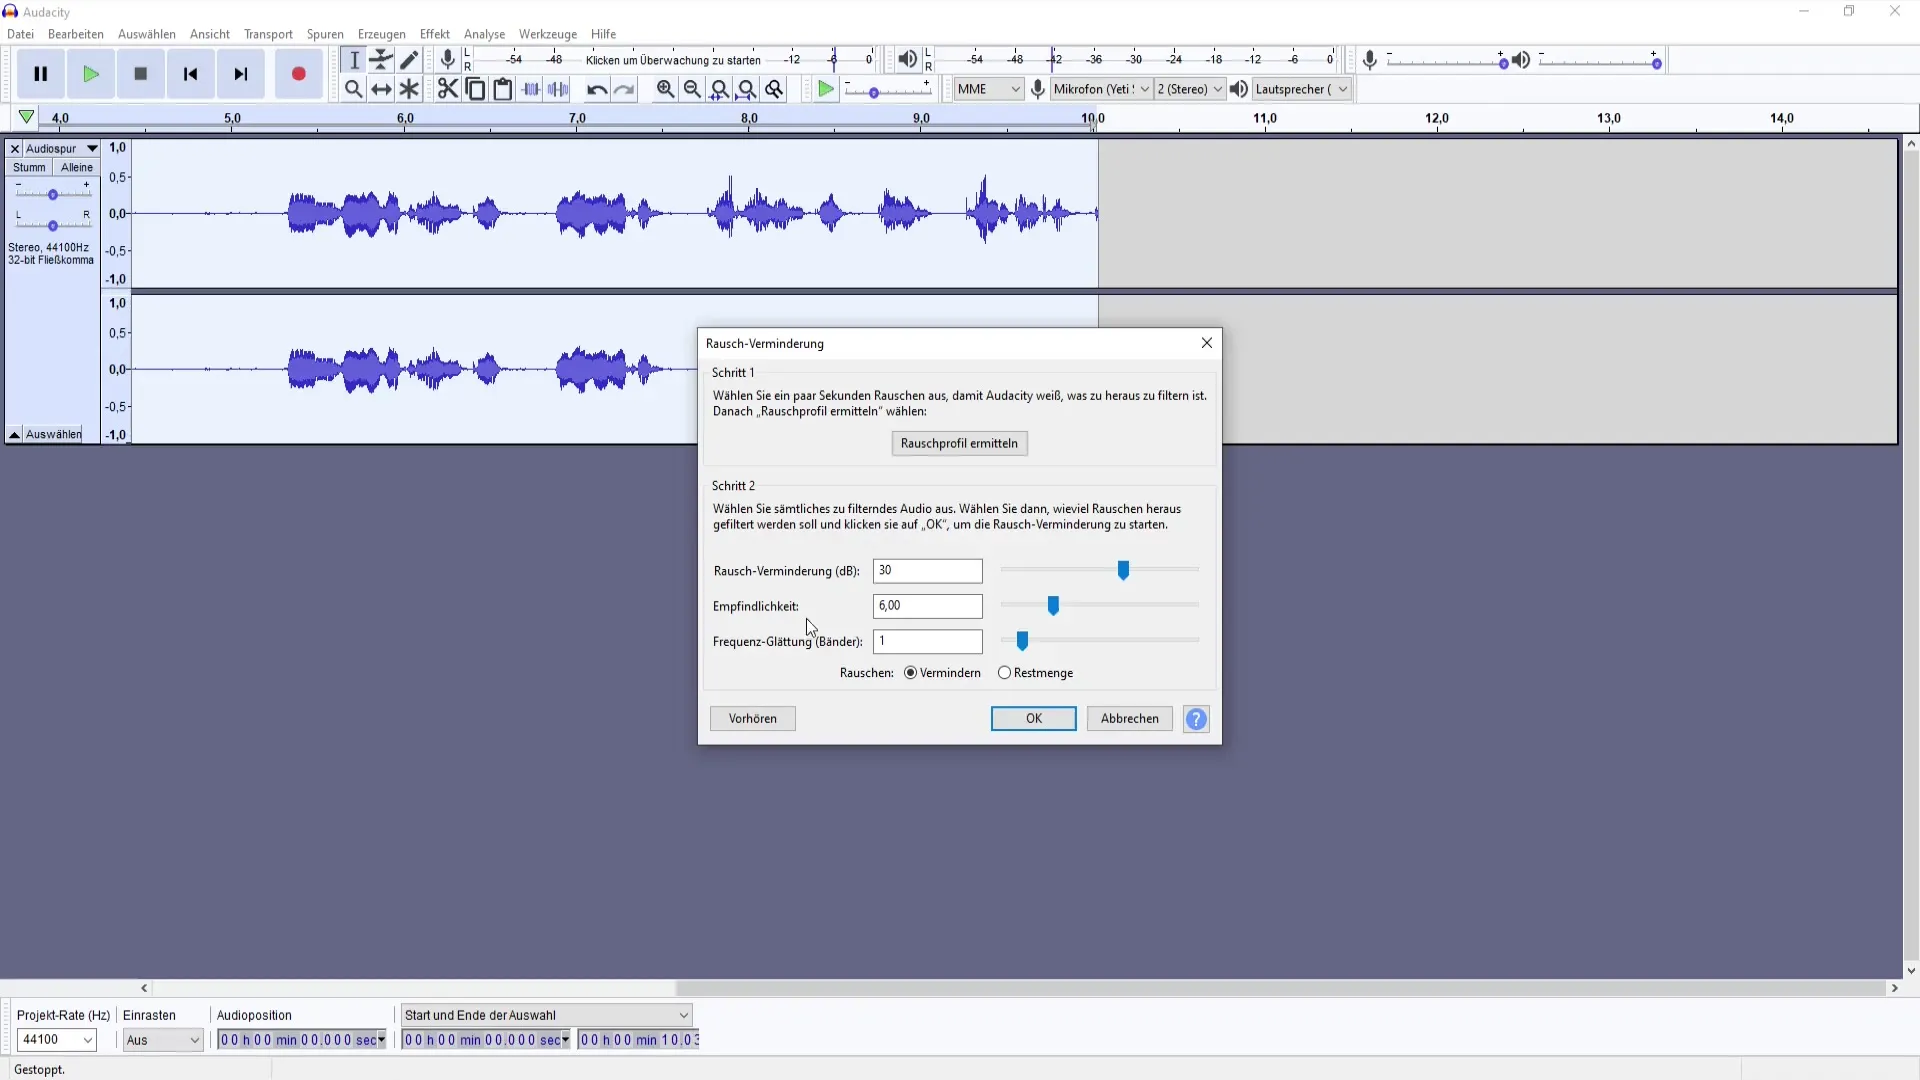
Before applying the noise reduction, you have the option to preview the effect. If the result seems too strong or too weak, you can adjust the values. If you are satisfied with the settings, press "OK" and let the filter apply. The room reverb effects should now be significantly reduced.
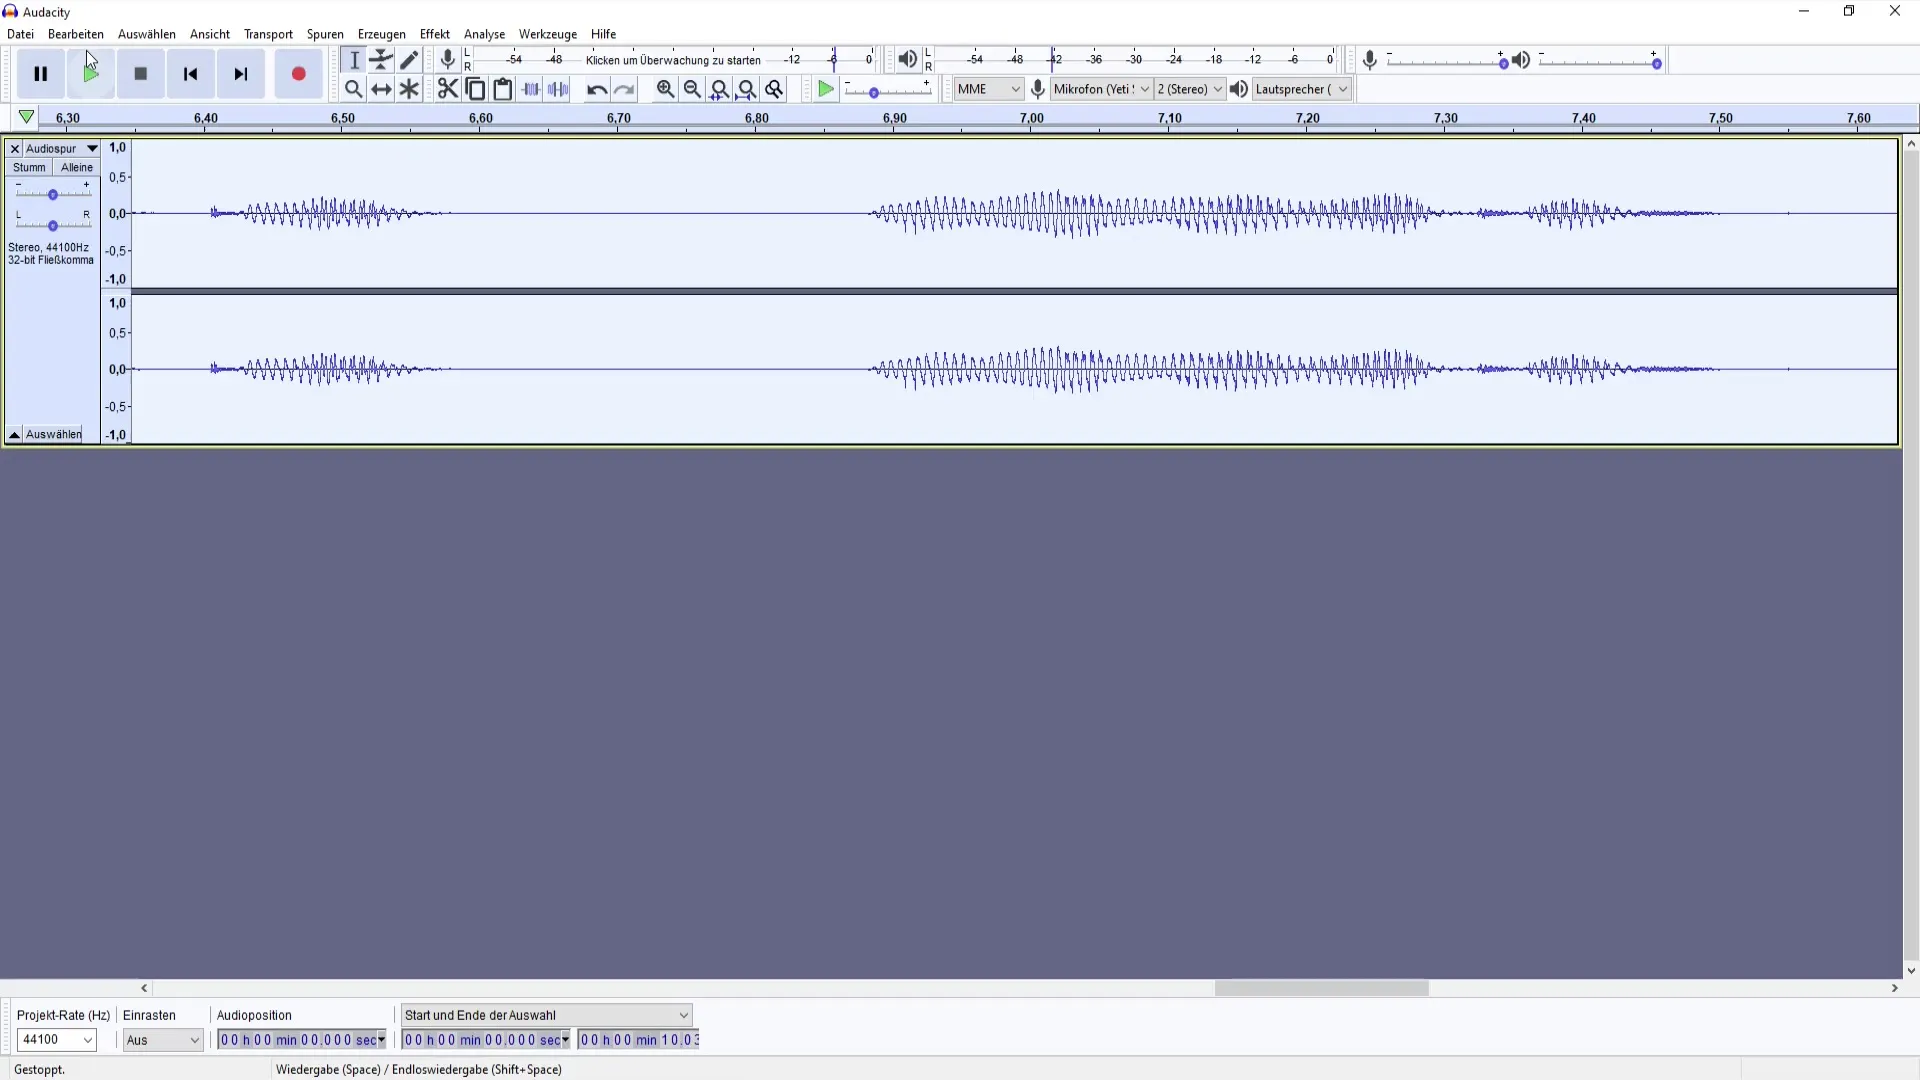
After applying the noise reduction, you will notice that the background noise is almost gone. It is now time to cut out the unnecessary parts of the recording that you do not need, such as the first four seconds where there was only noise.
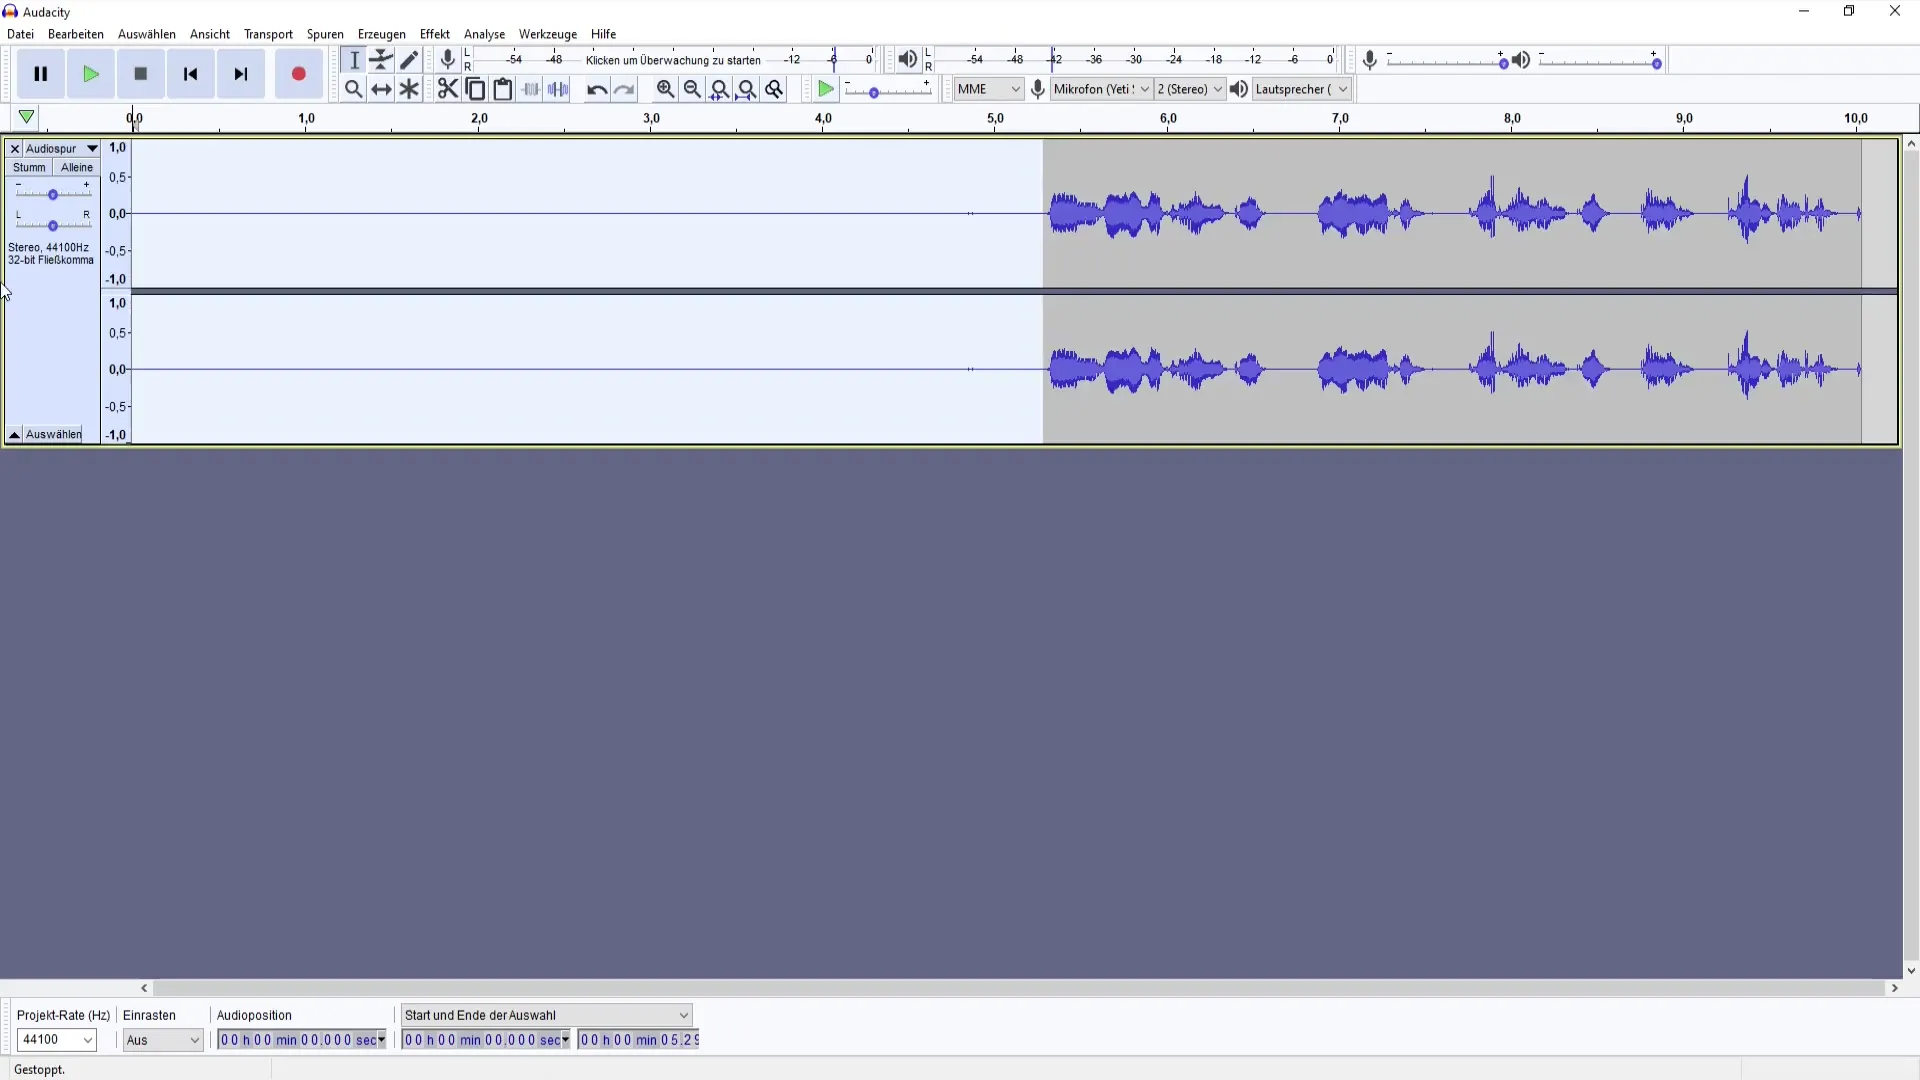
Trimming your audio recording will make it clearer and more precise. Make sure to also edit the end of the clip so that everything transitions smoothly. Your audio recording should sound good afterwards, with the annoying noise no longer present.
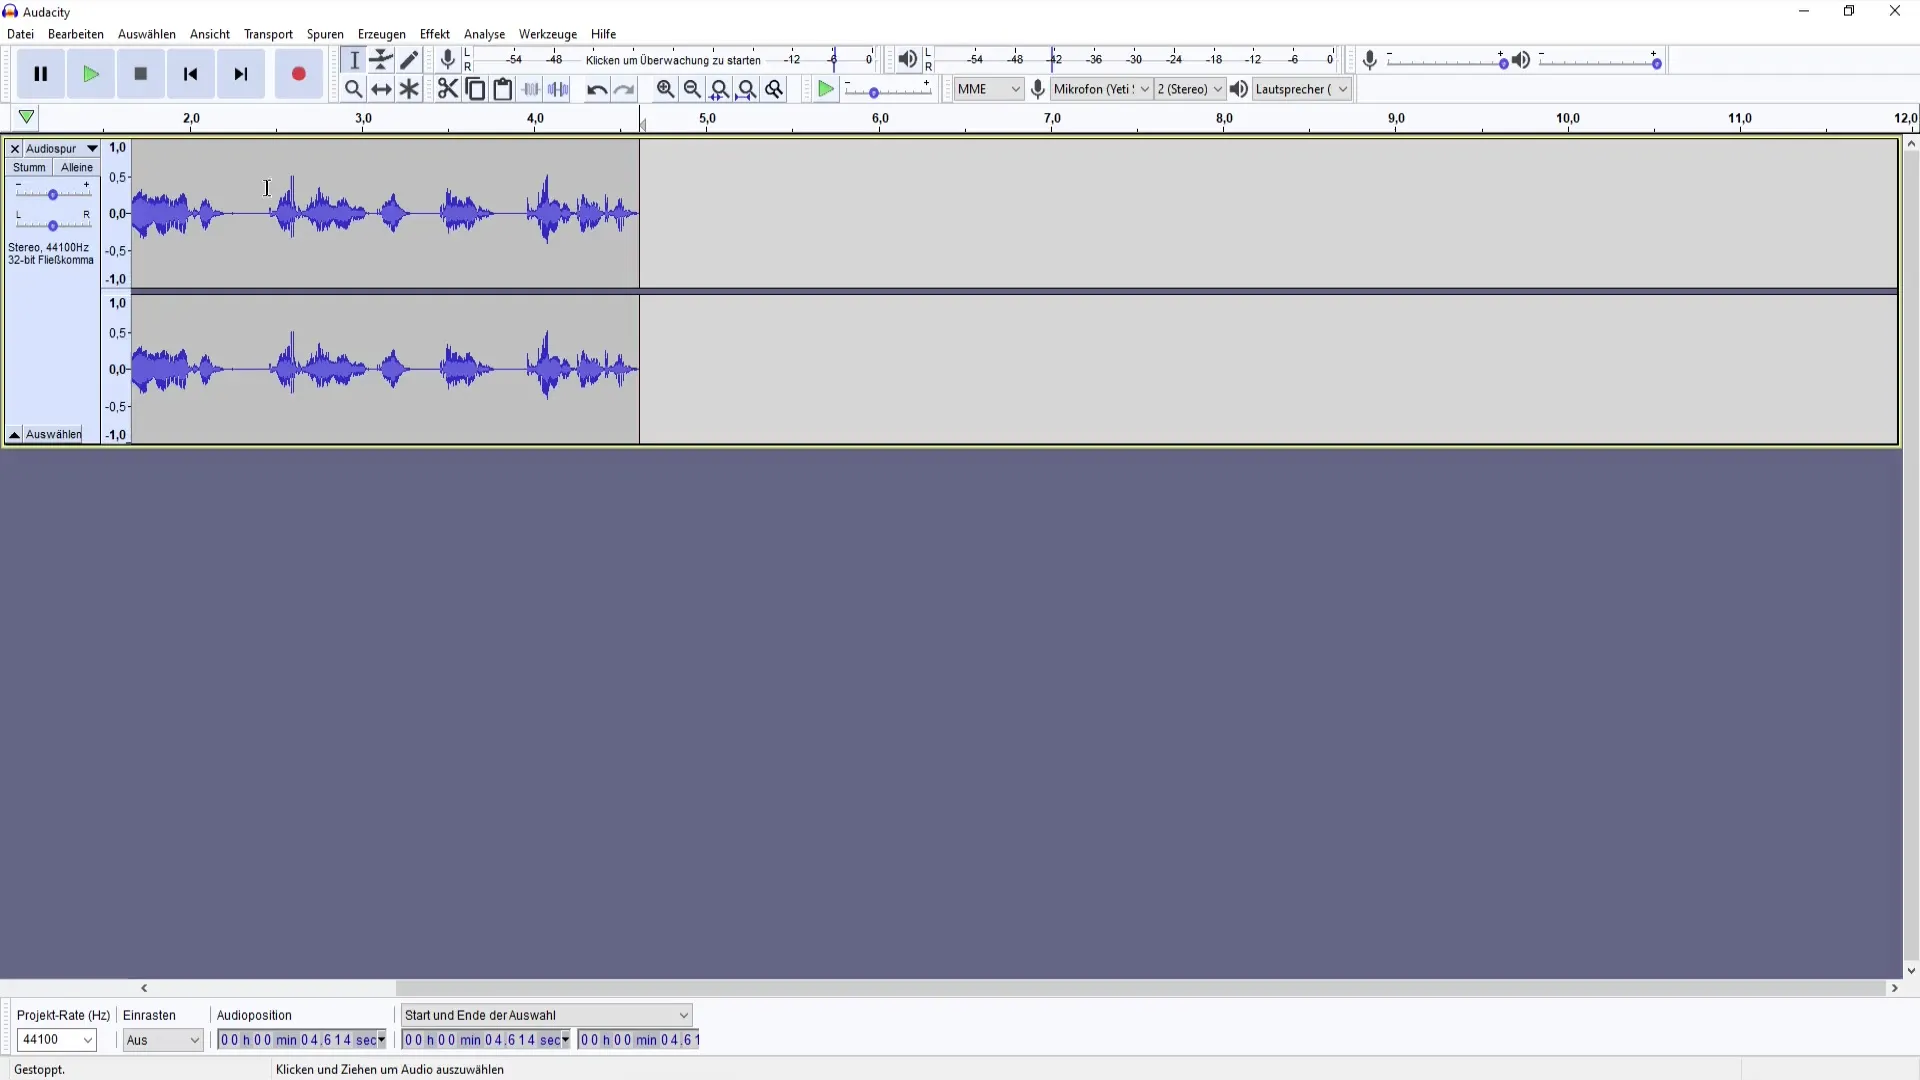
To further improve the sound quality, you can adjust your recording. This means that you can optimize volume and other effects according to your needs to achieve a professional result.
Summary
Noise removal in Audacity is an essential tool for anyone looking to create high-quality audio content. With the right steps, you can effectively eliminate unwanted noise and captivate your audience with clear and precise voice messages.
Frequently Asked Questions
How long should the noise sample recording be?Record at least four seconds of silence to create an accurate noise profile.
How can I find noise reduction in Audacity?It may be listed under "Effect" and may be named differently, such as "Noise Removal" or "Noise Reduction".
What are the default values for noise reduction?Start with the preset values for decibels, sensitivity, and frequency, and adjust them as needed.
Can I make other adjustments after noise removal?Yes, you can further optimize volume and other sound effects after noise removal.
Should I always apply noise removal?It is advisable to apply noise removal only when background noise is actually present.


