Podcasts are becoming increasingly popular and the quality of your audio recording plays a crucial role. The compressor is a powerful tool in Audacity that helps you optimize the sound of your recordings. In this guide, I will show you step by step how to use the compressor to enhance the sound quality of your podcast.
Main Insights
- The compressor can adjust the volume of your audio content to create a more consistent sound experience.
- However, incorrect settings can negatively impact the audio quality.
- By experimenting with different settings, you can find the best sound for your specific recordings.
Step-by-Step Guide to Using the Compressor
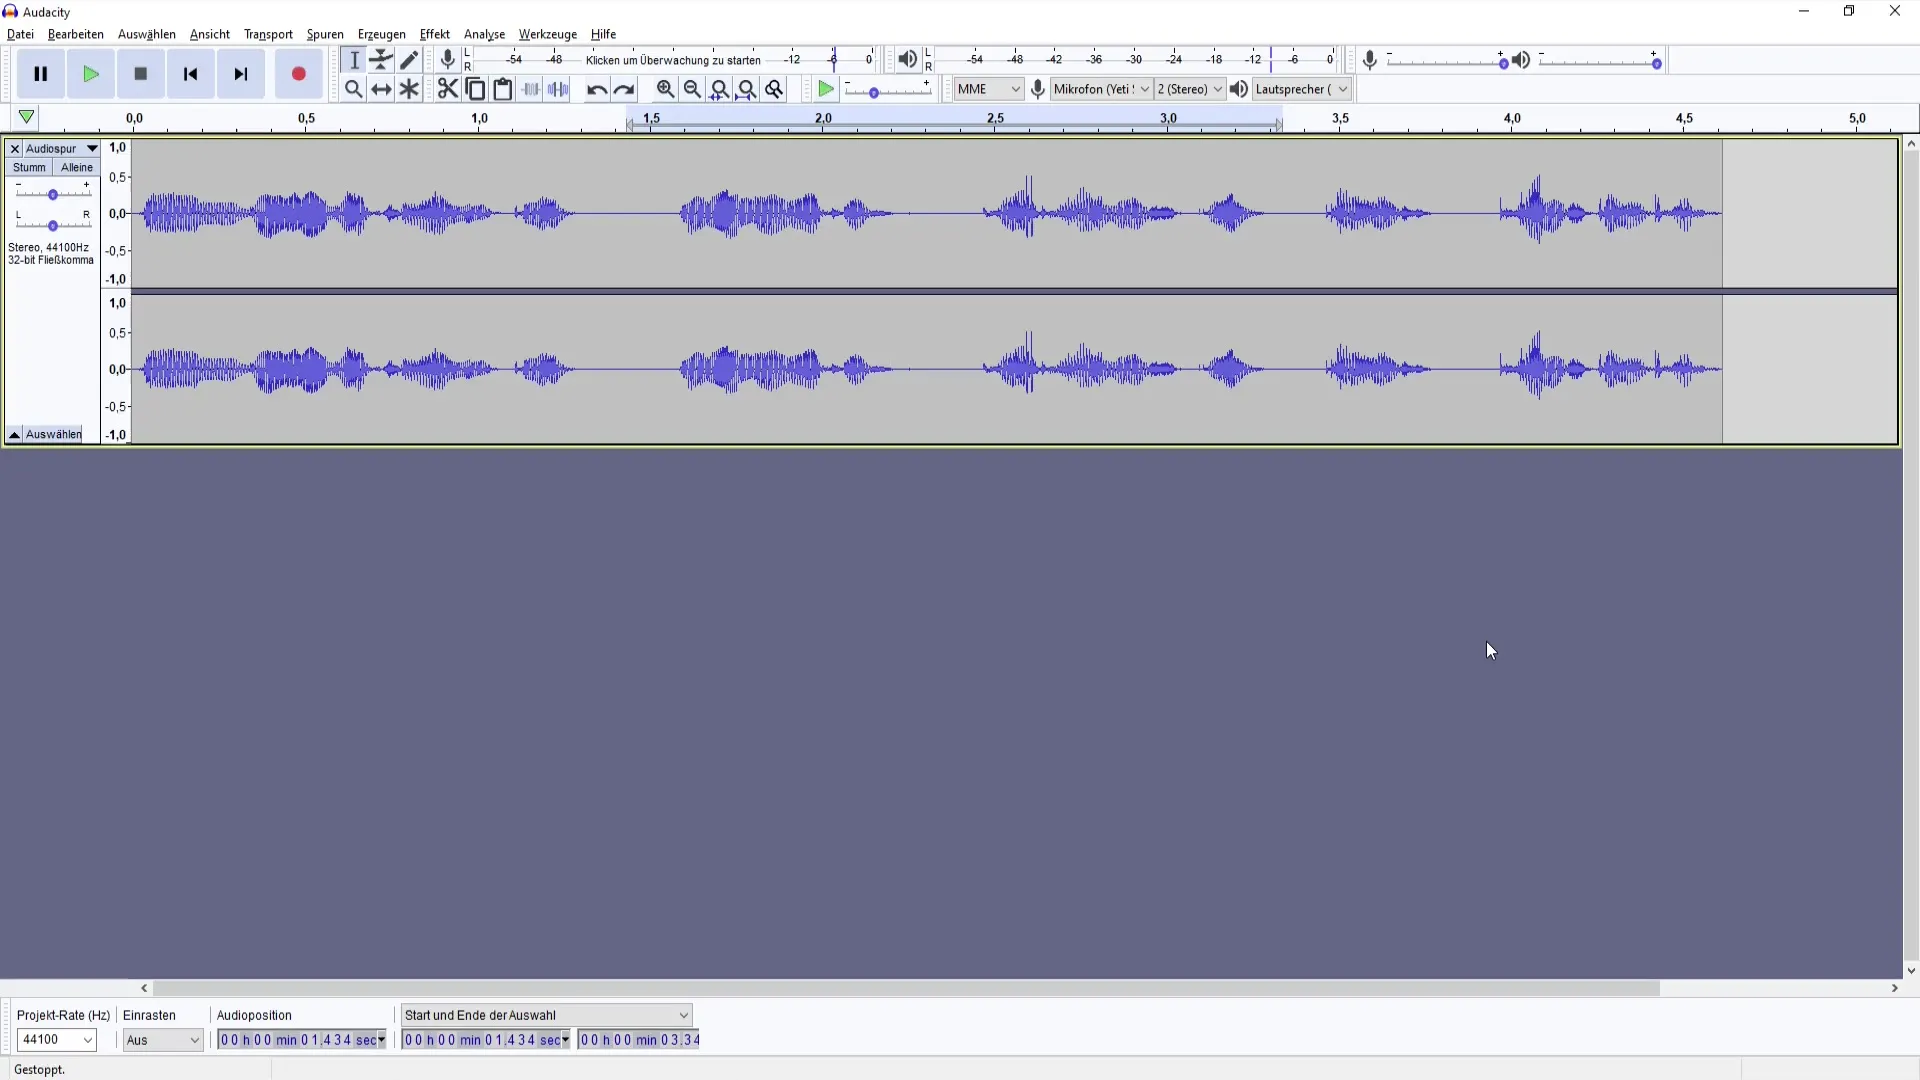
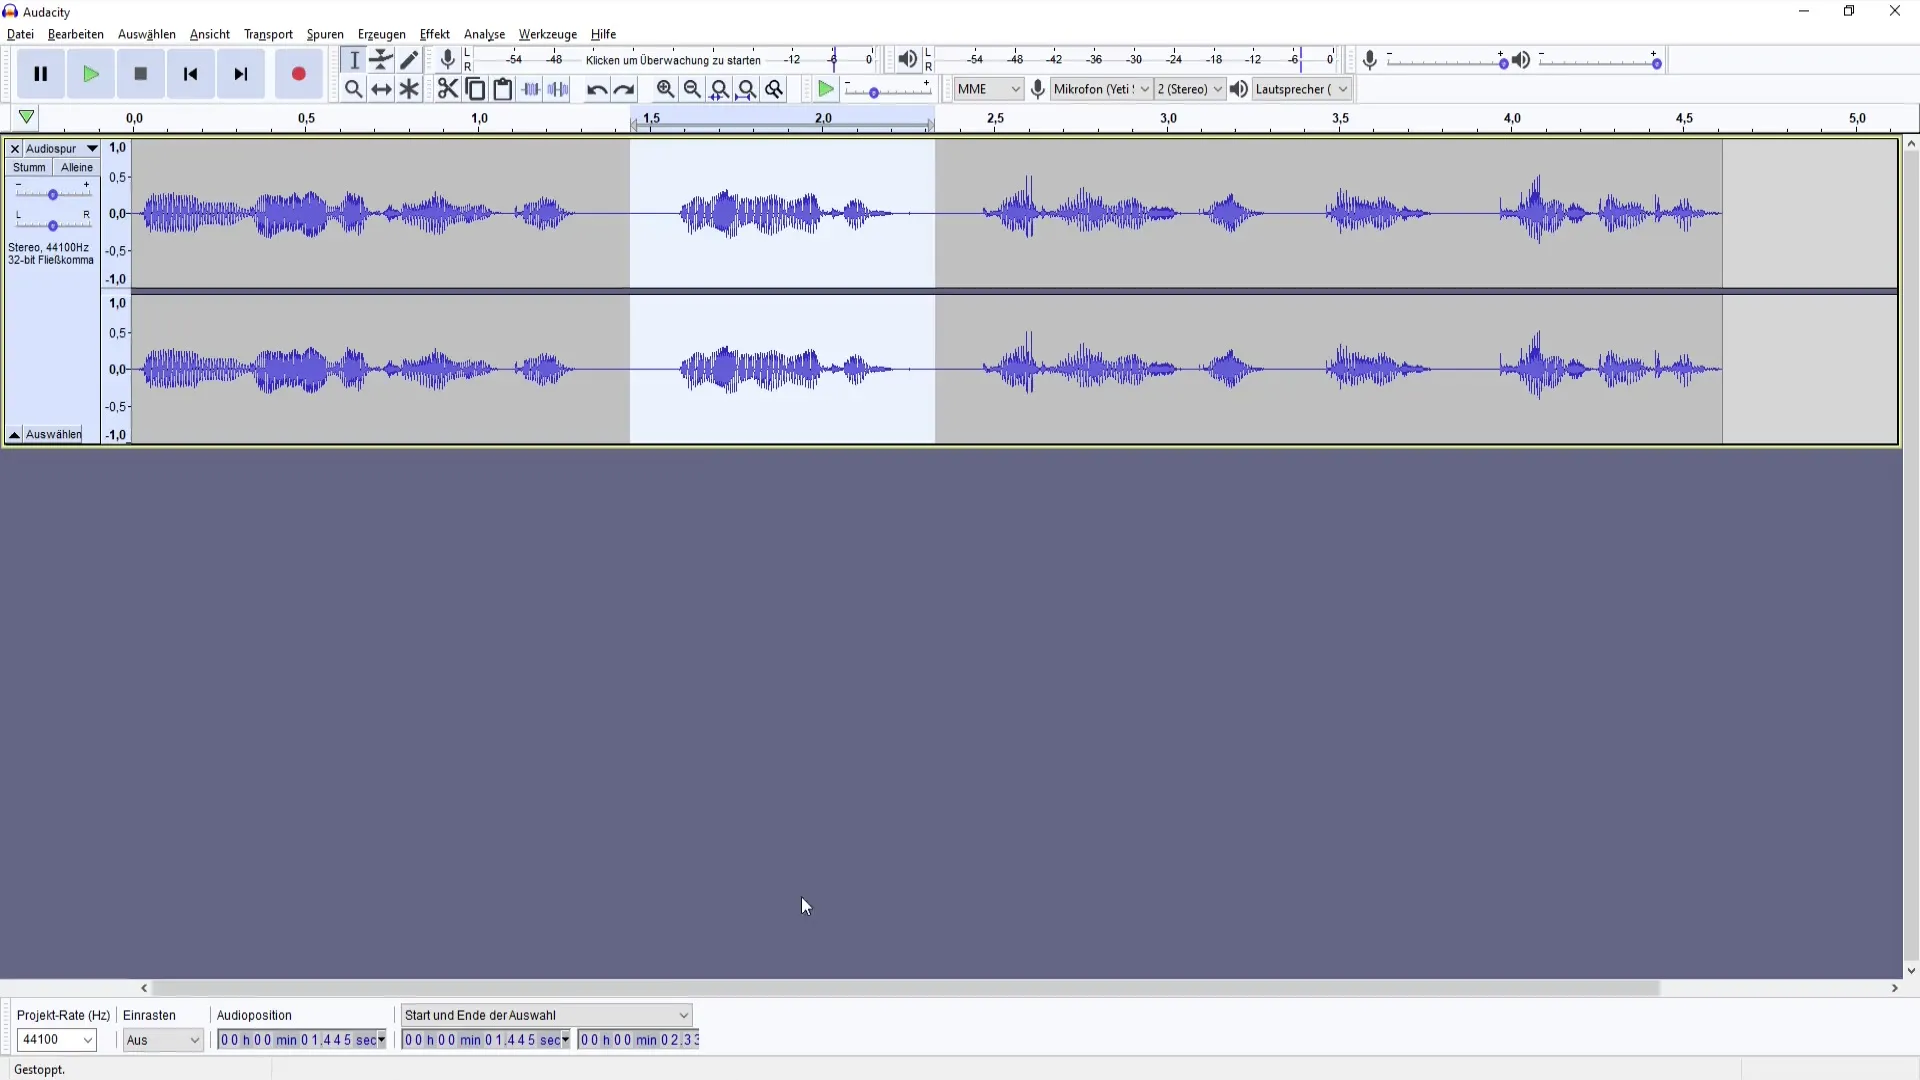
First, open your project in Audacity. Make sure you have the audio track ready for editing. It is recommended to select a section of text on which you want to apply the compressor.
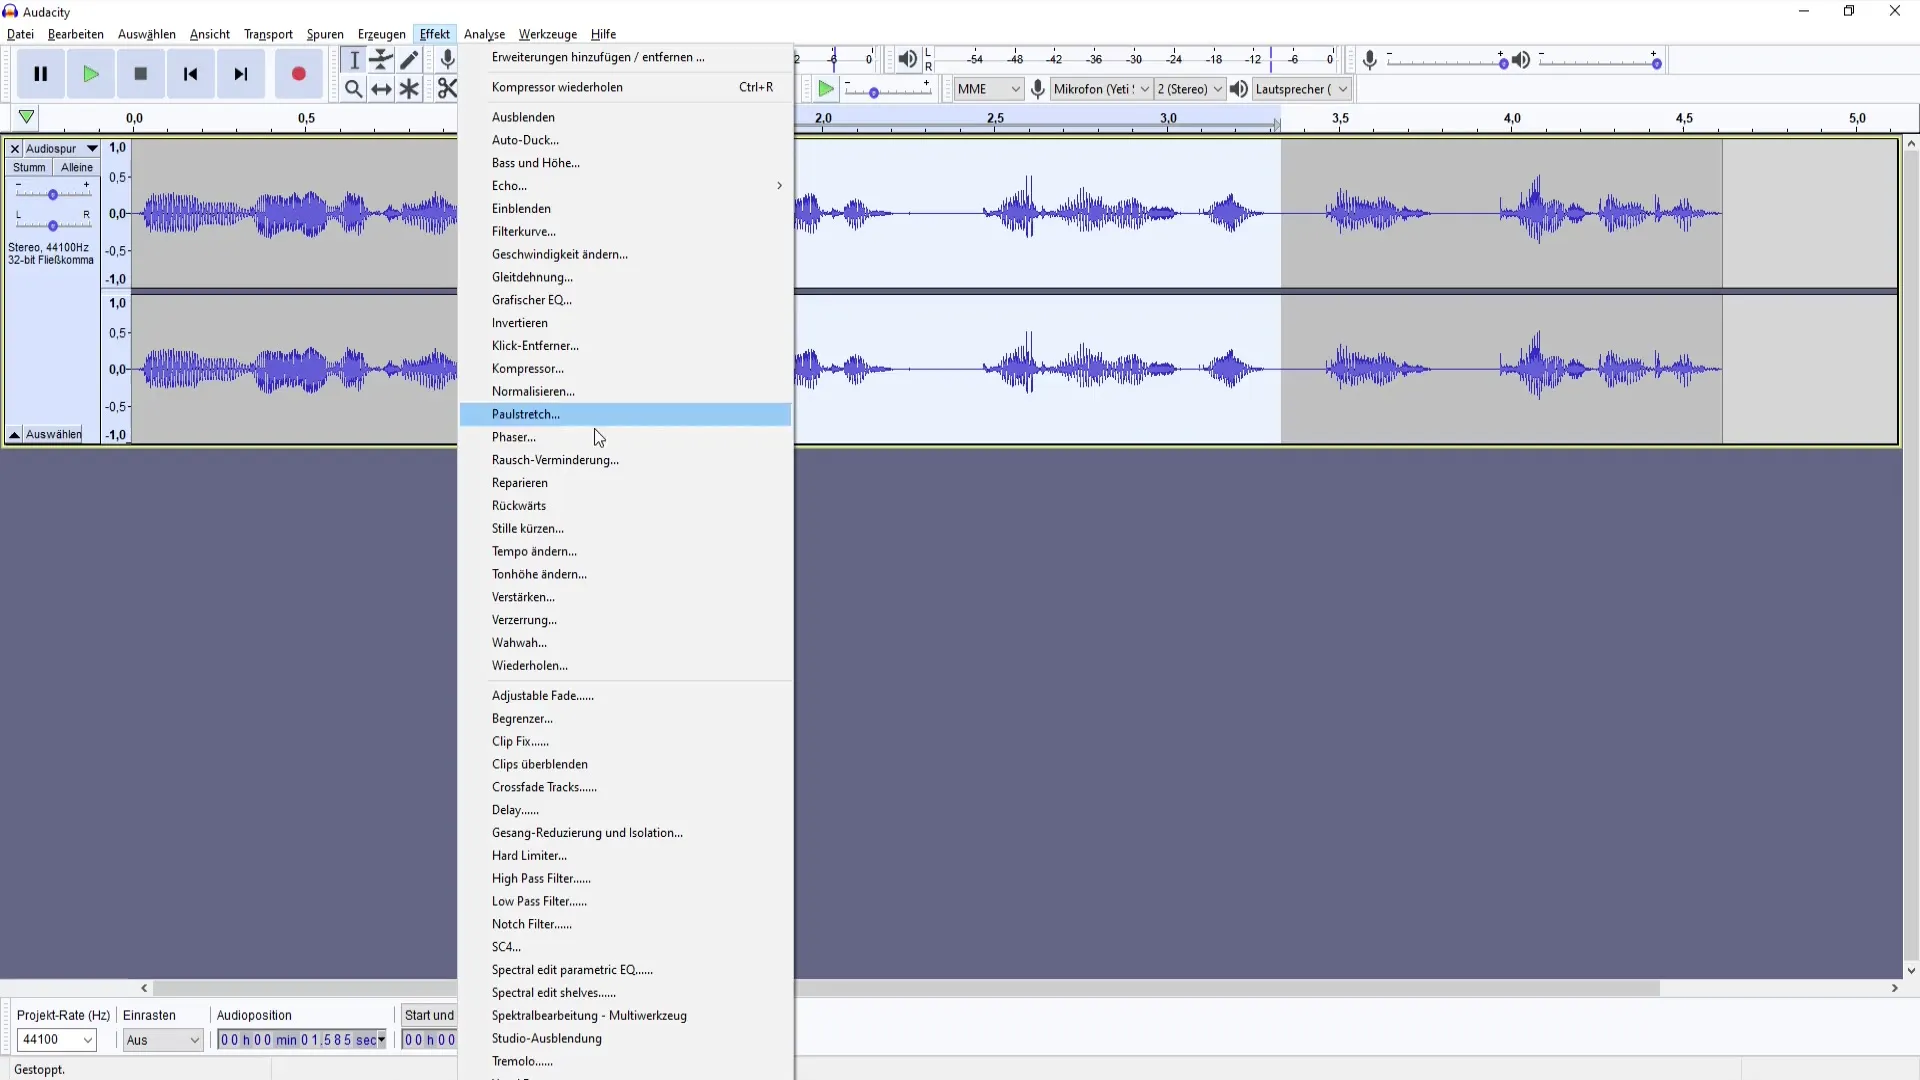
- Accessing the Compressor To use the compressor, go to the "Effect" menu. You will see various effects, choose "Compressor." Depending on the language setting, the compressor may also be called "Compress" for the English version.
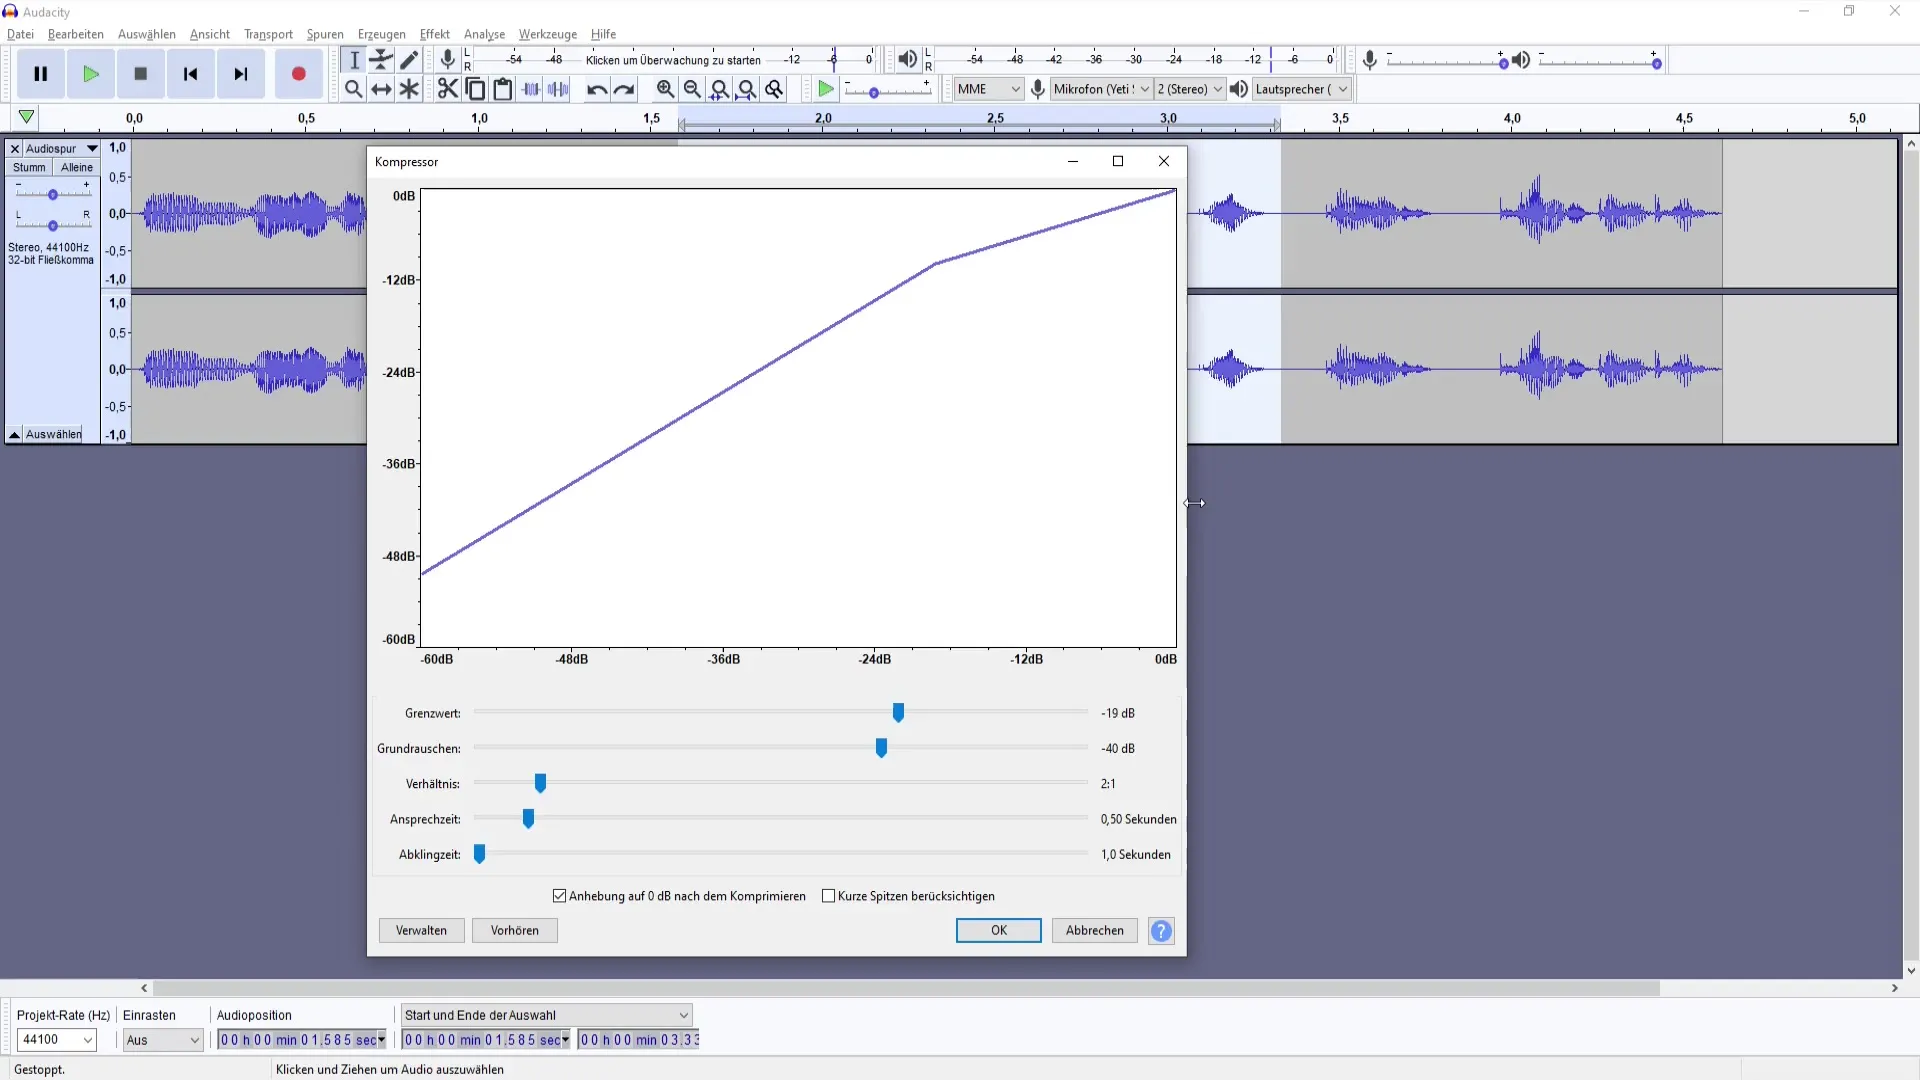
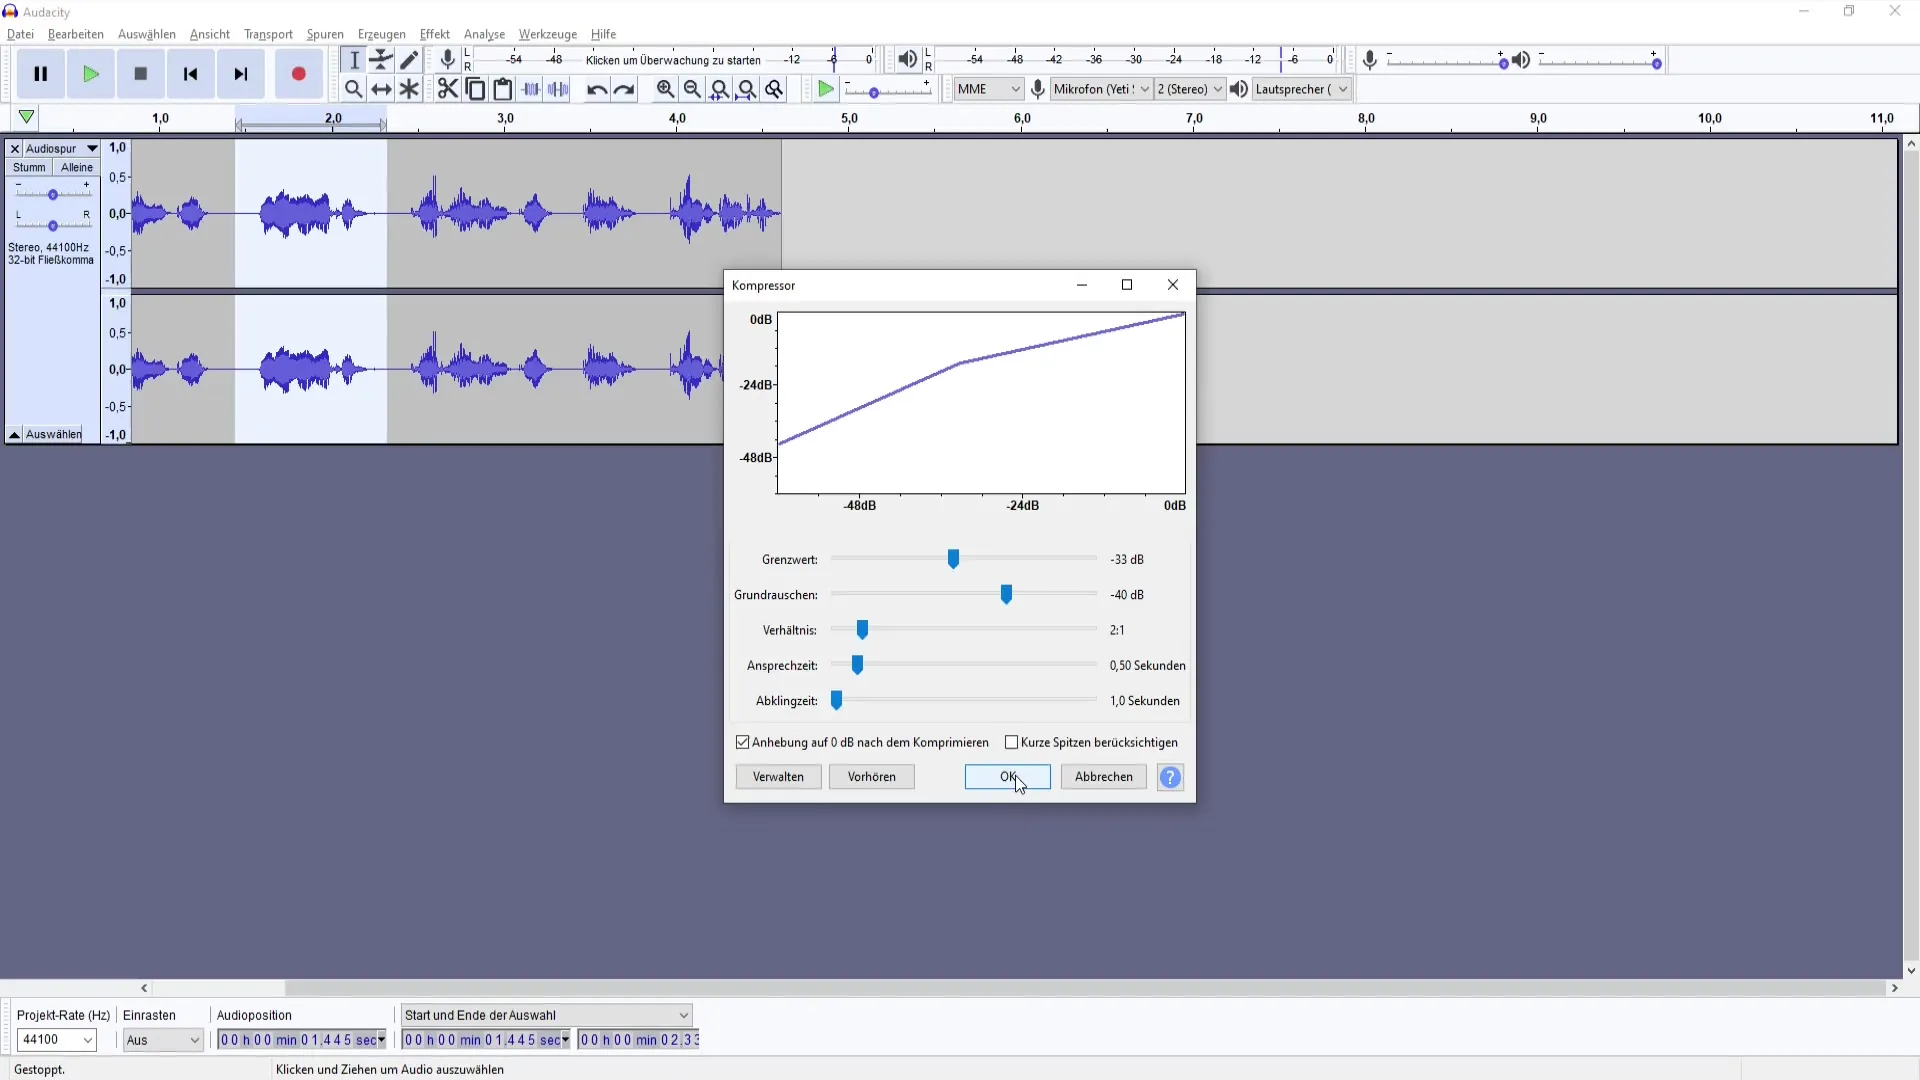
- Understanding the Settings You will now see a window with several adjustment options. These include the threshold, the noise floor, the ratio, the attack time, and the release time. It may seem overwhelming, but focus on the key settings at first to grasp the principle.
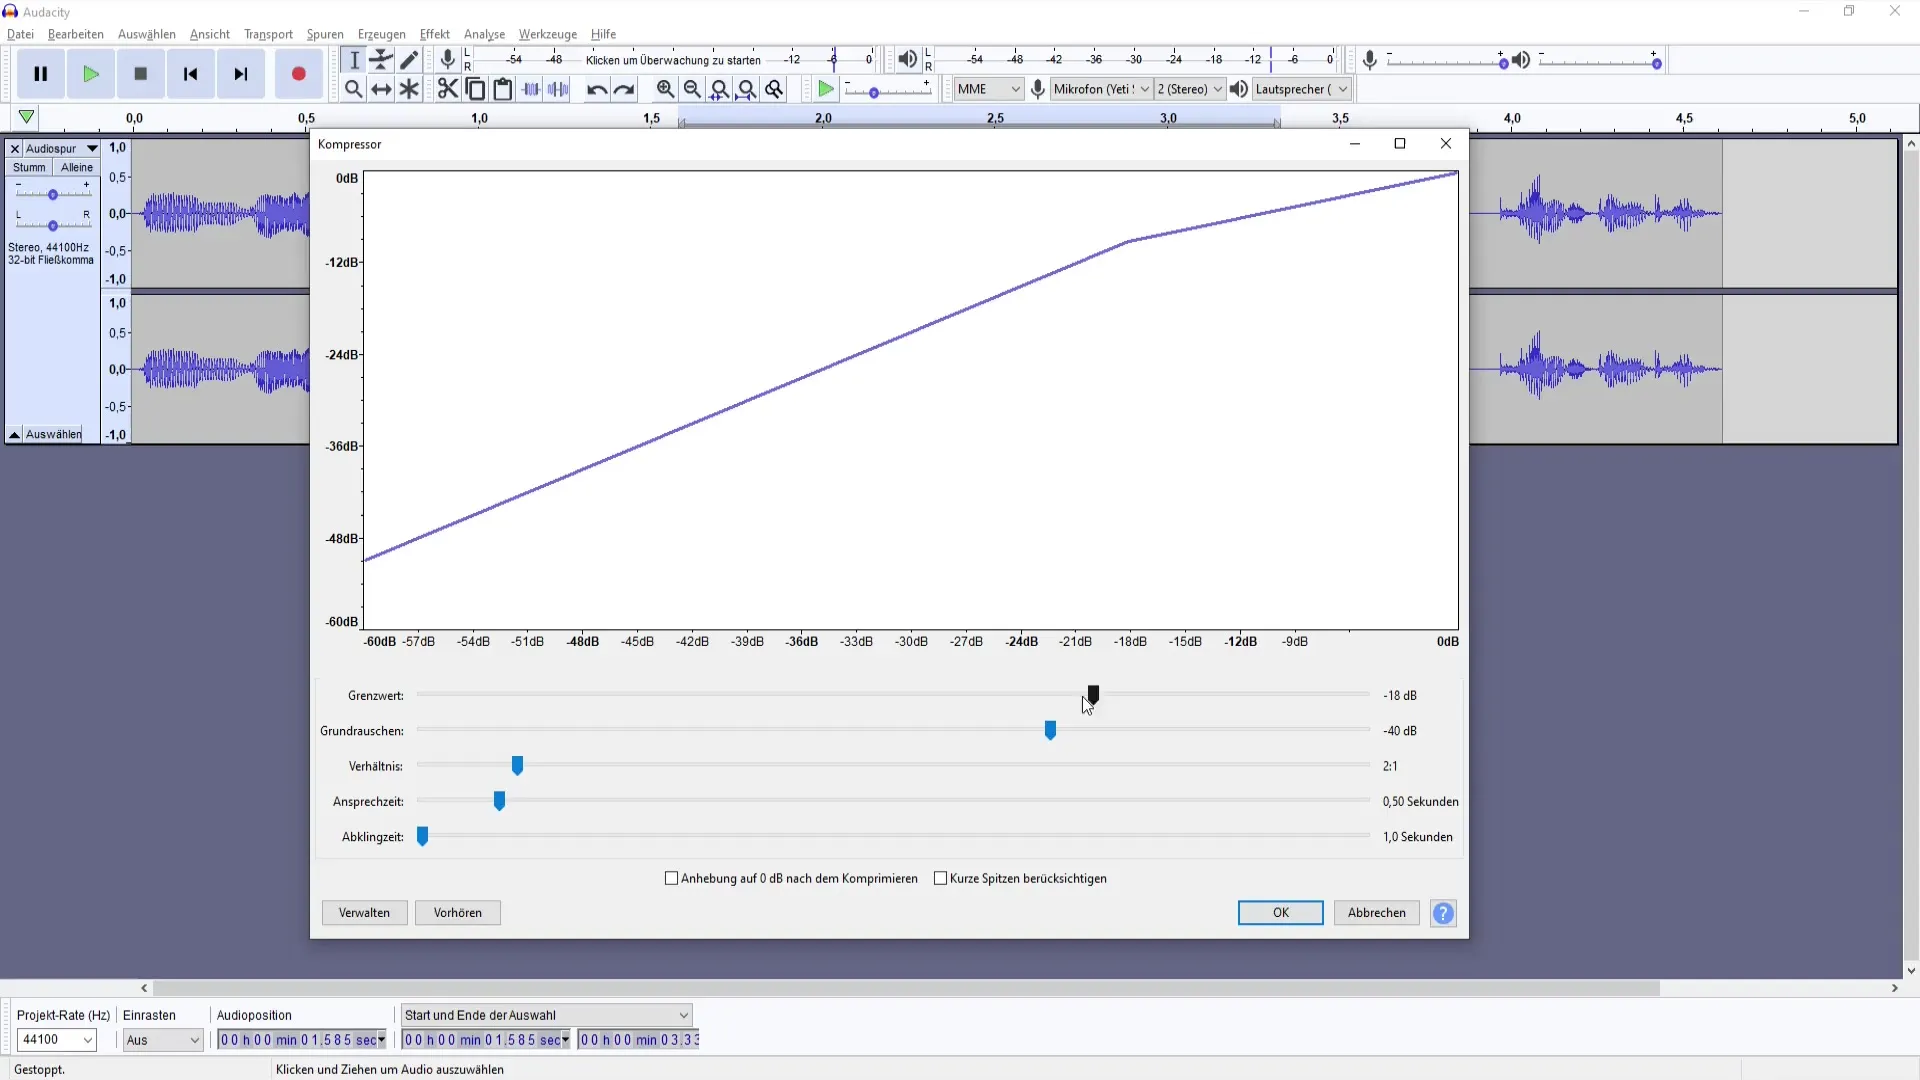
- Initial Settings Adjustment Start with a threshold of about -18 dB. This setting is a good starting point for most recordings. You can further adjust later depending on the sound you want to achieve.
- Sound Check After making the initial settings, click "OK" to apply the effects. Play back the audio track and observe how the sound has changed. You should hear a more harmonious volume with fewer extreme peaks.
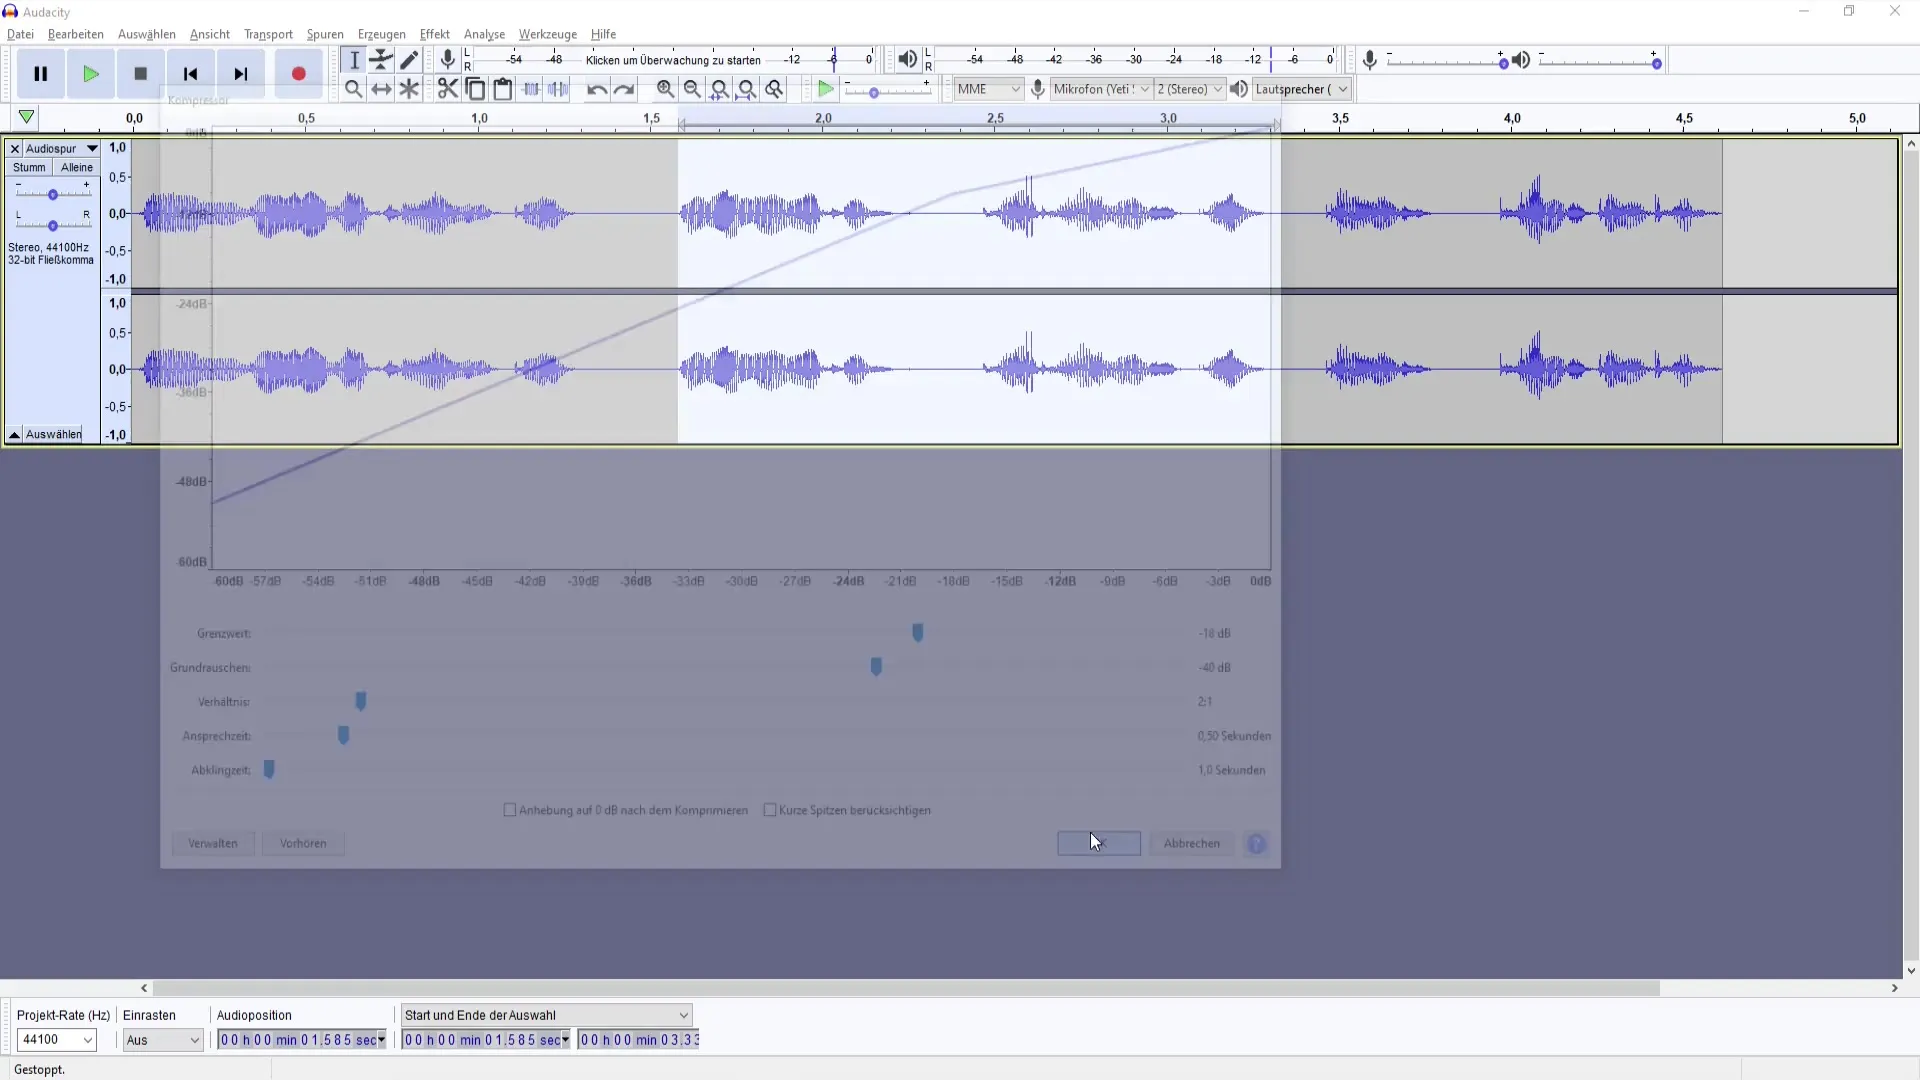
- Fine-Tuning Now is the time to refine the settings. Experiment with the threshold and ratio to find the best sound for your voice and microphone. Note that you can also increase the value to 0 dB to make the compressed sound louder.
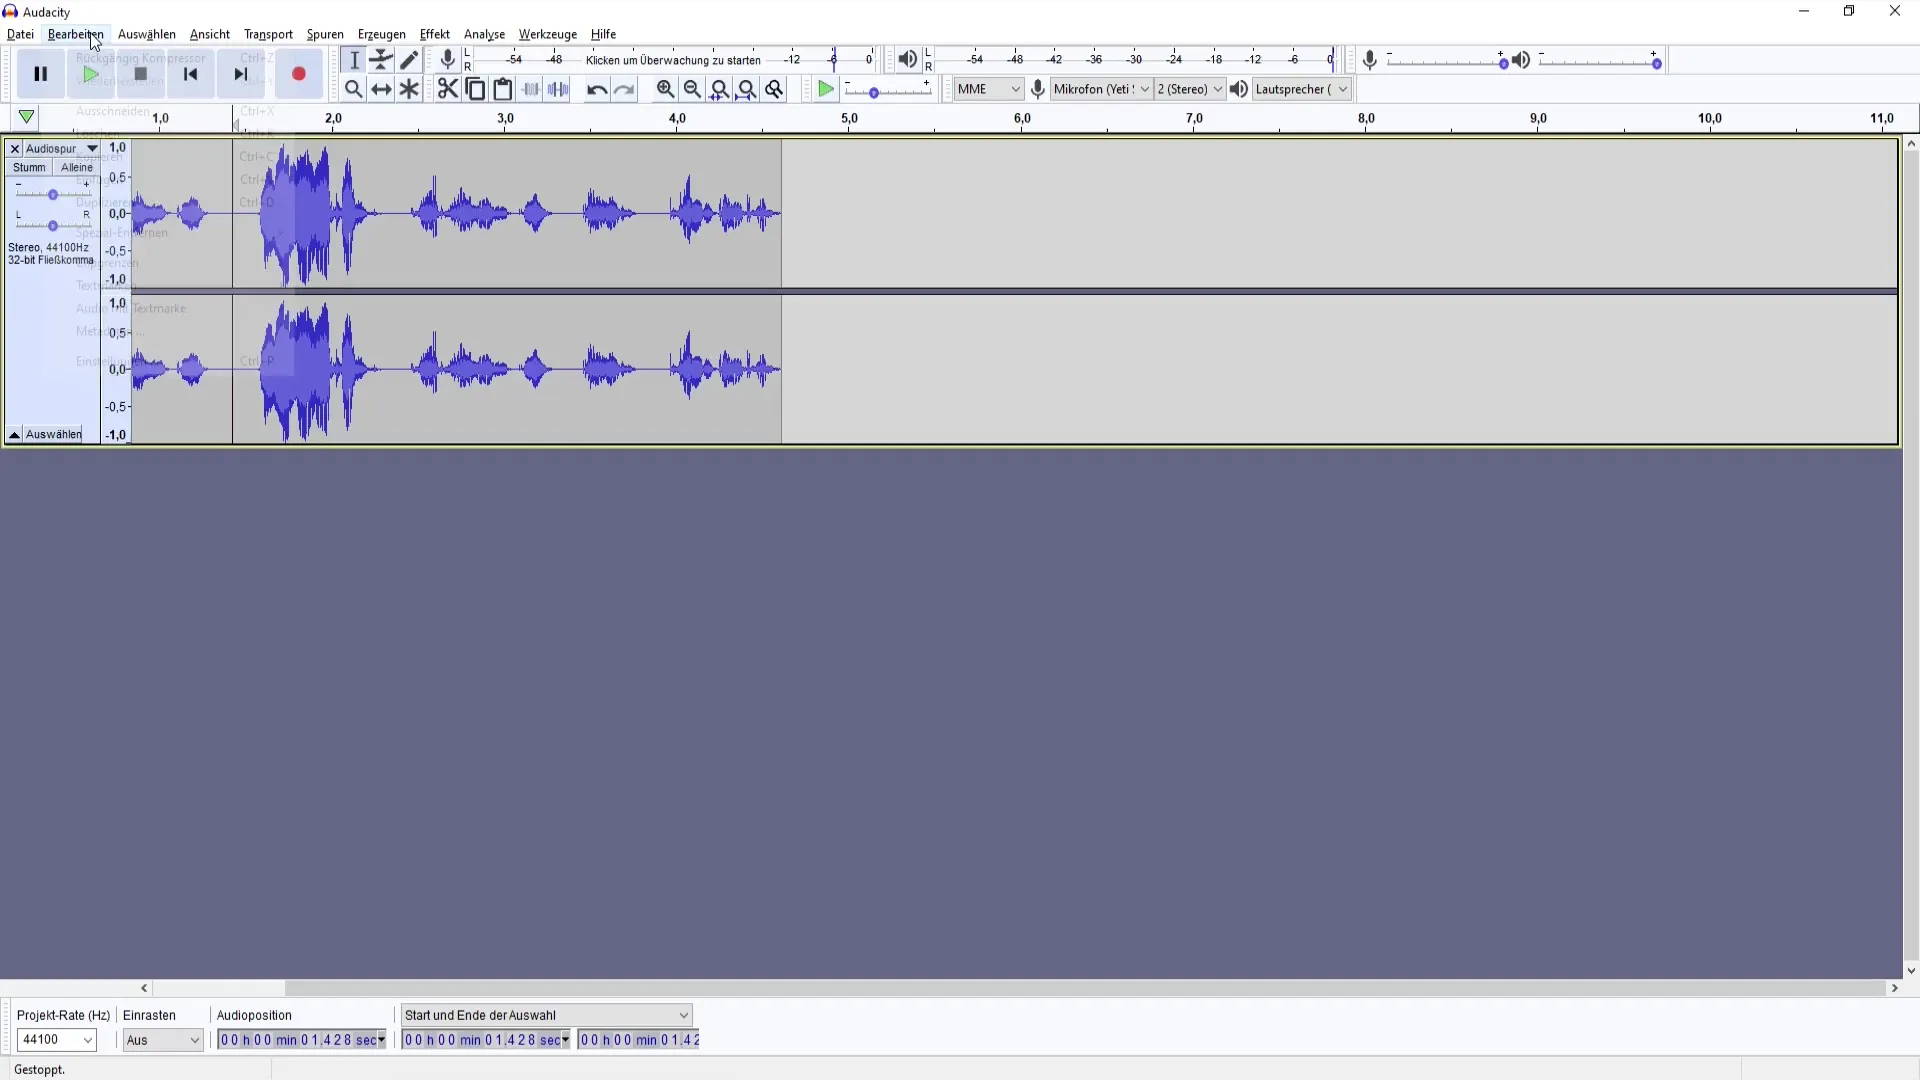
- Exercise Caution with Adjustments Be careful when increasing the threshold value. A value that is too high can cause audio distortion and have serious consequences for quality. When increasing the volume, make sure not to lose the original sound quality.
- Before-After Comparison A useful feature in Audacity is the ability to hear the changes before applying the effect permanently. Use the "Before" option to listen to the difference between the unedited and edited track.
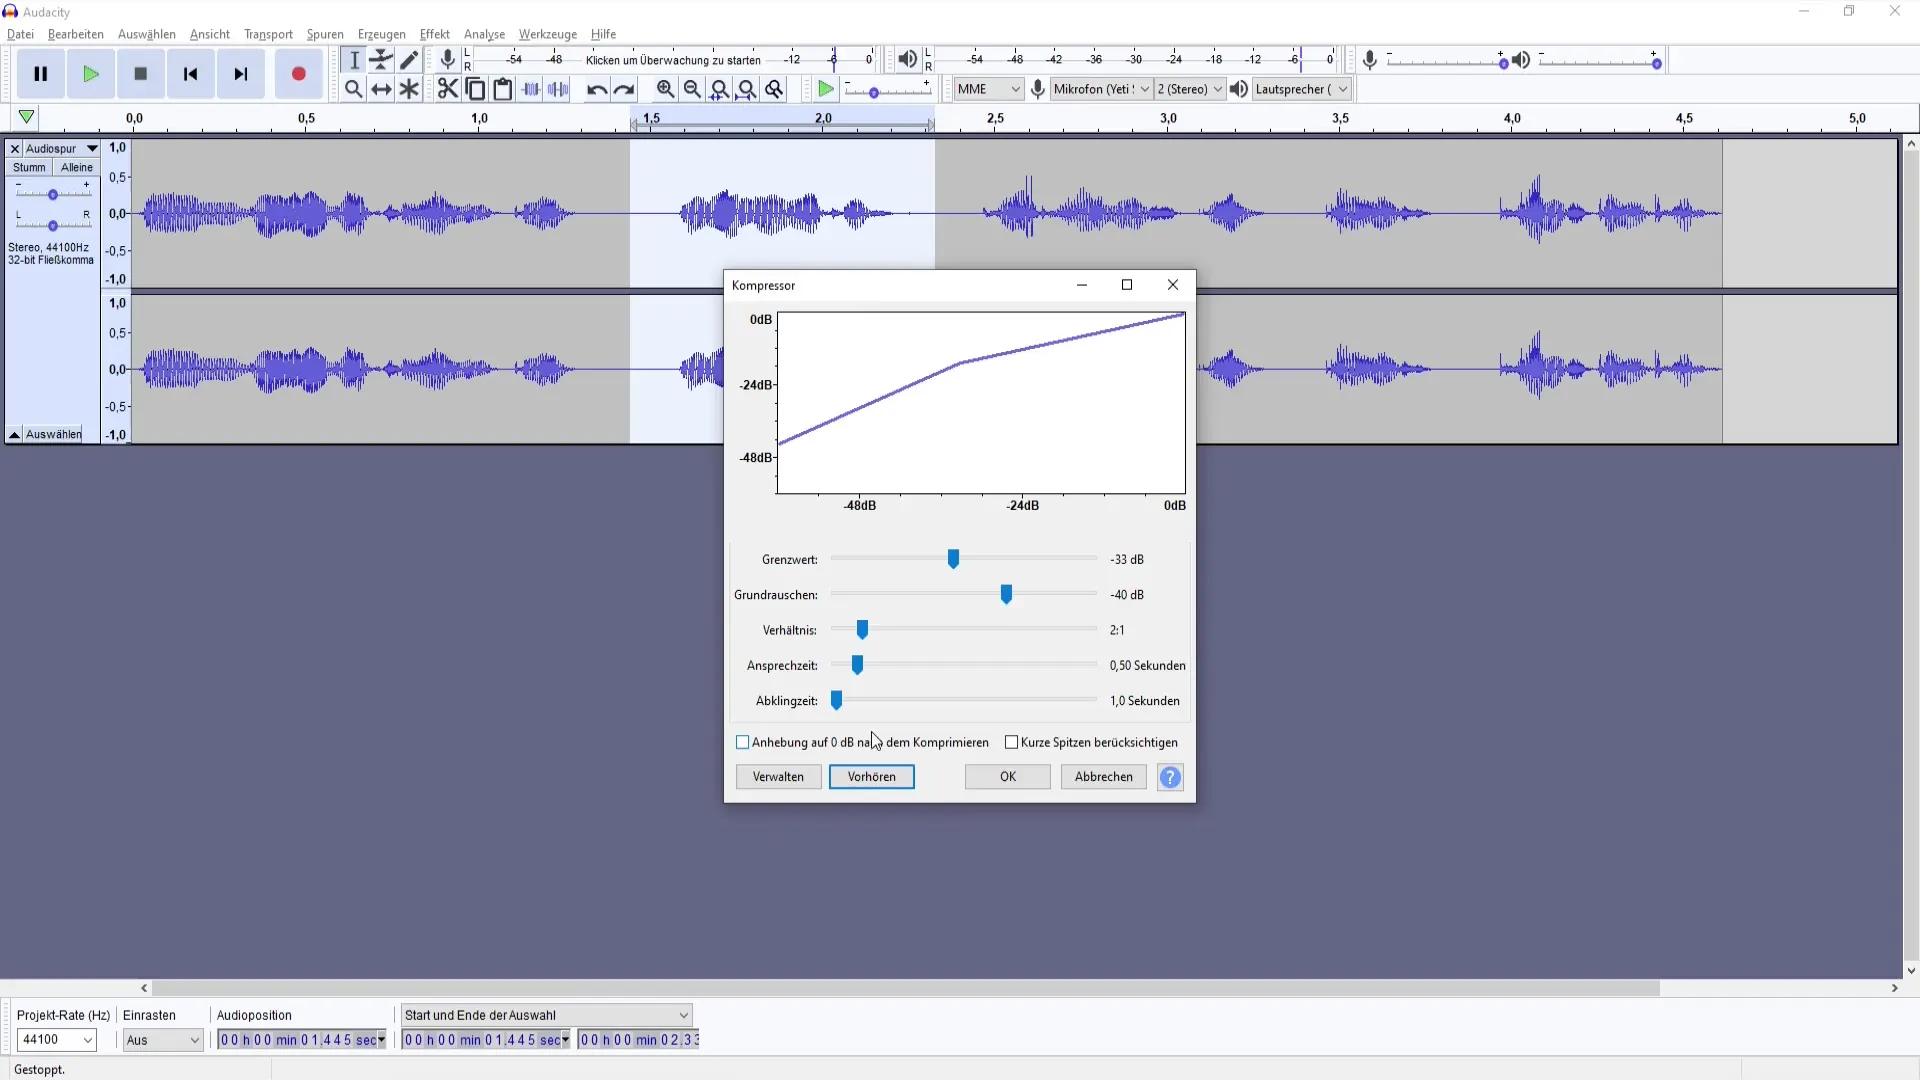
- Continue Playing with the Settings Take the opportunity to test various parameters. Every microphone and voice reacts differently, so take the time to try out different combinations to find the perfect sound for your recordings.
- Additional Editing It can be helpful to apply the compressor after normalizing your track. Normalization ensures that the volume is brought to a consistent level before the compressor takes effect.
- Get feedback If you are satisfied with your editing, share your results with friends or colleagues and ask for feedback. Sometimes an external opinion can help identify ways for improvement.
Summary
You have now learned how to use the compressor in Audacity. With the right settings, you can significantly improve the sound quality of your recordings and create a professional podcast. Experiment with the settings to find out what works best for your style and recordings.
Frequently Asked Questions
How does the compressor work?The compressor adjusts the volume of your audio by lowering louder passages and raising quieter ones to create a consistent sound.
What is the threshold value for a compressor?The threshold value defines the point at which the compressor starts to take effect. Louder sounds that exceed this value are reduced.
Can I apply the compressor to every track?Yes, you can apply the compressor to every audio track, but the settings should vary depending on the type of recording and microphone used.


