Live Booleans revolutionize the way you work in ZBrush. This feature allows you to perform operations with multiple subtools without making permanent changes to the original models. This guide takes you step by step through the use of the Live Boolean system in version 4R8. You will learn how to create complex geometric shapes with just a few clicks that can be flexibly modified.
Key insights
- Live Booleans enable non-destructive editing.
- You can add, subtract, or create intersections of geometric shapes.
- Effective use of subtools organizes your workflow.
- The resolution and geometry of the objects significantly influence the results.
- Live Booleans contribute to the creation of sophisticated 3D models.
Step-by-step guide
Step 1: Creating the basic shapes
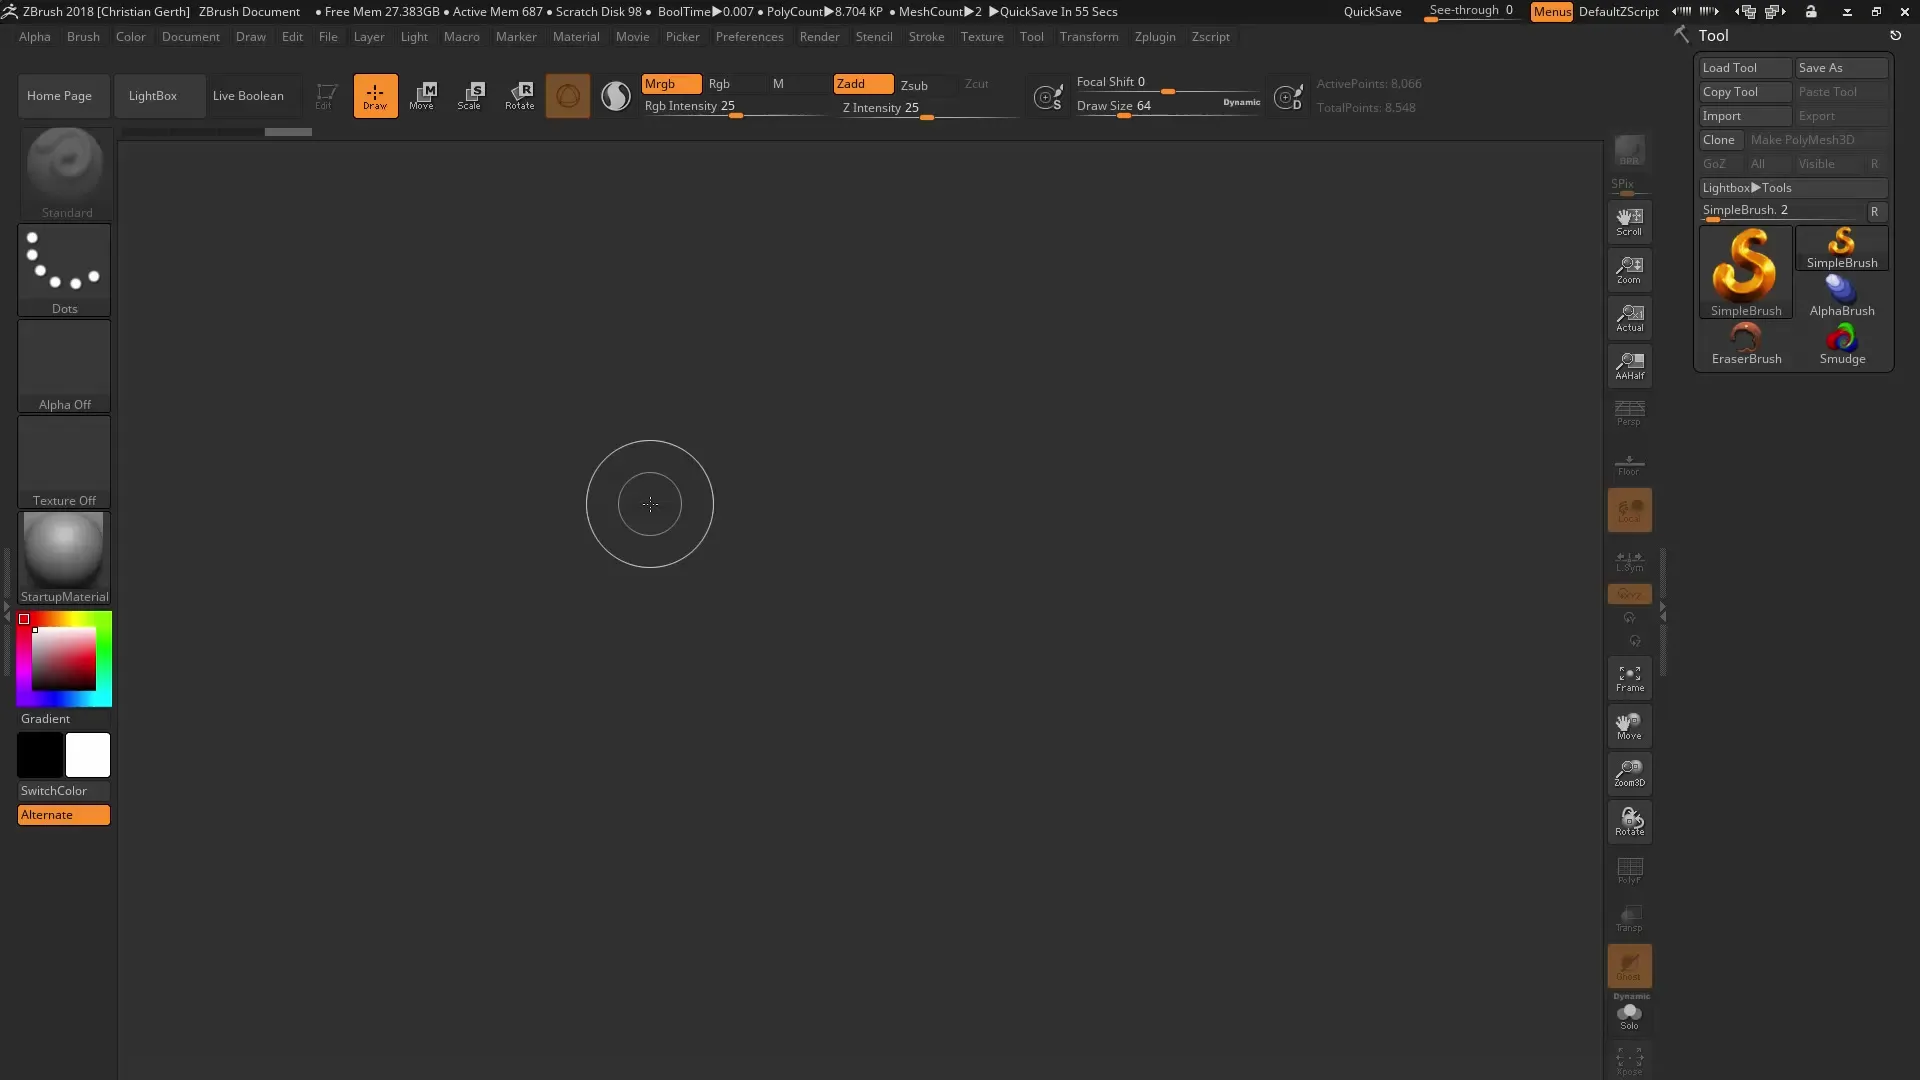
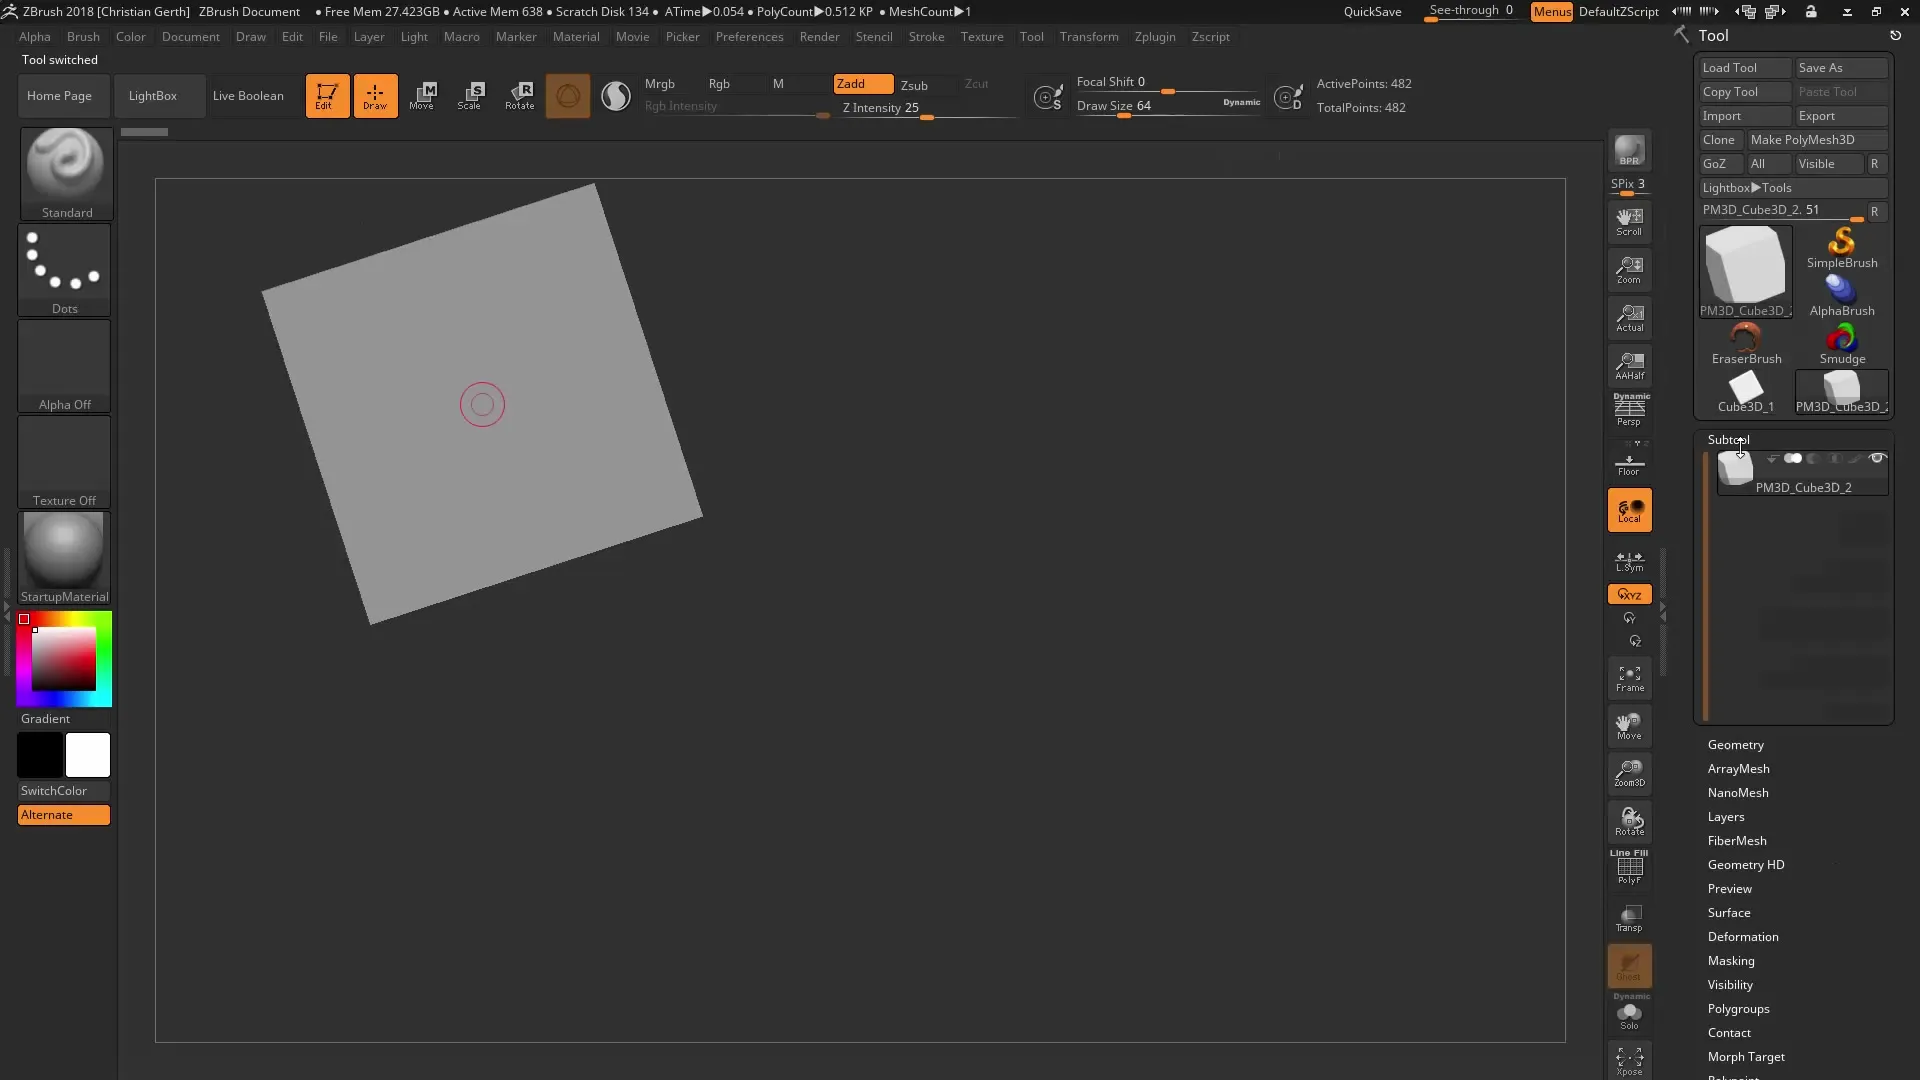
Start ZBrush and create a new scene with the standard cube. Select the “Cube” tool and click “Drag Rect” to place the cube in your workspace. To add another object, you will need a sphere. Select the sphere tool and position it near the cube to create your first subtools.
Step 2: Making the sphere visible
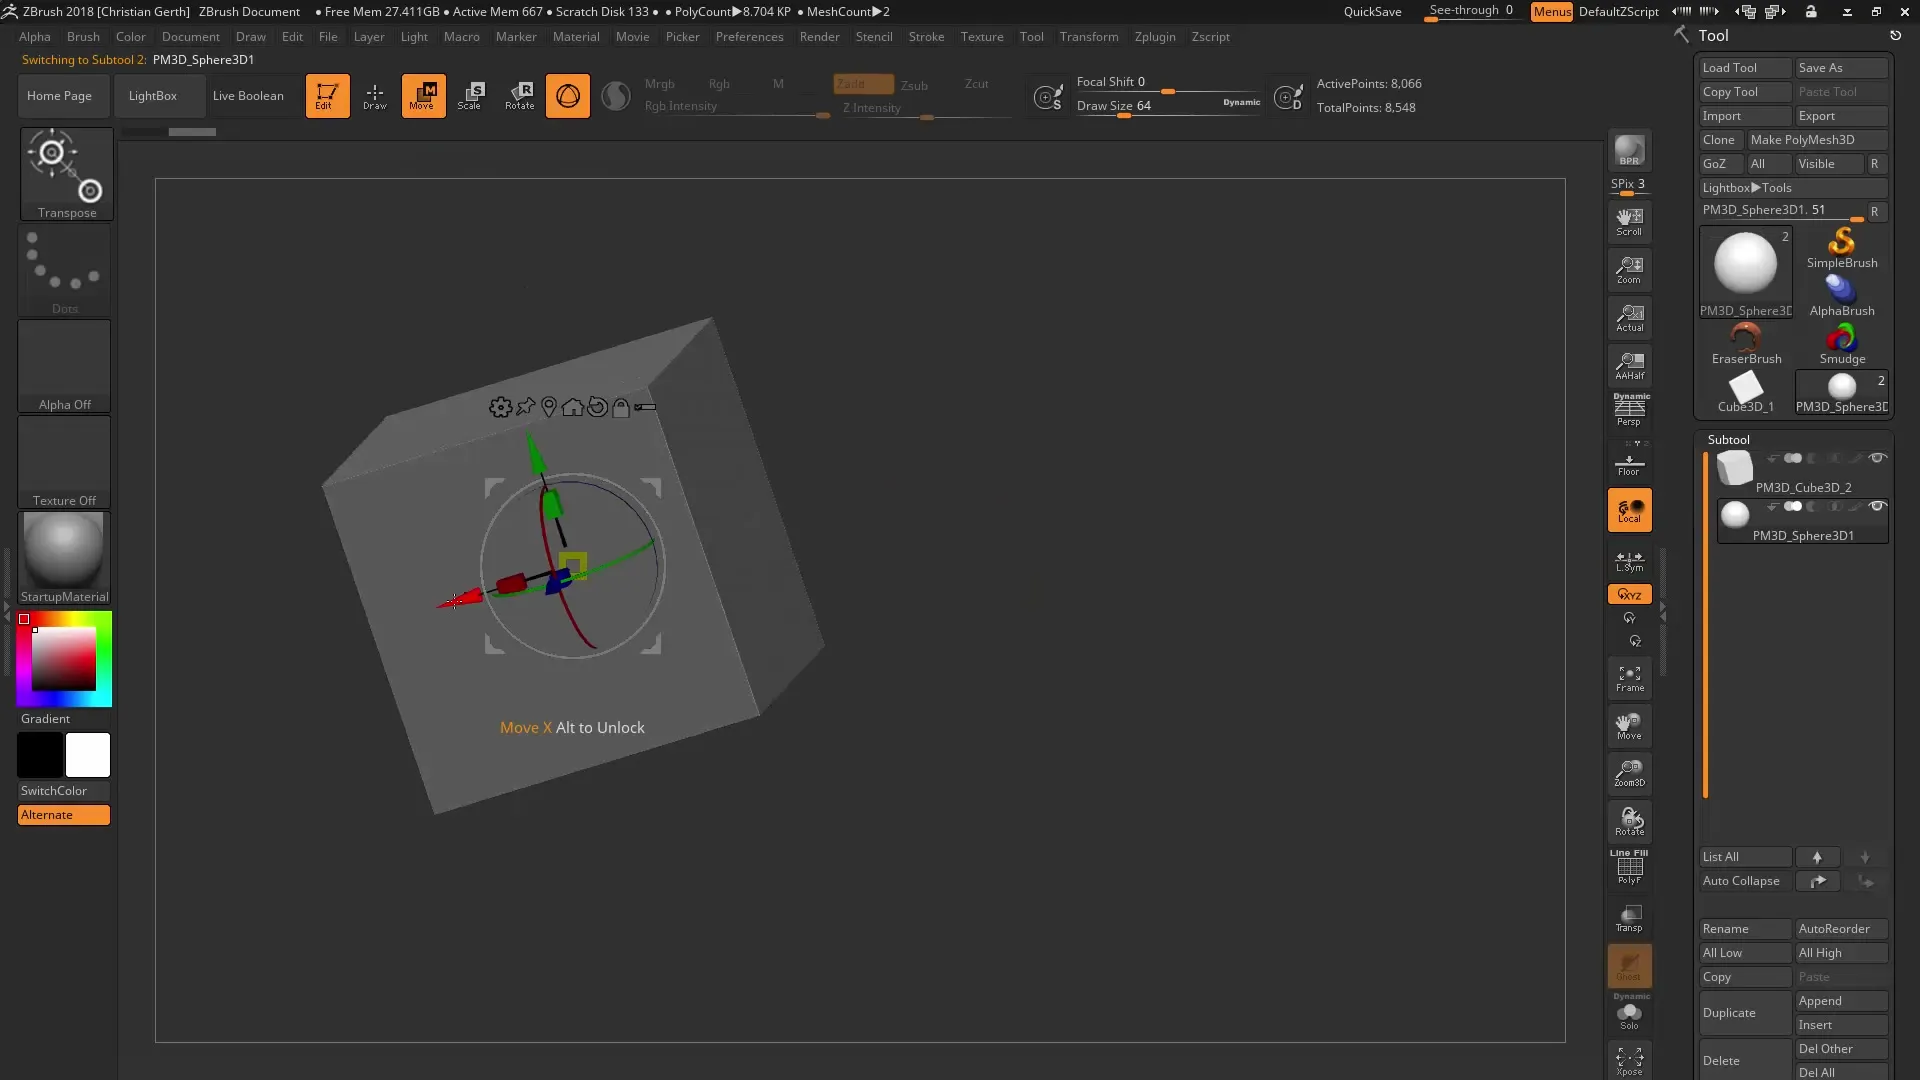
The sphere is not visible at first. To make it visible in the scene, select the “Move Tool.” Use it to move the sphere upwards while adjusting its size as needed. This is important to ensure optimal interaction with the cube.
Step 3: Selecting the Boolean operation
In ZBrush, there are different ways to perform operations with the objects. You can add the sphere and the cube, determine the intersection, or subtract the sphere from the cube. To choose the operation, you need to select the corresponding symbol in the interface to perform the intersection or subtraction.
Step 4: Subtracting the object
For an exciting visual design, you choose subtraction to remove the part of the cube that overlaps with the sphere. You will see that you can still adjust the cube by moving the sphere, giving you creative freedom.
Step 5: Adding more subtools
It is possible to add additional geometric shapes. For example, you can create a cone and insert it into the scene. Make sure the correct Boolean operation (e.g., addition or subtraction) is selected to achieve the desired result.
Step 6: Grouping the subtools
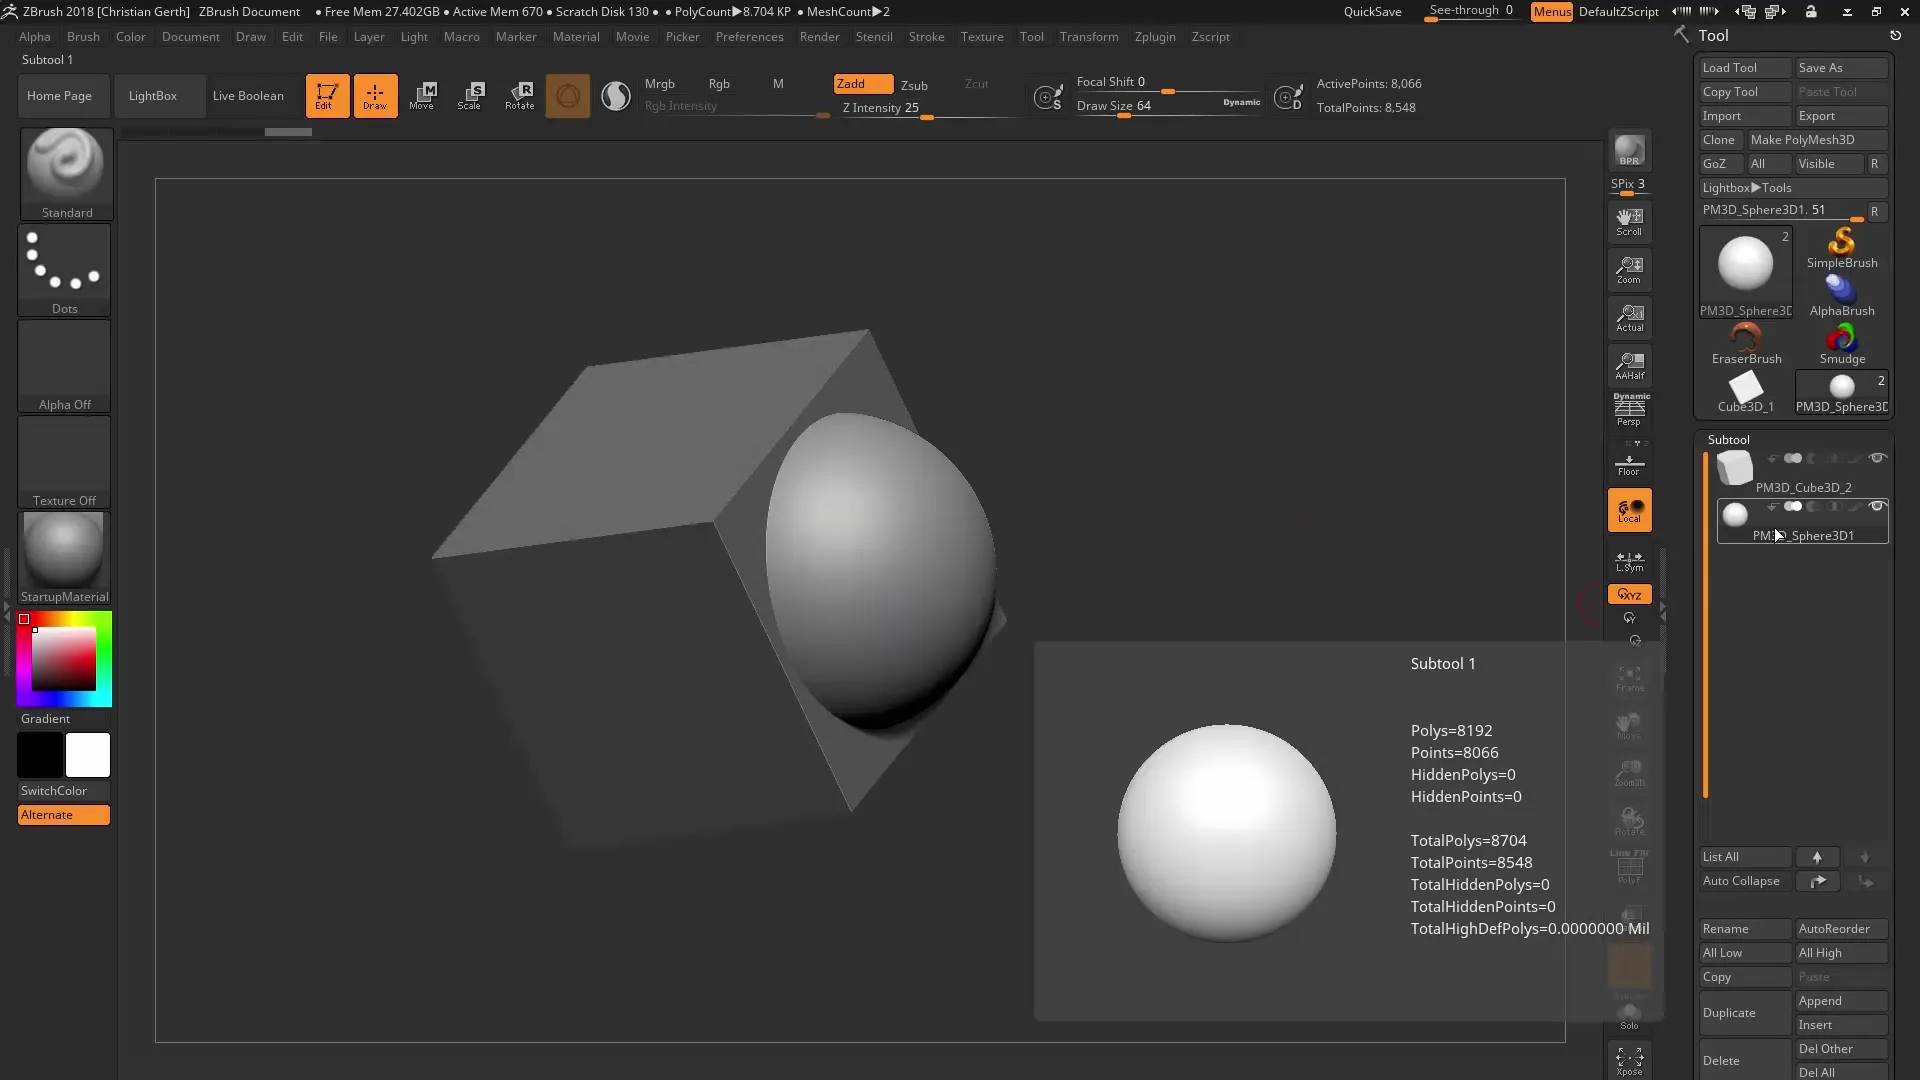
Efficient management of geometries is crucial. Make sure to use the icons for subtool management correctly so that you can organize your subtools into groups. This simplifies later editing and clarity.
Step 7: Optimizing the resolution
The resolution of the polygons used affects the quality of the final result. Check and adjust the resolution of your subtools, for example, using the “Dynamic Subdivision” settings. Pay attention to how different parts interact at the transition to ensure a clean surface.
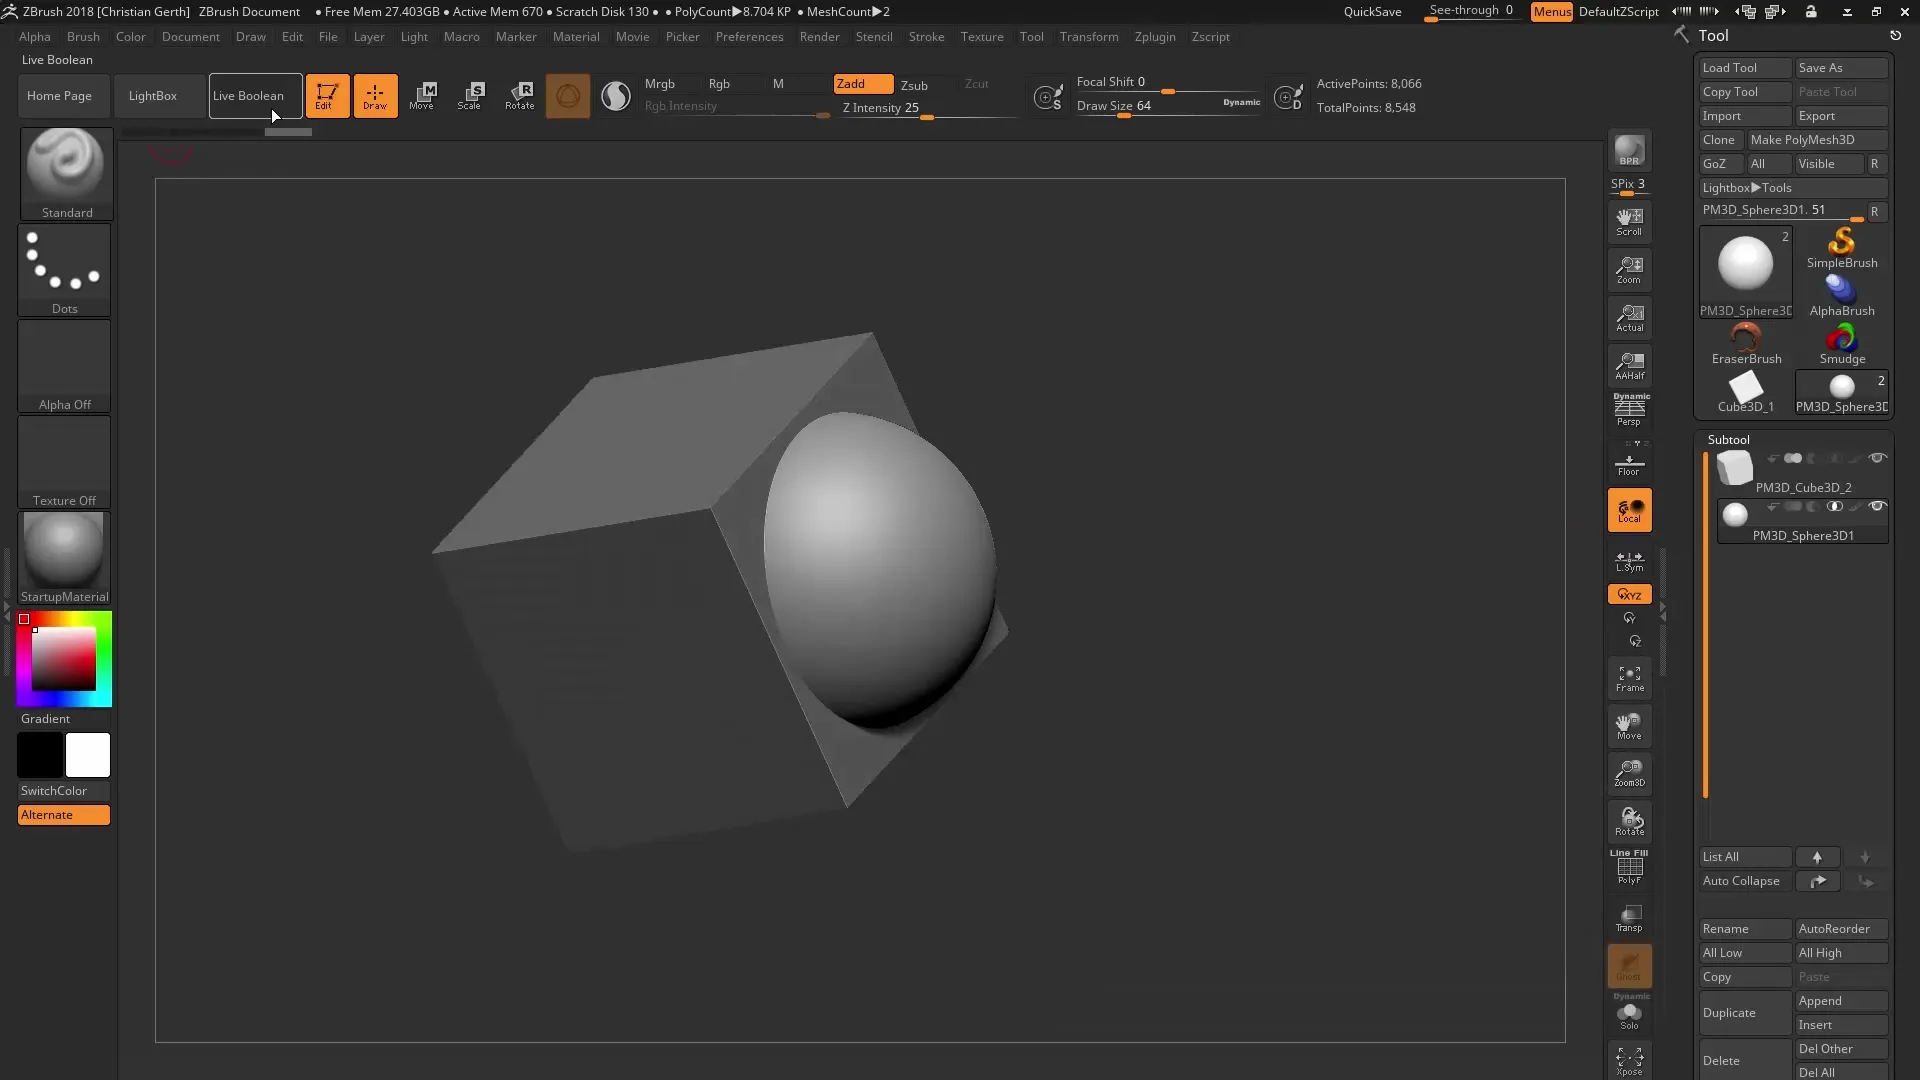
Step 8: Converting to a mesh
To export the objects to other applications, you must convert them into a mesh. For this, there is the “Make Boolean Mesh” function. This creates new geometry that takes into account the results of the Boolean operations.
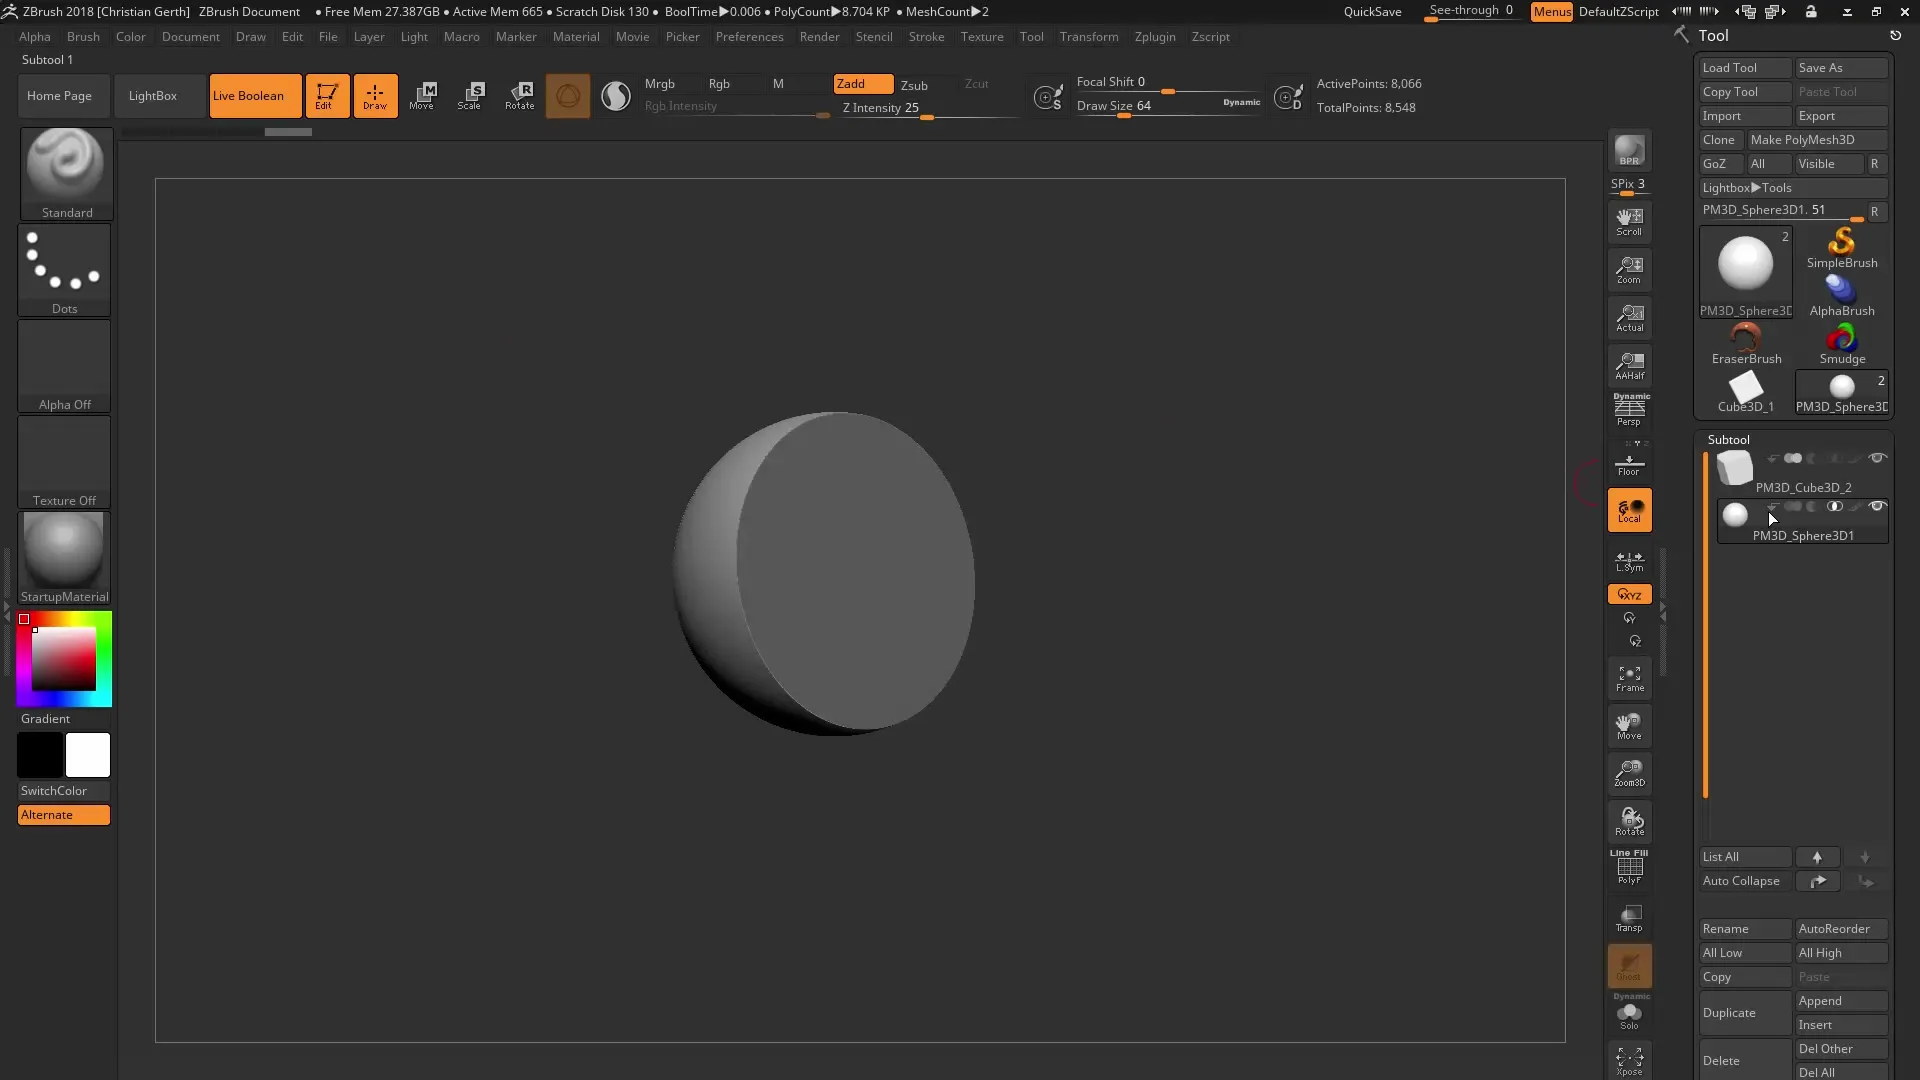
Step 9: Checking the mesh
Check the newly generated mesh and pay attention to the polygons and their resolution. It is important that the subtools have similar resolutions to avoid unwanted artifacts at the transition of the objects.
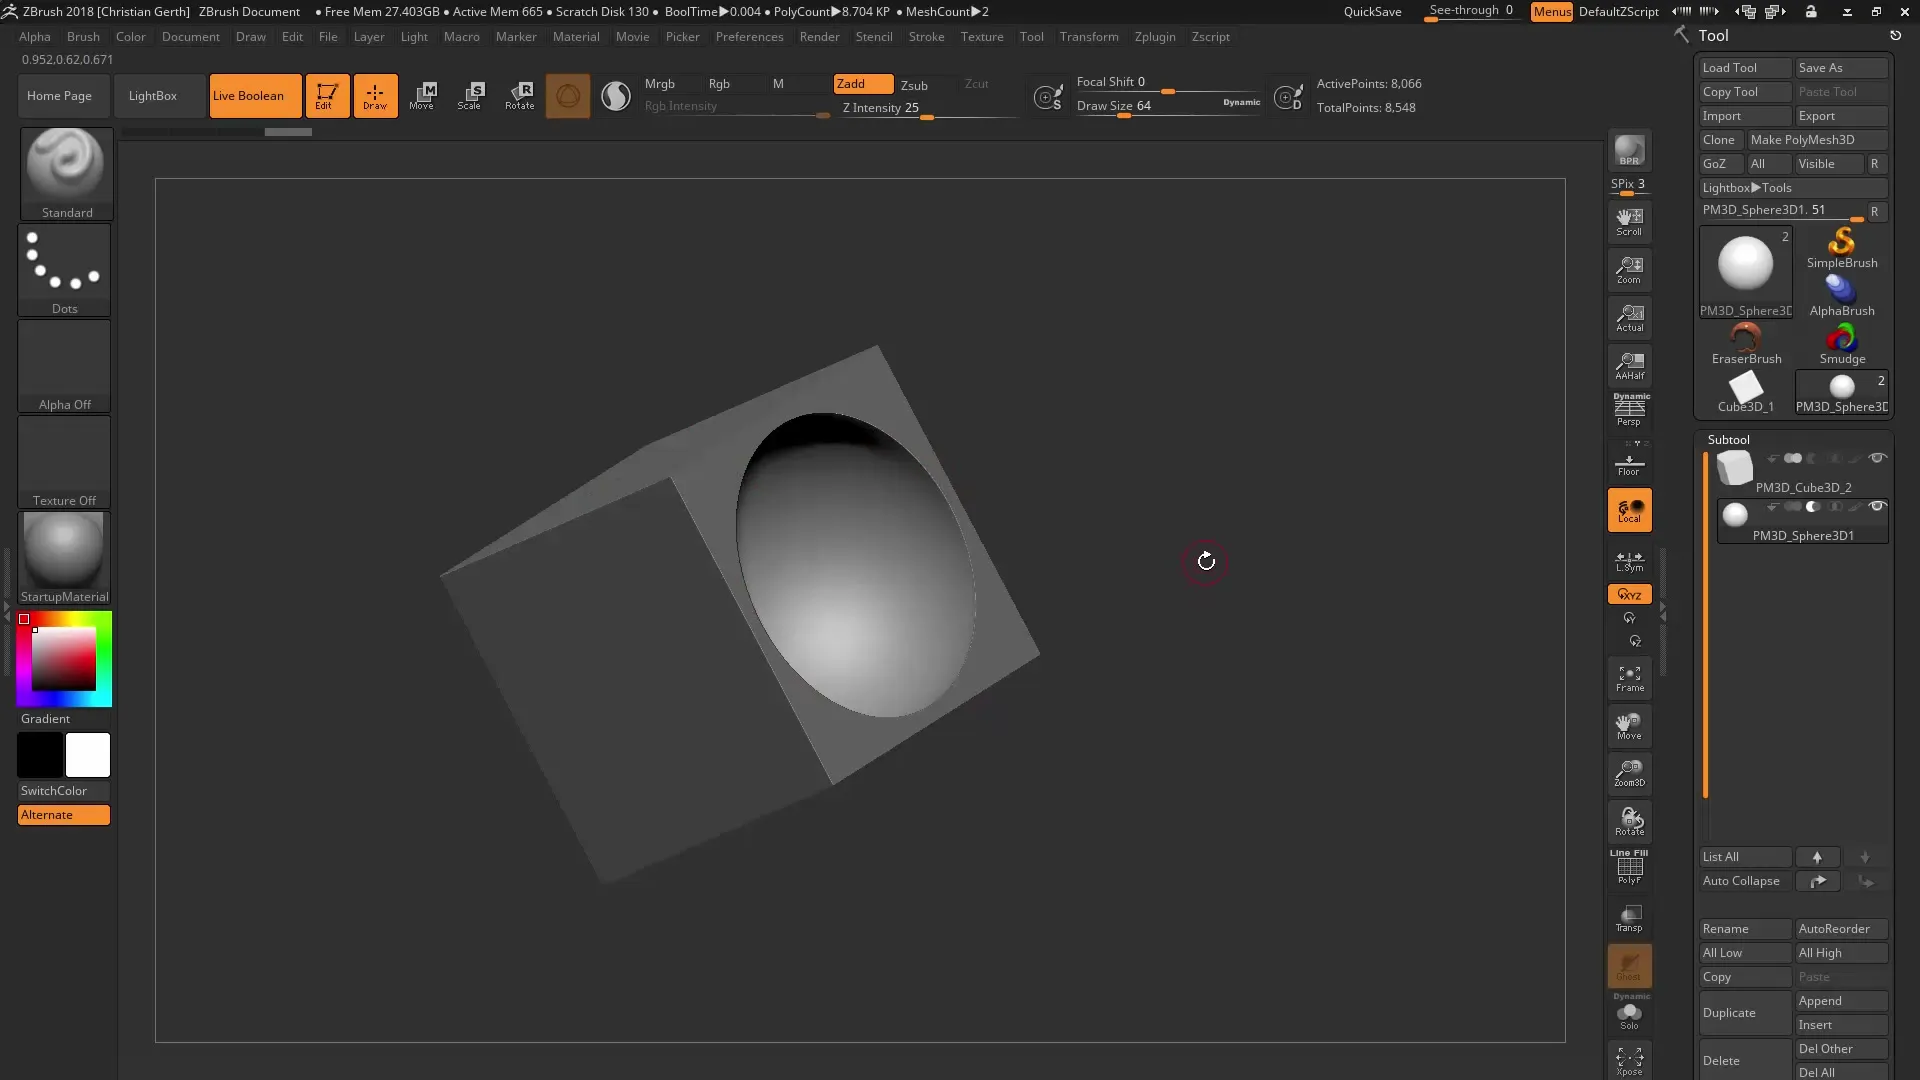
Step 10: Making adjustments
If you see that the transitions are rough, go back to the original subtools and adjust their geometry or resolution. You can make small adjustments to ensure that Live Booleans work optimally in ZBrush and deliver the desired results.
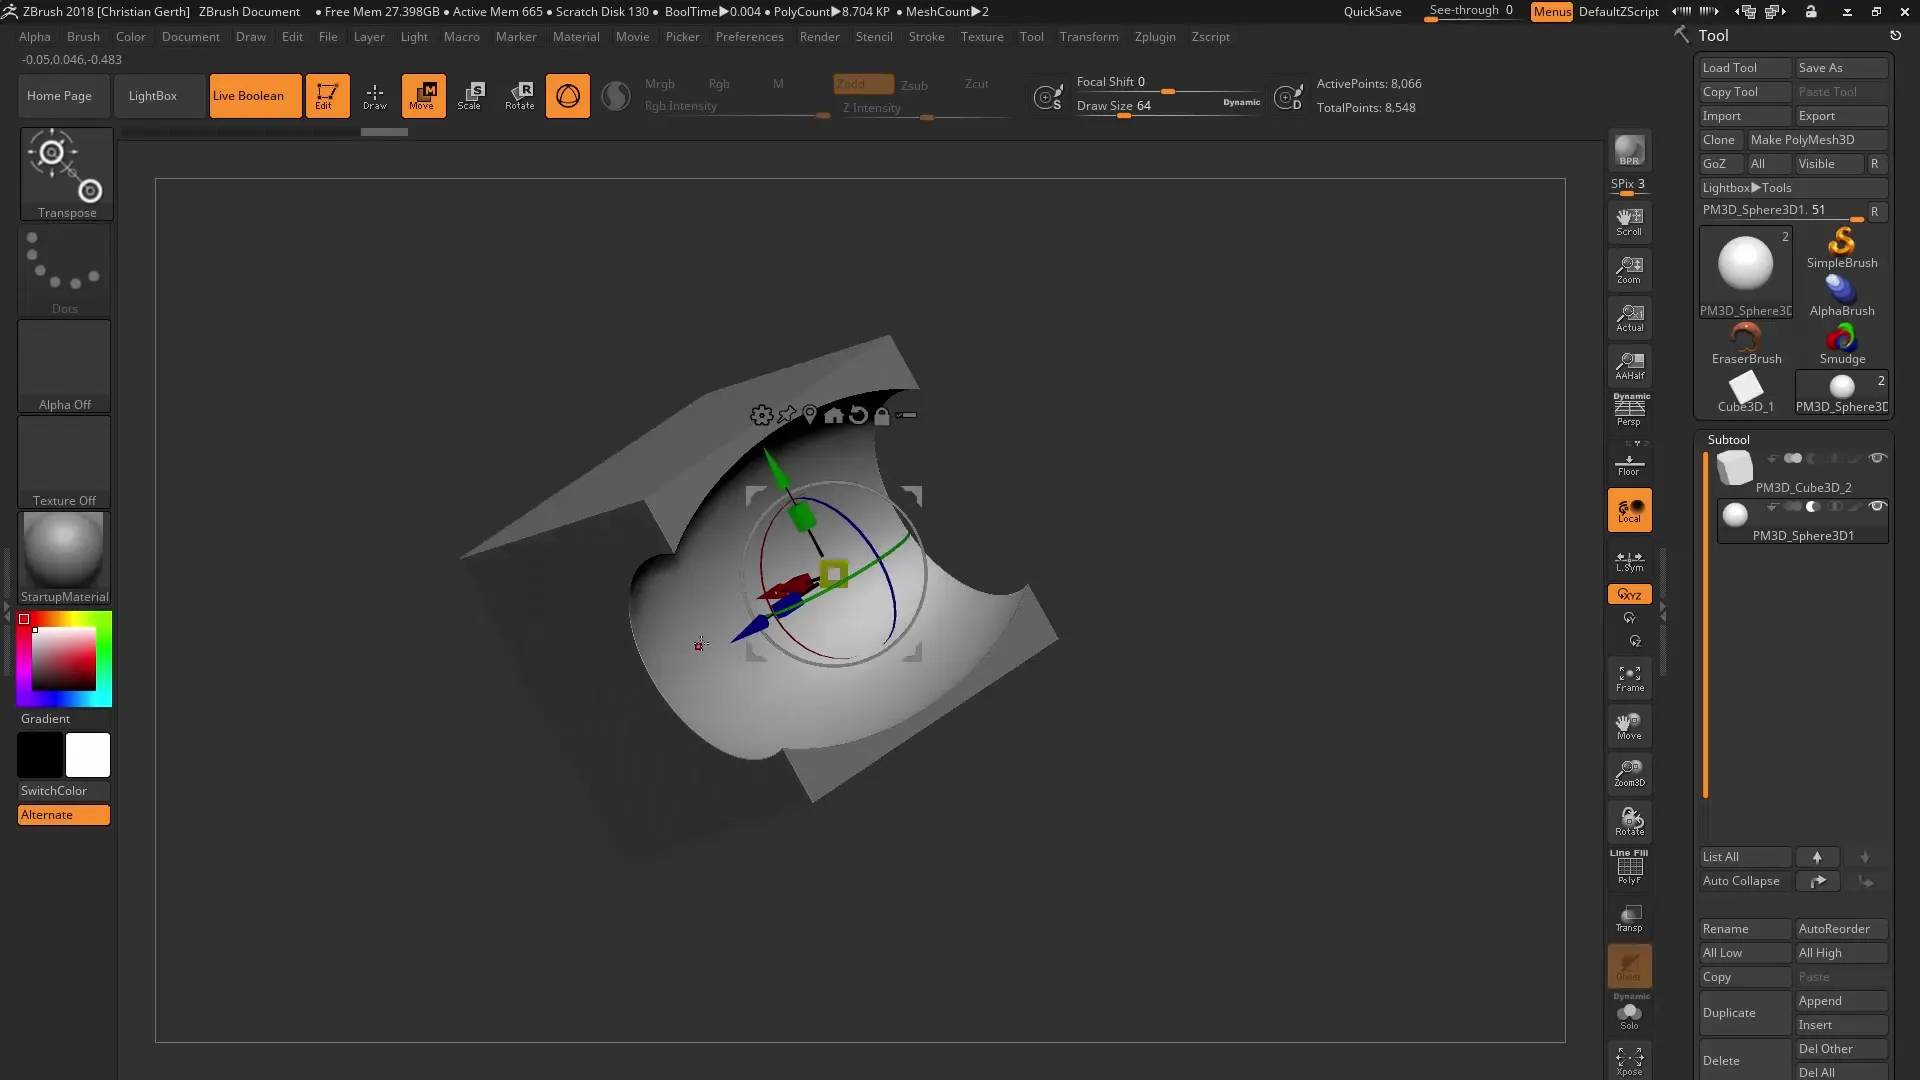
Summary – ZBrush 2018 Live Boolean – A comprehensive guide
The use of Live Booleans in ZBrush 2018 is a powerful tool to express your creativity and create complex geometric shapes. You have learned how to work with various Boolean operations, optimize geometry, and finally export your models. With this guide, you are now well-equipped to refine your 3D models further in ZBrush.
Frequently Asked Questions
What is the advantage of Live Booleans?Live Booleans enable non-destructive modeling, providing you with flexibility in editing.
How can I add or subtract objects?You can select the appropriate functions in the ZBrush interface to perform operations on objects.
What do I do if the mesh looks rough?Check the resolutions of the subtools and adjust them accordingly to ensure smooth transitions.
Can I transfer Live Booleans to other software?Yes, however, you must convert the objects into a mesh before exporting them.
What is the difference between Adding, Subtraction, and Intersection?Adding combines geometric shapes, Subtraction removes one object from another, and Intersection displays only the overlapping parts of the objects.
