ZBrush offers a variety of features that greatly facilitate the creation of detailed 3D models. One particularly noteworthy feature is the Lazy Mouse, which allows you to draw clean and precise lines. With the introduction of Lazy Mouse 2.0 in the ZBrush version 4R8, this feature has been further refined. In this guide, you will learn step by step how to effectively use the improvements of Lazy Mouse for your projects.
Key Insights
- Lazy Mouse 2.0 enhances the ability to draw precise lines and details.
- With the new Chisel Brushes, you can create specific shapes and textures more easily.
- Features like Lazy Snap and Morph Targets simplify editing and help achieve consistent depths.
Step-by-Step Guide
1. Preparing the Model
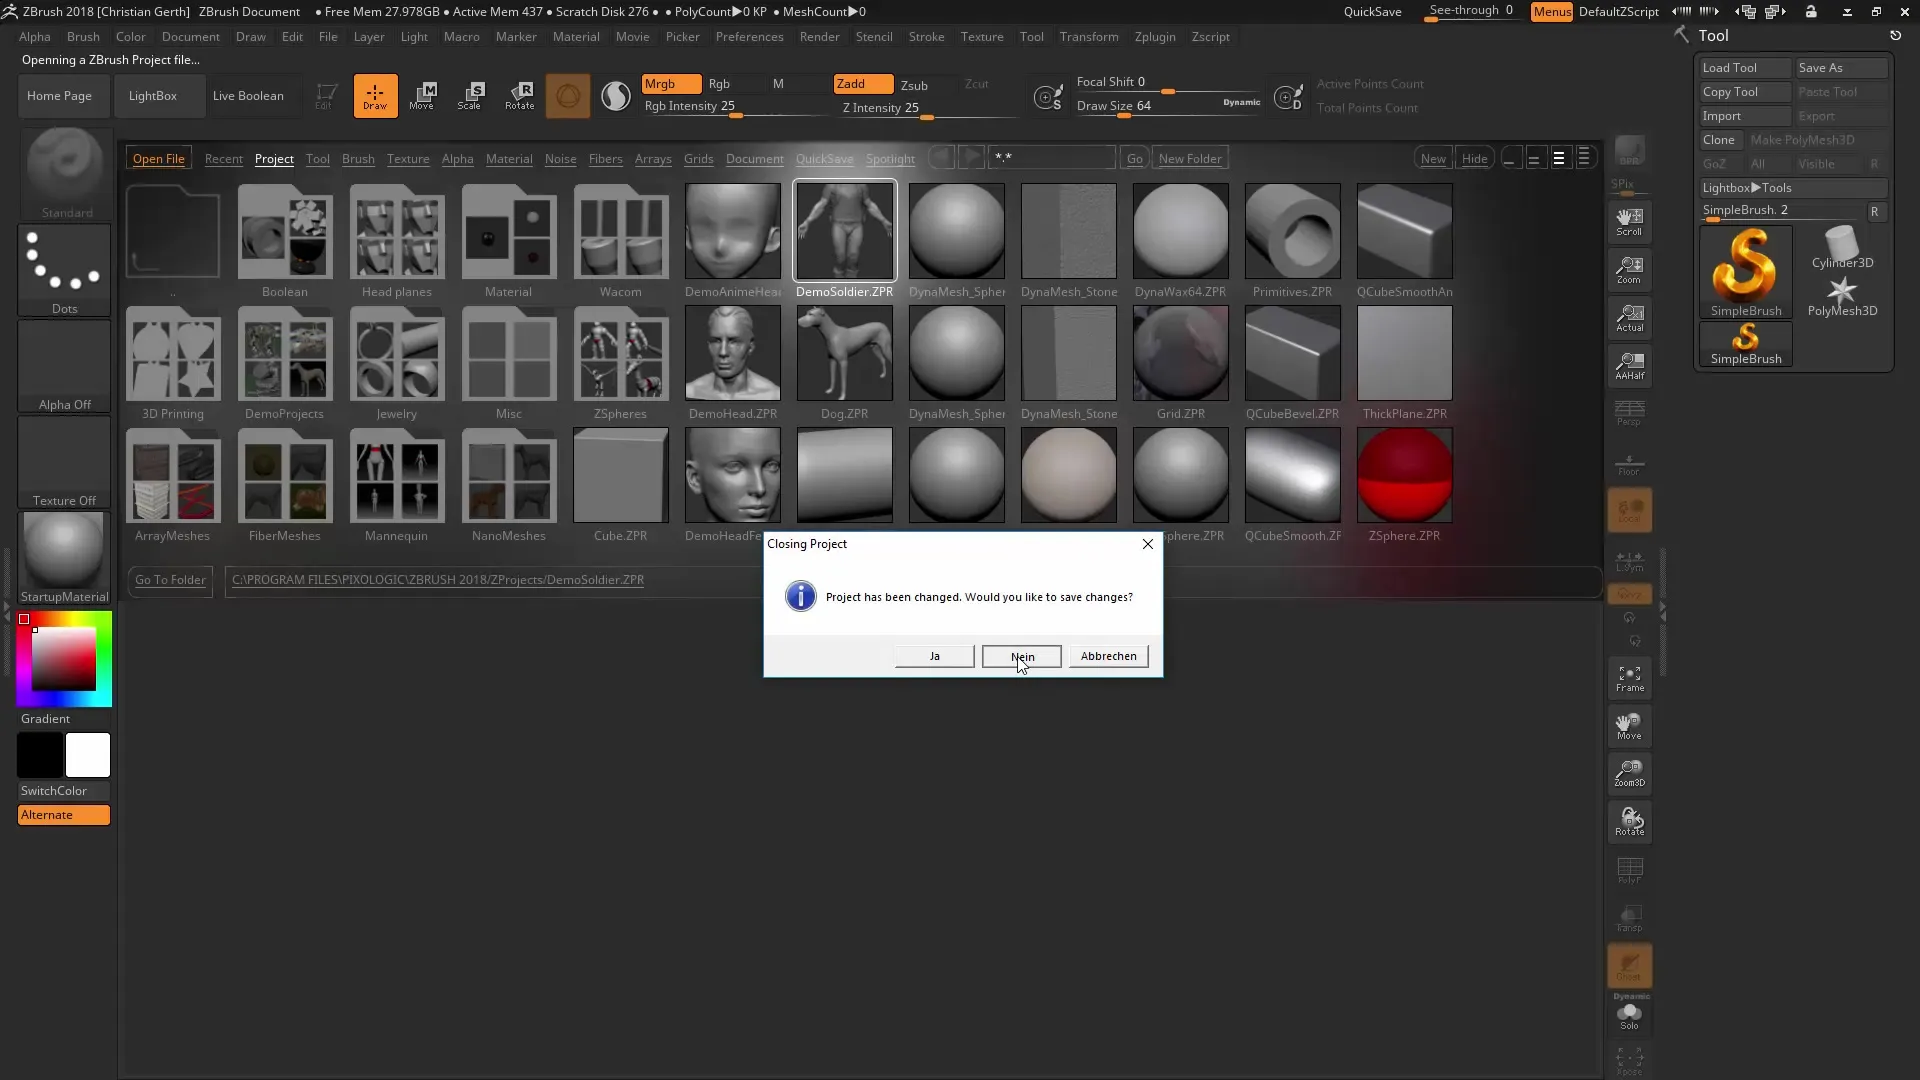
To work with the Lazy Mouse, you must first ensure that your model is sufficiently detailed. Hold down the Alt key while clicking on your subtool, such as a backpack. This helps you focus on the correct object. For our demonstration, we will work with an object that has about 2 to 4 million polygons to create clean lines.
2. Selecting the Chisel Brushes
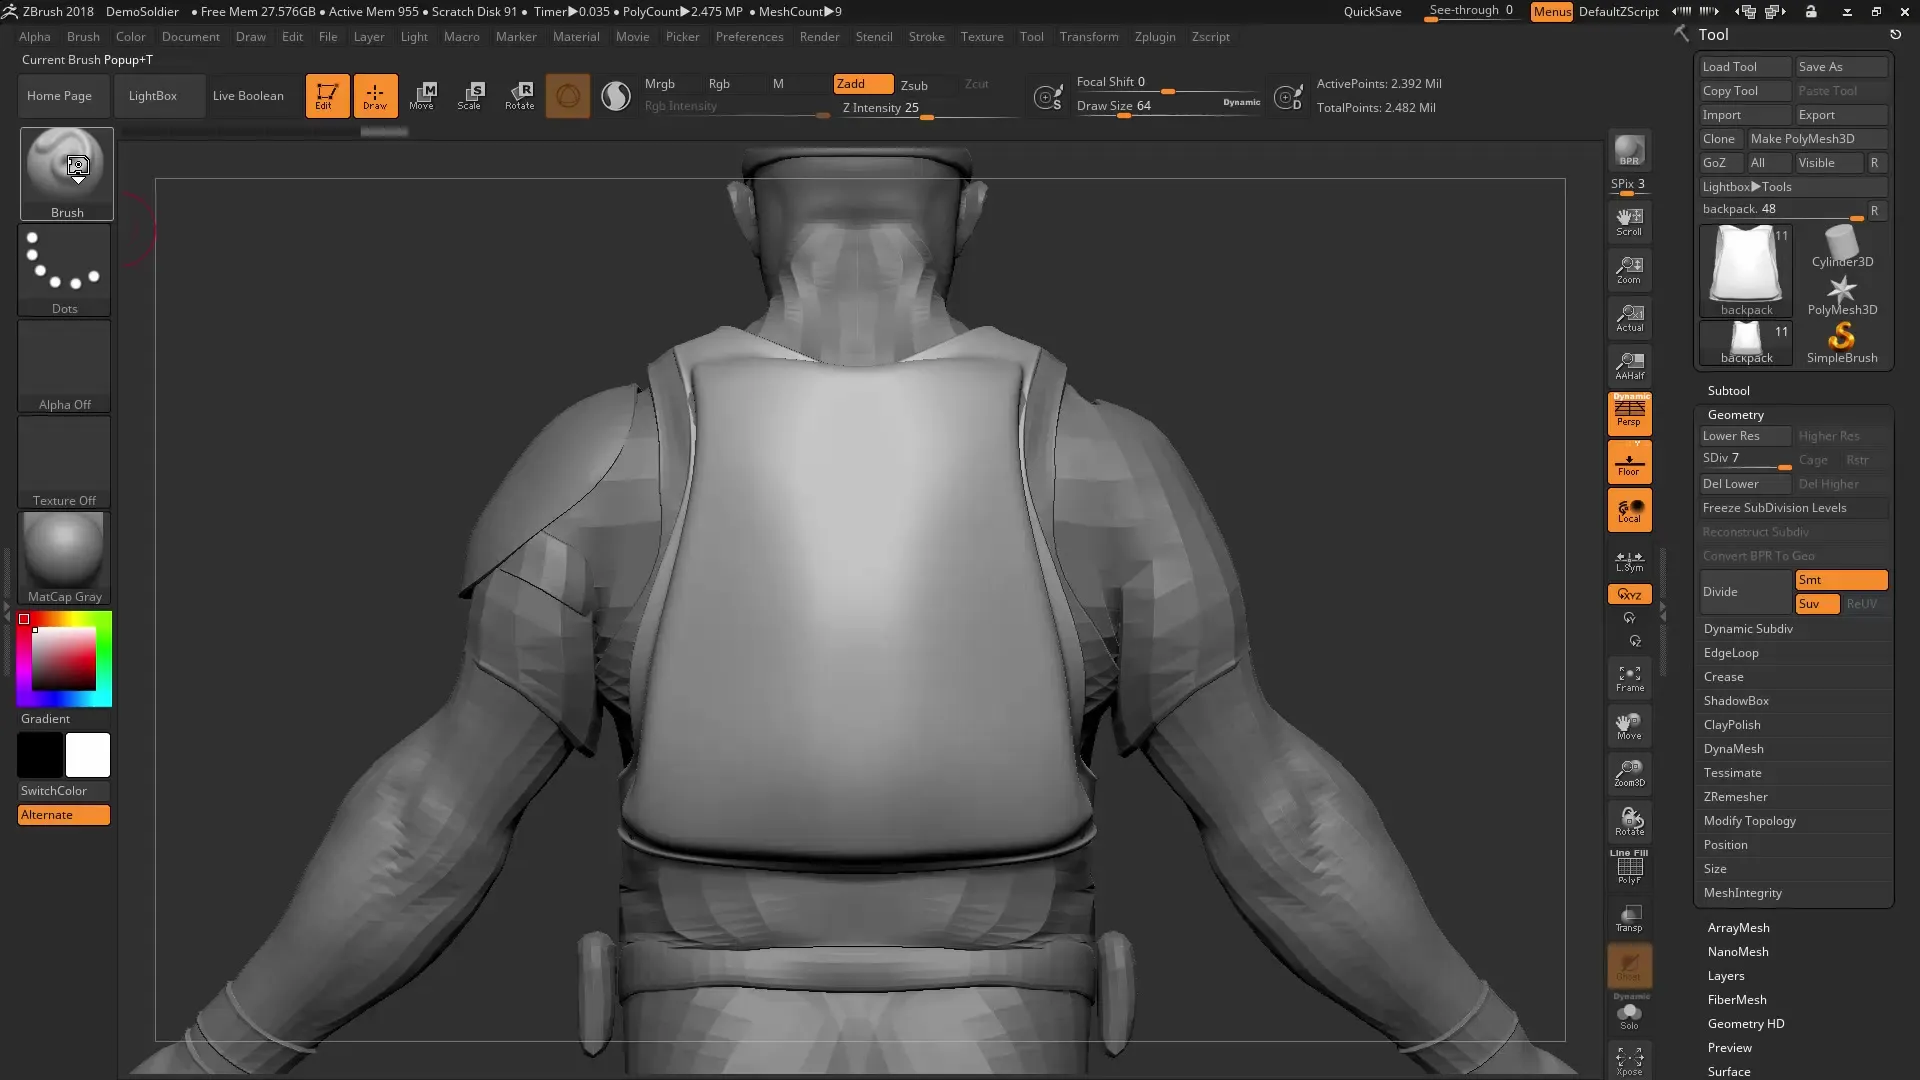
Switch to the new Chisel Brushes introduced in ZBrush 4R8. You can find these in the Brush Palette. The Chisel allows you to carve out precise shapes. Choose the brush that works best for the detail you wish to create. Experiment with different options to see which brush is most suitable for your project.
3. Using the Lazy Mouse
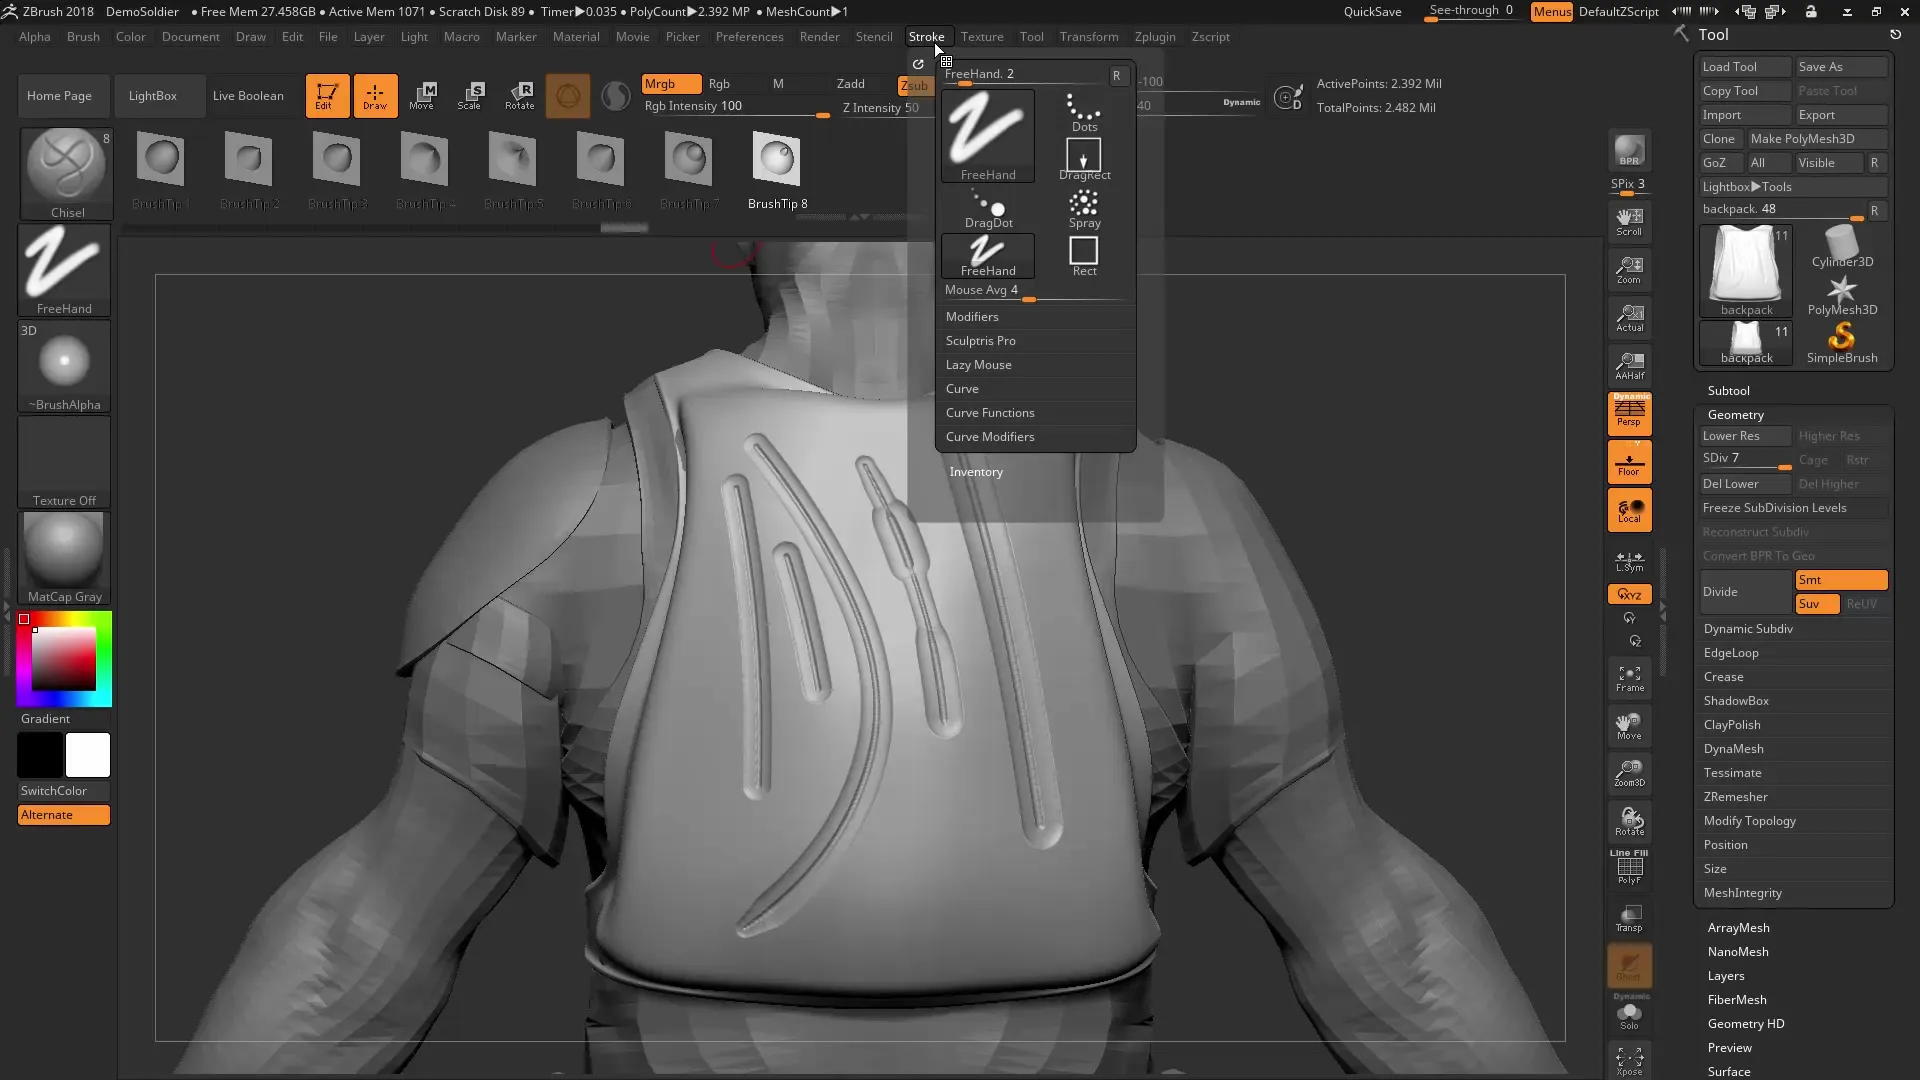
Now activate the Lazy Mouse. Go to the Stroke settings and enable the Lazy Mouse. Set the Lazy Radius to 100, which means your brush trails far behind the cursor. You can also adjust the value to achieve a finer trailing effect. With Lazy Mouse, you can certainly draw clean and smooth lines.
4. Activating Lazy Snap
The Lazy Snap feature is new in version 2.0. It allows you to jump back to the last point you drew. Set the value of Lazy Snap to 100 and start editing your model. When you draw a line and interrupt it, you can continue from where you left off.
5. Deepening the Lines
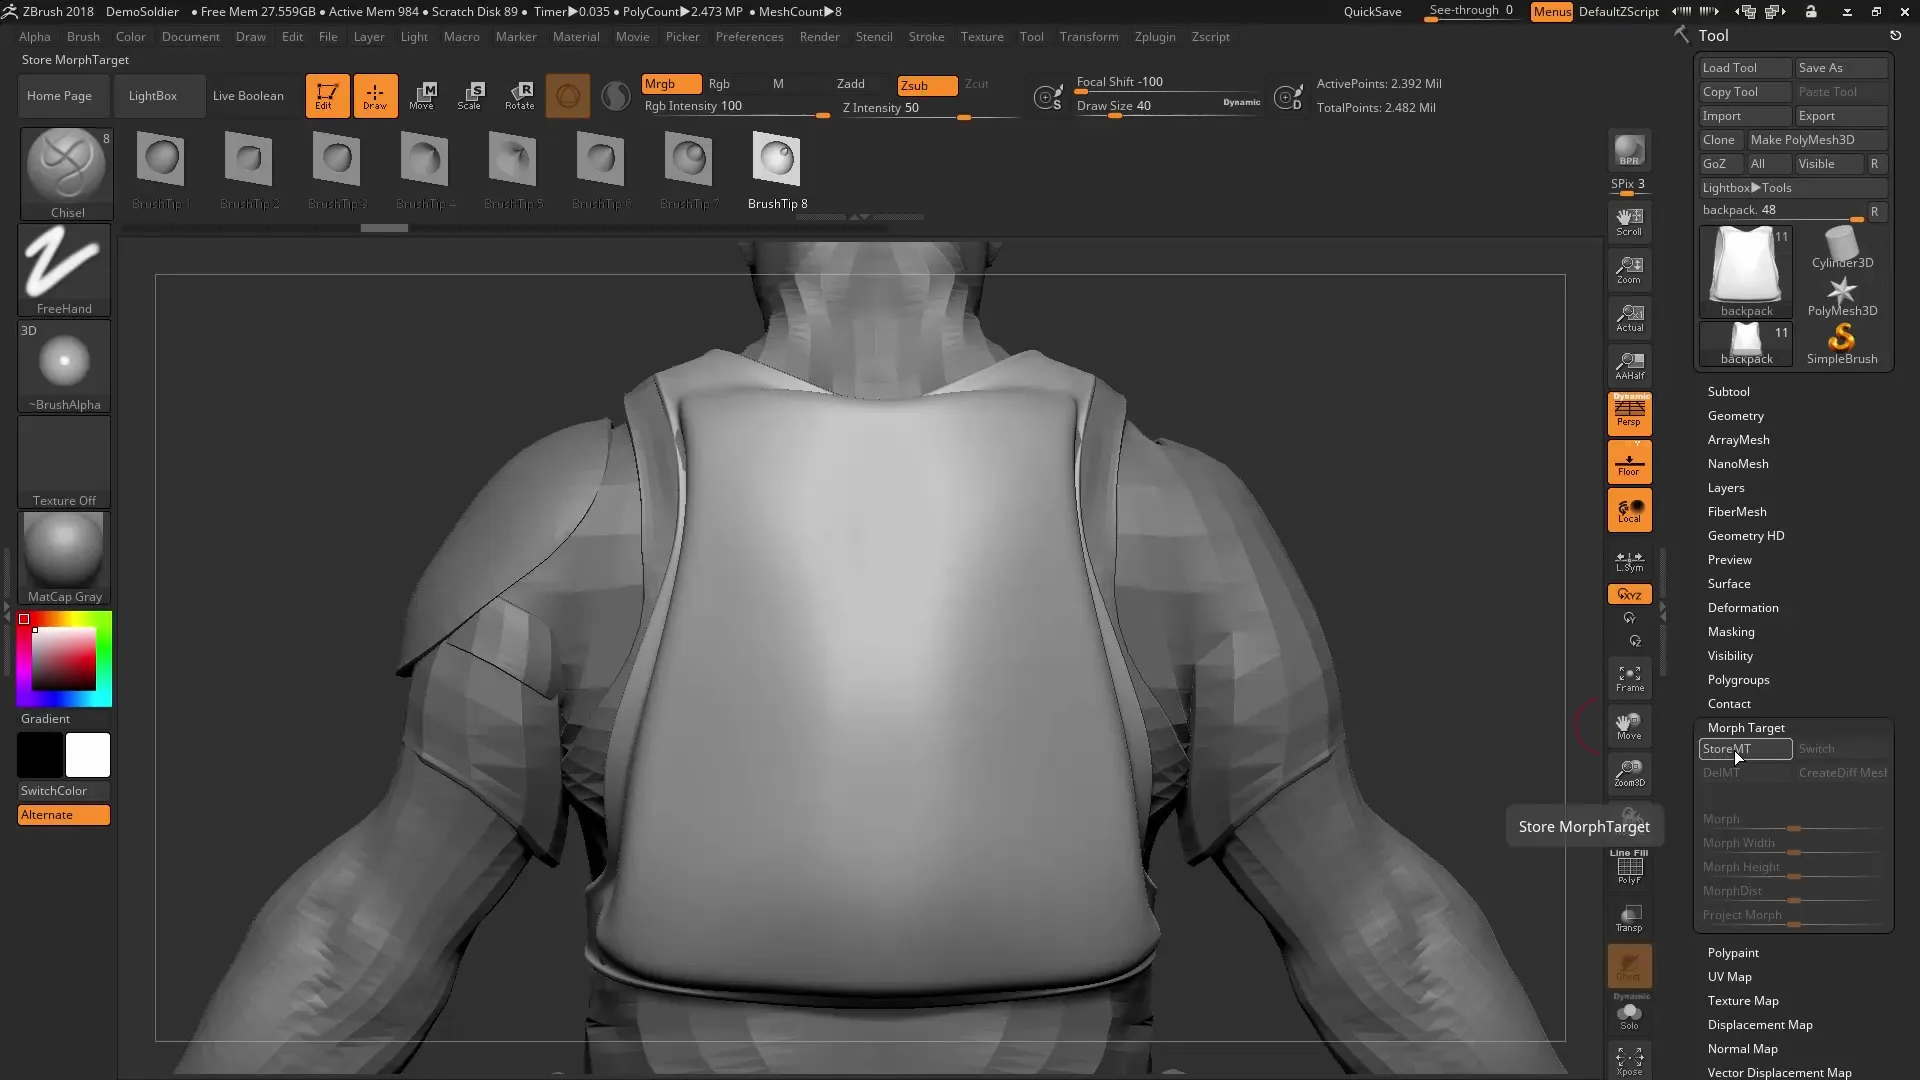
To ensure your lines are consistently deep, you can use the Morph Target. This feature allows you to store a specific depth and replicate it while drawing. Go to the Morph Target settings and save your current drawing. This way, you can maintain the depth while further working.
6. Adding Symmetry
An important feature that is often overlooked is the ability to add symmetry. Activate the symmetry function using the X key to ensure your designs are the same on both sides. This is particularly useful when editing symmetrical objects like the backpack.
7. Angles and Precision
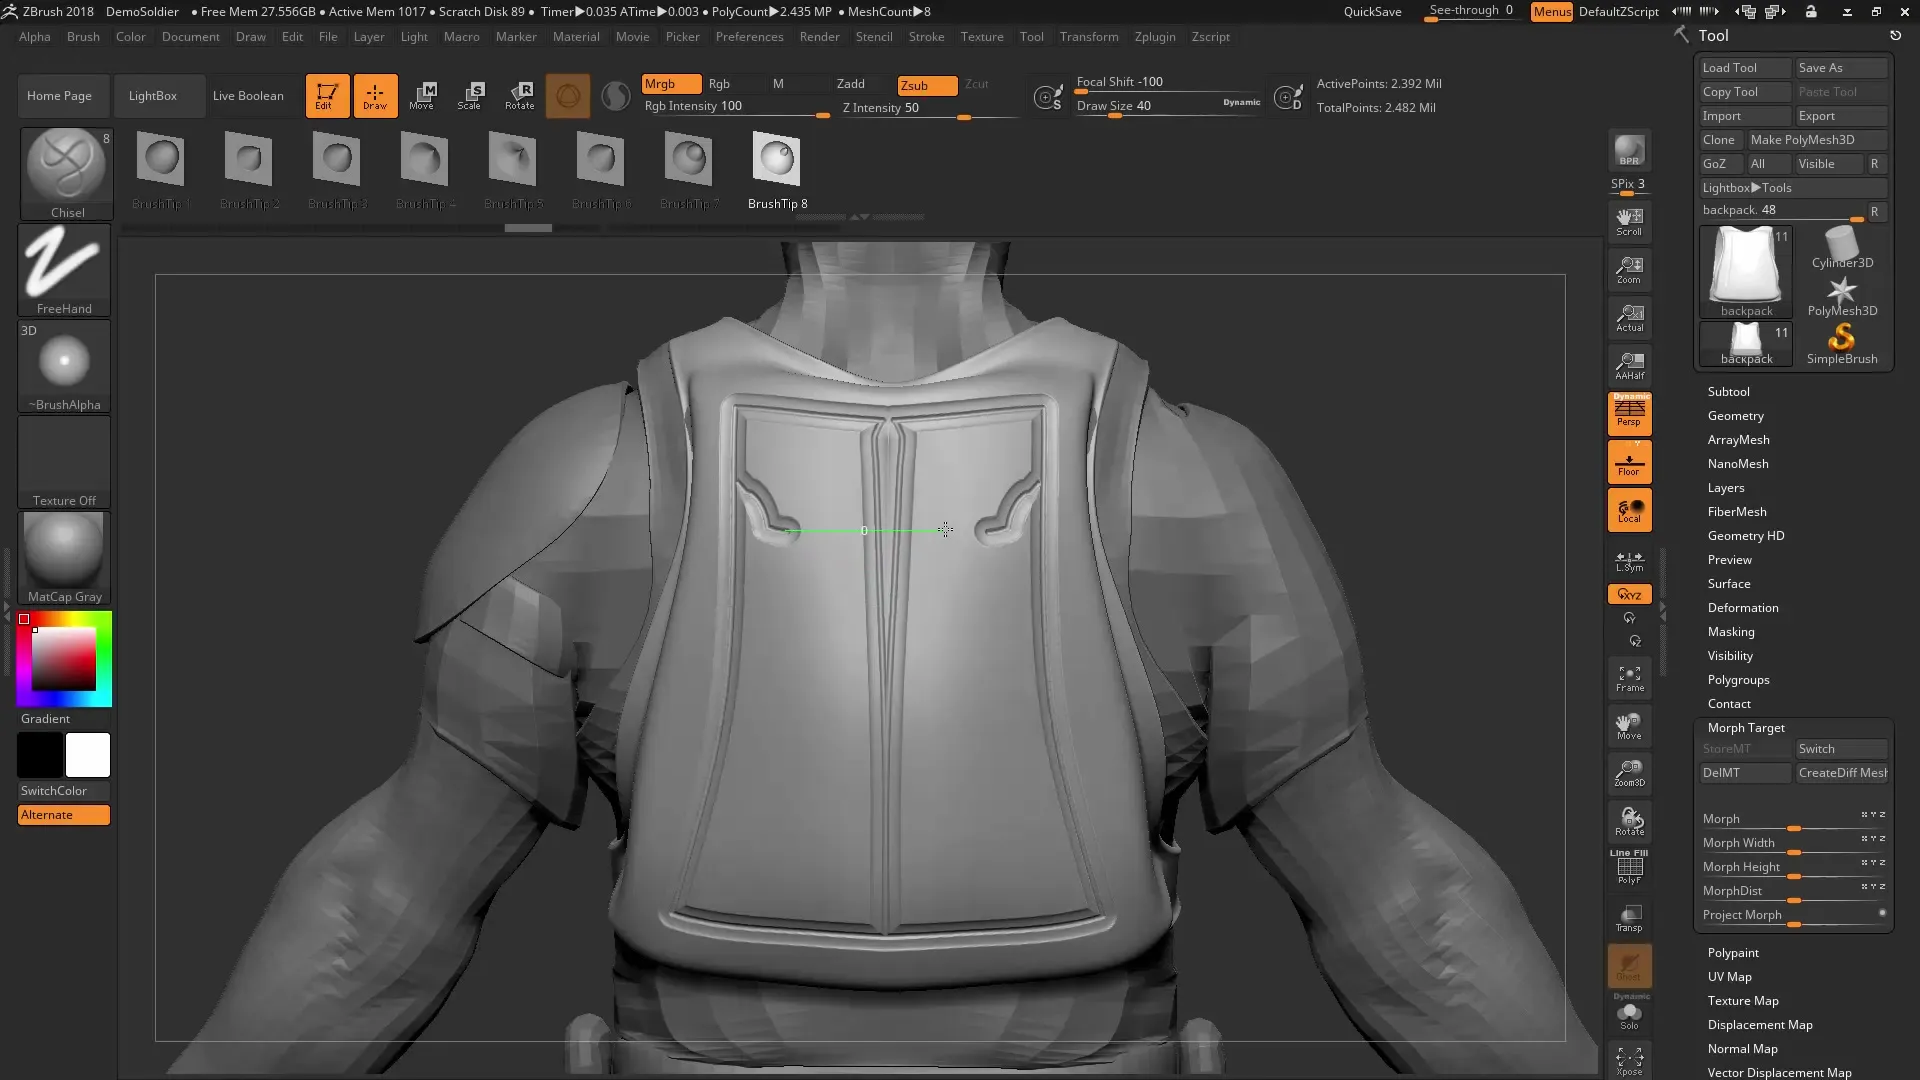
Lazy Mouse 2.0 also offers options for precise angles. Hold down the Shift key while you draw to switch to specific angles (e.g., 45°). This is particularly helpful when you want to create geometric shapes requiring certain angles.
8. Pausing While Drawing
If you want to draw a longer line and need to pause, you can press the Spacebar. This stops your current drawing and allows you to continue at another point. You can use this technique to create consistent and similar lines without having to draw the entire line at once.
Conclusion – ZBrush 2018 and 4R8 – Guide to Using Lazy Mouse 2.0 for Precise Lines
With the new features in ZBrush 4R8, especially Lazy Mouse 2.0, you now have effective tools at your disposal to create complex 3D models with clean contours and precise details. Take advantage of the Chisel Brushes, Lazy Snap, and Morph Targets to optimize your workflow and achieve impressive results.


