With the new ZPlugin "CBrush to Photoshop", the process of importing renderings from ZBrush to Photoshop is greatly simplified. Instead of manually exporting and merging different layers and renderings, you can now transfer everything to Photoshop with a single click. This guide will help you navigate through the entire workflow so that you can quickly achieve impressive results.
Key Insights
The "CBrush to Photoshop" plugin allows you to export all necessary renderings, including light, shadow, and materials, in a single step. You will receive well-organized layers in Photoshop that significantly ease your editing process.
Step-by-Step Guide to Exporting ZBrush Renderings to Photoshop
Step 1: Preparing Your Model in ZBrush
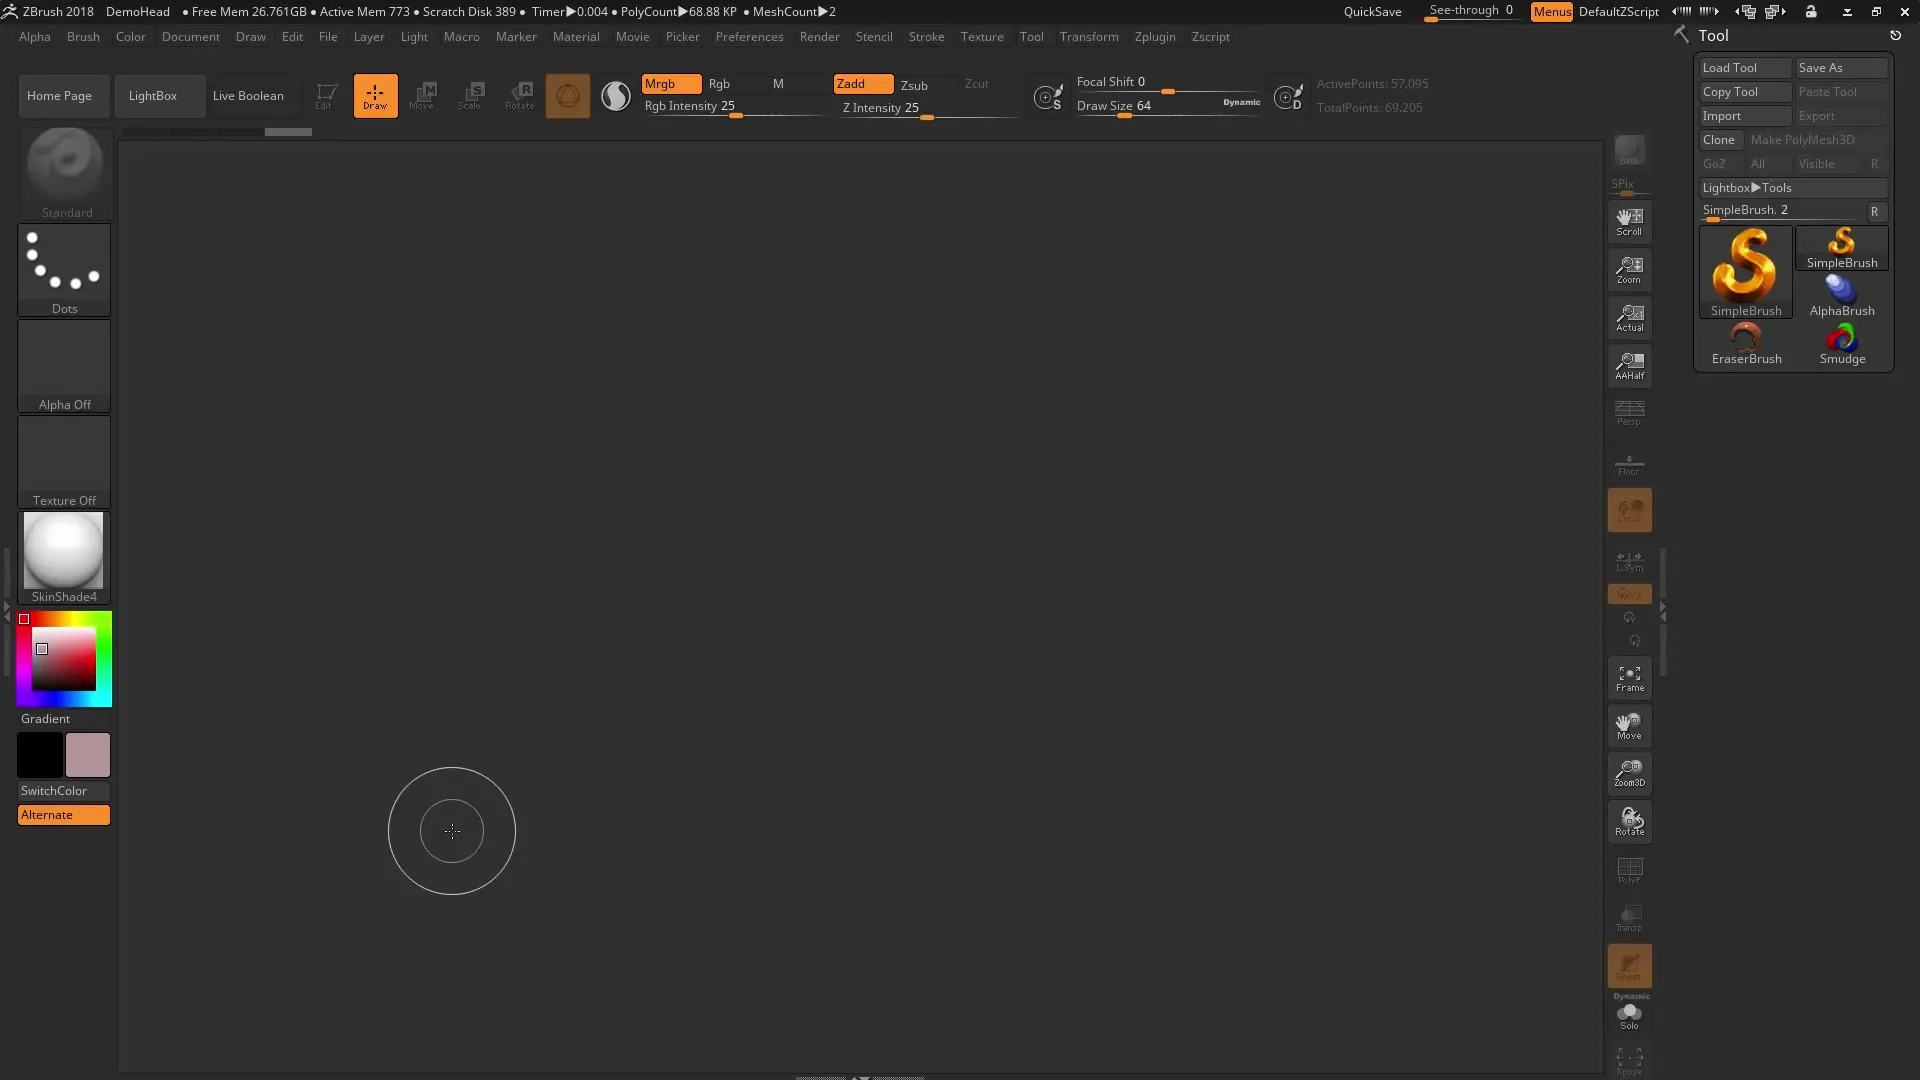
Before you can start the export process, make sure that your model is correctly prepared in ZBrush. Add materials and lights to achieve the best results for your rendering. You can use the SkinShade material and adjust the visibility of the lights according to your preferences.
Step 2: Settings and Light Adjustments
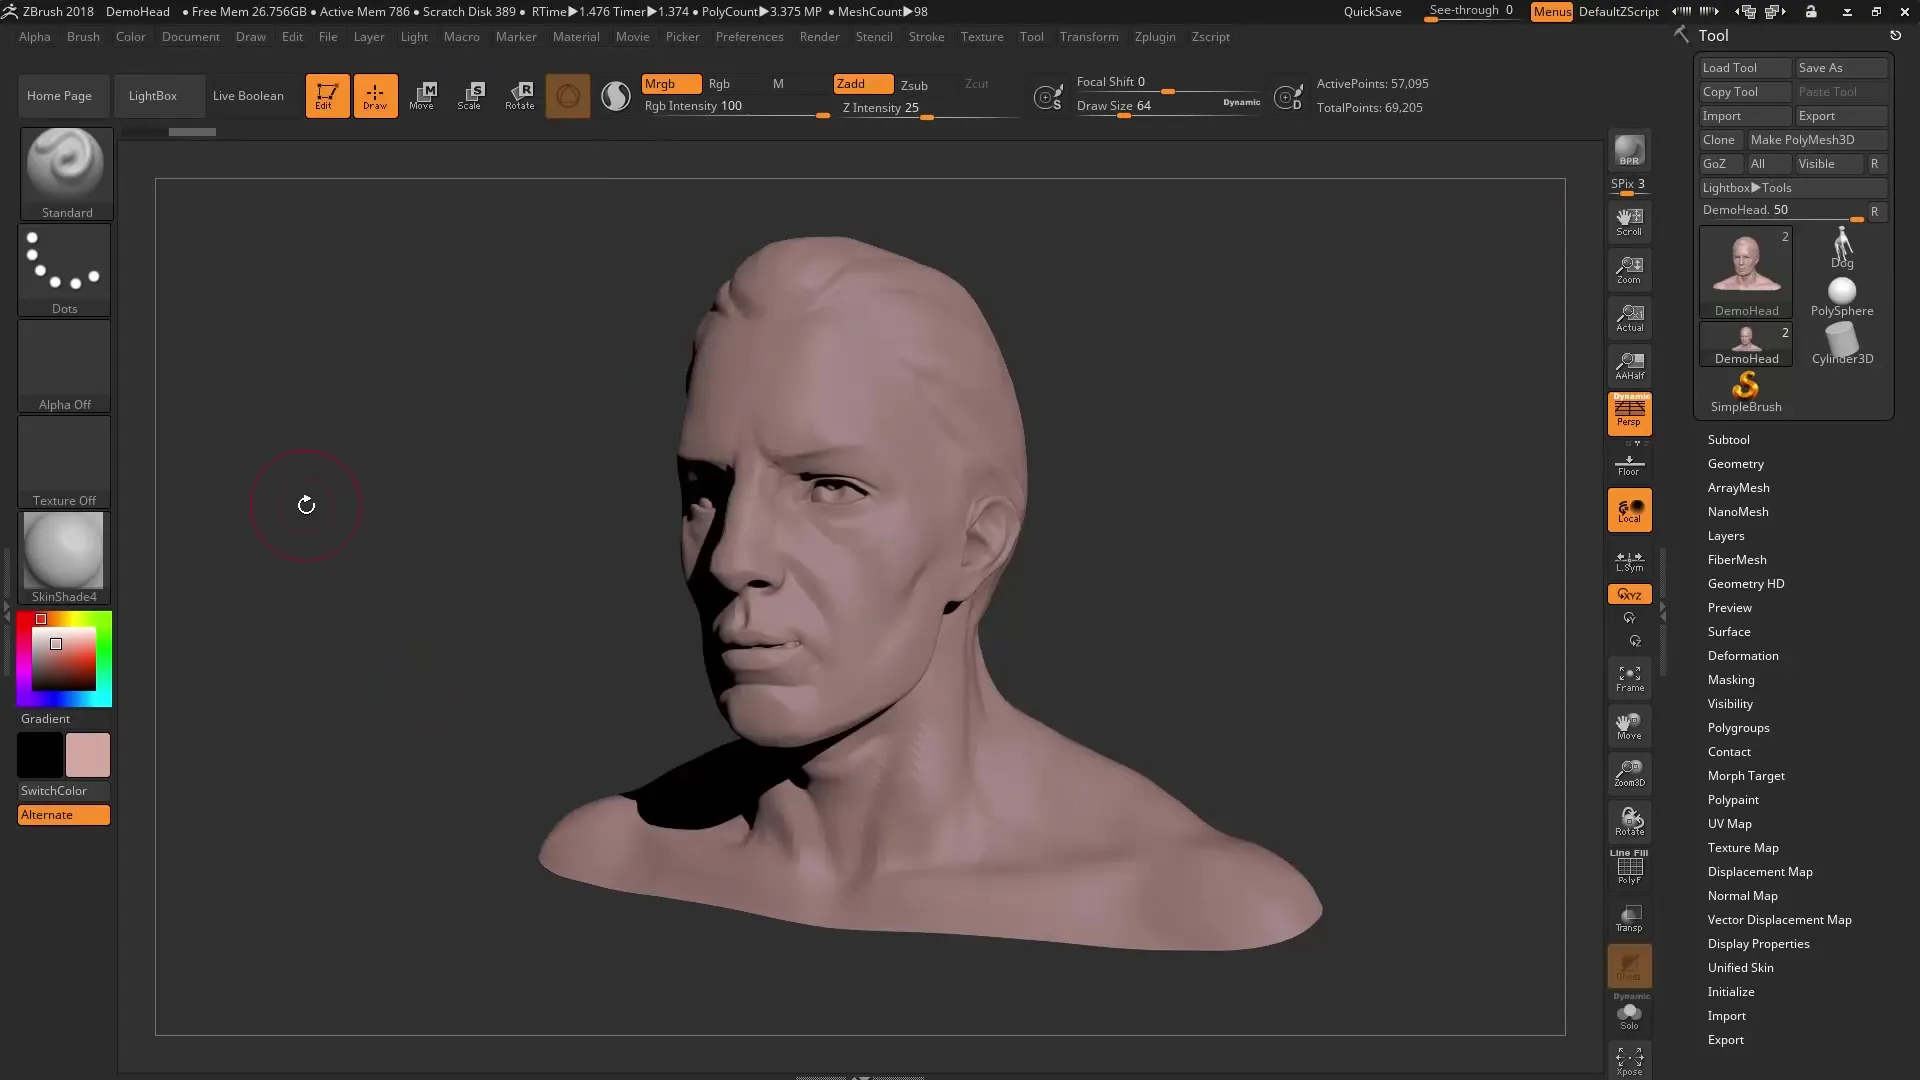
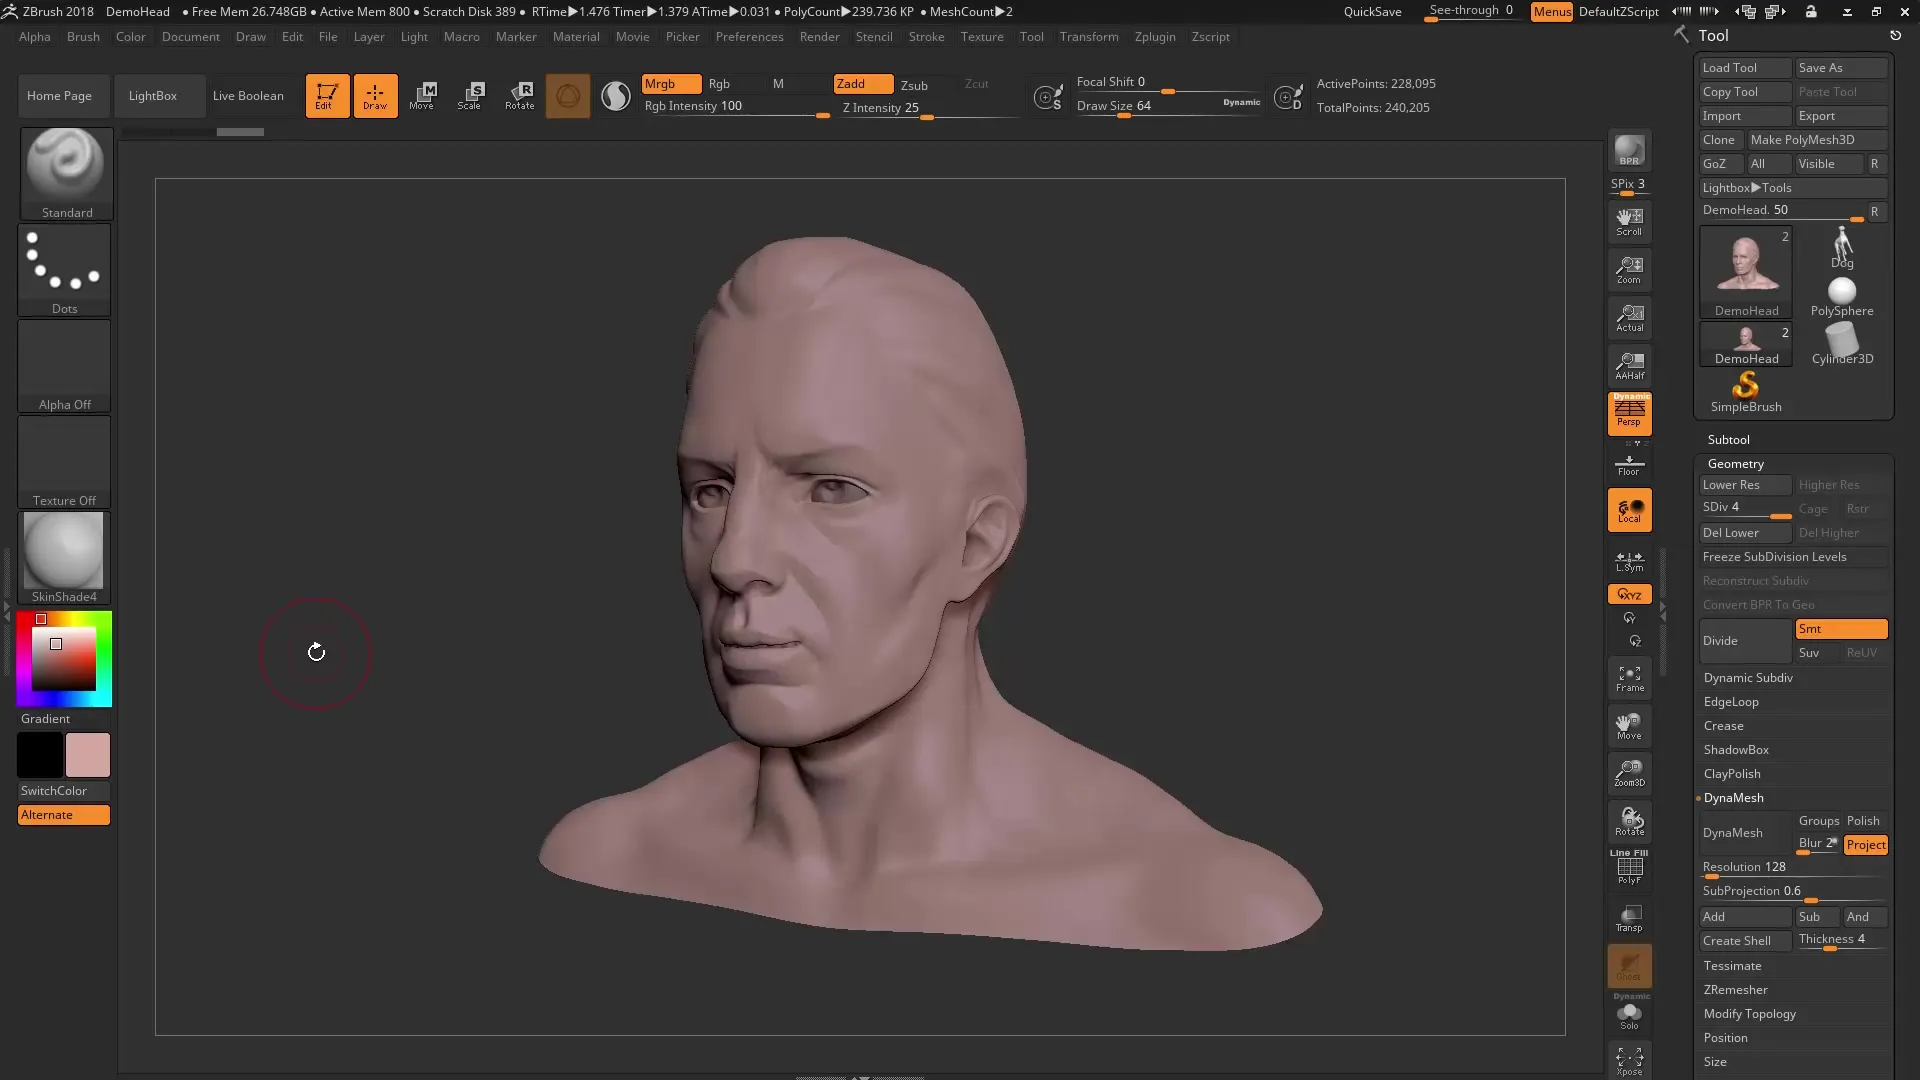
Open the rendering settings in ZBrush and adjust the light source. You should determine the angle your light should have to create nice soft shadows. You can optimize the shadow angle as needed through the "PP Shadow" settings.
Step 3: Selecting the Desired Rendering Pass
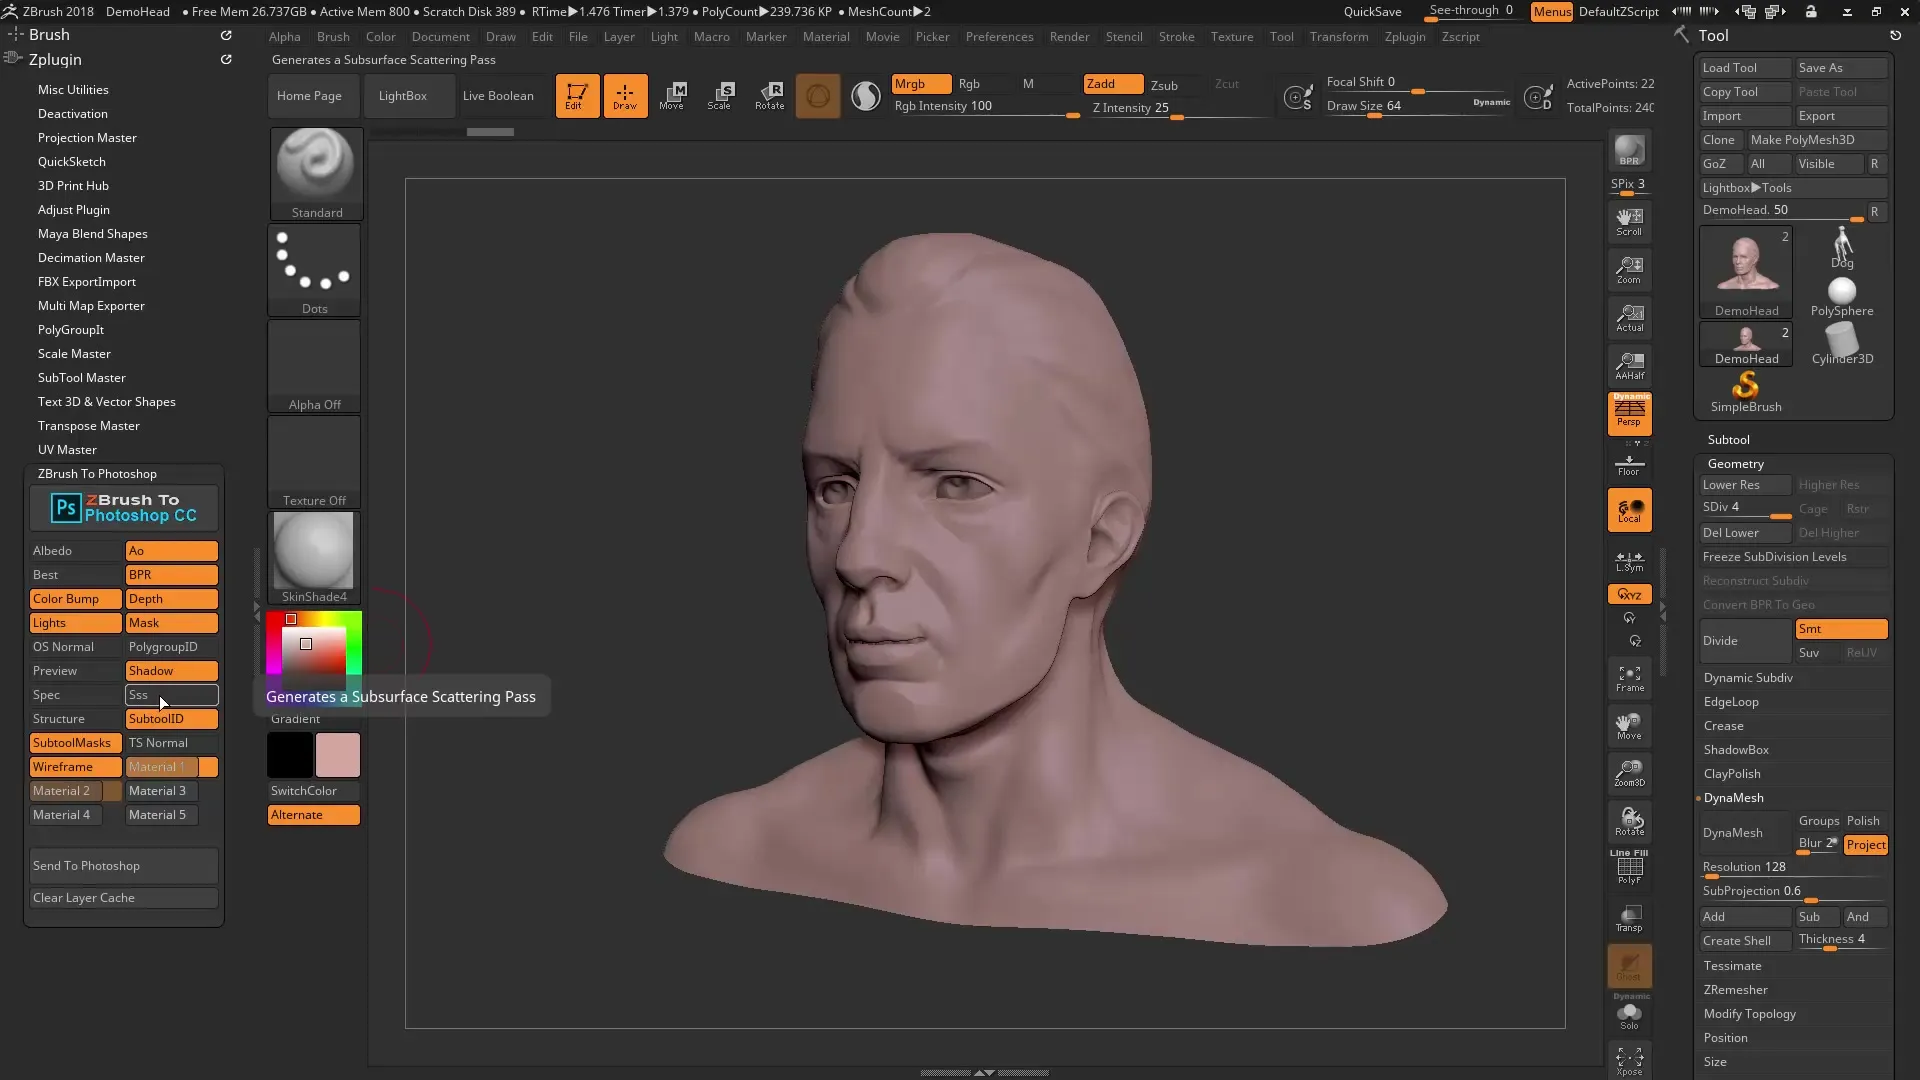
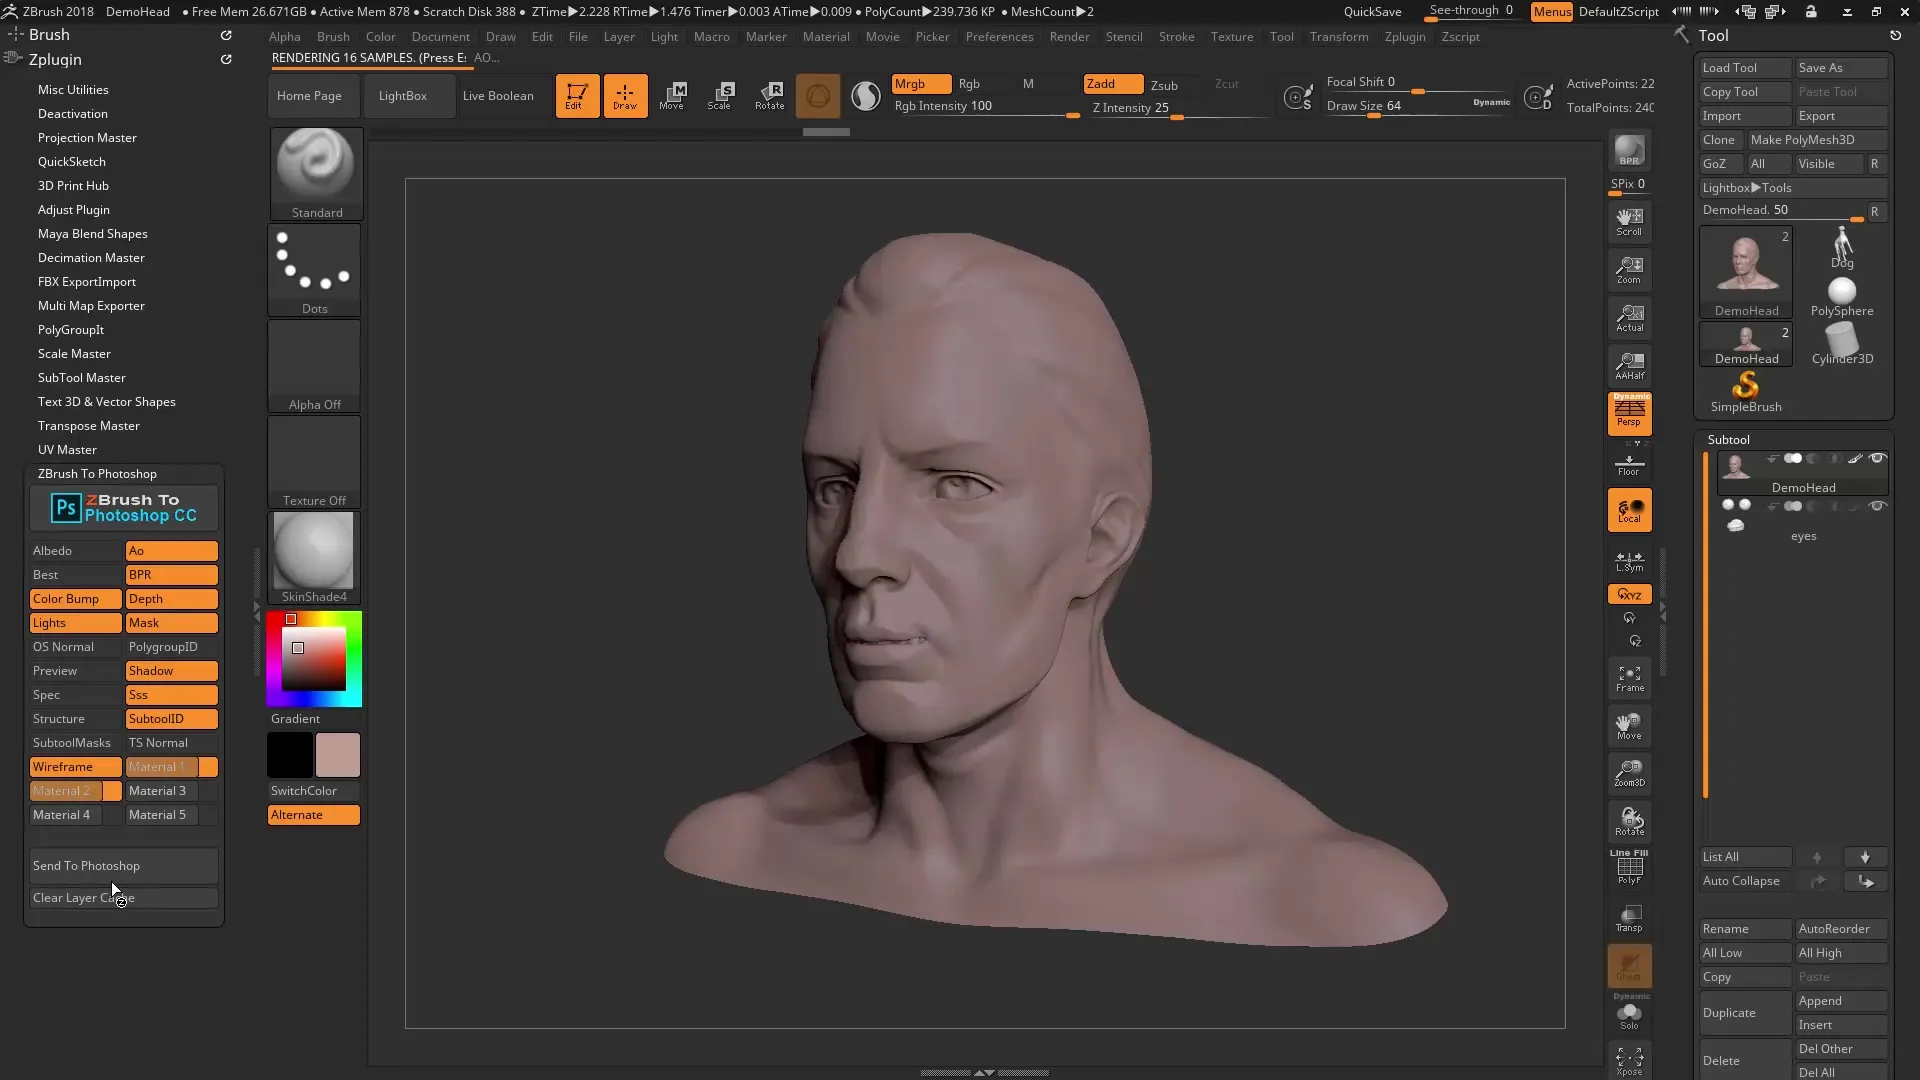
The "CBrush to Photoshop" plugin offers you a variety of rendering passes. You can select which layers you want to export. These include, among others, the Albedo pass, the Occlusion pass, and the BPR (Best Preview Renderer) pass. Choose the relevant passes for your project.
Step 4: Applying Subtool Settings
If your model consists of multiple subtools, use the subtool ID feature to individually mask each part of the model. Each subtool can have its own color, making it easier for you to edit in Photoshop.
Step 5: Exporting to Photoshop
Once you have made all necessary settings and adjustments, you can now export the model to Photoshop with a single click. By clicking on the "CBrush to Photoshop" plugin, you initiate the export process. Wait patiently while the rendering is processed.
Step 6: Editing in Photoshop
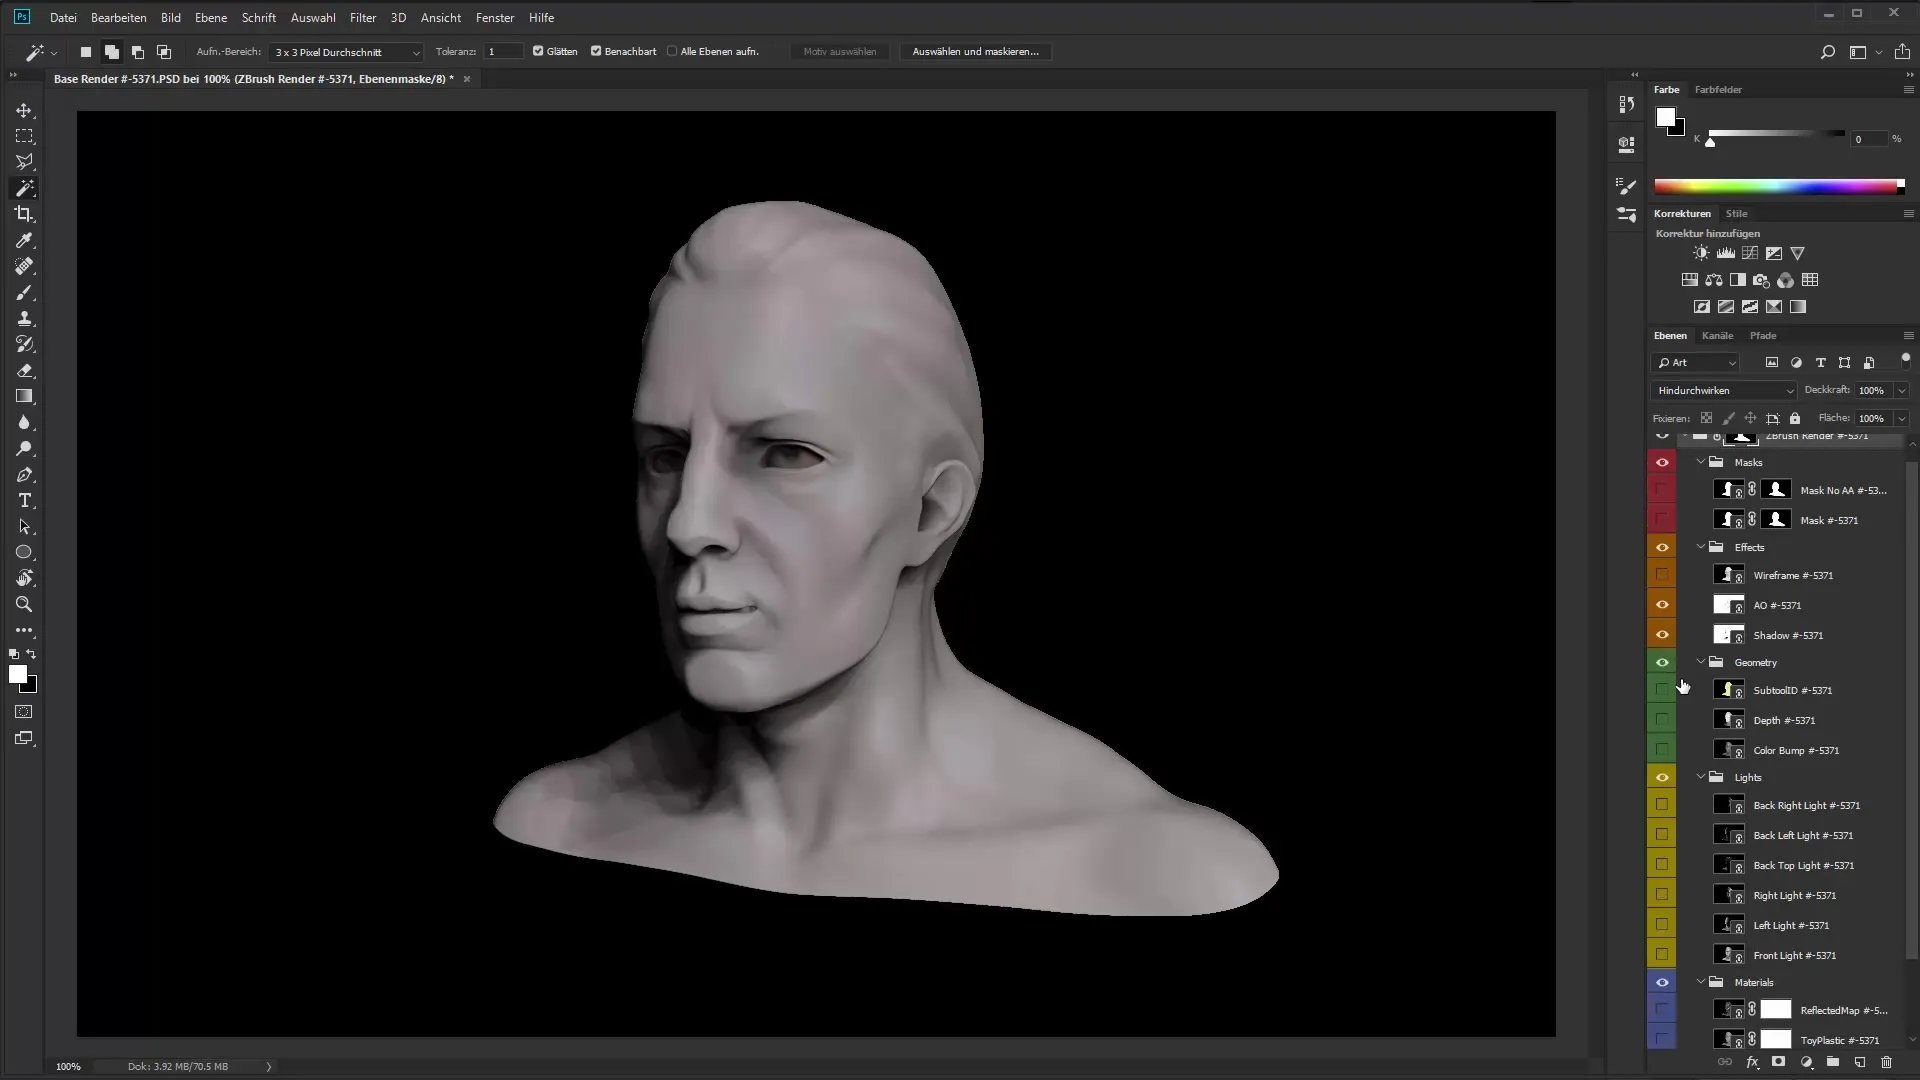
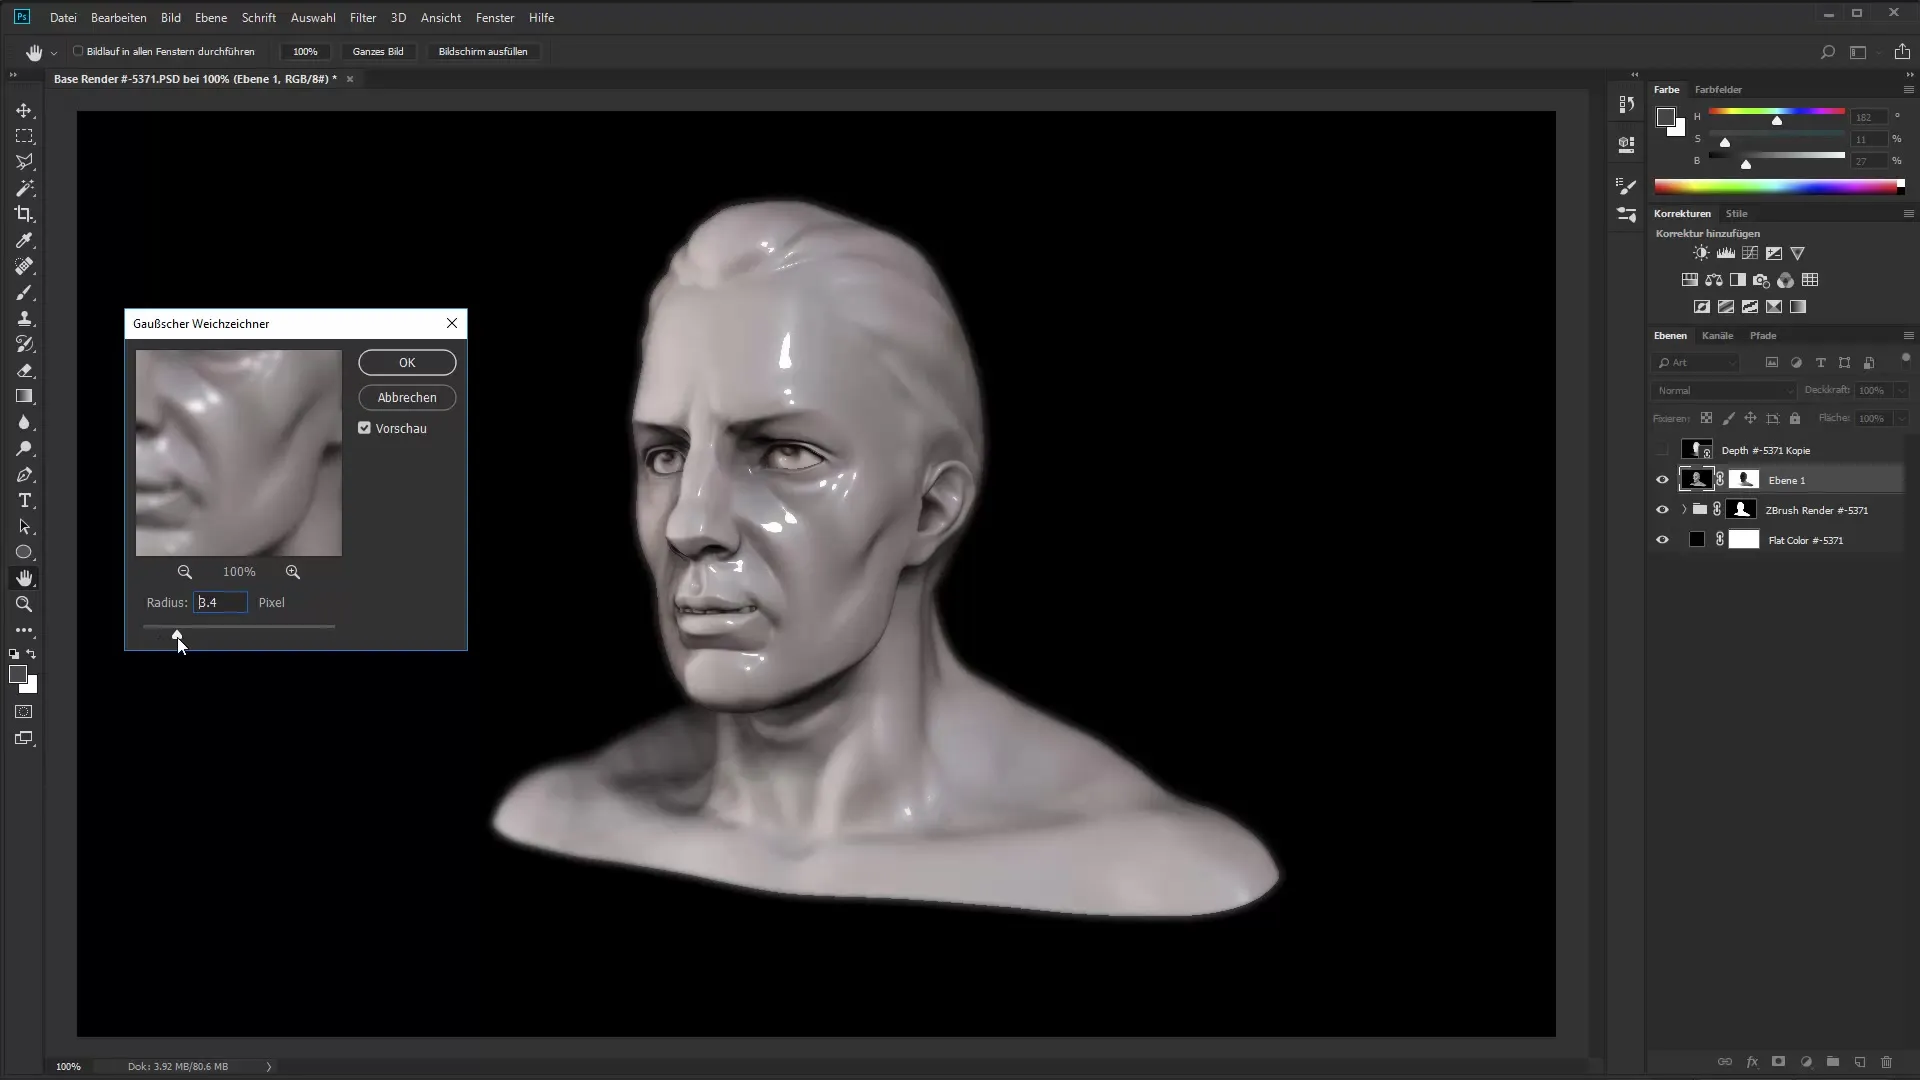
Once the rendering arrives in Photoshop, you will notice that all layers are well-structured. You have access to masking, can apply color corrections, and add various effects. Each material is represented in a separate layer, allowing you to make adjustments afterwards.
Step 7: Fine-tuning and Detail Adjustments
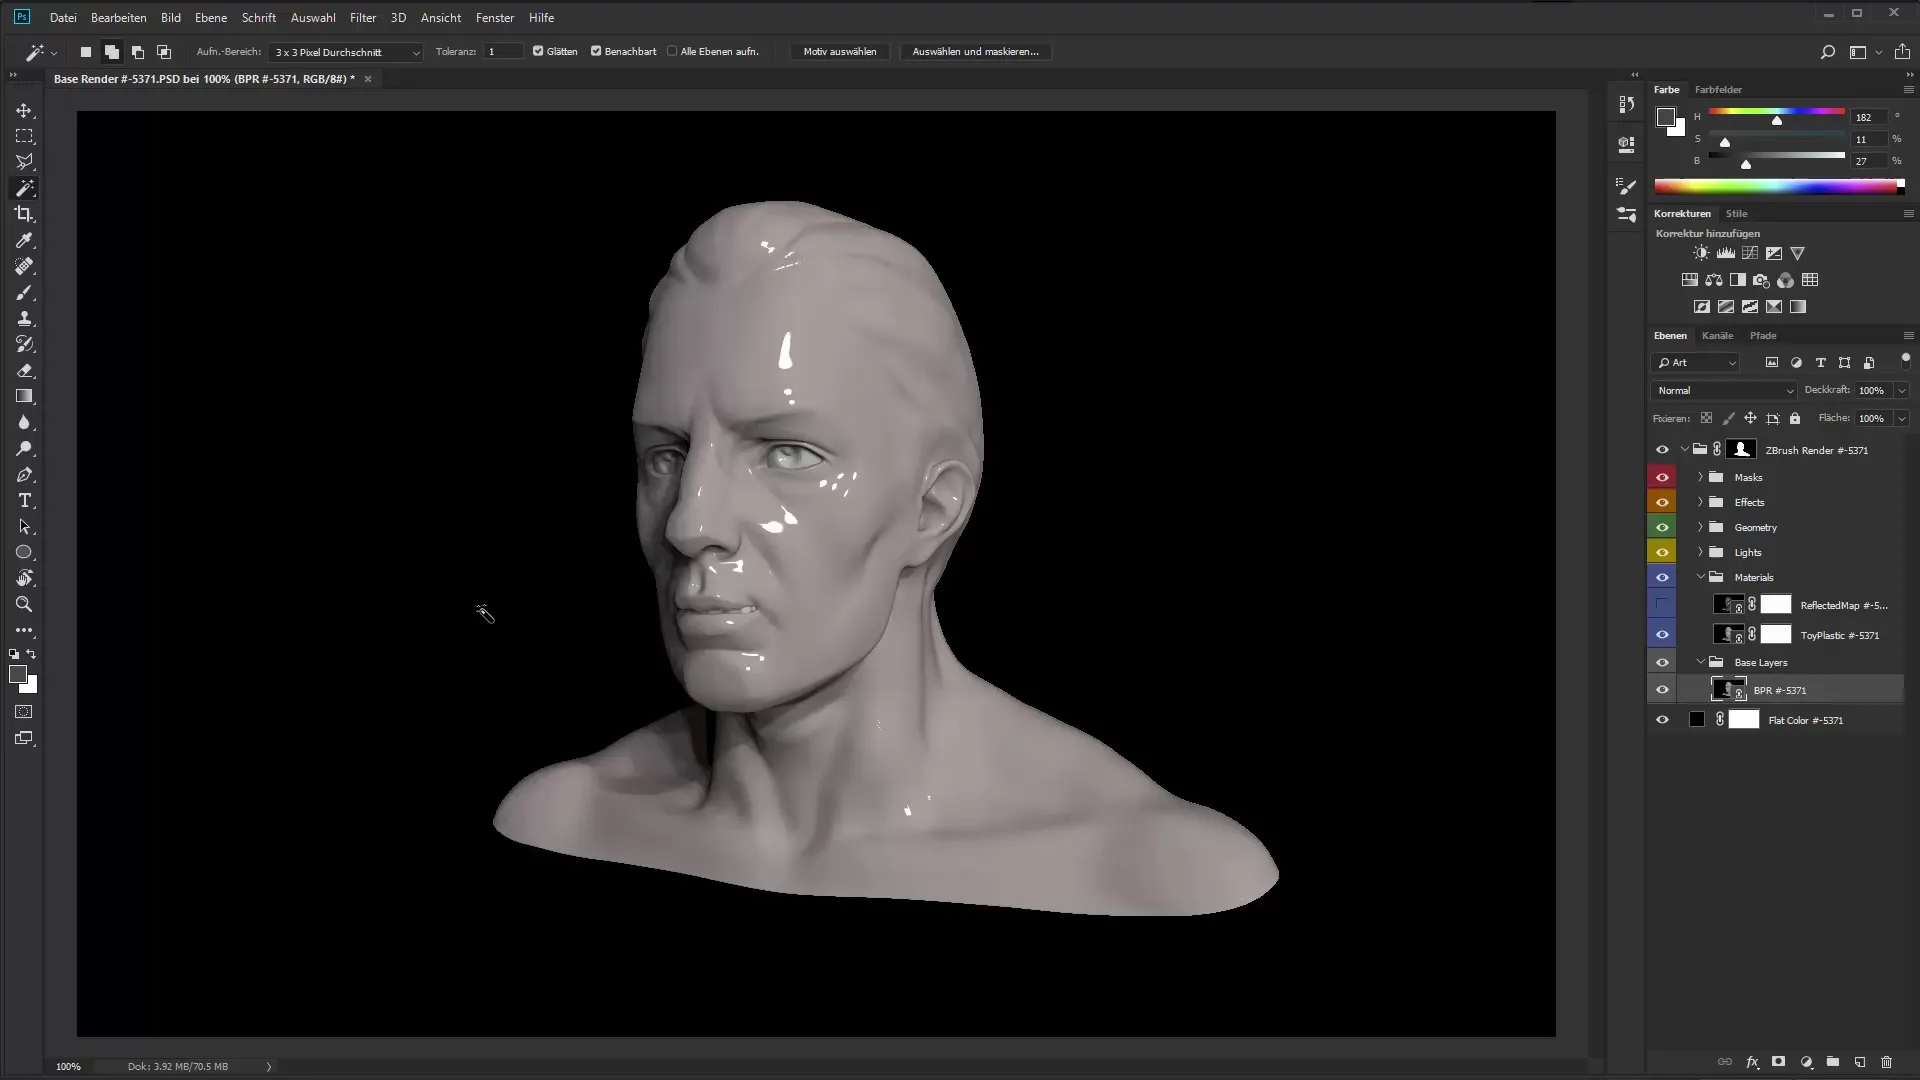
To give your rendering the final touch, you should check the integrity of the different layers. If materials were not imported as desired, you can adjust them manually. Use the layer masks in Photoshop to make targeted adjustments to the materials and optimize the overall appearance.
Step 8: Using Depth Pass and Blur
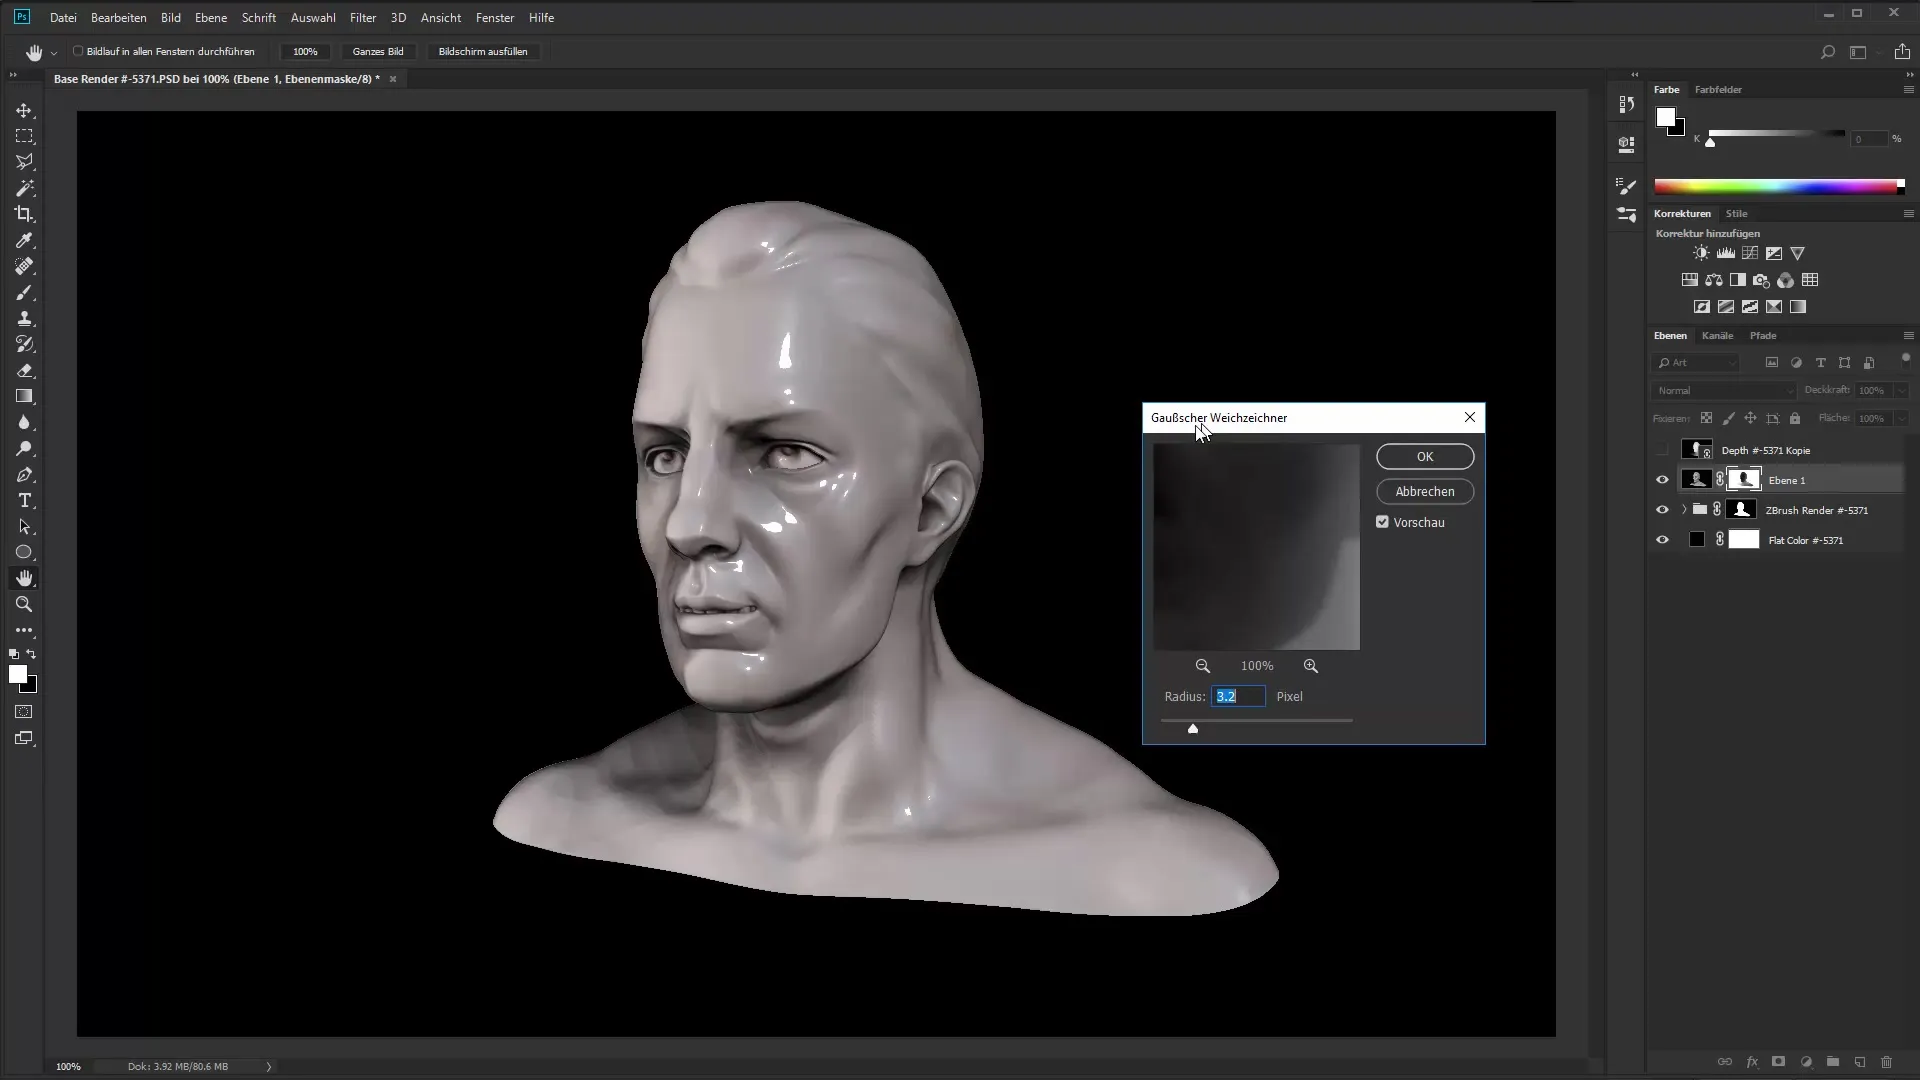
For a more professional look, you can apply the depth pass to simulate depth blur. Create a copy of your layer and go to the layer mask to blur only certain parts of the image.
Step 9: Final Review
After you have made all adjustments, review the entire design. Pay attention to lighting, textures, and effects. The ability to work with smart objects in Photoshop gives you the freedom to make adjustments at any time without affecting the original file.
Summary – ZBrush 2018 and 4R8: ZBrush to Photoshop – A Fast Rendering Workflow
The new ZPlugin "CBrush to Photoshop" revolutionizes your workflow by allowing you to export renderings from ZBrush to Photoshop quickly and efficiently. The well-organized layers in Photoshop provide an excellent foundation for all post-processing, enabling you to fully unleash your creativity.
Frequently Asked Questions
How does the "CBrush to Photoshop" plugin work?The plugin exports all desired renderings from ZBrush to Photoshop at the click of a button.
Do I need special materials for the export?It is advisable to try various materials and select the right ones to achieve the best results.
Can I customize subtools individually?Yes, you can choose different colors and masks for each subtool.
Does the plugin work with all versions of ZBrush?The plugin is designed for version updates of ZBrush, especially 4R8.
Can I edit the layers in Photoshop afterwards?Yes, the layers in Photoshop are fully editable and can be adjusted to your needs.

