ZBrush is a powerful tool for digital artists, and the new plugin PolyGroupIt allows you to create polygroups in a simple and efficient way. In the following guide, you will learn how to make the most of the plugin to organize and enhance your models. Let's dive right in!
Key Insights
- PolyGroupIt is a plugin for quickly creating polygroups.
- You can use both geometric shapes and colors to define groups.
- The plugin improves render quality and makes it easier to edit subtools.
Step-by-Step Guide
To master using PolyGroupIt, follow these steps:
1. Prepare Your Model
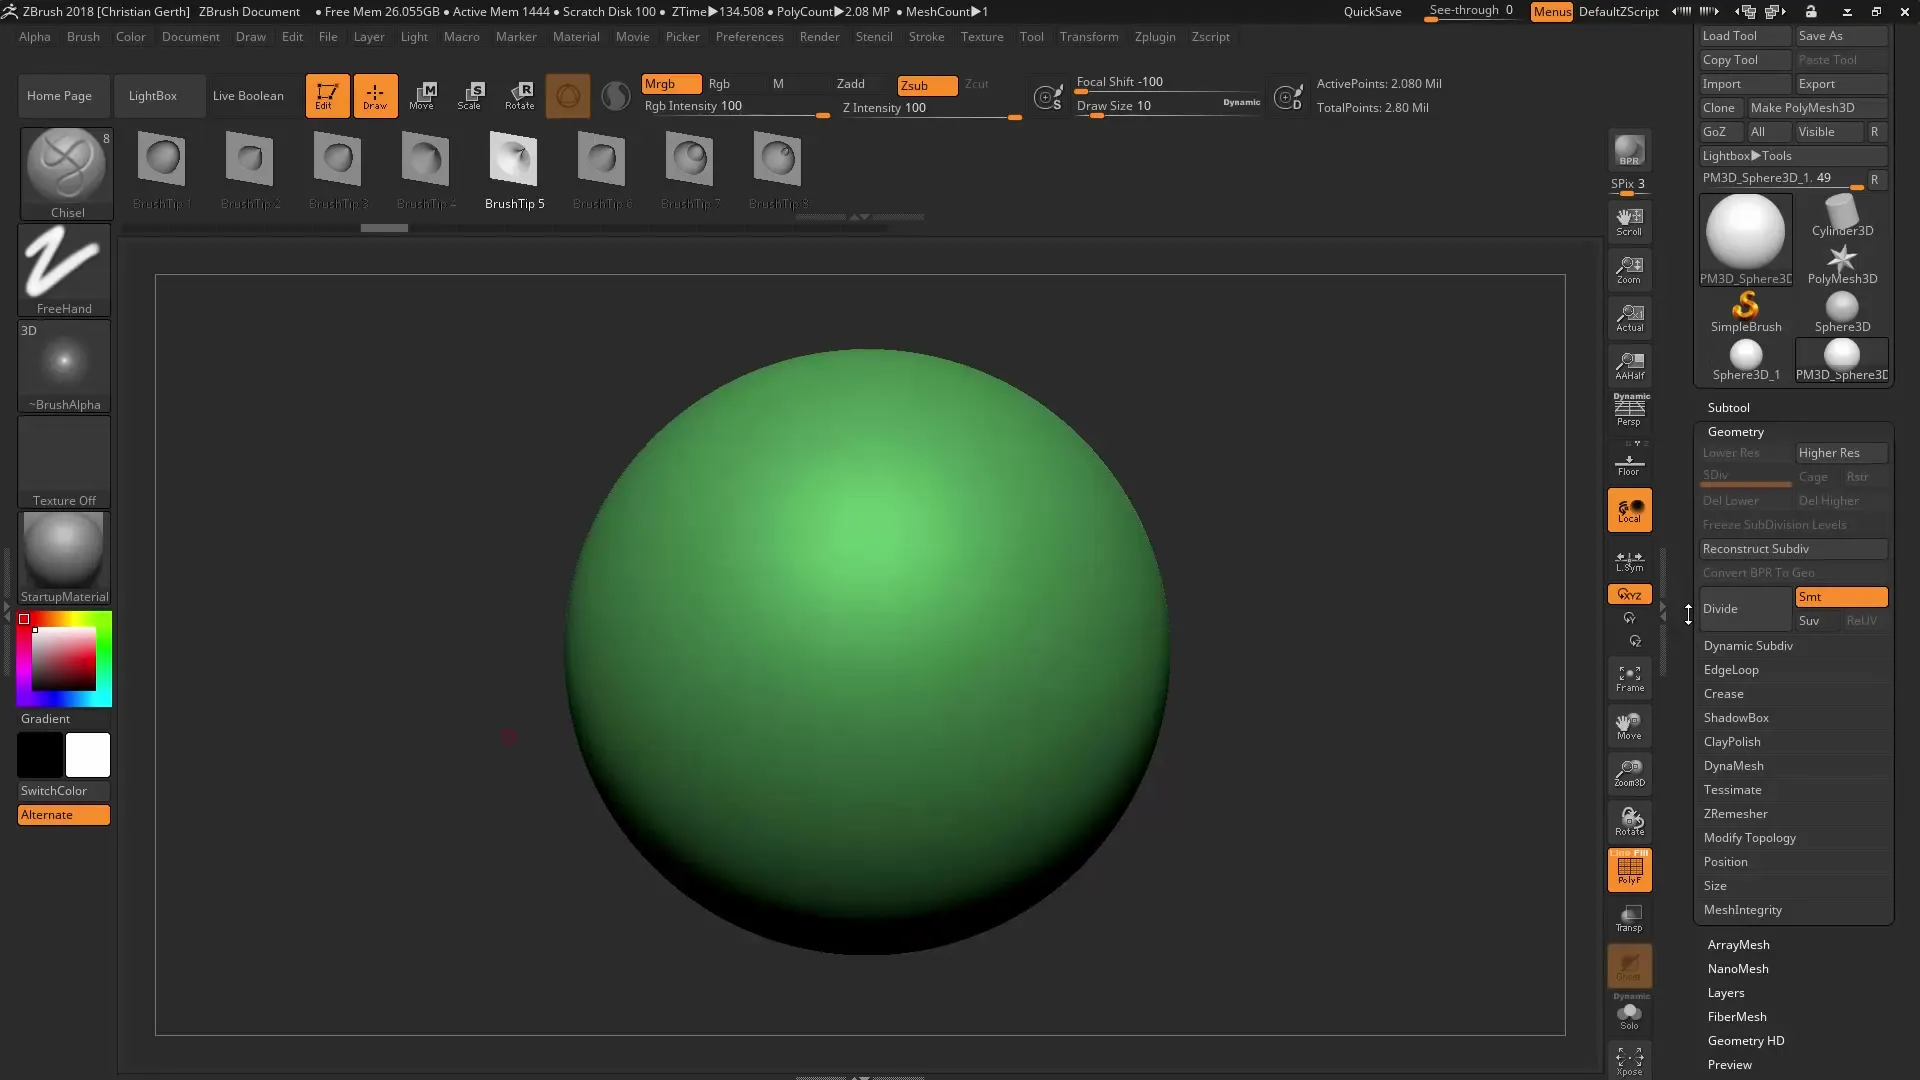
First, you want to create a simple model to demonstrate the possibilities of the plugin. You can start with a sphere:
Start ZBrush and create a sphere. Make sure it is converted to an editable PolyMesh and add some subdivision levels. For this example, we will set it to 2 million polygons.
2. Edit the Geometry
Now you will modify the geometry of your sphere using a "Chisel Brush" to create an interesting shape. Choose the number 5 Chisel Brush and adjust the size. You can also activate Lazy Mouse and use radial symmetry to achieve a symmetrical pattern.
Once you have created the pattern, you can disable the line view to see the polygroups better. Your sphere should now have an appealing appearance.
3. Start PolyGroupIt
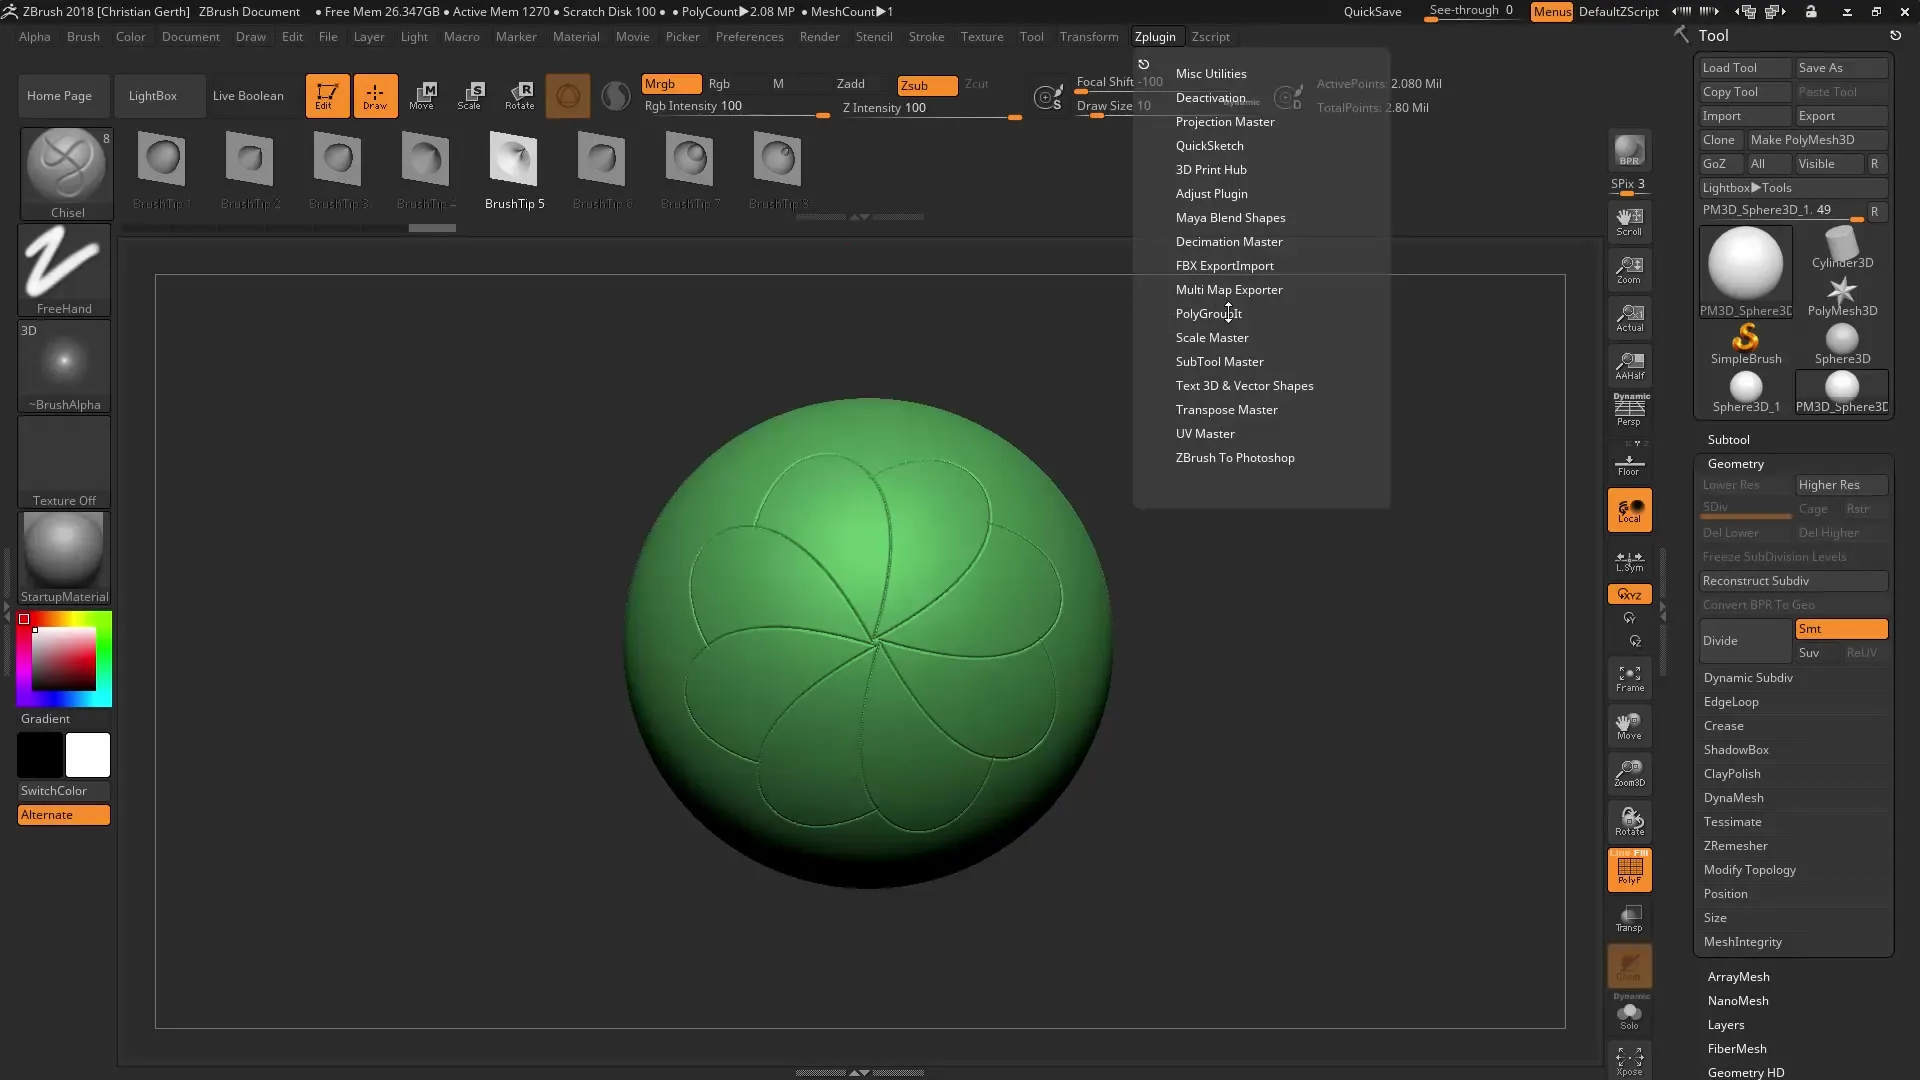
Now, develop your polygroups using the PolyGroupIt plugin. You can find it in the ZPlugin menu. Launch the plugin, and a new window will open.
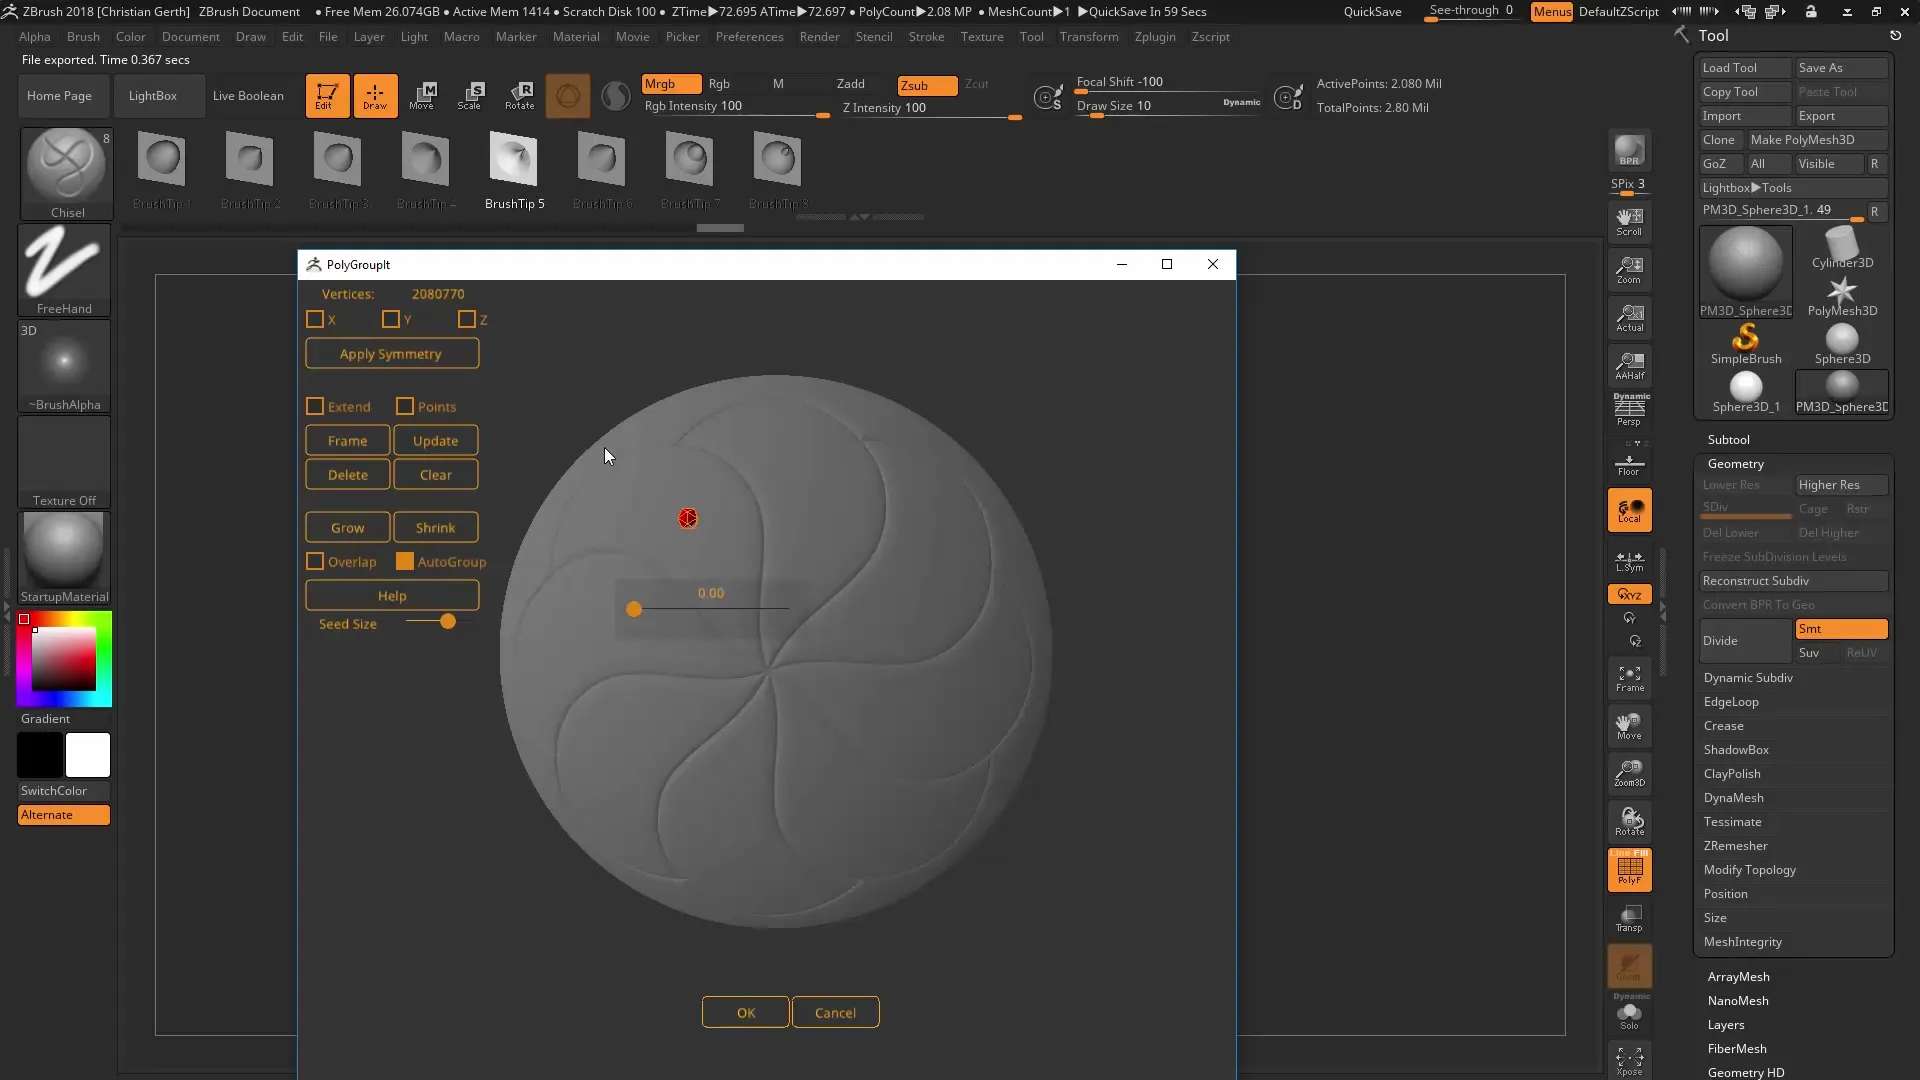
The navigation in this window is identical to the ZBrush interface, so you can rotate and move your models as usual.
4. Creating Polygroups
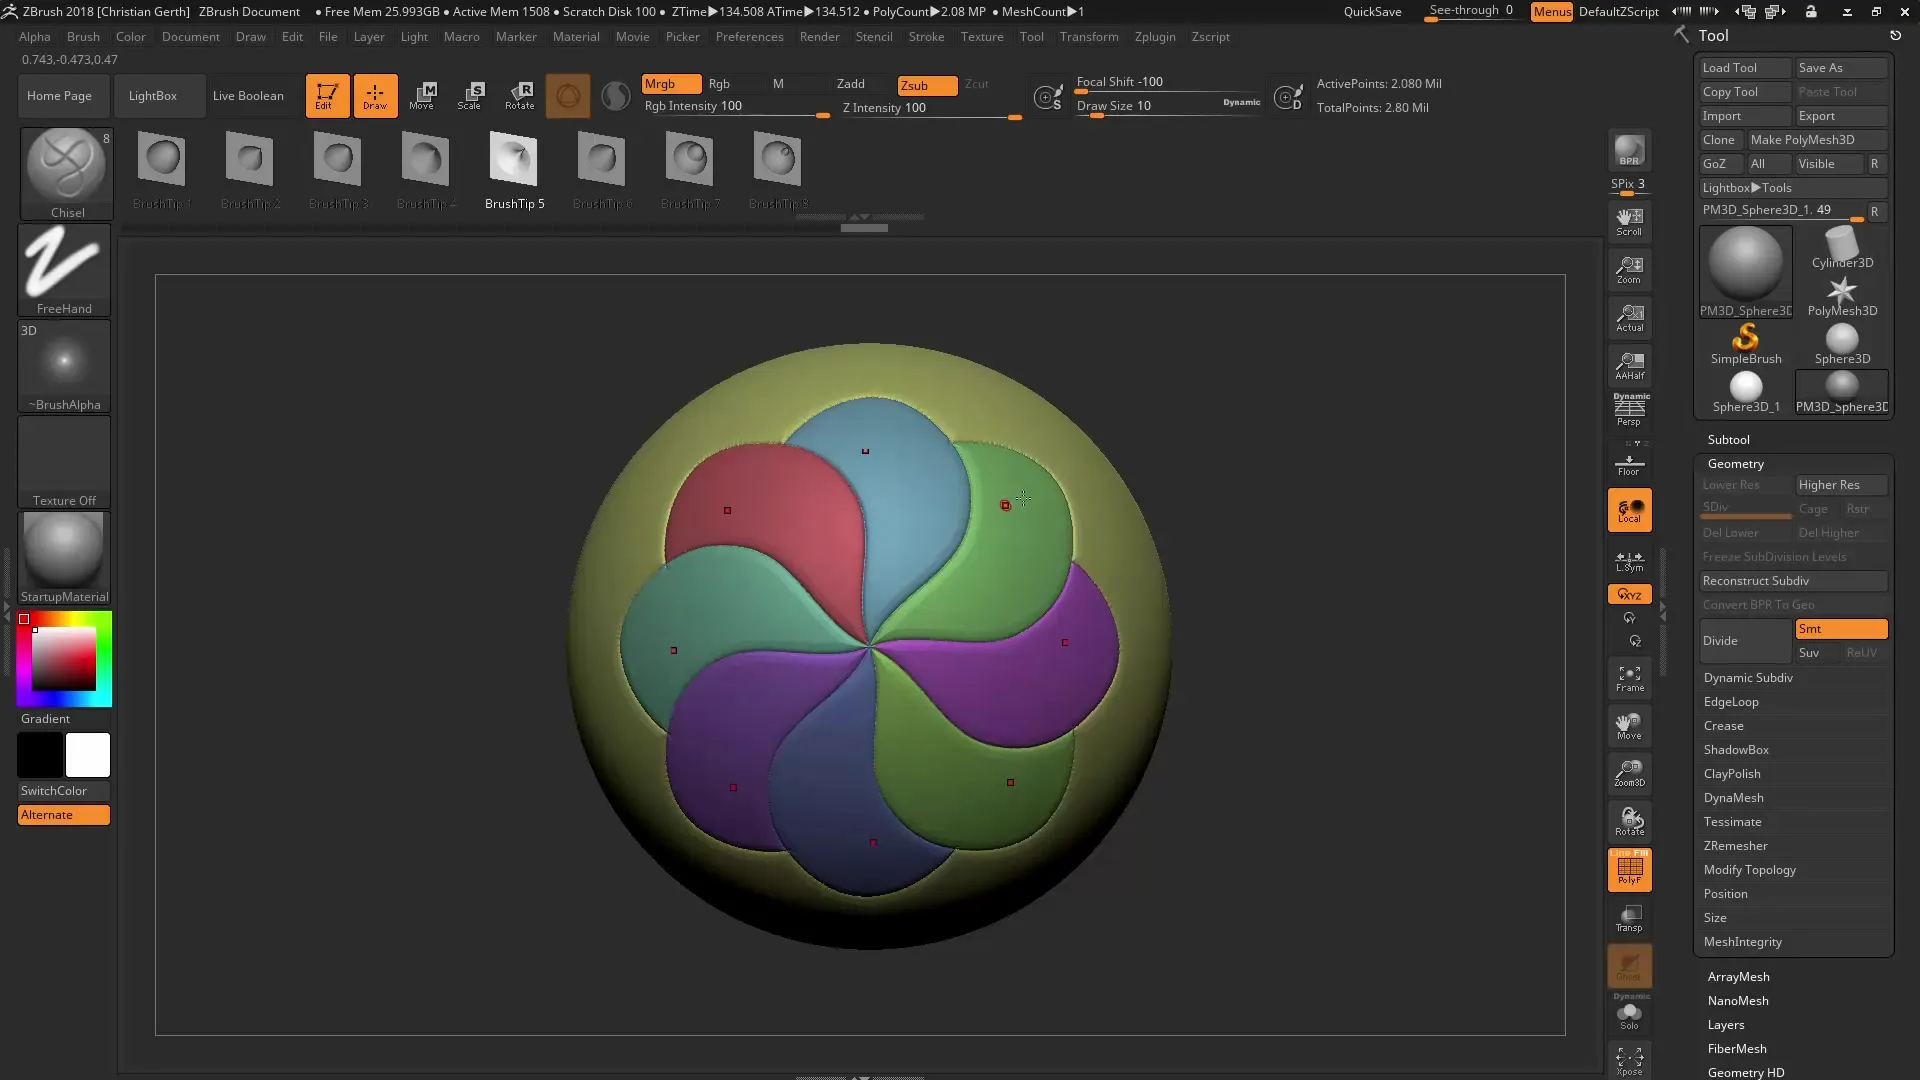
Click on the relevant areas of your model to define polygroups. The plugin automatically recognizes the selected areas and assigns them a unique color. Make sure to choose a closed shape.
When the plugin has recognized the desired area, select "OK" to confirm the polygroups. The process may take a moment, depending on the number of polygons used.
5. Generate Subtools
After creating the polygroups, you can convert them into subtools. This method opens up many new possibilities for applying textures and materials to your model.
6. Painting with PolyGroupIt
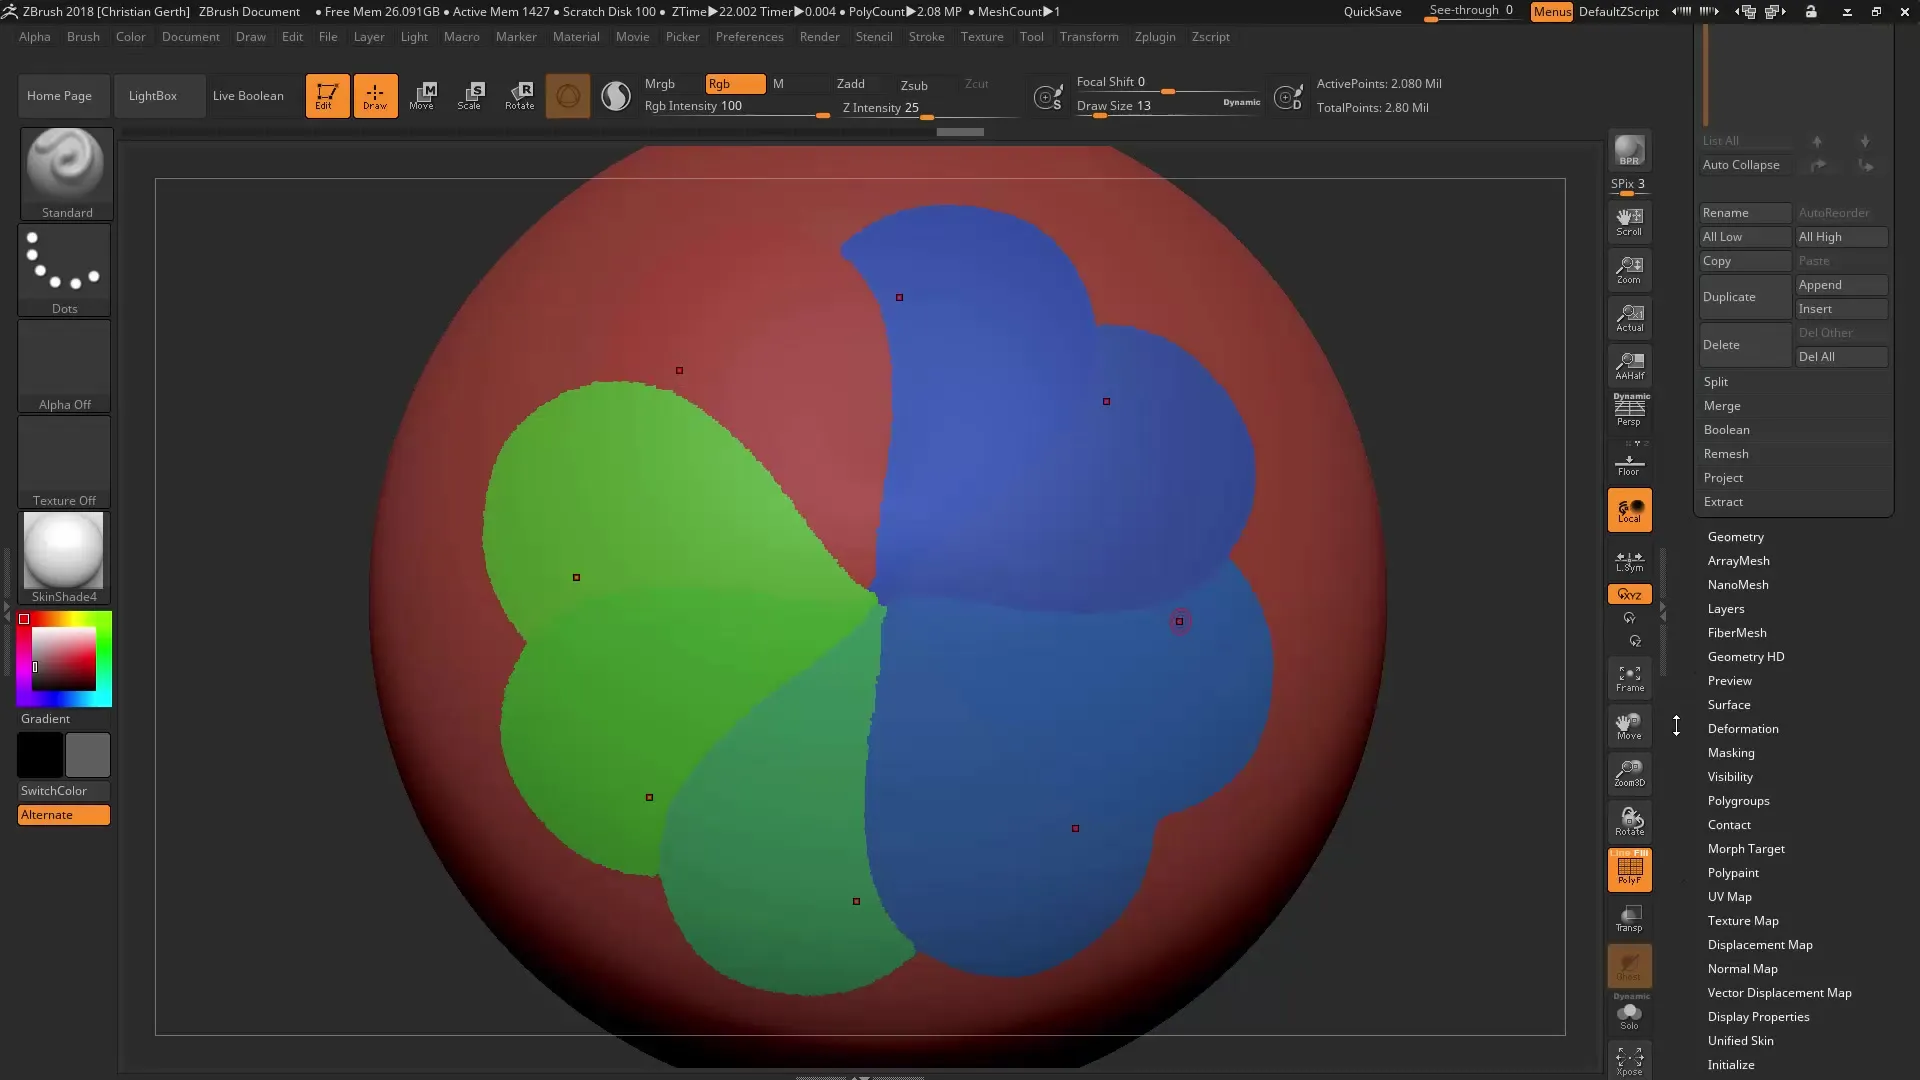
To further refine your polygroups, you can use the paint function of PolyGroupIt. Choose a standard brush and paint directly onto your model. Make sure you are working in RGB and applying a base color.
This color will serve as a boundary for the groups. When you apply "Polygroup It from Paint," the plugin recognizes the painted areas and assigns them to the corresponding polygroups.
7. Refining the Polygroups
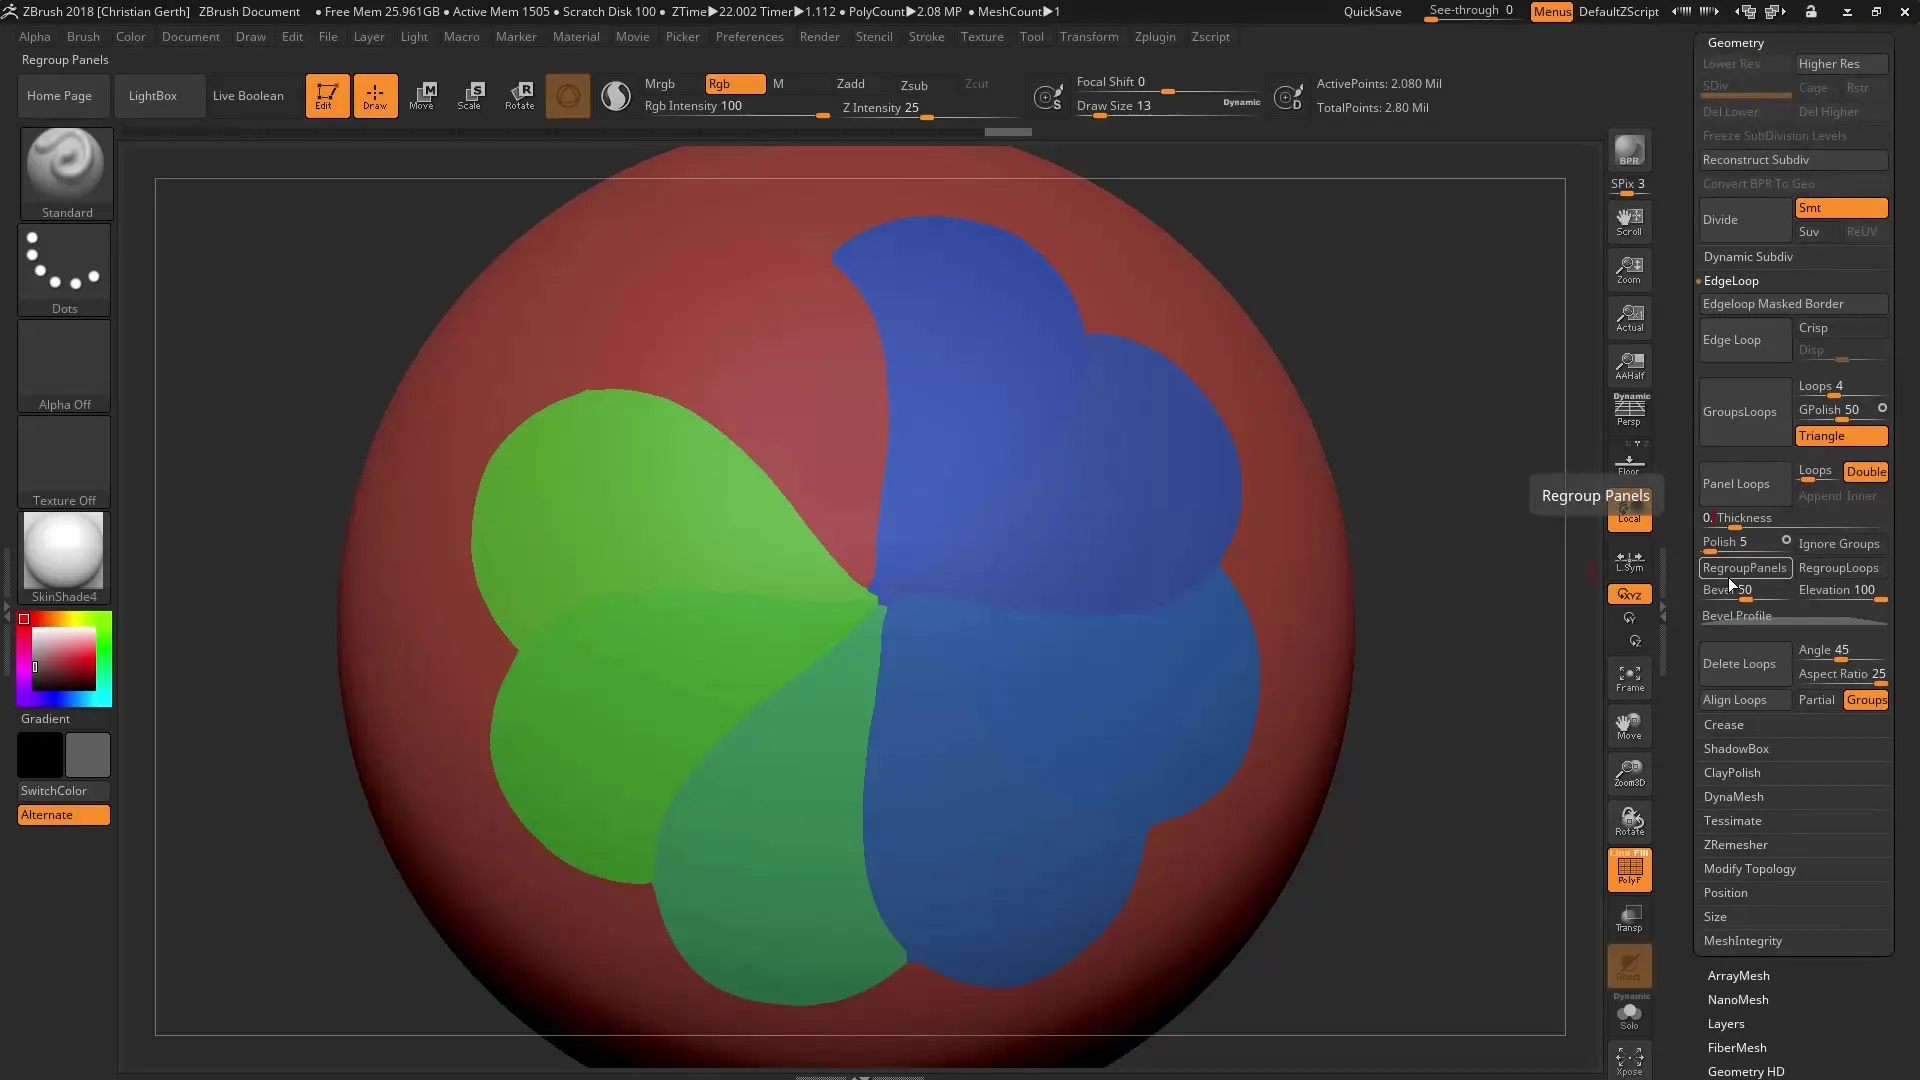
If you are satisfied with the polygroups, you can further refine them. Go to the "Formations" menu and select "Polish by groups" to smooth the edges of the polygroups.
This option helps you achieve a better result and improves the overall quality of the polygroups.
8. Creating Panel Loops
One of the most useful methods of creating geometry in ZBrush is using Panel Loops. Choose "Edge Loop" and create new geometries based on your polygroups. This can be particularly useful for hard-surface modeling.
9. Utilizing Border Options
Adding a border to the geometry is an additional feature that allows you to integrate appealing details. Select the border option and let the program perform the necessary calculations.
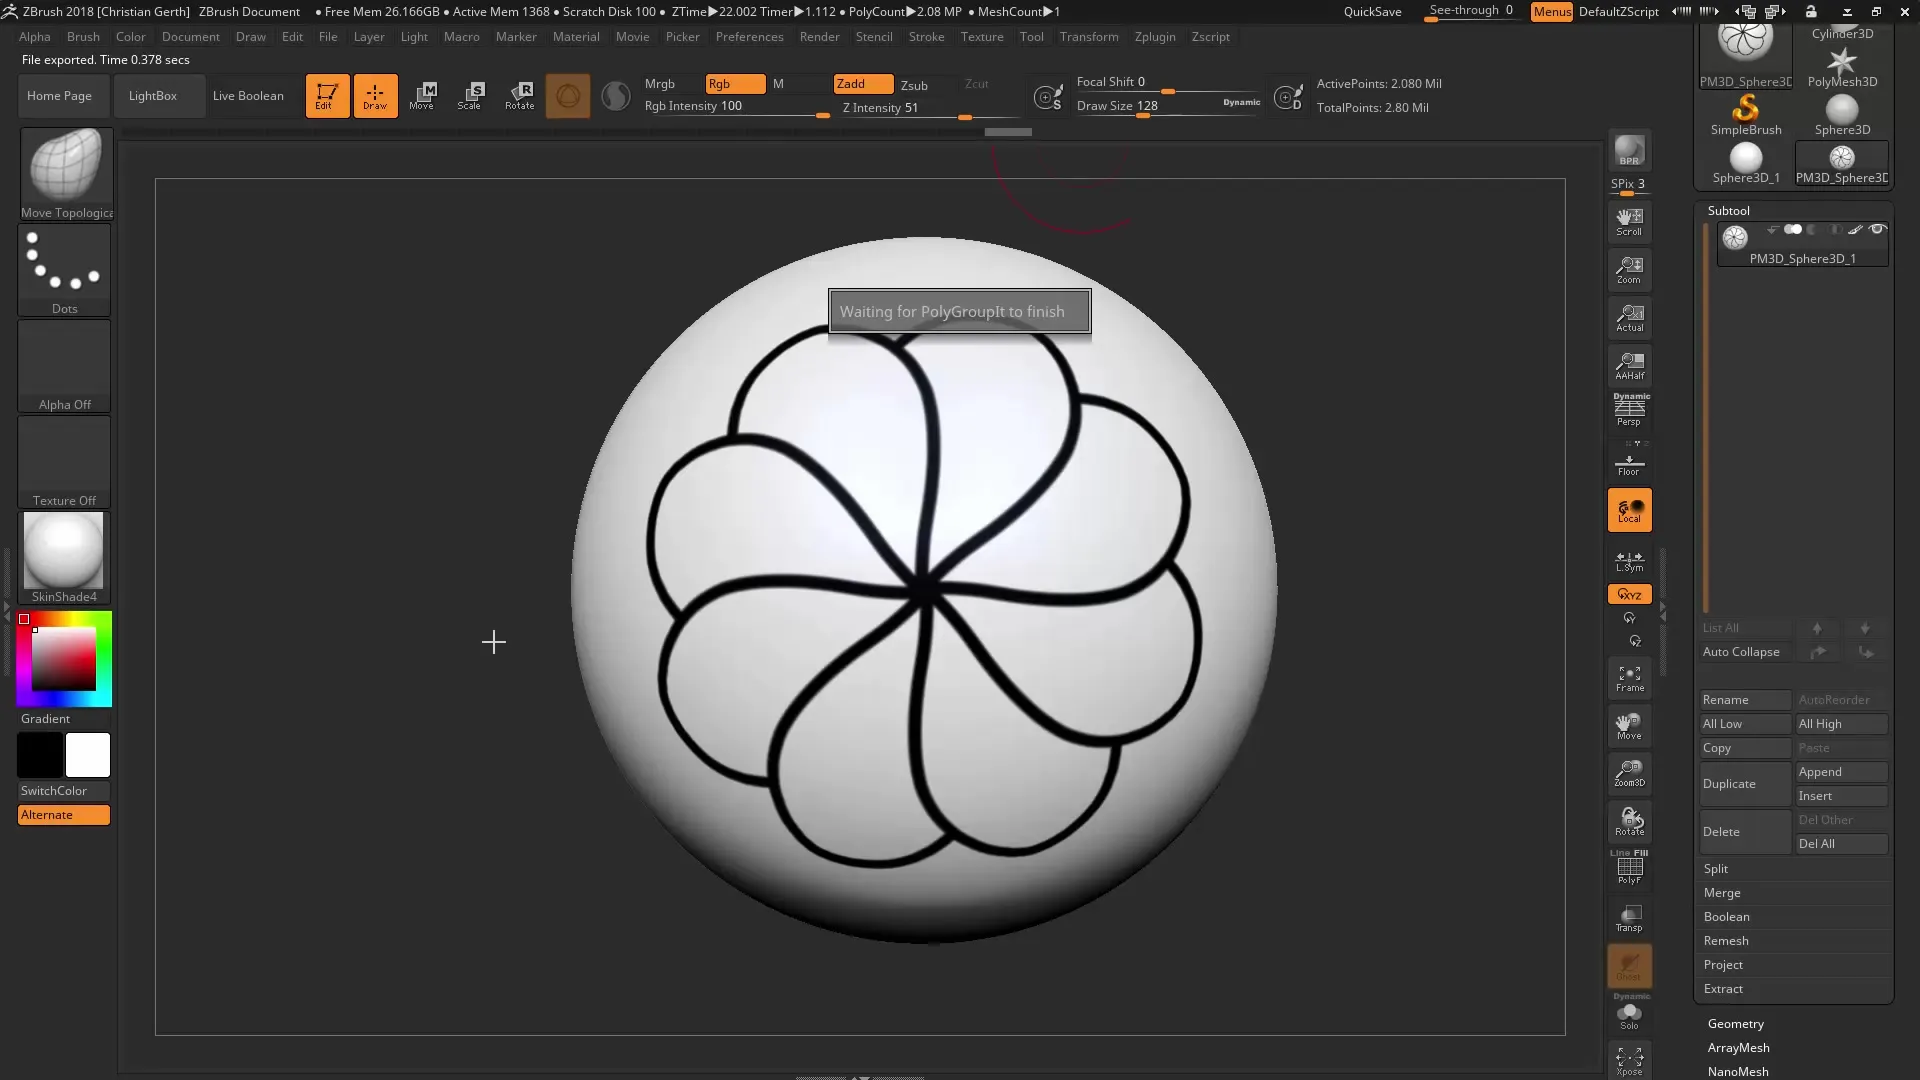
Now you have an additional polygroup that you can further process to add richness to your model.
10. Final Steps: Extracting the Model
If everything is to your satisfaction, you can extract your model from the polygroups. Go to the subtool menu and select "Extract." This will give you a new object based on the defined polygroups.
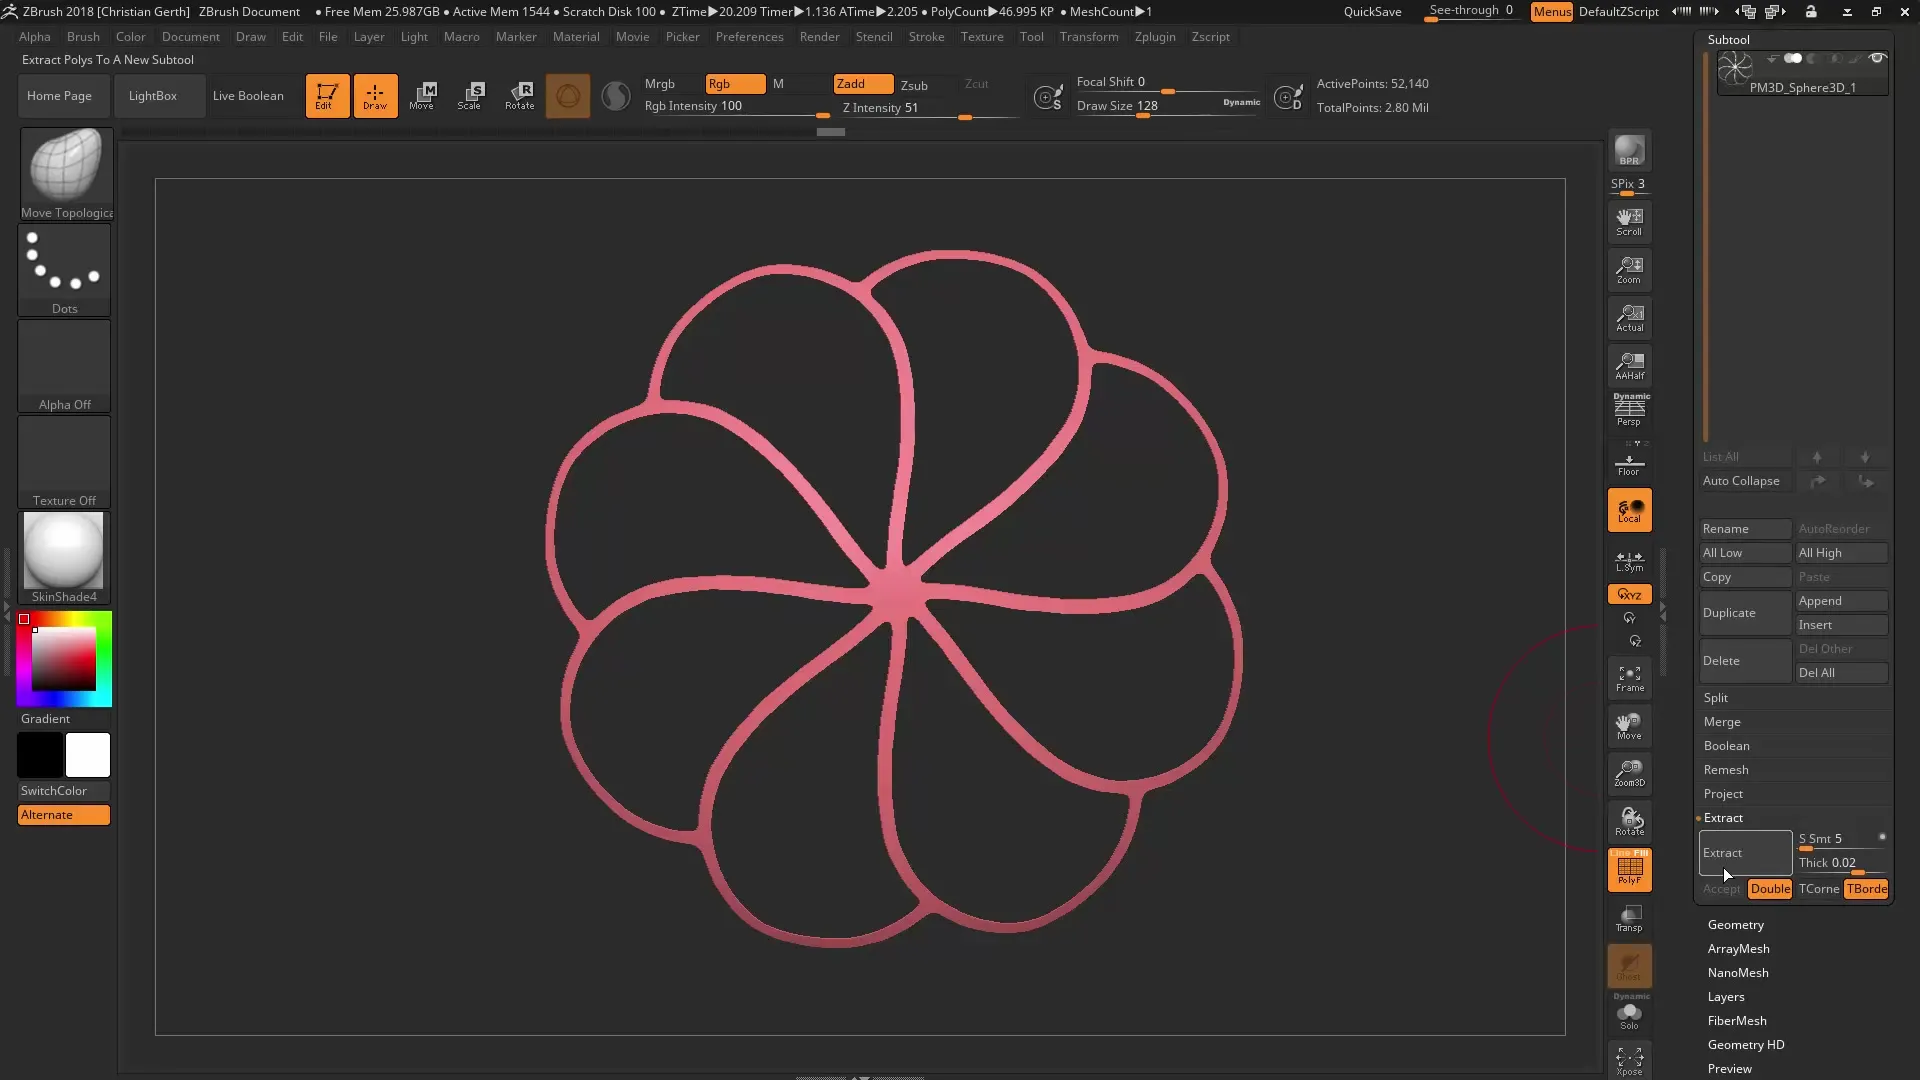
Note that the quality you achieve with polygroups is significantly higher than with traditional masking methods.
Summary - Effectively Using PolyGroupIt in ZBrush 2018
The effective use of the PolyGroupIt plugin in ZBrush opens up numerous possibilities for structuring and refining your models. The steps from geometry editing to creating polygroups and utilizing panel loops provide you with a comprehensive toolset to create high-quality models.
Frequently Asked Questions
How do I install the PolyGroupIt plugin?Download the plugin, extract the files, and place them in the ZBrush plugin folder. Restart ZBrush.
Can I add polygroups to existing models?Yes, you can add polygroups to existing models by selecting the appropriate areas in the plugin.
Are polygroups available in all versions of ZBrush?Polygroups are a standard feature in ZBrush; however, PolyGroupIt offers specific functions that were introduced with this version.
