Working with Subtools in ZBrush can quickly become confusing, especially when you are working with a large number of objects. However, thanks to the new updates in the Subtools menu, there are many improvements that help you manage and organize your models more efficiently. In this guide, you will learn how to make the most of the new features.
Main Insights
- The visibility of Subtools has been simplified.
- You can now organize Subtools into groups, significantly enhancing clarity.
- The ability to display only certain groups of Subtools gives you more control over your work.
Step-by-Step Guide
To use the new features of the Subtools menu, follow this structured guide.
1. Overview of Existing Subtools
At the beginning, you should get an overview of the existing Subtools. Select the project you are working on and navigate to the Subtools.
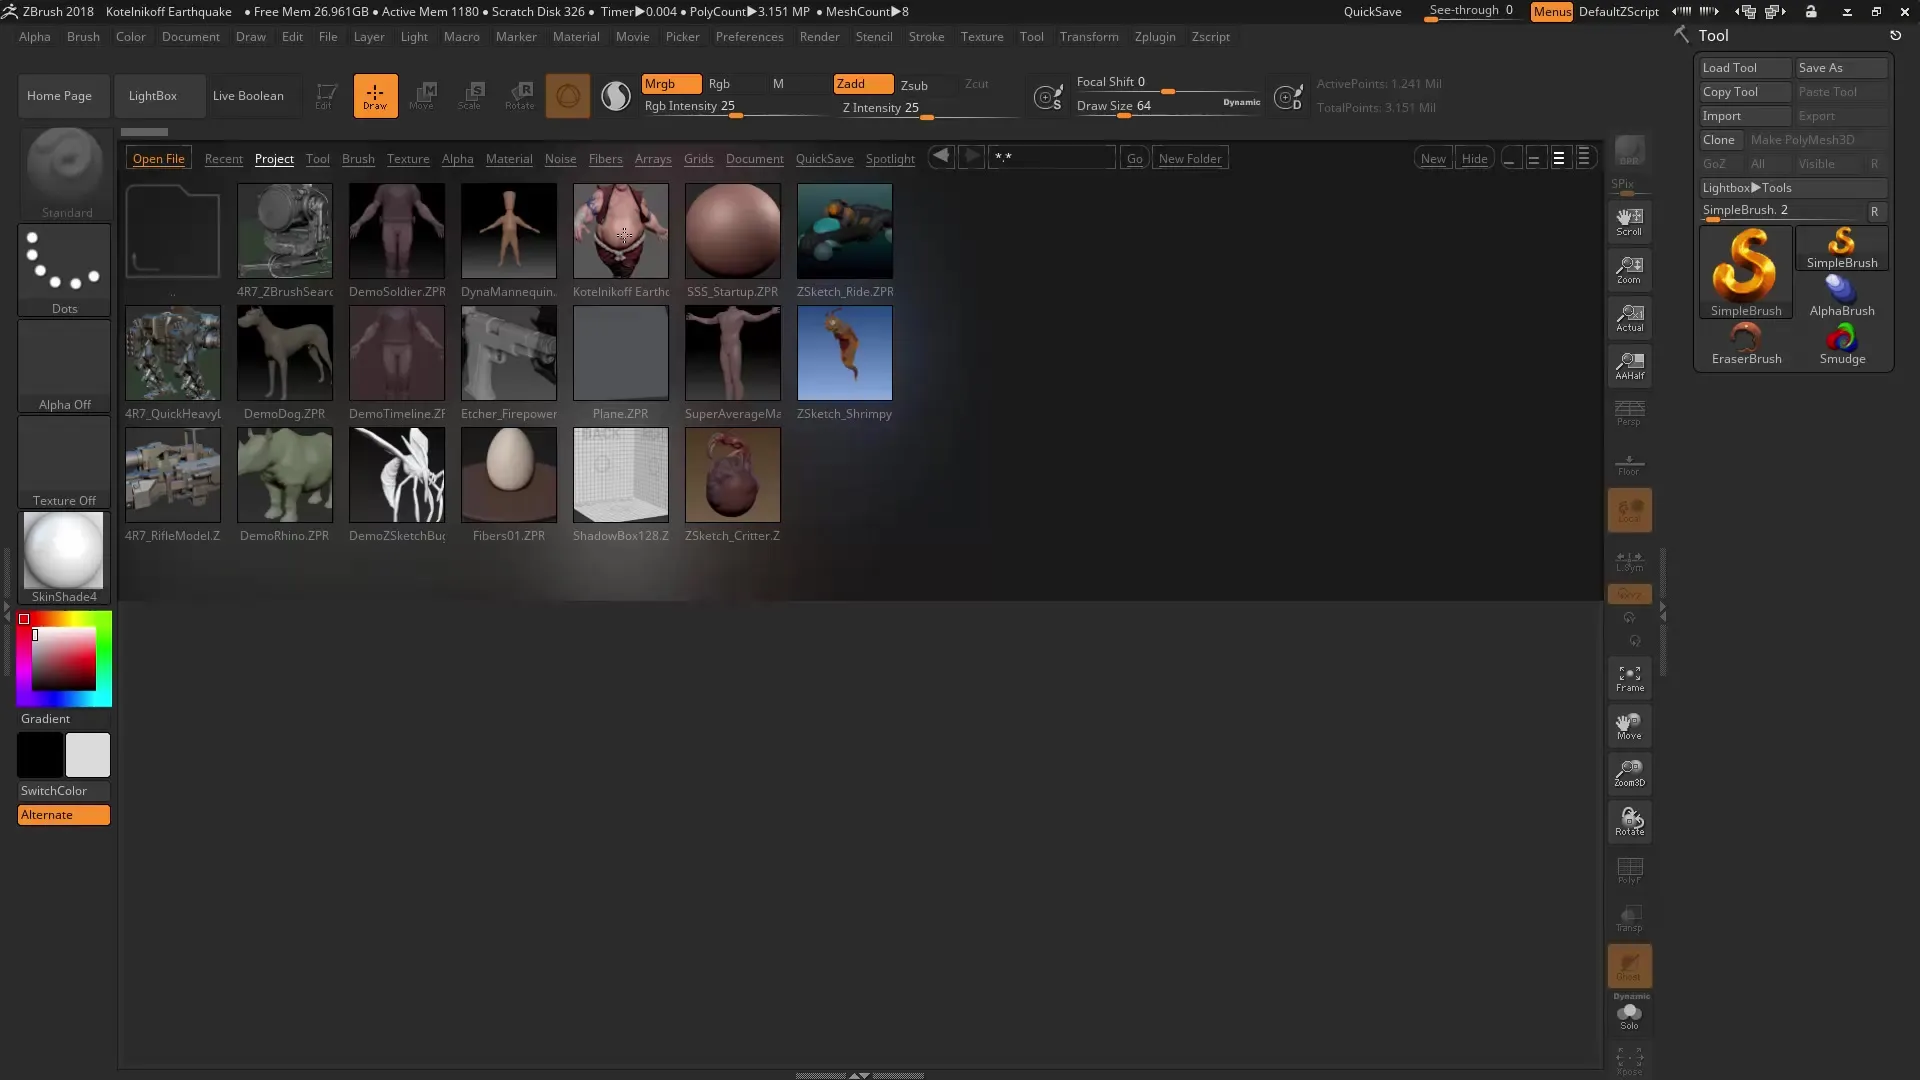
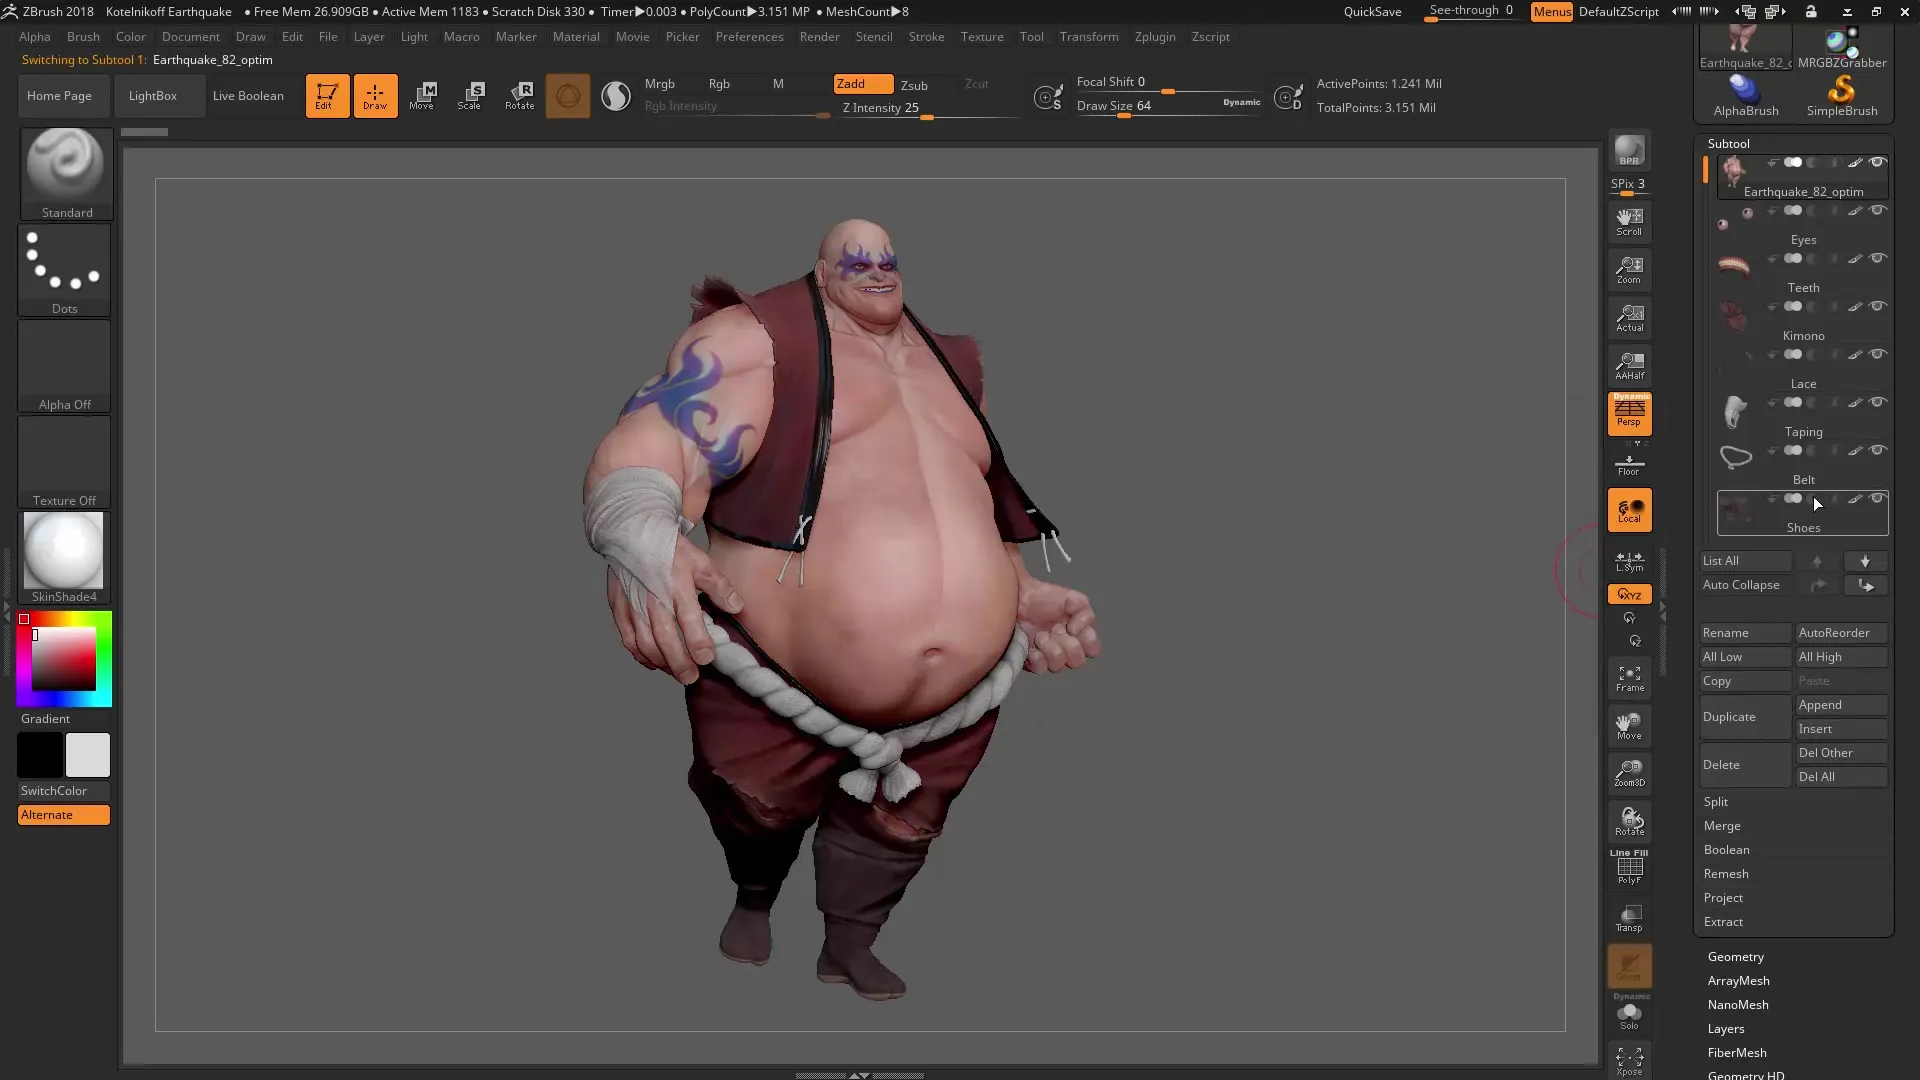
You can select the Subtools either by clicking directly on the image or by using the up and down arrow keys. You may already be familiar with this method, but it is important to solidify the basics.
2. Adjust Visibility Settings
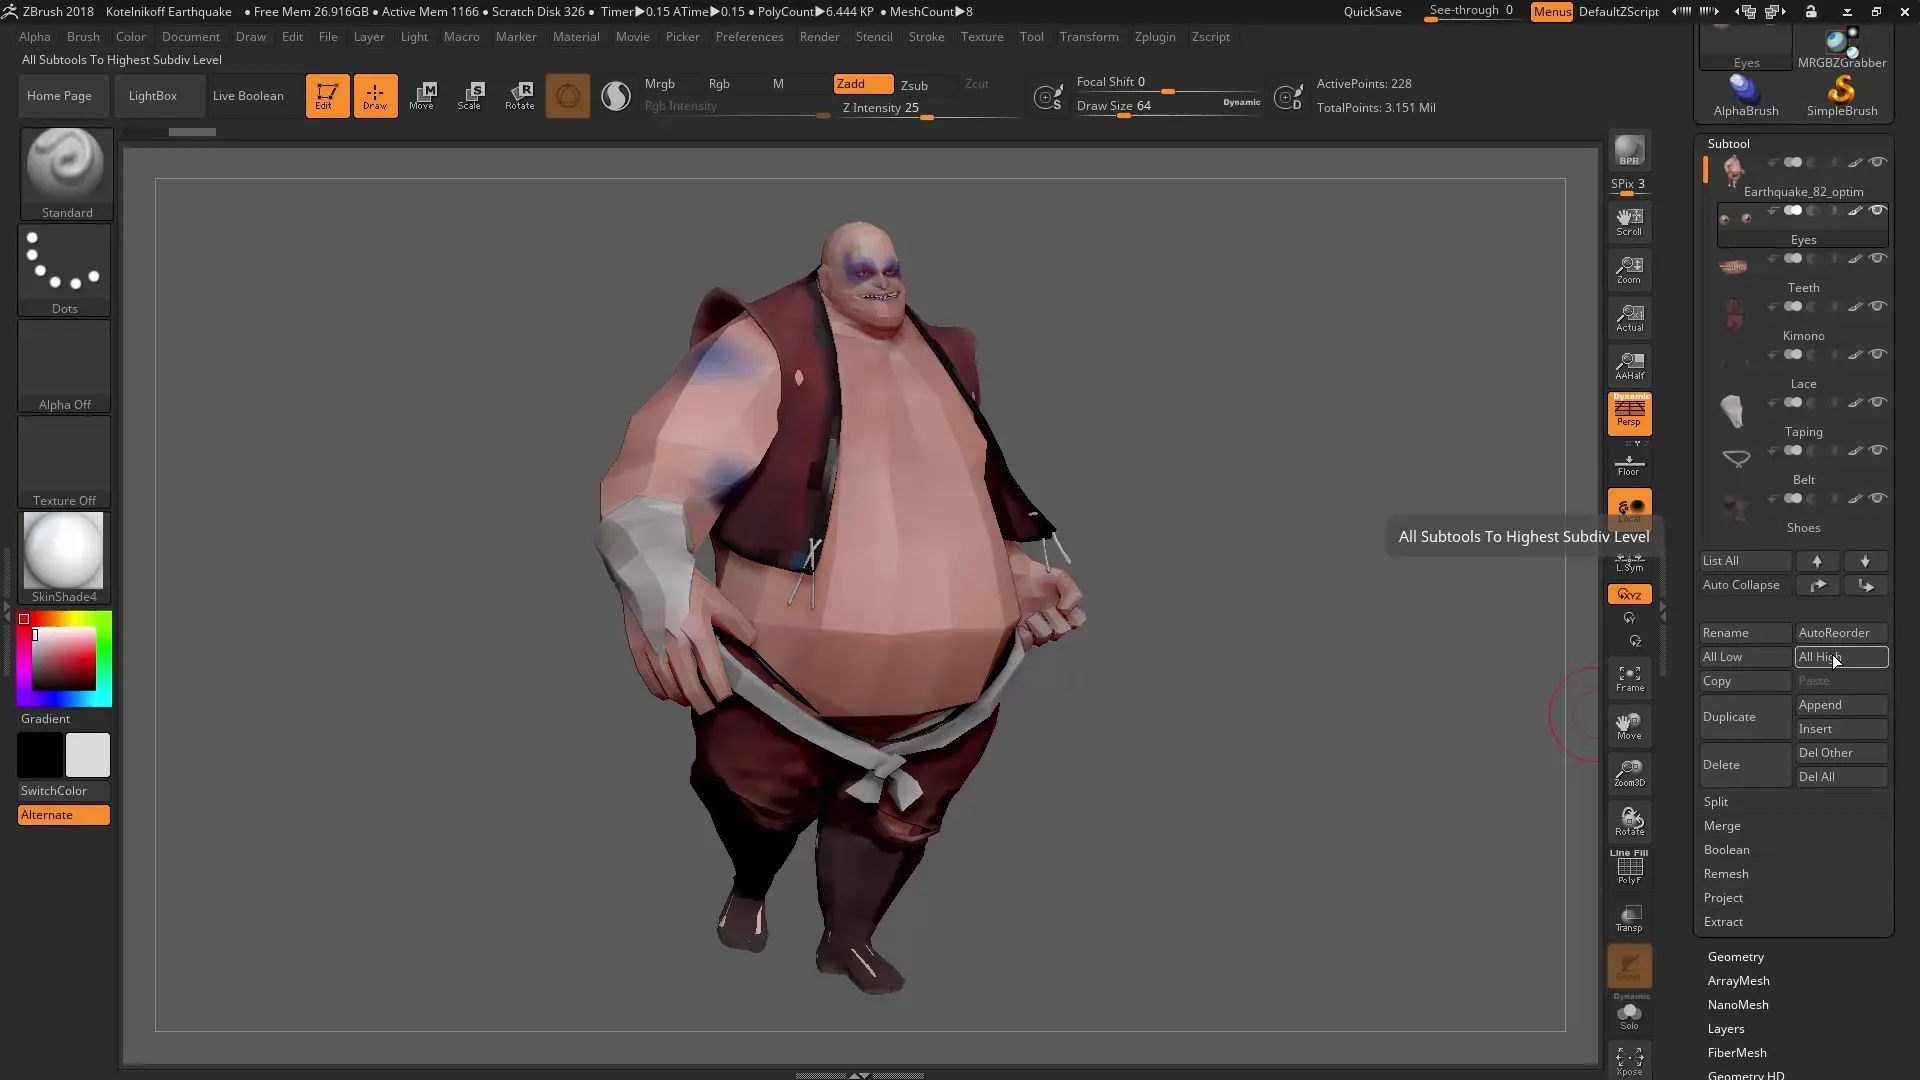
Another helpful feature is the easy handling of visibility settings. Check if all Subtools are at the highest subdivision level or if you want to reset them to the lowest levels.
Use the "All Low" and "All High" options to quickly adjust a large number of Subtools to the desired subdivision levels. This can be particularly helpful when you want to ensure that all Subtools have the same level of detail.
3. Manage Subtool Visibility
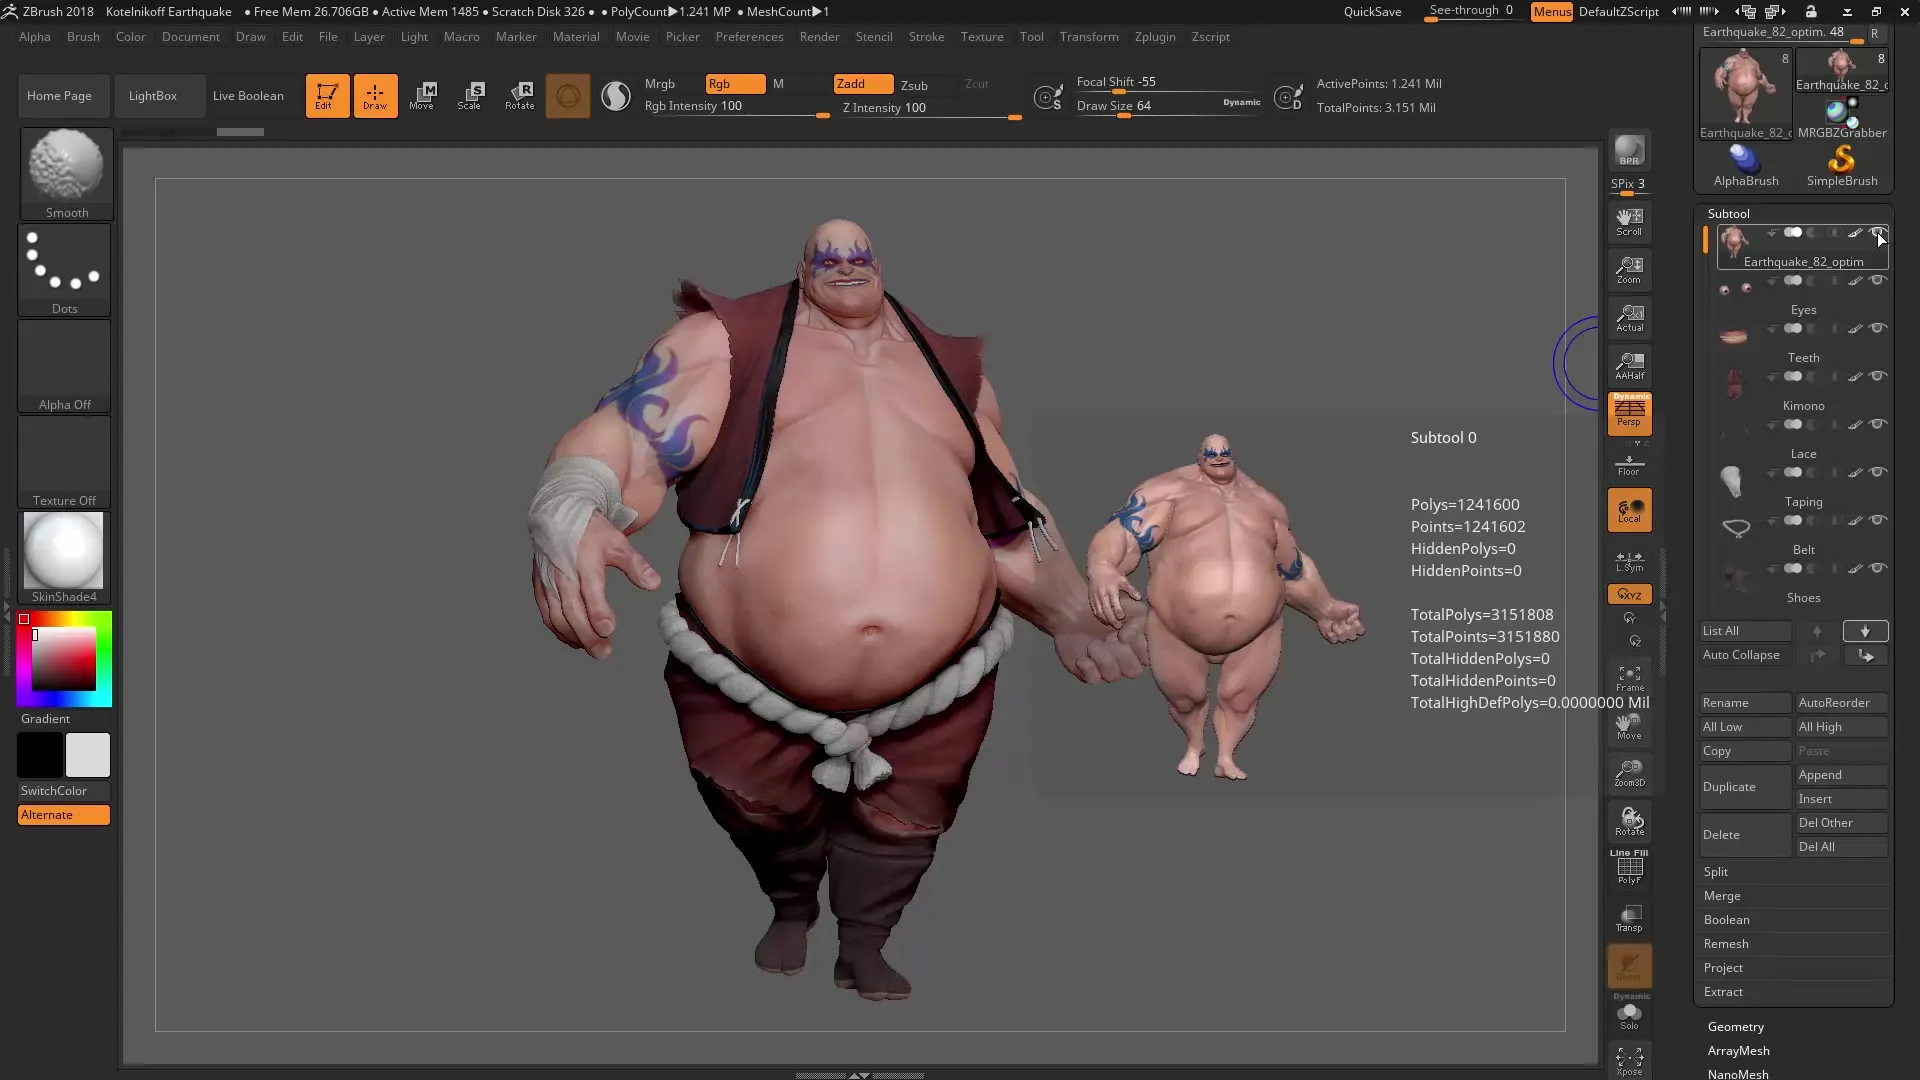
An important innovation concerns the visibility of Subtools. When you select the top Subtool and click on the eye icon, only this Subtool is displayed, without the others being automatically hidden.
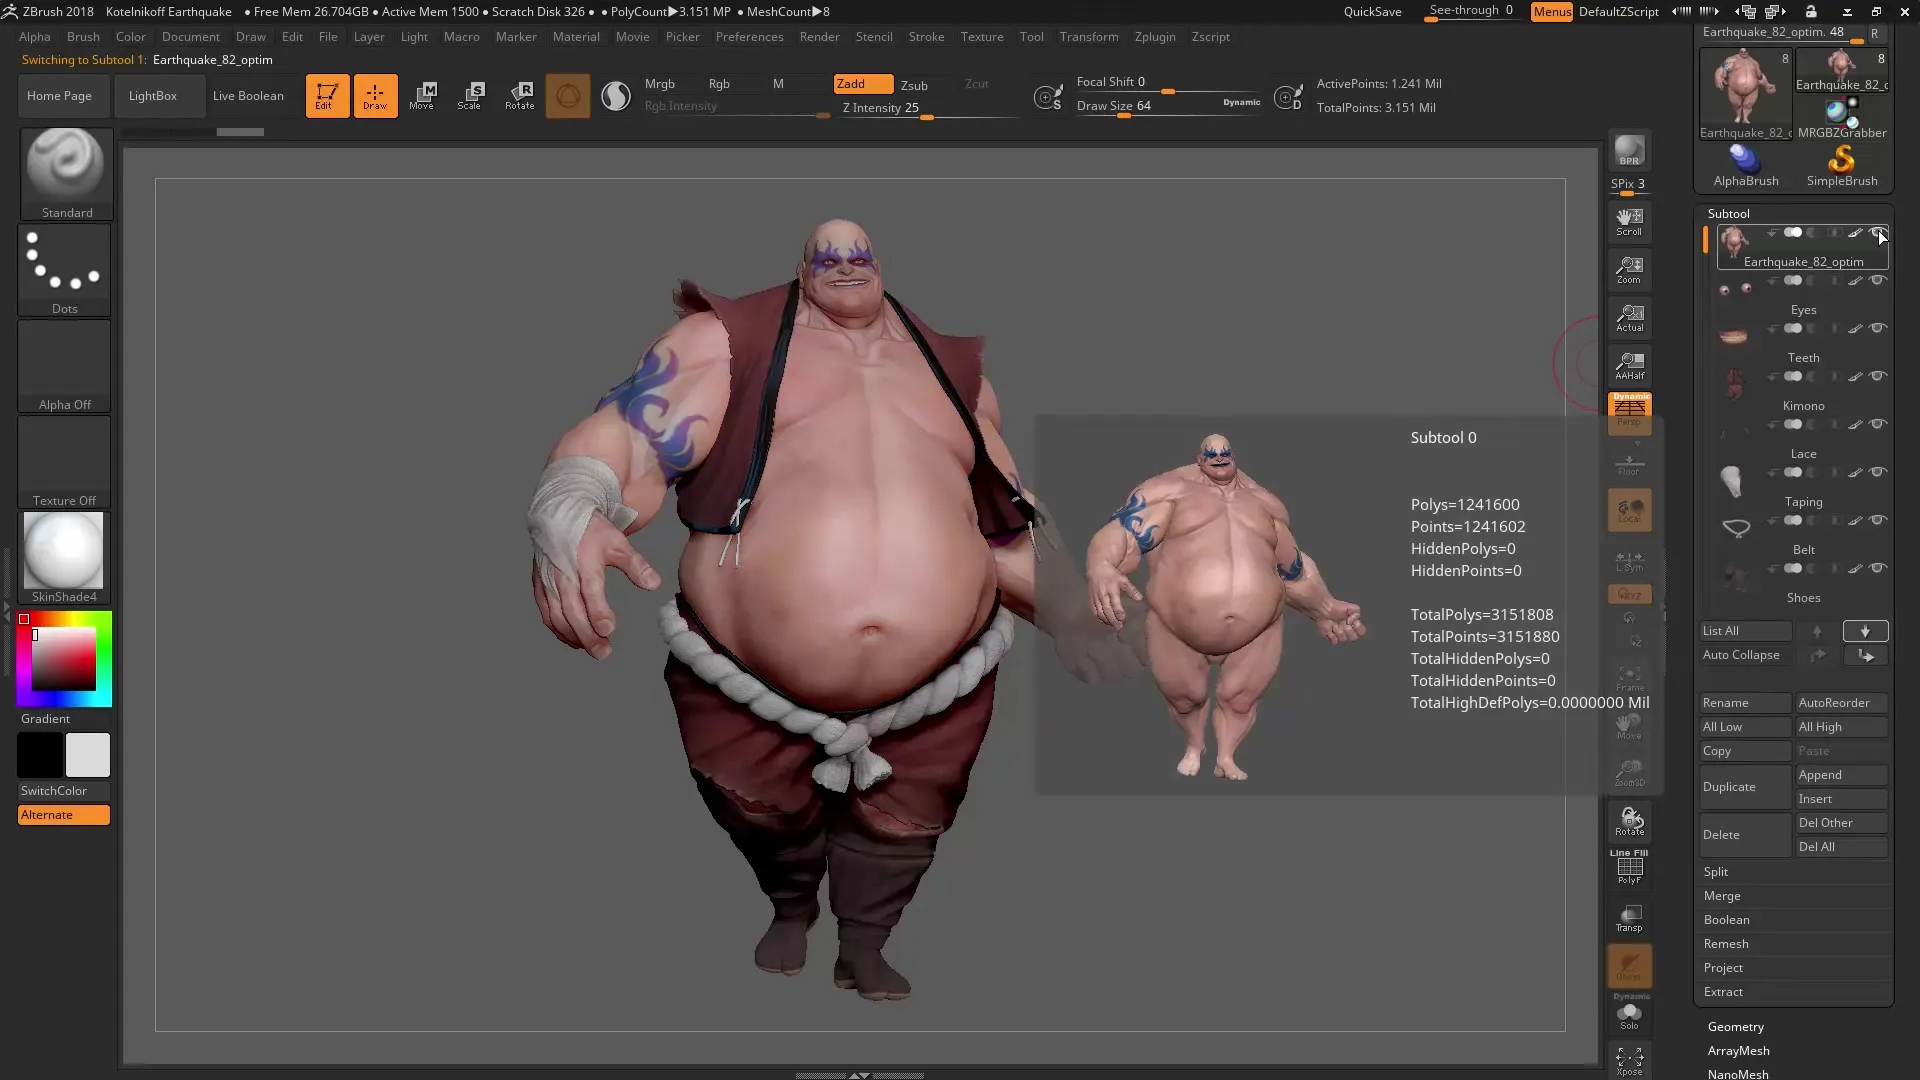
If you still want to hide all other Subtools, hold down the Shift key and click the eye icon again. This way, you can quickly control the visibility and make the desired Subtools visible.
4. Organize Subtools into Groups
When working with many Subtools, clarity can suffer. A useful solution is to group Subtools. You can create a group by clicking on the corresponding start grouping arrow.
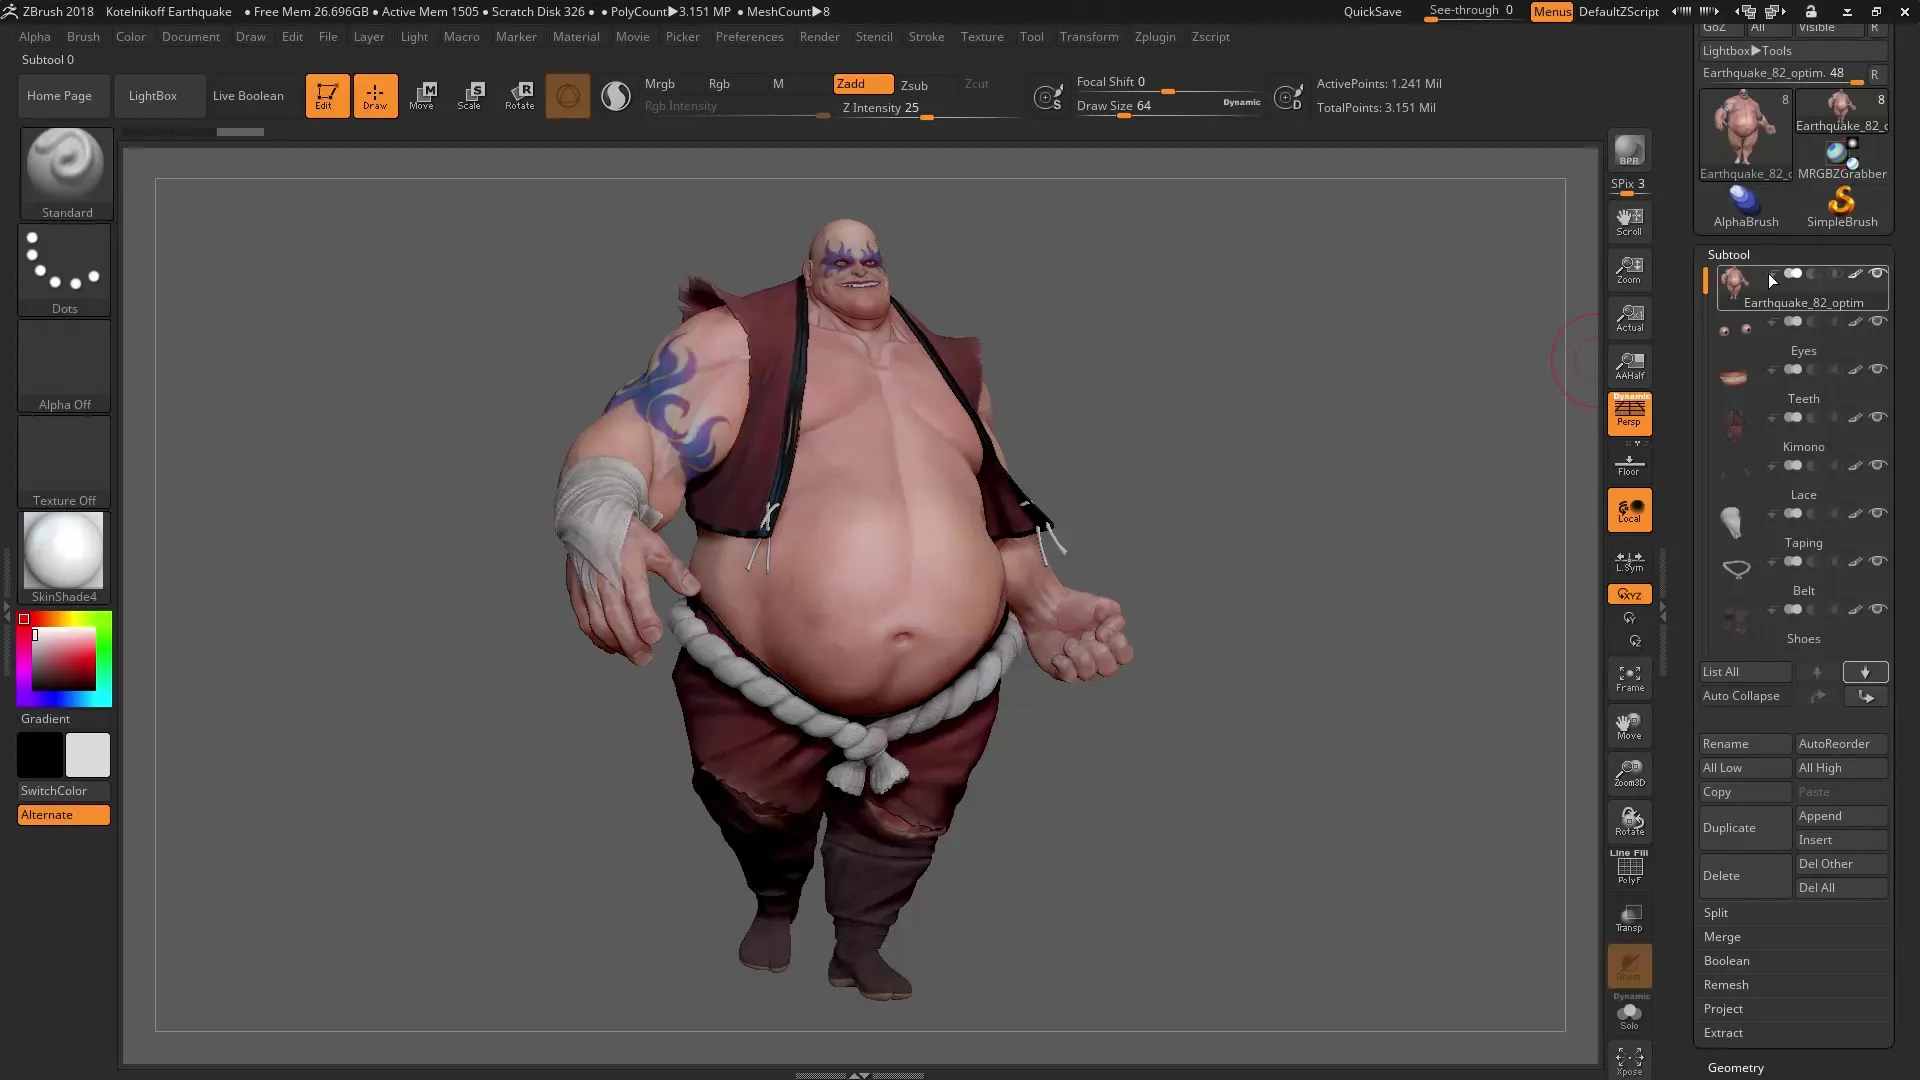
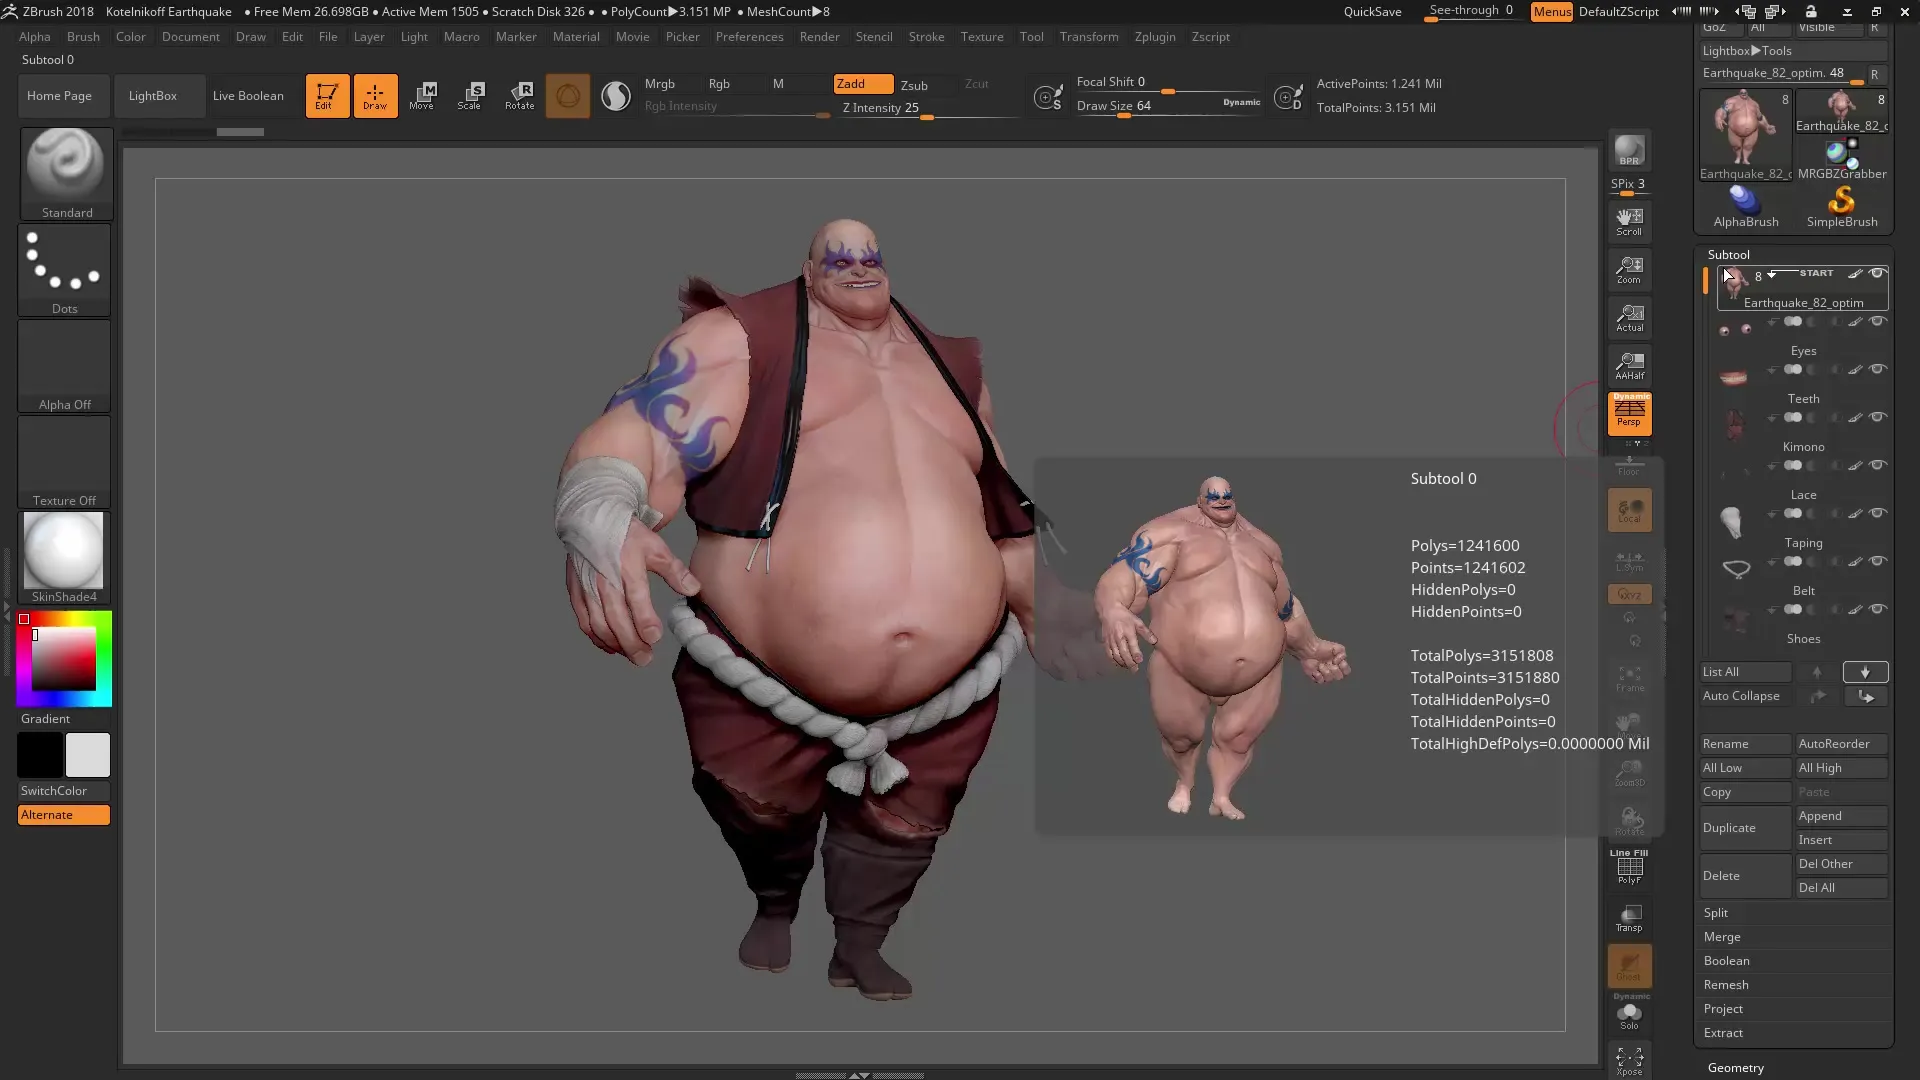
Once you have created a group – for example, for a body and its related parts – you can manage it selectively and adjust the visibility of the entire group.
5. Using Groups for Better Clarity
With the group function, you can control the visibility of Subtools as you wish. If you are only interested in clothing items, you can click on their visibility and hide the other objects.
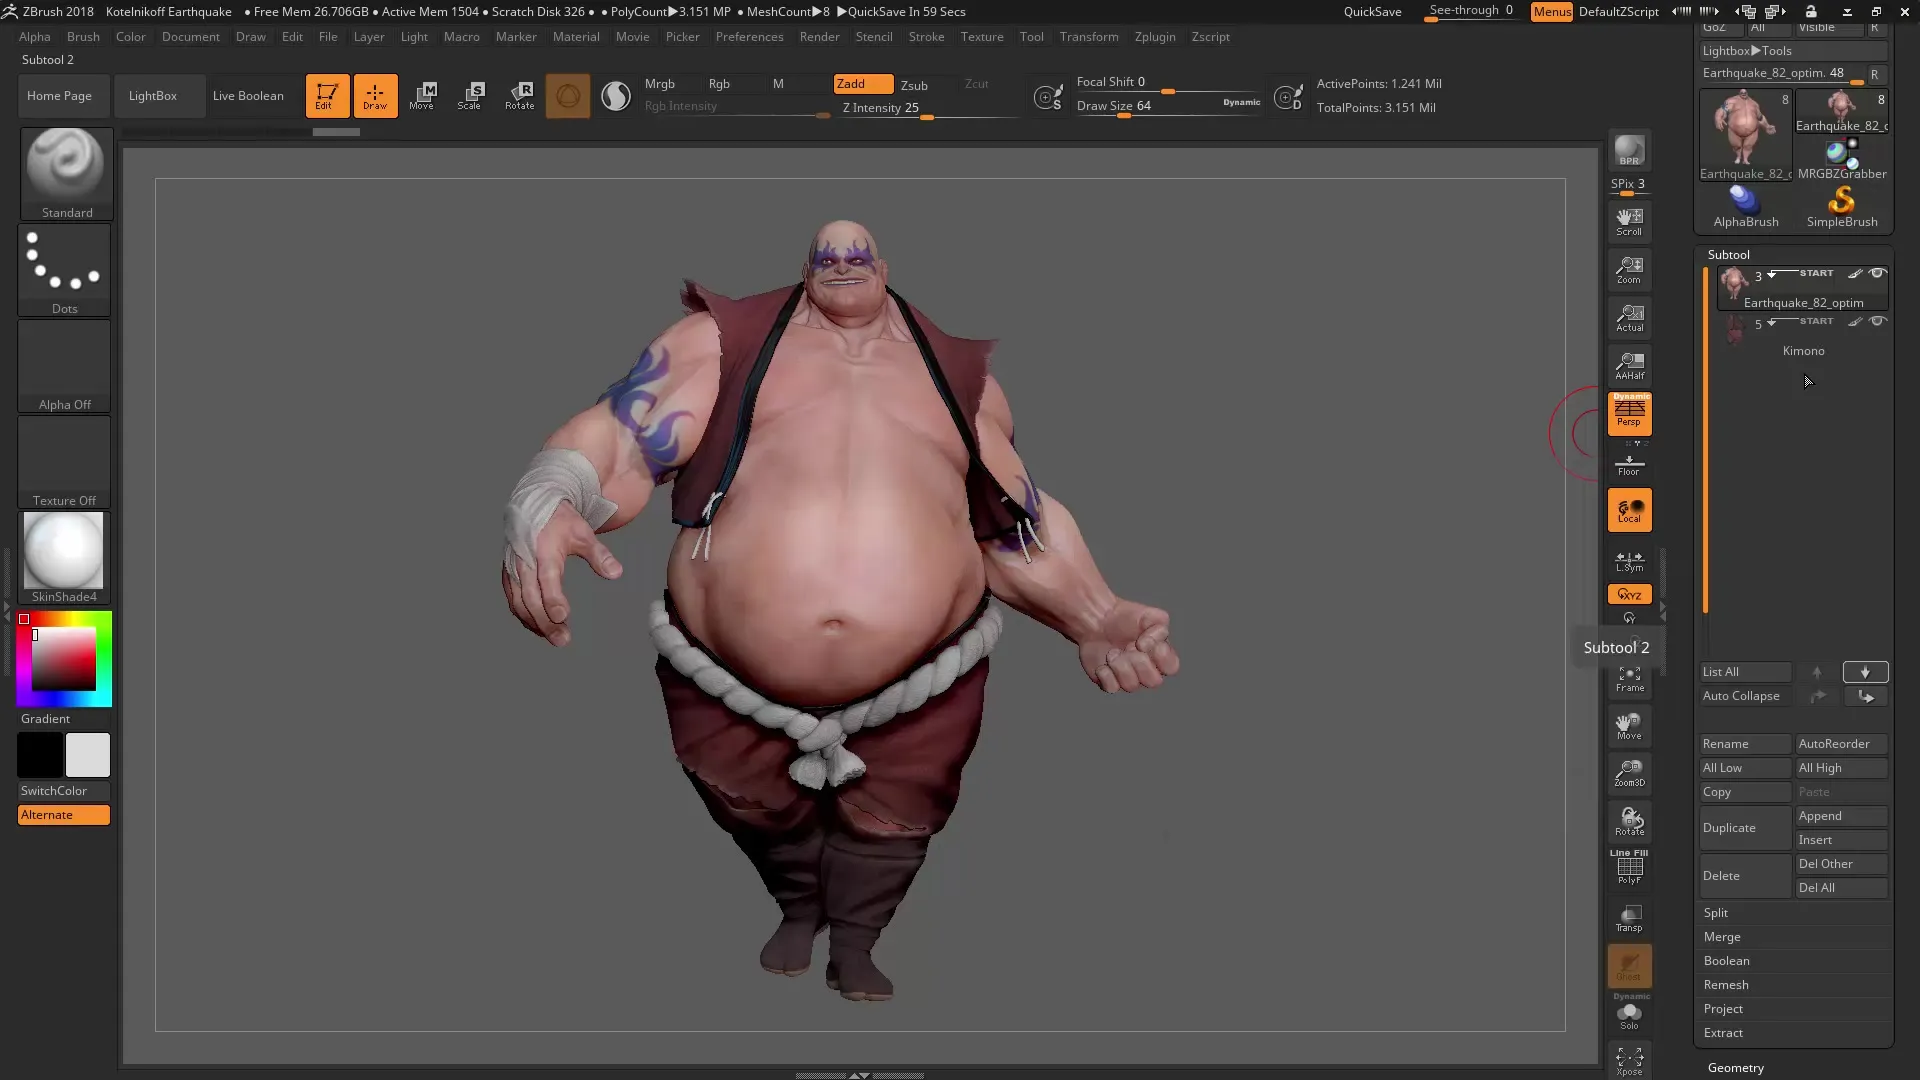
If it becomes too confusing, there is also the option to keep only the current group open using the "Autocollapse" function. This significantly improves clarity.
6. Adjusting and Deleting Groups
If you want to change your grouping decision, you can adjust the groups at any time. By clicking on the group icon, you can adjust the visibility of the Subtools or even delete the entire group.
By effectively managing the Subtools, you can significantly improve and optimize your workflow in ZBrush.
Summary – ZBrush 2018 and 4R8: Optimizing the Subtools Menu
The new features in the Subtools menu provide you with helpful tools to efficiently organize your Subtools and easily control their visibility. Learn to use these functions to improve your workflow.
Frequently Asked Questions
How does the grouping of Subtools work?You can group Subtools by clicking on an arrow to create a new group.
How can I control the visibility of Subtools?Click on the eye icon to adjust the visibility of a Subtool, or hold down the Shift key to hide multiple Subtools.
What happens if I activate the Autocollapse function?The Autocollapse function keeps only the currently selected group open, increasing clarity.
Can I edit a group later?Yes, you can adjust or delete groups at any time to change your perspective.
