Luminar 4 not only offers you the opportunity to manage your extensive photo collection but also to edit specific images independently of your catalog. The advantage of this feature lies in your ability to target specific adjustments to images without needing to integrate them into your entire library. This is particularly useful when you receive individual requests, for example when friends or acquaintances ask you to edit a photo for them. Below, you will learn step by step how to make optimal use of this feature.
Key Insights
- Luminar 4 allows editing of individual images independently of the catalog.
- With various selection methods, you can select multiple images simultaneously.
- The software offers practical tools for editing and exporting images.
- Be careful when removing images in individual image editing mode.
Step-by-Step Guide
To edit a single image in Luminar 4, do the following:
Start by opening Luminar 4. You can choose to work through your image catalog or to edit individual images directly. To edit an image detached from your catalog, go to the top menu bar and click on “File”. There, select “Edit Single Image”. Alternatively, you can use the plus symbol and select “Edit Single Image” as well.
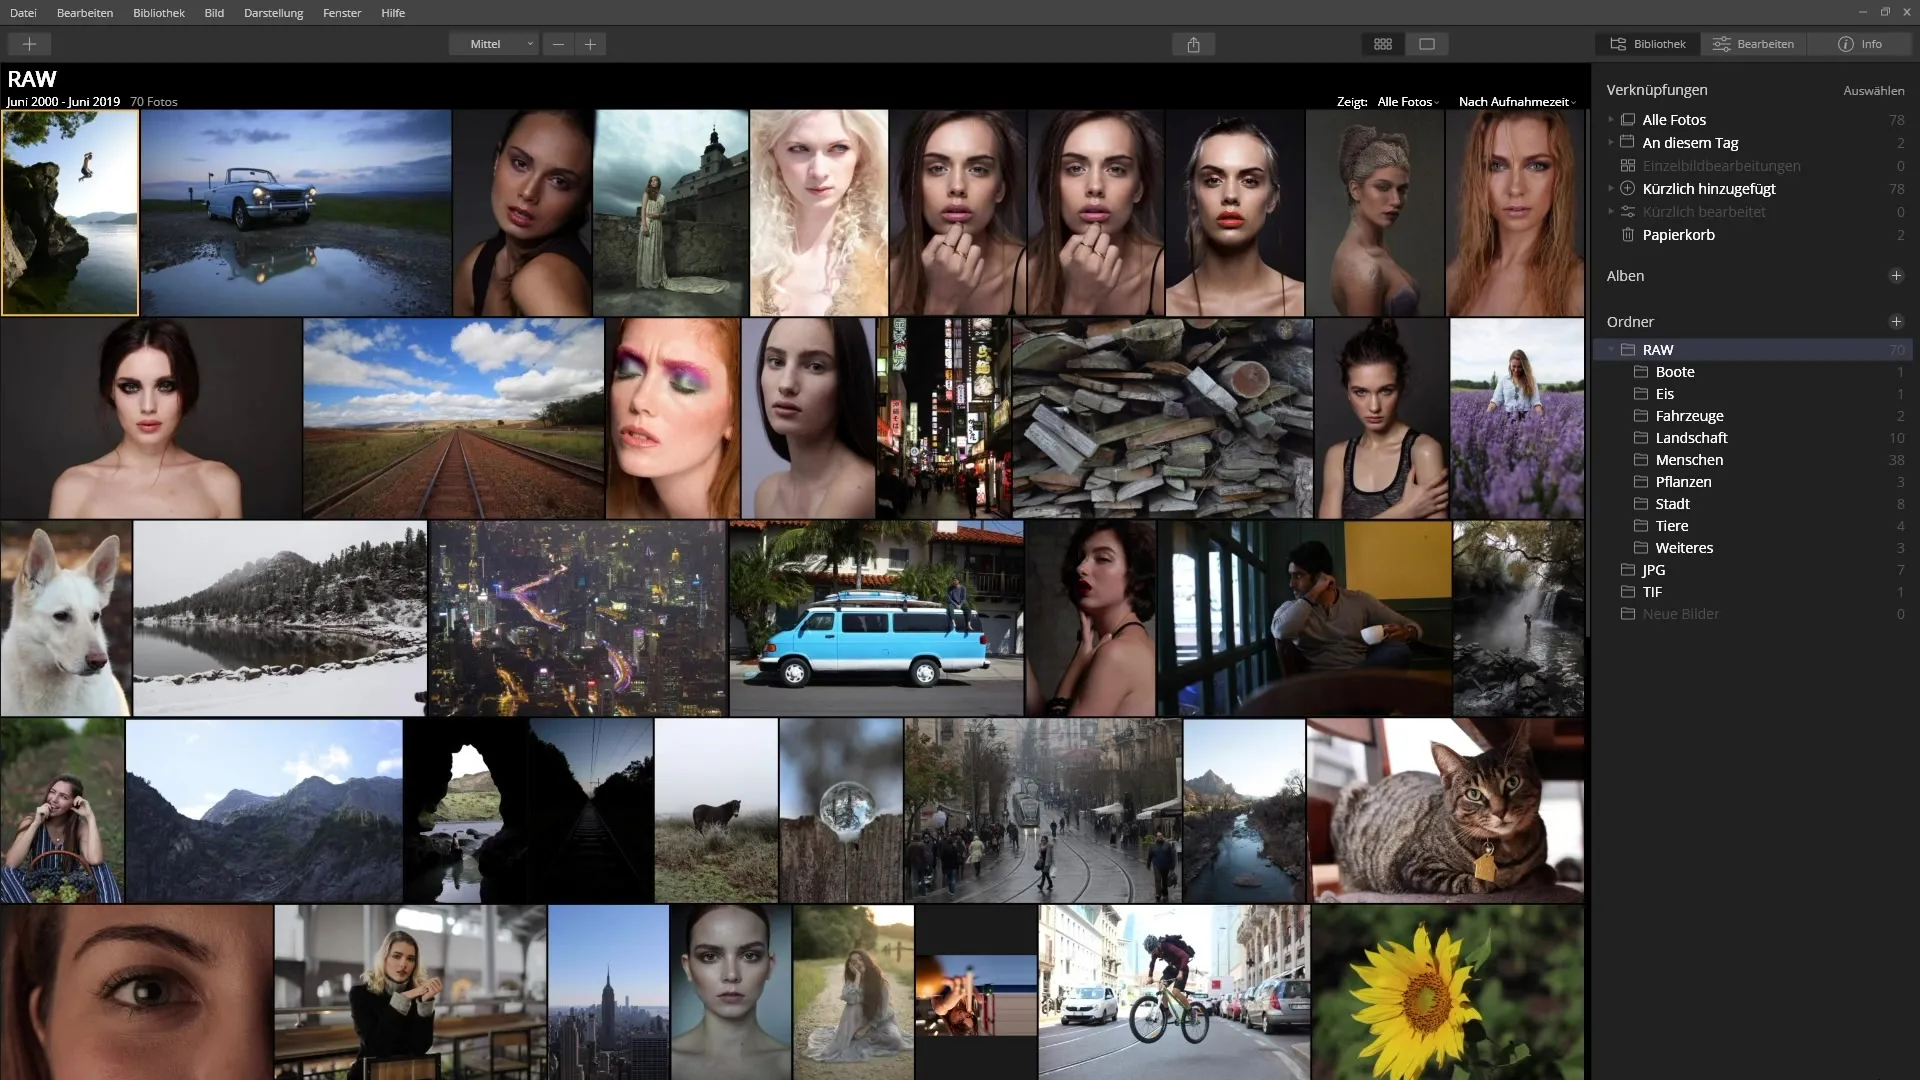
In the next step, a dialog box will open where you can select images from your hard drive. You have the option to select either a single image or multiple images. To select multiple images, hold down the control key (Ctrl) while clicking on the desired images. After the selection, click on the “Open” button. This will load the images into Luminar 4, and you can start editing.
Once you have loaded the images, a preview of the selected images will appear on the left in the image browser. Now you can start editing. In the top image bar, you have various templates that you can apply to your image. A click on a template immediately shows you how your image would look with that template. This allows you to quickly try out different effects.
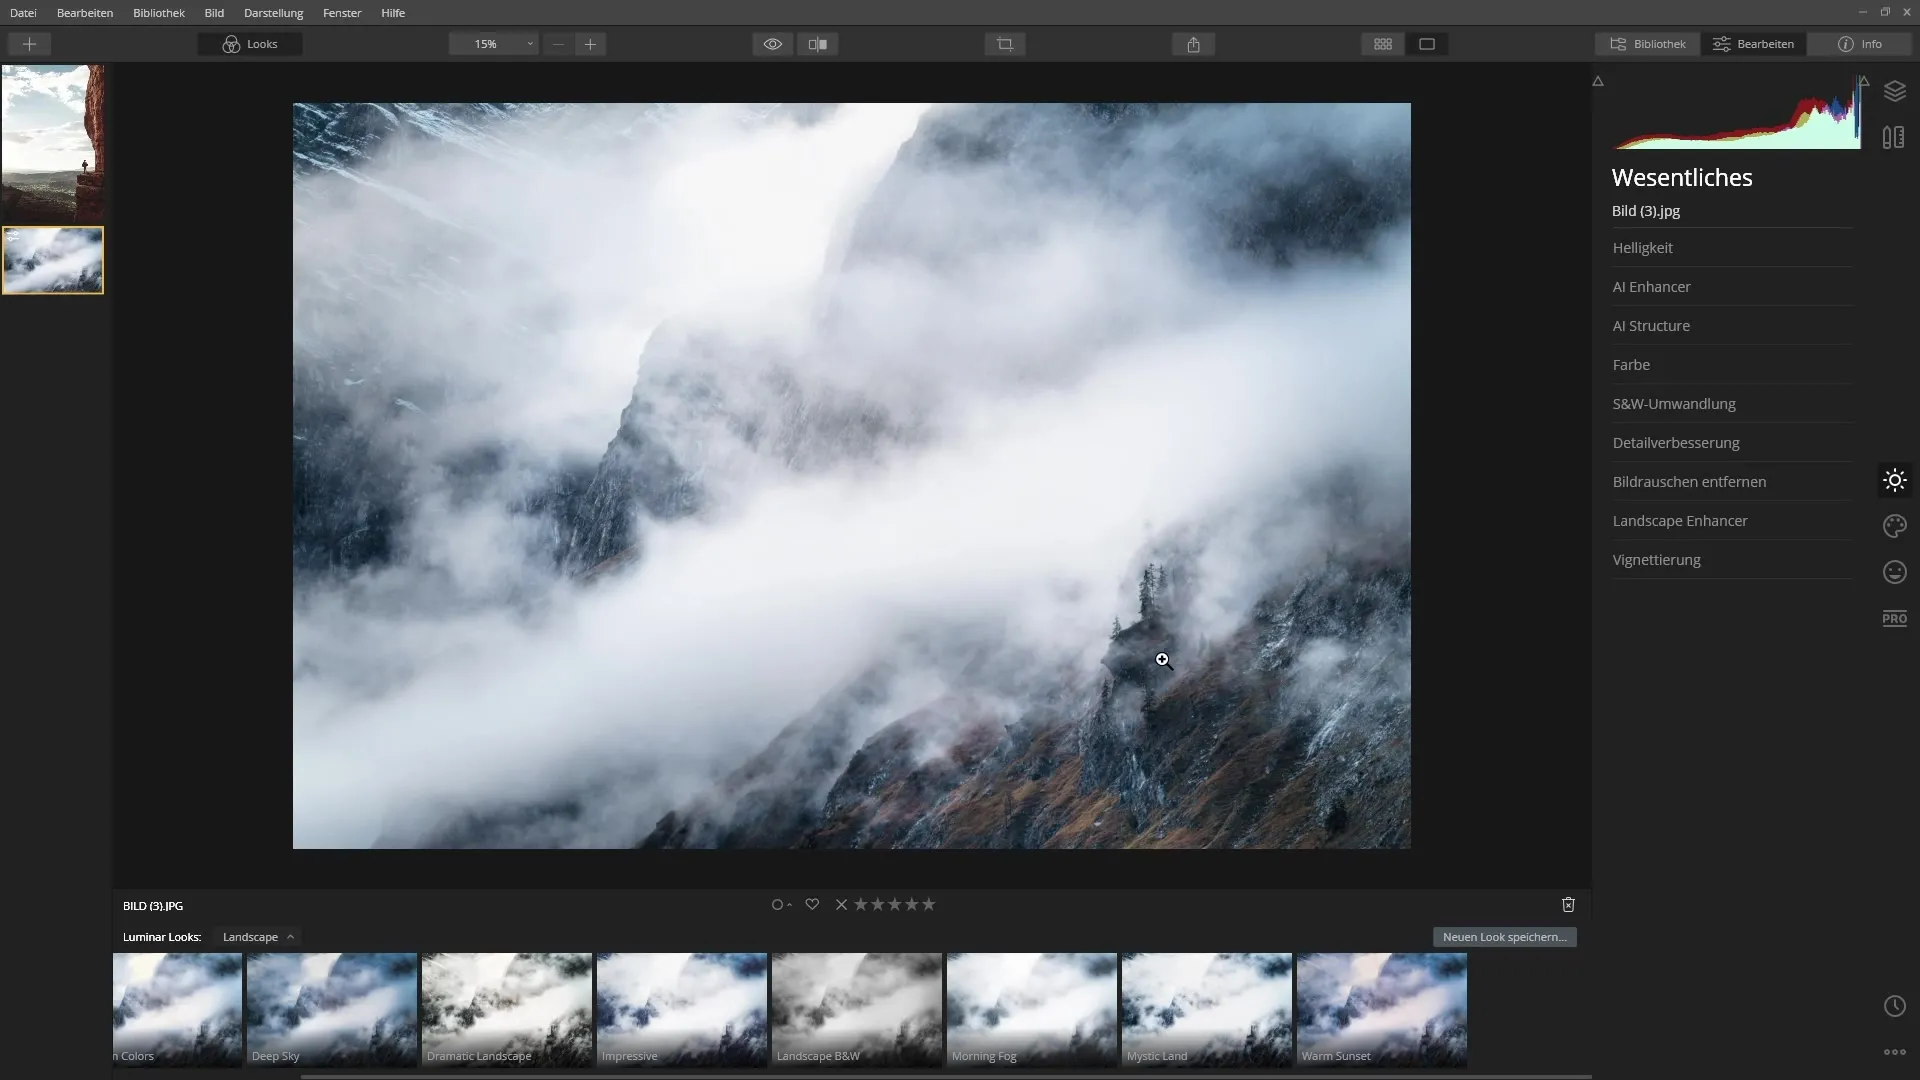
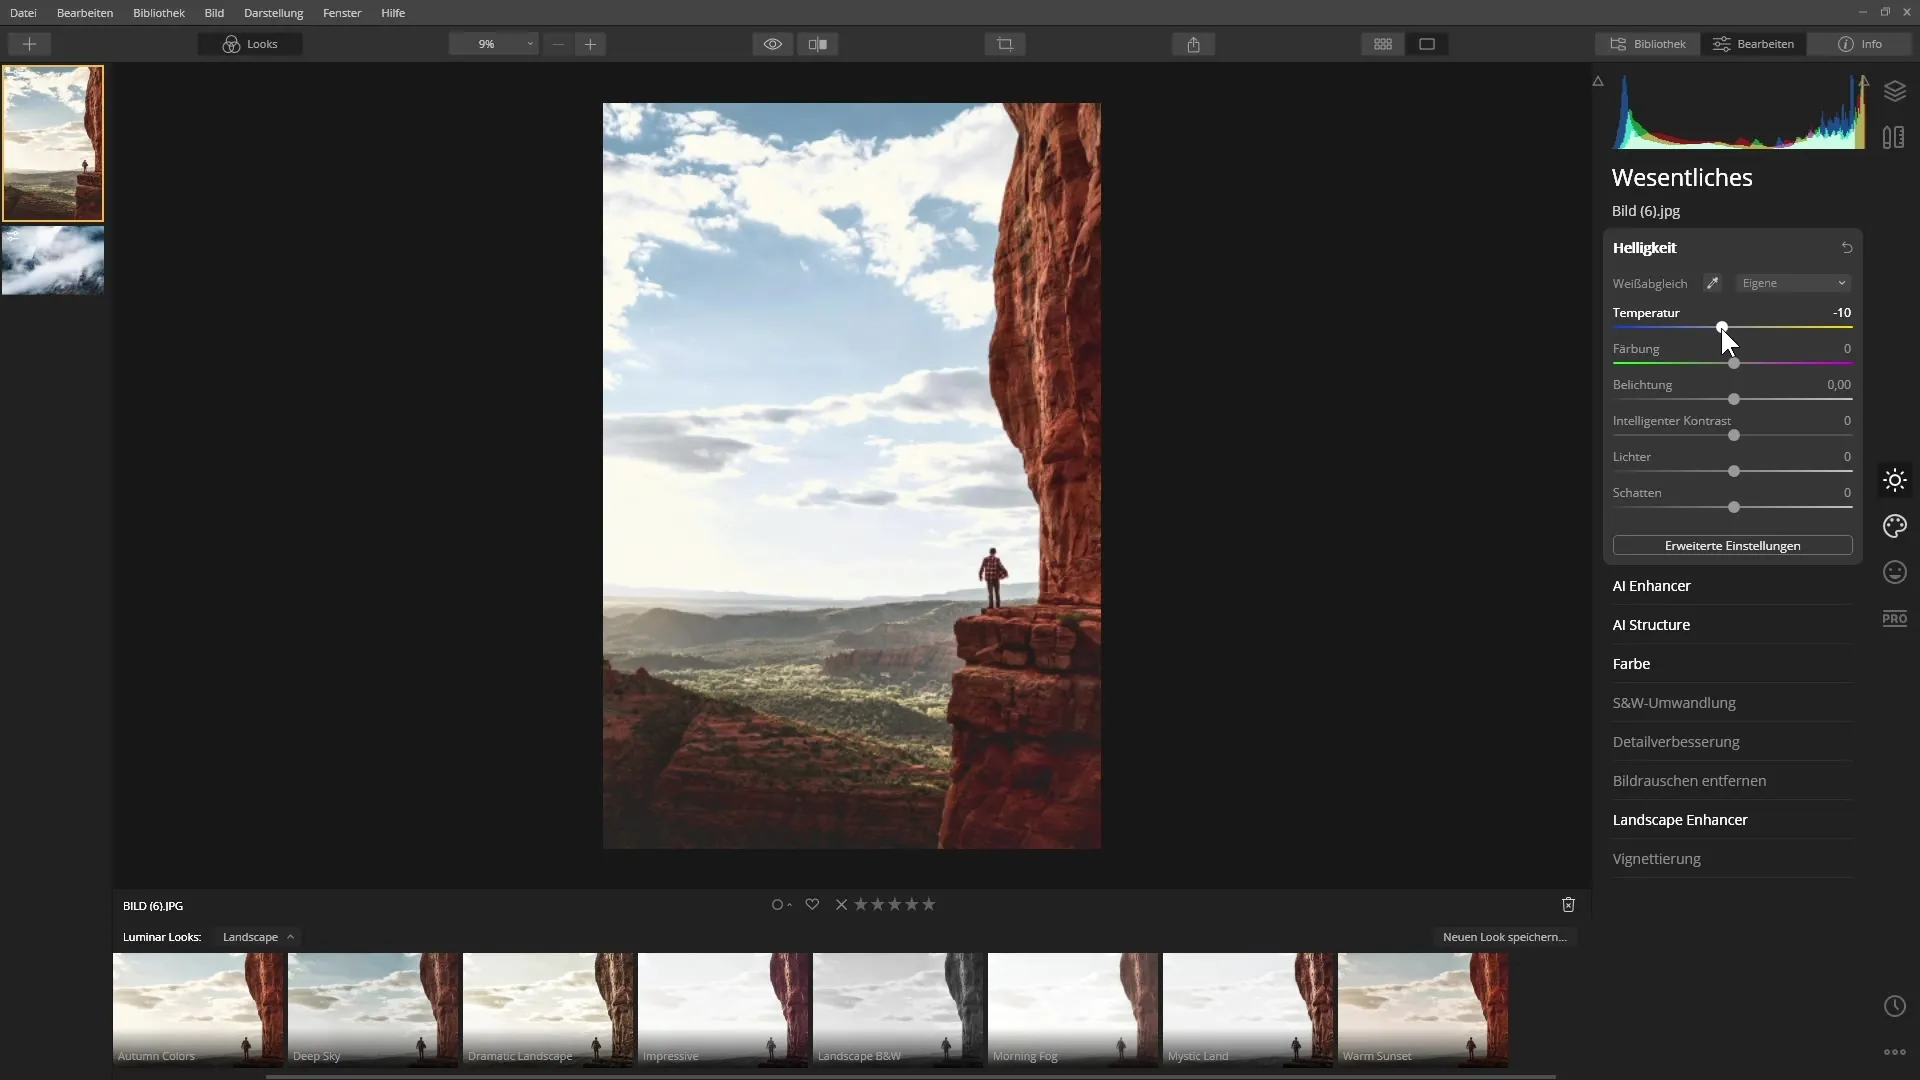
The Lux Panel, located at the bottom of the screen, offers you numerous adjustment options. You can adjust brightness, contrast, and other parameters as desired to shape the image according to your preferences. Consider whether you want to crop the image or adjust the color values. Use the tools in the editing area to further customize the image.
When you are satisfied with your edited image, export it. To do this, click on “Export as Image” at the top. You will be prompted to choose a location on your hard drive. Be sure to select the correct folder using the “Browse” function where the image should be stored. Although the export process in Luminar 4 may take a bit longer than in some other programs, it is necessary to save your edited image accordingly.
After exporting, you can return to your catalog at any time without the edited images being saved there. You can still view the edited images in this area or return to edit new images. This shows the flexibility of Luminar 4 in editing.
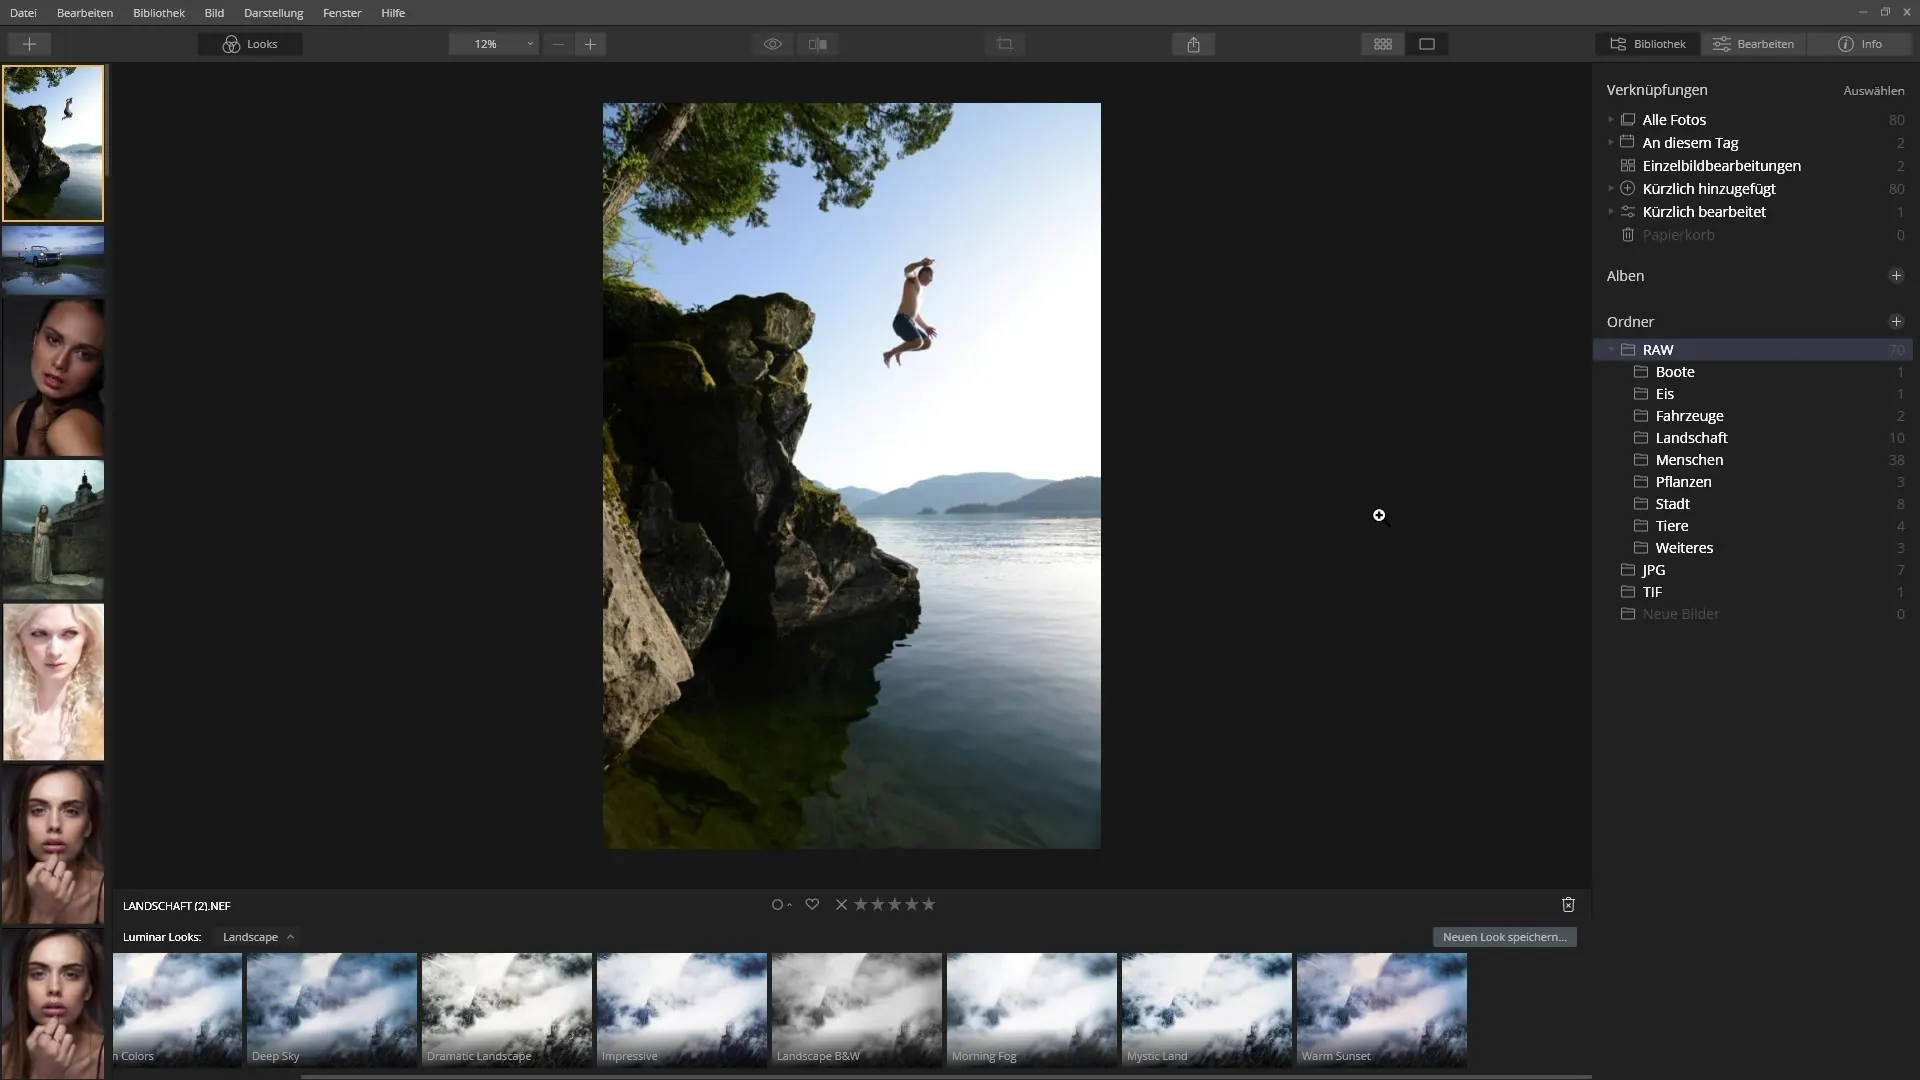
To remove images from the individual image editing area, be cautious. Click on the trash can icon at the bottom right to do so. Note that clicking on this icon will remove the image from this area without warning. It will go to the trash (Trash) of your operating system, where it may be close to being permanently deleted. Make sure you are aware of the consequences.
If you have accidentally deleted the image, you can right-click and select “Reset” to restore it. Alternatively, you can permanently delete the image by choosing “Permanently Delete” in the context menu. A warning message will be displayed before this option to ensure that you are making the right decision.
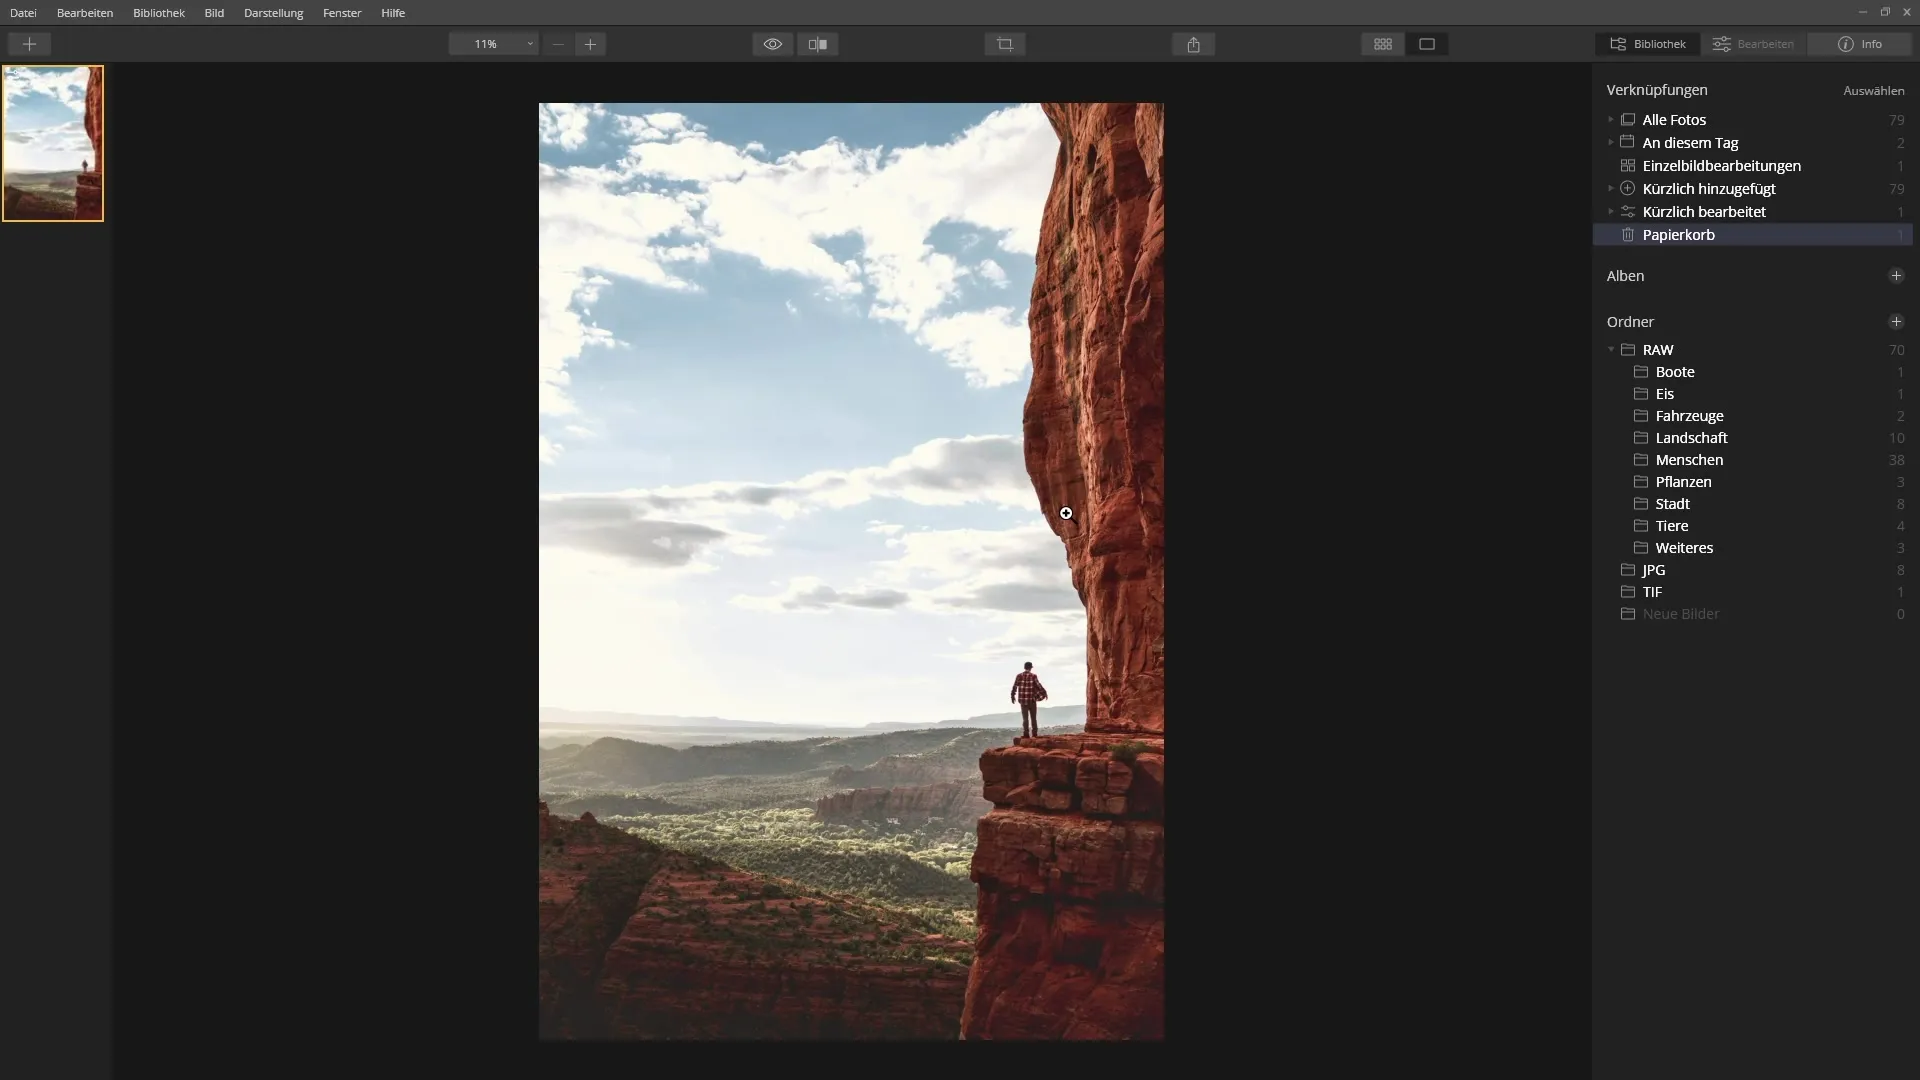
When you have finished editing and exporting individual images, you can effectively clean up the individual image editing by calling the images you no longer need with the option “Remove Individual Image Editing”. These steps are important to keep your workspace organized.
Summary – Skylum Luminar 4: Effectively Edit Individual Images
You have now learned how to edit individual images in Luminar 4 independently of your catalog. This step-by-step guide should help you implement your image editing efficiently and purposefully.
Frequently Asked Questions
How do I open a single image in Luminar 4?Click on “File” and select “Edit Single Image” or use the plus symbol.
Can I select multiple images at once?Yes, hold down the control key (Ctrl) while clicking on the desired images.
How do I save my edited image?Click on “Export as Image” and choose a location on your hard drive.
How do I remove images from individual image editing?Click on the trash can icon to remove the image; be aware of the consequences.
What do I do if I accidentally deleted an image?Right-click and select “Reset” to restore the image.


