Luminar4simplifies image editing tremendously, especially through the use of so-called Looks. The user interface and functionality are designed in such a way that even beginners can quickly and easily achieve the desired results. In this guide, you will learn how to use pre-made templates effectivelyto give your image the ideal look.
Key Insights
- Luminar 4 offers numerous pre-made Looks that combine multiple filters at once.
- Each Look consists of a collection of activated filters that correspond to a specific image style.
- You can customize Looks, create your own, and save favorites.
Step-by-Step Guide
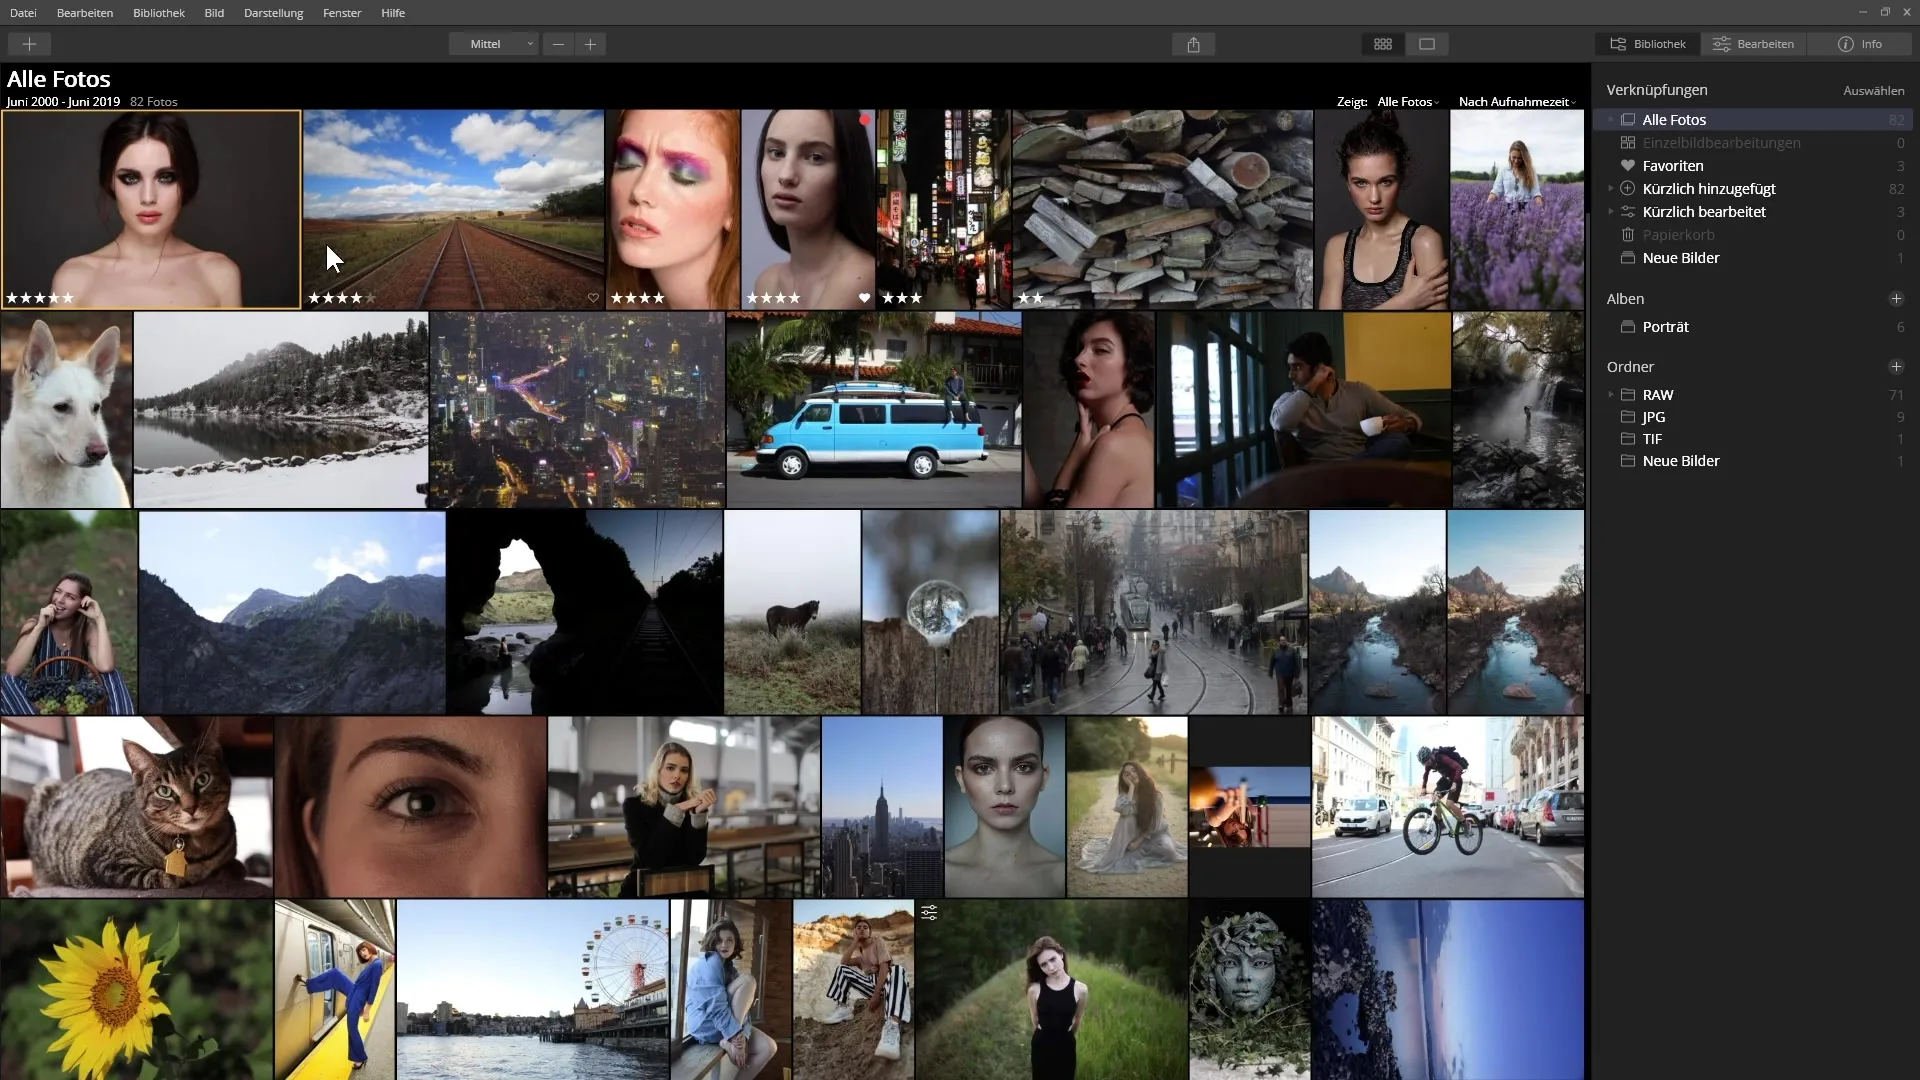
1. Open Library and Select Image
Go to the library to select the image you want to edit. Make sure you can actively select the image by clicking on it.
2. Switch to Editing Area
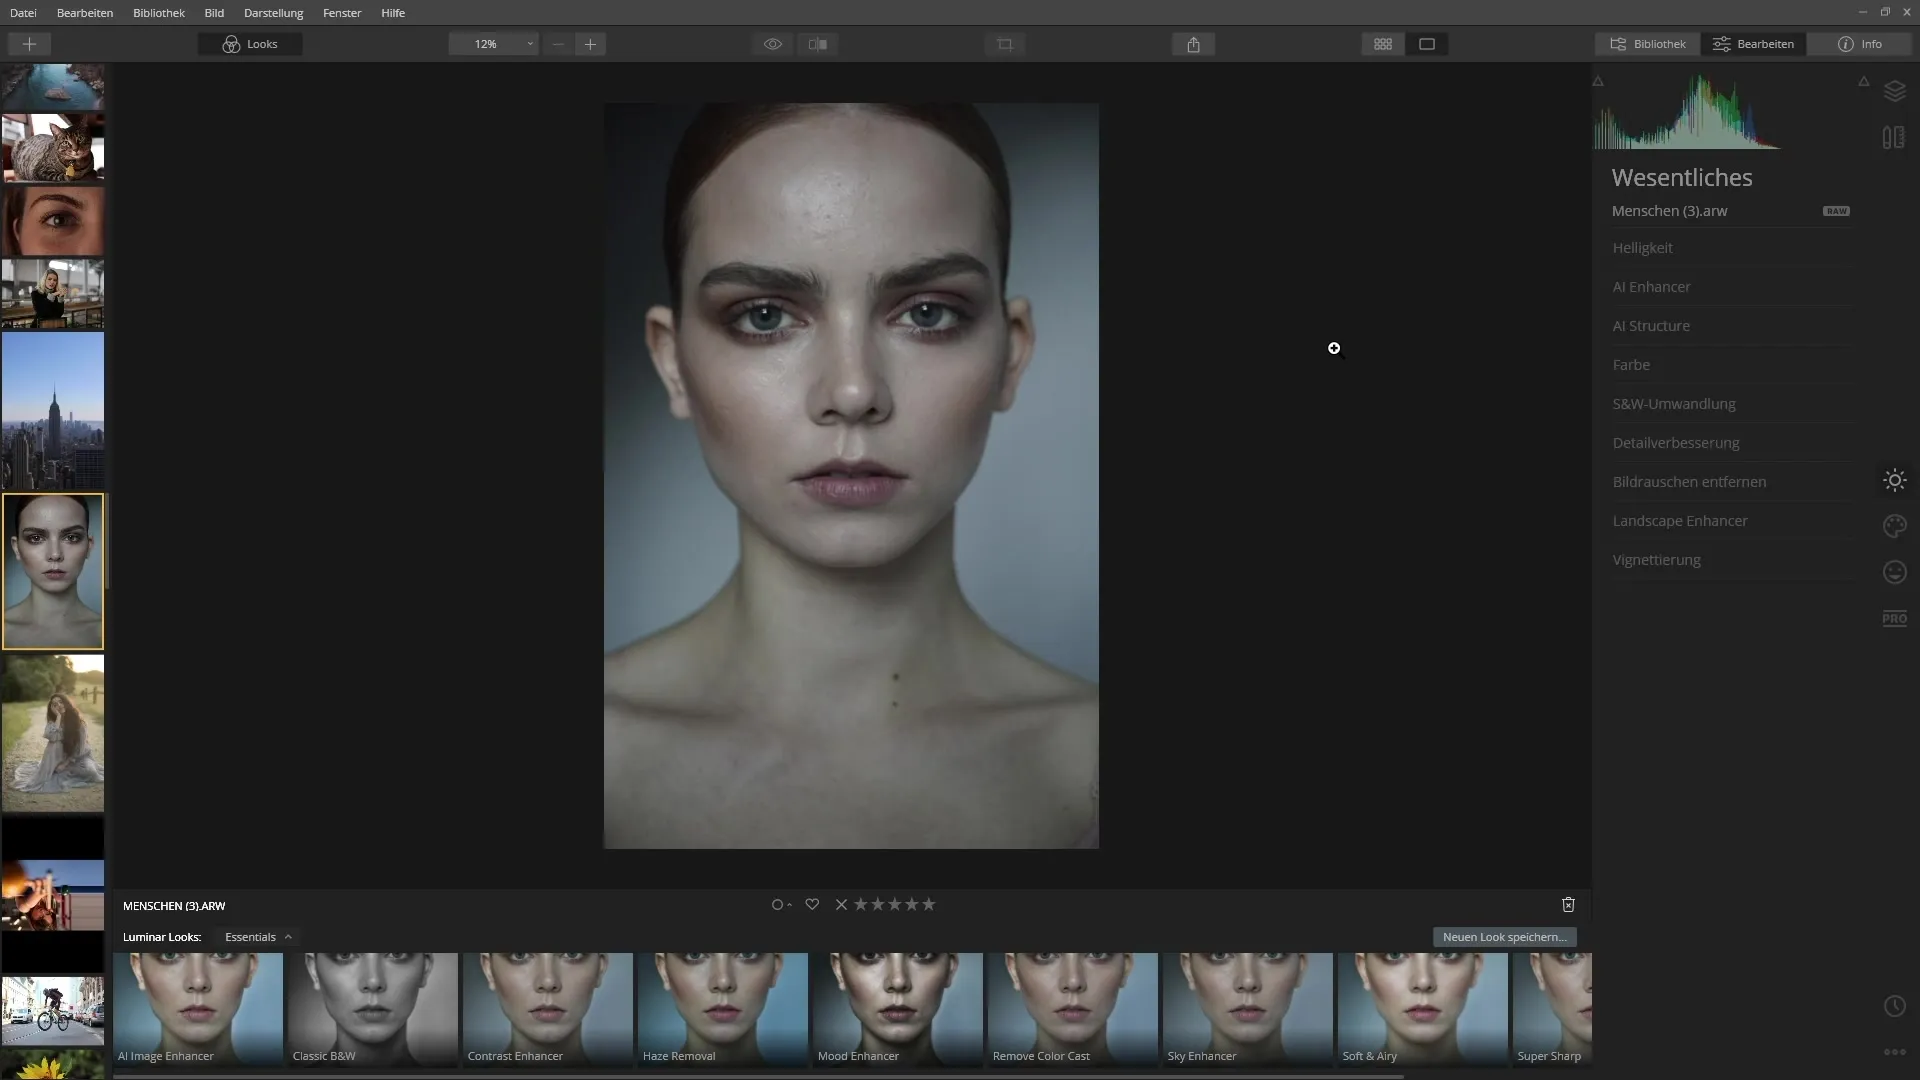
After selecting your image, go to the editing area. Here, your image is displayed larger, and you will have access to all available editing functions.
3. Show Looks
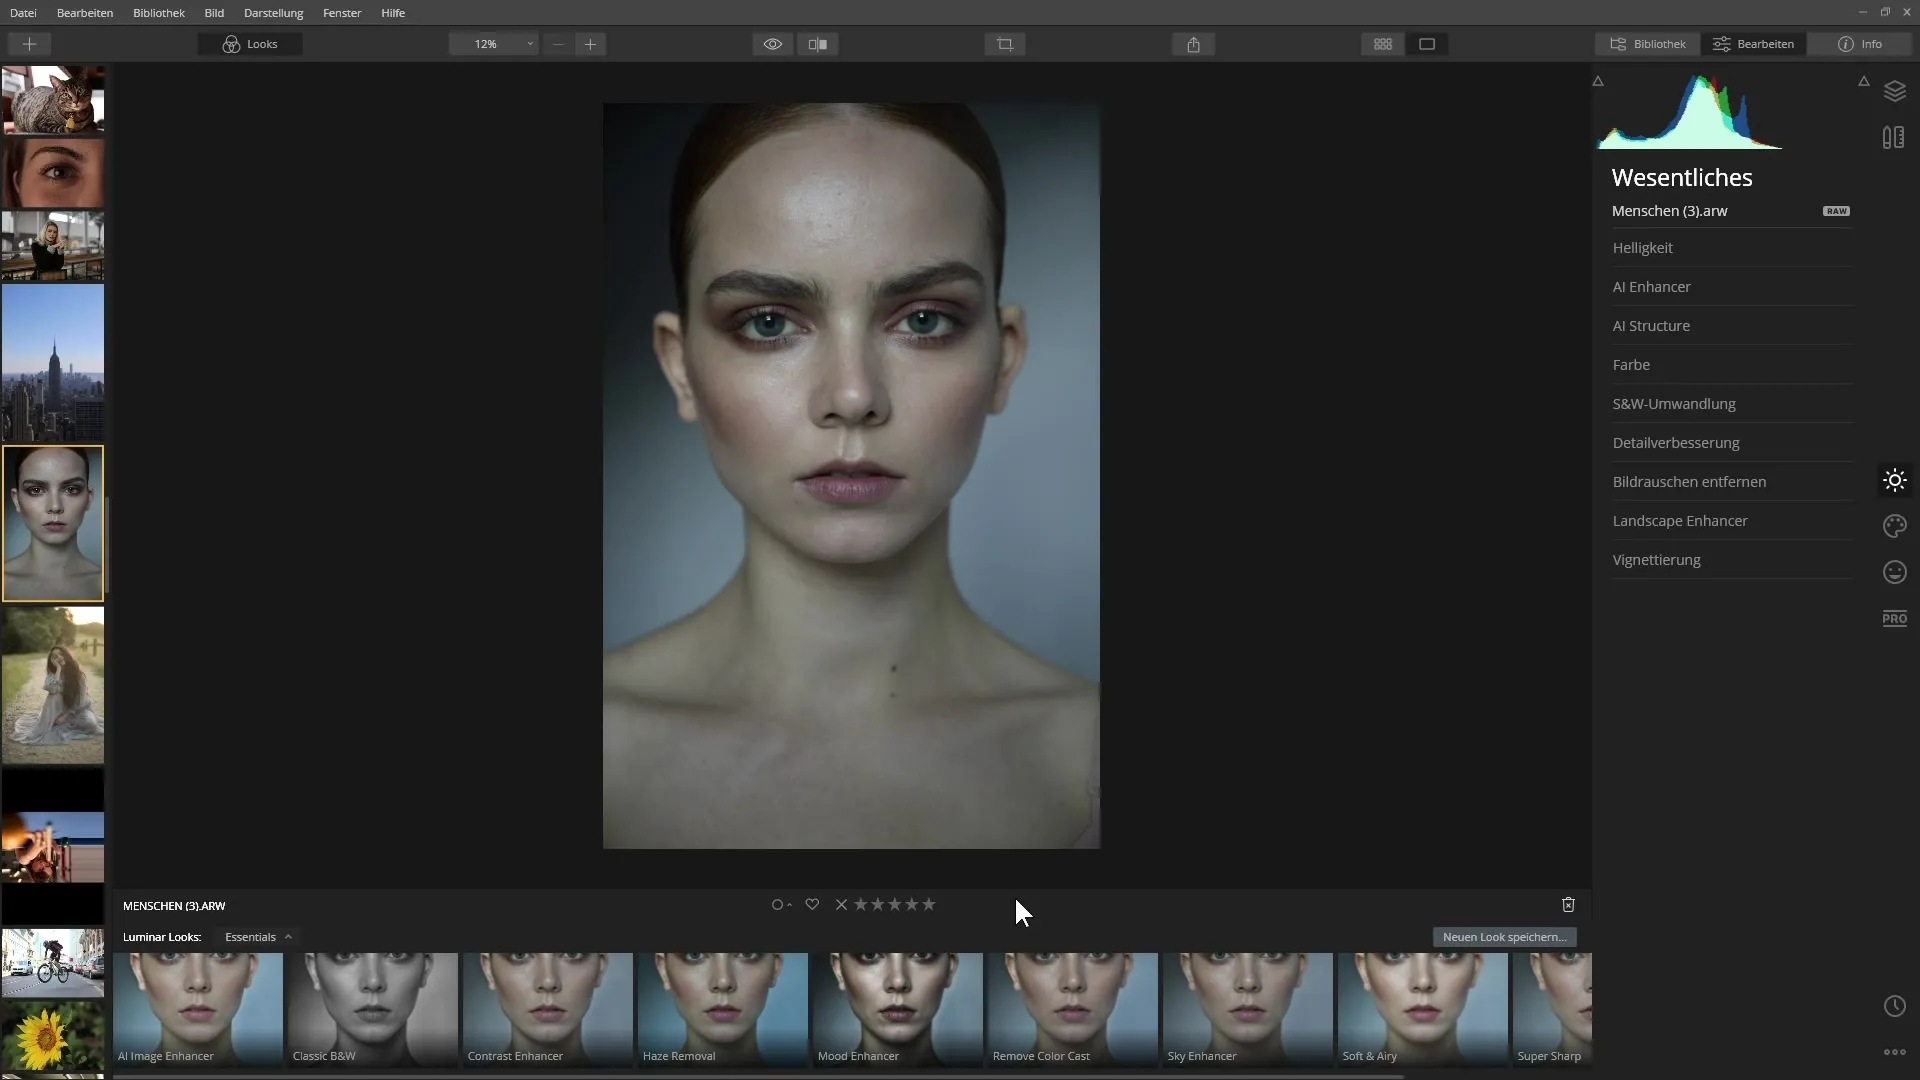
At the bottom of the image editing area, you will find the Looks. You can show or hide them using the display in the panel. Activate the view to see the different pre-made Looks.
4. Explore Existing Looks
The Looks are grouped into different categories. Click on the menu to browse Essentials or special Looks like Landscapes or Portraits.
5. Save Favorites
If you particularly like a Look, you can save it as a favorite. To do this, hover over the Look and click the small star. It will turn yellow when the Look is marked as a favorite.
6. Select a Look
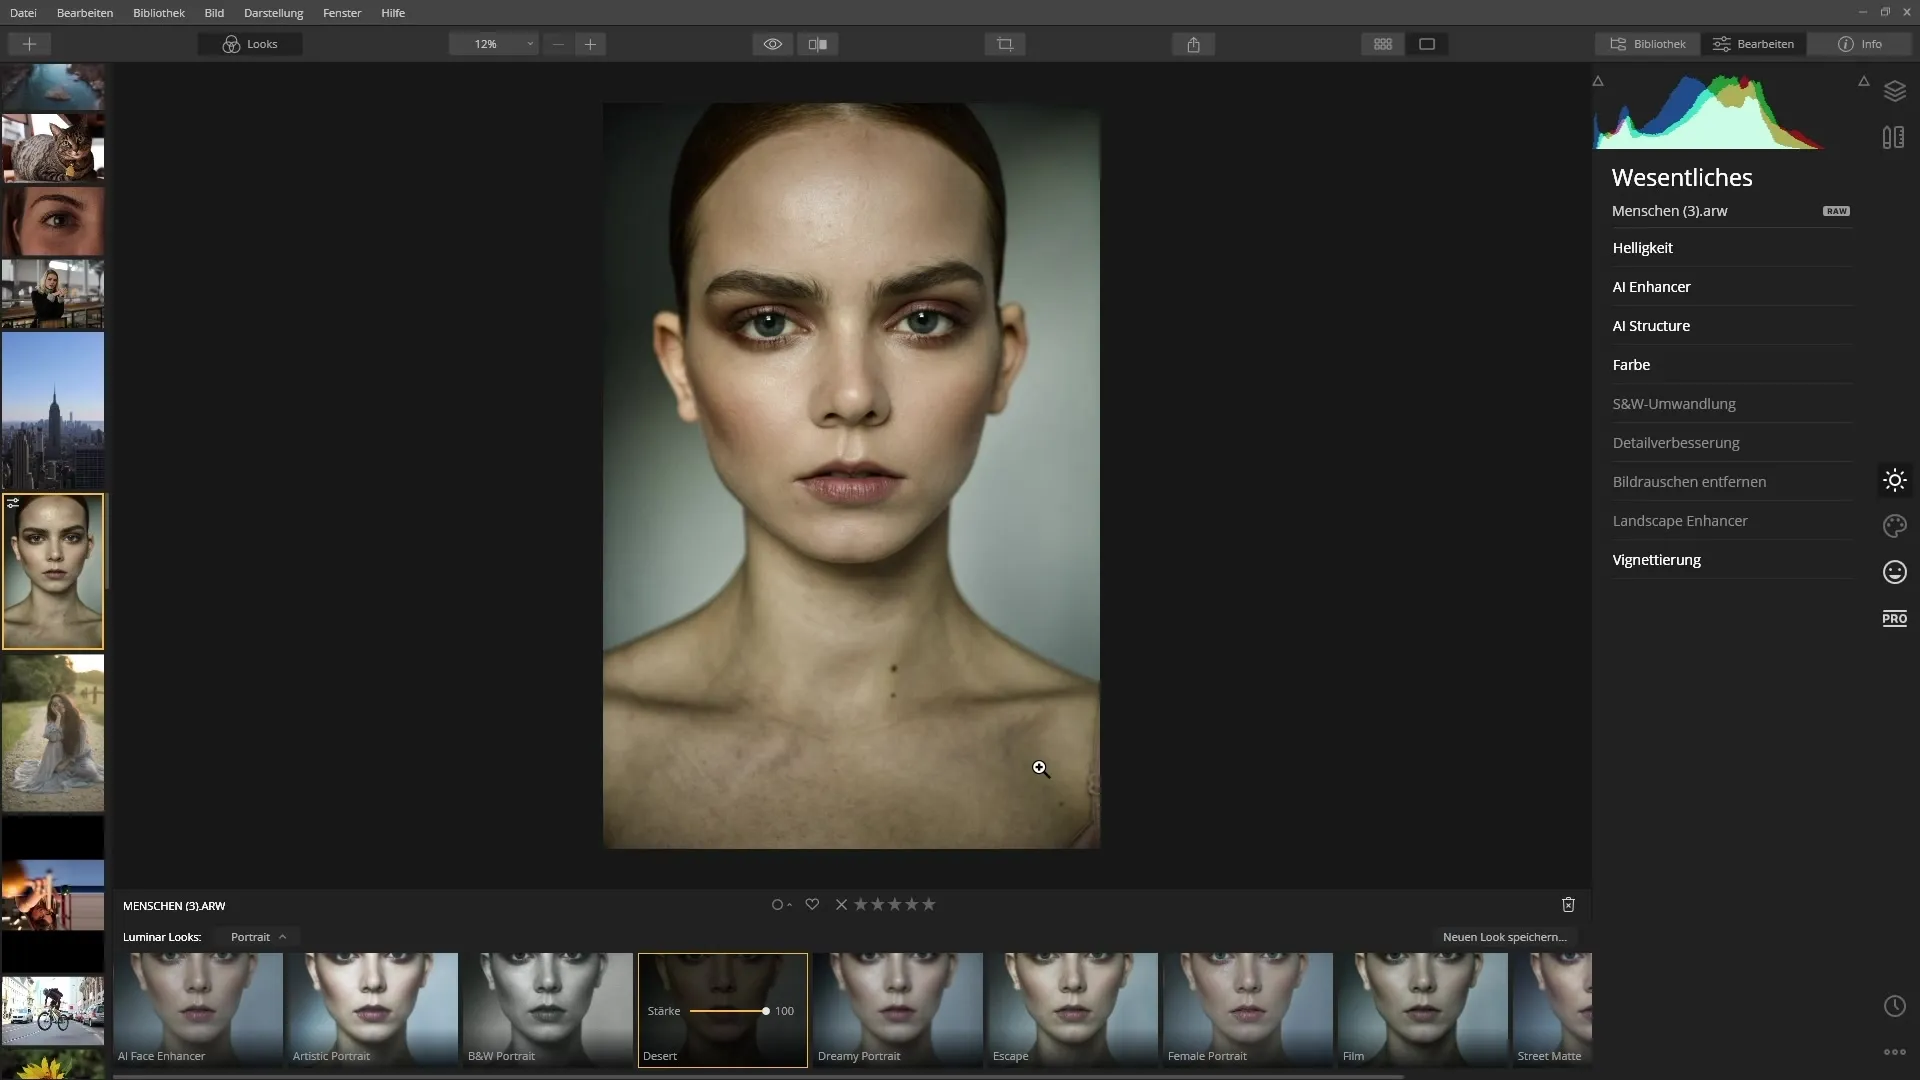
Now select a specific Look by simply clicking on it. Pay attention to which filters are activated on the right side to see their effect on the image.
7. Adjust Look
You have the option to apply the Look not at full strength. Use the slider to reduce the strength of the application until the result meets your expectations.
8. Adjust Individual Filters
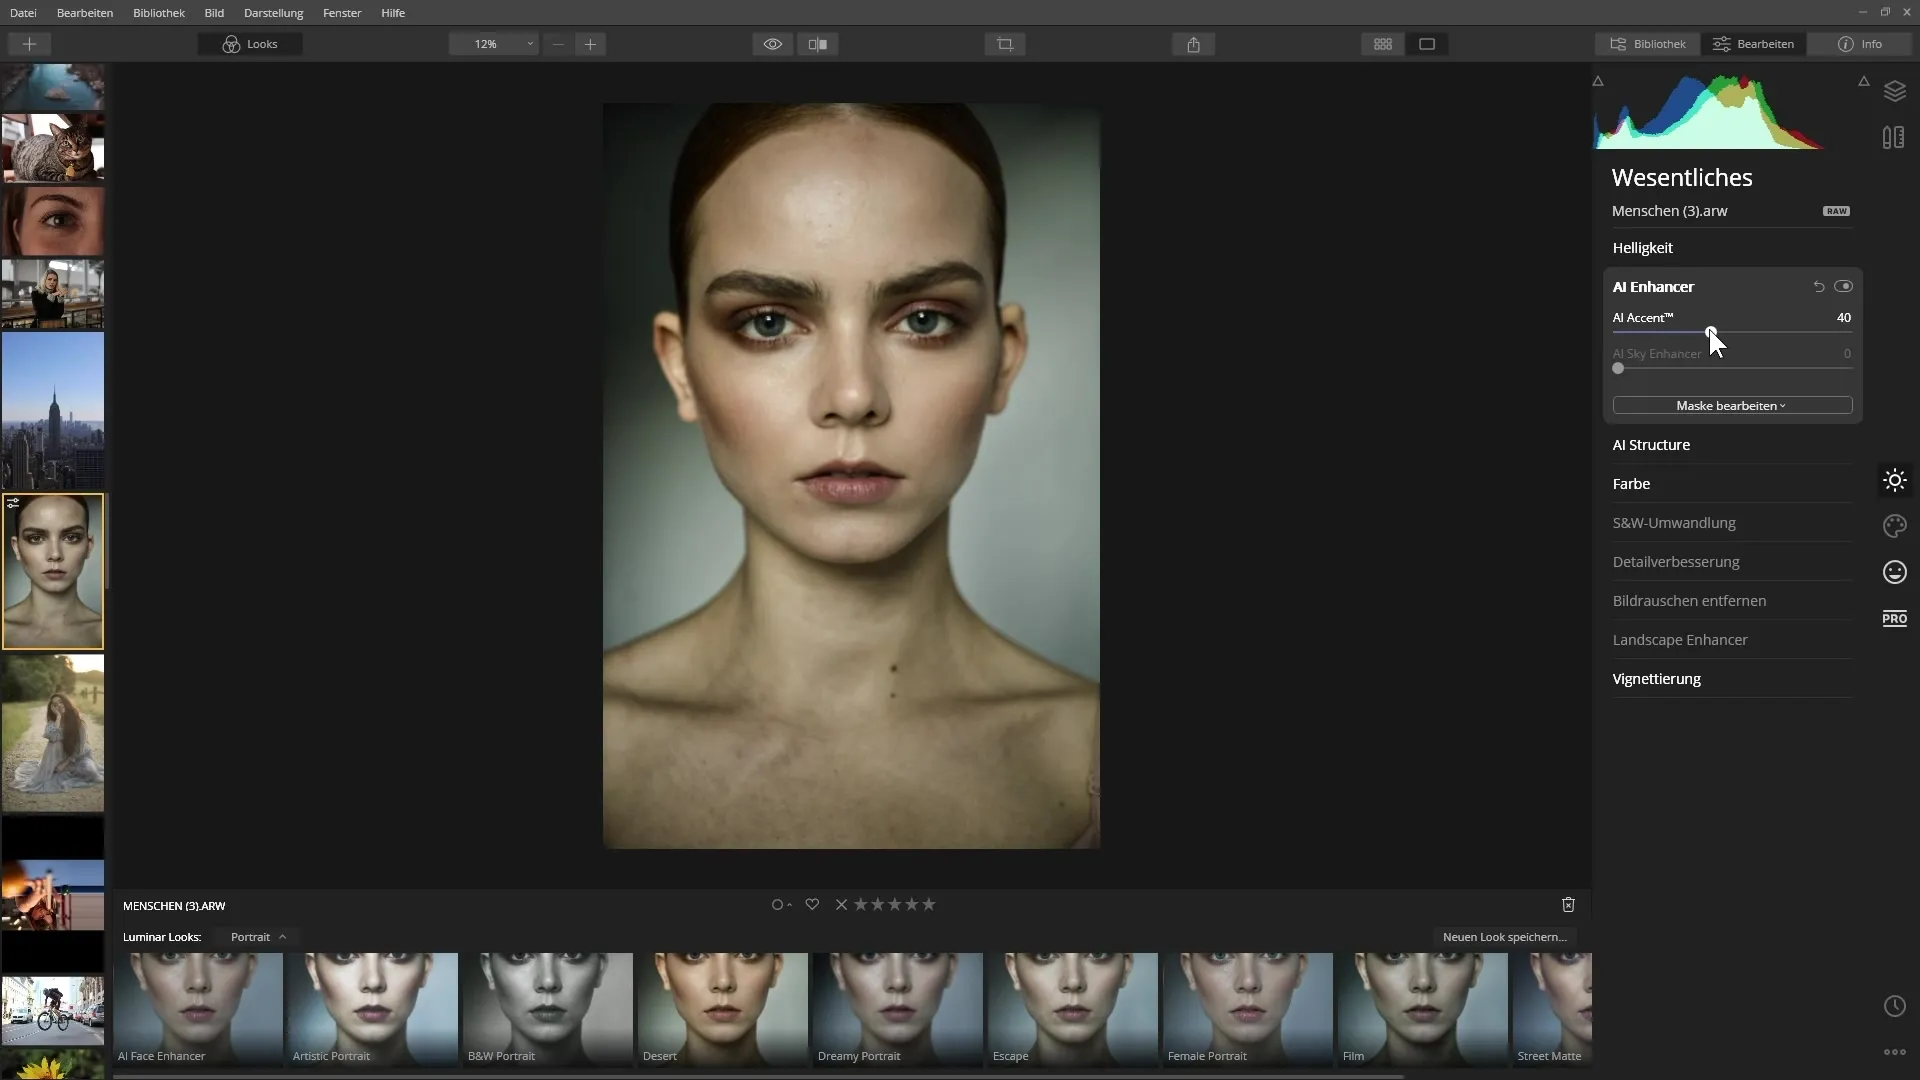
After applying a Look, you can also adjust the individual filters within the Look. Click on the corresponding filters to make changes or hide them.
9. View Original Image
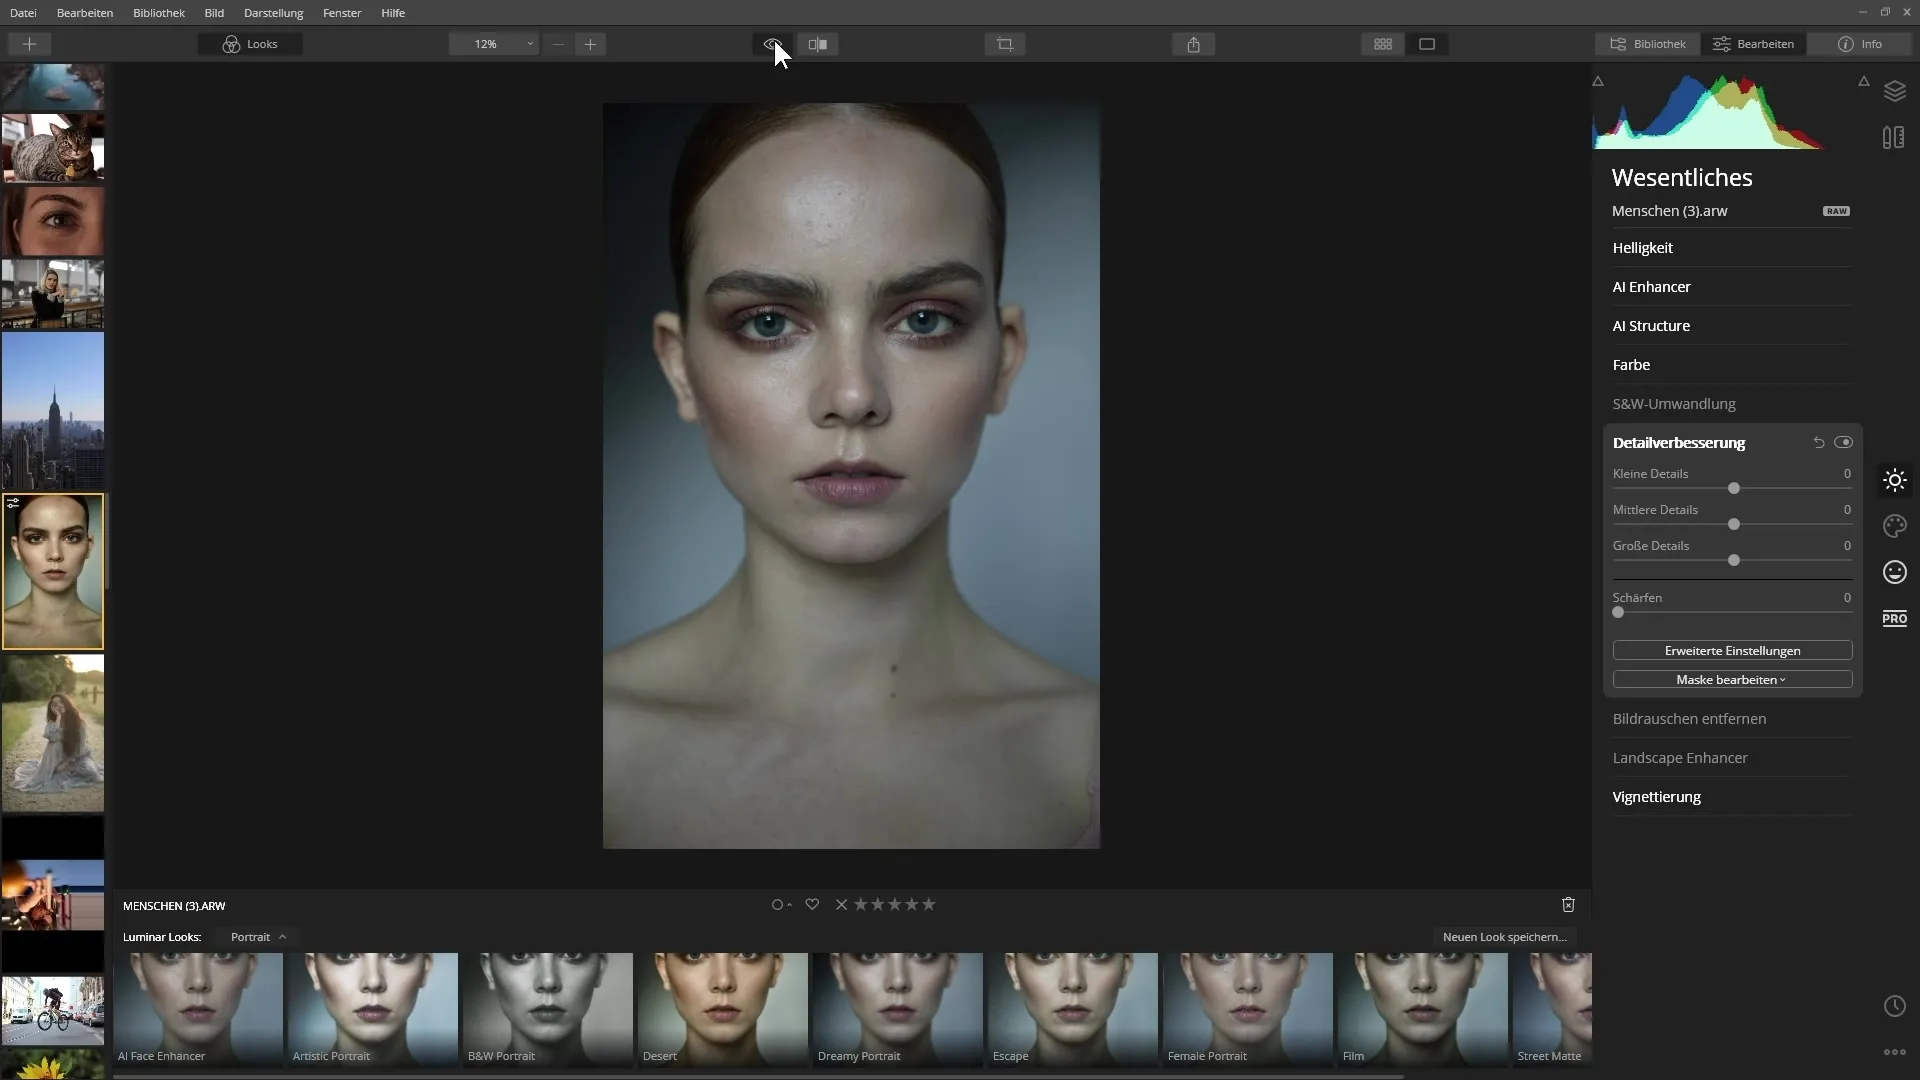
To check the effect of your adjustments, you can temporarily hide the effect of a filter. Hold down the left mouse button on the eye icon to see the original image.
10. Check Different Filters
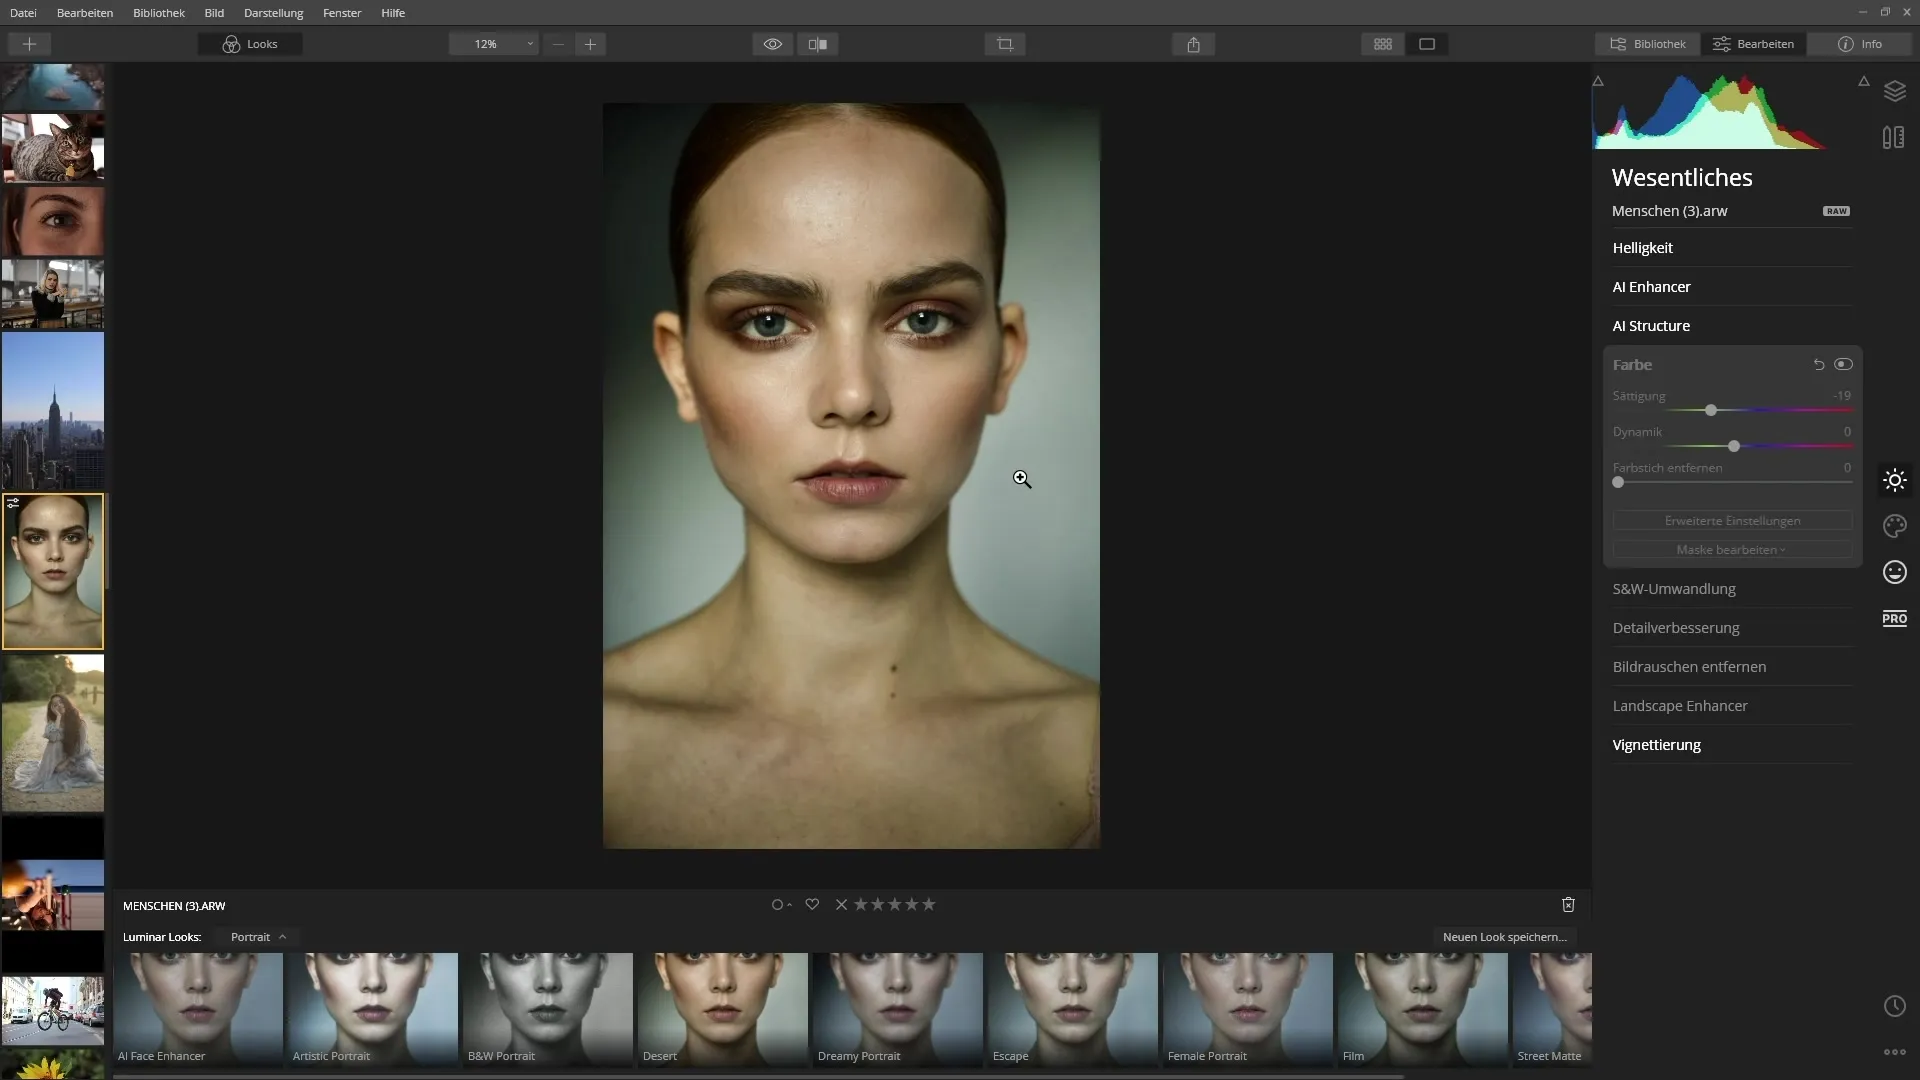
Also take a look at other filters to see how they affect your image. You can enable or disable each filter to recognize the differences.
11. Final Touch
Utilize the ability to further refine the individual filters or apply them to specific areas of the image with masks.
Summary – Understanding and Applying Luminar 4 Templates
In this guide, you have learned how to effectively use and customize the pre-made Looks in Luminar 4. Applying filters and creating favorites are helpful steps to quickly achieve impressive results.
FAQ
How many Looks does Luminar 4 offer?Luminar 4 offers numerous pre-made Looks that are grouped into various categories.
Can I create my own Looks?Yes, you can create your own Looks, but this will be explained in more detail in a later video.
How can I save a Look as a favorite?Hover over the Look and click the small yellow star to save it as a favorite.
Can I adjust the strength of a Look?Yes, the Look can be adjusted with a slider to reduce the intensity.
Does hiding filters work for all filters?Not all filters support hiding; for some, this will not be displayed.


