Skylum Luminar 4 is one of the most widely used image editing software programs that offers a variety of innovative filters, some of which are based on artificial intelligence. In this tutorial, you will learn how to effectively use some of the most impressive filters in Luminar 4 to take your images to the next level.
Main Takeaways
- Luminar 4 offers a variety of powerful filters that are easy to use.
- The AI Sky Replacement Filter allows you to quickly and seamlessly replace skies in images.
- With the AI Enhancer, you can significantly improve the details in your images and adjust the overall impression.
- The filters are often based on artificial intelligence, providing impressive results with minimal effort.
Step-by-Step Guide
Replacing Sky with the AI Sky Replacement Filter
First, we open an image that has a boring sky and use the AI Sky Replacement Filter. You can select this filter from the “Creative” menu.
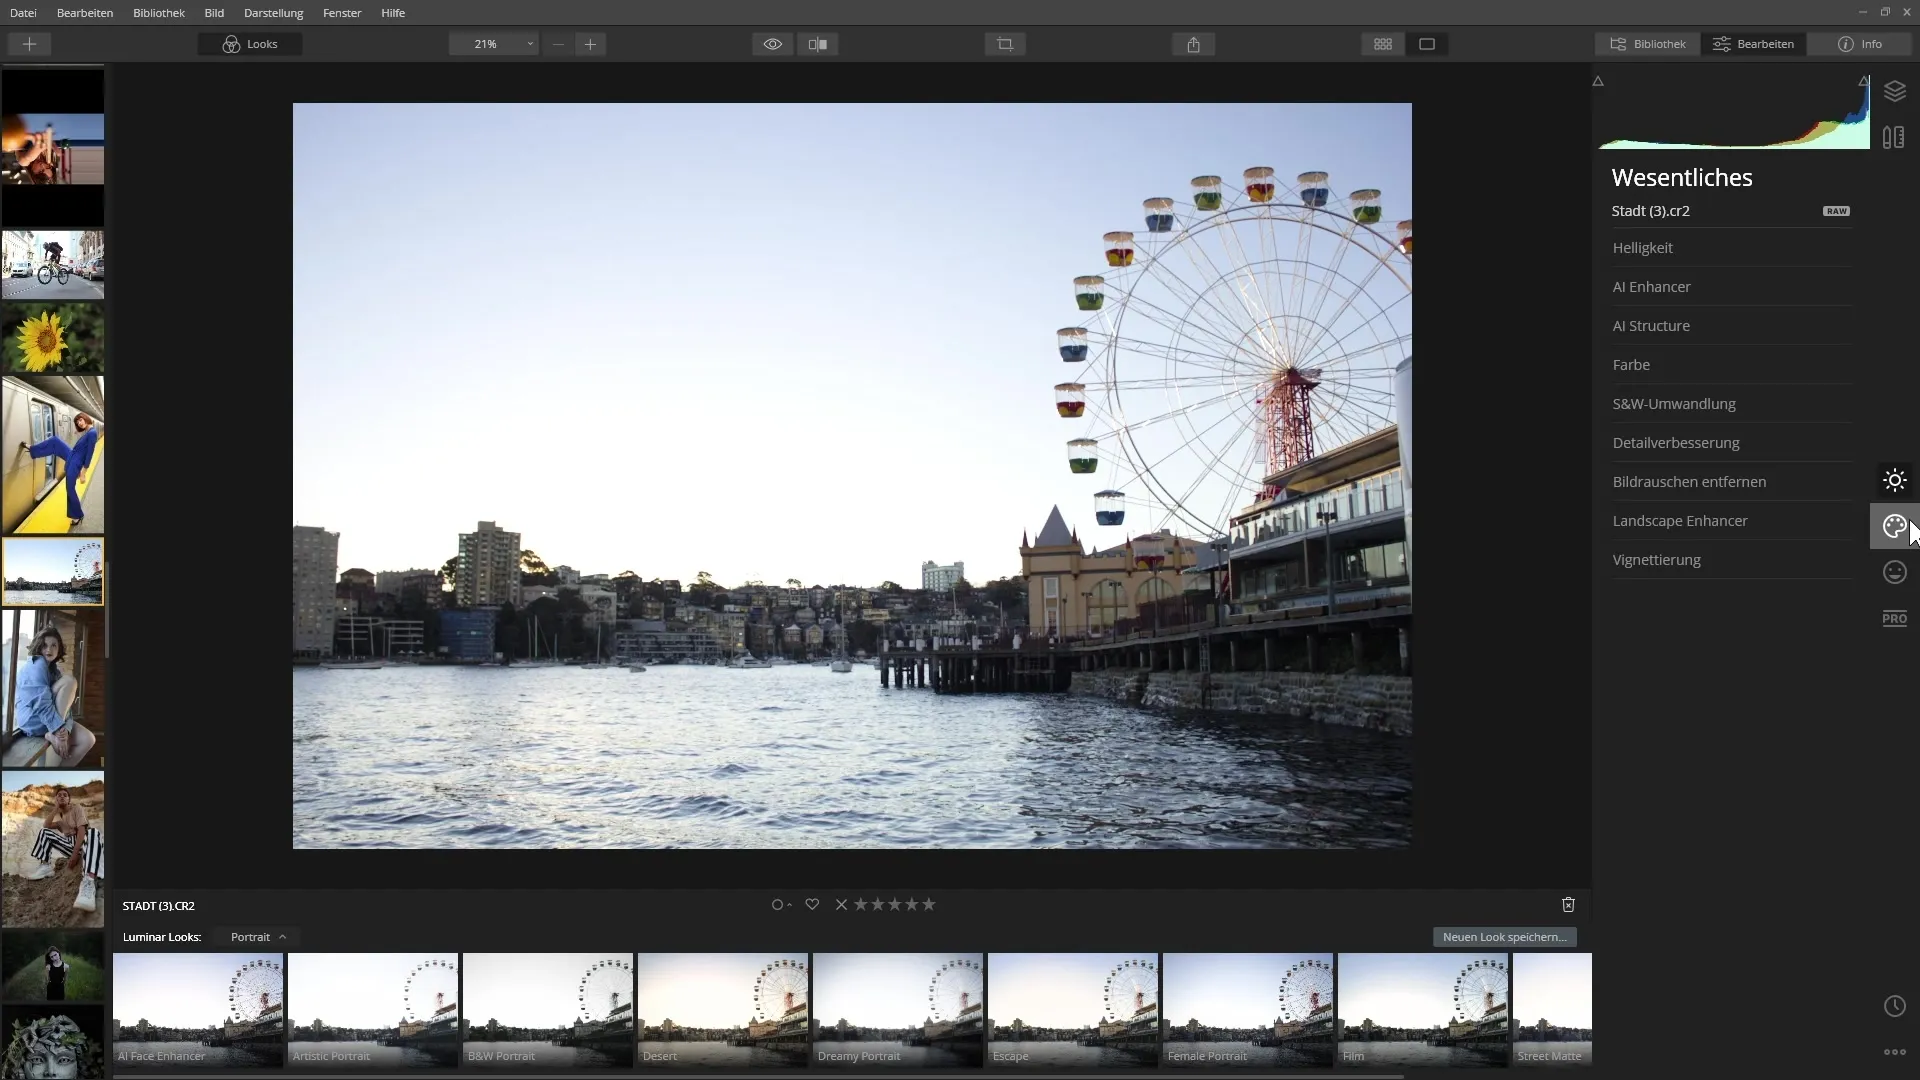
Once you have opened the filter, you will see a list of sky scenarios. You can also load your own skies from your hard drive.
Practice adding a new sky by selecting, for example, “Blu Sky.” The program automatically detects the sky in the original image and replaces it with the selected sky.
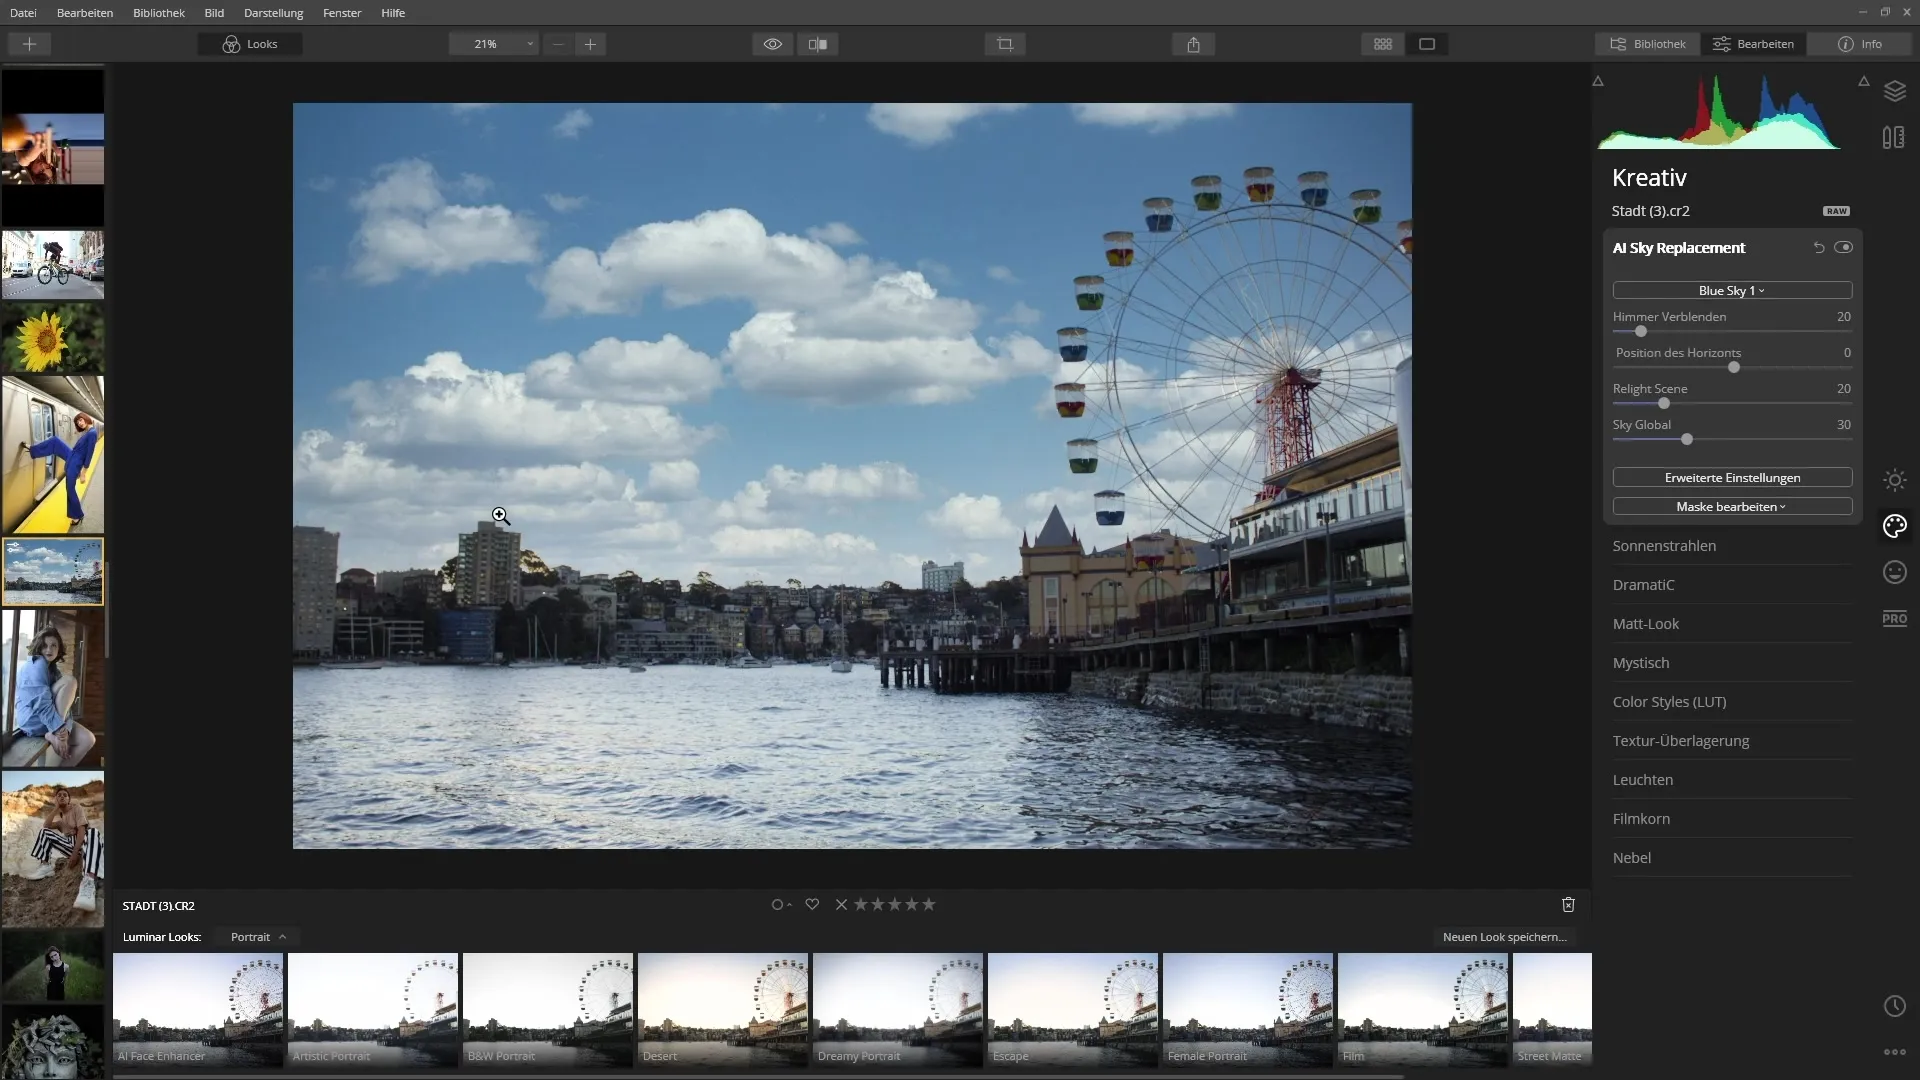
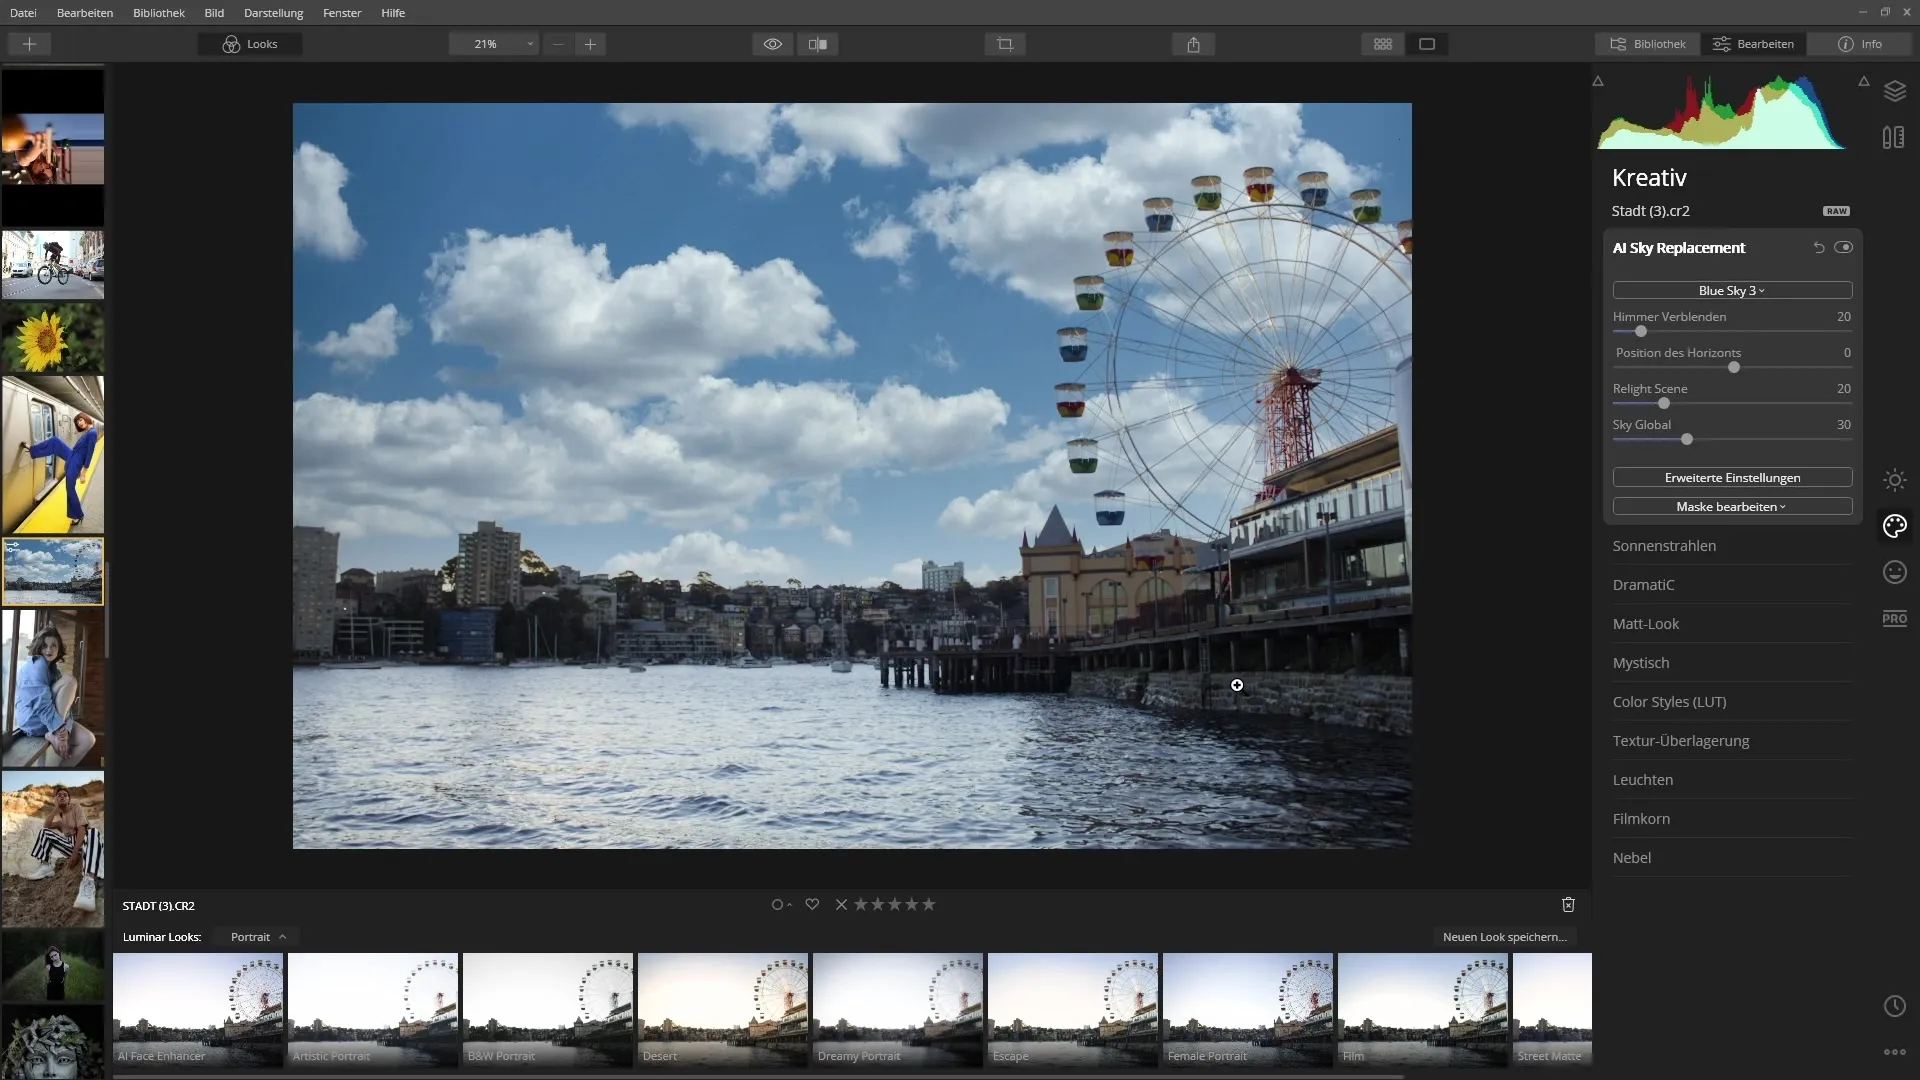
Notice how the sky and the colors in the rest of the image are automatically adjusted. It is impressive how cleanly the sky is inserted without leaving any unsightly edges.
Adding Sun Rays
Another exciting filter is the “Sun Rays” filter, which you can also find in the creative menu. Load an image that has shadows and where you can imagine a sun.
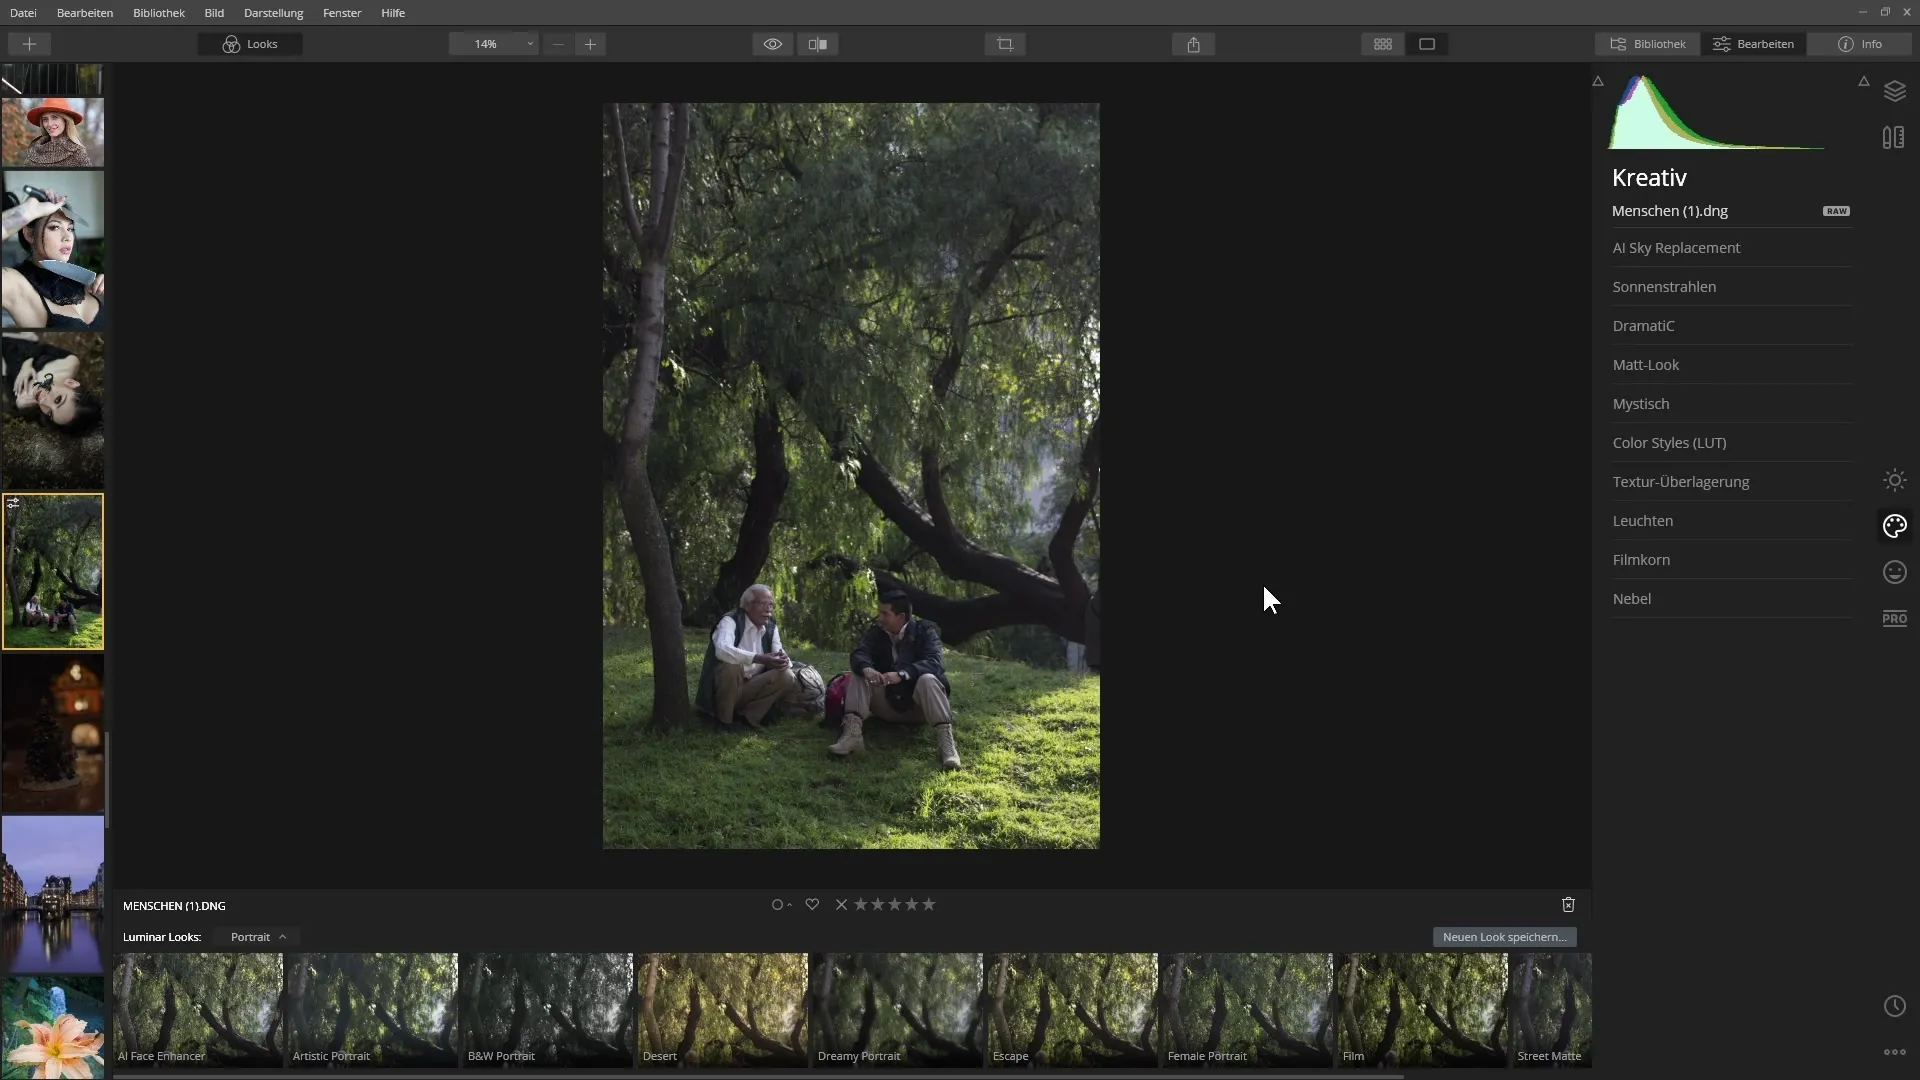
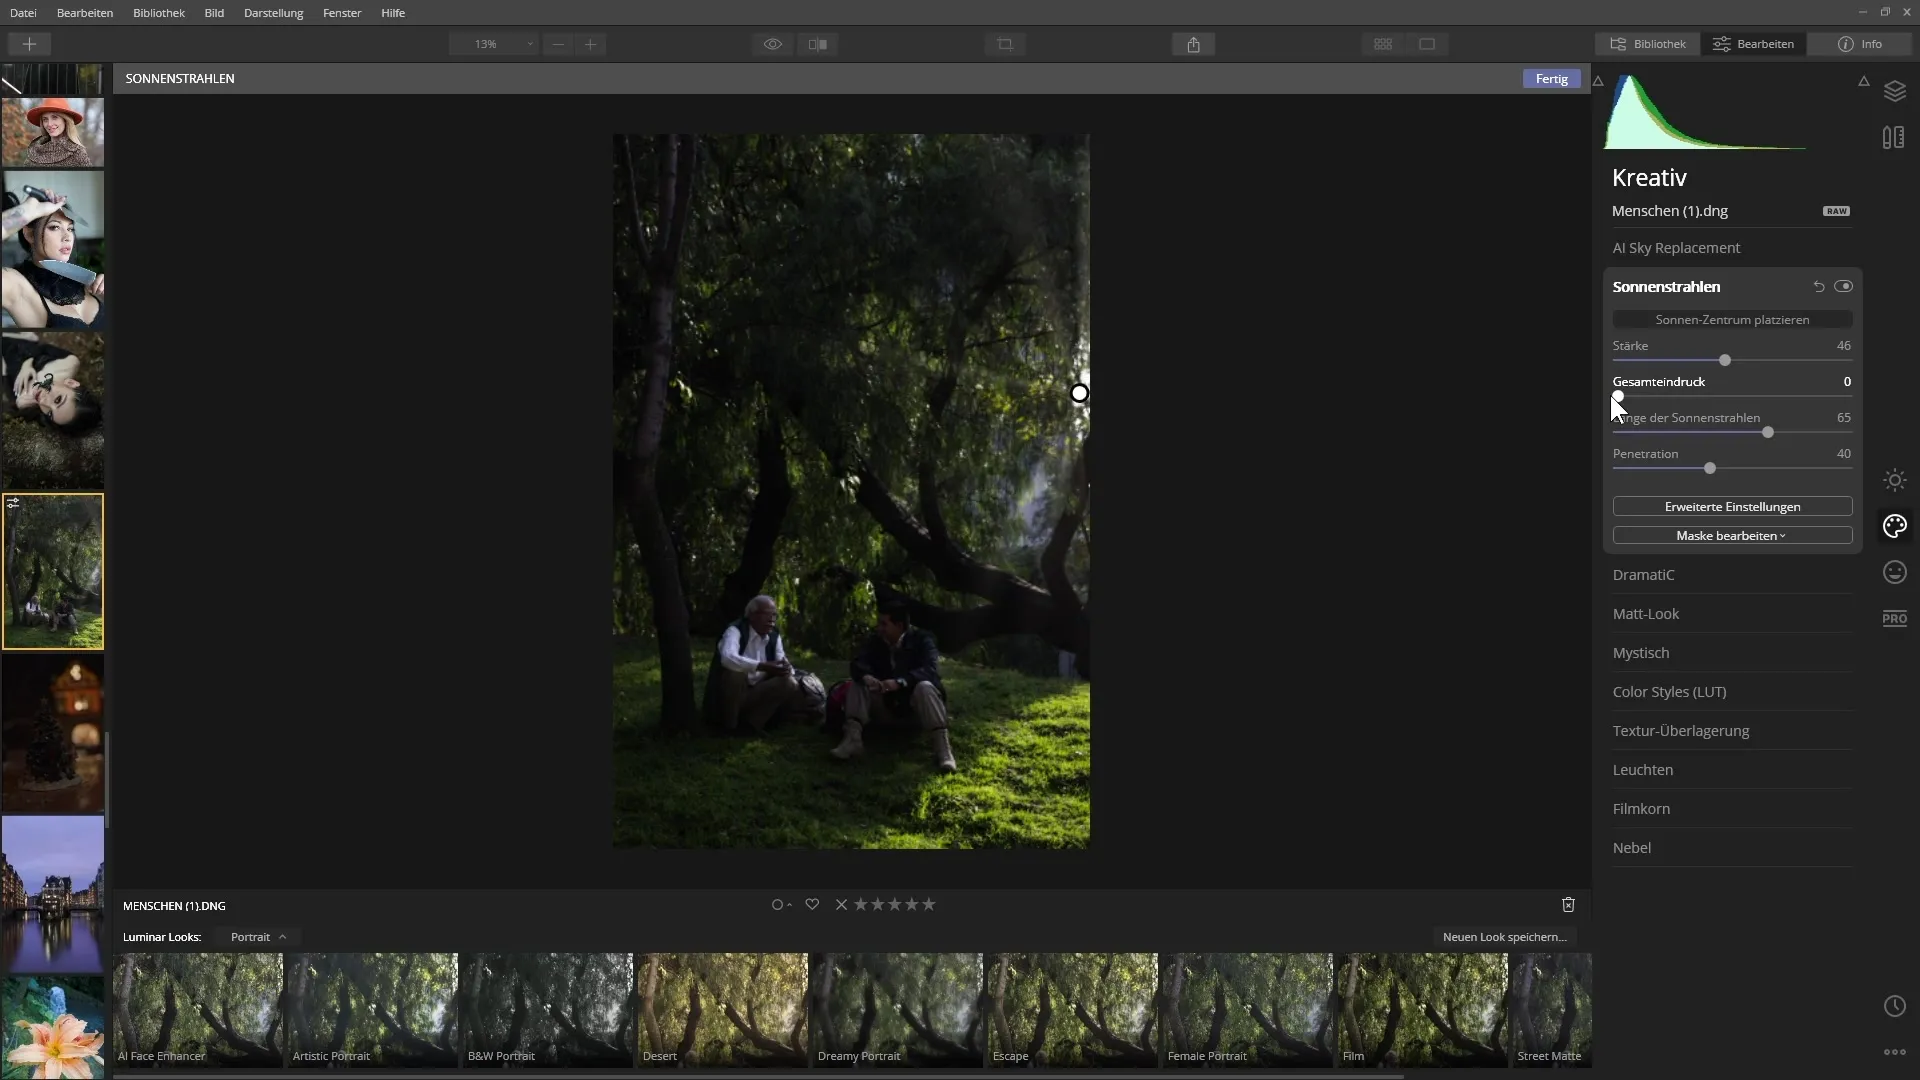
Place the center of the sun at the desired location and practice moving the slider for the strength of the sun rays.
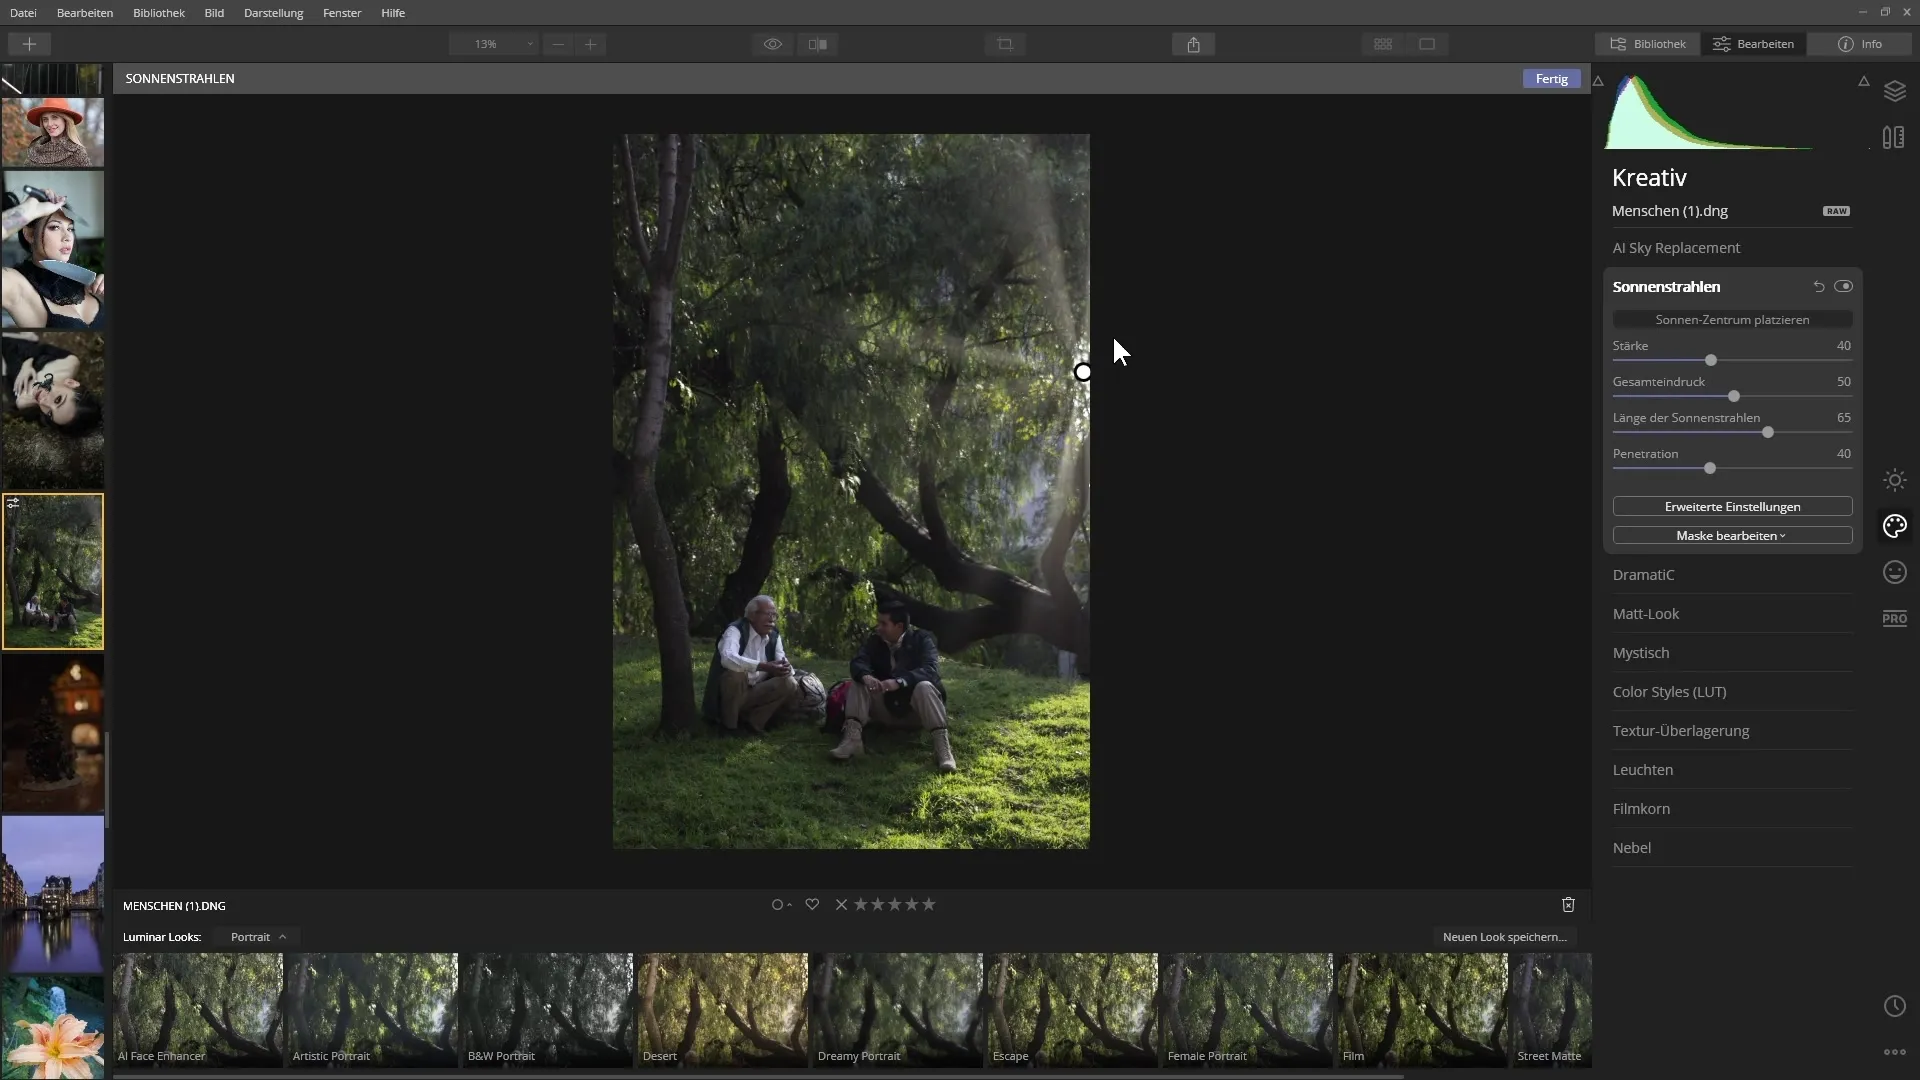
You will notice how the sun rays appear in the image. Adjust the length and intensity as needed – so that it looks natural.
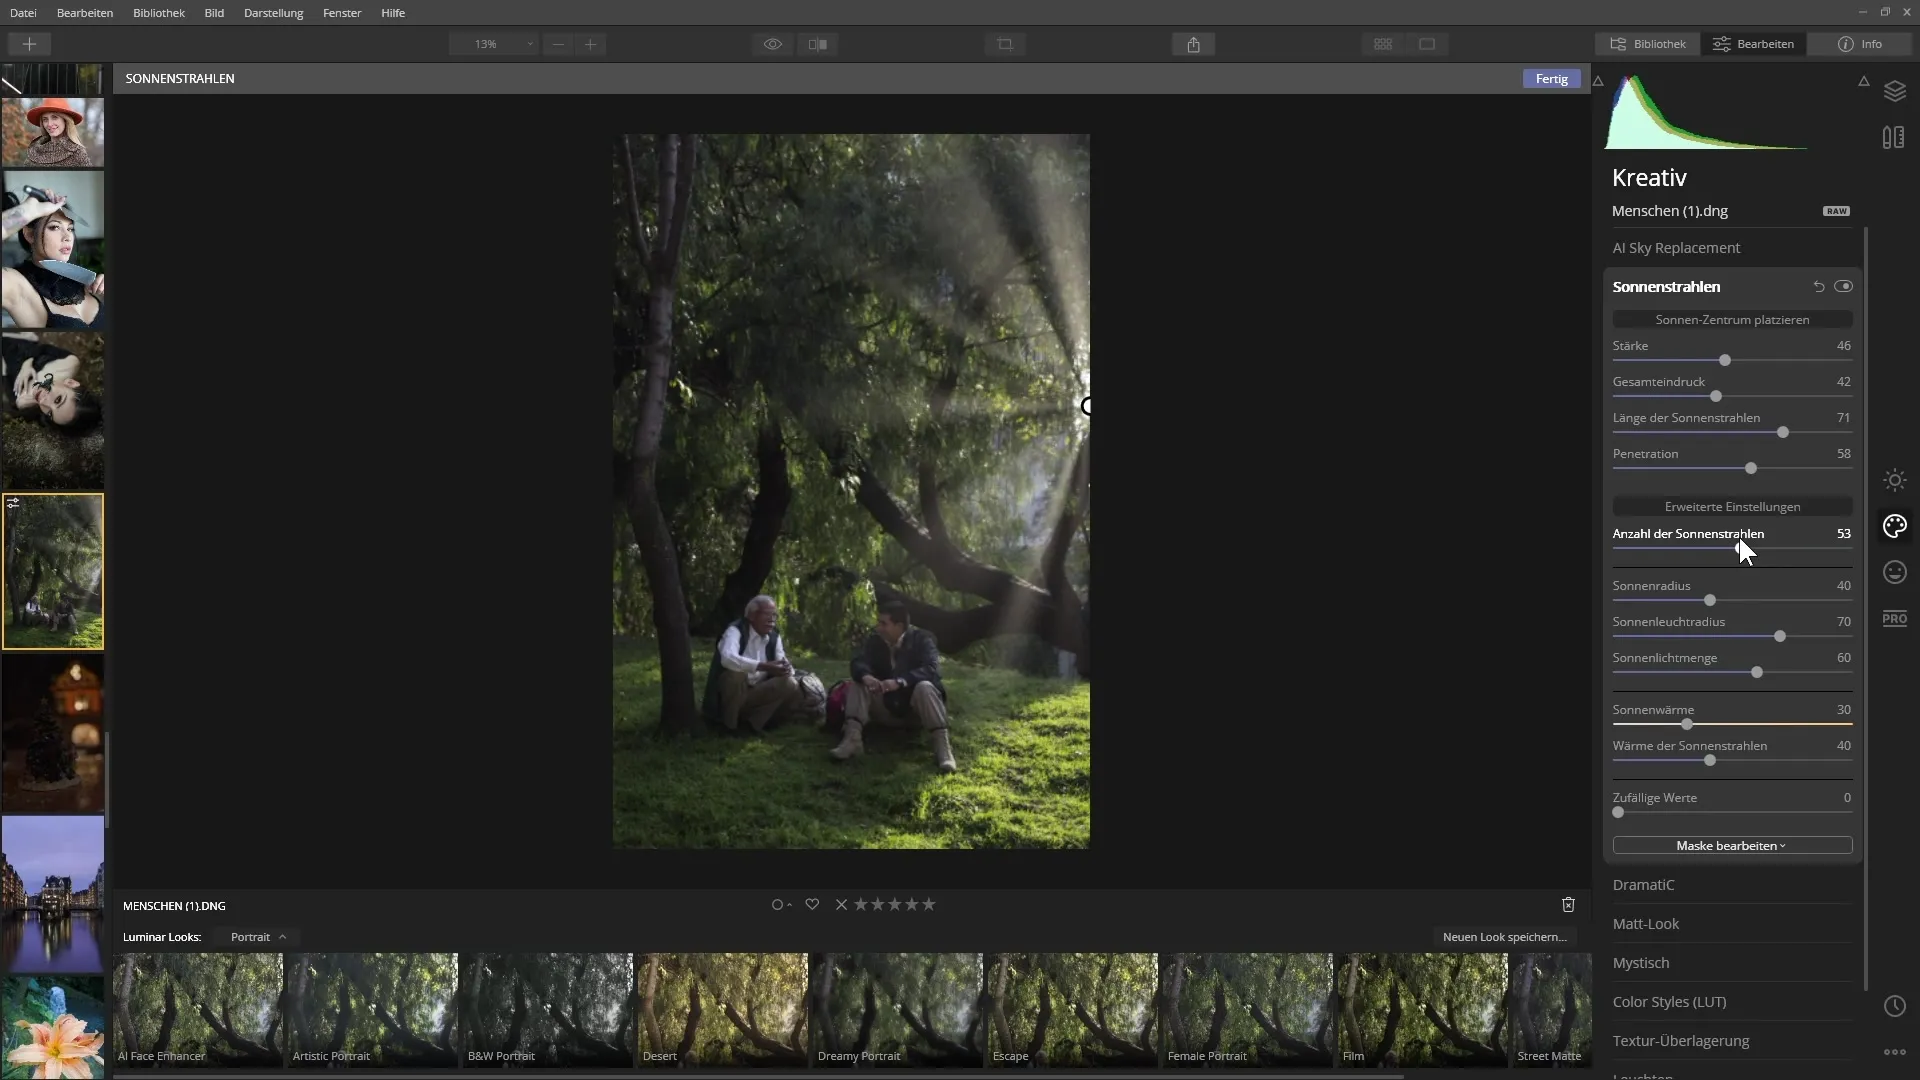
With the advanced settings, you can make even more adjustments to further optimize the effect.
AI Enhancer for Enhancing Colors and Details
To further refine the images, the AI Enhancer is suitable. This filter analyzes the image and highlights contrasts and colors.
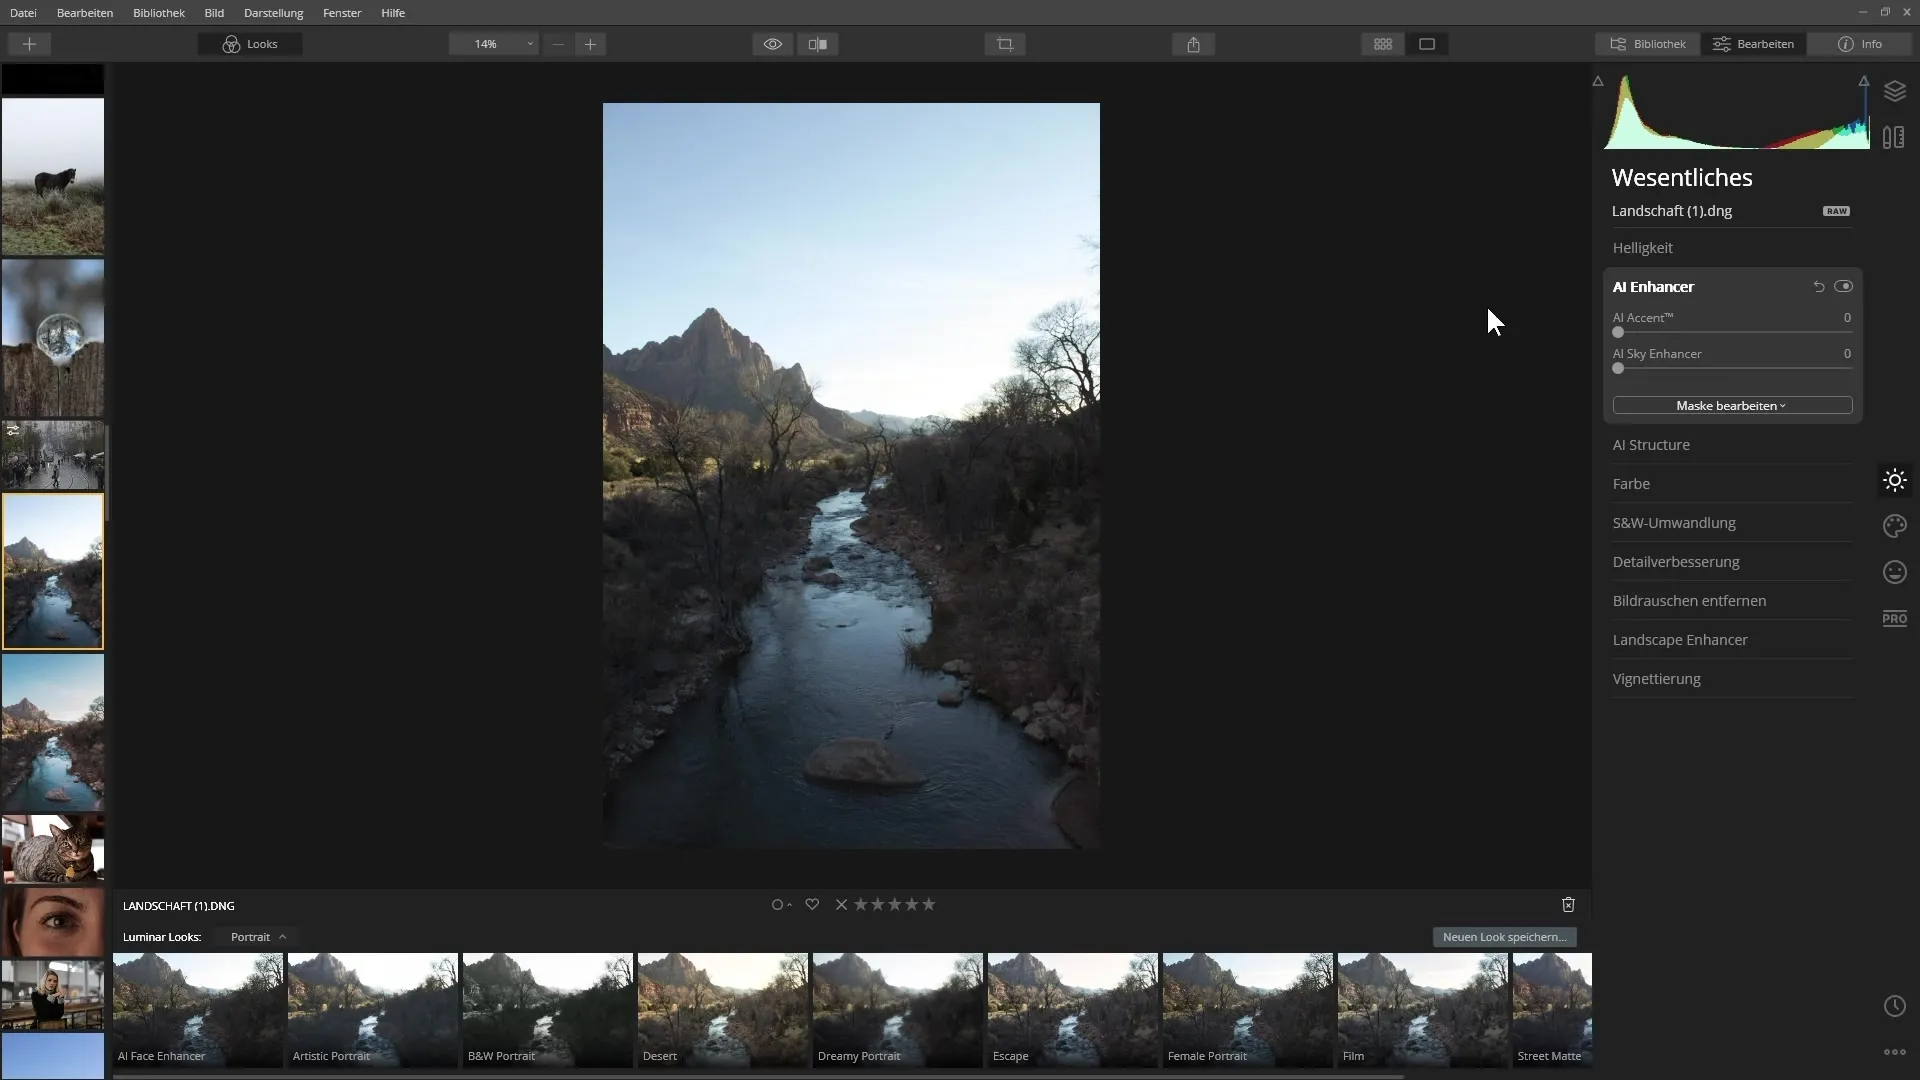
Slide the slider to the right to see different effects, and stop at the presentation that you like.
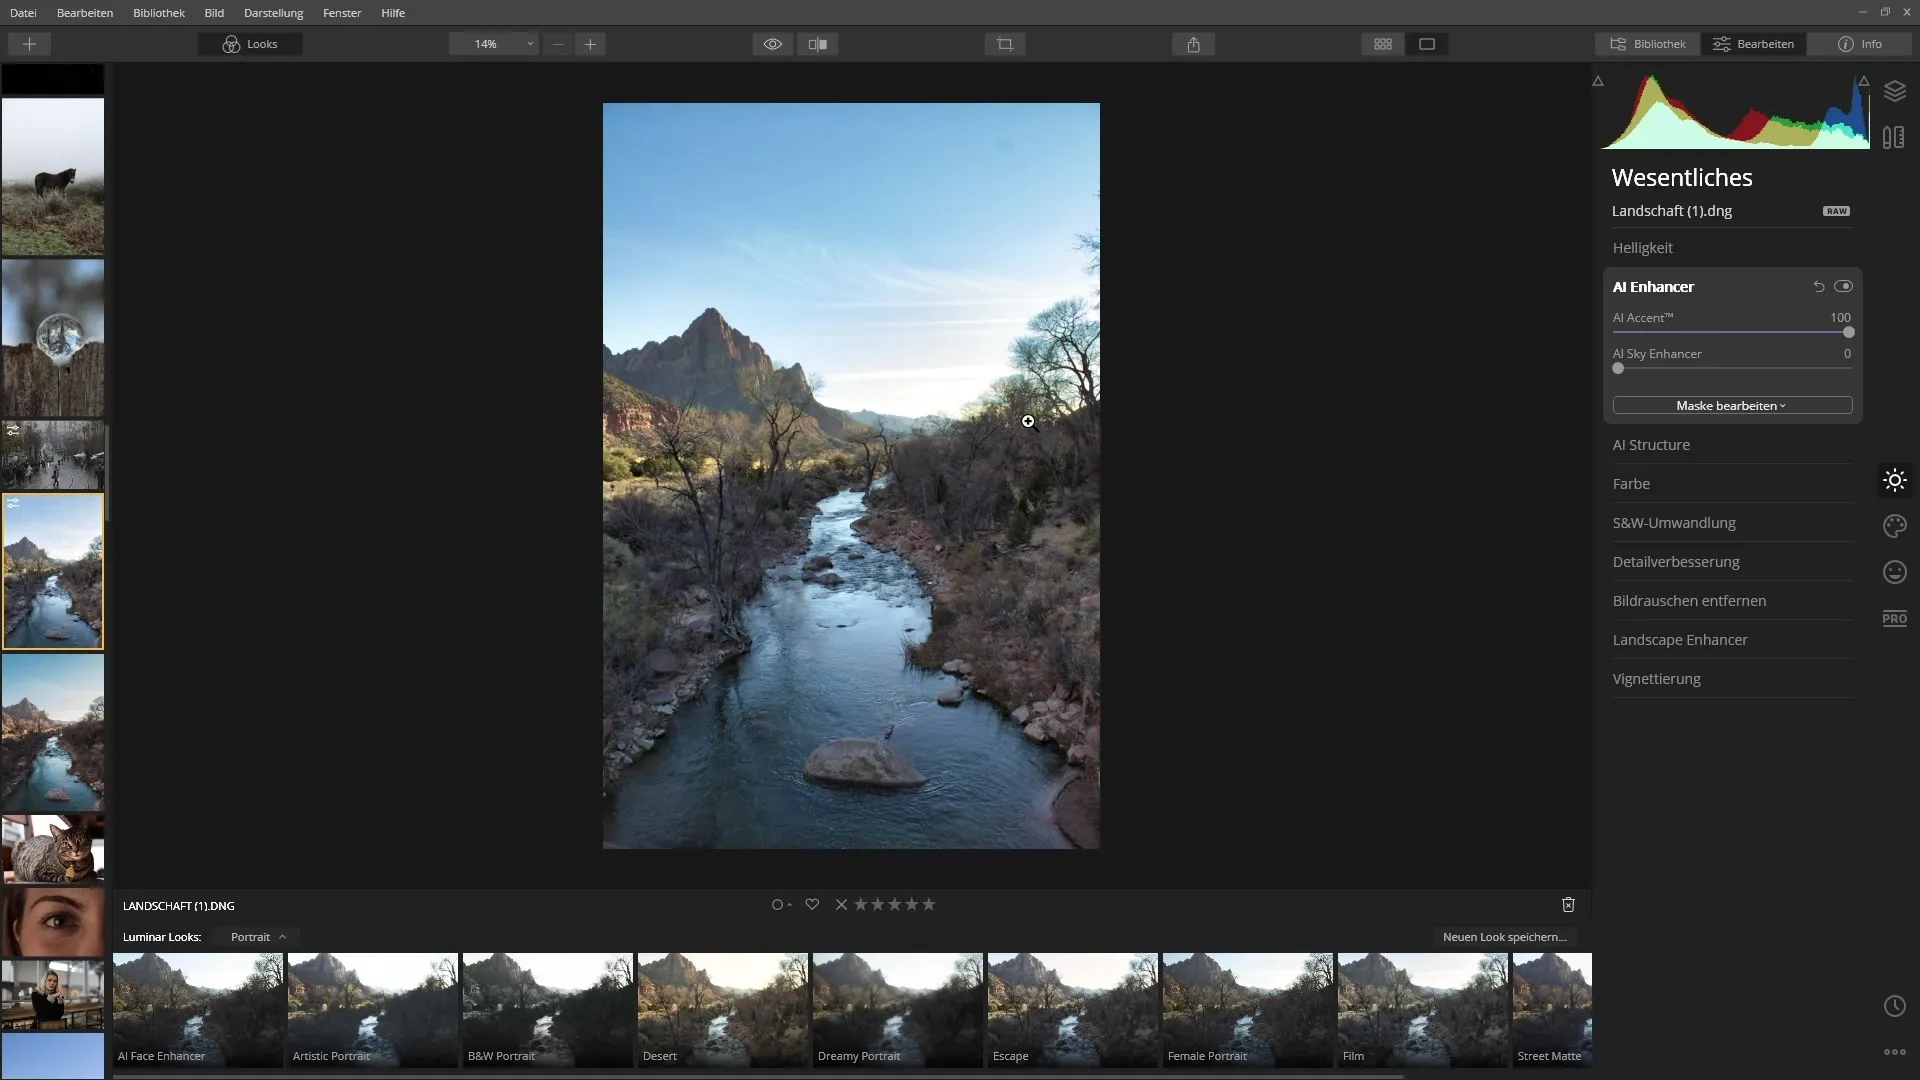
In comparison to the original and edited image, you will see the significant differences, especially in the detail fidelity of the sky and colors.
AI Sky Enhancer for More Sky Magic
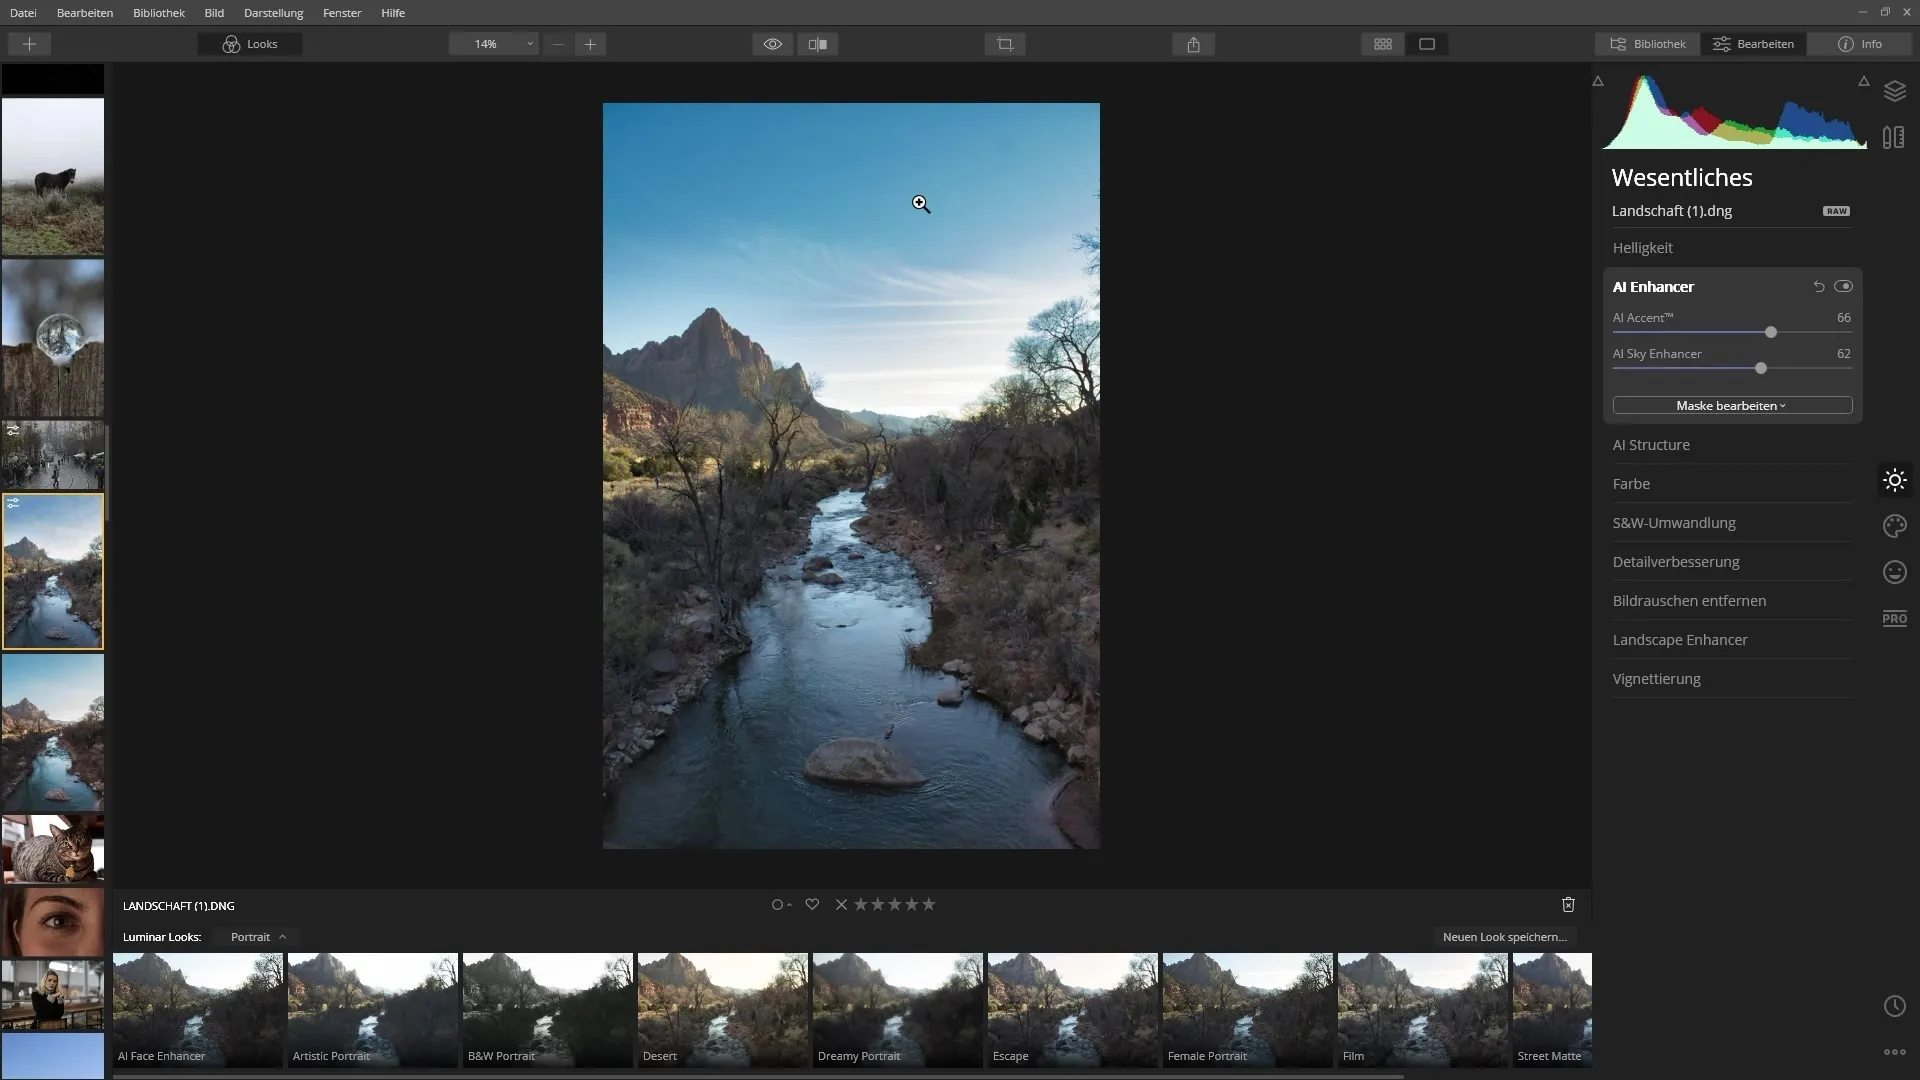
If you want to further optimize the sky, use the AI Sky Enhancer. This filter can additionally increase the contrast and enhance the color intensity of the sky.
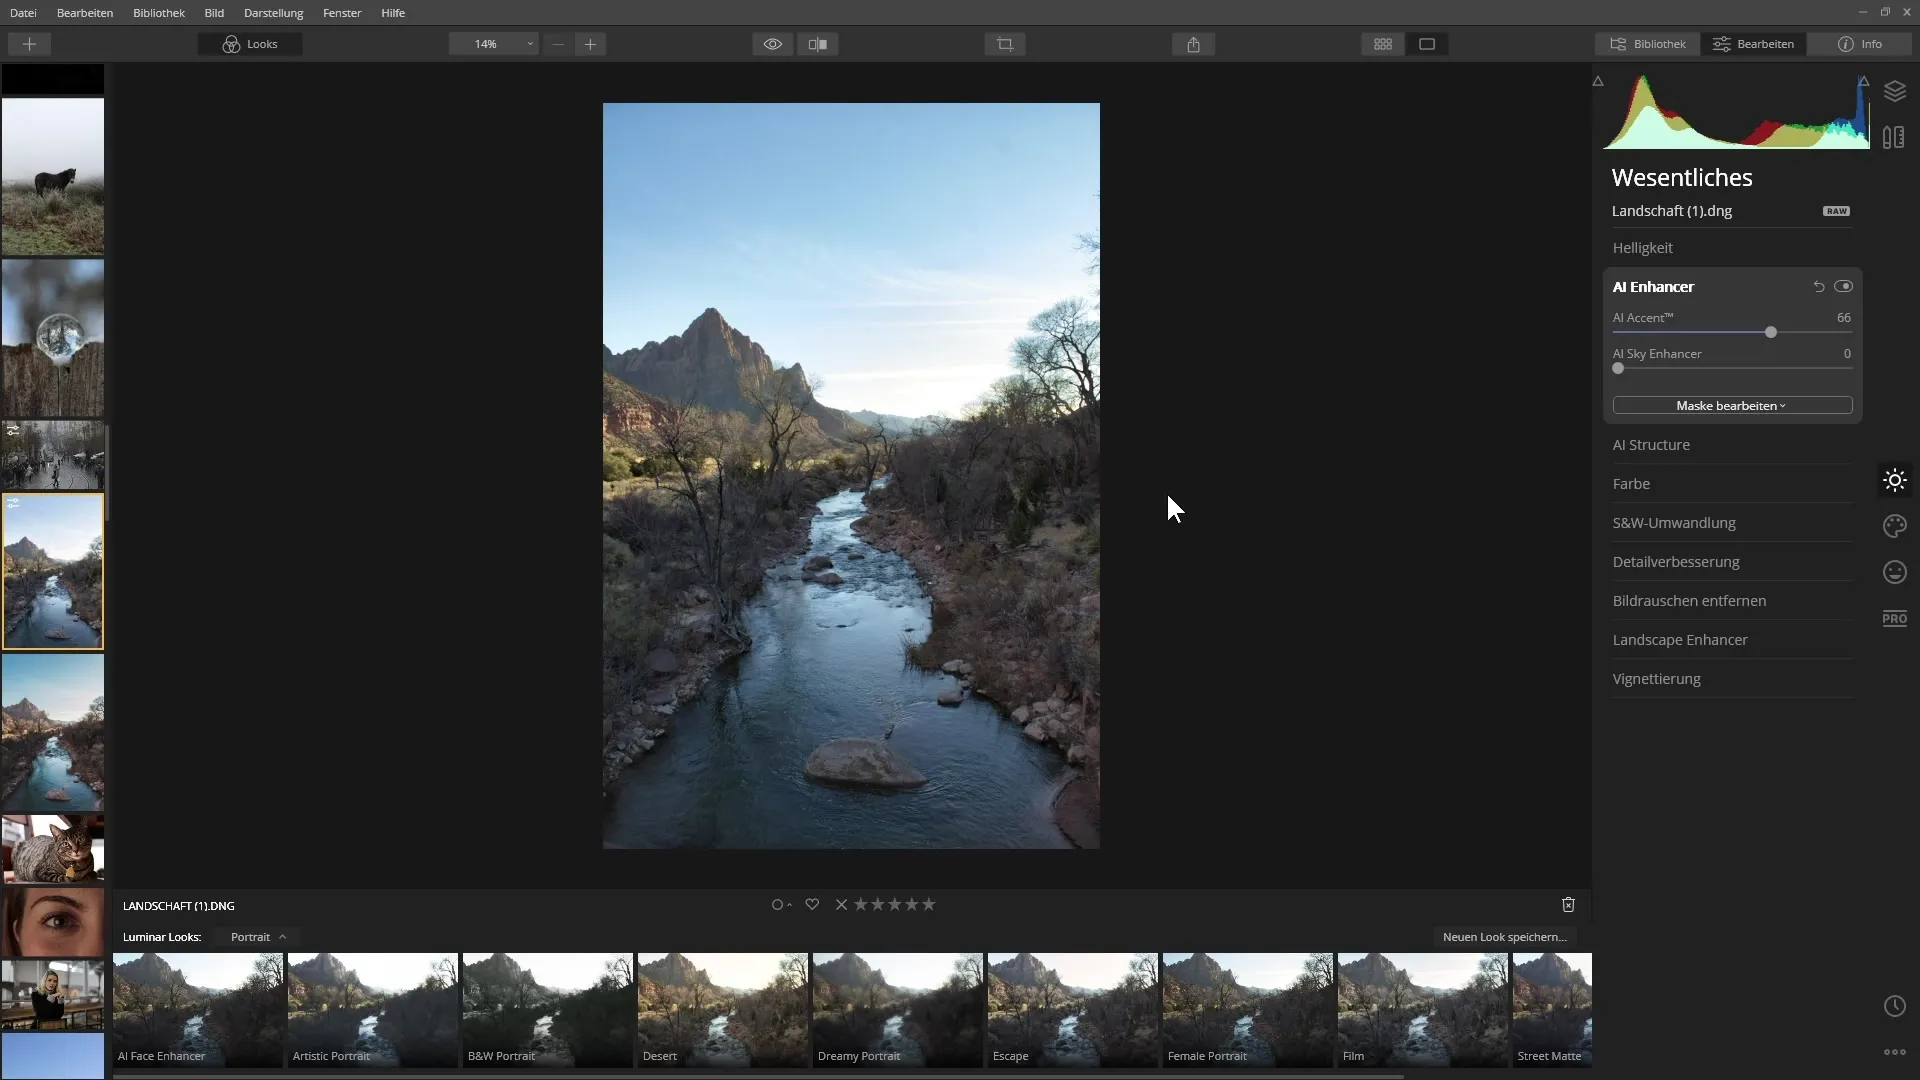
Make sure that the filter is only active when skies are present in the image. Test the sliders to find the perfect balance between naturalness and intensity.
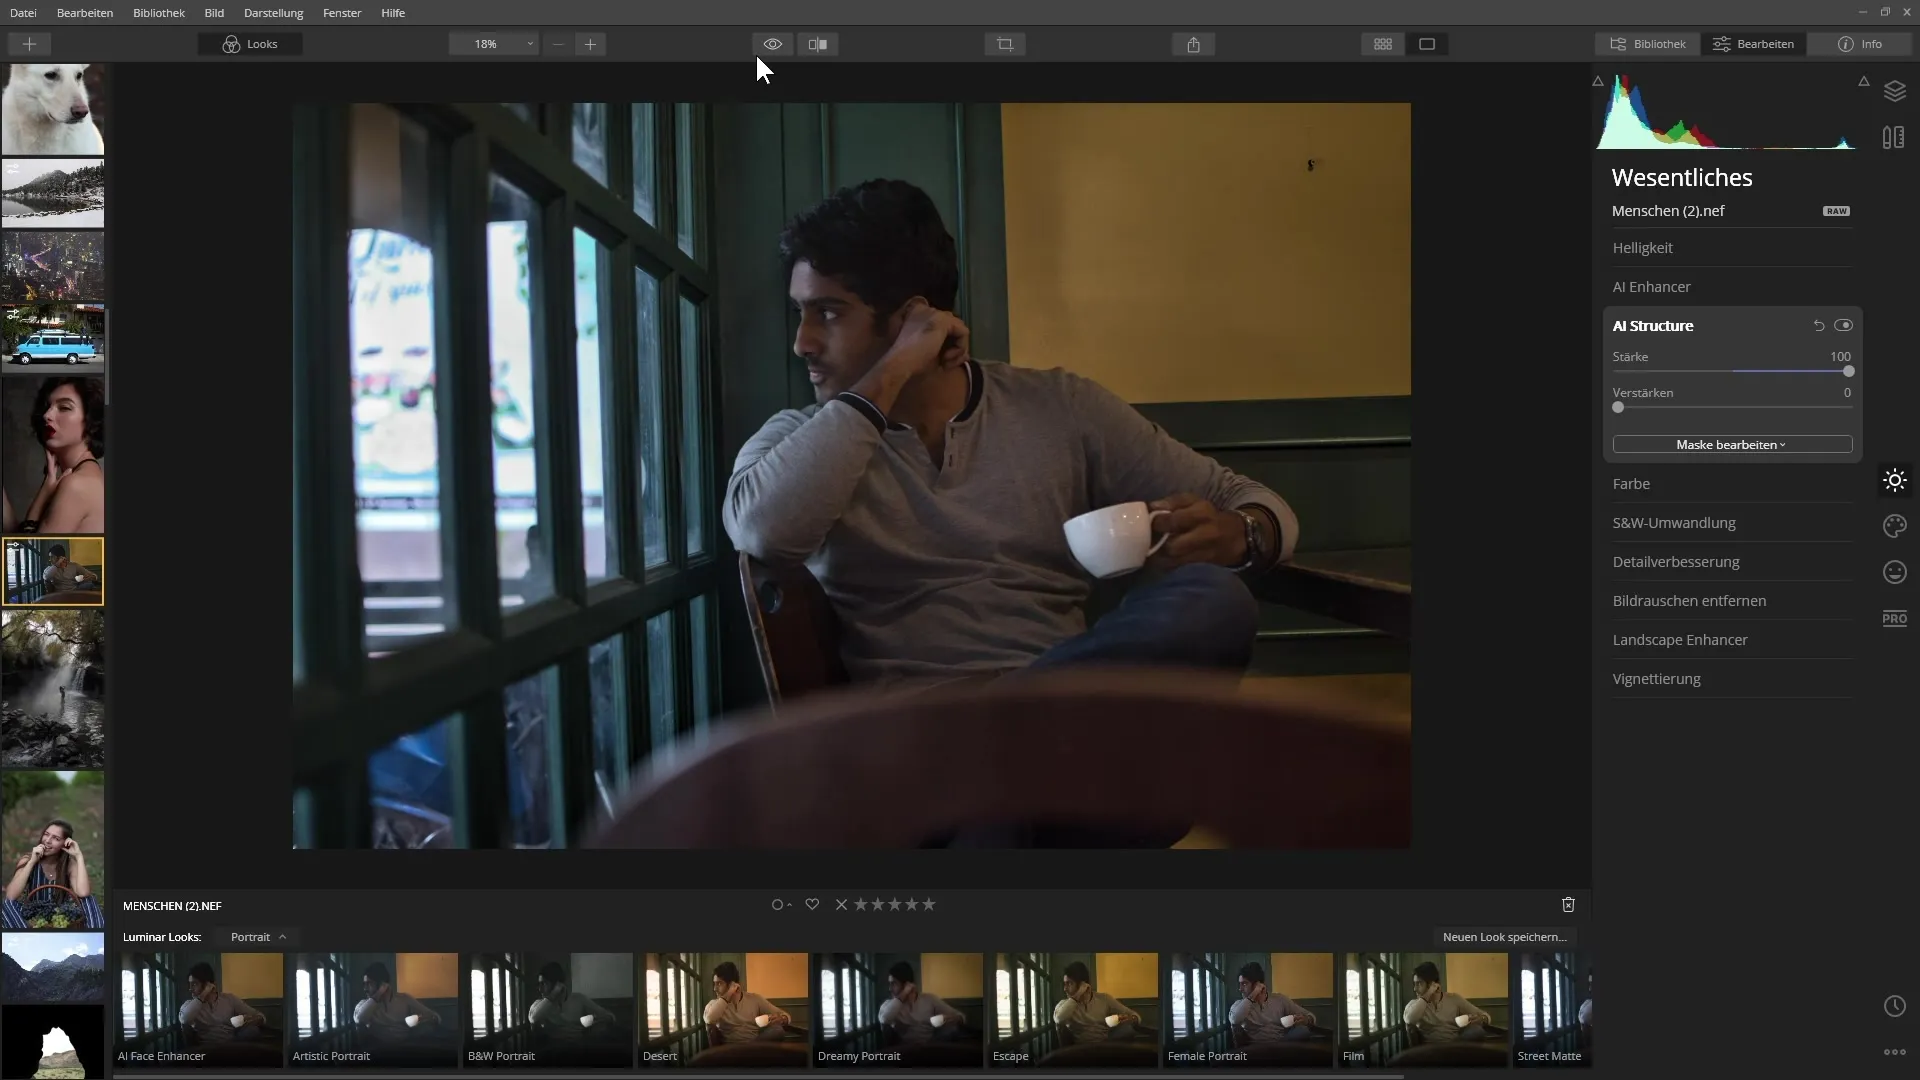
Highlighting Textures with the AI Structure Filter
This filter is ideal for highlighting textures in your images without affecting skin tones in portraits.
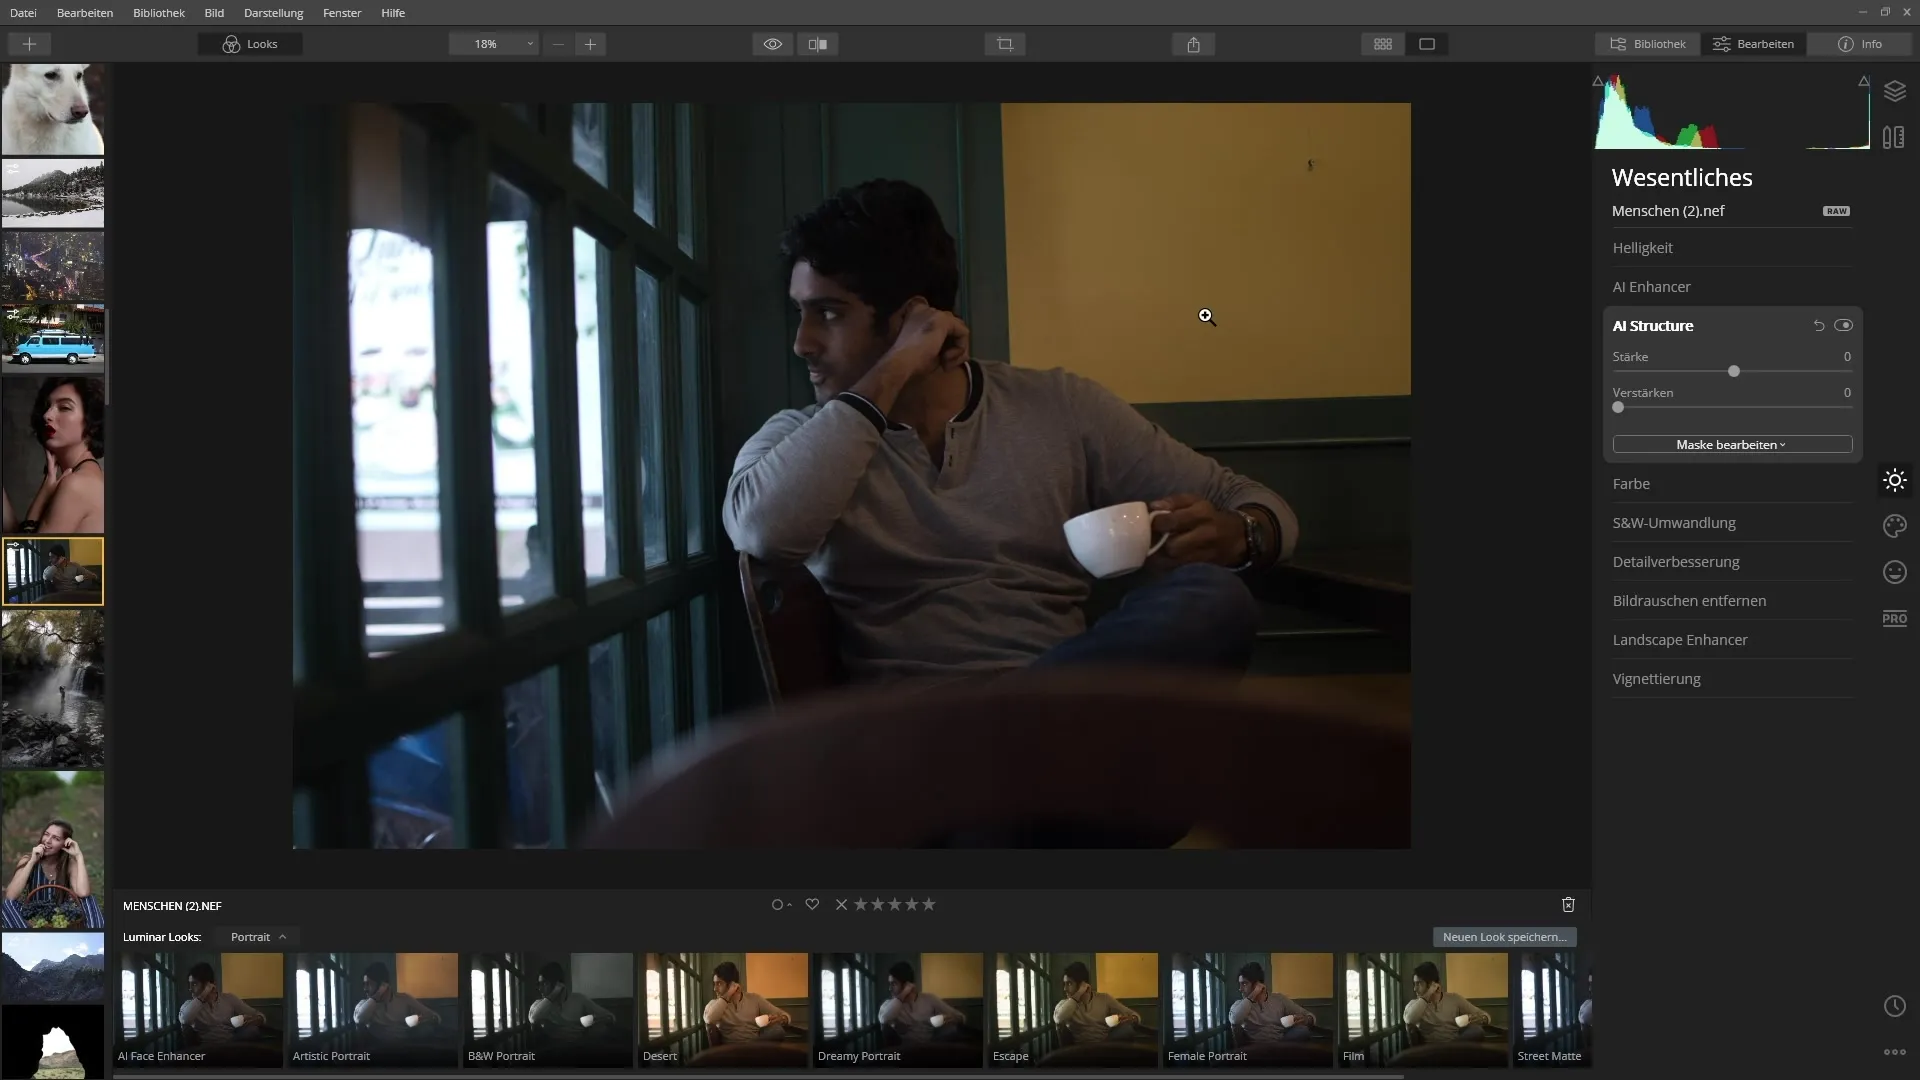
Adjust the strength of the filter and watch how the textures in the image become more vibrant.
Look at the before-and-after view to see the clear differences.
Skin Retouching with the AI Skin Enhancer
The AI Skin Enhancer is specifically designed for portraits and removes skin blemishes with a click.
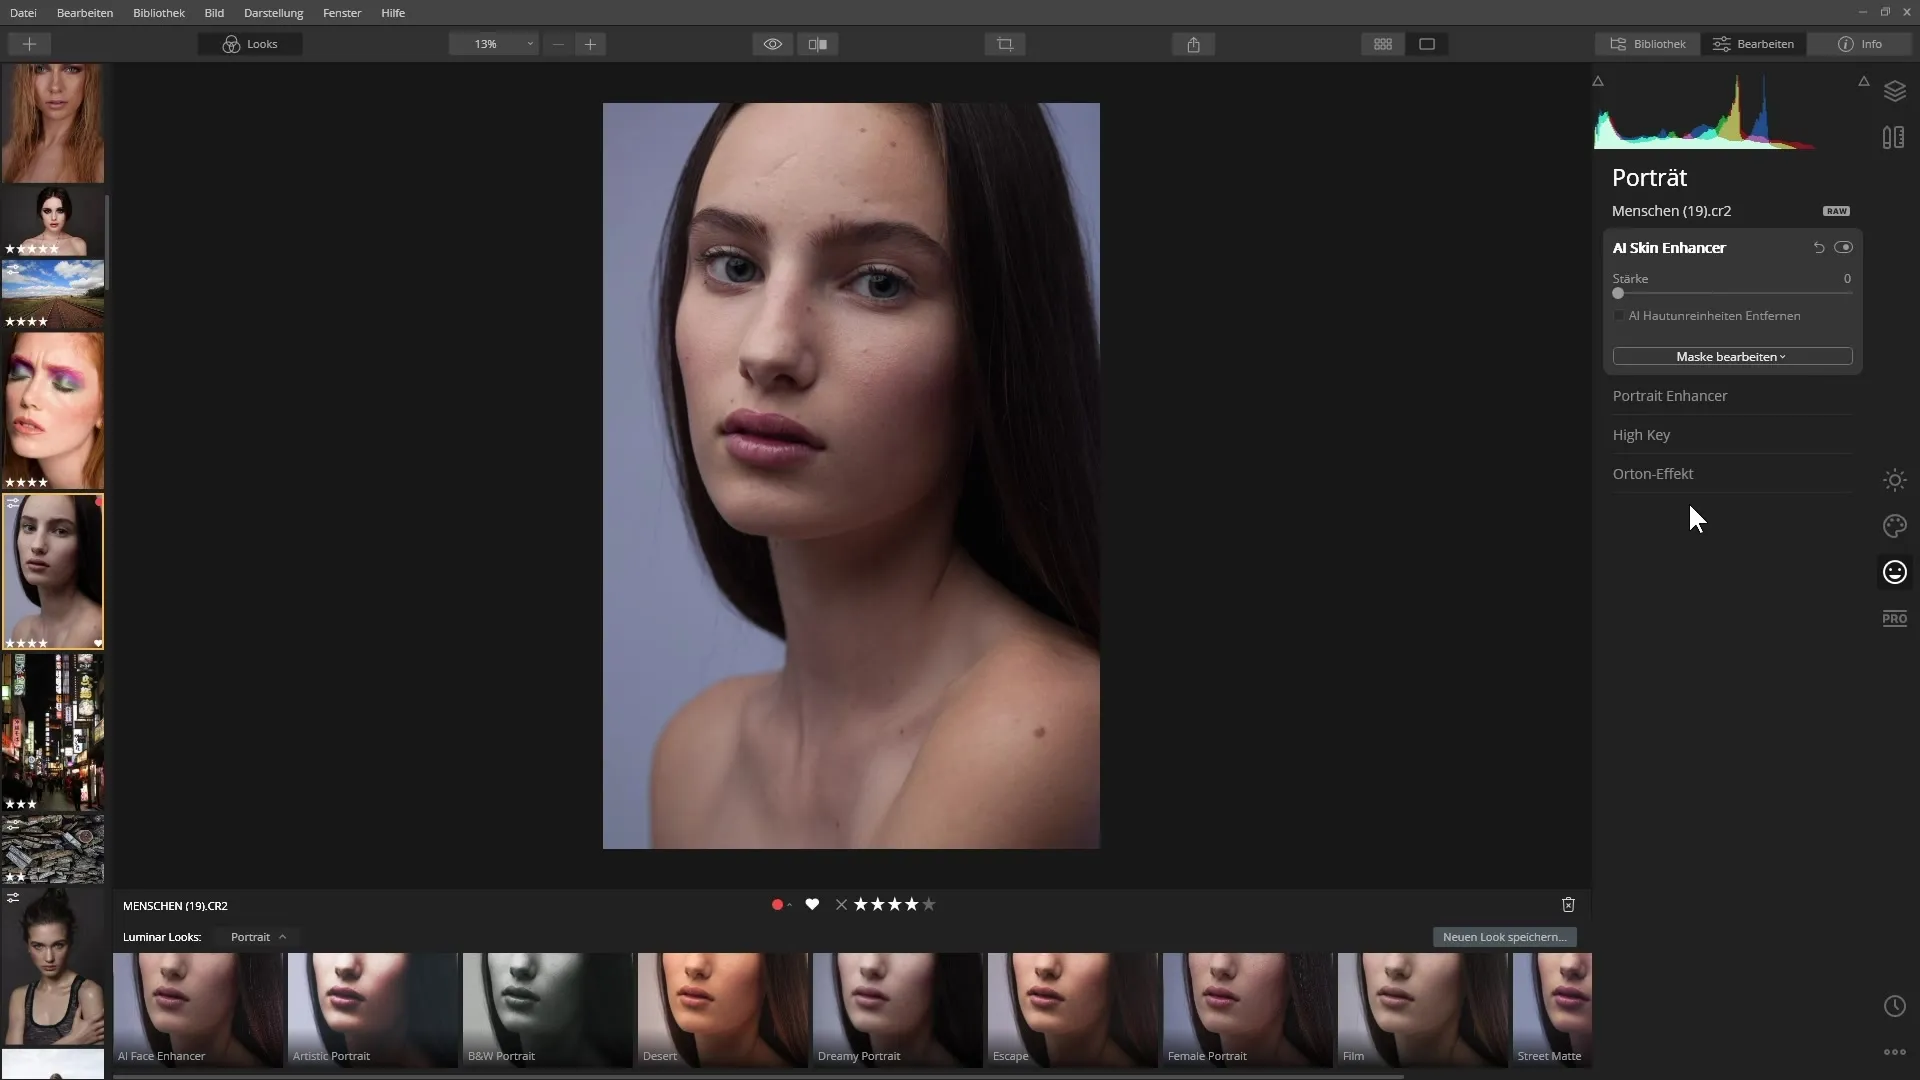
Enable the option to remove skin blemishes and adjust the strength to your liking.
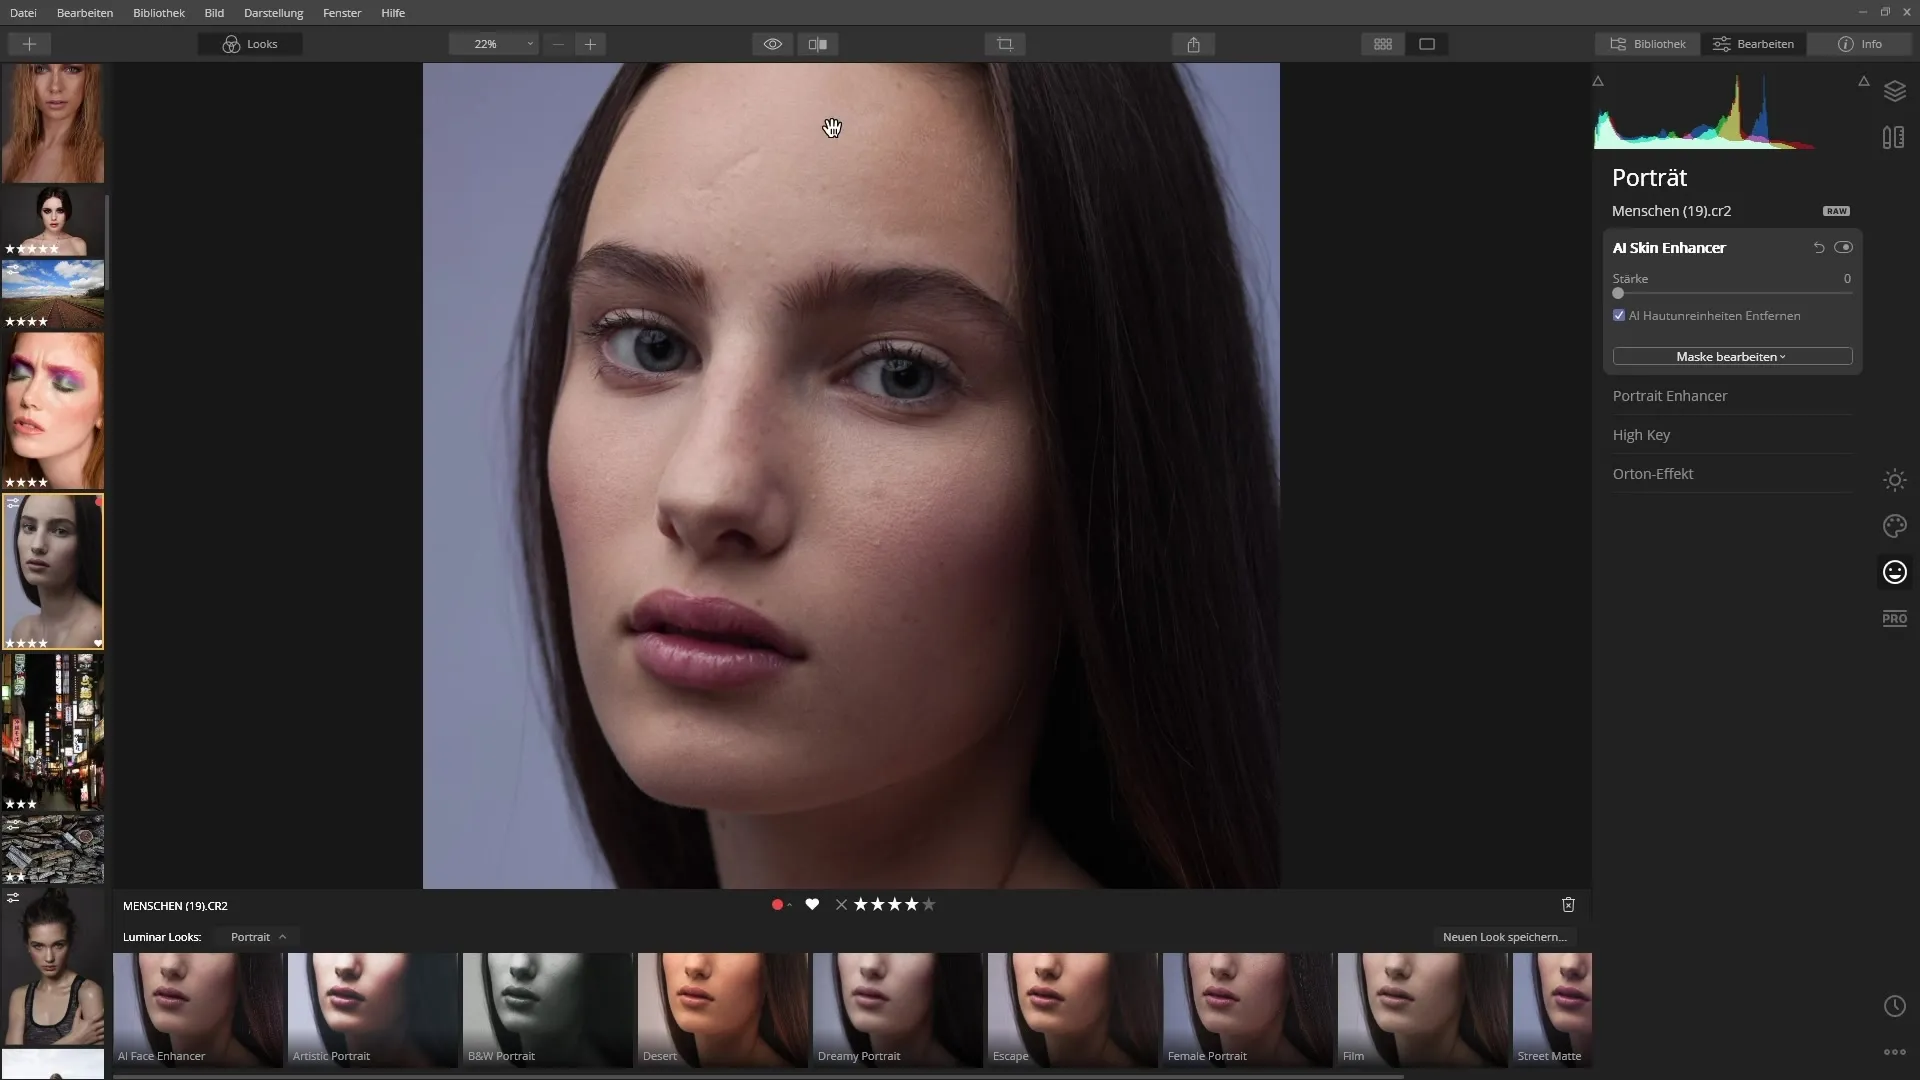
During editing, you will see immediate changes in skin texture and shading.
Finishing Touches with the Portrait Enhancer
The Portrait Enhancer offers further options to optimize your portrait. Play with the sliders to brighten the face, remove dark circles, or emphasize the eyes.
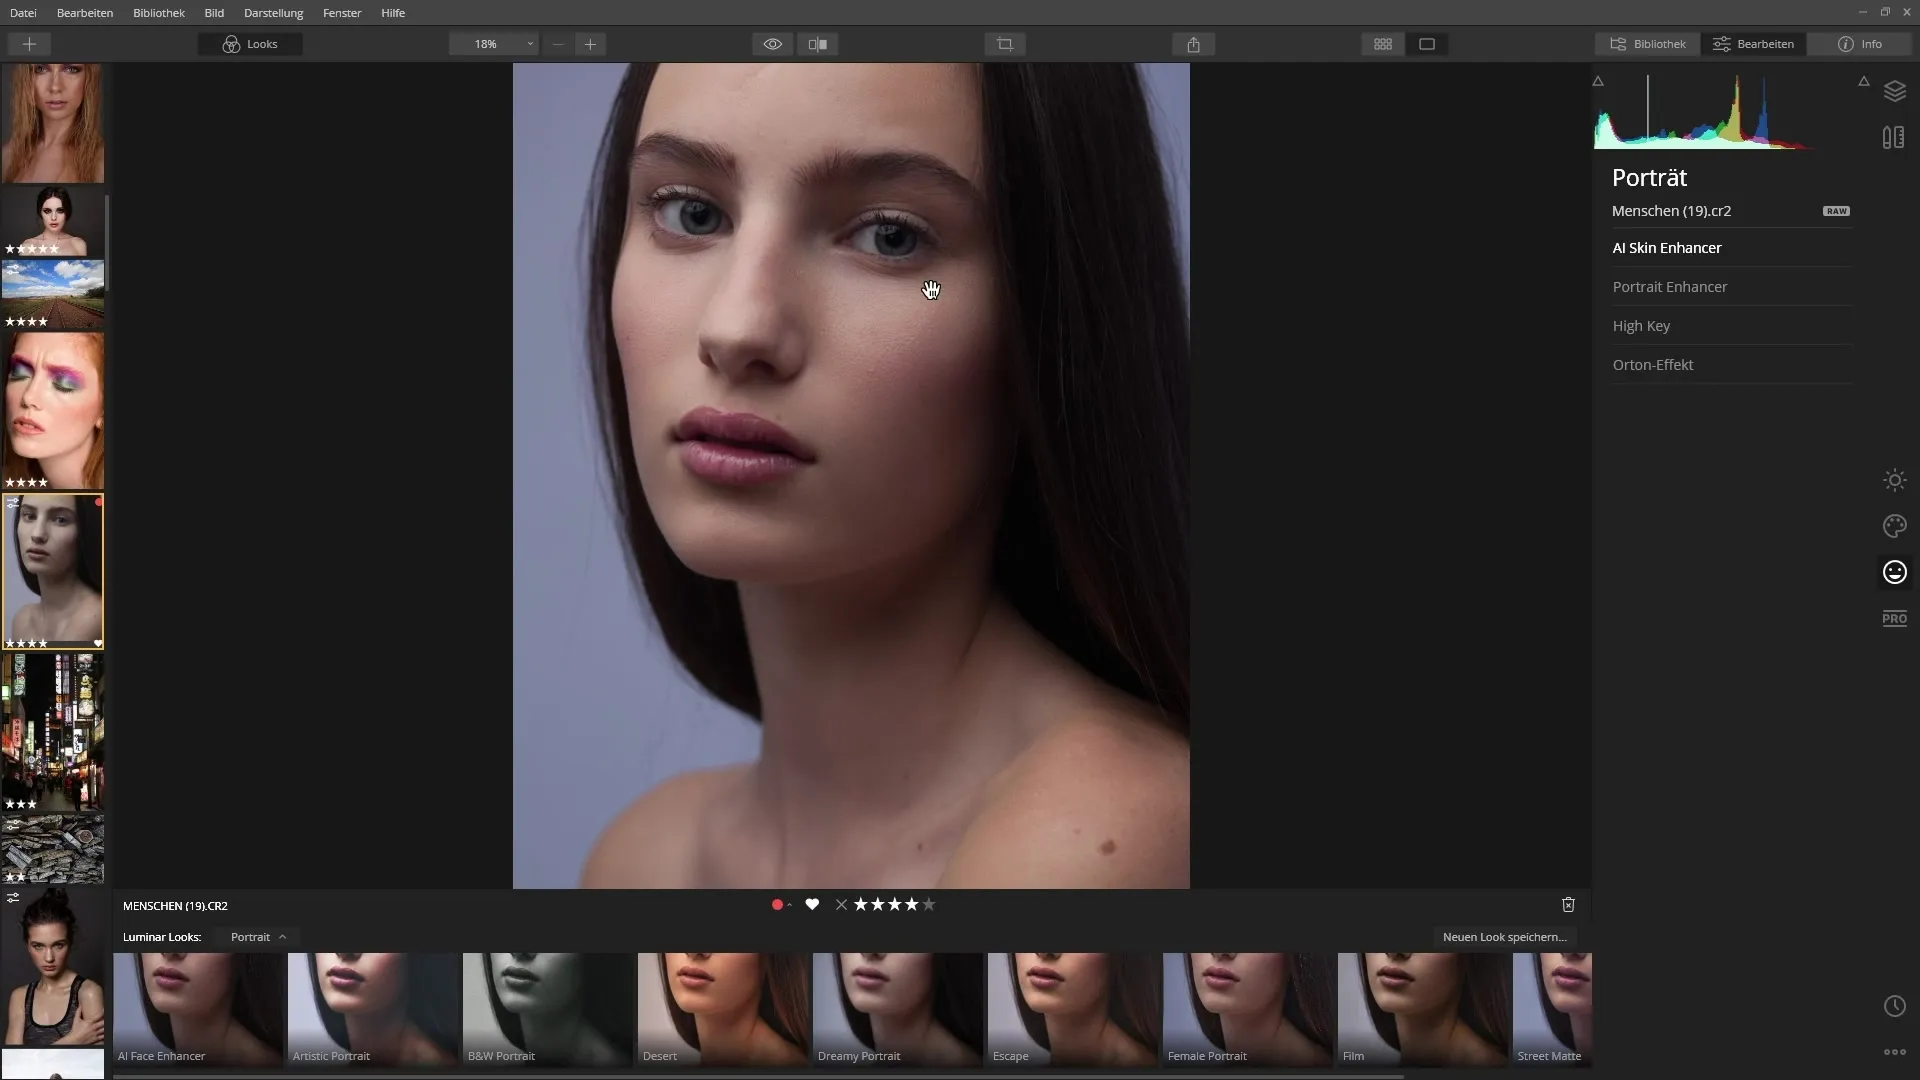
The filter automatically detects facial areas such as eyes and lips, making the editing a pleasure.
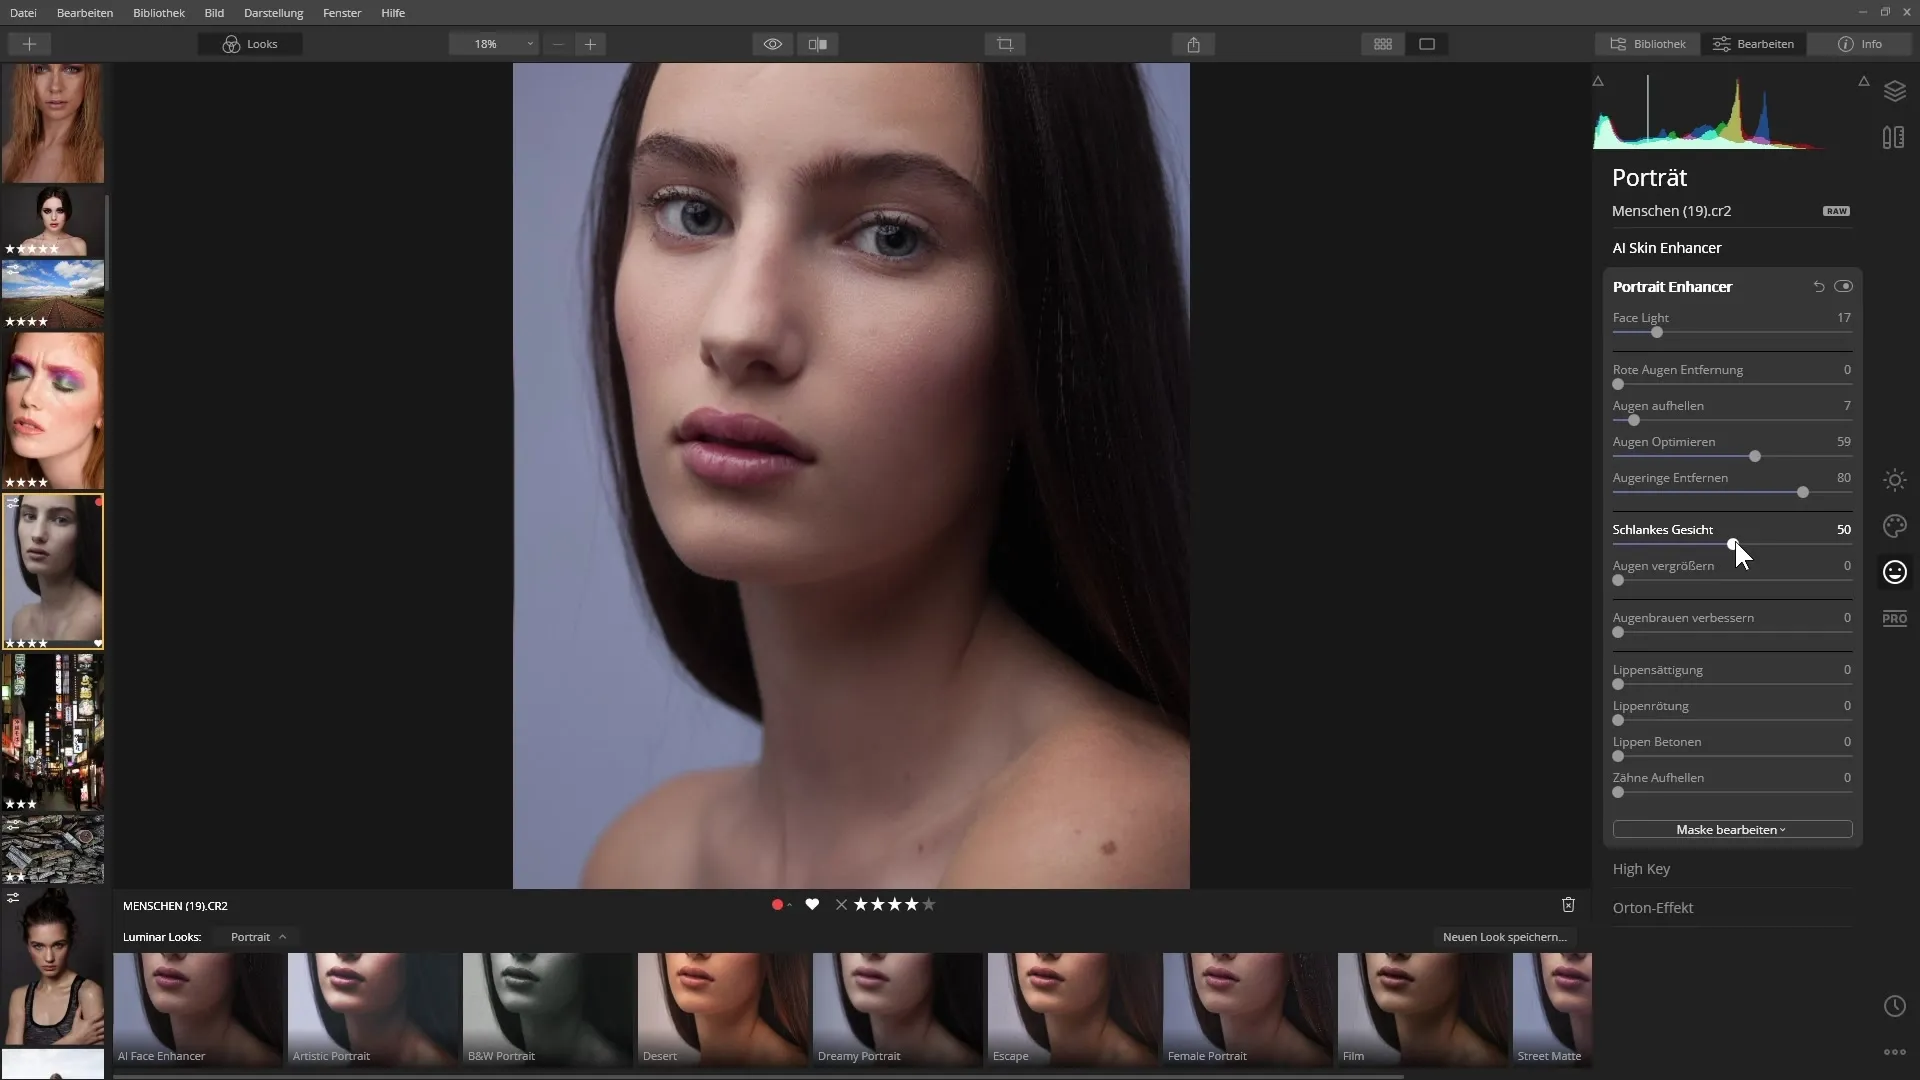
It is also amazing that you can emphasize features and shape the facial traits according to your ideas.
Final Adjustments
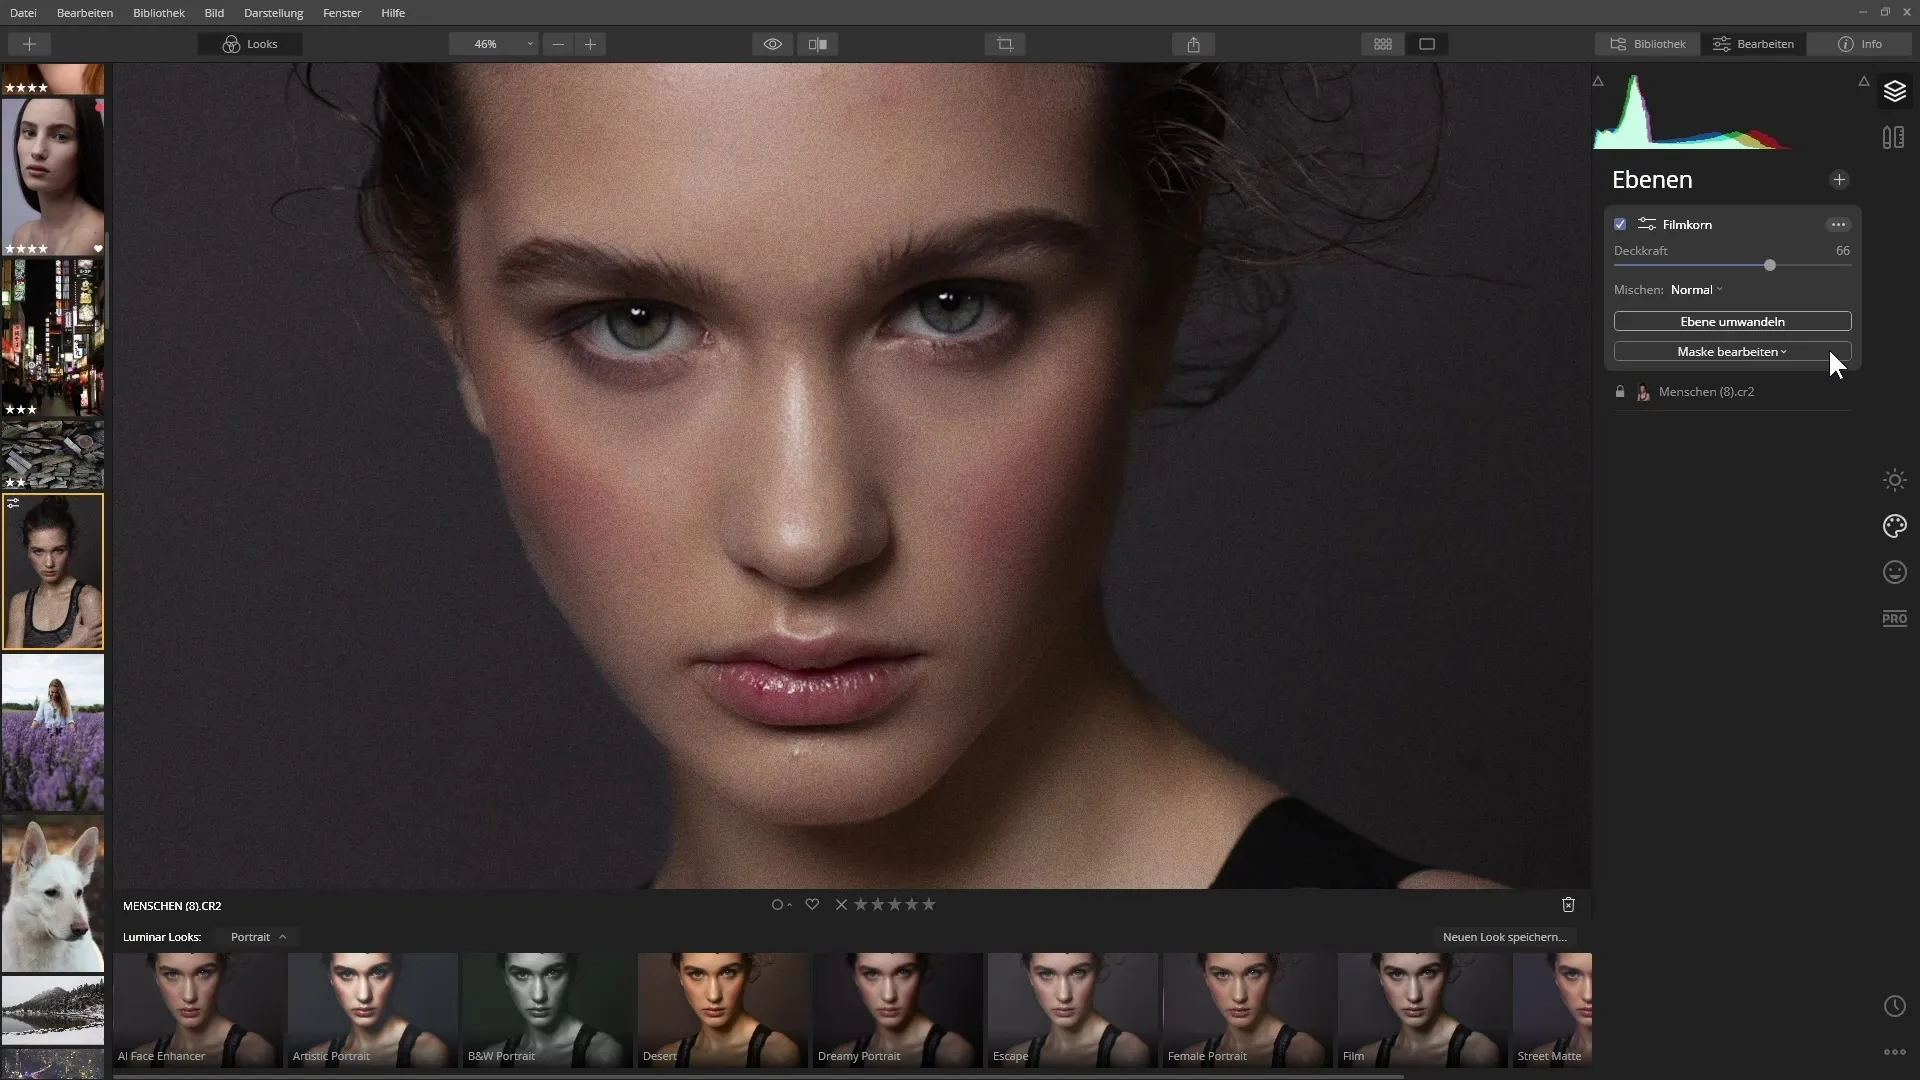
Finally, you can apply a noise filter to give your image a cinematic look.
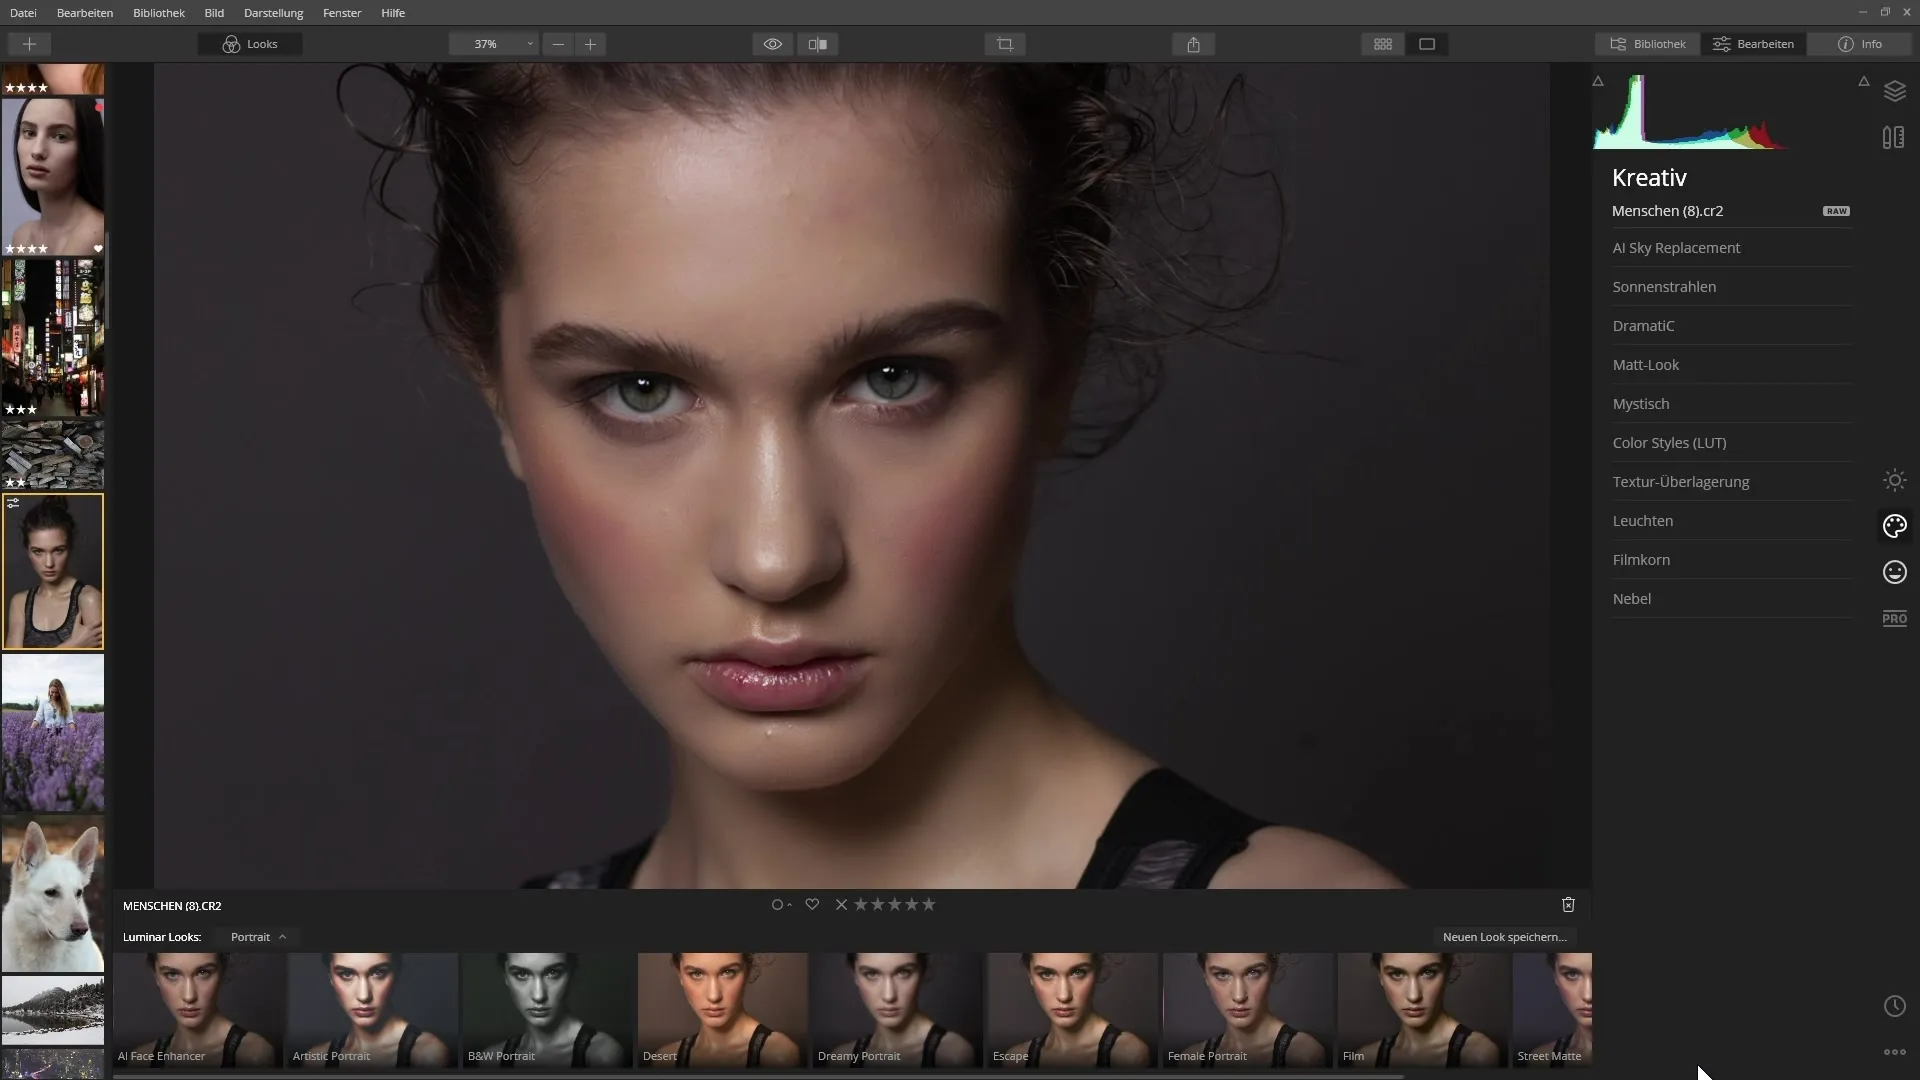
Create a new layer, select the noise filter “Filmcorn,” and adjust the settings until you move the slider to set the noise intensity.
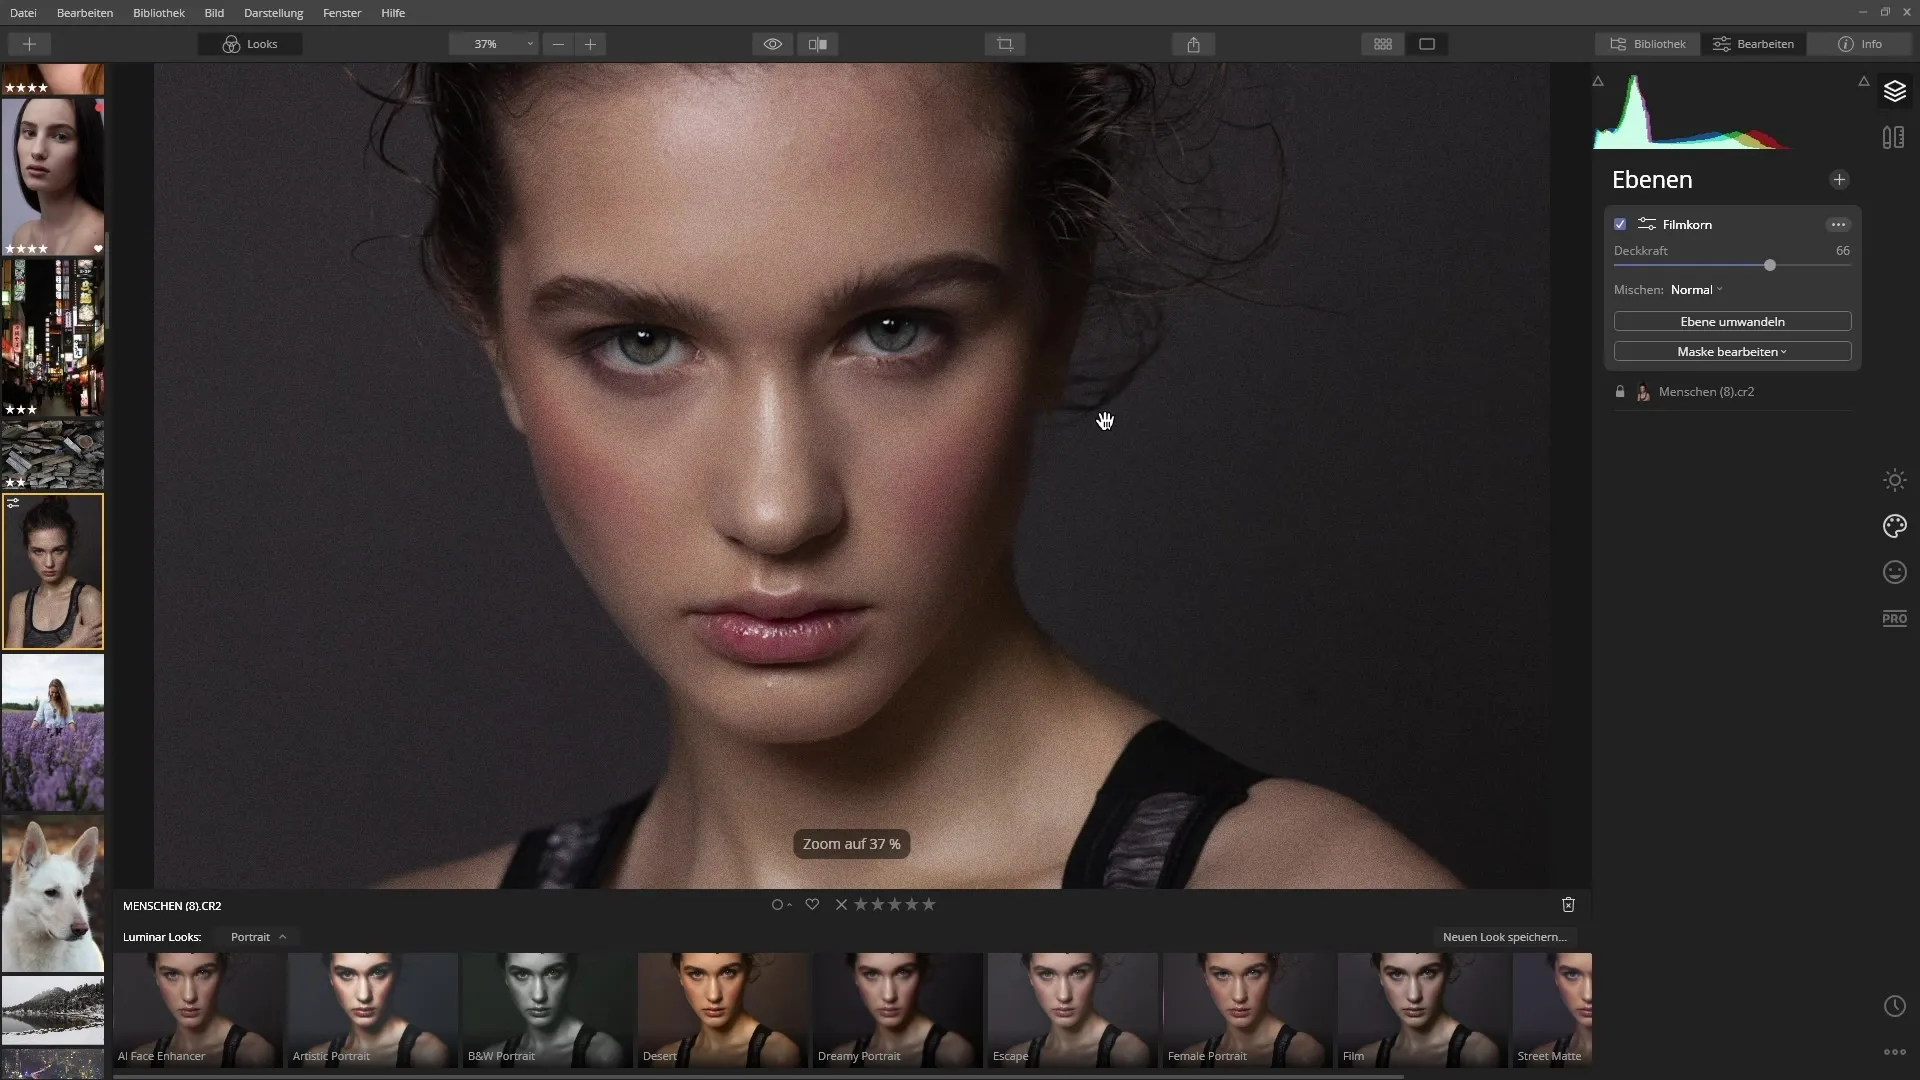
Check the result in the before-and-after view to ensure that the effect matches your style.
Summary – Luminar 4: Making the Most of the Best Filters
In this tutorial, you learned how to use the various powerful filters of Luminar 4. With these filters, you can not only enhance the quality of your images but also fully realize your creative vision. Now it’s up to you to try out the filters and find your personal style!


